
Adding captions to audio in PowerPoint presentations has become increasingly important, especially for accessibility, clarity, and engagement. Whether you’re creating a training module, a lecture, or a marketing presentation, captions ensure your message reaches a wider audience, including those who are deaf or hard of hearing, and viewers in sound-sensitive environments.
In this comprehensive guide, I’ll walk you through how to add captions to audio in PowerPoint, focusing on the creation and use of WebVTT files — a simple, text-based format for captions. This process is straightforward but has some nuances, especially when it comes to timing and formatting your captions. I’ll also share tips and tricks to make your workflow smoother and introduce you to a fantastic tool that can enhance your video and streaming quality.
Let’s dive in and master the art of captioning audio in PowerPoint!
Table of Contents
- Why Add Captions to Audio in PowerPoint?
- Step 1: Record and Add Audio to Your Slide
- Step 2: Insert Captions Using a WebVTT File
- Creating a WebVTT File: The Key to Captions
- Setting Accurate Time Stamps
- Adding Multiple Caption Files for Different Languages
- Removing and Updating Captions
- Advanced Formatting Options in WebVTT Files
- Practical Tips for Creating Captions in PowerPoint
- Bonus: Enhance Your Video and Streaming Quality with the Insta360 Link 4K Webcam
- Frequently Asked Questions (FAQs)
- Conclusion
Why Add Captions to Audio in PowerPoint?
Before we get into the technical steps, it’s important to understand the value captions bring to your presentations:
- Accessibility: Captions make content accessible to people with hearing impairments.
- Improved Comprehension: Viewers can better understand content, especially if the audio quality is less than perfect or if English is a second language.
- Engagement: Captions help retain audience attention and make your presentation more professional.
- Versatility: Captions allow your presentation to be effective in noisy or quiet environments where audio playback might not be ideal.
With that in mind, let’s start with the basics of adding audio and captions to your PowerPoint slides.
Step 1: Record and Add Audio to Your Slide
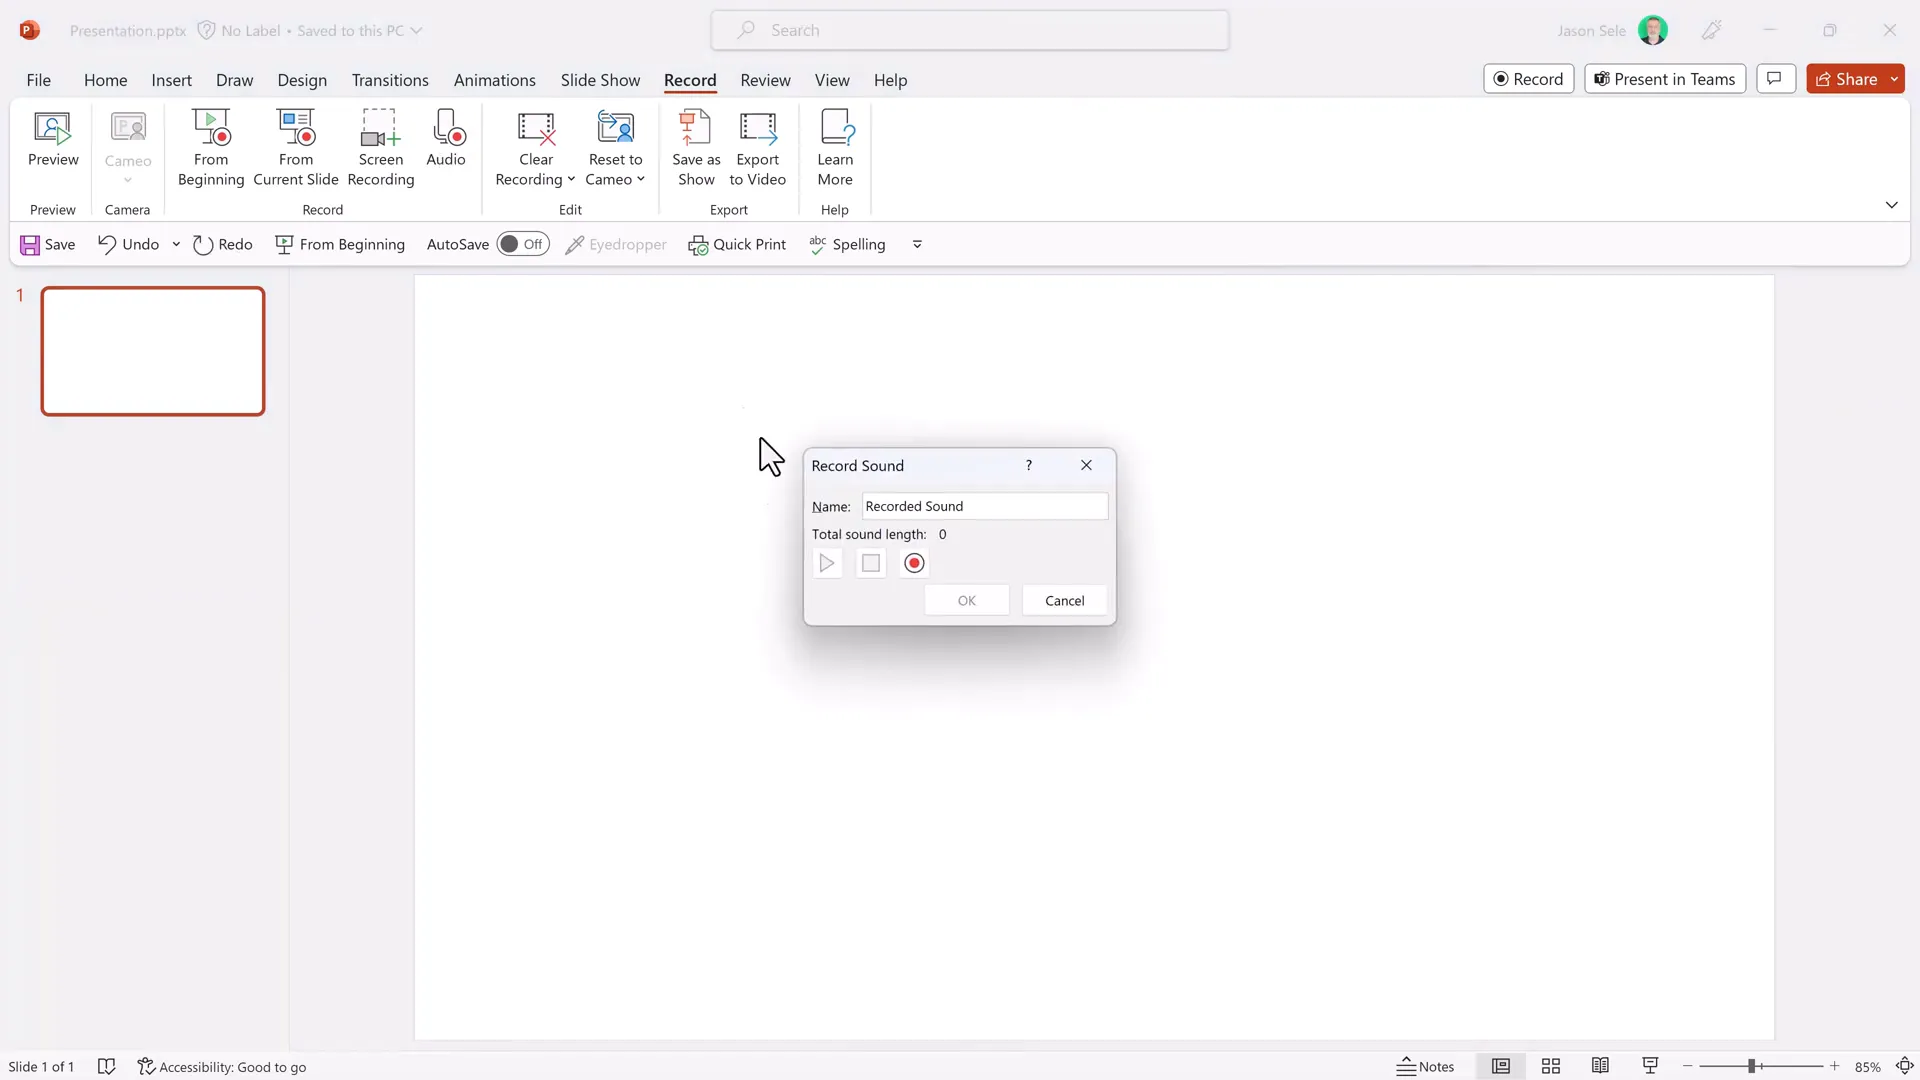
The first step is to record your audio directly within PowerPoint or add an existing audio file to your slide. Here’s how to record audio inside PowerPoint:
- Navigate to the Record tab on the PowerPoint menu.
- Click on Audio to open the audio recording options.
- Record your audio by speaking clearly into your microphone. For example, you might say, “This is an example of how to add captions to your PowerPoint presentation.”
- Once recorded, PowerPoint will insert an audio icon on your slide, indicating the presence of an audio track.
- Click the audio icon and press play to review your recording and ensure it sounds right.
This audio icon acts as a control for your audio track and is independent of the slide content. You can move it around or hide it behind other elements as needed.
Step 2: Insert Captions Using a WebVTT File
Once your audio is ready, the next step is to add captions. PowerPoint supports captions through WebVTT files, a widely used caption format that is easy to create and edit.
Here’s how to insert captions:
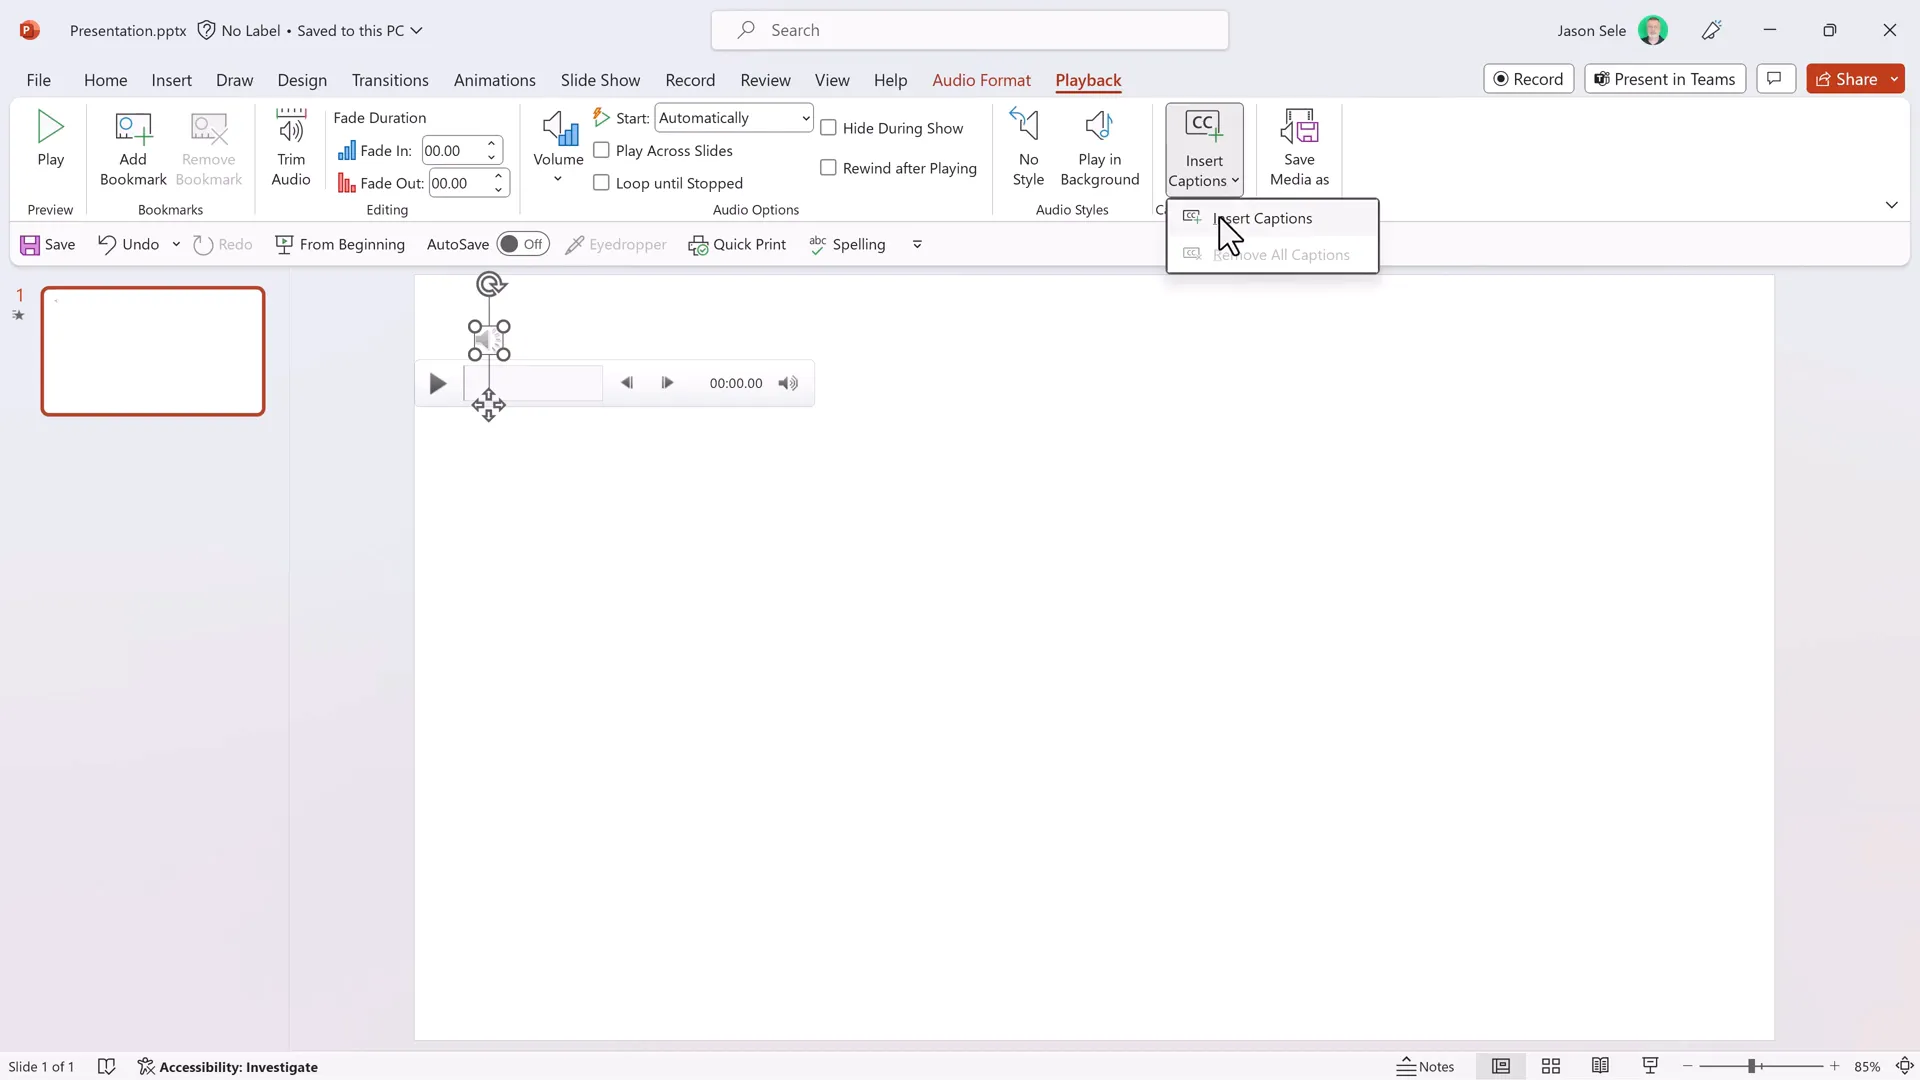
- Select the audio icon on your slide to activate audio playback options.
- In the menu, go to the Playback tab.
- Look for the Insert Captions button and click it.
- Browse and select the WebVTT (.vtt) file containing your captions.
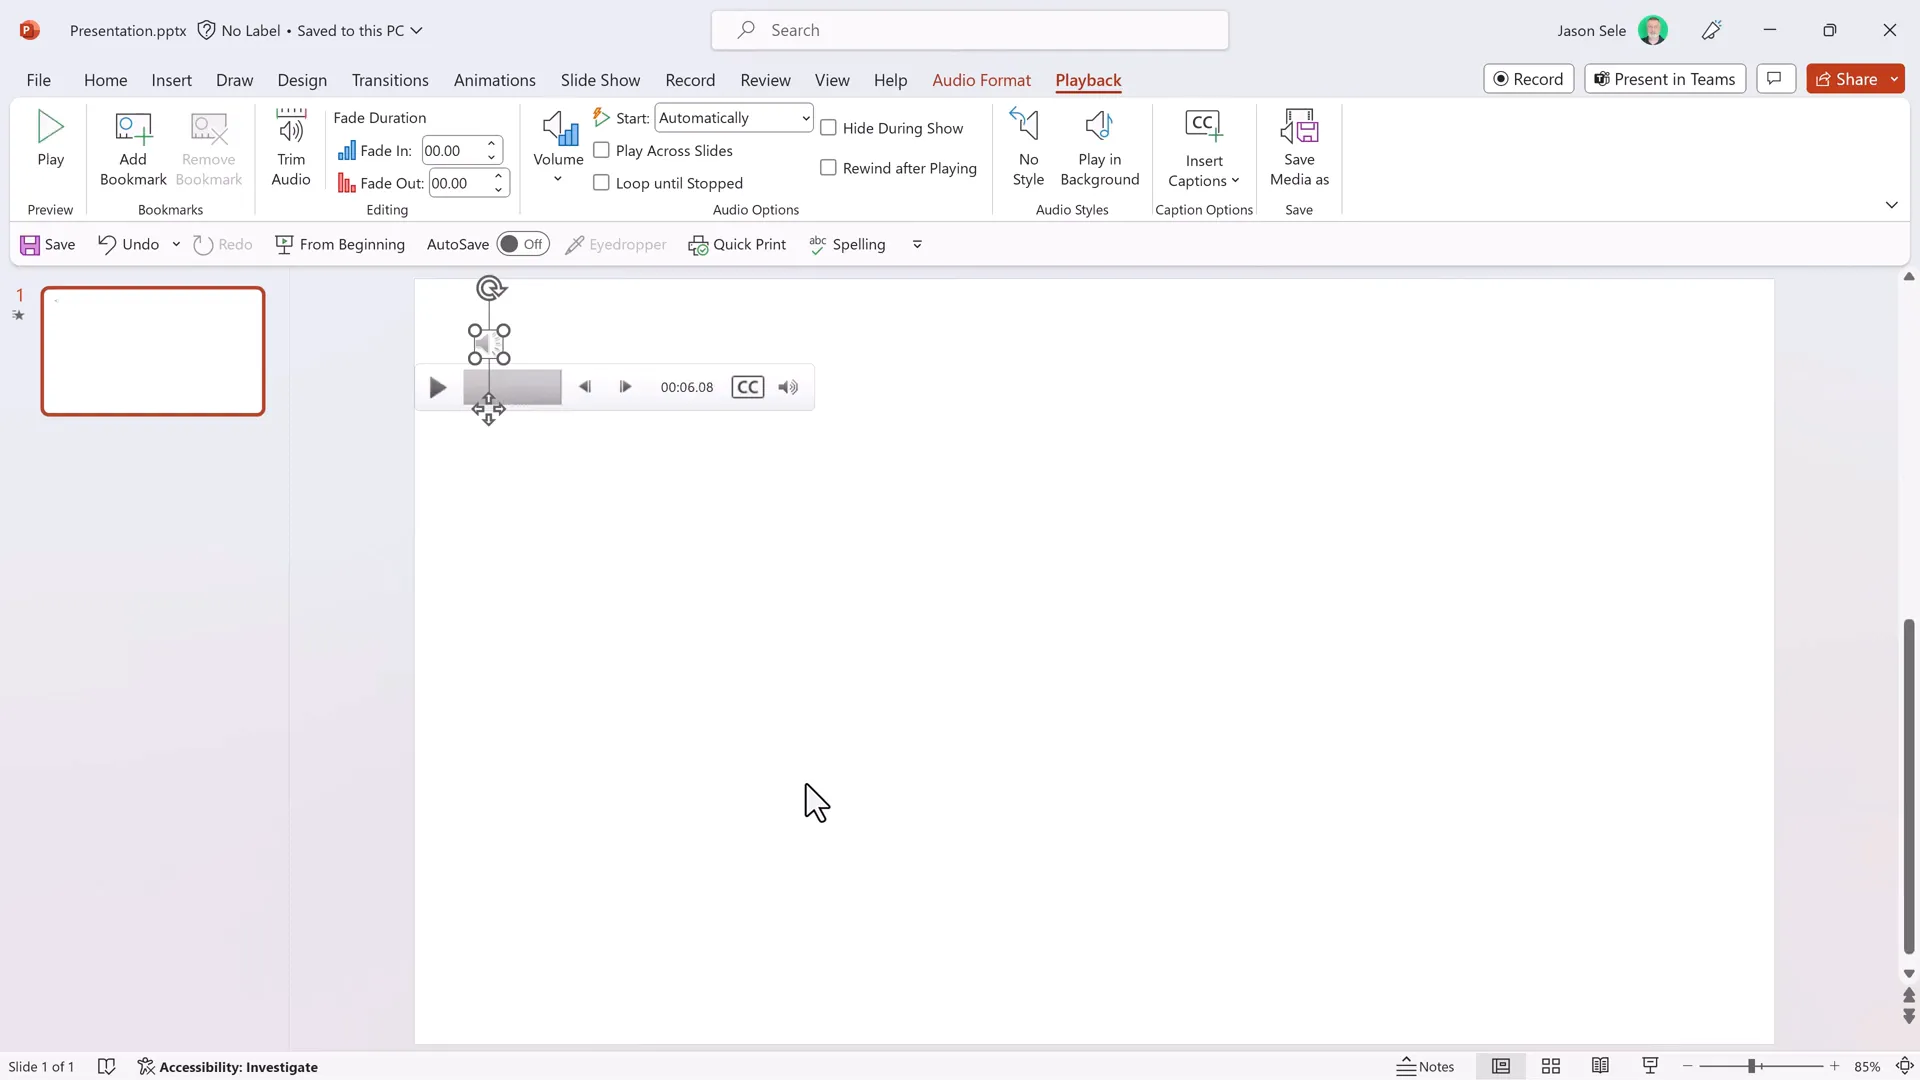
After inserting the captions, play your audio to see the captions displayed at the bottom of the screen, synchronized with your audio.
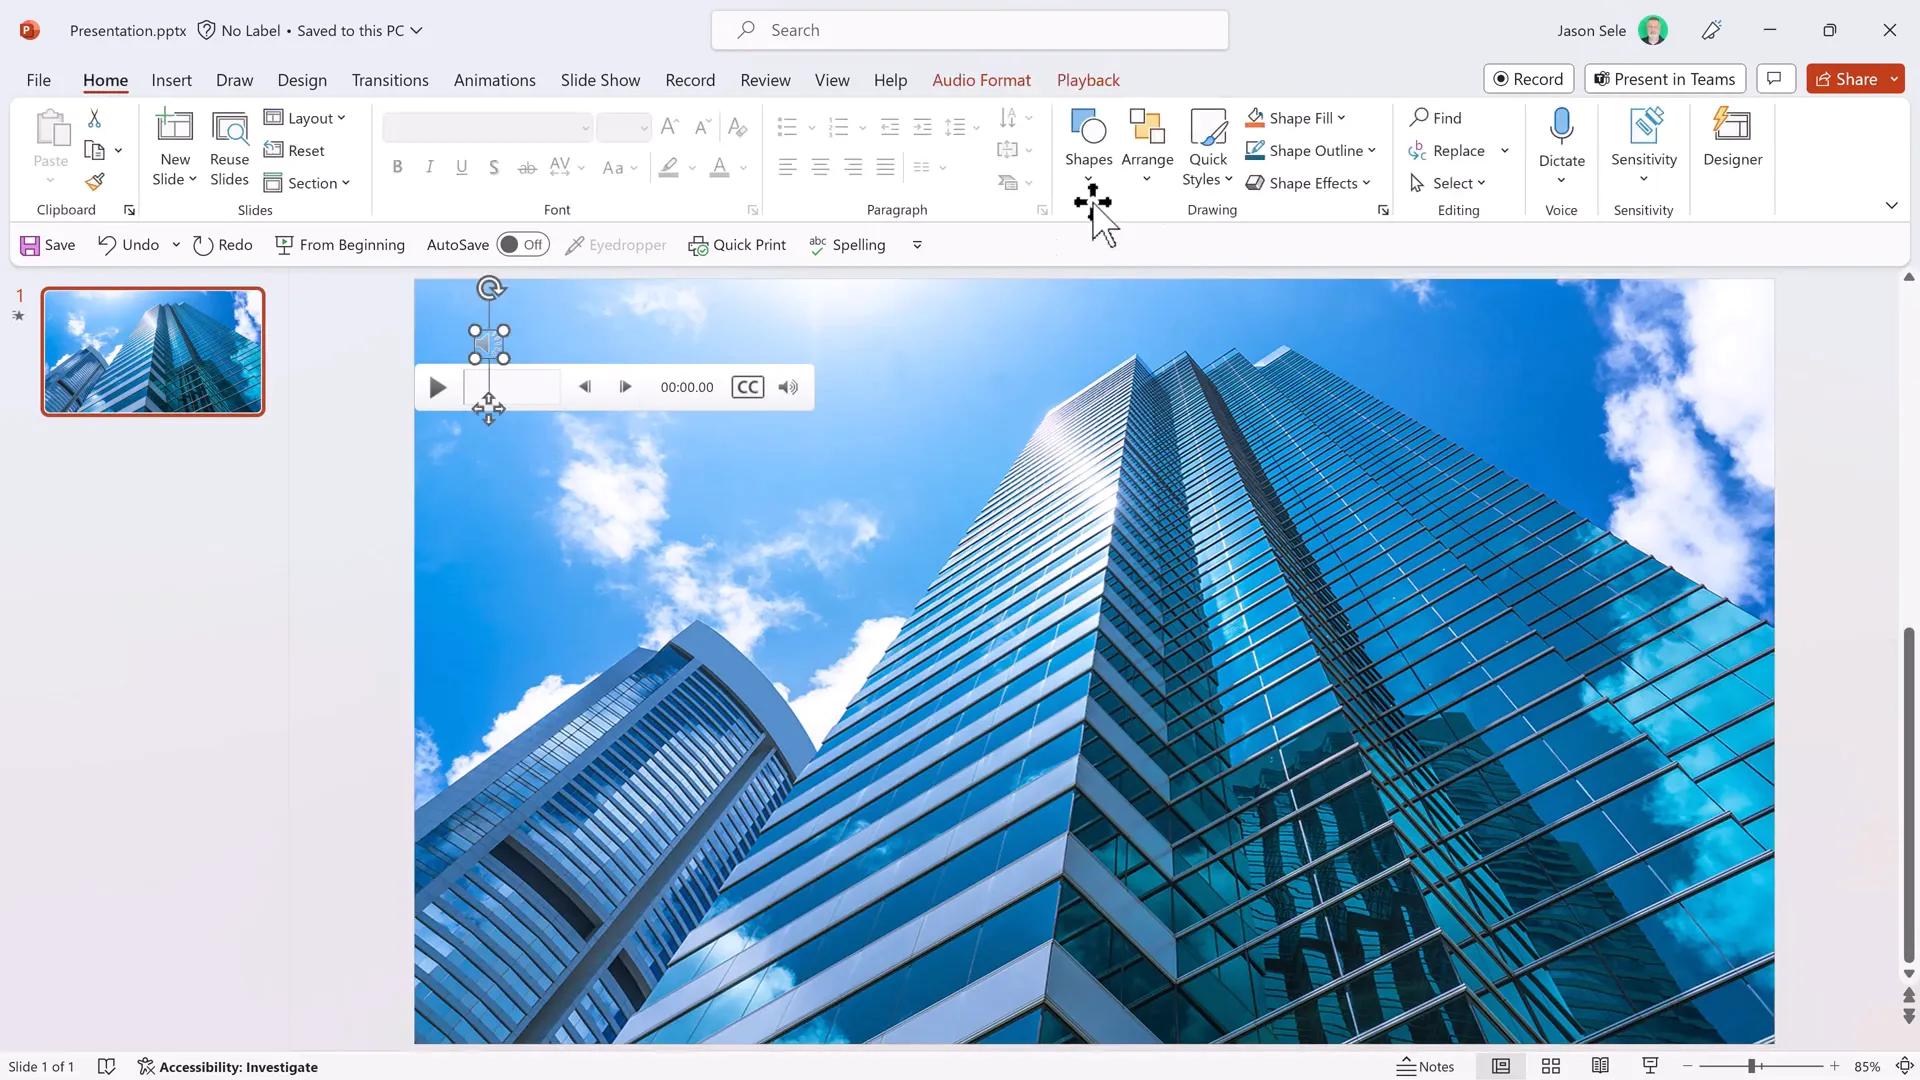
Important Note:
The audio track and captions are independent of the slide content. For example, if you insert an image over the audio icon, the audio will still play, and captions will still display, but the icon might be hidden behind the image. You can adjust the layering by right-clicking the icon or image and choosing Send Backward or Bring to Front to control visibility.
Creating a WebVTT File: The Key to Captions
The heart of captioning in PowerPoint is the WebVTT file. This file is a simple text document with a specific format that PowerPoint reads to display captions synchronized with your audio.
What is a WebVTT File?
WebVTT stands for Web Video Text Tracks. It’s a plain text file that contains timestamps and the corresponding text to be displayed as captions.
You can create a WebVTT file using any text editor, like Notepad on Windows or TextEdit on Mac. The critical thing is to save the file with a .vtt extension instead of the default .txt extension.
Basic Structure and Rules for a WebVTT File
- The first line must be WEBVTT.
- Each caption block is separated by a blank line (carriage return).
- Each block contains a timestamp line, showing the start and end time for the caption, separated by an arrow (
-->). - Time format includes hours, minutes, seconds, and milliseconds (three decimal places), e.g.,
00:00:01.800. - Following the timestamp line is the caption text to be displayed during that time frame.
Here is a simple example:
WEBVTT

00:00:00.000 --> 00:00:02.000
This is an example of how to add captions.

00:00:02.500 --> 00:00:05.000
to your PowerPoint presentation.
Notice the timestamps are precise and the text is easy to read. This file tells PowerPoint exactly when and what to display as captions.
Setting Accurate Time Stamps
One of the trickiest parts when creating WebVTT files is getting the start and end times for each caption exactly right. Here’s a workflow that works well:
- Write out your full script first, breaking it down into manageable caption lines.
- Record your audio and play it back while watching the timestamps in PowerPoint or your media player.
- Note the exact times when each line should start and end.
- Use these times to set the timestamps in your WebVTT file, rounding to three decimal places.
For example, if a phrase ends at 1.72 seconds, you might set the end time to 1.8 seconds for a slight buffer. The next caption would start at 1.9 seconds, and so on.
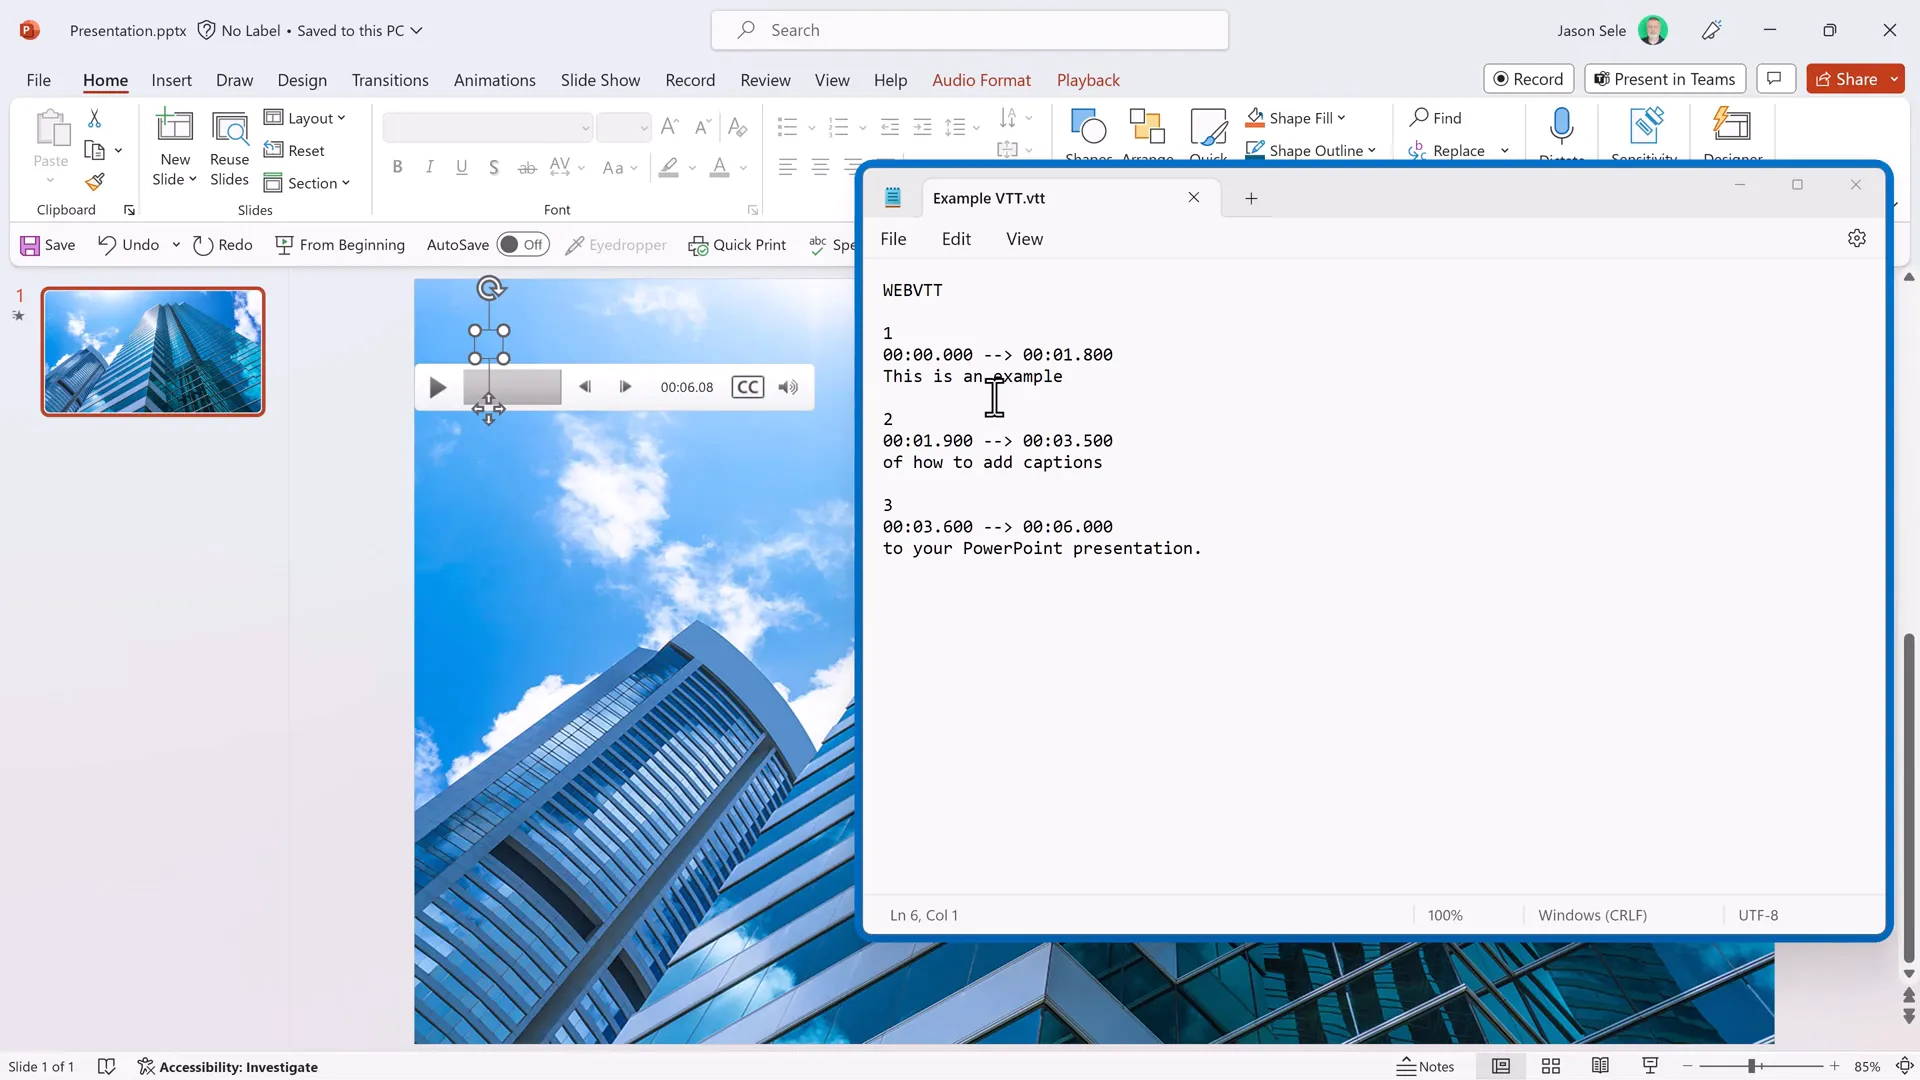
Here is a snippet showing how this looks:
00:00:00.000 --> 00:00:01.800
This is an example.

00:00:01.900 --> 00:00:03.500
of how to add captions.

00:00:03.600 --> 00:00:06.000
to your PowerPoint presentation.
Using this method, you ensure captions appear smoothly and in sync with your audio, enhancing viewer experience.
Tip: Use PowerToys or Similar Tools
To make editing easier, I recommend keeping your WebVTT file open in a text editor that stays visible on top of other windows. For example, Microsoft PowerToys has an “Always on Top” feature that keeps your caption file visible while you work in PowerPoint, eliminating the need to switch windows constantly.

Adding Multiple Caption Files for Different Languages
PowerPoint allows you to insert multiple caption files for the same audio, enabling viewers to select their preferred language. This is especially useful for international audiences.
For example, you can create a French caption file by:
- Copying your existing WebVTT file.
- Translating the text to French.
- Adding a language reference at the beginning of the file.
- Saving it with a distinct name, such as
captions-fr.vtt.
Then, insert the French captions just like the English ones via the Playback tab. PowerPoint adds a CC button on the audio clip allowing users to toggle captions on/off and switch between languages.
This feature makes your presentations more inclusive and professional.

Removing and Updating Captions
If you need to remove captions or update your WebVTT file, follow these steps:
- Go to the Playback tab with the audio selected.
- Click on the captions dropdown and select Remove All Captions.
- Make your changes to your WebVTT file and save it.
- Reinsert the updated captions as before.
Note: PowerPoint will not accept changes to captions unless you remove the existing captions first, so always remove before reinserting.
Advanced Formatting Options in WebVTT Files
WebVTT files support several formatting options to customize how captions appear on screen. This includes positioning, styling, and text decorations.
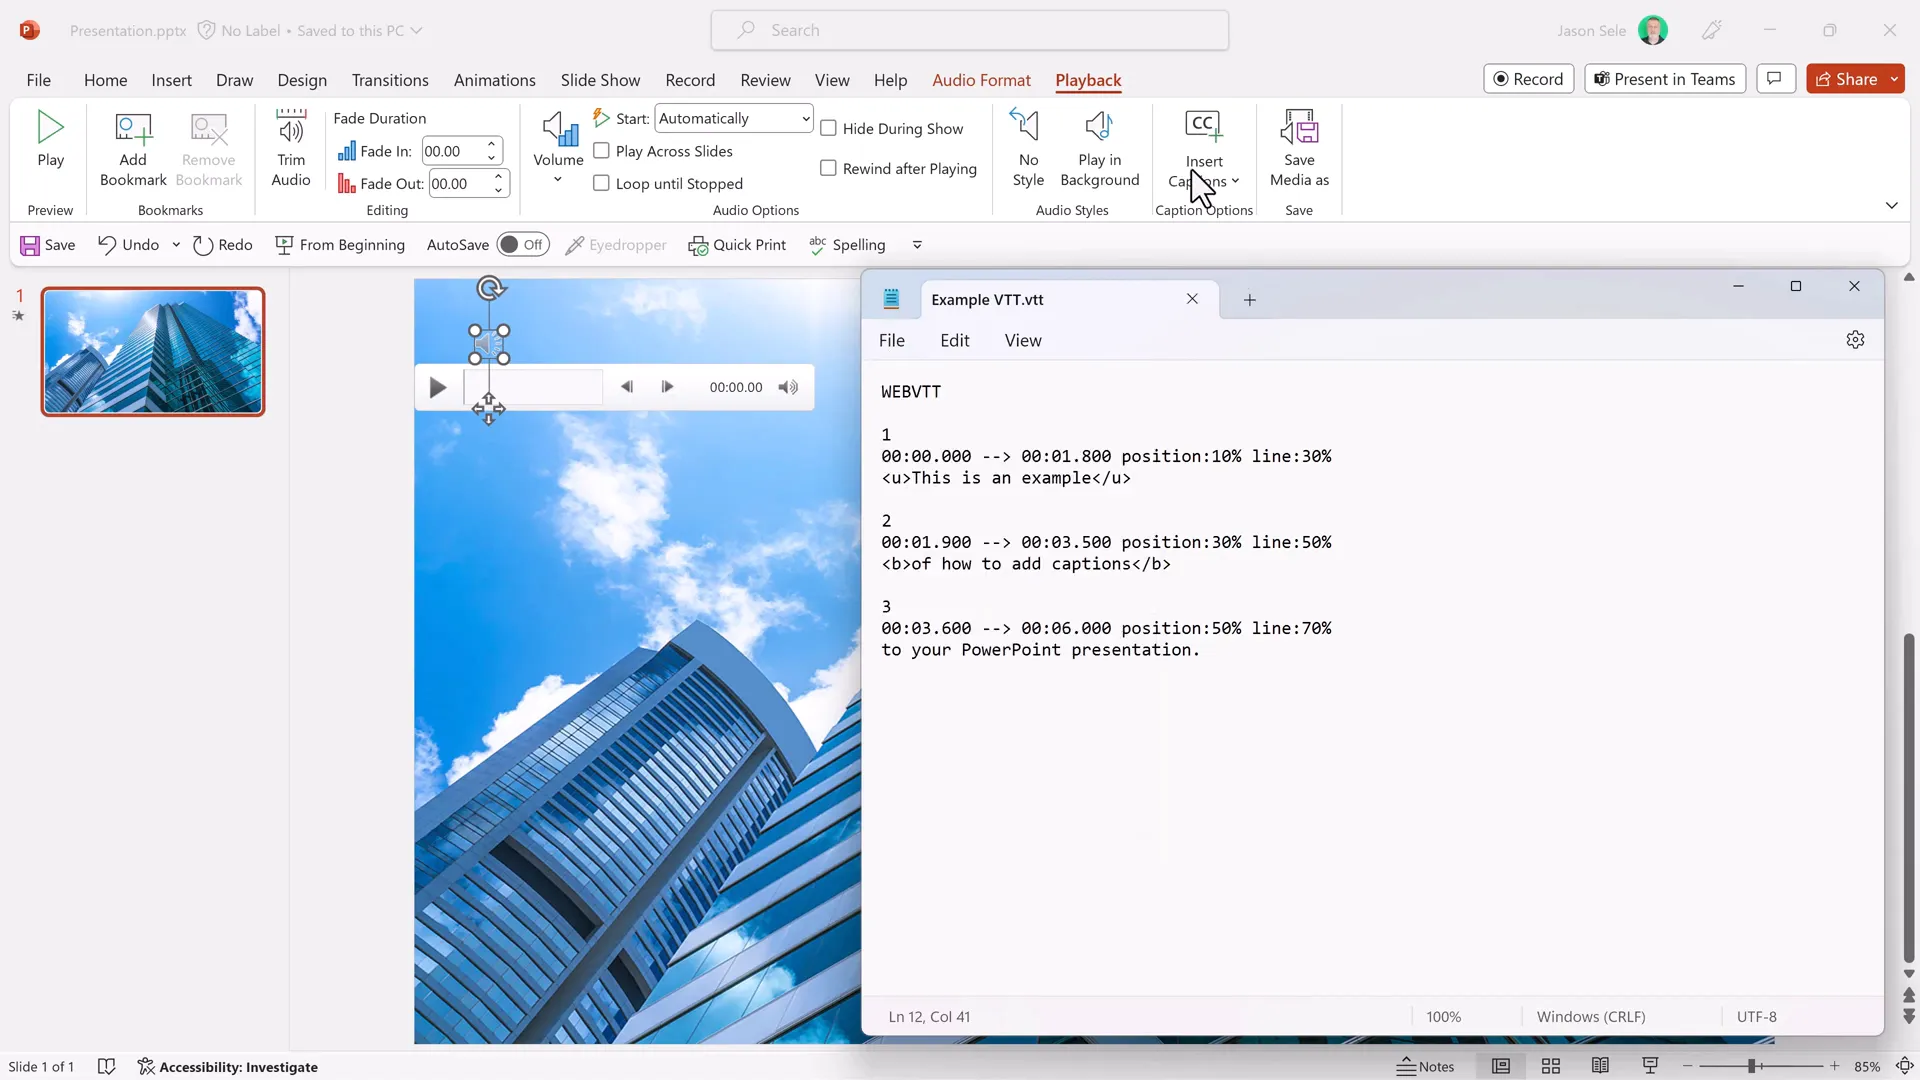
Positioning Captions
You can control the horizontal and vertical position of captions using position and line settings within the timestamp line. Both take percentages from 0 to 100.
- Position: Controls left-to-right placement.
- Line: Controls top-to-bottom placement.
Example usage:
00:00:00.000 --> 00:00:02.000 position:10% line:90%
This caption appears near the bottom left.
Adjusting these parameters allows you to move captions away from important slide content or create visual interest.
Text Styling
You can add simple HTML-like tags for text styling:
underlinefor underlined textboldfor bold text
Example:
00:00:00.000 --> 00:00:02.000
This is an underlined and bold caption.
These tags help emphasize key points or differentiate speaker voices.
Additional Formatting
WebVTT supports other advanced features like italic text, voice tags, and cue settings, but these require more detailed knowledge of captioning standards. For most PowerPoint users, positioning and simple text formatting cover the majority of needs.
Practical Tips for Creating Captions in PowerPoint
- Always start your WebVTT file with WEBVTT on the first line.
- Use blank lines between each caption block.
- Keep your captions concise — aim for one or two lines per caption for readability.
- Test your timing by playing back audio and adjusting timestamps in small increments.
- Remove existing captions before inserting updated ones to avoid conflicts.
- Use tools like PowerToys to improve workflow efficiency.
- Consider creating captions in multiple languages to reach a broader audience.
Bonus: Enhance Your Video and Streaming Quality with the Insta360 Link 4K Webcam
Before we wrap up, I want to share a fantastic tool that has enhanced my video production quality significantly — the Insta360 Link 4K Webcam. While this isn’t directly related to PowerPoint captions, it’s a great investment for anyone creating video content or streaming presentations.
Here’s why I recommend it:
- Exceptional Resolution: Crisp 4K video quality for professional-looking streams.
- True Focus Capabilities: Keeps you sharp and clear, even if you move around.
- Top-Down Views: Switch perspectives easily for tutorials or demonstrations.
- Noise-Cancelling Microphones: Clear audio capture without background noise.
- Privacy Mode: Quickly disable the camera when not in use.
- AI Features: Includes tracking and gesture control for dynamic presentations.
If you’re serious about improving your video and presentation quality, the Insta360 Link webcam is a worthy upgrade.
Frequently Asked Questions (FAQs)
What versions of PowerPoint support adding captions to audio?
Captioning audio with WebVTT files works in PowerPoint 2016 and newer versions. Make sure your software is up to date to access the Playback tab features.
Can I create WebVTT files without special software?
Yes, WebVTT files are simple text files that can be created using any plain text editor like Notepad or TextEdit. Just remember to save the file with a .vtt extension.
How do I sync captions accurately with my audio?
Play back your audio while noting the exact times when each caption should appear and disappear. Then, input these times into the WebVTT file timestamps using the format HH:MM:SS.mmm with three decimal places for milliseconds.
Can I add captions in multiple languages?
Absolutely. You can create separate WebVTT files for each language and insert them all into the same audio track. Viewers can then toggle between languages using the CC button.
How do I remove captions if I want to update them?
Select the audio track, go to the Playback tab, and click Remove All Captions. After making your changes to the WebVTT file, reinsert the captions.
Can I customize caption position and style?
Yes, you can use the position and line attributes in the WebVTT file to control where captions appear on the slide. You can also use simple tags like and for bold and underline styling.
Conclusion
Adding captions to audio in PowerPoint is an excellent way to enhance your presentations’ accessibility and professionalism. While the process involves some technical steps, especially with creating and editing WebVTT files, the effort is well worth it.
By following this guide, you can confidently record audio, create precise caption files, customize their appearance, and even provide multiple languages for your audience. Plus, with tools like Microsoft PowerToys and high-quality webcams like the Insta360 Link 4K, you can take your video presentations to the next level.
Remember, captions are not just a nice-to-have feature — they make your message clearer and your presentation more inclusive. Start captioning your PowerPoint audio today and make your content accessible to everyone!
Check out the full video: Add Captions to Audio in PowerPoint


