
Welcome to a comprehensive guide on transforming your PowerPoint presentations into captivating visual stories using animated illustrations. Whether you are a student, business professional, or educator, adding animated illustrations can significantly boost engagement and make your message memorable. In this article, I will walk you through everything you need to know about finding high-quality free illustrations, importing them into PowerPoint, and animating them creatively to bring your slides to life.
This tutorial is inspired by the detailed techniques shared by One Skill PowerPoint, an expert in PowerPoint design and animation. By the end of this guide, you will have the skills to create stunning animated slides using Microsoft 365 or PowerPoint 2019, leveraging free resources and simple animation tricks that anyone can master.
Table of Contents
- Why Use Animated Illustrations in Your Presentations?
- Where to Find High-Quality Free Illustrations
- Step-by-Step Guide to Importing and Animating Illustrations in PowerPoint
- Additional Tips and Best Practices for Animated Illustrations
- Frequently Asked Questions (FAQ)
- Conclusion
Why Use Animated Illustrations in Your Presentations?
Static slides can sometimes feel dull and fail to capture your audience’s attention. Animated illustrations add movement and life, making your content more dynamic and engaging. They help emphasize key points, illustrate concepts visually, and create a professional look that sets your presentations apart.
With the rise of free vector illustration resources and powerful animation features in PowerPoint, you don’t need to be a graphic designer or animator to create eye-catching slides. Using pre-made illustrations and simple animations, you can create a polished presentation that looks like it took hours of work.
Where to Find High-Quality Free Illustrations
The first step is sourcing high-quality illustrations that are compatible with PowerPoint. I recommend using Storyset by Freepik, a fantastic platform offering a wide variety of free vector illustrations suited for presentations.
- Why Storyset? The illustrations are professionally designed, free to use, and available in SVG format, which works seamlessly with PowerPoint.
- Variety: Storyset offers diverse themes such as meditation, learning, business growth, and more, allowing you to find illustrations that match your presentation’s tone.
- Easy to Use: You can simply drag and drop SVG files directly into PowerPoint, simplifying the workflow.
For those interested in creating their own illustrations from scratch, I have previously shared tutorials on that topic. However, for this guide, we will focus on using these free, ready-made illustrations to save time and effort.

Step-by-Step Guide to Importing and Animating Illustrations in PowerPoint
Let’s dive into the practical part where I show you how to import these illustrations into PowerPoint and animate them to create stunning effects. We will work through three different illustrations: a meditation scene, a learning environment, and a business growth concept.
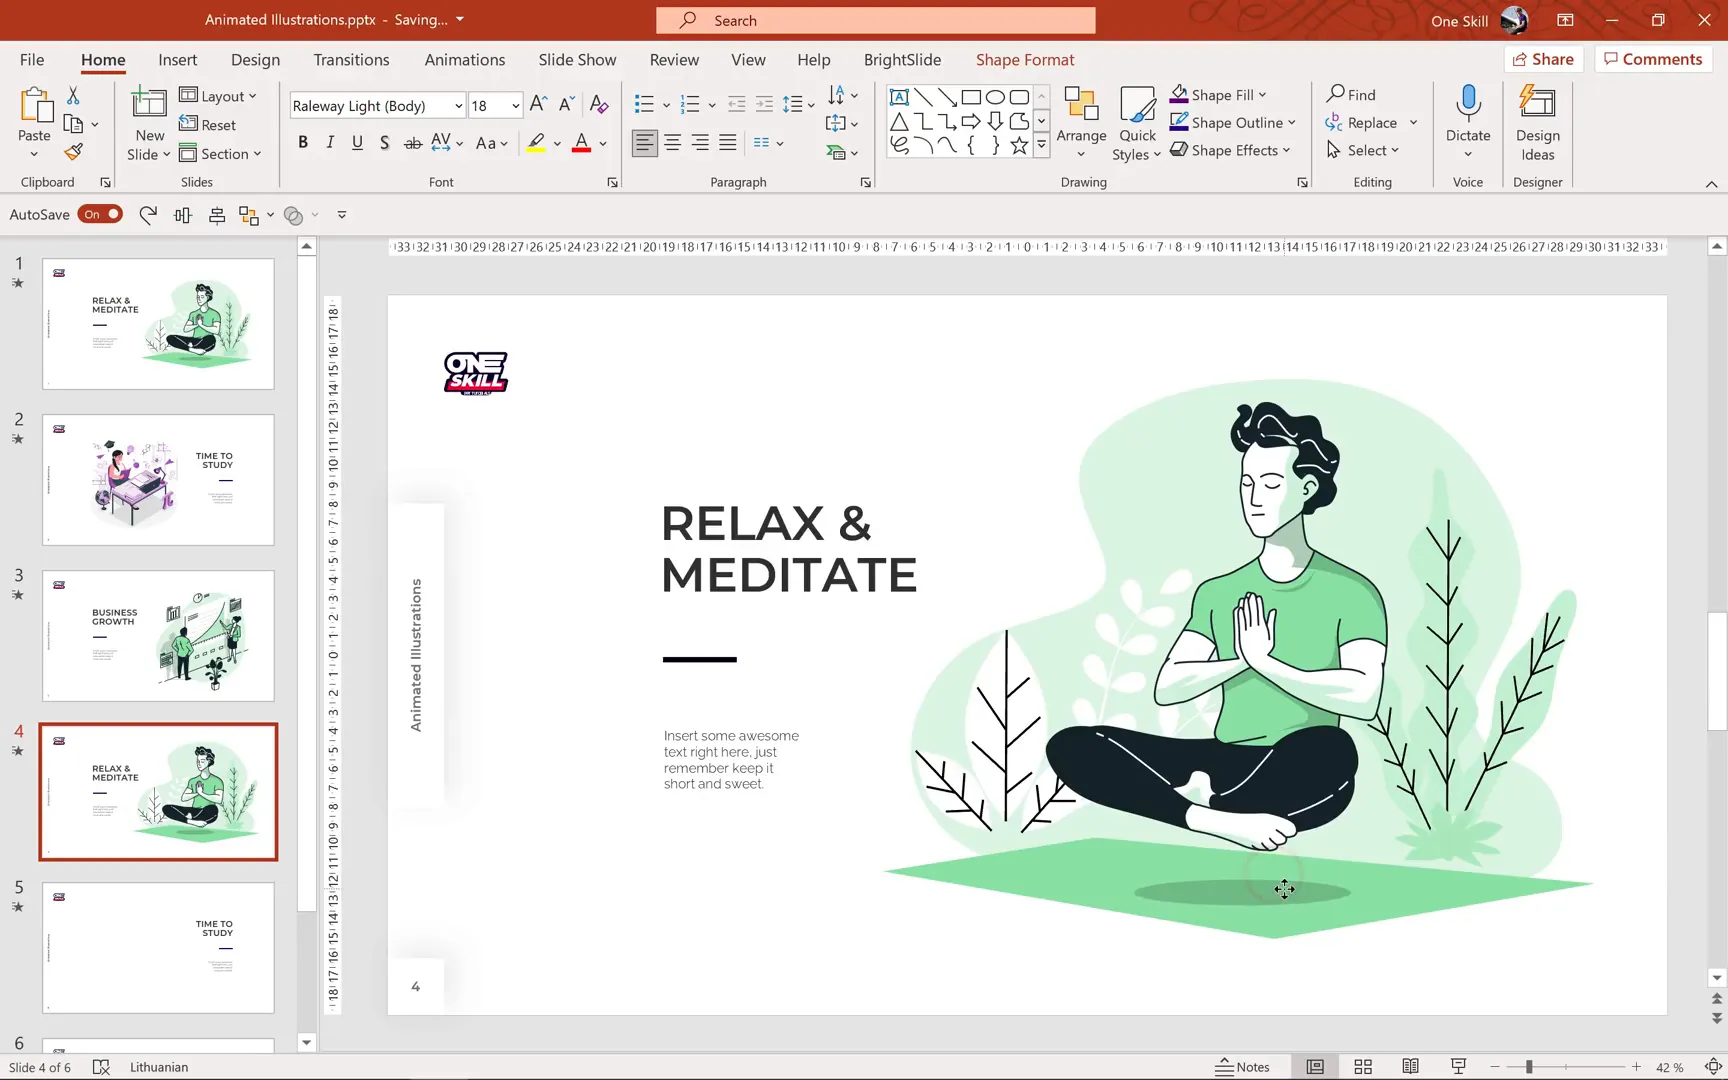
1. Importing and Animating the Meditation Illustration
Start by downloading the meditation illustration from Storyset. Be sure to select the SVG format for best compatibility.
Once downloaded, simply drag and drop the SVG file into your PowerPoint slide. If you use PowerPoint 2019 or Microsoft 365, this step should be straightforward. However, if you encounter issues importing SVG files, use a free vector graphics editor like Inkscape to open the SVG and save it as an EMF file, which PowerPoint also supports.

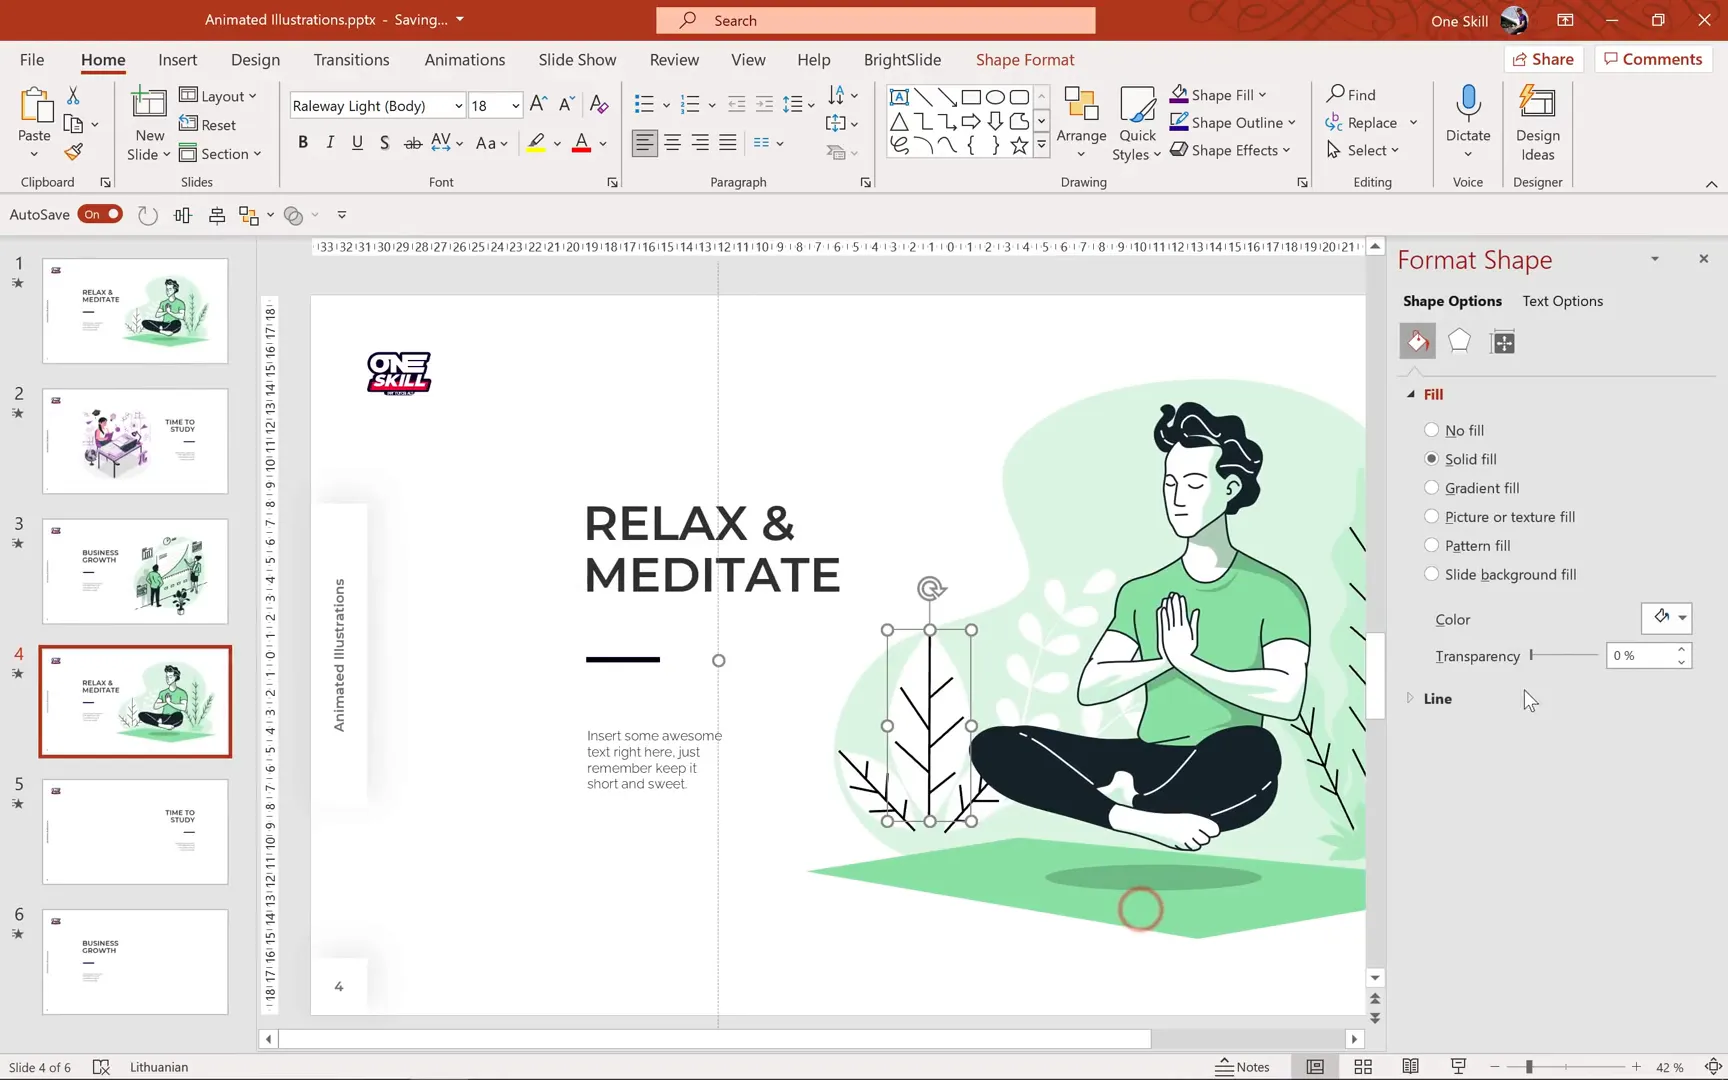
After inserting the illustration, resize and position it as desired. To animate individual components, you need to convert the SVG into editable shapes. Select the illustration, right-click, and choose Convert to Shape. This lets you access and animate each part separately.
Note: Some elements might lose their original colors or transparency after conversion. This is normal. You can fix this by adjusting the Fill Transparency options in PowerPoint‘s format settings.
Next, ungroup the illustration multiple times to break it down into individual elements. For this meditation scene, key elements to animate include the person meditating and their shadow.
Now, let’s add animations to create a floating effect for the person and a shrinking effect for the shadow.
- Animating the Person: Select the person and add a Motion Path animation with the Line effect. Set the direction to Up and adjust the path length by dragging the end point. This controls how far the person floats up and down.
- In the Animation Pane, set the animation to Start With Previous, duration to 2 seconds, and enable Auto Reverse so the motion reverses smoothly.
- Use the Smooth Start and Smooth End options to make the movement fluid, setting both to 1 second.
- Finally, set the animation to repeat Until End of Slide so the floating continues indefinitely.

Animating the Shadow: Select the shadow and apply the Grow/Shrink animation. Set it to start with previous, duration 2 seconds, and enable auto reverse.
Adjust the effect options to shrink the shadow to 60% size, but only horizontally, to simulate the shadow shrinking as the person floats.
Set the animation to repeat until the end of the slide for continuous effect.
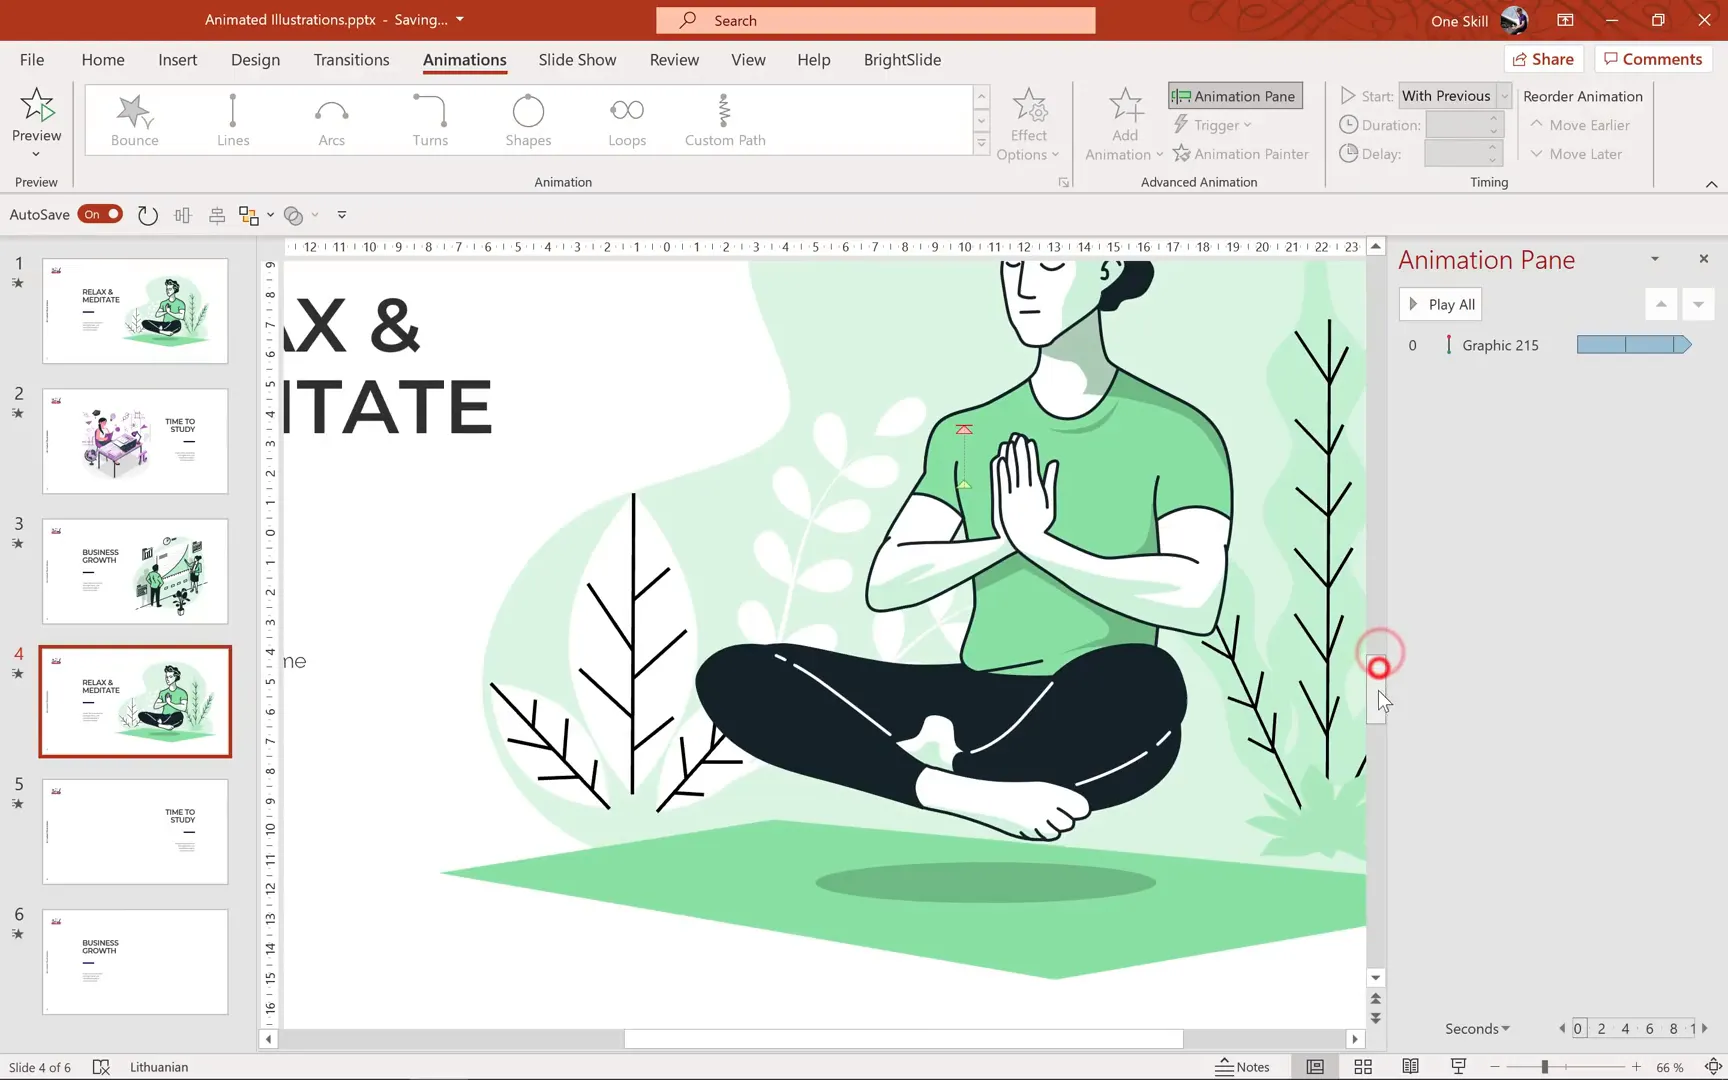
Preview your slide in full screen to see the person floating gently up and down while the shadow shrinks and expands simultaneously, creating a lifelike meditation scene.
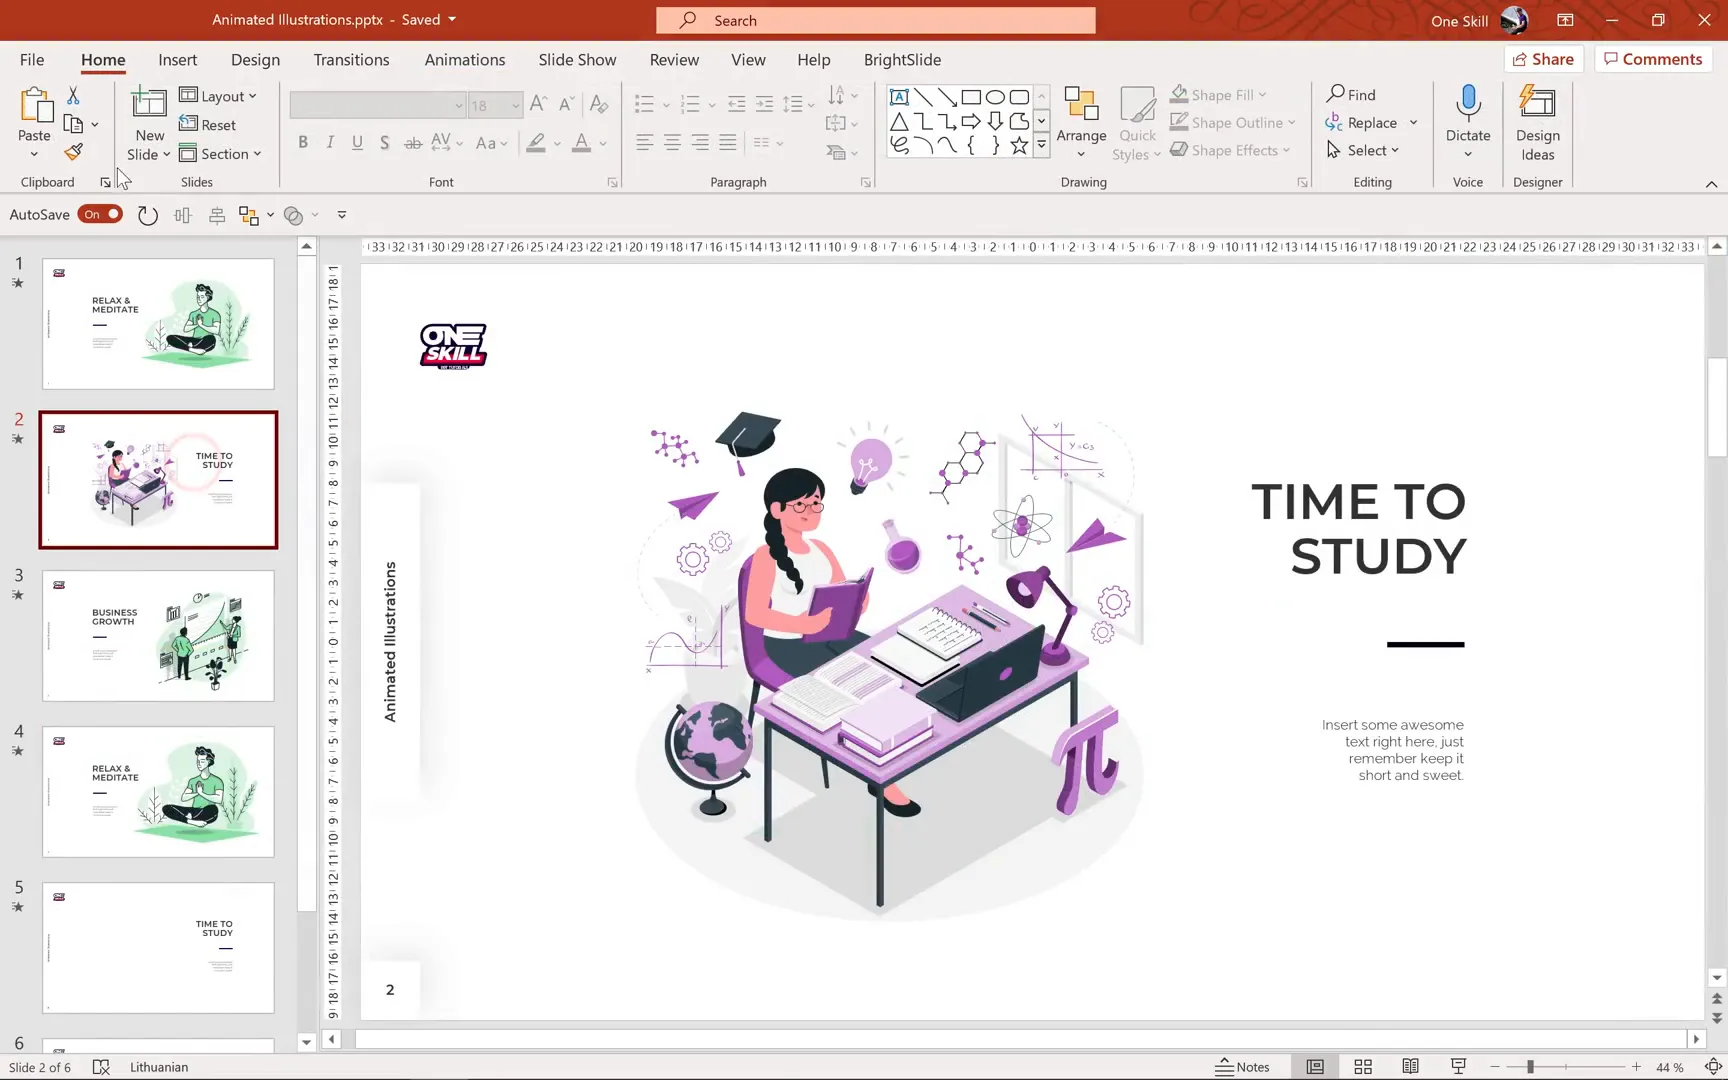
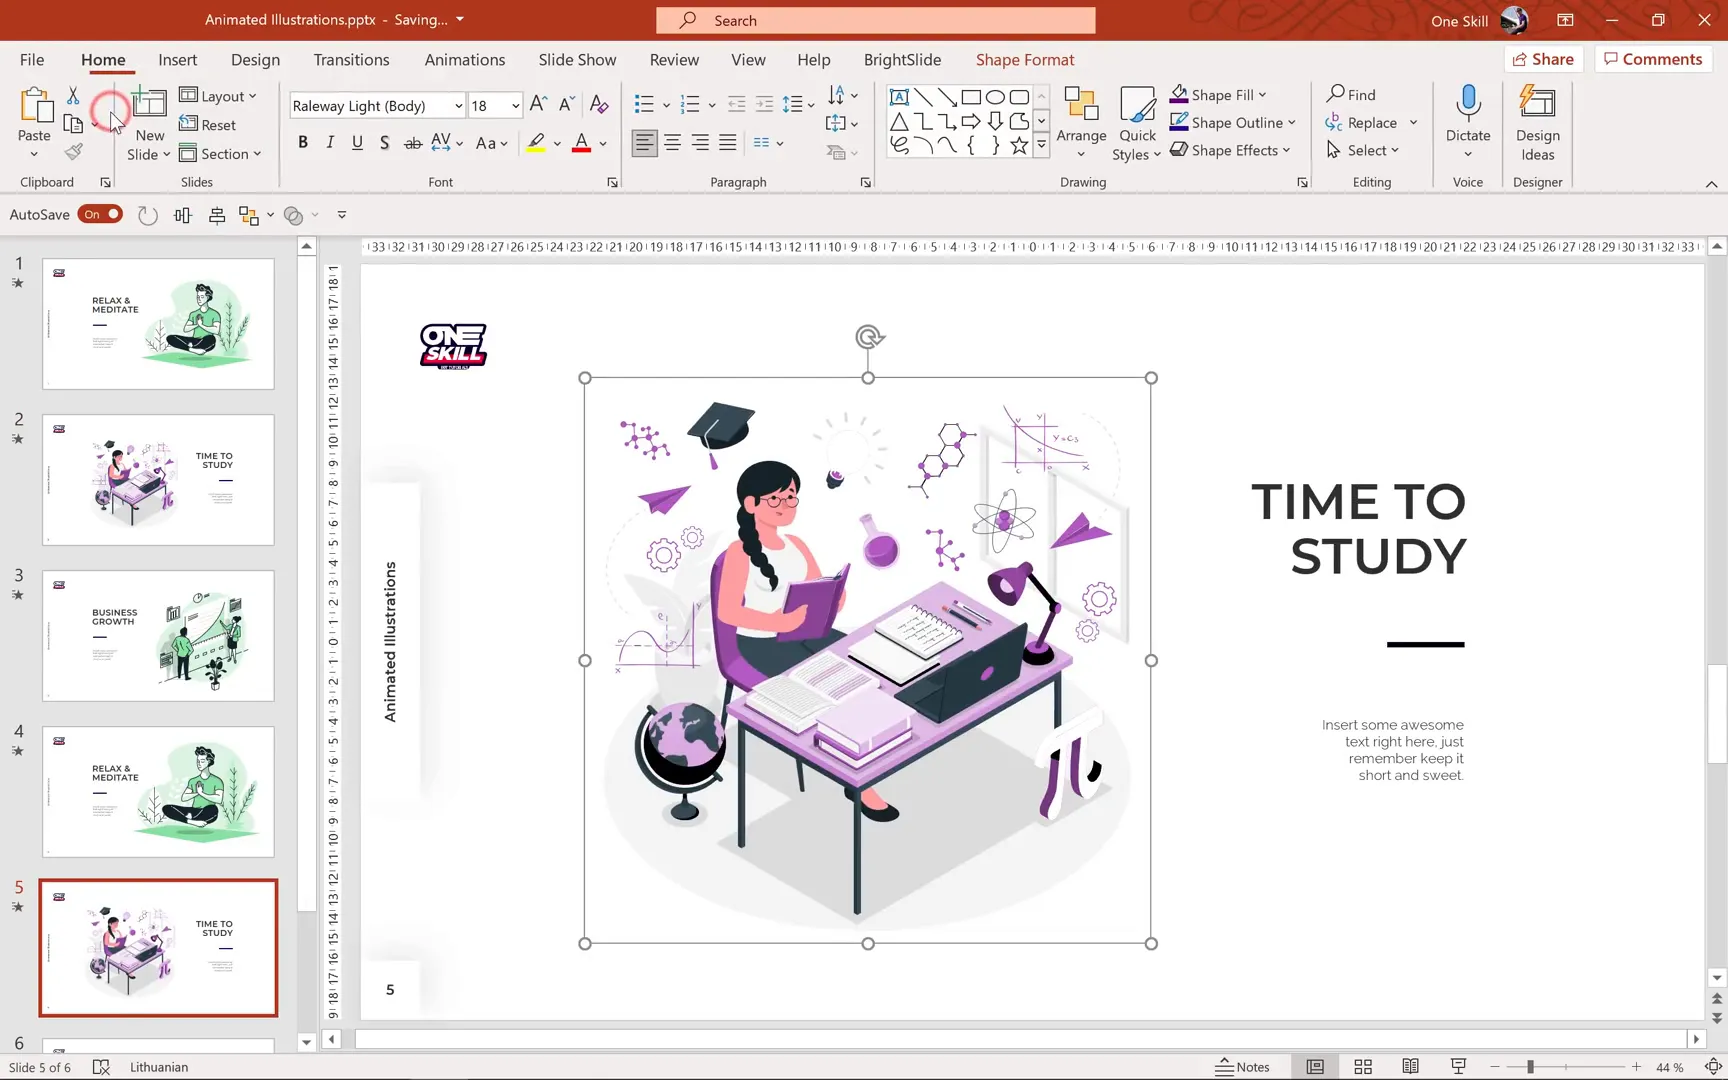
2. Creating an Animated Learning Illustration
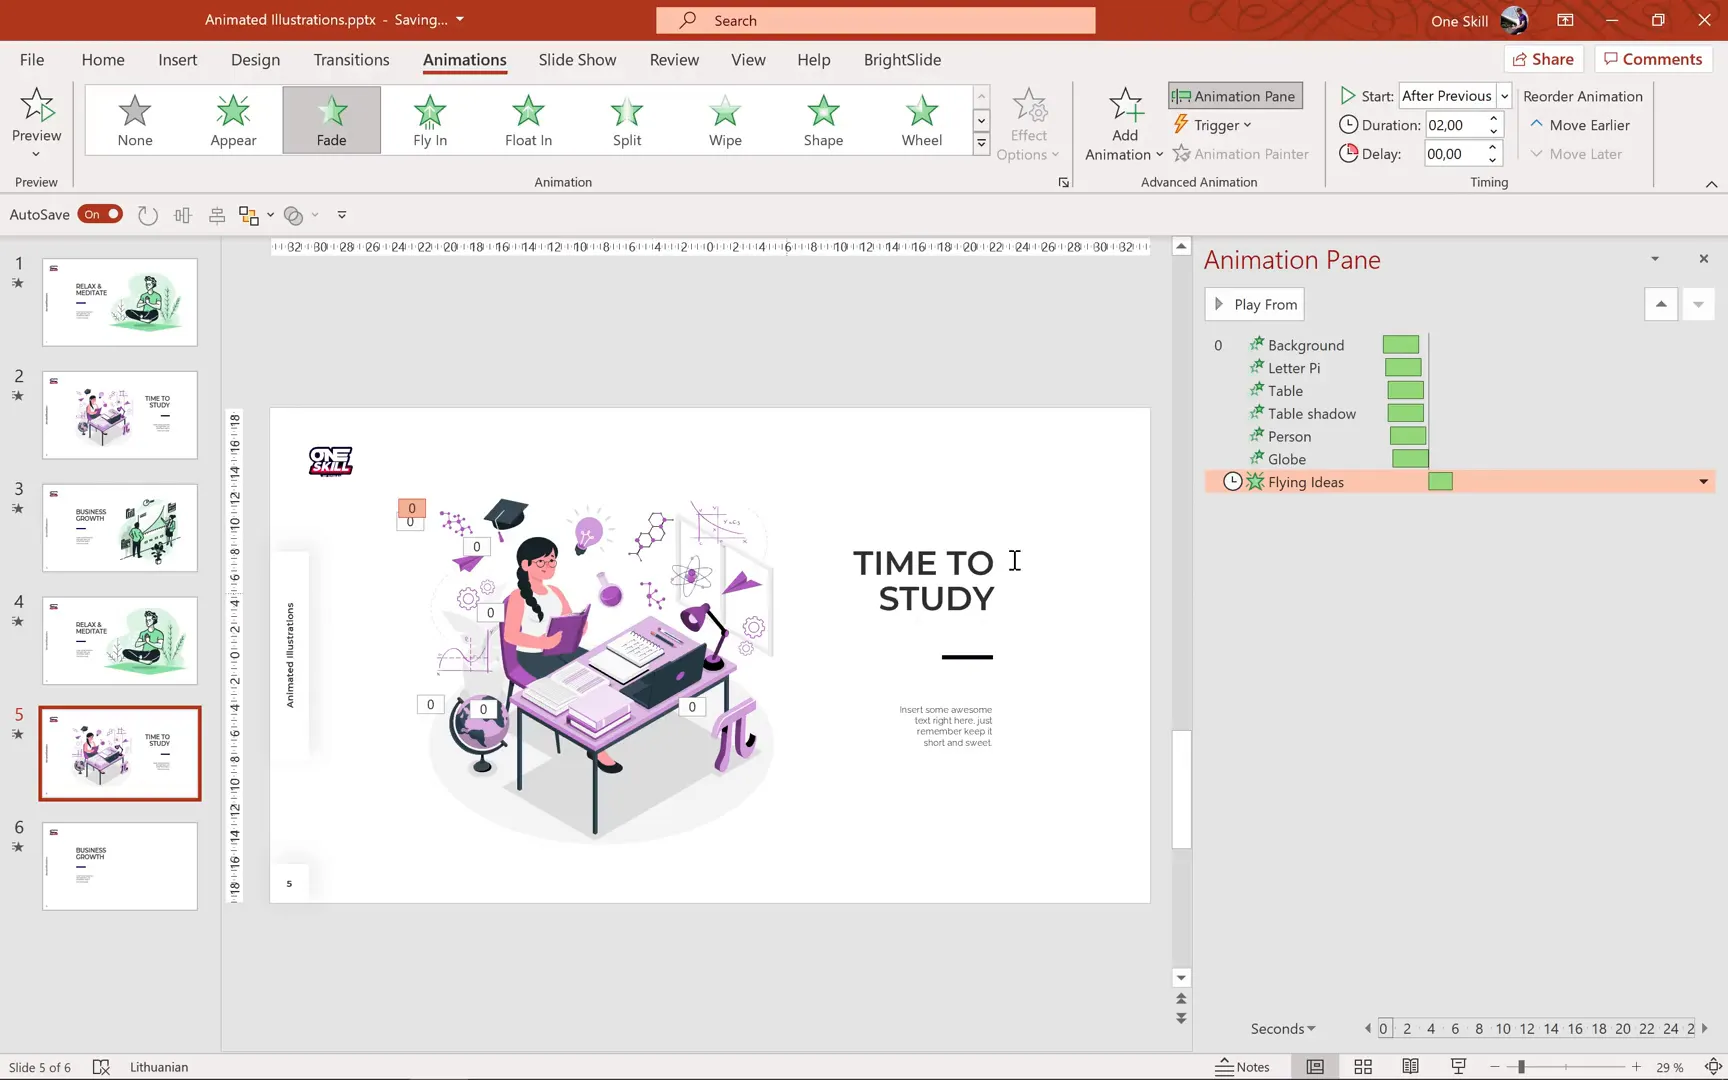
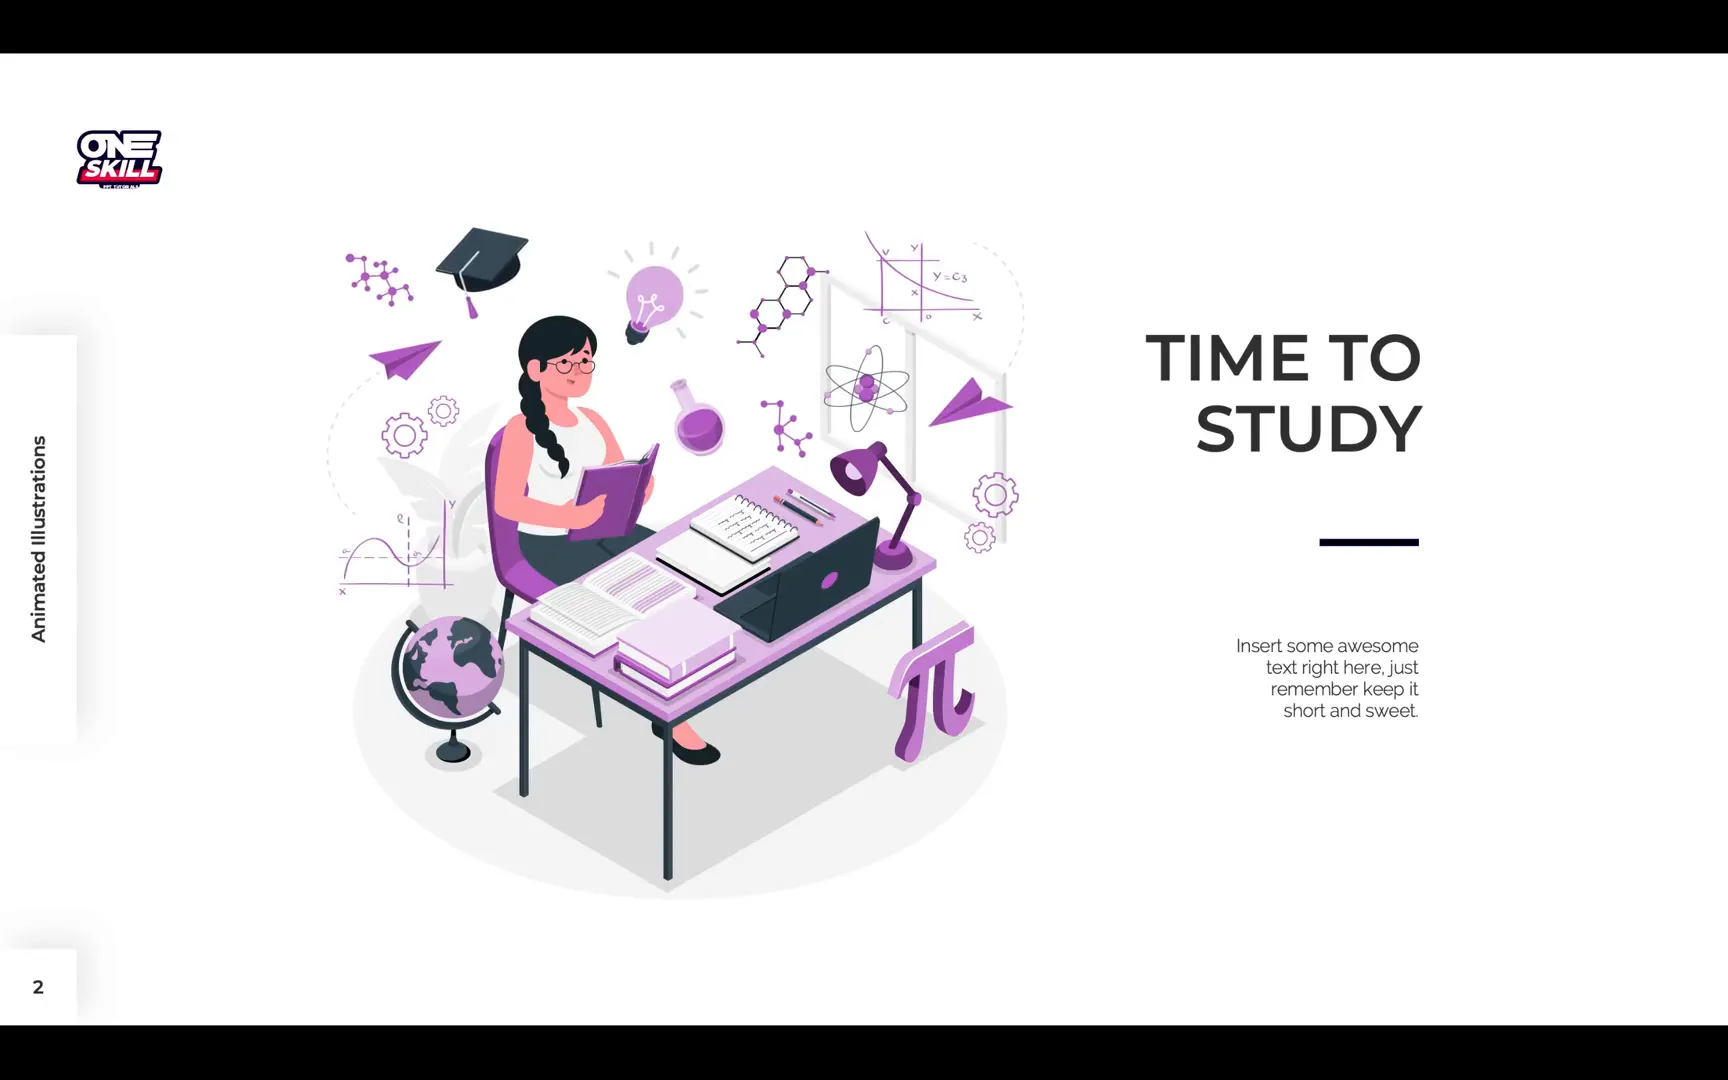
Next, let’s animate an illustration centered around studies and learning. This illustration features a person at a table, surrounded by various objects like a globe and flying ideas symbolized with light bulbs or icons.
Download the illustration from Storyset and drag it into PowerPoint. Again, convert it to shapes and ungroup it thoroughly to access individual elements.
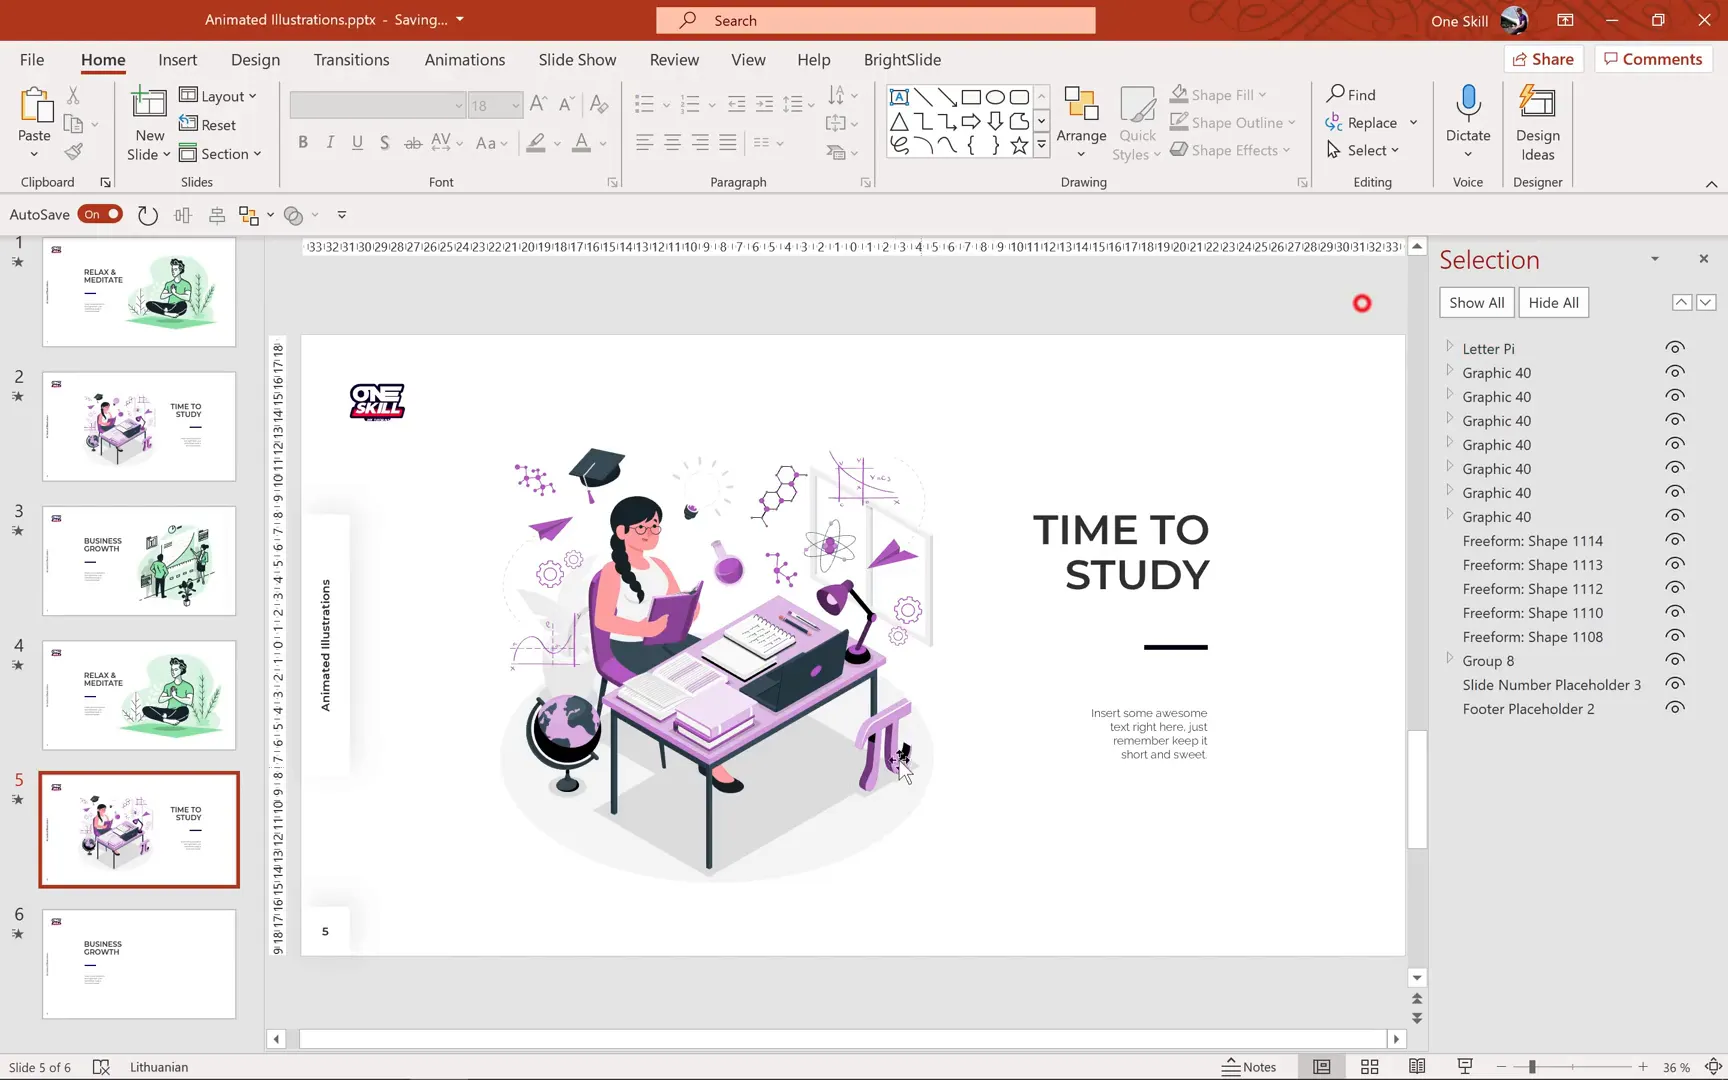
Because this illustration includes many components, organizing them is crucial. Use the Selection Pane in PowerPoint to rename groups logically, such as “Letter Pi,” “Table,” “Person,” “Globe,” and “Flying Ideas.” This will make applying animations much easier.
Also, adjust the transparency of shadows or certain elements to maintain a polished look and add depth.
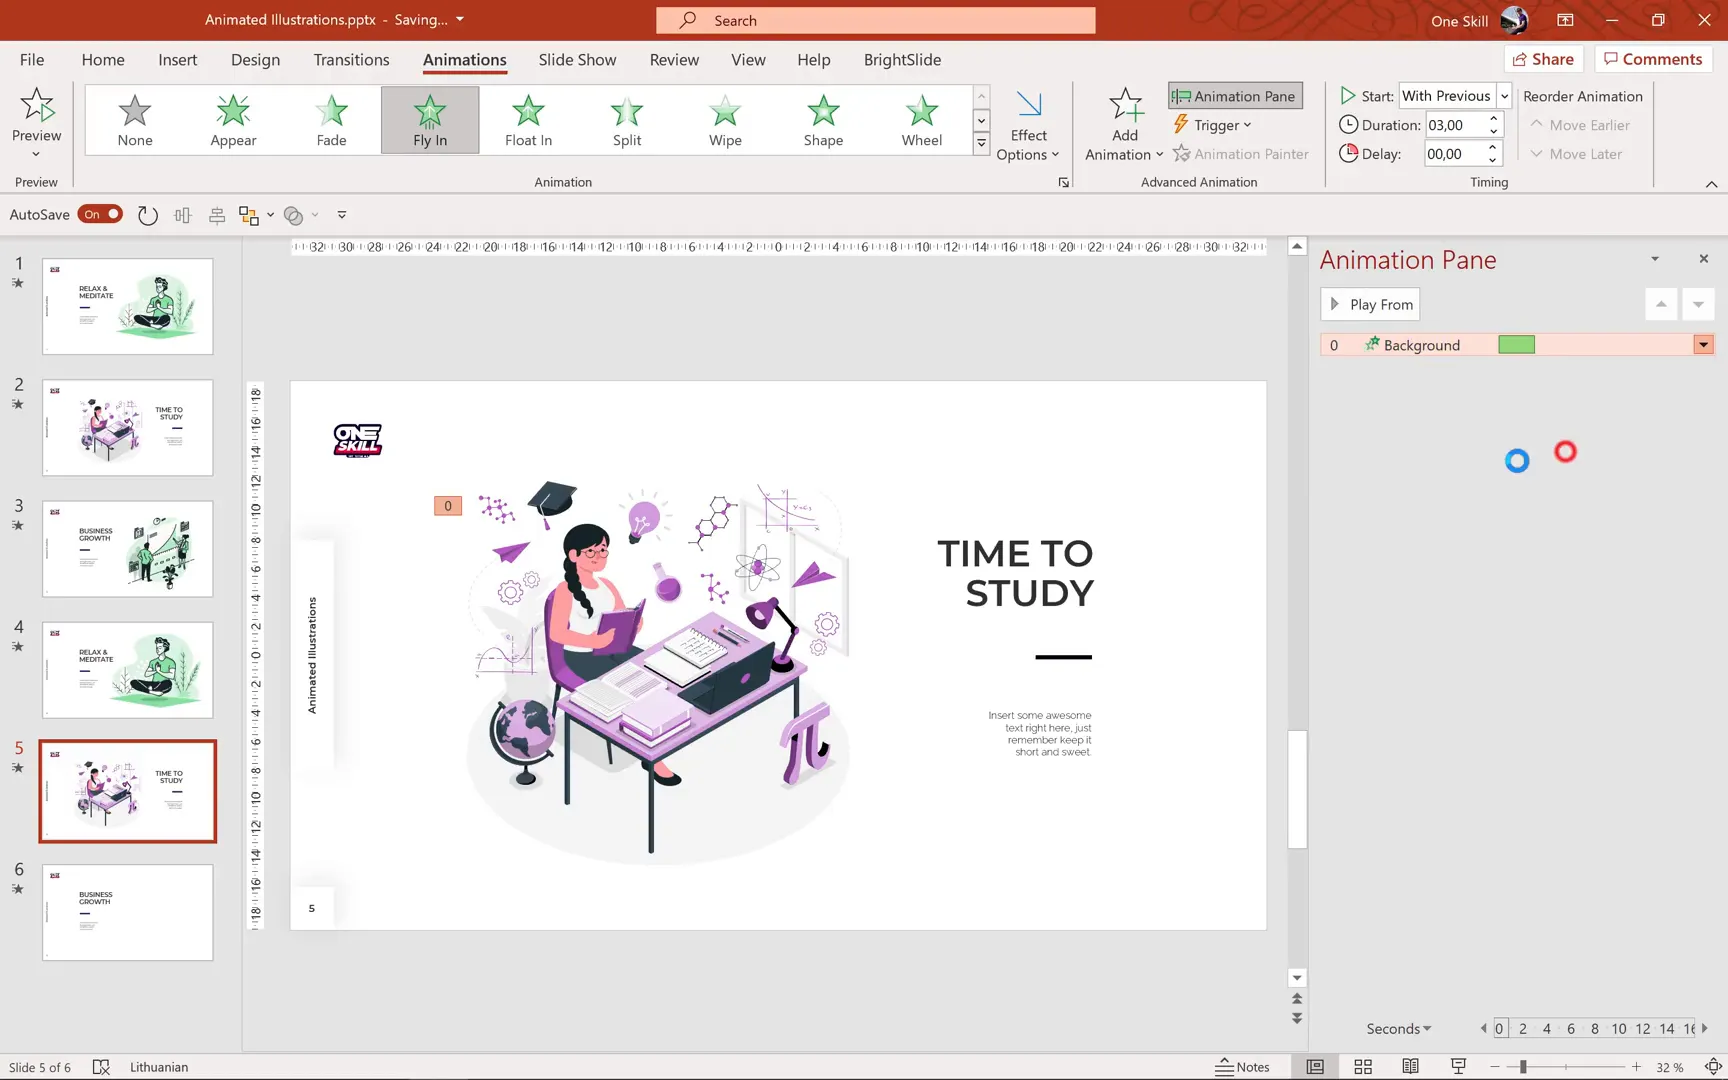
Now, let’s animate the background and main objects using a Fly In animation from the top-left corner. Set the duration to 3 seconds, enable a bounce effect at the end for a playful touch, and have the animation start automatically.
Send the background to the back layer so it doesn’t obscure other elements.

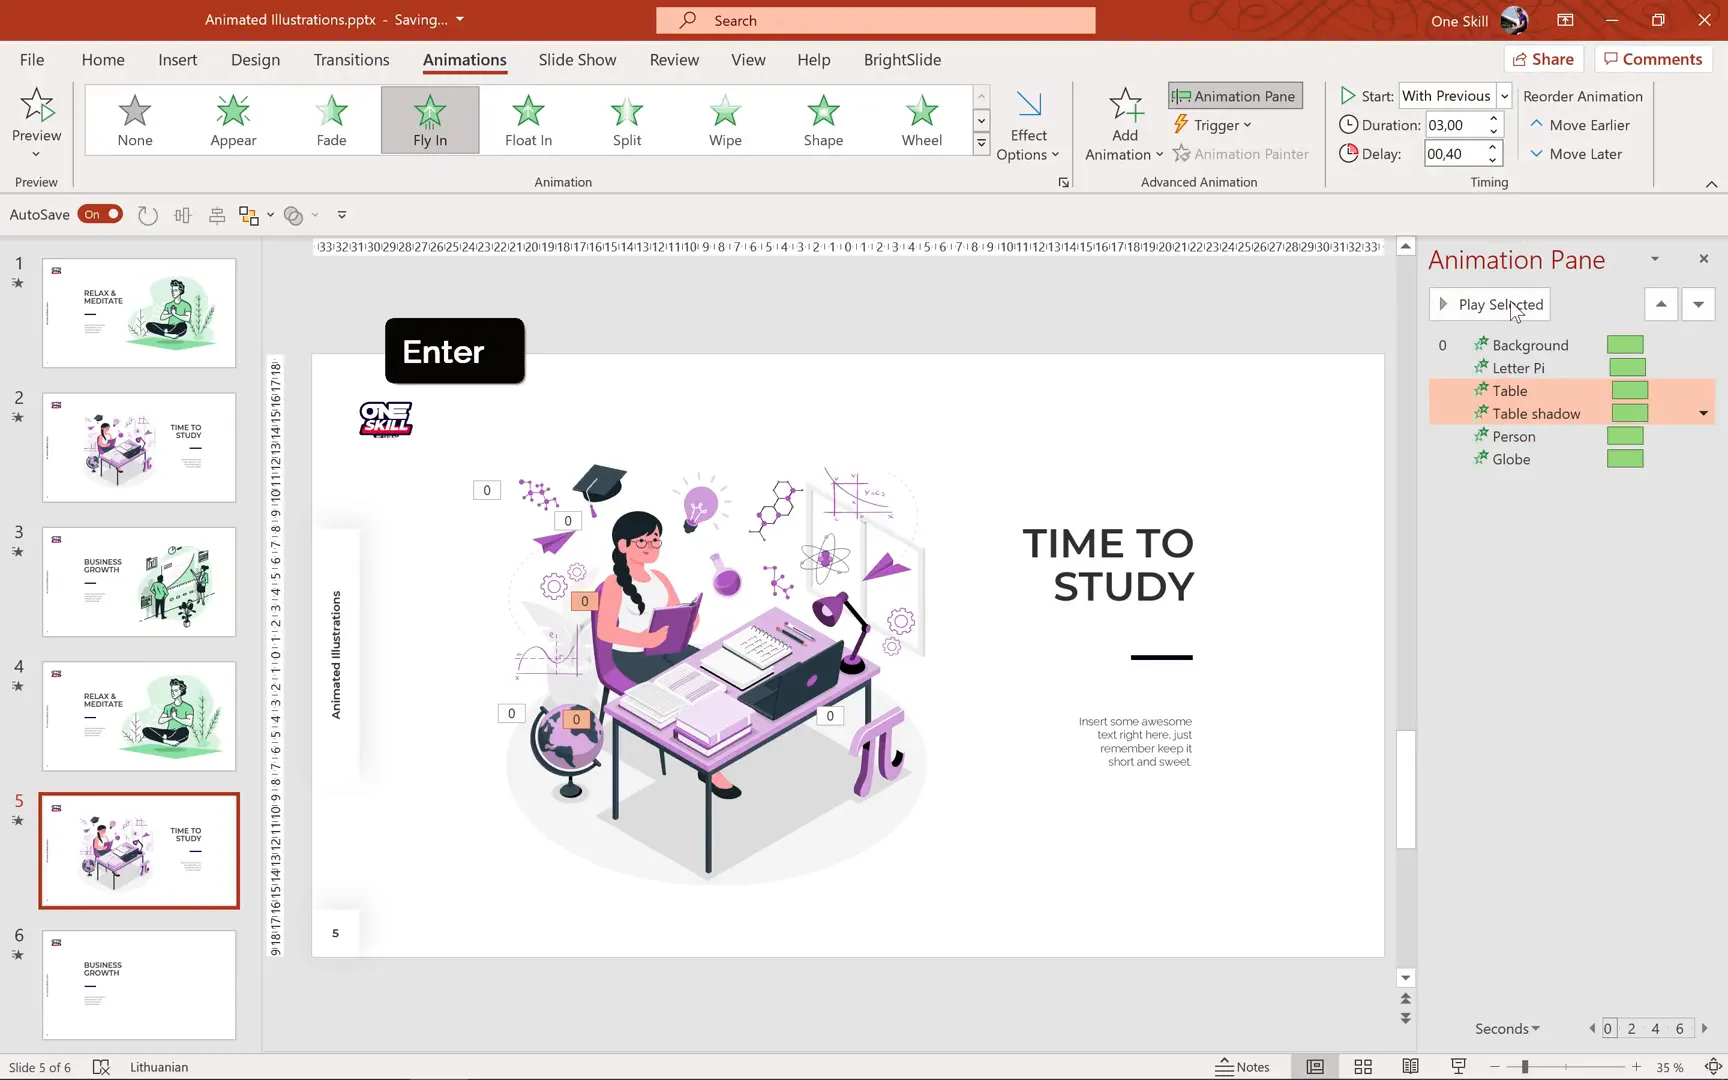
To quickly apply the same animation to other objects like the letter Pi, table, person, and globe, use the Animation Painter. Double-click the Animation Painter and click on each object to copy the animation.
Add staggered delays in the animation pane to create a smooth entrance effect:
- Letter Pi: 0.2 seconds delay
- Table and shadow: 0.4 seconds delay
- Person: 0.6 seconds delay
- Globe: 0.8 seconds delay
For the flying ideas around the person, add a Fade animation starting after the previous animations finish, lasting 2 seconds. Then add a Grow/Shrink animation to create a pulsing effect. Set the growth size to 110%, enable auto reverse, and repeat until the end of the slide.
Previewing this slide shows all elements flying in gracefully with a bounce, followed by the flying ideas pulsing softly — a perfect animated scene for learning-themed presentations.
3. Animating a Business Growth Illustration
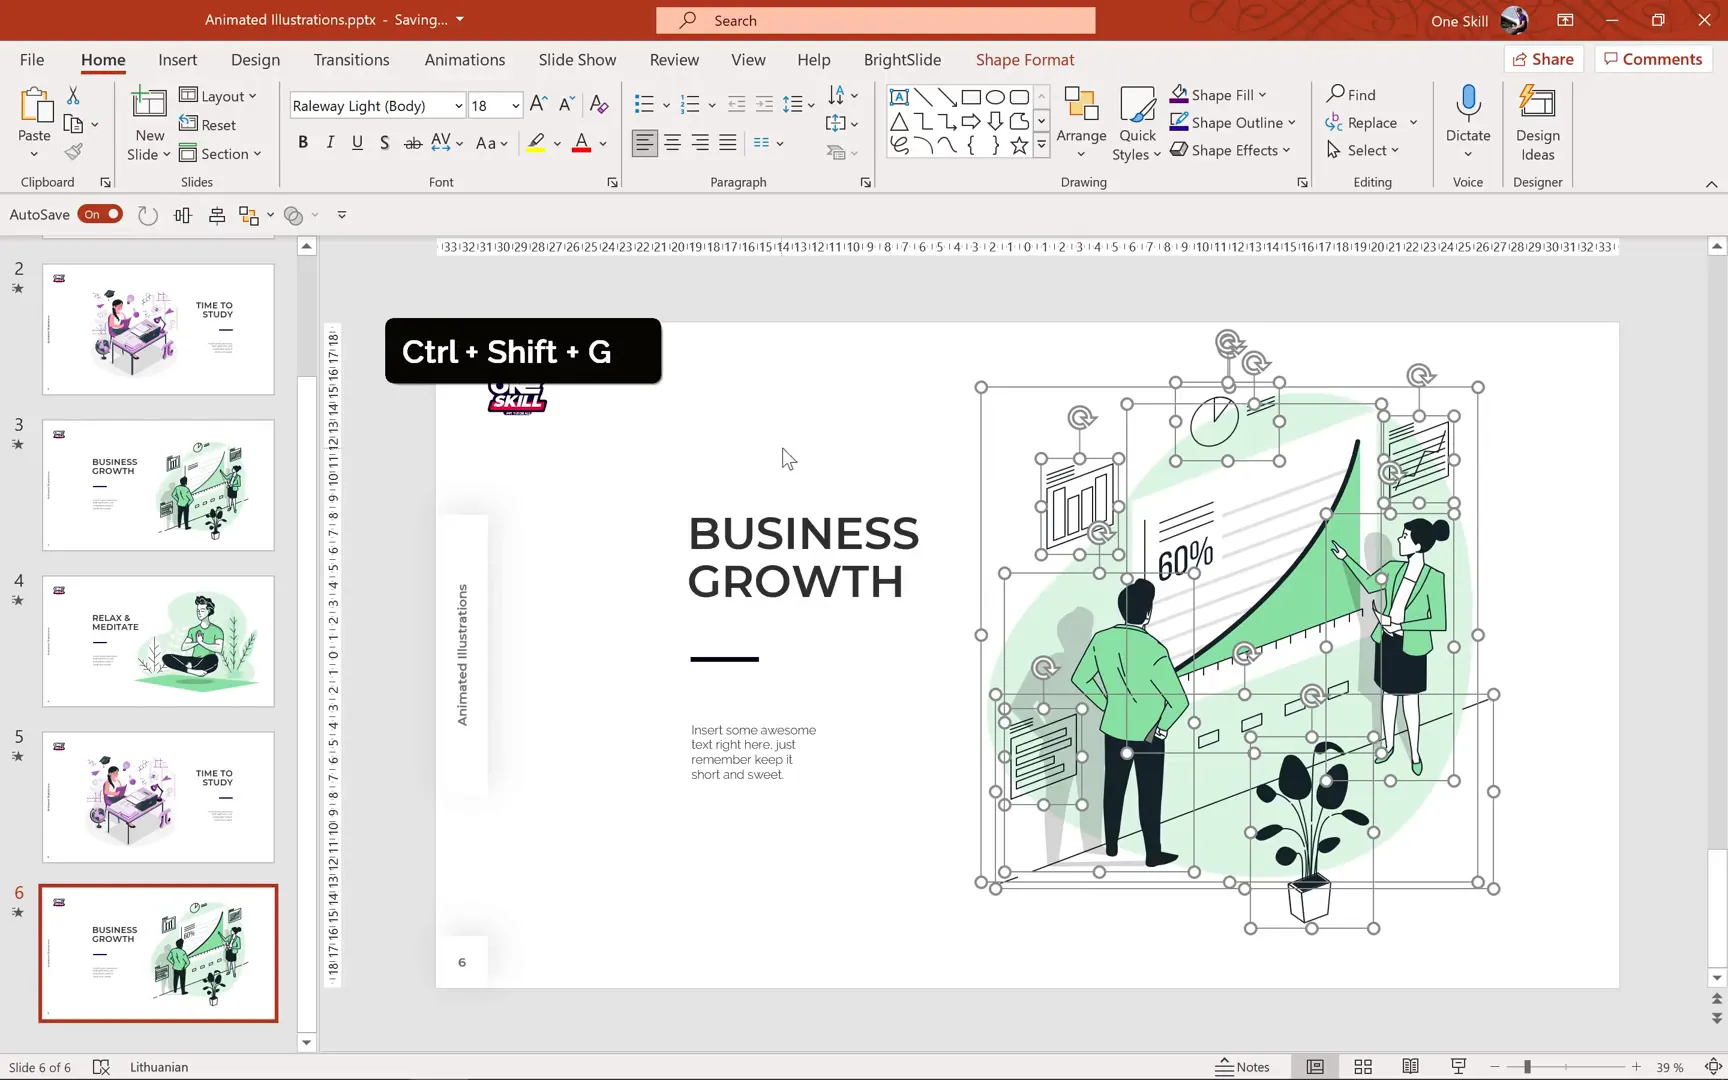
For the final example, we’ll animate a business growth illustration featuring a man, a woman, plants, and a chart in the center.
Drag and drop the illustration into PowerPoint, convert it to shape, and ungroup it multiple times to isolate each element.
Separate the chart from other objects by ungrouping again, then group the chart’s green fill and black outline together for easier animation.
Group the remaining background elements separately and send them to the back to keep the focus on the main characters and chart.
Delete any placeholder text boxes so you can add your own customized text later.
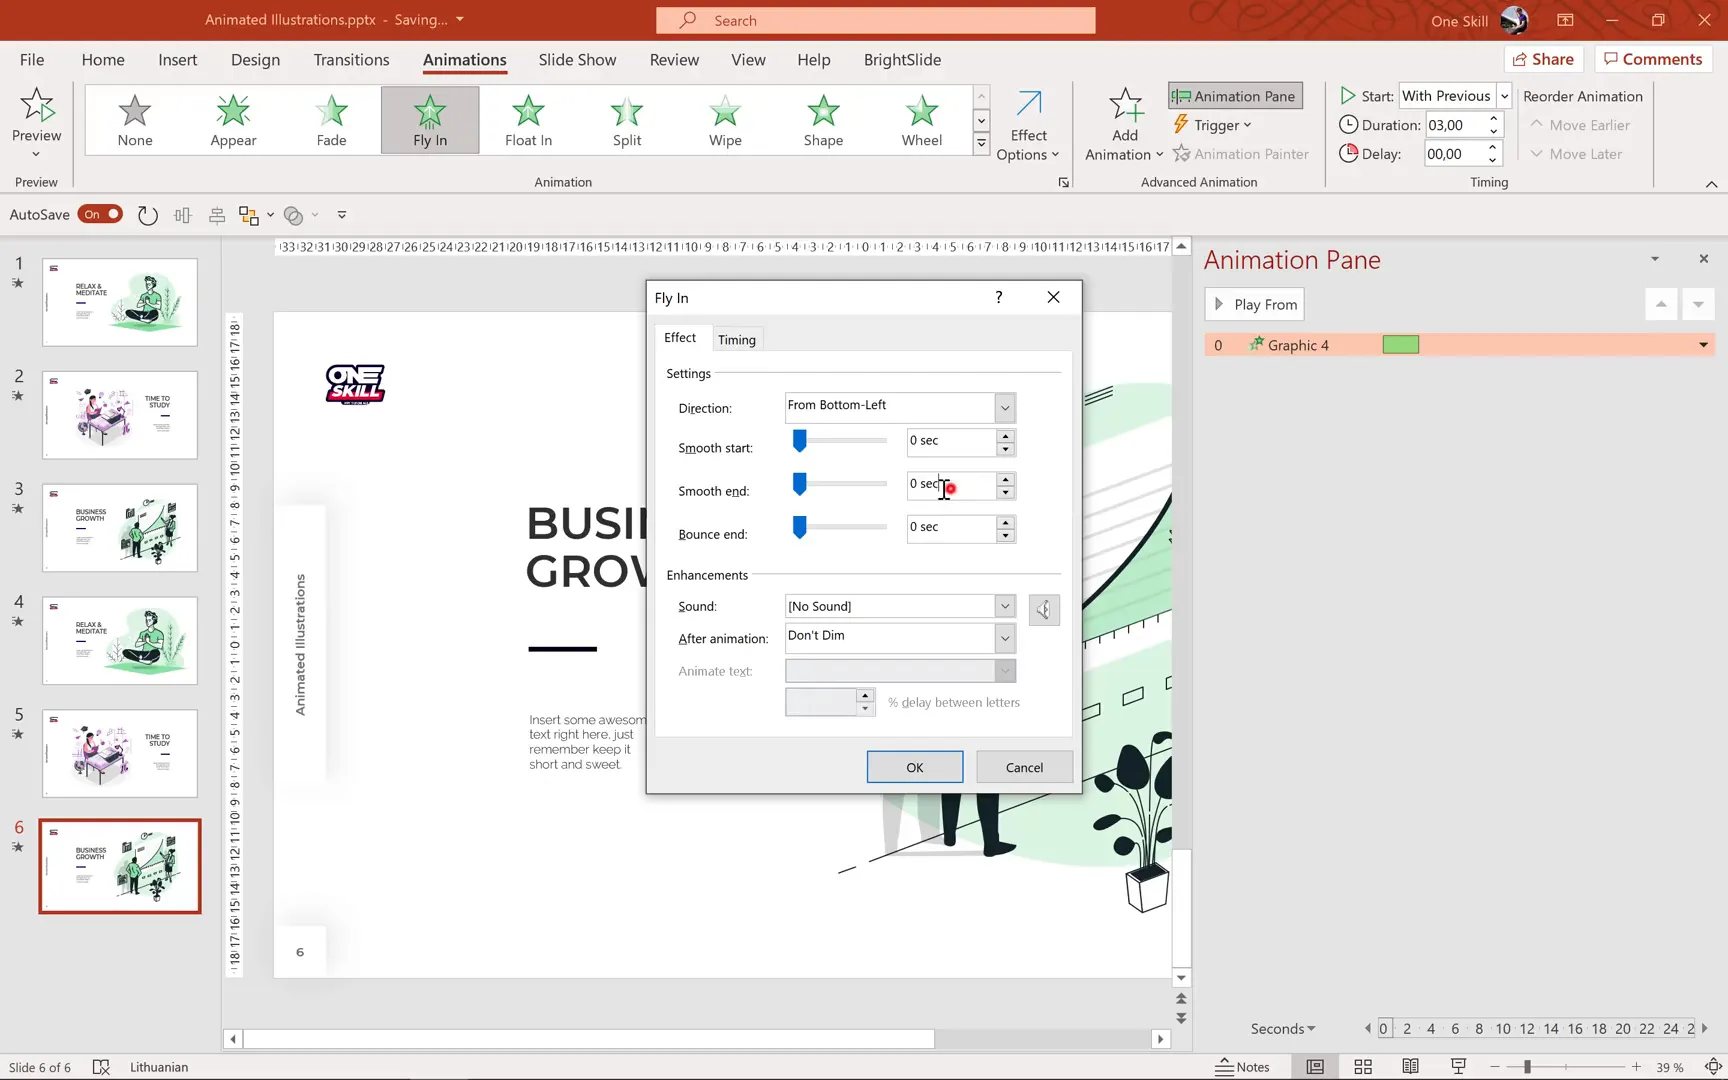
Start animating the man with a Fly In animation from the bottom left, lasting 3 seconds with a smooth end for a natural finish. Use the Animation Painter to copy this animation to the woman, plants, and background, changing the fly-in directions for variety:
- Man: from bottom left
- Plant and background: from bottom
- Woman: from right
Finally, animate the chart with a Wipe animation from left to right, starting after previous and lasting 2 seconds. Add a subtle pulsing effect with a secondary Grow/Shrink animation to make the chart gently expand to 105% size and shrink back, repeating until the end of the slide.
Preview the slide to see the dynamic entrance of characters and background, followed by the chart wiping in and pulsing softly — a clean and professional animation perfect for business presentations.
Additional Tips and Best Practices for Animated Illustrations
- Keep it Subtle: Avoid overly complex or fast animations. Smooth, gentle movements look professional and keep the audience focused on your message.
- Use Grouping Wisely: Group related elements together to animate them as a unit, but ungroup when you want to animate parts independently.
- Rename Layers: Use the Selection Pane to rename layers for easier management, especially for complex illustrations with many parts.
- Test Animations: Preview your animations frequently to ensure timing and effects flow well together.
- Leverage Free Resources: Platforms like Storyset provide a wealth of free, professional illustrations that can save you hours of design time.
- Customize Colors: Adjust colors and transparency to match your presentation’s branding or theme.
- Use Motion Paths Creatively: Motion paths are powerful for creating floating, flying, or sliding effects that add life to static images.
Frequently Asked Questions (FAQ)
Can I use these animated illustrations in any version of PowerPoint?
Animated SVG illustrations work best in PowerPoint 2019 and Microsoft 365. If you have an older version, you might need to convert SVG files to EMF format using a vector editor like Inkscape before importing.
Are the illustrations free to use for commercial presentations?
Yes, the illustrations from Storyset by Freepik are free and can be used in commercial projects. However, always check the licensing terms on the source website to ensure compliance.
How do I fix transparency or color issues after converting SVG to shapes?
After converting, some elements may lose color or transparency. You can fix this by selecting the shapes and adjusting the Fill Transparency slider in PowerPoint’s format options.
What if I want to animate my own illustrations?
You can create custom illustrations using graphic design tools and then import them into PowerPoint. The animation techniques shown here apply equally well to your own artwork once it’s broken into shapes.
Can I add text to these animated slides?
Absolutely! You can add text boxes anywhere on your slides. Just animate text separately or together with your illustrations to create cohesive animated storytelling.
Is there a way to speed up applying animations to multiple objects?
Yes, use the Animation Painter tool to copy animations from one object and paste them onto others. Double-click the Animation Painter to apply the animation to several objects consecutively.
Conclusion
Animating illustrations in PowerPoint is a powerful way to elevate your presentations and capture your audience’s attention. By leveraging free, high-quality resources like Storyset and mastering simple animation techniques such as motion paths, grow/shrink, wipe, and fade, you can transform ordinary slides into dynamic visual experiences.
Remember, the key is to keep animations smooth and purposeful, enhancing your message without overwhelming viewers. With practice, your presentations will not only look professional but also engage and inspire your audience.
Thank you for reading this guide. Stay creative, stay inspired, and keep making your presentations come to life!
Check out the full video: Make Your Presentations 🔥COME TO LIFE🔥 Animated Illustrations


