

Welcome! Today, I’m excited to share a detailed tutorial on how to create an eye-catching animated portfolio using Microsoft PowerPoint. This project combines creativity with technical skills to produce a smooth parallax scrolling effect, making your portfolio stand out with professional animation, all within PowerPoint. Whether you’re a designer, marketer, or content creator, this guide will help you use PowerPoint’s powerful features to craft an engaging portfolio presentation.
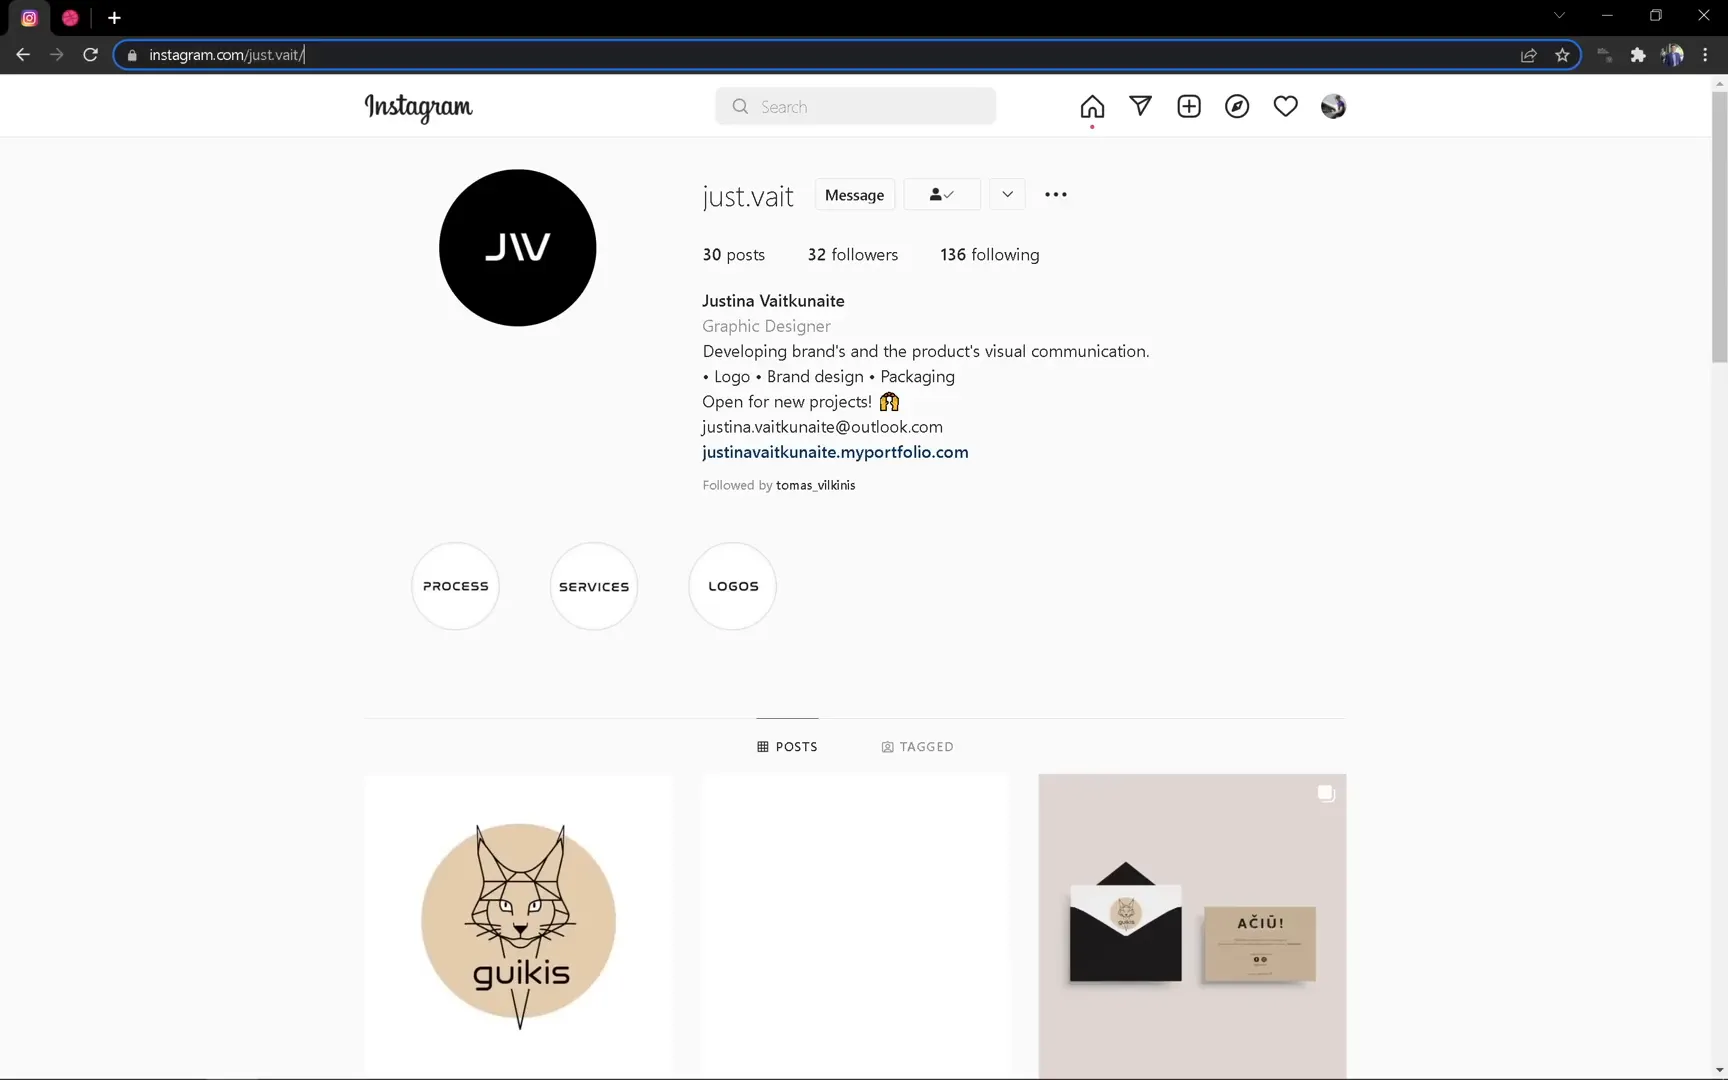
Before we dive in, a huge shoutout to Justyna, a talented graphic designer from Lithuania, whose beautiful works we’ll showcase throughout this tutorial. If you’re looking for logo design, brand identity, or packaging design, Justyna is definitely someone to contact. You can find her Instagram linked below.
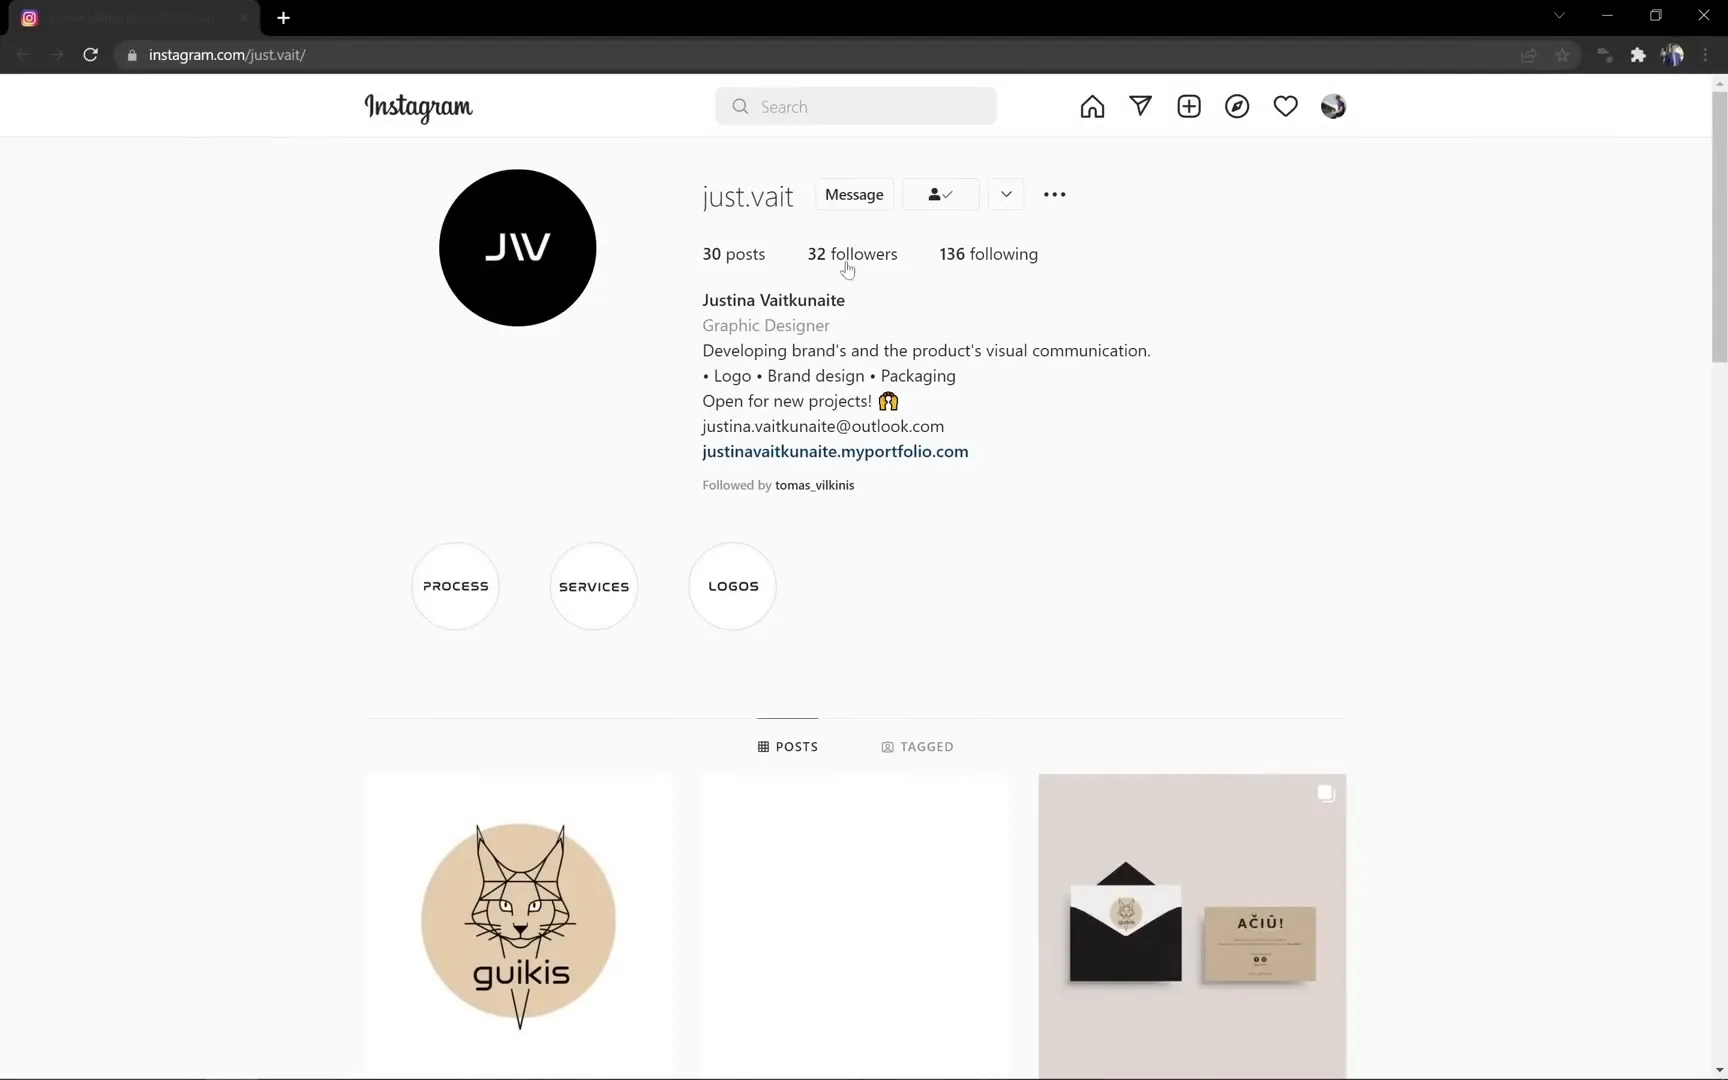
Table of Contents
- Inspiration Behind the Animated Portfolio
- Understanding the Slide Structure: Setting Up Your Workspace
- Customizing the First Slide: Adding Your Portfolio Images and Text
- Using Morph Transition for Smooth Animations
- Creating Multiple Animated Portfolio Slides
- Adding a Zoom Effect to Portfolio Photos
- Building the Final Animated Portfolio Slide
- Adding Clickable Social Icons
- Final Preview and Tips
- Frequently Asked Questions (FAQ)
- Conclusion
Inspiration Behind the Animated Portfolio
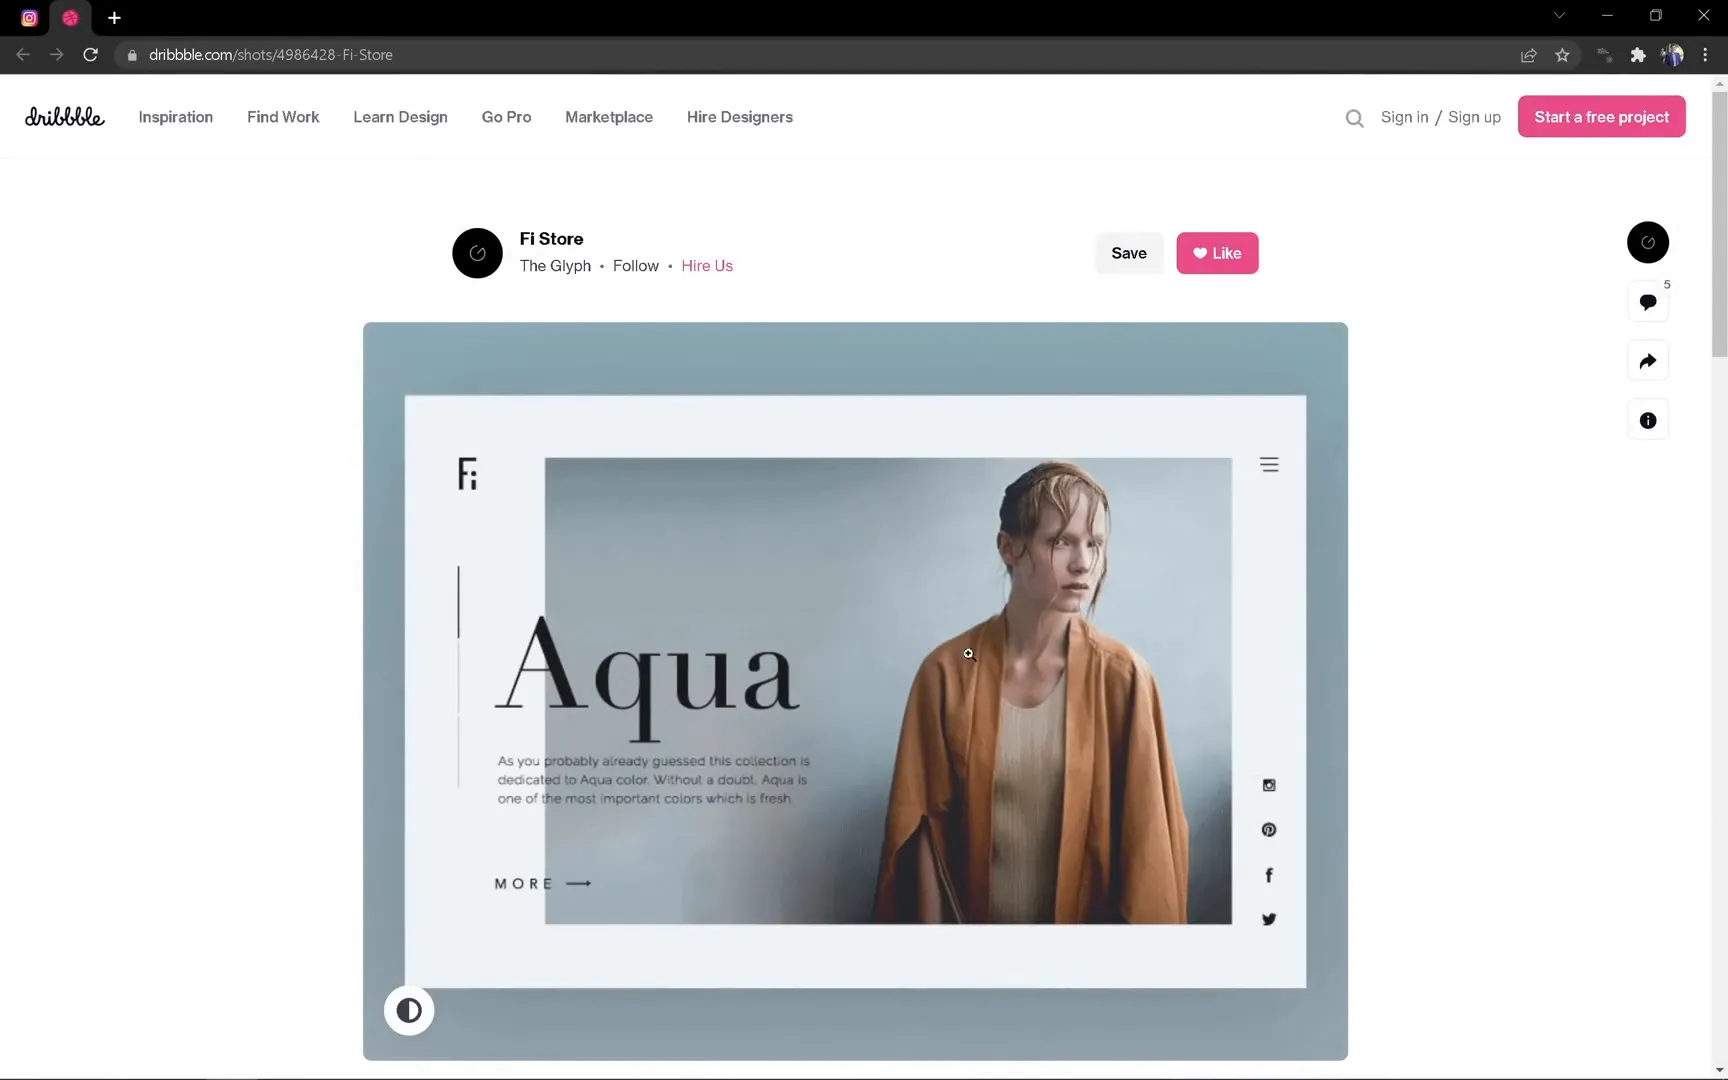
The inspiration for this animated portfolio came from an amazing project by FI Store, which you can find on Dribbble. Their smooth and stylish animation sparked the idea to recreate a similar effect in PowerPoint, using only built-in tools like the Morph transition.
This technique allows us to simulate a parallax scrolling effect, a popular design trend where background and foreground elements move at different speeds to create depth. The best part? You don’t need advanced animation software — just Microsoft PowerPoint 365 or PowerPoint 2019.
Understanding the Slide Structure: Setting Up Your Workspace
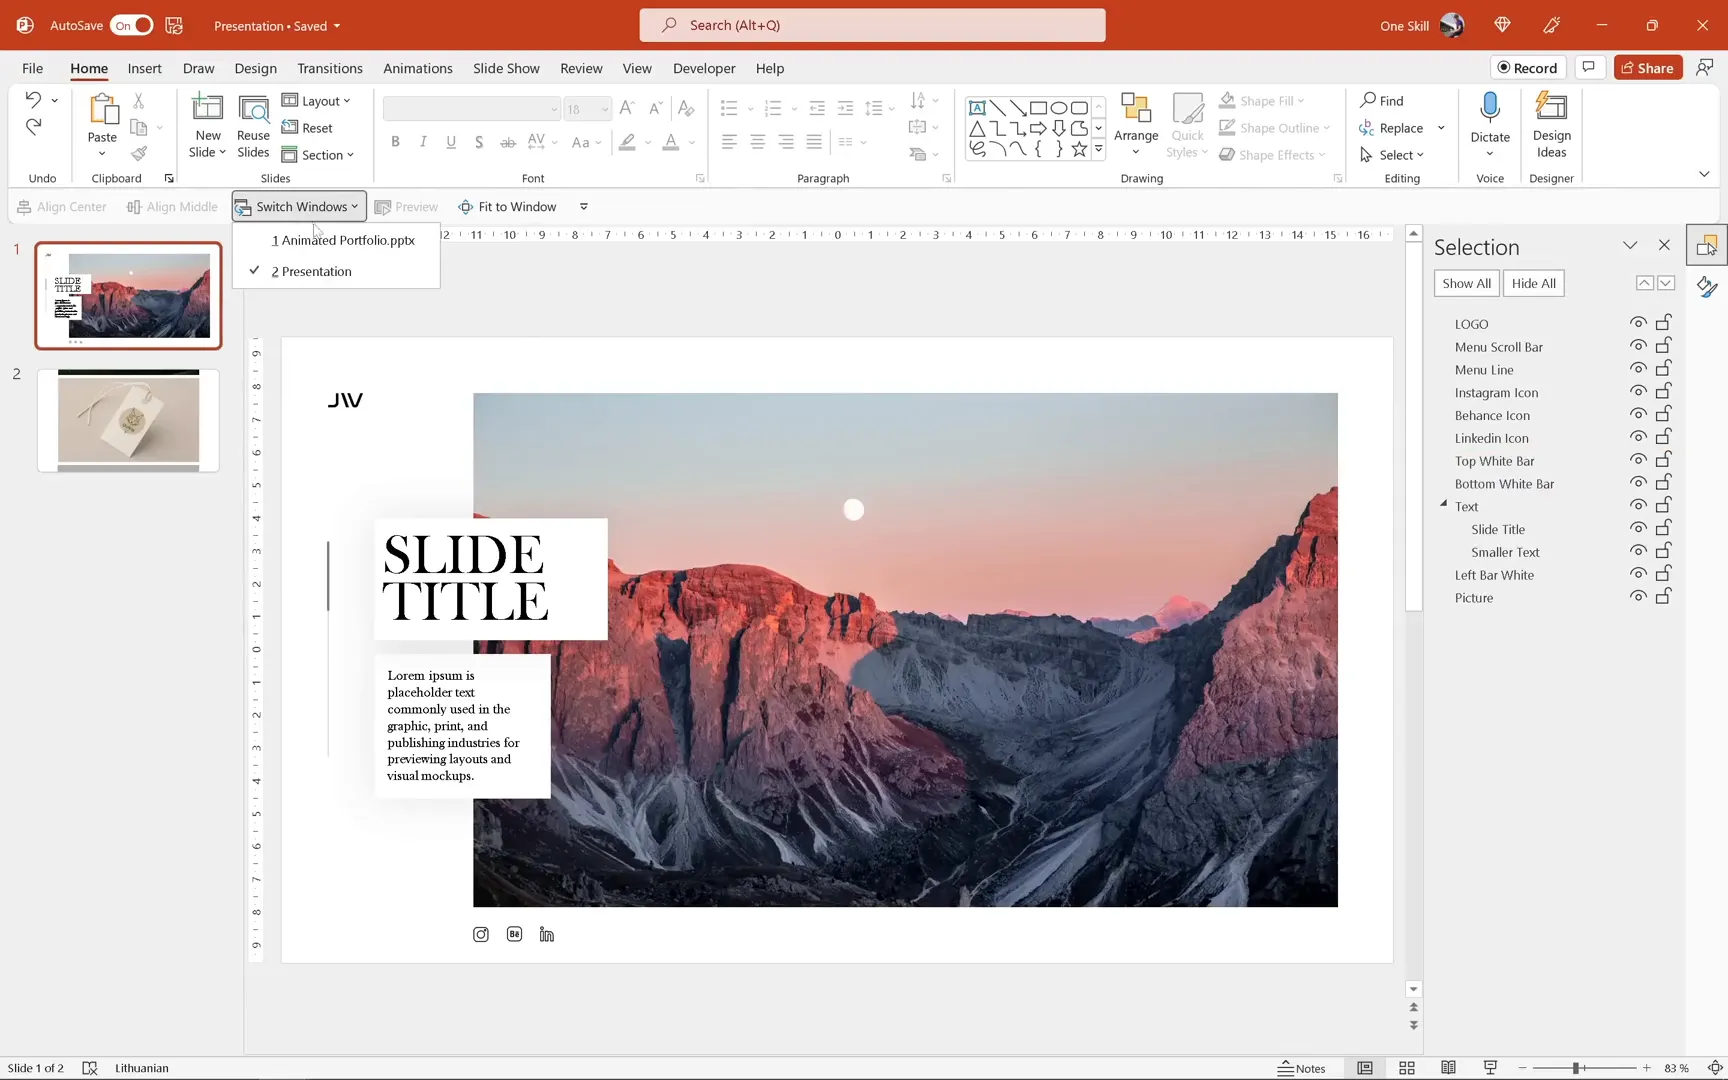
Before we start animating, it’s crucial to understand the structure of the slides and prepare assets properly. I’ve prepared several foundational elements to speed up the process:
- Logo: Positioned at the top left corner of the slide for consistent branding.
- Scrolling Bar Lines: A set of lines on the left side of the slide that act as a scrolling indicator.
- Text Boxes: Two grouped text boxes for slide title and smaller descriptive text, both using the elegant Baskerville font.
- Photo Placeholder: A central image placeholder initially showing mountains, which will be replaced with portfolio images.
- White Bars: Rectangles placed at the top and bottom of the slide to create a clean website-like frame around the content.
- Left White Bar: A white shape on the left side to help mask images during transition for a smooth scrolling effect.
Let’s break down the formatting details for the scrolling bars:
- The thicker line has a width of 2 points and uses a specific black shade.
- The thinner line has a width of 1 point and uses a shade of gray.
For the text boxes, the slide title uses Baskerville font at size 48, while the smaller text uses Baskerville at size 12. Both text boxes have subtle black shadows with 90% transparency and a blur of 40 points, giving the text a gentle depth without overwhelming the design.

How the White Bars Create a Website Feel
The white bars at the top and bottom might seem simple, but they serve a critical function. When transitioning between slides, these bars cover the edges of text boxes and photos, mimicking the clean, contained look of a website layout. This design trick helps the viewer focus on the content and enhances the overall professionalism of the portfolio.
Additionally, the left white bar acts as a mask that hides photos partially as they scroll in from the left, creating a smooth, seamless animation effect without abrupt edges or distractions.
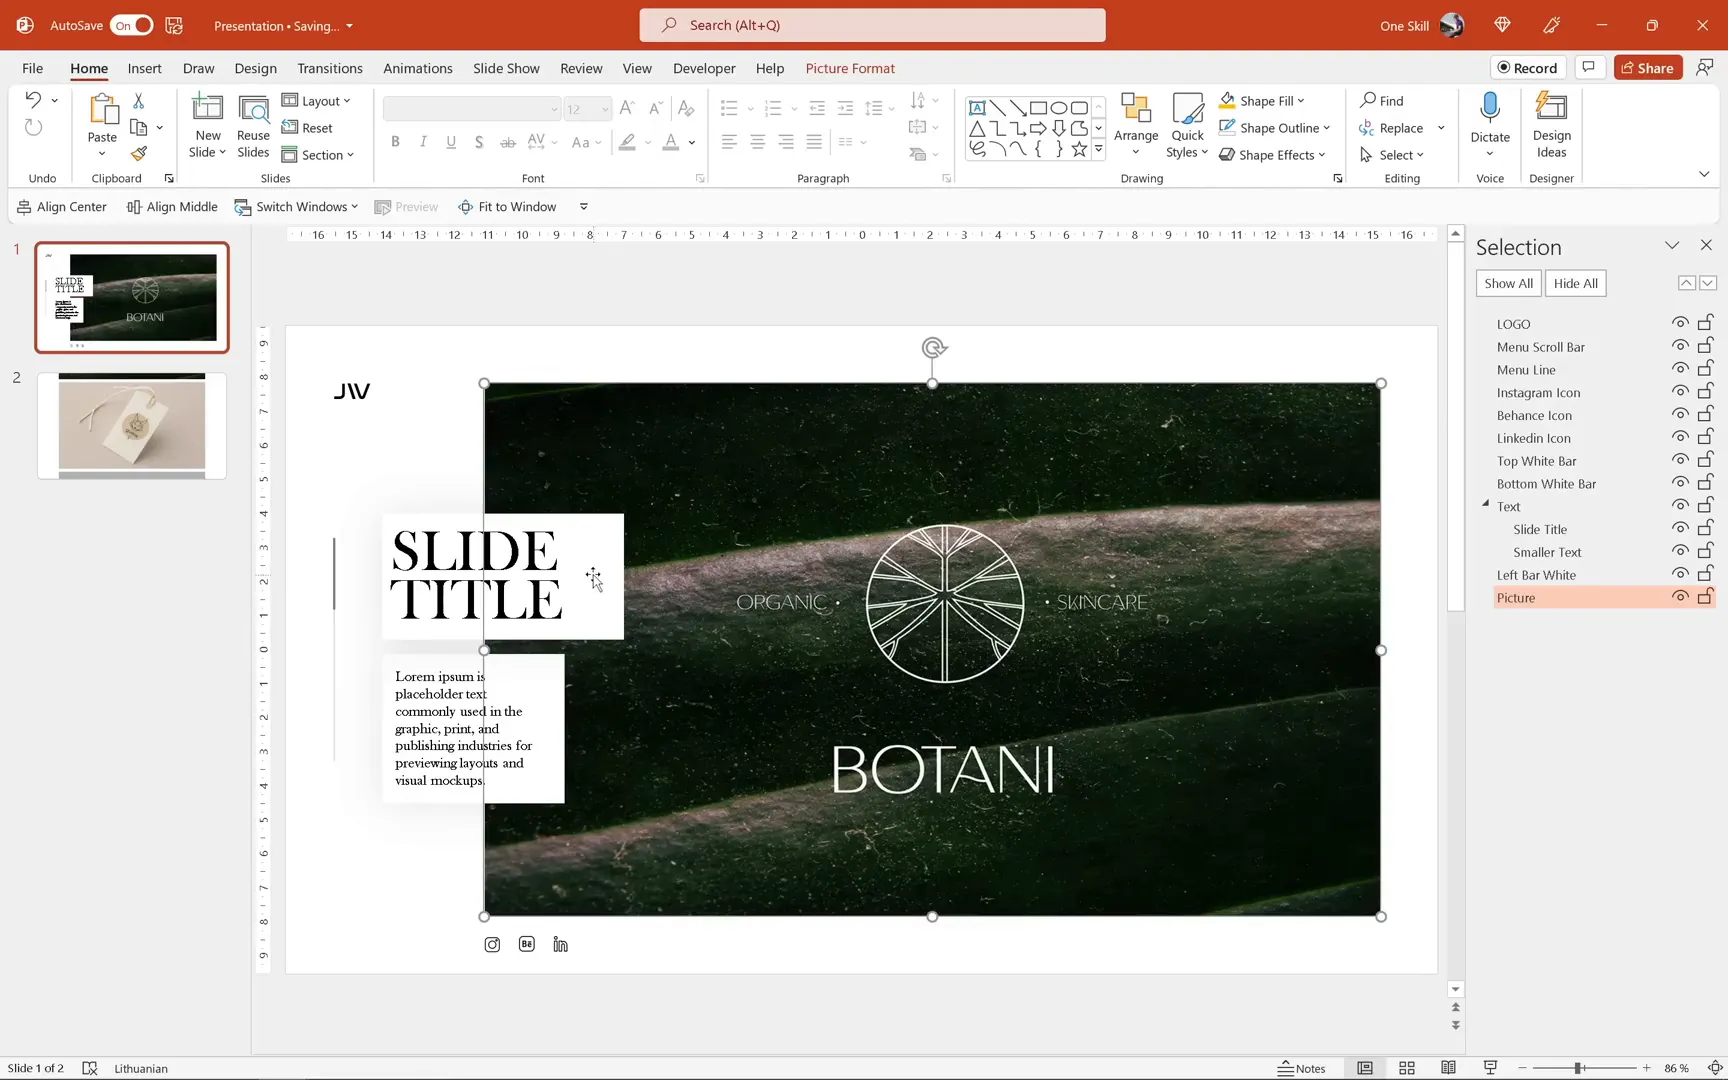
Customizing the First Slide: Adding Your Portfolio Images and Text
Now that the slide structure is clear, it’s time to add your own portfolio images. For this tutorial, I’m using Justyna’s beautiful works. To replace the placeholder mountain photo:
- Select the mountain photo.
- Right-click and choose Change Picture > From Clipboard after copying the desired image.
This method quickly swaps the placeholder with your actual portfolio work, keeping all formatting intact.
Next, update the text boxes with relevant descriptions or project details. I keep this text handy in the notes section of PowerPoint — a great tip to organize your content and avoid losing important information.
Using Morph Transition for Smooth Animations
Duplicating slides and applying the Morph transition is the magic behind the animations. Here’s how to do it:
- Duplicate the first slide (Ctrl + D or right-click and select Duplicate).
- Go to the Transitions tab.
- Select Morph as the transition type.
- Set the duration to 2 seconds for a smooth effect.
The Morph transition automatically animates the movement and transformation of objects between slides, so you don’t have to manually create complex animations.
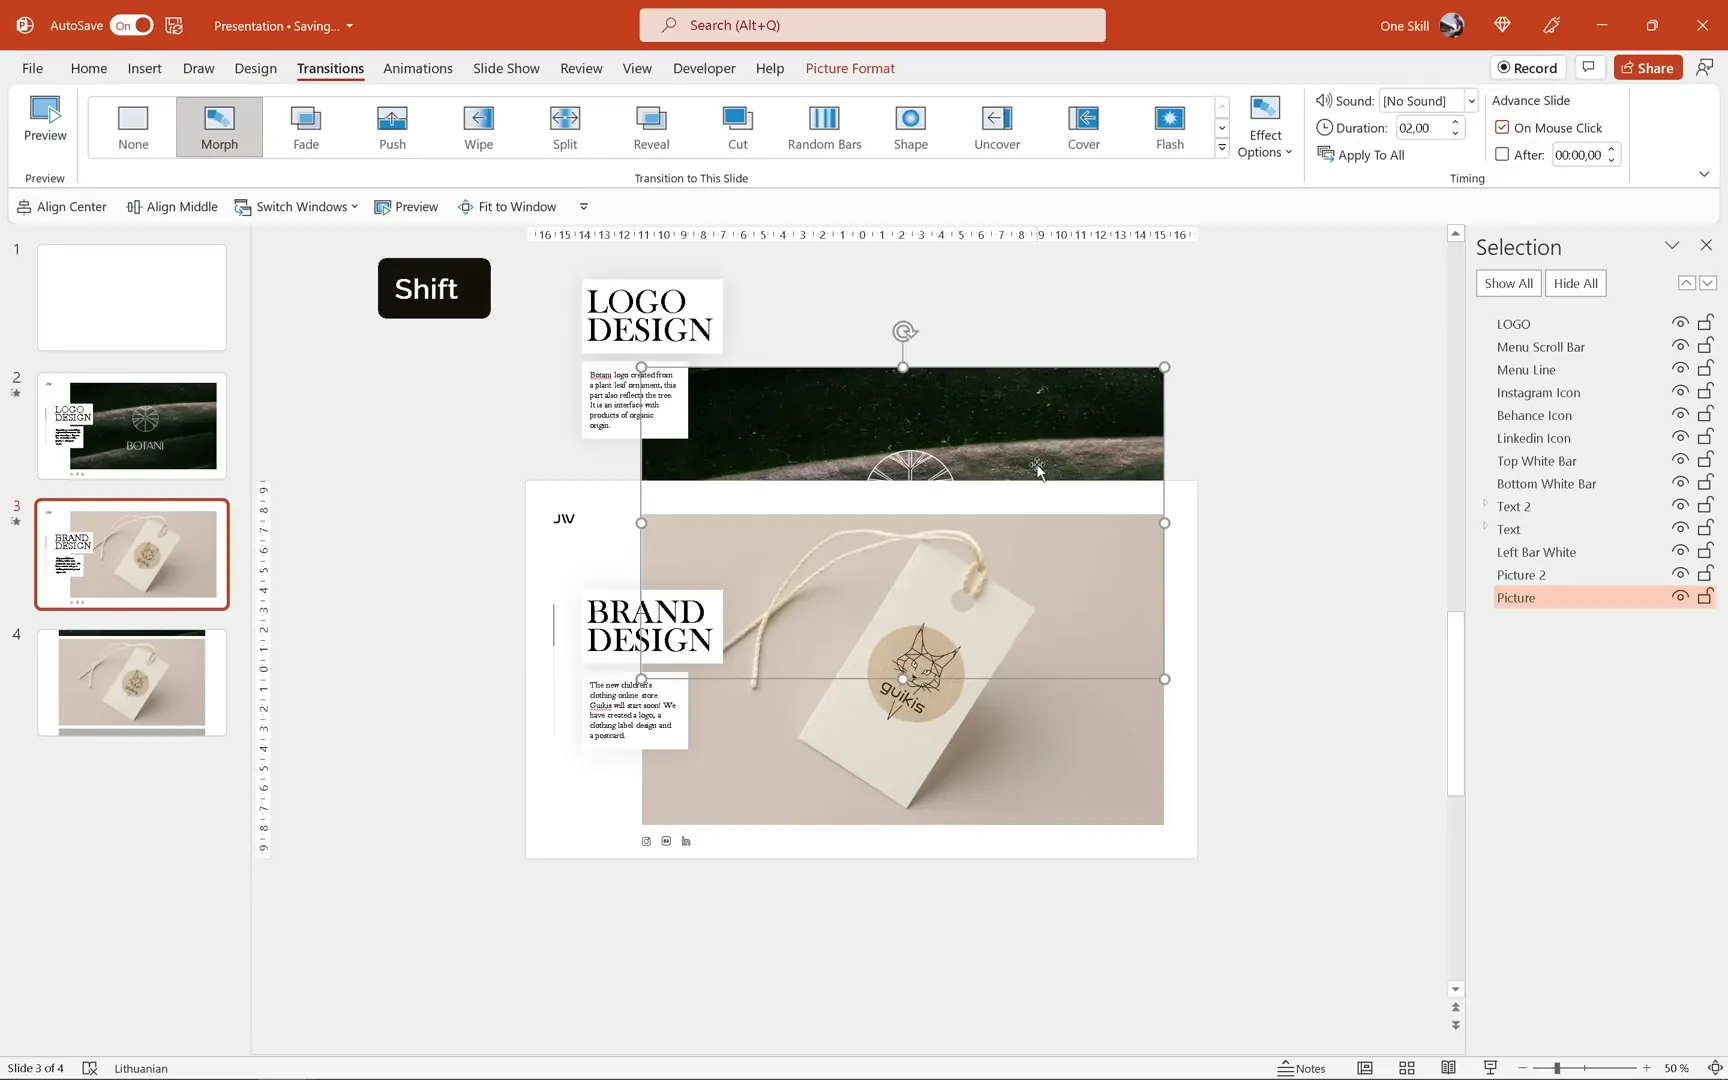
Animating the Left Side Scrolling Bars
To create the scrolling effect on the left side, on the first slide:
- Select all the scrolling bars except the white left bar.
- Move them outside the slide window to the left.
When you switch to the second slide with Morph transition, the lines will smoothly slide into their original positions, creating a dynamic entrance effect.
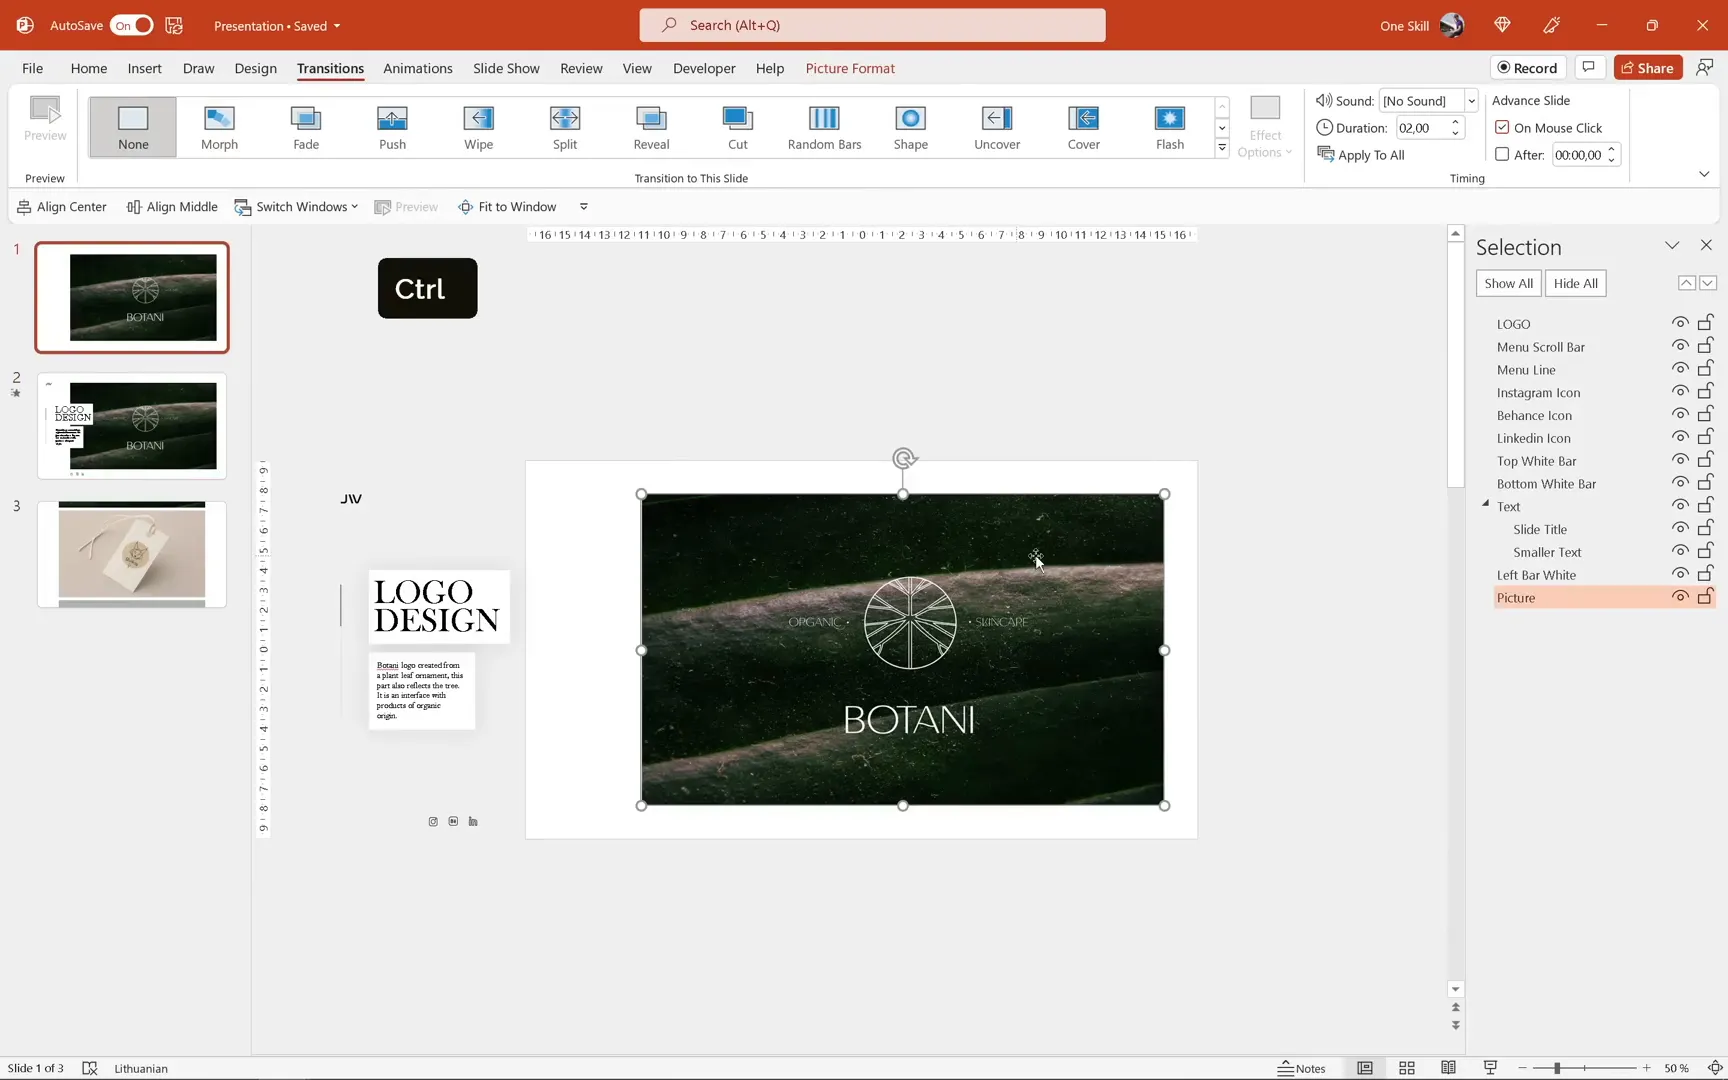
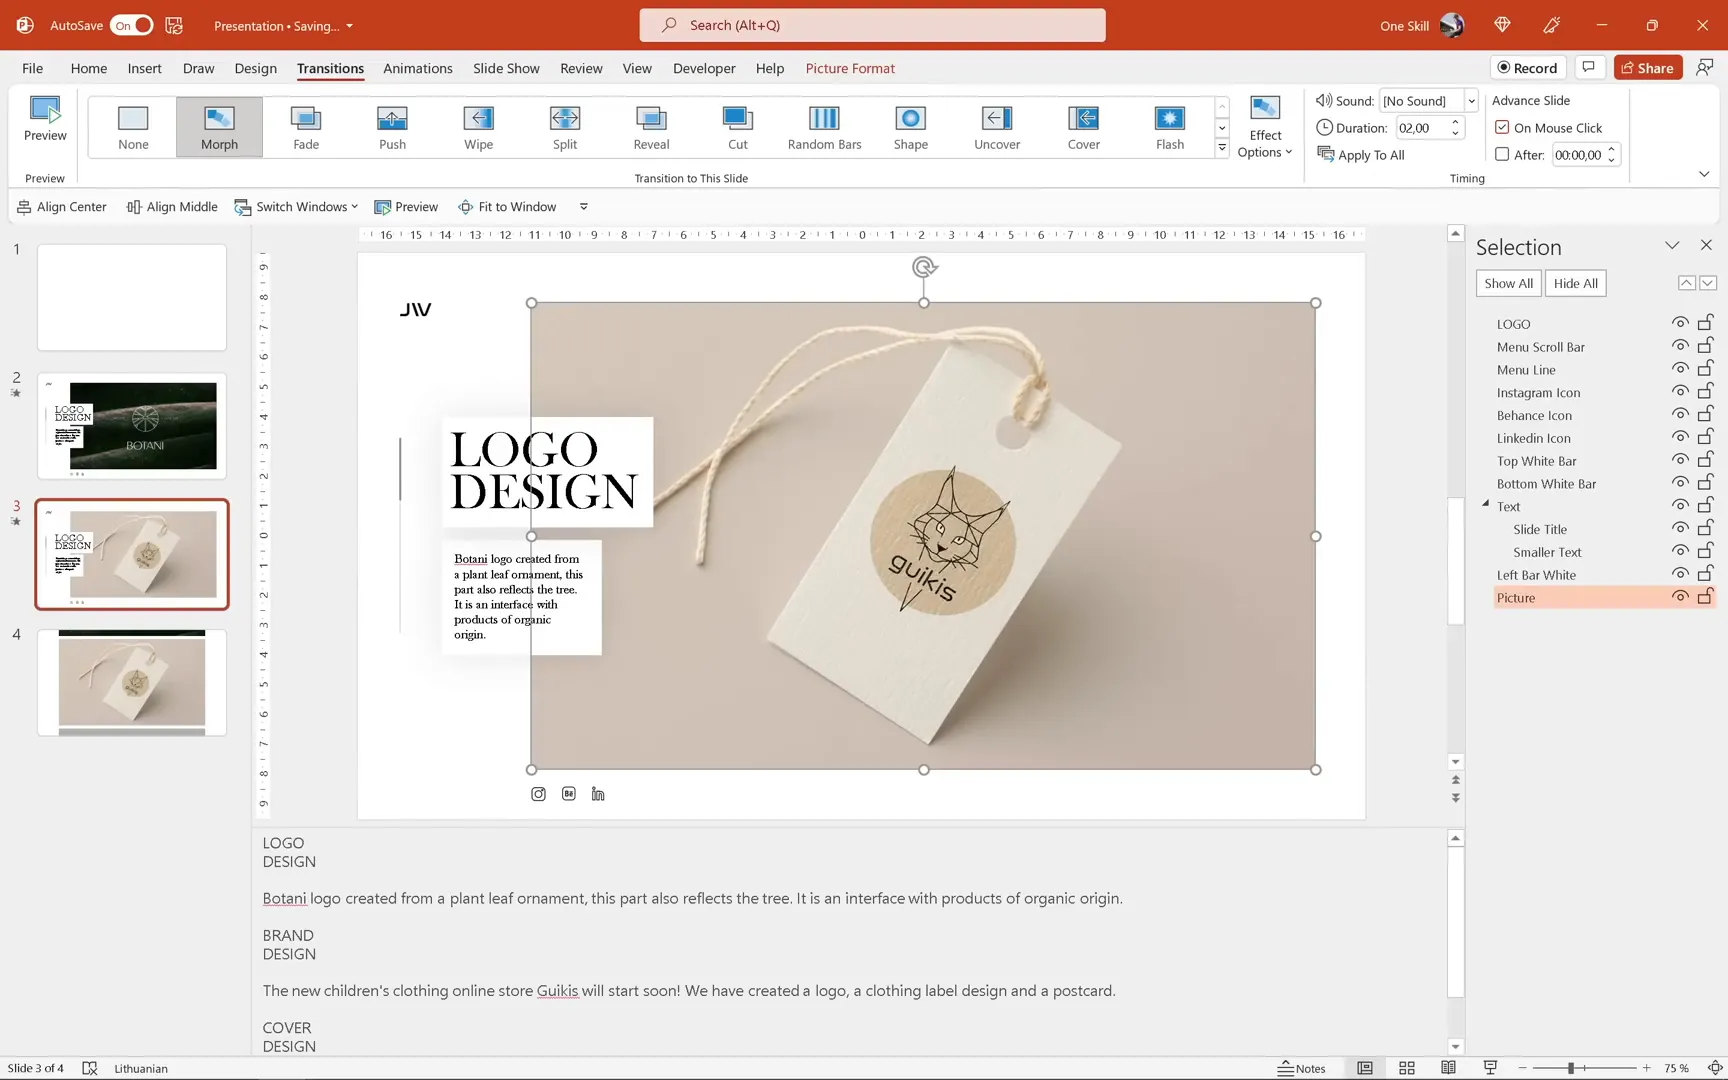
Animating the Portfolio Photo
Similarly, for the central photo:
- On the first slide, select the photo and drag it outside the slide window to the left while holding the Shift key to keep the movement straight.
- Ensure the photo is positioned at the bottom of the selection pane, just below the left white bar.
On the second slide, the Morph transition will animate the photo sliding back into place together with the scrolling bars, achieving the unified animated entrance effect.
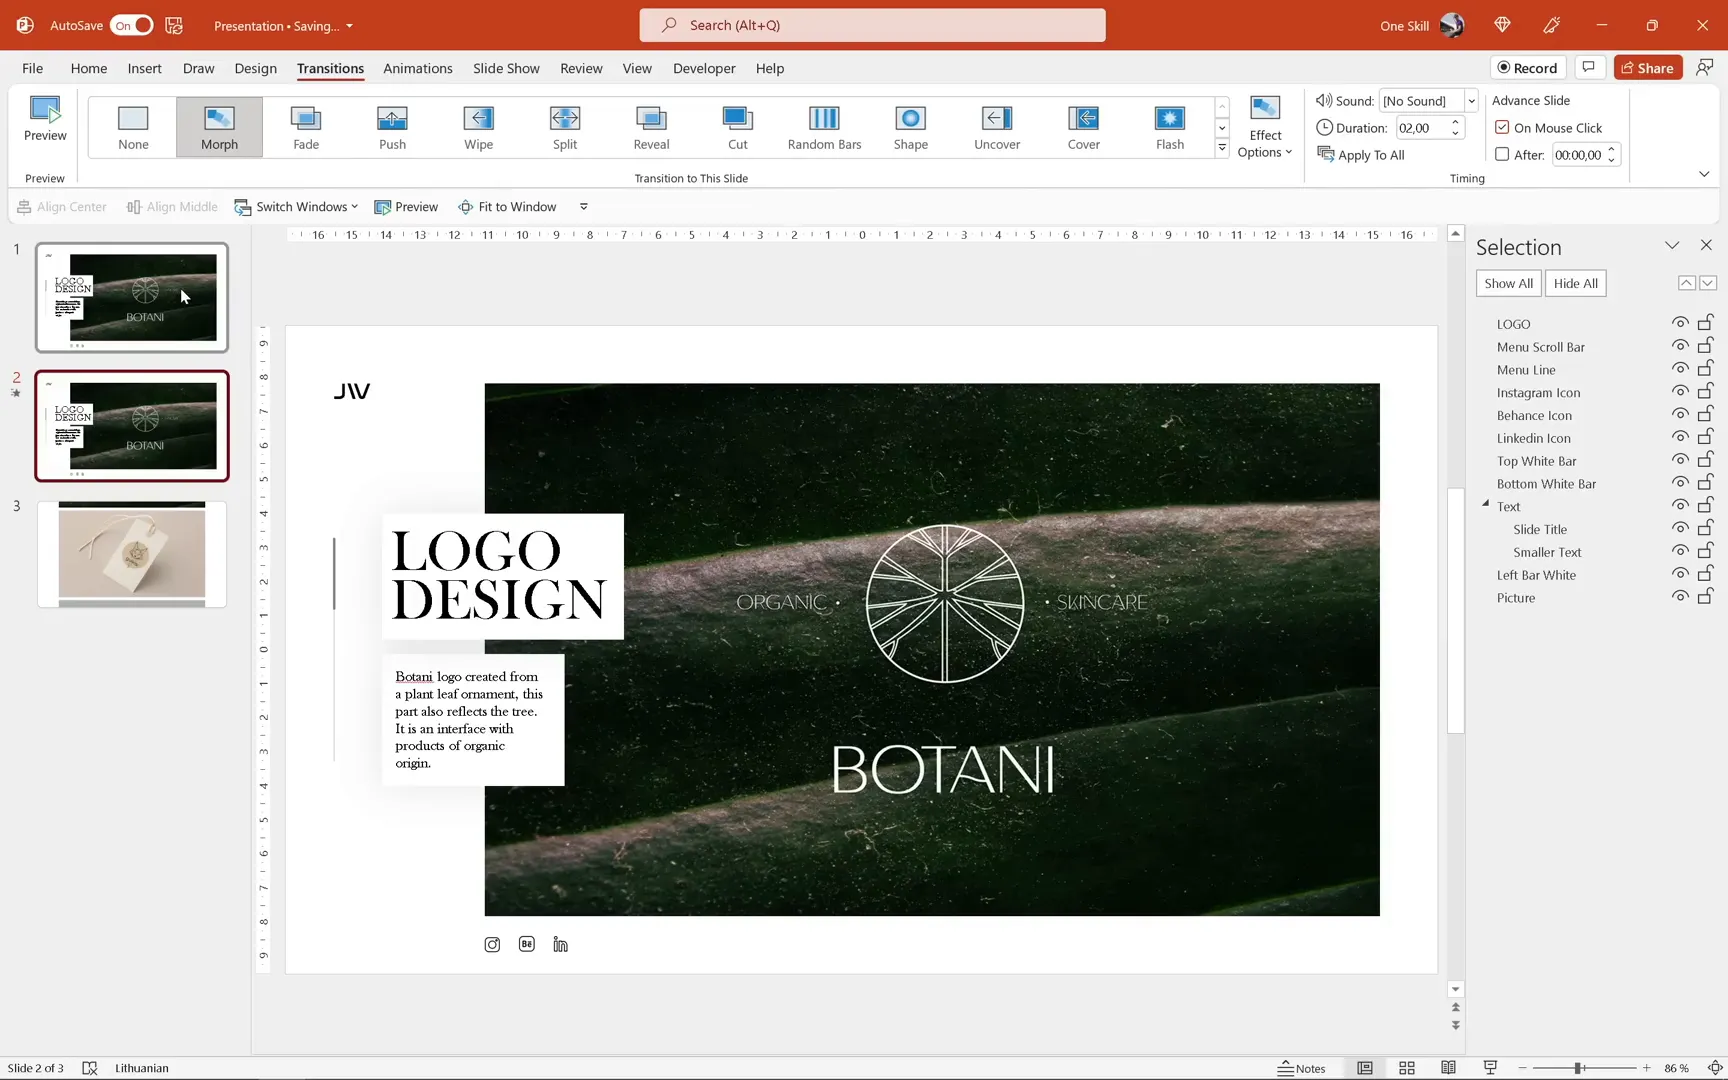
Creating Multiple Animated Portfolio Slides
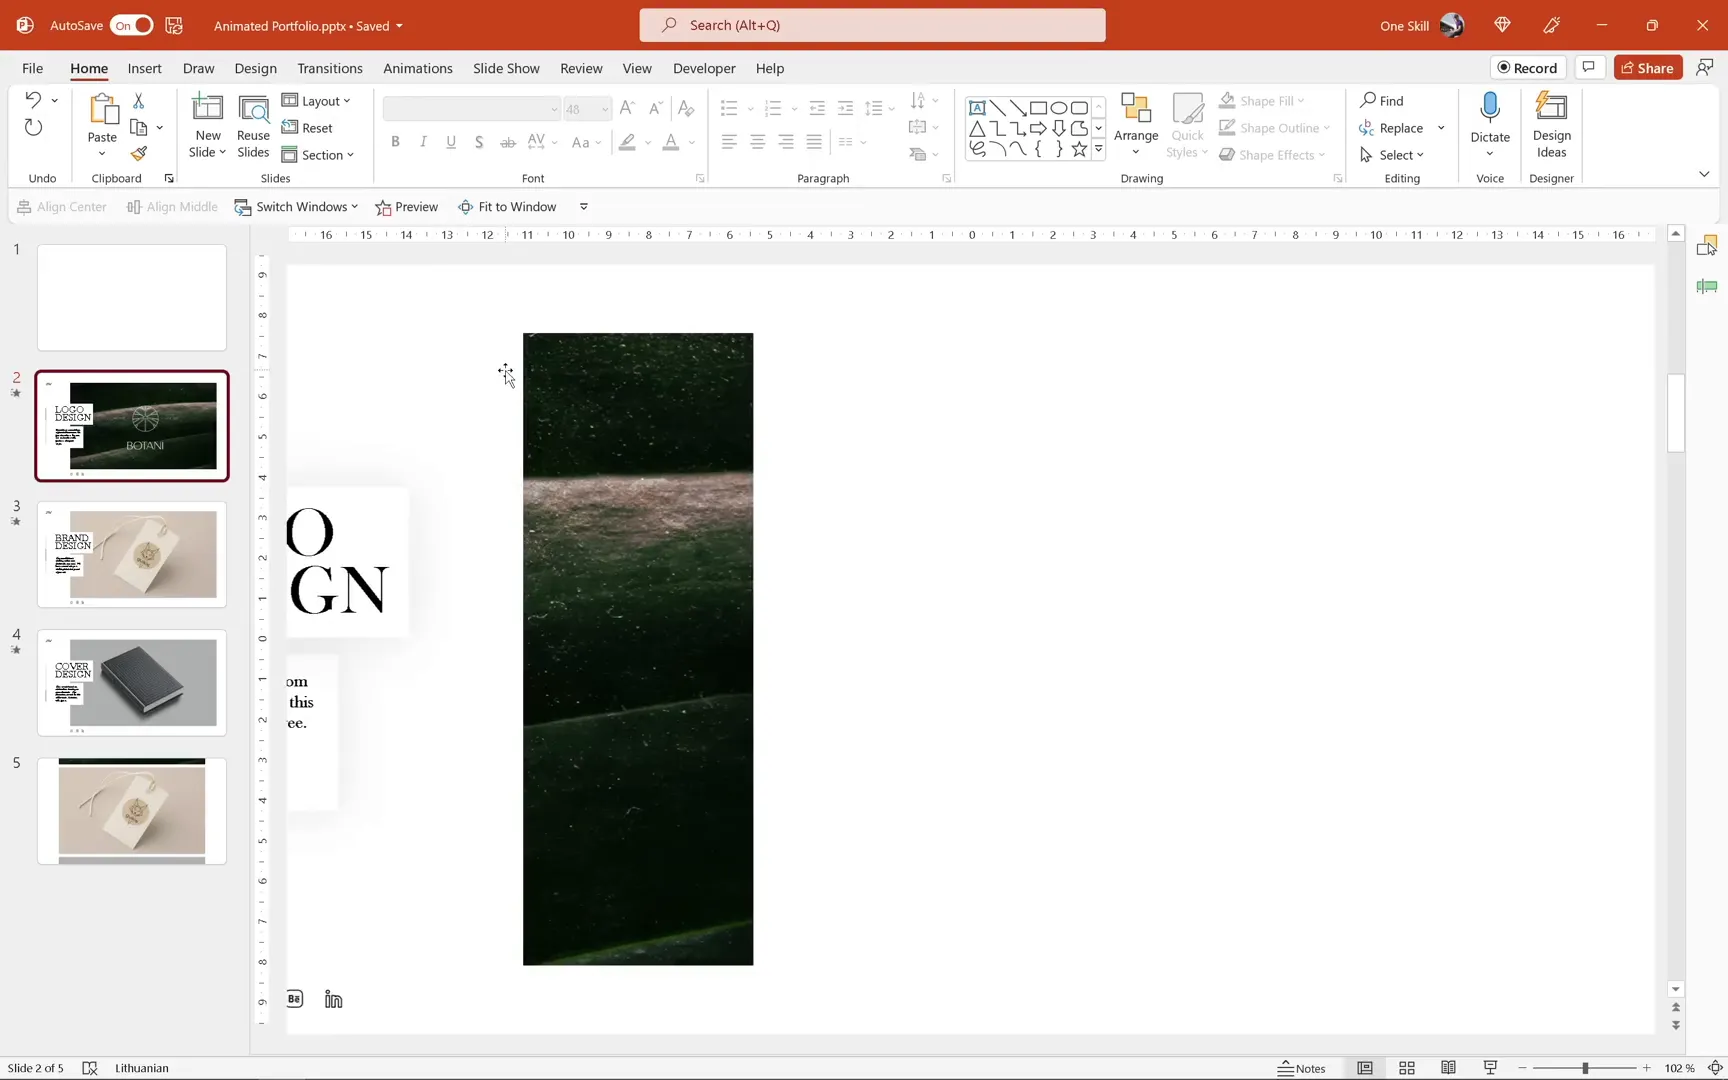
To showcase multiple portfolio items with smooth scrolling animations, repeat the process by duplicating the second slide and swapping out images and text:
- Duplicate the second slide.
- Replace the photo with the next portfolio image.
- Update the text boxes with the new project’s details.
For example, the second portfolio item is a beautiful label design. Replace the image and update the text accordingly to describe the brand design and logo.
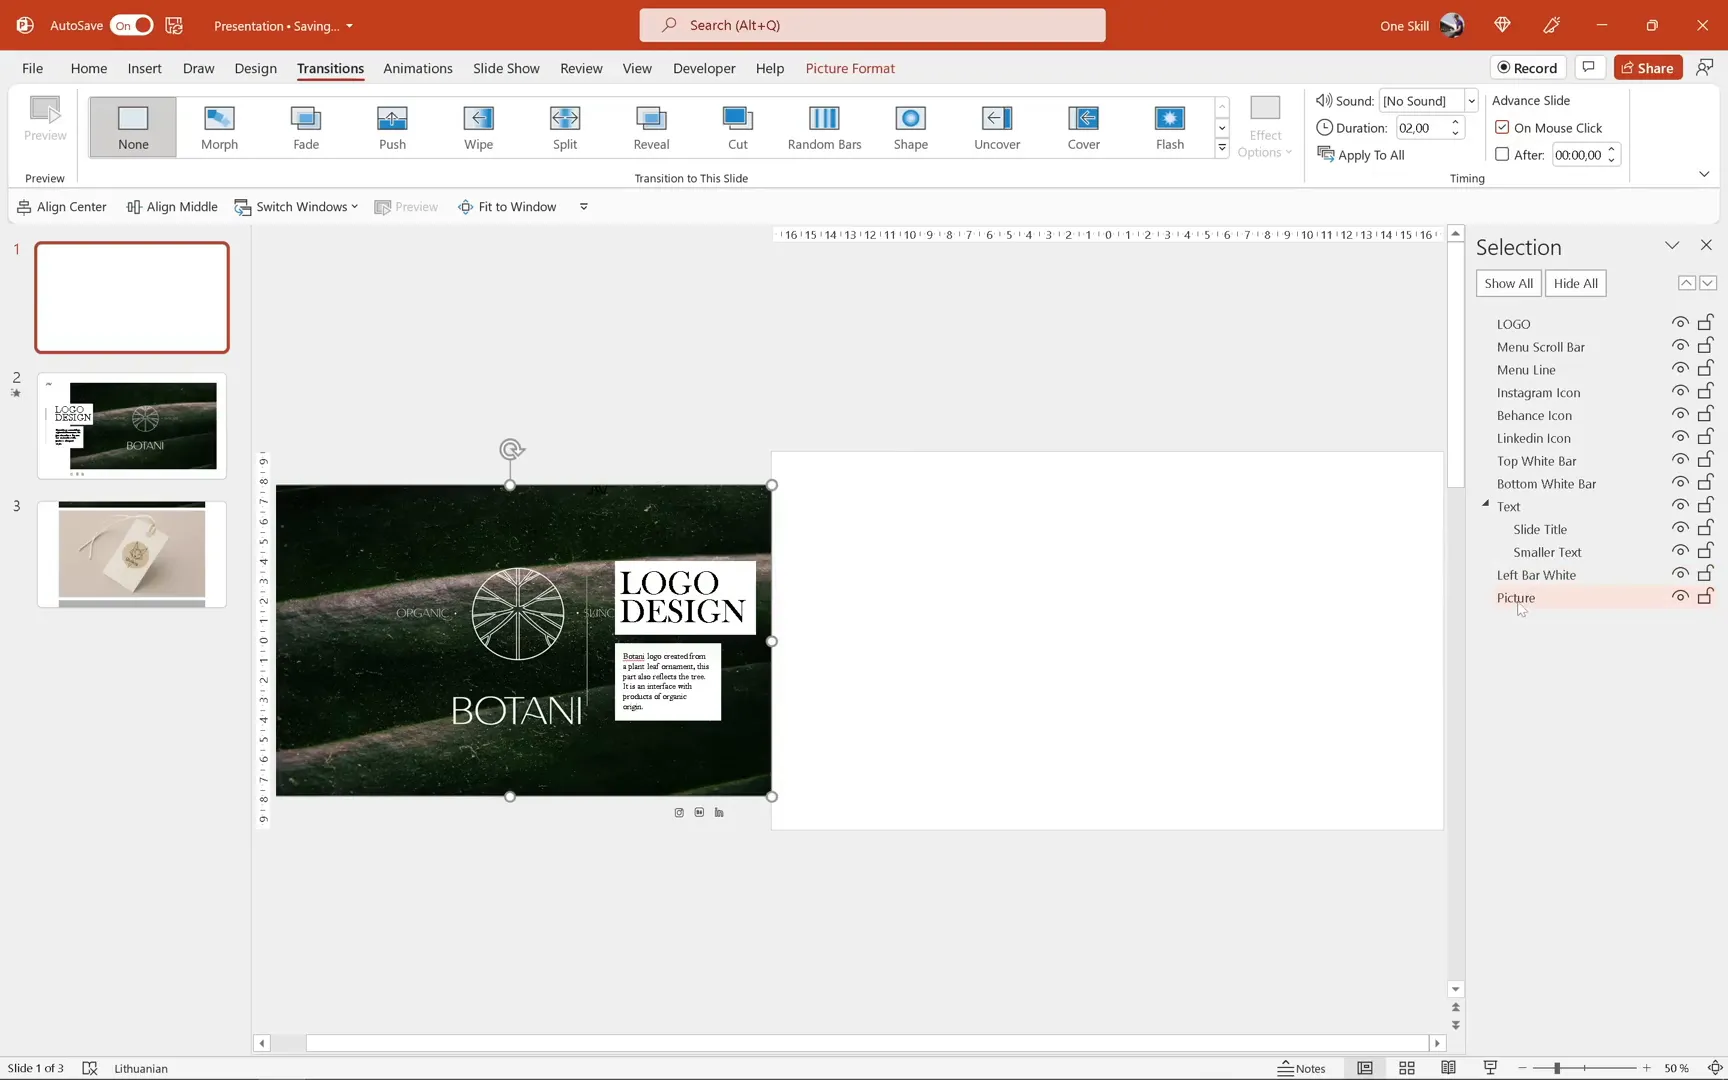
Improving the Scrolling Animation with Parallax Effect
At first, the Morph transition creates a simple fade or slide animation. To add more depth and visual interest, we can simulate a parallax effect by layering elements and moving them at different speeds.
Here’s how to do it:

- Duplicate the text boxes and photo for the next portfolio item.
- On the previous slide, position these duplicates just below the slide window.
- On the next slide, position the duplicates just above the slide window.
- Adjust the layering order in the selection pane so that the new text and photo are above the previous ones.
- Move the background image slightly slower than the foreground elements to create the parallax movement.
When transitioning, the background and foreground elements move at different speeds, producing the classic parallax scrolling effect that adds depth and polish to your portfolio.
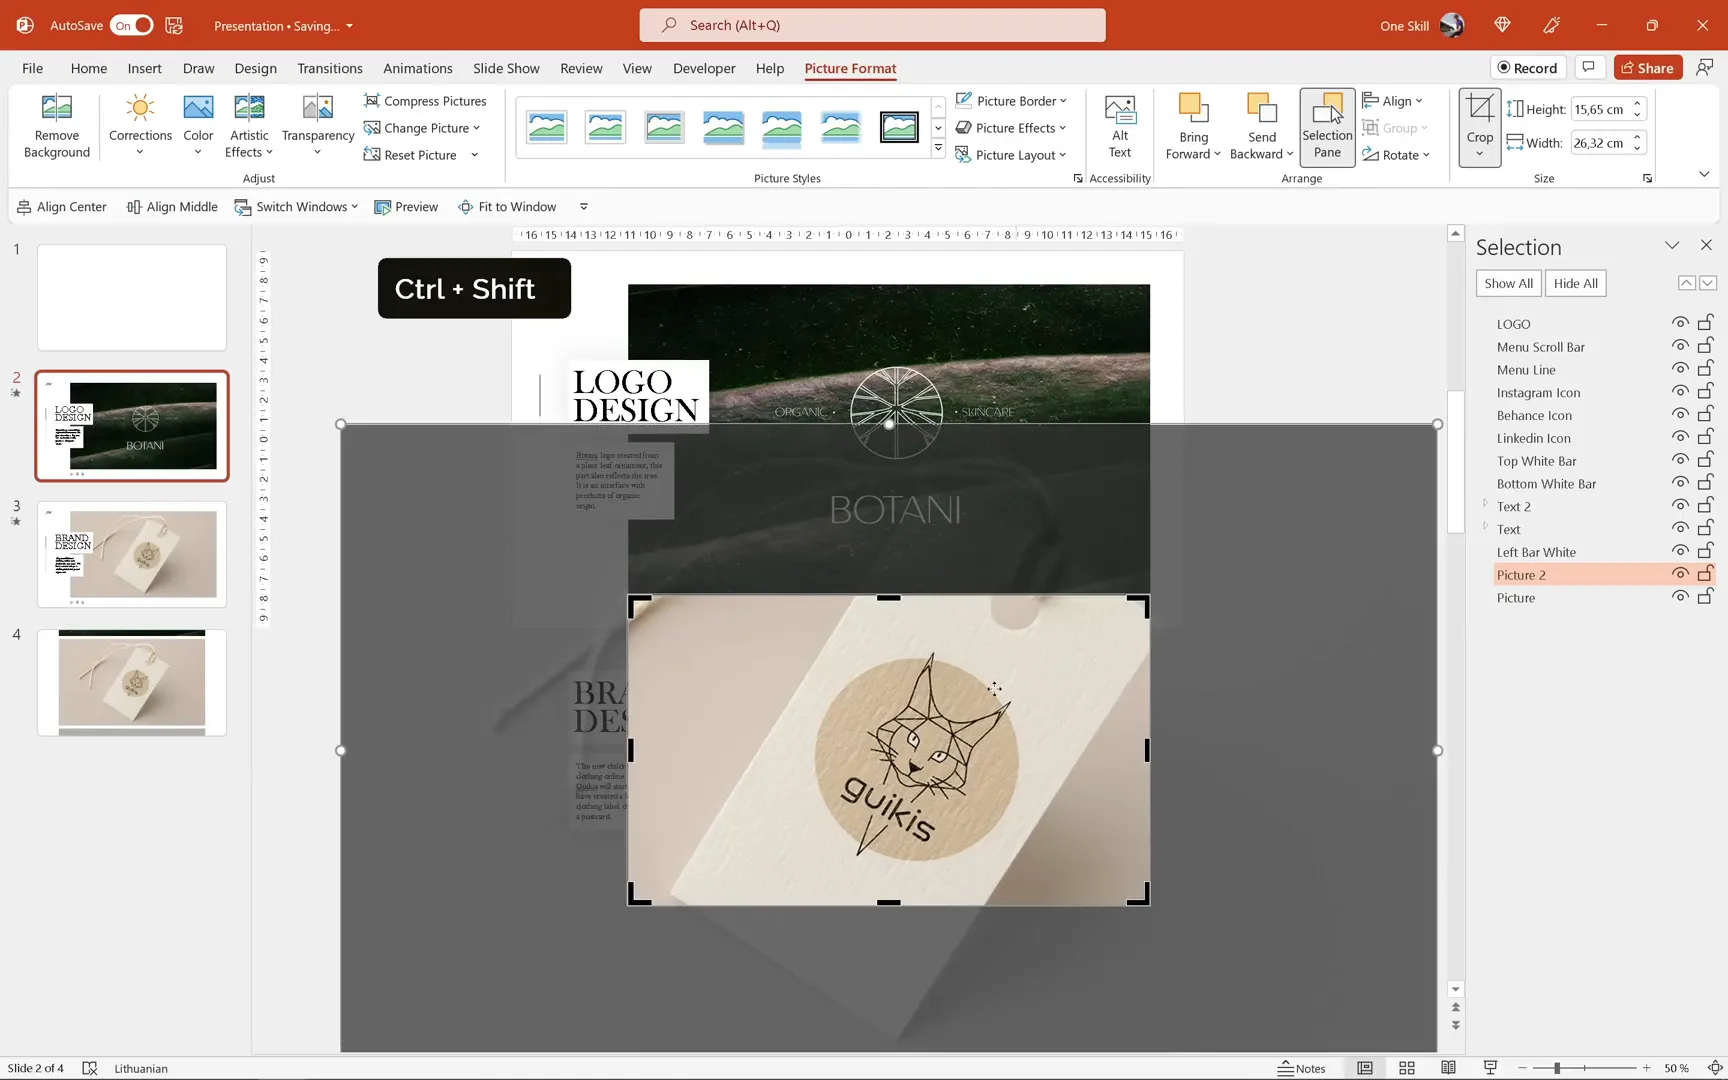
Adding a Zoom Effect to Portfolio Photos
To make the portfolio even more dynamic, you can add a zoom effect on certain photos during the scrolling animation:
- On the slide where the photo is fully visible, select the photo.
- Go to the Picture Format tab and click Crop.
- Hold down Ctrl + Shift and drag the crop handles to zoom in on the photo.
- Click Crop again to apply changes.
When transitioning with Morph, the photo will appear to zoom in or zoom out smoothly, adding an engaging visual flair to your portfolio presentation.
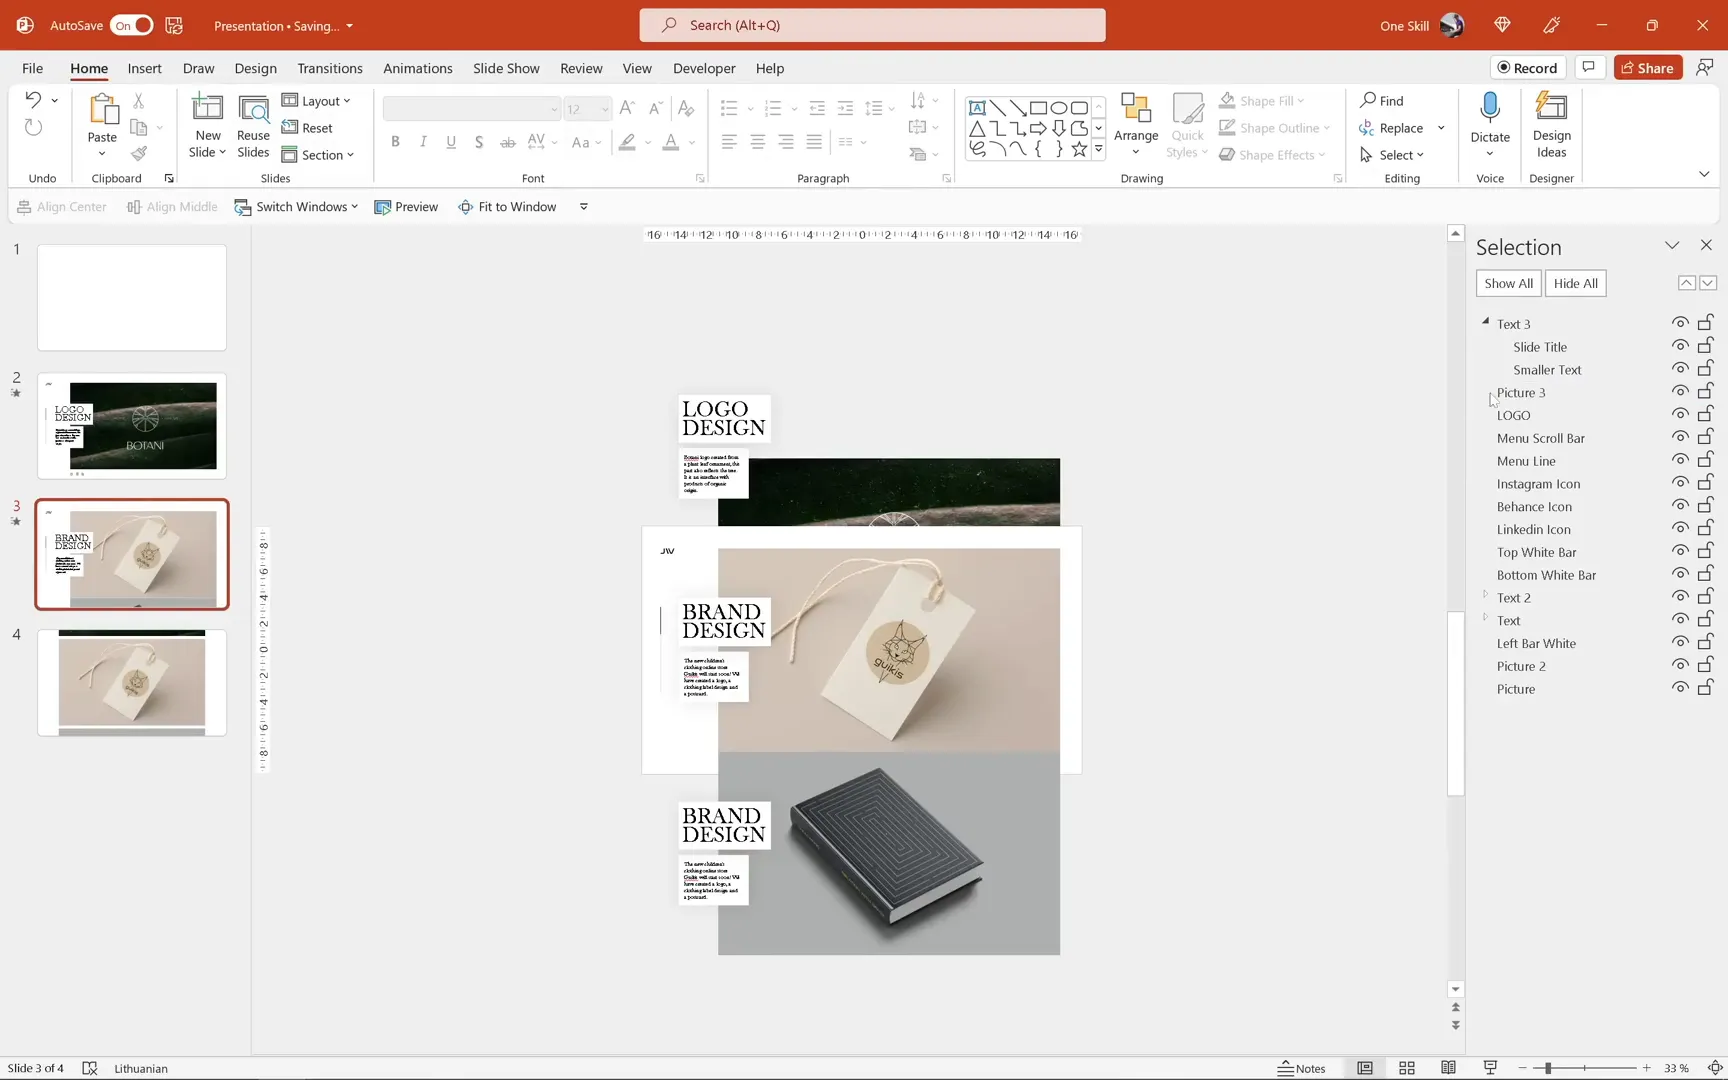
Building the Final Animated Portfolio Slide
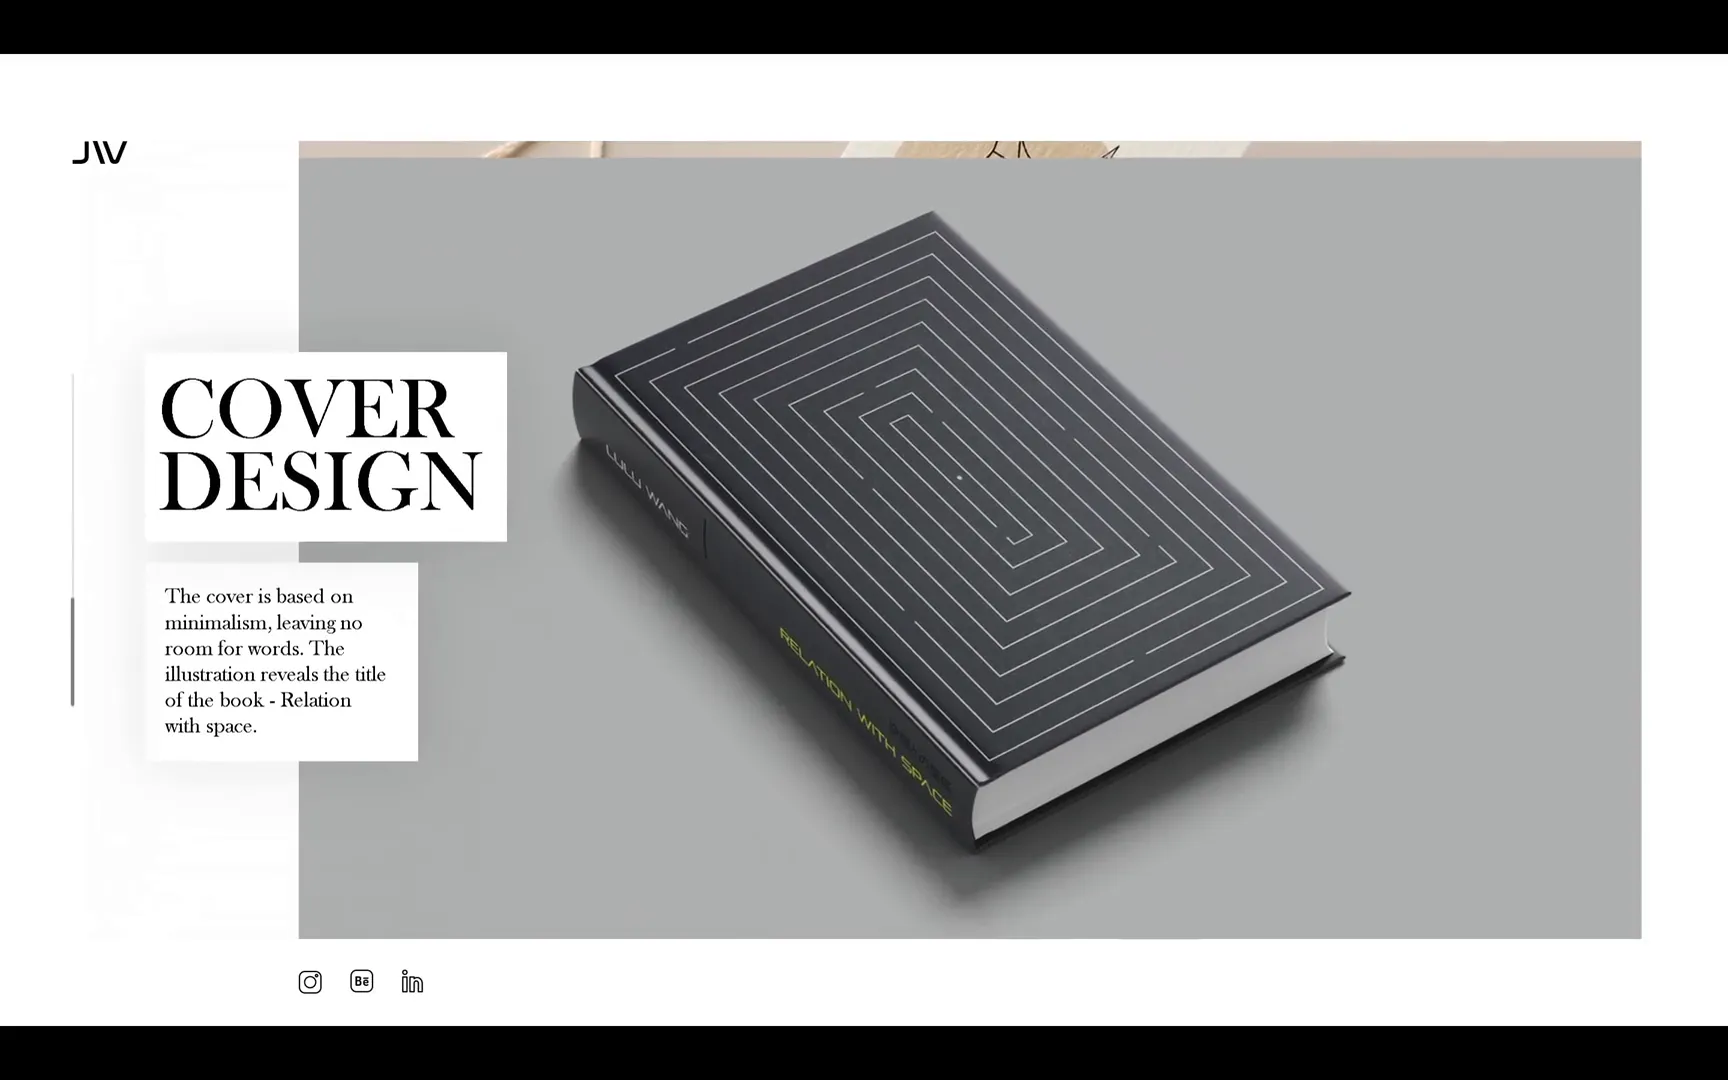
For the last portfolio item, repeat the process of duplicating, replacing images, and updating text. For example, a book cover design can be showcased with the same scrolling and zoom animations.
Once the last item is positioned at the center of the slide, adjust the scrolling bars to move accordingly, enhancing the smooth transition between portfolio items.
Adding Clickable Social Icons
To complete the portfolio, add social media icons at the bottom of the slides, linking to your or your collaborator’s social profiles. These icons can be downloaded from Freepik.
To make an icon clickable:
- Select the icon (e.g., Instagram).
- Press Ctrl + K to open the hyperlink dialog.
- Choose Website and paste the URL (e.g., Justyna’s Instagram).
- Click OK.
During the presentation, clicking the icon will open the respective social media page, making it easy for viewers to connect or learn more.
Final Preview and Tips
Now that all slides are set up with Morph transitions, animations, and clickable icons, preview the entire presentation from the start. You’ll see a smooth, parallax scrolling animated portfolio that feels like a professional website or app interface.
Here are some final tips to enhance your portfolio:
- Keep Text Concise: Use clear, brief descriptions to complement your visuals without overwhelming the viewer.
- Use High-Quality Images: Ensure your portfolio images are crisp and optimized for display.
- Consistent Fonts and Colors: Stick to a cohesive font style like Baskerville and a harmonious color scheme to maintain professionalism.
- Test Transitions: Preview Morph transitions thoroughly to ensure smooth movement and proper layering.
- Organize Layers: Use the selection pane to keep track of object order for complex animations.
Frequently Asked Questions (FAQ)
What version of PowerPoint do I need to create this animated portfolio?
You need PowerPoint 2019 or Microsoft 365 to use the Morph transition feature required for these animations.
Can I use this technique for other types of presentations?
Absolutely! The Morph transition and parallax effect can enhance many presentation types, including business pitches, product showcases, and storytelling slides.
How do I organize my layers and objects for smooth Morph animations?
Use the selection pane to arrange objects in the correct order. Background images should be behind text and other foreground elements to create proper depth.
Is it possible to add clickable links to images or icons in PowerPoint?
Yes, by selecting the image or icon and pressing Ctrl + K, you can add hyperlinks to websites, email addresses, or other slides.
Can I customize the parallax effect speed?
While Morph automates the animation, you can simulate different speeds by adjusting the distance objects move between slides. Objects that move less appear to move slower, creating the parallax effect.
Are there any recommended resources for icons and fonts?
For icons, Freepik and Flaticon are excellent free resources. For fonts, Libre Baskerville is a great choice for elegant typography.
Conclusion
Creating an animated, parallax portfolio in PowerPoint is not only possible but also straightforward with the right approach. By leveraging PowerPoint’s Morph transition, layering, and cropping tools, you can build a professional, dynamic portfolio that impresses clients and showcases your work beautifully.
Remember to plan your slide structure carefully, organize your layers, and use high-quality images and concise text for the best results. Don’t forget to add interactive elements like clickable social icons to connect your portfolio to your online presence.
With these techniques, your portfolio will no longer be a static slideshow but a lively, engaging experience that stands out from the crowd. Happy designing!
Check out the full video: Create Animated Parallax Portfolio in 🔥PowerPoint🔥


