
Creating an engaging, clickable, and scrollable animated slide design can elevate your PowerPoint presentations to a whole new level. In this comprehensive guide, you will learn how to design an impressive animated slide in Microsoft PowerPoint that features interactive elements with smooth animations. Whether you’re a beginner or an experienced PowerPoint user, this tutorial will walk you through every step to help you craft a professional and visually appealing slide design.
This guide is inspired by the expert tutorial from One Skill PPT and covers everything from setting up the background to cutting out photo objects and applying advanced PowerPoint features like the Morph transition. By the end, you’ll have a clickable slide design with beautiful animations, perfect for presentations that captivate and engage your audience.
Table of Contents
- Getting Started: Setting Up the Slide Background
- Inserting and Cropping Photos
- Adding Text Boxes and Aligning Text
- Cutting Out Objects from the Photo
- Matching Photo Cutouts to Original Image
- Making Cutouts Clickable with Hyperlinks
- Applying Morph Transitions for Smooth Animation
- Designing Individual Slides for Each Clickable Item
- Fixing Morph Transition Issues
- Finalizing and Testing Your Animated Slide Design
- Frequently Asked Questions (FAQ)
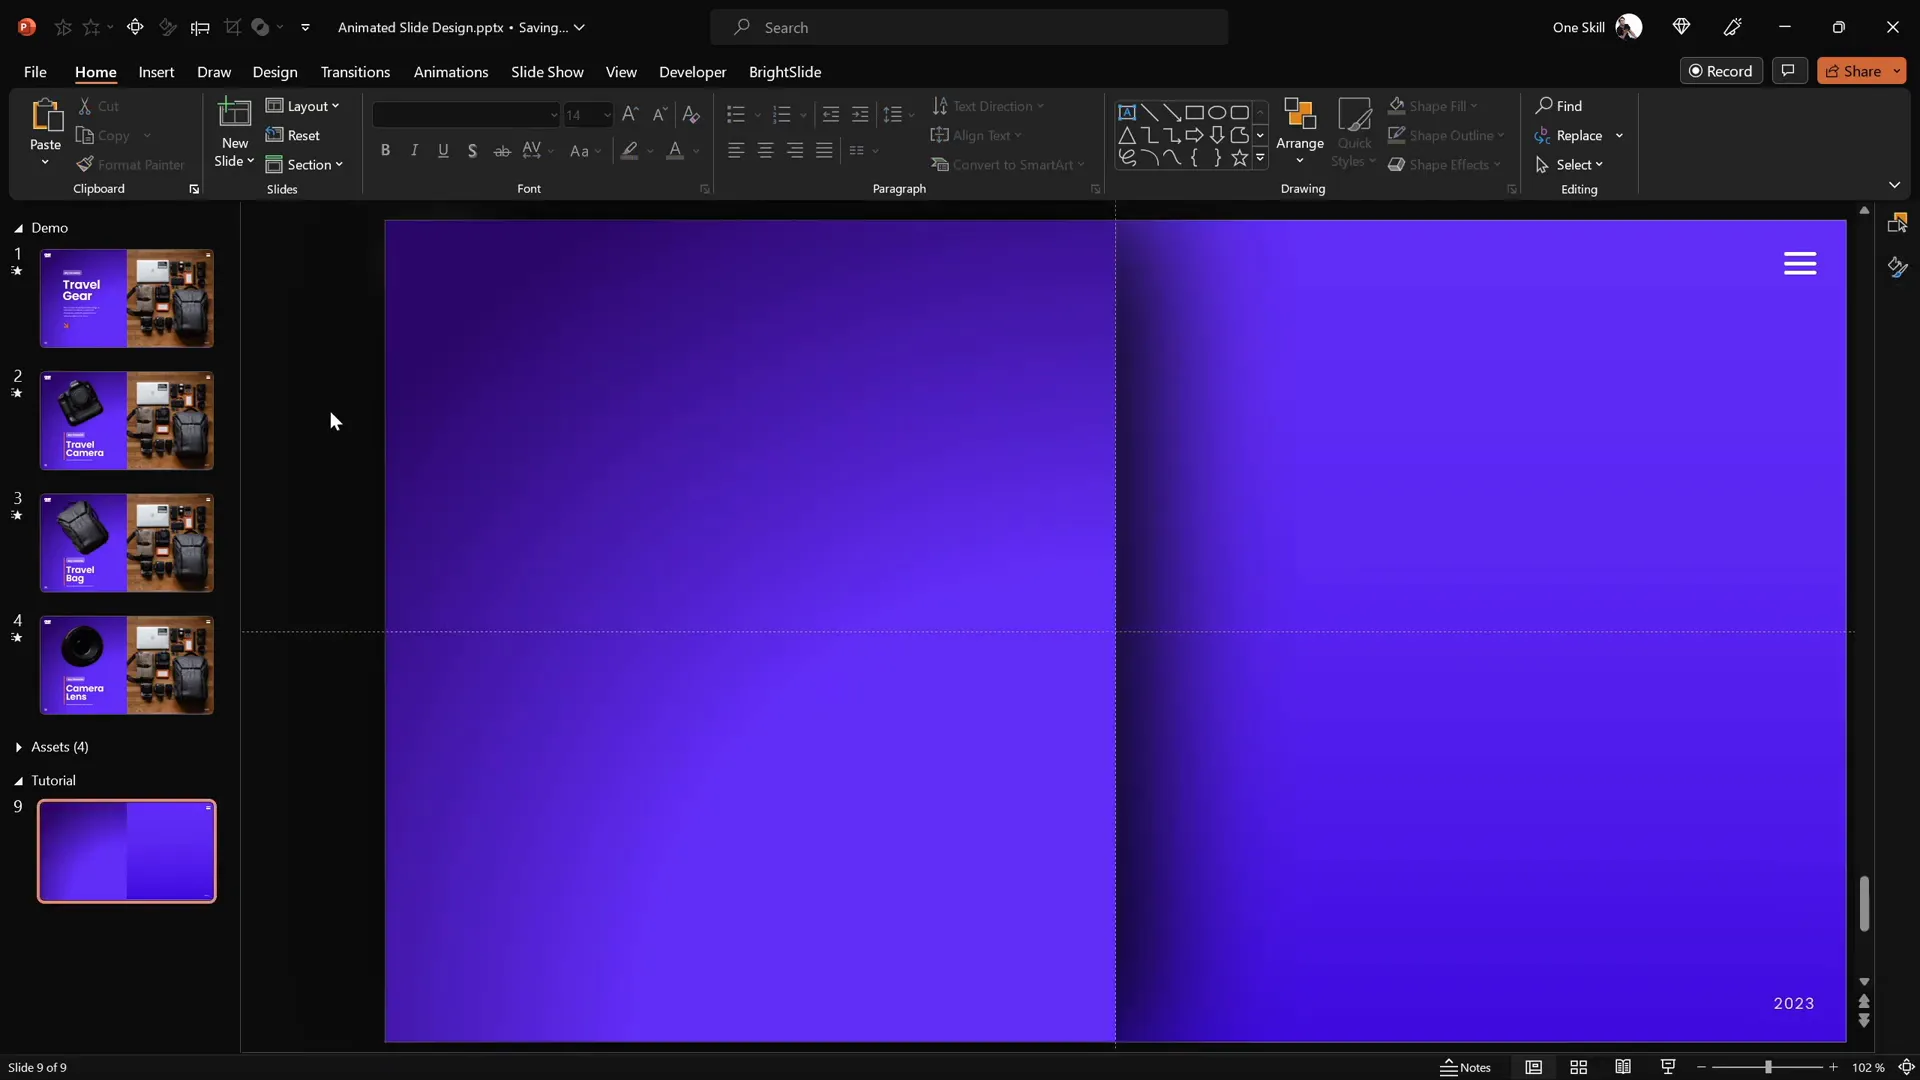
Getting Started: Setting Up the Slide Background
The first step in creating an animated PowerPoint slide design is setting up a visually pleasing background that complements your interactive elements. Here’s how you can do it:
- Open PowerPoint 365 and start with a blank slide.
- Apply a gradient fill to the slide background:
- Go to Format Background.
- Choose Gradient Fill and select a linear gradient.
- Use two color stops with specific hex codes to create a smooth gradient effect:
- First Color Stop:
#3a3e3f - Second Color Stop:
#1c1f20
- First Color Stop:
- Hide the format pane to maximize workspace.
- Activate slide guides to help position elements precisely.
- Insert a large rectangle to cover the left side of the slide:
- Go to Insert > Shapes > Rectangle.
- Draw a rectangle covering the entire left half of the slide.
- Apply a subtle gradient fill and soft shadow to the rectangle for depth:
- Use the Format Painter to copy the style from a reference slide if available.
- Adjust the gradient colors for a soft effect:
- First Color:
#494e4f - Second Color:
#2b3031
- First Color:
- Add a soft shadow on the right side with customized settings for a subtle pop.
This background setup provides a professional and attractive base for the interactive elements you will add next.
Inserting and Cropping Photos
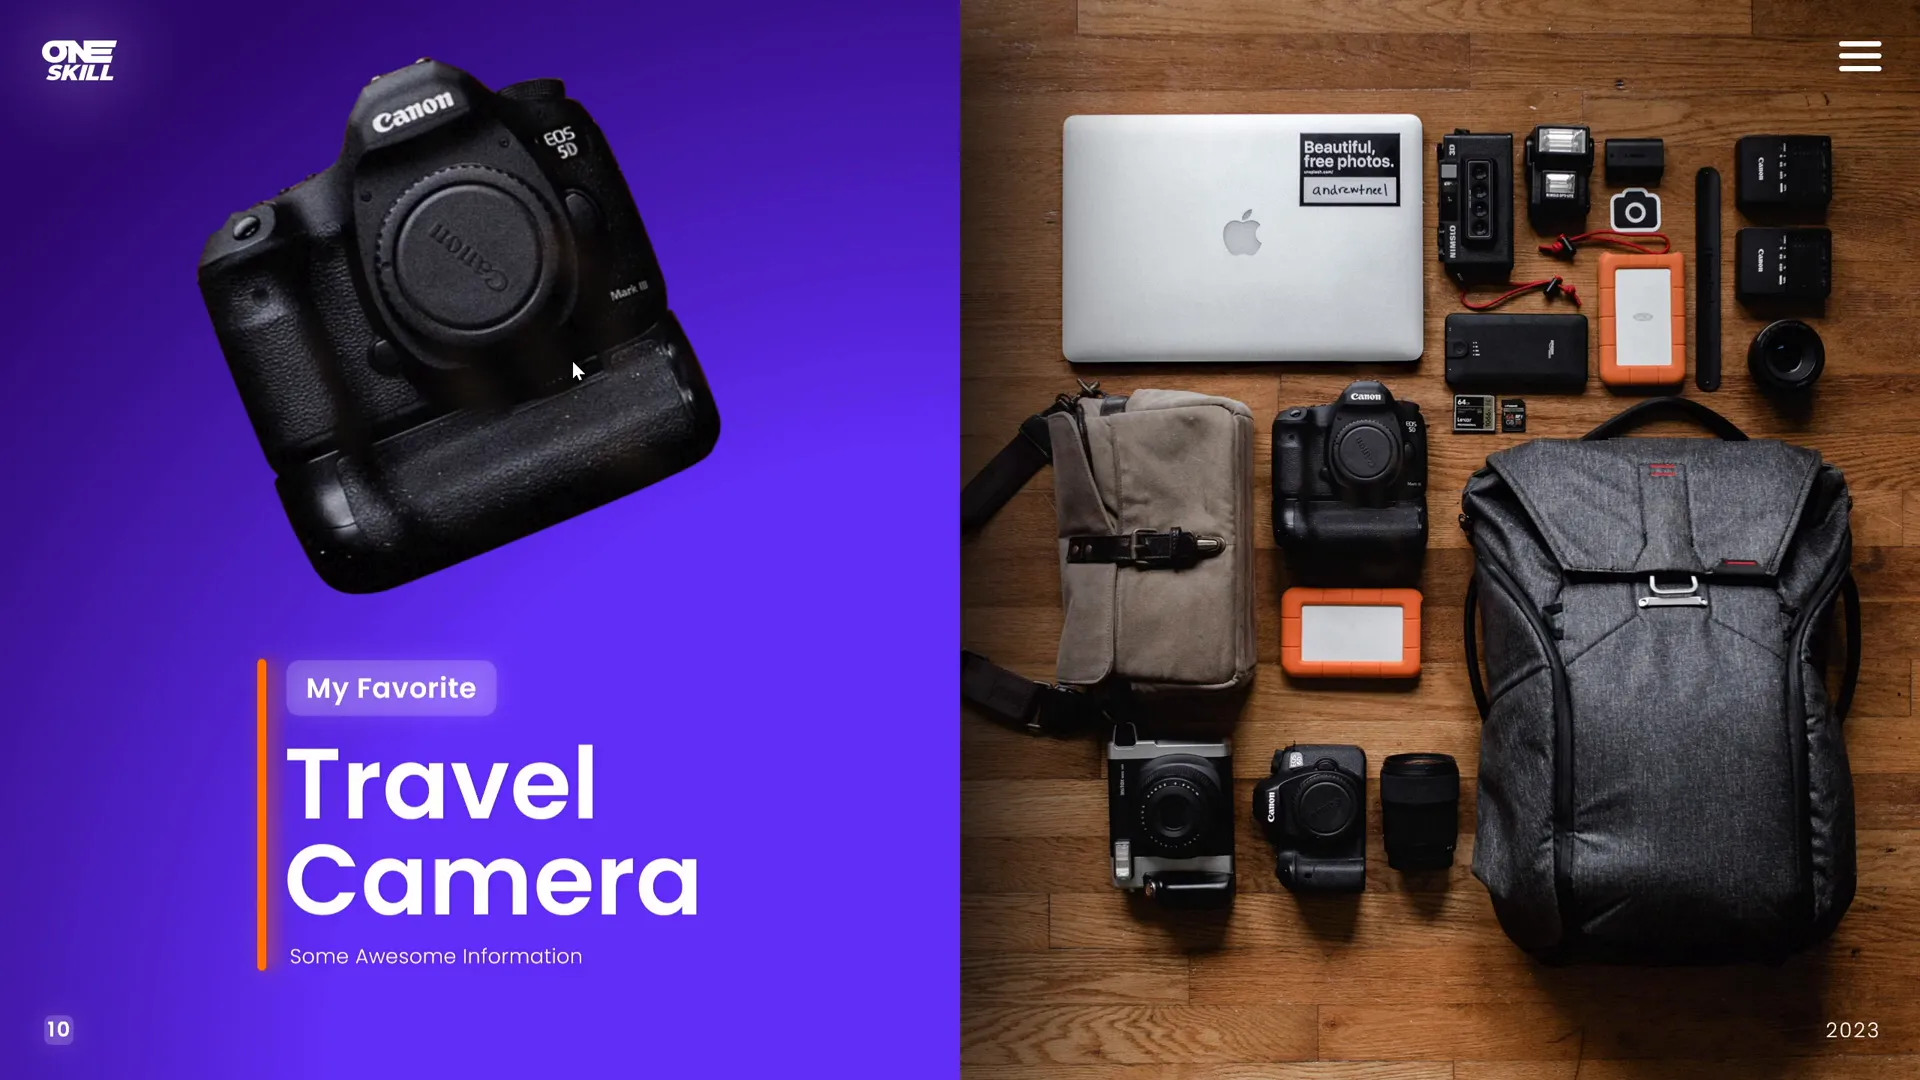
Photos bring life and context to your slide design. For this tutorial, we’ll use a beautiful travel-themed photo from Unsplash. Here’s how to add and prepare your photo:
- Insert the photo:
- Go to Insert > Pictures and select the photo from your device.
- Insert it onto the right side of the slide.
- Position the photo:
- Move the photo to the right side so it complements the rectangle on the left.
- Send the photo to the back (Right-click > Send to Back) so the rectangle remains visible.
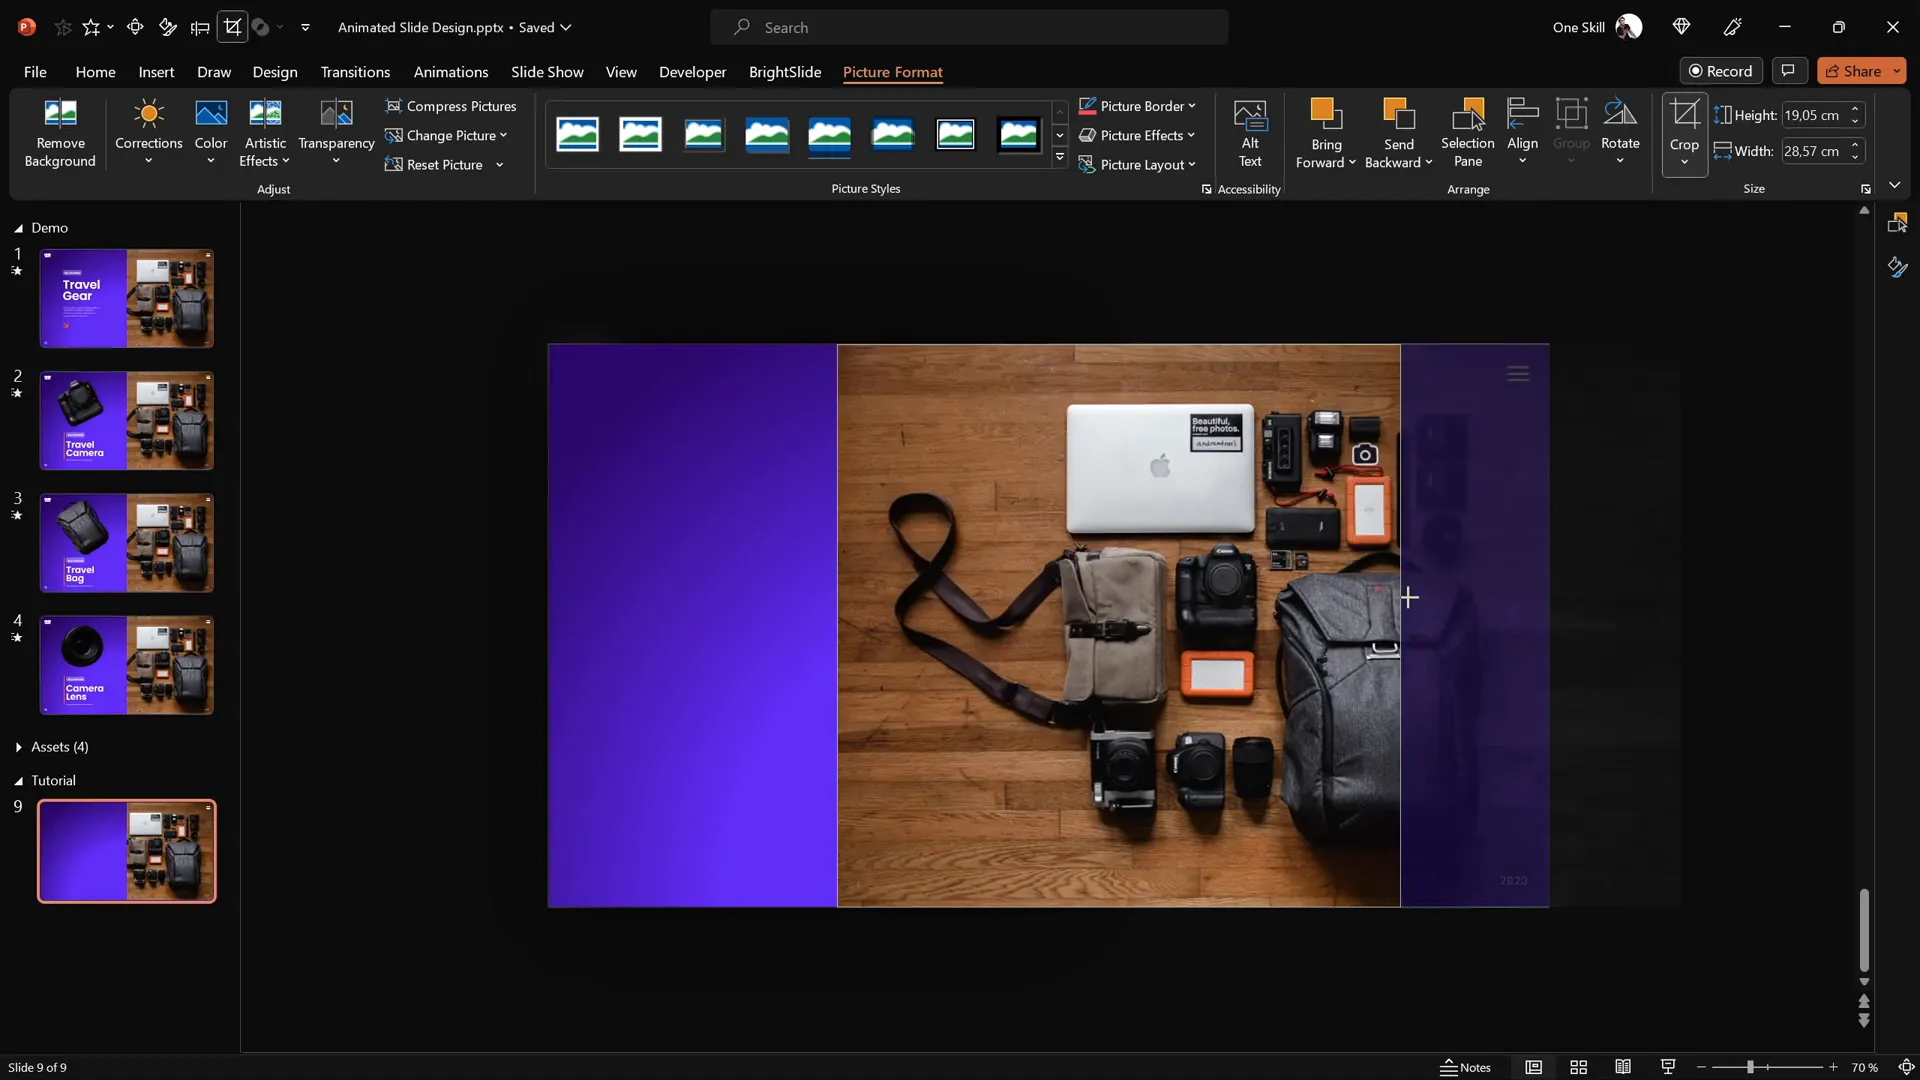
- Crop the photo:
- Crop the right side of the photo so it doesn’t extend beyond the slide boundaries.
- Adjust the photo inside the cropping area for the best composition.
- Click the Crop button again to finalize.
- Send photo and rectangle to back to reveal any logos or slide numbers.
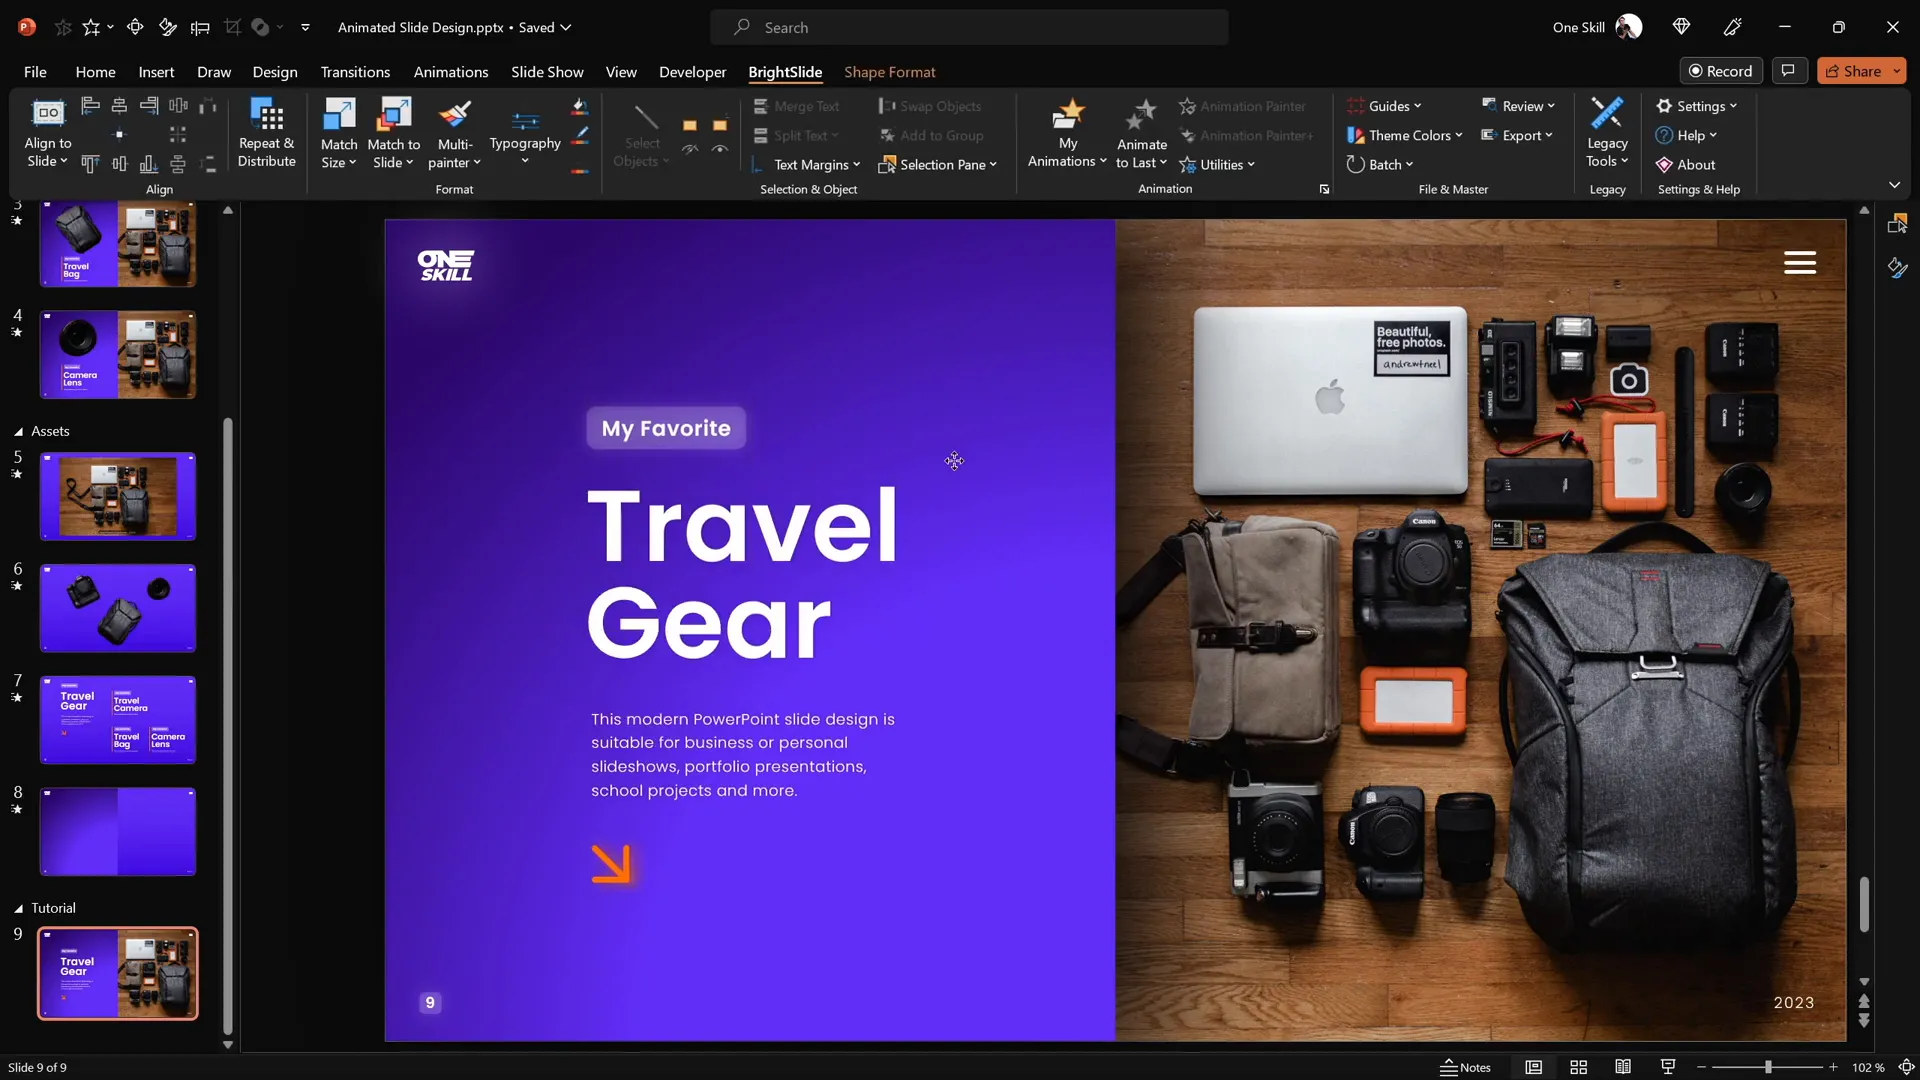
These steps ensure your photo integrates seamlessly into the slide design without overwhelming other elements.
Adding Text Boxes and Aligning Text
Text boxes provide context and information for your clickable items. Here’s how to add and organize them:
- Prepare text boxes:
- Use fonts like Poppins Semi Bold and Poppins Light for a clean and modern look.
- Create grouped text boxes for each clickable item (e.g., travel camera, travel bag, camera lens).
- Copy and paste text groups:
- Copy the grouped text boxes and paste them onto your slide.
- Position the groups inside the rectangle on the left.
- Align text boxes:
- Use alignment shortcuts or PowerPoint’s Shape Format > Align options.
- Align text boxes to the left and make vertical gaps equal for a neat layout.
- Use add-ins for faster alignment:
- If you have the free BrightSlide add-in, use its productivity features for quicker alignment.
Organizing text in this way creates a professional and clear layout for your clickable items.
Cutting Out Objects from the Photo
To create interactive clickable items, you need separate image layers of objects from your photo. PowerPoint alone can do this, but for precision, using a free online editor like Photopea is recommended. Here’s the process:
- Open your photo in Photopea: Upload the image you want to cut out objects from.
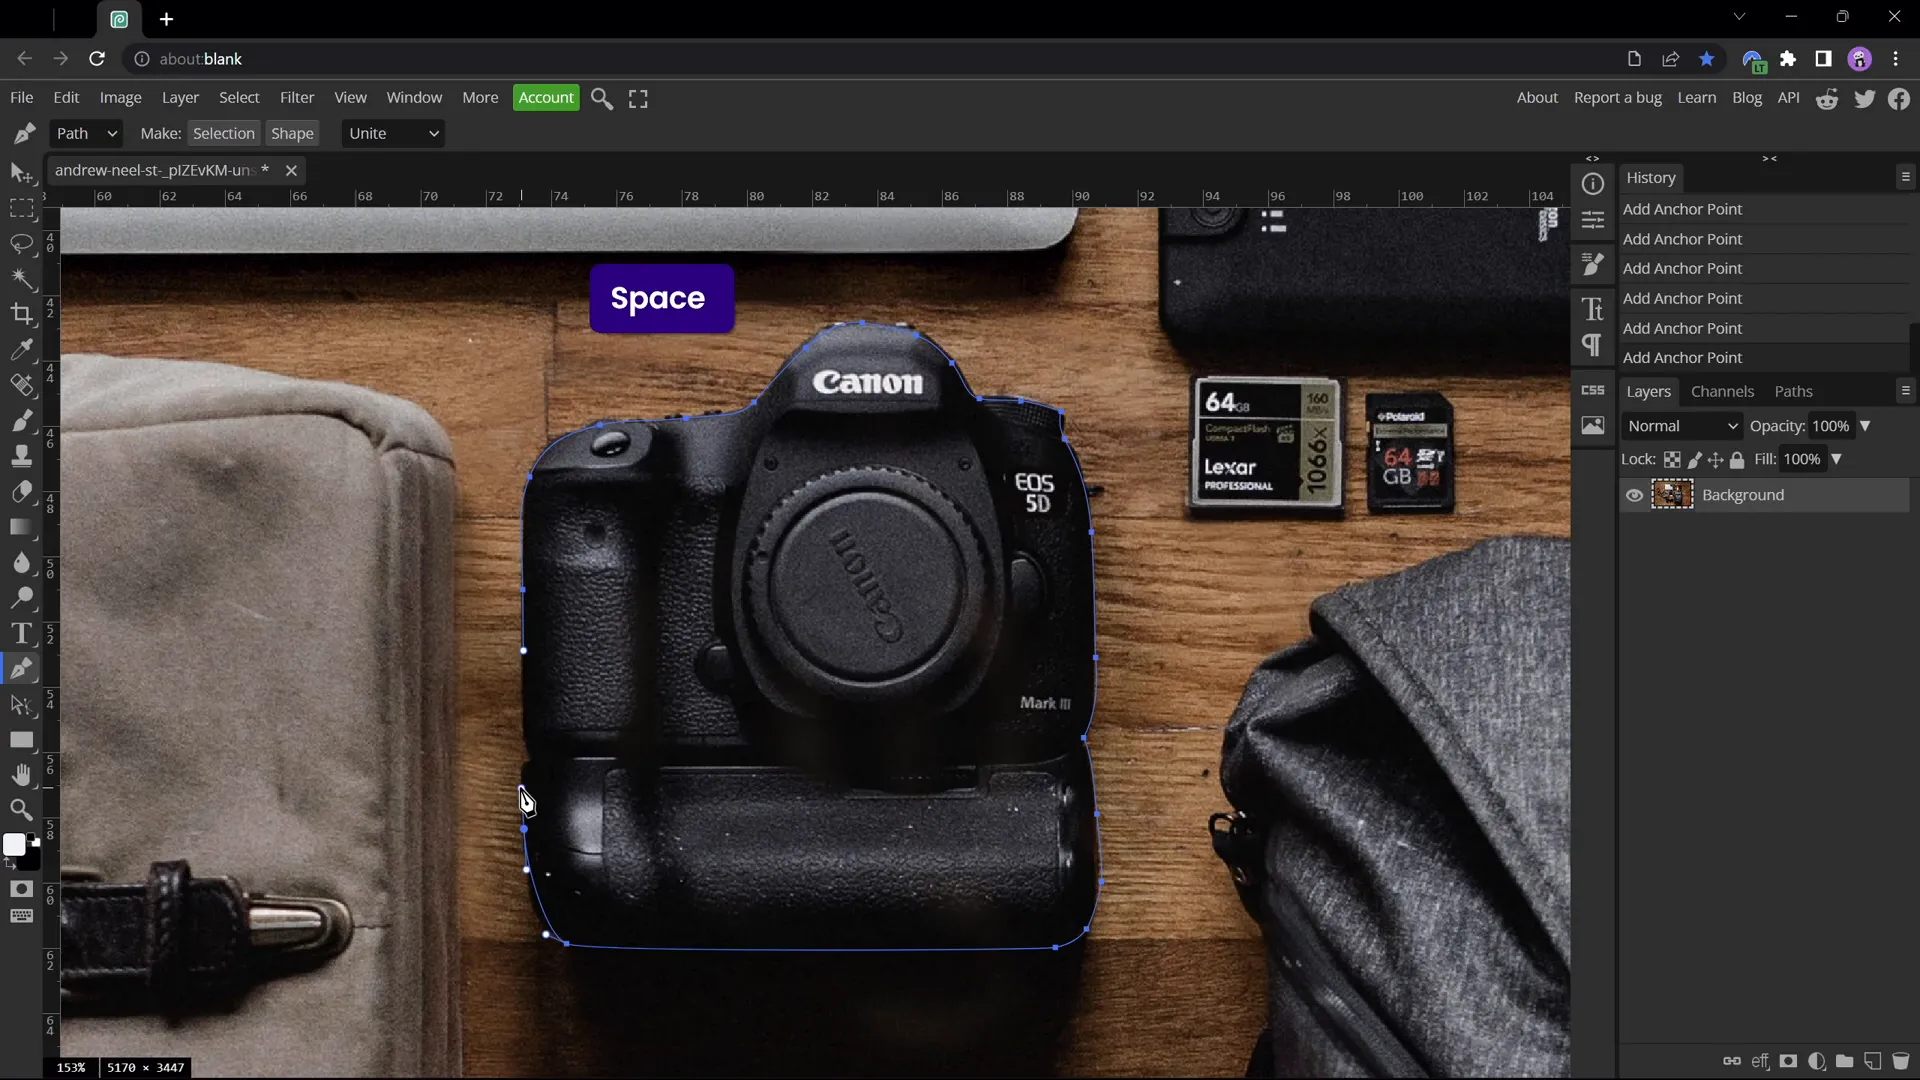
- Use the Pen Tool:
- Activate the Pen Tool and set it to Path Mode.
- Click around the edges of the object (e.g., a camera) to create a path.
- Adjust points as needed by hitting the space bar or holding Alt for sharp turns.
- Create selection: Close the path by clicking near the start point, then click Create Selection.
- Mask the image: Use the mask button to hide everything except the selected object.
- Trim and export: Remove empty space by choosing Image > Trim and export the object as a PNG file.
- Repeat for other objects: Cut out all desired objects you want to animate separately.
For this tutorial, three objects were cut out: the camera, travel bag, and camera lens.
Matching Photo Cutouts to Original Image
After cutting out objects, you need to place these cutouts precisely over the original photo in PowerPoint. Here’s how to do it efficiently:
- Paste cutouts on your slide: Copy and paste all cutouts onto your slide.
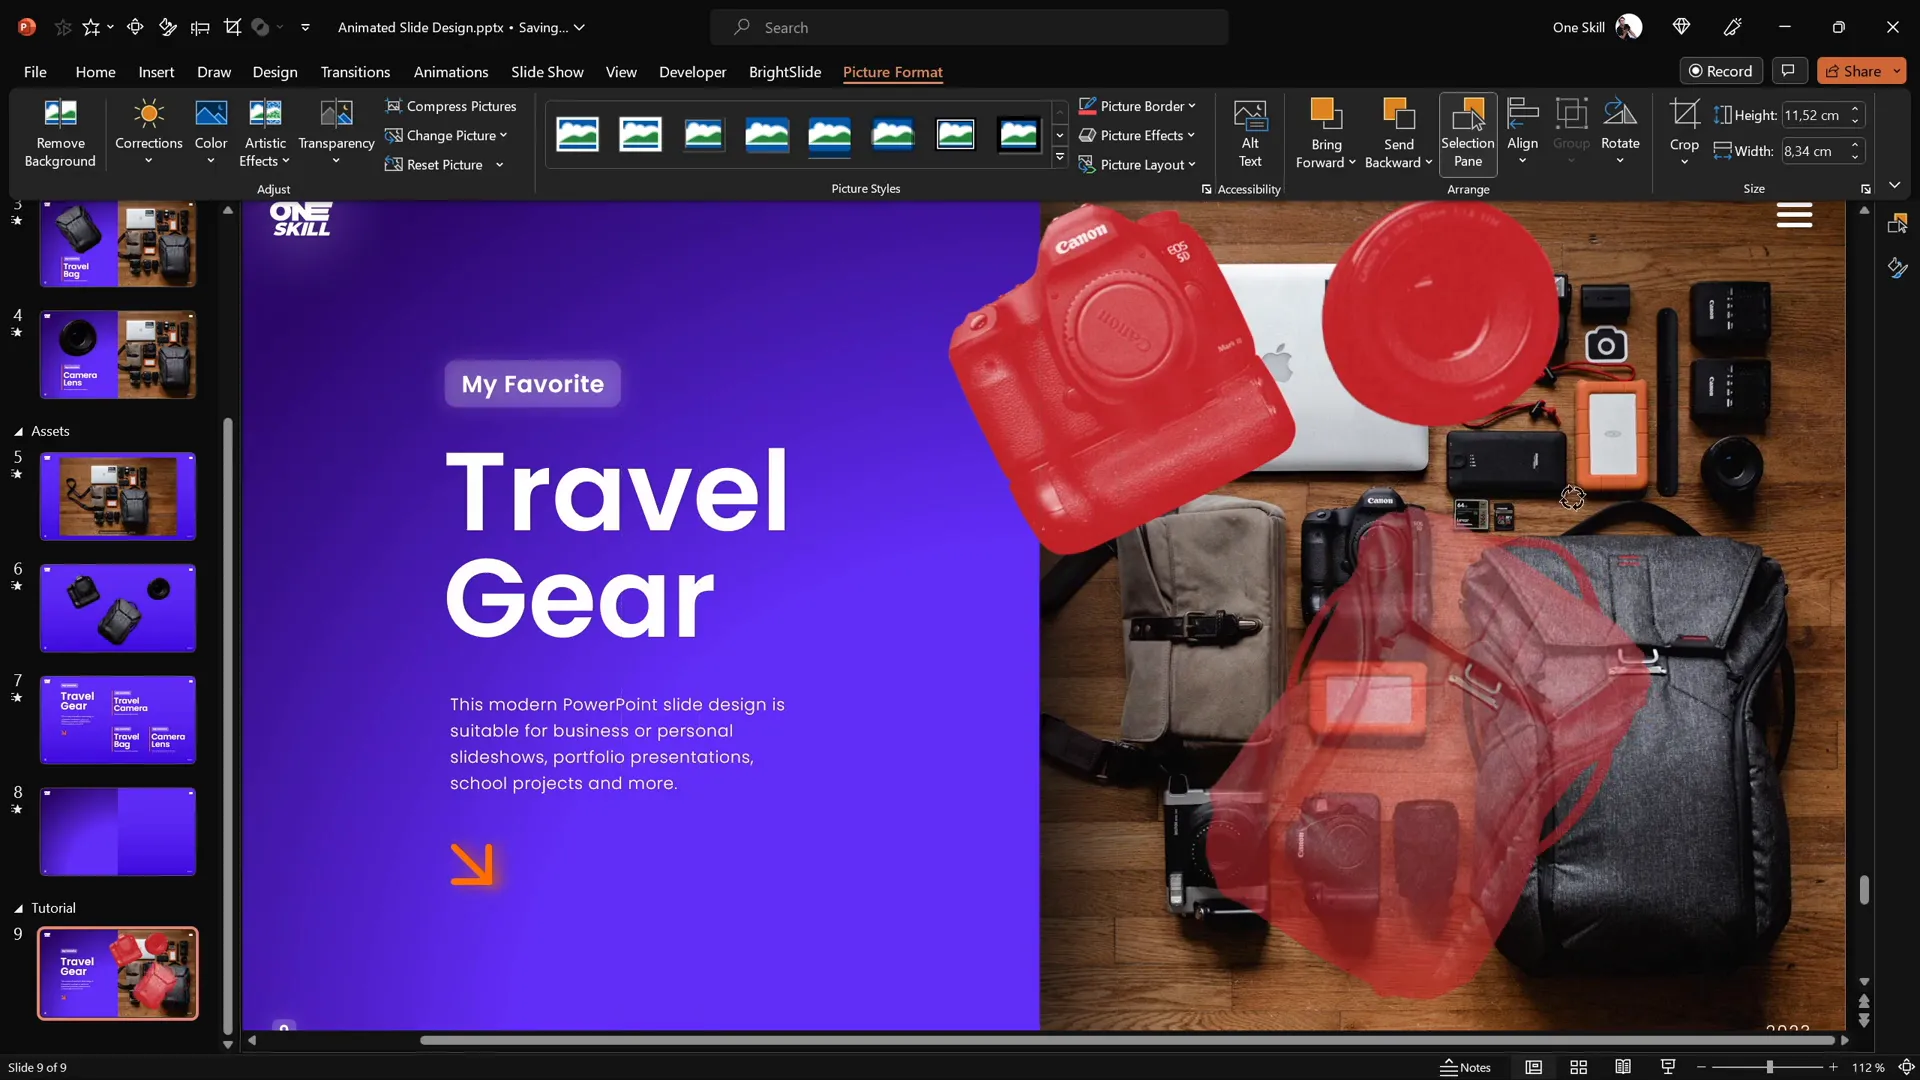
- Recolor cutouts temporarily:
- Select all cutouts and recolor them to a bright color (e.g., red) using Picture Format > Recolor.
- This helps you see if the cutouts align perfectly with the original photo.
- Position each cutout:
- Use arrow keys and rotate or resize cutouts to match their counterparts in the photo.
- Start with the travel bag, then the lens, and finally the camera.
- Reset picture color: Once aligned, select all cutouts and choose Reset Picture to remove the temporary recoloring.
At this point, you should have the original photo as a background and the cutouts perfectly layered on top.
Making Cutouts Clickable with Hyperlinks
To create an interactive experience, each cutout must be linked to a corresponding detailed slide. Here’s how to set up clickable elements:
- Duplicate your slide: Create three duplicates of your current slide so you have four slides total:
- Slide 1: Introduction slide with all clickable items.
- Slide 2: Camera slide.
- Slide 3: Travel bag slide.
- Slide 4: Camera lens slide.
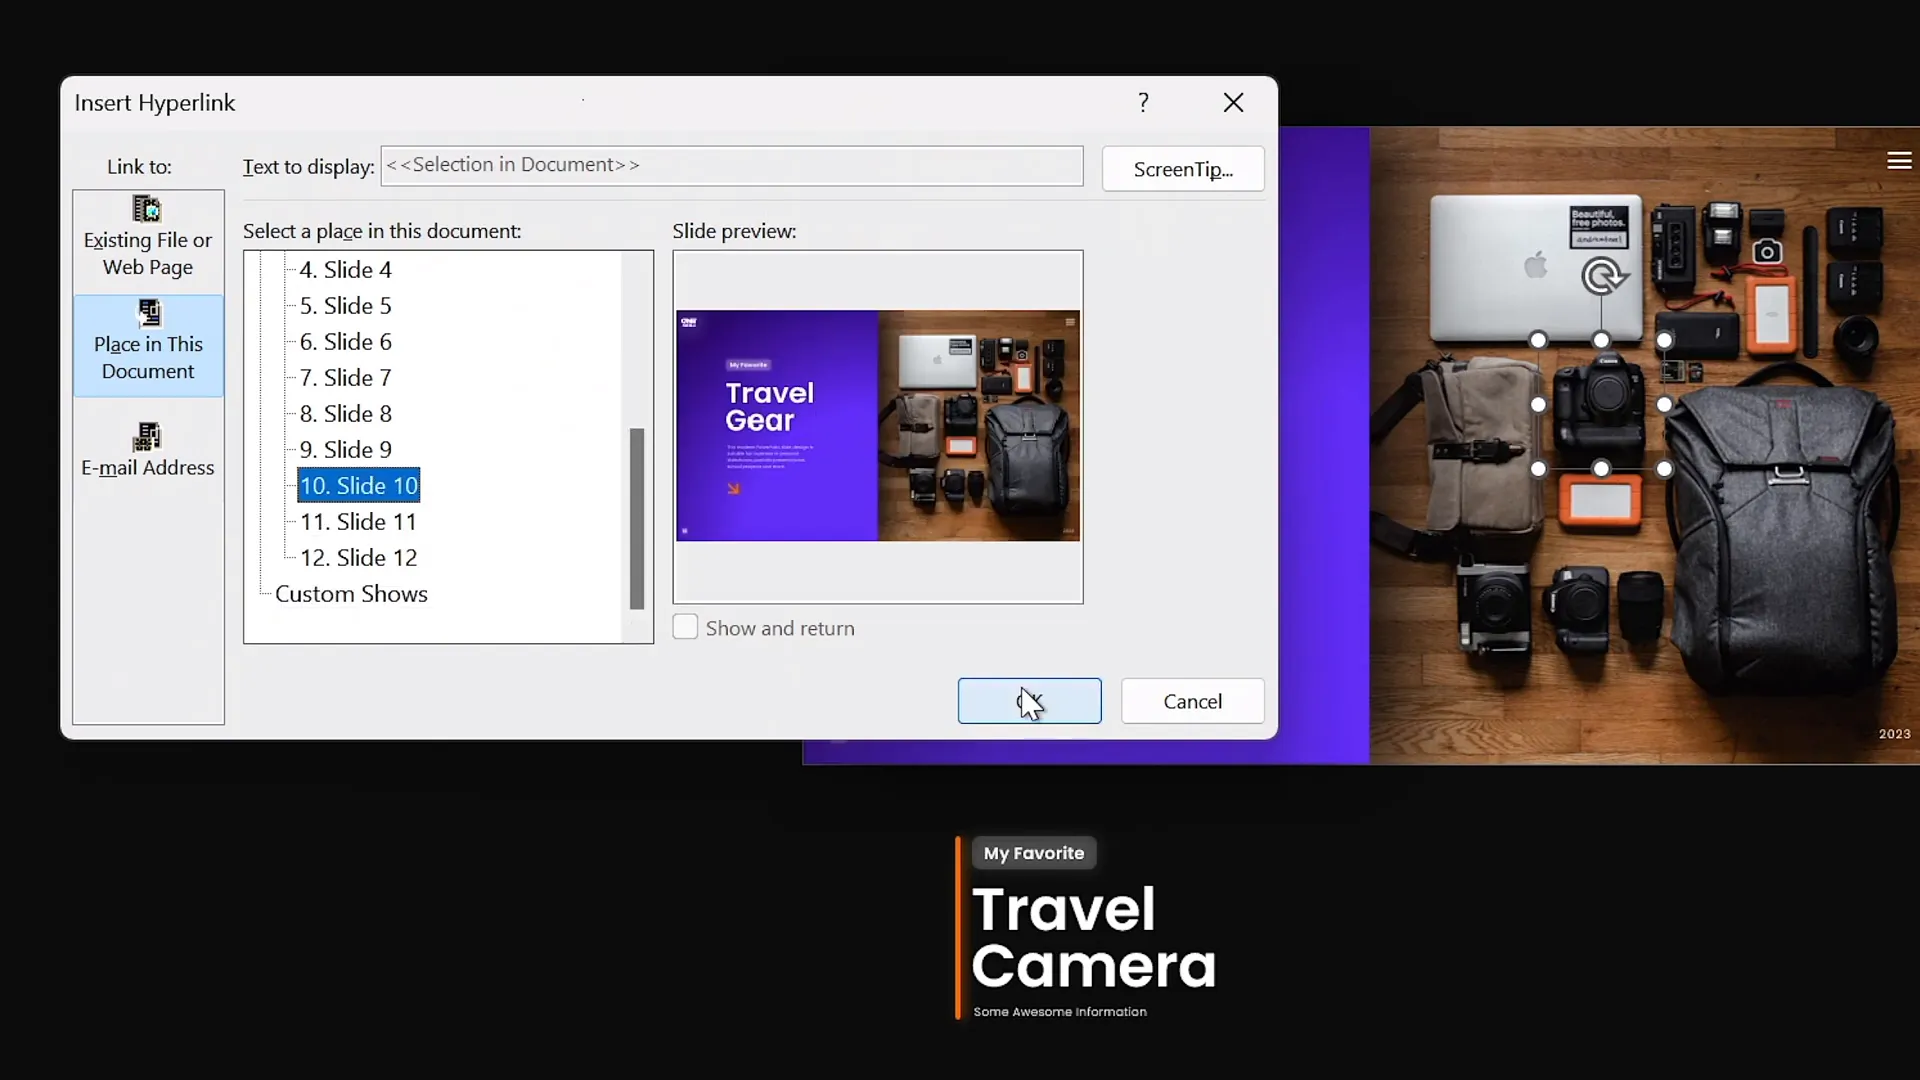
- Add hyperlinks to cutouts:
- Select the camera cutout on the introduction slide.
- Press Ctrl + K to insert a hyperlink.
- Link it to the camera slide (e.g., slide 10).
- Repeat for the travel bag and camera lens, linking to their respective slides.
- Copy cutouts with hyperlinks: Copy and paste the cutouts with hyperlinks into the other slides, replacing the originals.
This setup makes the cutouts clickable, allowing users to navigate between slides by clicking on objects.
Applying Morph Transitions for Smooth Animation
The Morph transition is a powerful feature in PowerPoint that animates smooth transformations between slides. To add dynamic animations to your clickable slide design:
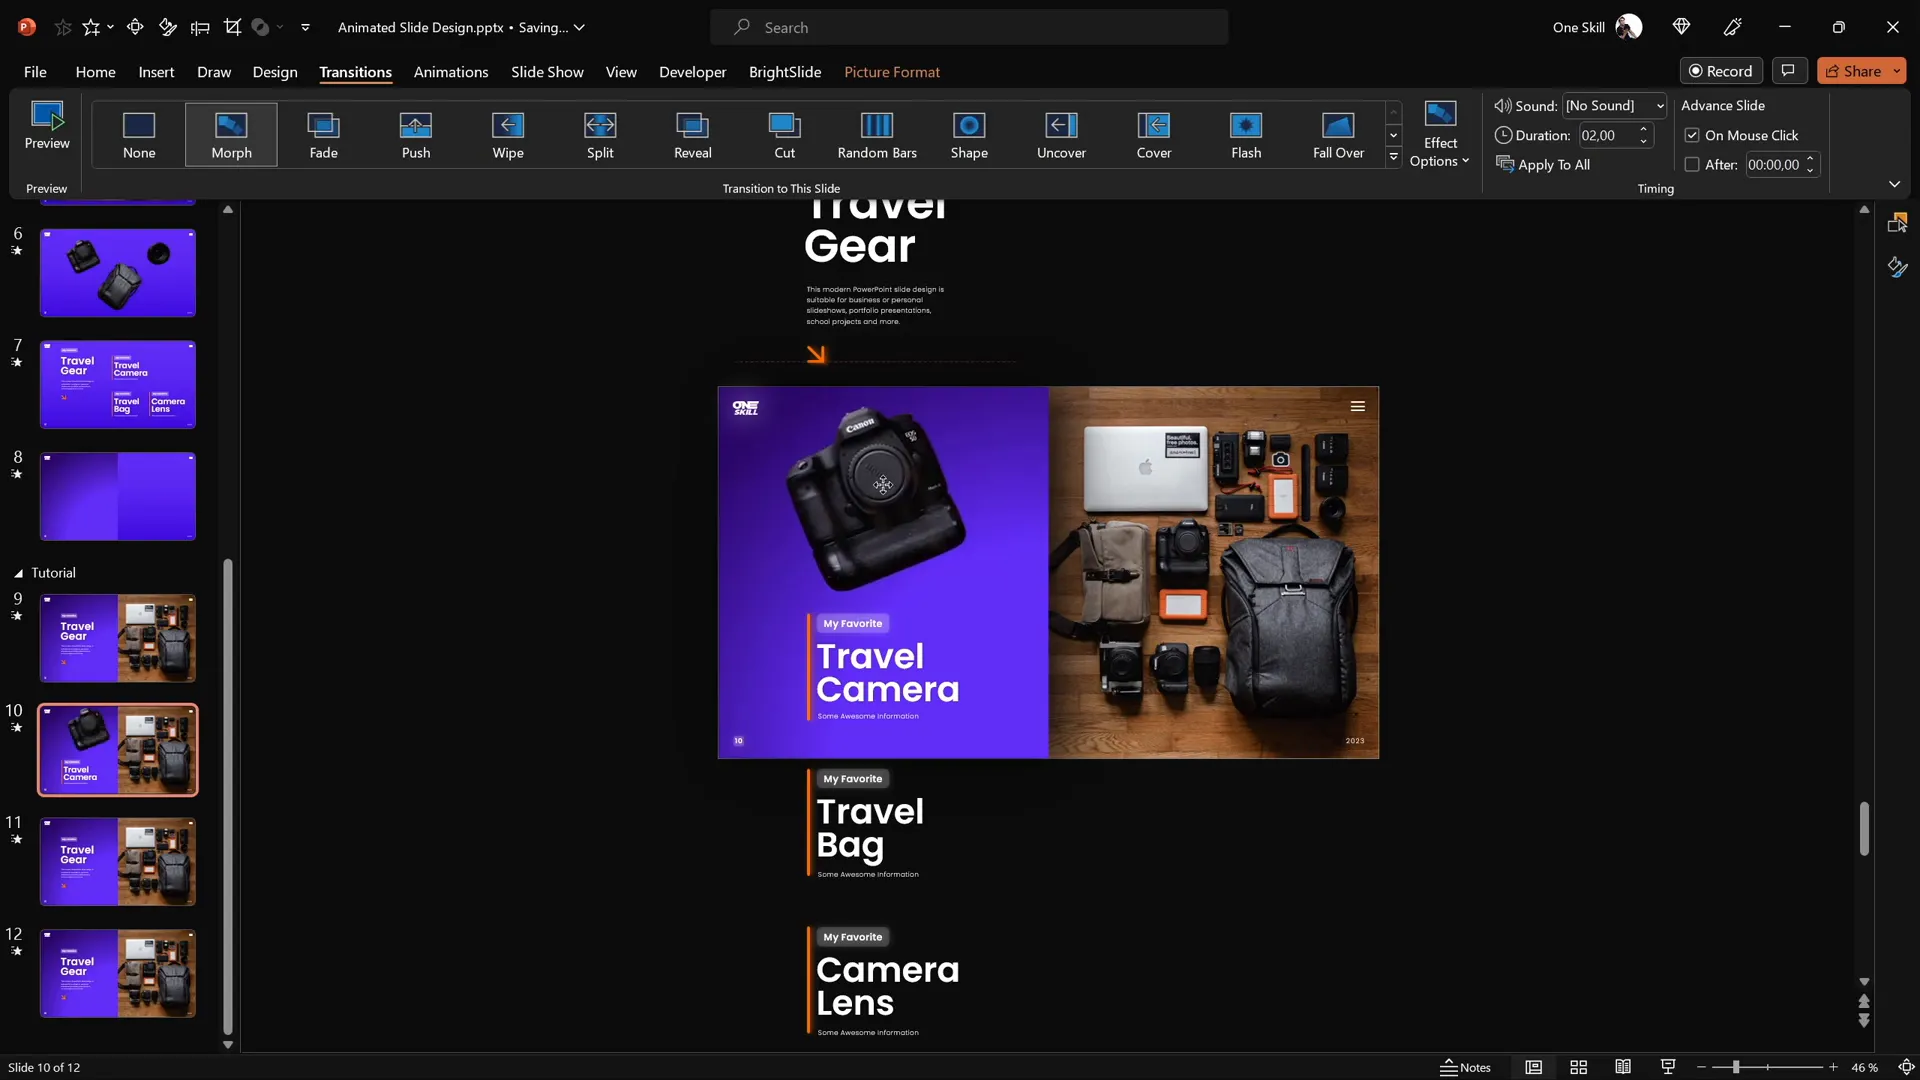
- Select all four slides: Click on the first slide, hold Shift, and click the last slide.
- Apply Morph transition: Go to the Transitions tab and select Morph.
- Set transition duration: Adjust the duration to control the animation speed.
The Morph transition will animate the movement, resizing, and appearance changes between your slides, creating a seamless animated effect when users click on the cutouts.

Designing Individual Slides for Each Clickable Item
Each detailed slide should focus on a single clickable item, with adjusted layouts and enhanced visuals. Here’s how to customize each slide:
| Slide | Design Focus | Adjustments |
|---|---|---|
| Camera Slide | Highlight the travel camera |
|
| Travel Bag Slide | Focus on the travel bag |
|
| Camera Lens Slide | Emphasize the camera lens |
|
These focused slide designs ensure clarity and effective communication of each clickable item.
Fixing Morph Transition Issues
Sometimes, Morph transitions can glitch when animating similar objects across slides. For example, the camera lens animation might appear awkward because PowerPoint confuses similar shapes. Here’s how to fix it:
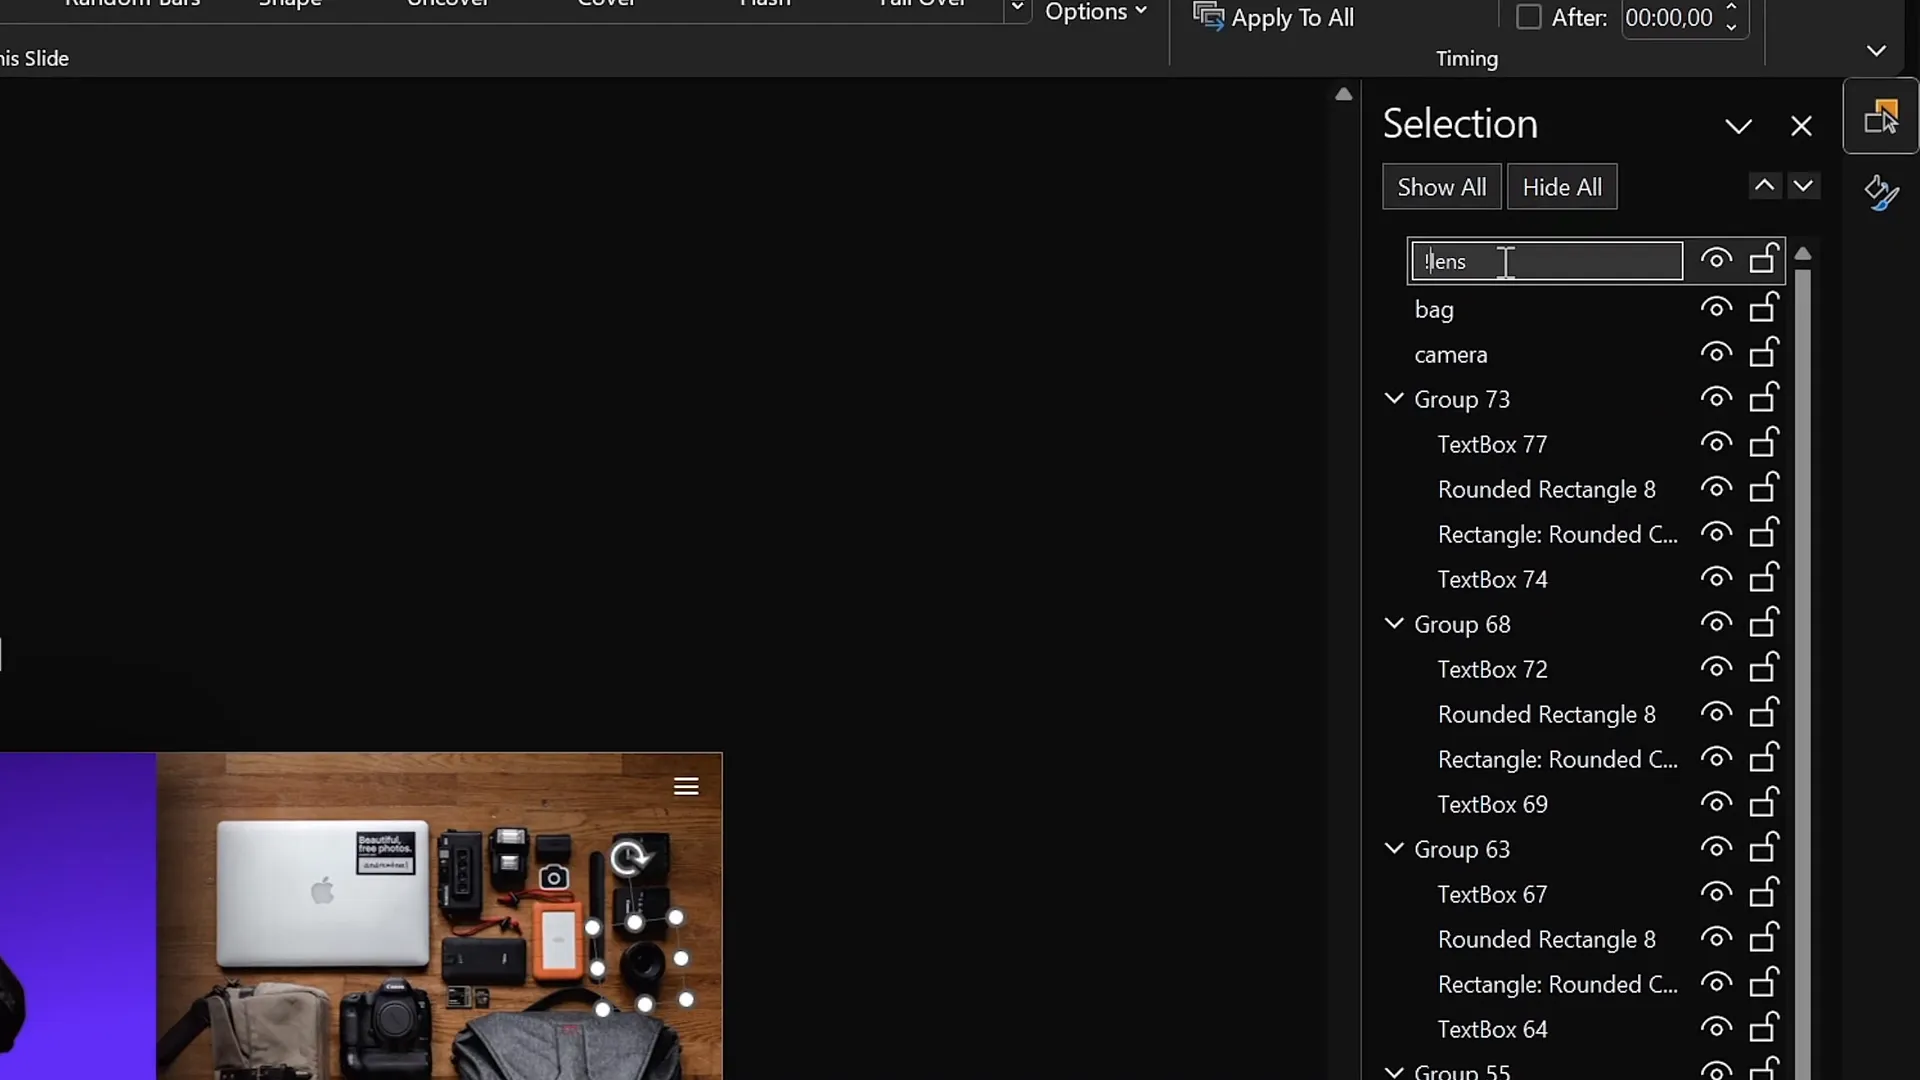
- Rename objects in the Selection Pane:
- Open the Selection Pane (Home > Select > Selection Pane).
- Rename all camera lens images with a unique prefix, such as
!!Lens. - Ensure the same naming convention is applied across all slides.
- Test the Morph transition again: The unique names help PowerPoint differentiate objects, resulting in smoother animations.
This simple naming trick resolves common Morph animation issues, especially with similar objects.
Finalizing and Testing Your Animated Slide Design
With all elements in place, it’s time to test your clickable animated slide design:
- Enter presentation mode: Press F5 or click Slide Show > From Beginning.
- Click on each cutout: Verify that clicking the camera, travel bag, and lens cutouts navigate to their respective slides with smooth animations.
- Check animations: Ensure Morph transitions animate the objects correctly without glitches.
- Adjust as needed: If any elements misalign or animations behave unexpectedly, revisit previous steps to tweak positions or names.
Once satisfied, your animated PowerPoint slide design is ready to impress your audience with interactive, smooth, and professional visuals.
Frequently Asked Questions (FAQ)
What version of PowerPoint do I need to create this animated slide design?
You need Microsoft PowerPoint 365 or PowerPoint 2019 or later to access the Morph transition and other advanced features used in this tutorial.
Can I use any photo for this interactive slide design?
Yes! You can use any photo you prefer. Just ensure the objects you want to animate are distinct and can be cut out cleanly.
Is the Photopea tool free to use?
Yes, Photopea is a free online photo editor that works similarly to Photoshop. It’s excellent for cutting out objects when you need precision.
What if I don’t have the BrightSlide add-in mentioned for alignment?
BrightSlide is a free productivity add-in for PowerPoint that speeds up alignment and formatting tasks. However, you can use PowerPoint’s built-in alignment tools to achieve the same results manually.
How do I ensure smooth Morph animations between slides?
Make sure that objects you want to morph have consistent names across slides. Rename similar objects uniquely in the Selection Pane to avoid animation glitches.
Can I customize the fonts used in the text boxes?
Absolutely! The tutorial uses Poppins Semi Bold and Light fonts for a clean look, but feel free to use fonts that align with your branding or presentation style.
Are there any free resources to get the same photo and fonts used in this tutorial?
Yes! The travel photo is from Unsplash, a free stock photo site. The Poppins font is available for free from Google Fonts.
Can I apply this animated design technique to other presentation topics?
Definitely! This method of creating clickable, animated slides can be adapted to any theme or topic, such as product showcases, educational content, portfolios, and more.
How can I learn more about PowerPoint animations?
Check out the PowerPoint Animation Playlist by One Skill PPT for more tutorials and secrets on creating stunning animations.
Summary
Creating an animated PowerPoint slide design involves several key steps: setting up a beautiful gradient background, inserting and cropping photos, adding aligned text, cutting out objects for interactivity, positioning cutouts precisely, linking them with hyperlinks, applying Morph transitions, and customizing individual slides for enhanced focus. Troubleshooting with proper naming conventions ensures smooth animations.
This guide has walked you through each phase, equipping you with the skills to design clickable and scrollable animated slides that captivate your audience. With practice, you can adapt these techniques to various presentation styles and subjects, making your PowerPoint presentations truly stand out.
For more tutorials and free templates, visit One Skill PPT’s YouTube channel.


