
Welcome to this comprehensive tutorial on creating an animated PowerPoint slide design that is not only visually appealing but also highly interactive and user-friendly. This guide will walk you through the entire process of designing a dynamic slide menu with clickable icons that enable smooth navigation between slides. Whether you’re presenting on a desktop or a tablet, the design allows your audience to engage effortlessly with your content.
In this tutorial, you will learn how to build this animated slide design from scratch using PowerPoint’s built-in tools, including shapes, icons, and the powerful Morph transition. We will also cover tips on selecting color palettes, organizing your slides, and adding hyperlinks to create a seamless interactive experience.
Let’s dive into the step-by-step process of making your PowerPoint presentations more engaging and professional with this animated slide design.
Table of Contents
- Getting Started: Organizing Your Slides and Setting Up Sections
- Choosing the Perfect Color Palette for Your Slides
- Creating the Icon Menu with Bubbles
- Adding Color Variations for Active and Inactive States
- Grouping and Arranging Elements for Animation
- Inserting Hyperlinks for Interactive Navigation
- Creating the Beautiful Cutout Effect for the Active Icon
- Finalizing the Layout and Animating with Morph Transition
- Testing the Interactive Animated Slide Menu
- Enhancing Your Slides with Content and Finishing Touches
- Frequently Asked Questions (FAQ)
- Conclusion
Getting Started: Organizing Your Slides and Setting Up Sections
The first step in creating a polished animated slide design is to organize your slides effectively. Start by selecting the slides you have already created that you want to include in your presentation. Hold down the Shift key and select all these slides, then group them into a new slide section called Original. This helps you keep your workspace tidy and makes it easier to manage different parts of your presentation.
Next, create a new section below the original called Tutorial. This is where you will build the animated slide design from scratch. After setting up the sections, insert a new blank slide in the tutorial section to begin designing the animated menu.

Choosing the Perfect Color Palette for Your Slides
Colors play a crucial role in the overall look and feel of your presentation. To create a cohesive and attractive design, it’s important to select a harmonious color palette. There are many online resources for finding beautiful color schemes, such as Coolors.co.
Once you find a palette that suits your theme, you can capture it with a screen capture tool and paste it temporarily into your slide for easy reference. In this tutorial, we use five distinct colors to create five slides with vibrant backgrounds that complement the icon menu.
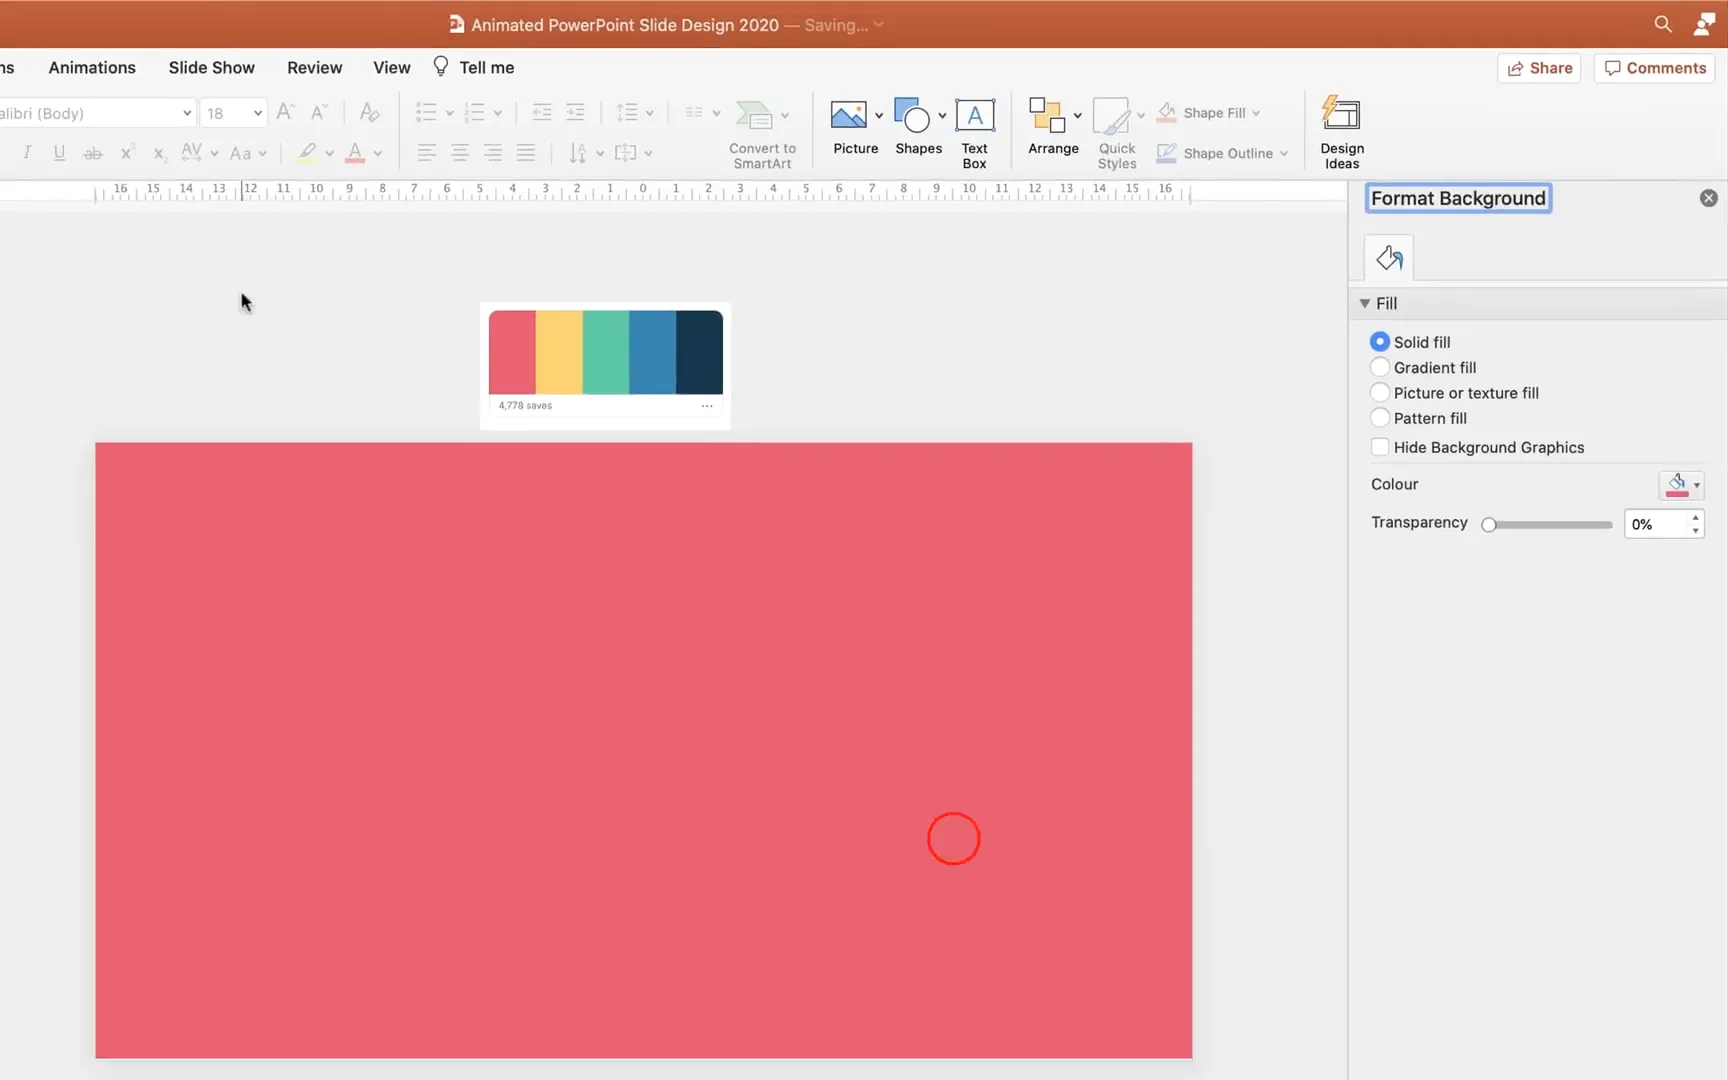
To apply the colors, right-click on the slide background, select Format Background, choose Solid Fill, and then use the eyedropper tool to pick the exact color from your palette. Duplicate this slide multiple times and change the background color for each duplicate using the palette you’ve chosen.
Creating the Icon Menu with Bubbles
The animated menu on the left side of the slide consists of circular bubbles containing icons. These bubbles serve as navigation buttons, allowing you to jump to different slides when clicked. Here’s how to create them:
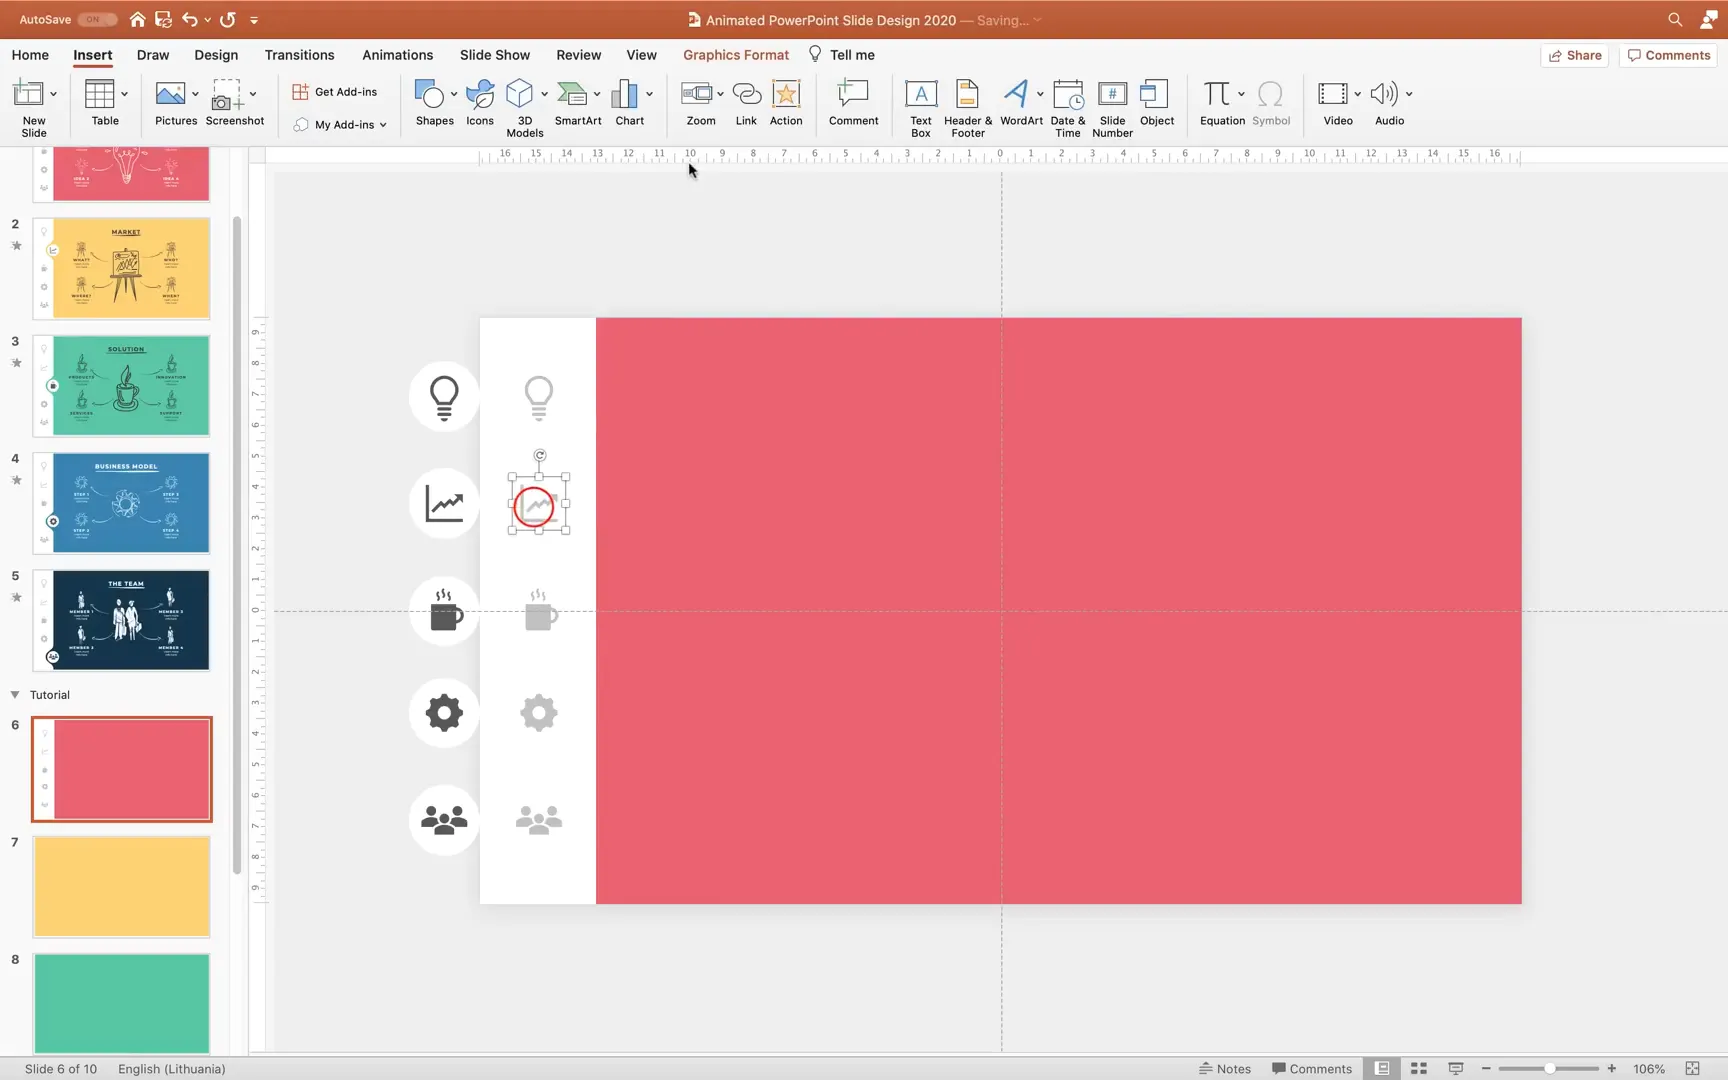
- Select Your Icons: You can find icons on websites like Flaticon.com, or if you have PowerPoint Office 365, you can use the built-in Insert > Icons tab. Search for icons that represent your content; for example, a lightbulb for ideas, a market icon, a coffee cup, a gear, and a people icon.
- Insert Icons: Insert the chosen icons into your slide. Arrange them vertically in the order you want them to appear in the menu.
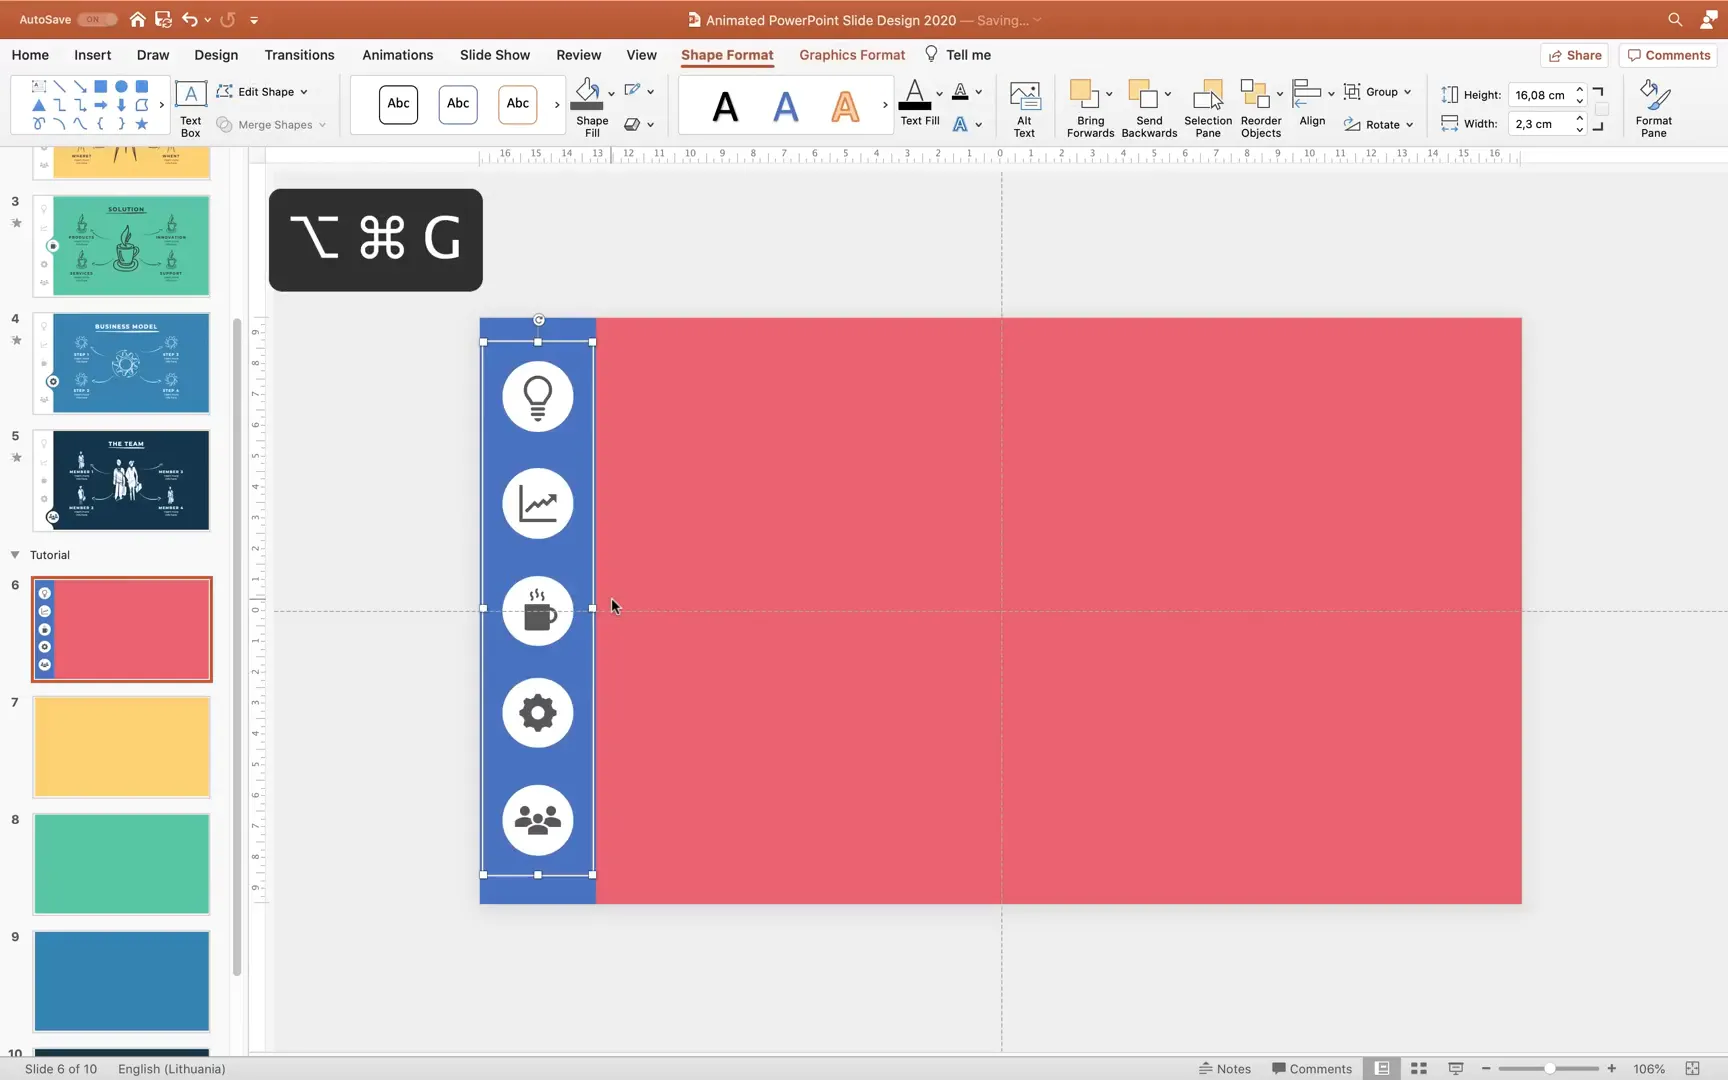
- Create Circular Bubbles: Use the Insert > Shapes tool to draw perfect circles by holding the Shift key while dragging. Set the fill color to white and remove any outline for a clean look. Use a size of about 2.3 cm in diameter for uniformity.
- Duplicate and Align Bubbles: Duplicate the circle shape multiple times and align them vertically using PowerPoint’s alignment tools. Hold Shift to drag copies in a straight line and use the Distribute Vertically command to space them evenly.
- Place Icons Inside Bubbles: Resize the icons to fit comfortably inside each circle and center them precisely within the bubbles.

Adding Color Variations for Active and Inactive States
To indicate which menu item is active, we create two sets of the icon bubbles: one with a darker color for the active state and one with a lighter color for inactive states. This visual cue helps your audience understand which section they are currently viewing.
Here’s how to manage the color states:
- Duplicate the entire set of bubbles and icons.
- Change the color of the inactive set to a lighter shade that matches your palette but is visually distinct from the active color.
- Position the sets such that the active state bubbles appear on top of a white rectangle that covers the icons, creating a layered effect.
- Ensure all icons and bubbles are grouped properly to make moving and editing easier.
This dual-layer approach allows for smooth animation transitions between active and inactive states.

Grouping and Arranging Elements for Animation
After creating the icon bubbles and setting their colors, group the circles and icons together for easier handling. Insert a white rectangle behind the icons to serve as a background for the active state animation. This rectangle should cover all the icons and be sent to the back of the layers.
Carefully align all elements to the left side of the slide where the menu will appear. Use PowerPoint’s guides and alignment tools to ensure everything is perfectly positioned.
Inserting Hyperlinks for Interactive Navigation
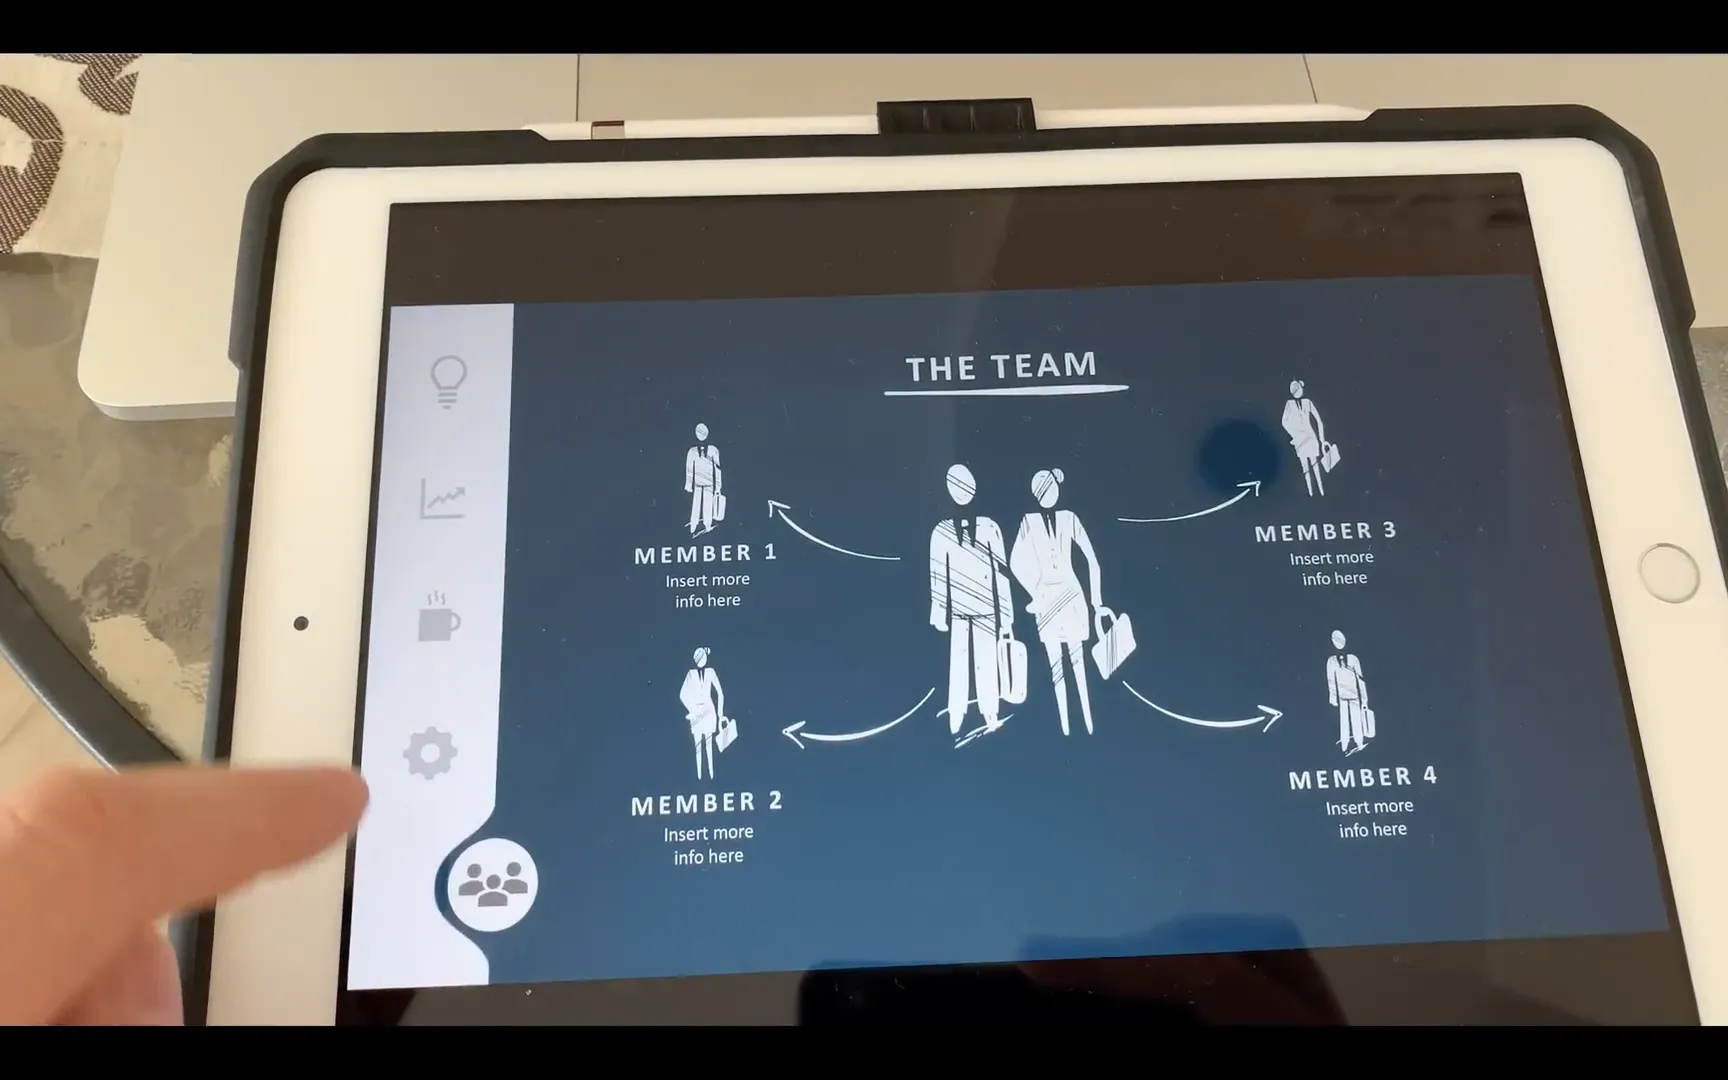
One of the most exciting features of this animated slide design is the clickable menu icons that let you jump to different slides instantly. This is especially useful when presenting on a tablet, where you can tap the icons with your finger.
To add hyperlinks:
- Select an icon bubble.
- Go to the Insert tab and select Link.
- Choose Place in This Document and then select the corresponding slide you want to link to.
- Repeat for each icon bubble, linking each to its respective slide.
Once all links are added, test the hyperlinks in full-screen mode to ensure that clicking an icon takes you to the correct slide. This interactive feature greatly improves the user experience of your presentation.
Creating the Beautiful Cutout Effect for the Active Icon
The cutout effect highlights the active icon bubble by creating a smooth rounded shape that blends into the slide background. This effect adds a sophisticated touch to the navigation menu.
Follow these steps to create the cutout:
- Zoom out to get a better view of your slide.
- Select the white rectangle behind the icons and extend it vertically by holding Ctrl + Shift (or Cmd + Shift on Mac) and dragging upward. This makes the rectangle taller to accommodate the animation movement.
- Cut all elements on the slide (Ctrl + A or Cmd + A to select all, then Ctrl + X or Cmd + X to cut).
- Paste the elements onto a new slide created for this effect.
- Move the active icon bubble to the center of the slide and temporarily change its color to blue for visibility.
- Align the extended rectangle to the center and send it to the back.
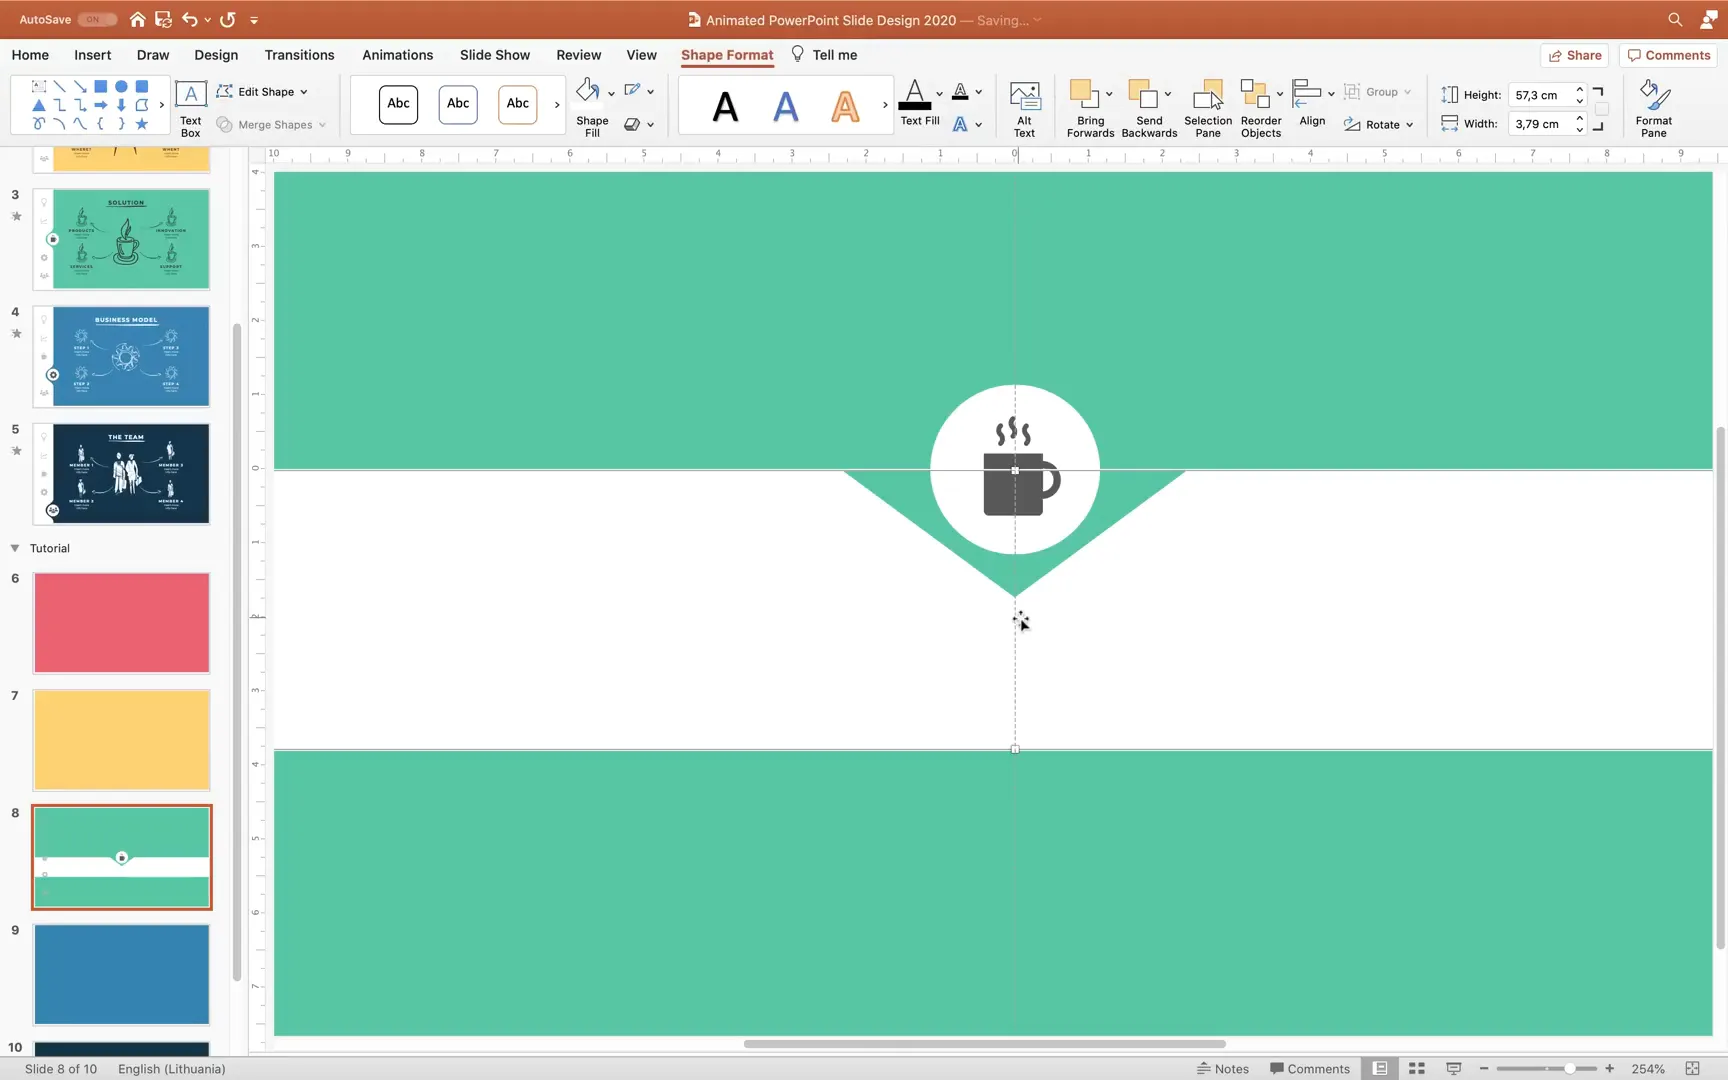
- Insert a triangle shape, hold Shift to make it perfect, flip it vertically, and color it orange with no outline.
- Place the triangle overlapping the top of the white rectangle and squish it to the desired width.
- Select both the rectangle and triangle, then go to Shape Format > Merge Shapes > Subtract to cut the triangle shape out of the rectangle, creating a smooth notch.
- Change the circle color back to white for the bubble.
- Edit the rectangle’s points (Edit Points) to create a gentle curve at the bottom by dragging the handles down while holding the Shift key.
This custom shape will be used in the animation to create the illusion of the active bubble cutting into the menu background.

Finalizing the Layout and Animating with Morph Transition
With all graphical elements in place, it’s time to assemble the slides and apply the Morph transition to bring the animation to life.
Here’s how to finalize the design:
- Copy all the elements created on the cutout effect slide and paste them onto each of the slides where you want the animated menu to appear.
- Adjust the position and visibility of the active and inactive icon bubbles accordingly for each slide. For example, the active icon bubble on slide 6 will be highlighted on the left side, while the corresponding inactive bubble appears on the right side.
- Make sure the white rectangle background is positioned correctly and that inactive icons have No Fill applied for the cutout effect.
- Select all the relevant slides (from slide 6 to slide 10 in this tutorial) and go to the Transitions tab.
- Choose the Morph transition and set the duration to a fast 0.5 seconds for smooth animation.
The Morph transition will animate the movement of the cutout and the active icon bubble seamlessly as you navigate between slides, creating an impressive interactive menu.

Testing the Interactive Animated Slide Menu
Once the Morph transitions and hyperlink navigation are set, test your presentation thoroughly:
- Use the arrow keys to move between slides and observe the smooth animation of the active menu bubble shifting position.
- Click on the menu icons to jump instantly to the corresponding slide and verify that the animation and content update correctly.
- If presenting on a tablet or touchscreen device, try tapping the icons with your finger to ensure the interactive navigation works smoothly.
This interactive and animated menu design enhances user experience by allowing presenters and viewers to navigate intuitively and with style.
Enhancing Your Slides with Content and Finishing Touches
After perfecting the animated menu, don’t forget to add meaningful content to your slides. You can copy and paste your text, images, and graphics into each slide to complement the interactive menu.
Make sure the content aligns well with the slide background and menu design, maintaining visual harmony and readability.
With your animated menu and content combined, your PowerPoint presentation will stand out with professional polish and interactive flair.
Frequently Asked Questions (FAQ)
Can I use this animated slide design on any version of PowerPoint?
This tutorial relies on PowerPoint features such as the Icons tab and the Morph transition, which are available in PowerPoint Office 365 and newer versions. If you are using an older version, some features may not be available, but you can try to adapt the steps using alternative tools.
Is the animated menu suitable for touchscreen devices?
Yes! One of the key advantages of this design is that you can tap the icons directly on tablets or touchscreen laptops, making navigation intuitive and fast during presentations.
Can I customize the icons and colors used in the menu?
Absolutely! You can select any icons that match your presentation’s theme and choose color palettes that align with your branding or style preferences. Websites like Coolors.co and Flaticon.com are great resources for colors and icons.
How do I ensure smooth animation when using the Morph transition?
Make sure that the elements you want to animate have consistent names and are present on all slides involved in the transition. Align elements carefully, and keep the transition duration short (around 0.5 seconds) for the best effect.
Can I add more than five icons to the menu?
Yes, you can add as many icons as needed. Just be mindful of spacing and readability. Use PowerPoint’s alignment and distribution tools to keep the layout balanced.
Conclusion
Creating an animated PowerPoint slide design with an interactive icon menu is a fantastic way to elevate your presentations. This tutorial has guided you through organizing slides, choosing color palettes, designing icon bubbles, adding hyperlinks, crafting a stylish cutout effect, and using the Morph transition to animate your menu seamlessly.
By following these steps, you can produce a professional and engaging presentation that allows easy navigation, whether using a mouse, keyboard, or touchscreen. This design not only looks great but also improves the user experience for your audience, making your message more impactful and memorable.
Remember, the key to great slide design is combining aesthetics with functionality. Experiment with colors, icons, and animations to tailor the design to your unique style and presentation goals.
Happy presenting!
Check out the full video: Animated PowerPoint Slide Design Tutorial 🔥Step by Step🔥


