If you’re looking to elevate your PowerPoint presentations with eye-catching animated title slides, you’ve come to the right place. This Animated PowerPoint Title Slide Tutorial will guide you through the step-by-step process of creating a beautiful animated title slide that captivates your audience from the very first moment. Whether you’re a beginner or an experienced PowerPoint user, this tutorial will help you master techniques such as gradient fills, the PowerPoint draw tool, text animations, and embedding videos seamlessly into your slides.
In this comprehensive guide, you’ll learn how to:
- Create a vibrant gradient background
- Use custom fonts and handwritten text
- Apply smooth animations including fly-ins and replay effects
- Cut out text shapes from backgrounds for cool visual effects
- Embed and animate videos within your slide
- Optimize slide transitions for professional polish
Ready to transform your title slides and impress your audience? Let’s dive in!
Table of Contents
- Getting Started: Setting Up Your Slide
- Creating a Stunning Gradient Background
- Adding Your Slide Title with Custom Fonts
- Using the PowerPoint Draw Tool for Handwritten Text
- Animating Your Text for Dynamic Impact
- Cutting Out Text from the Background
- Embedding and Animating Video in PowerPoint
- Adding Exit Animations for a Polished Finish
- Final Touches and Tips
- Frequently Asked Questions
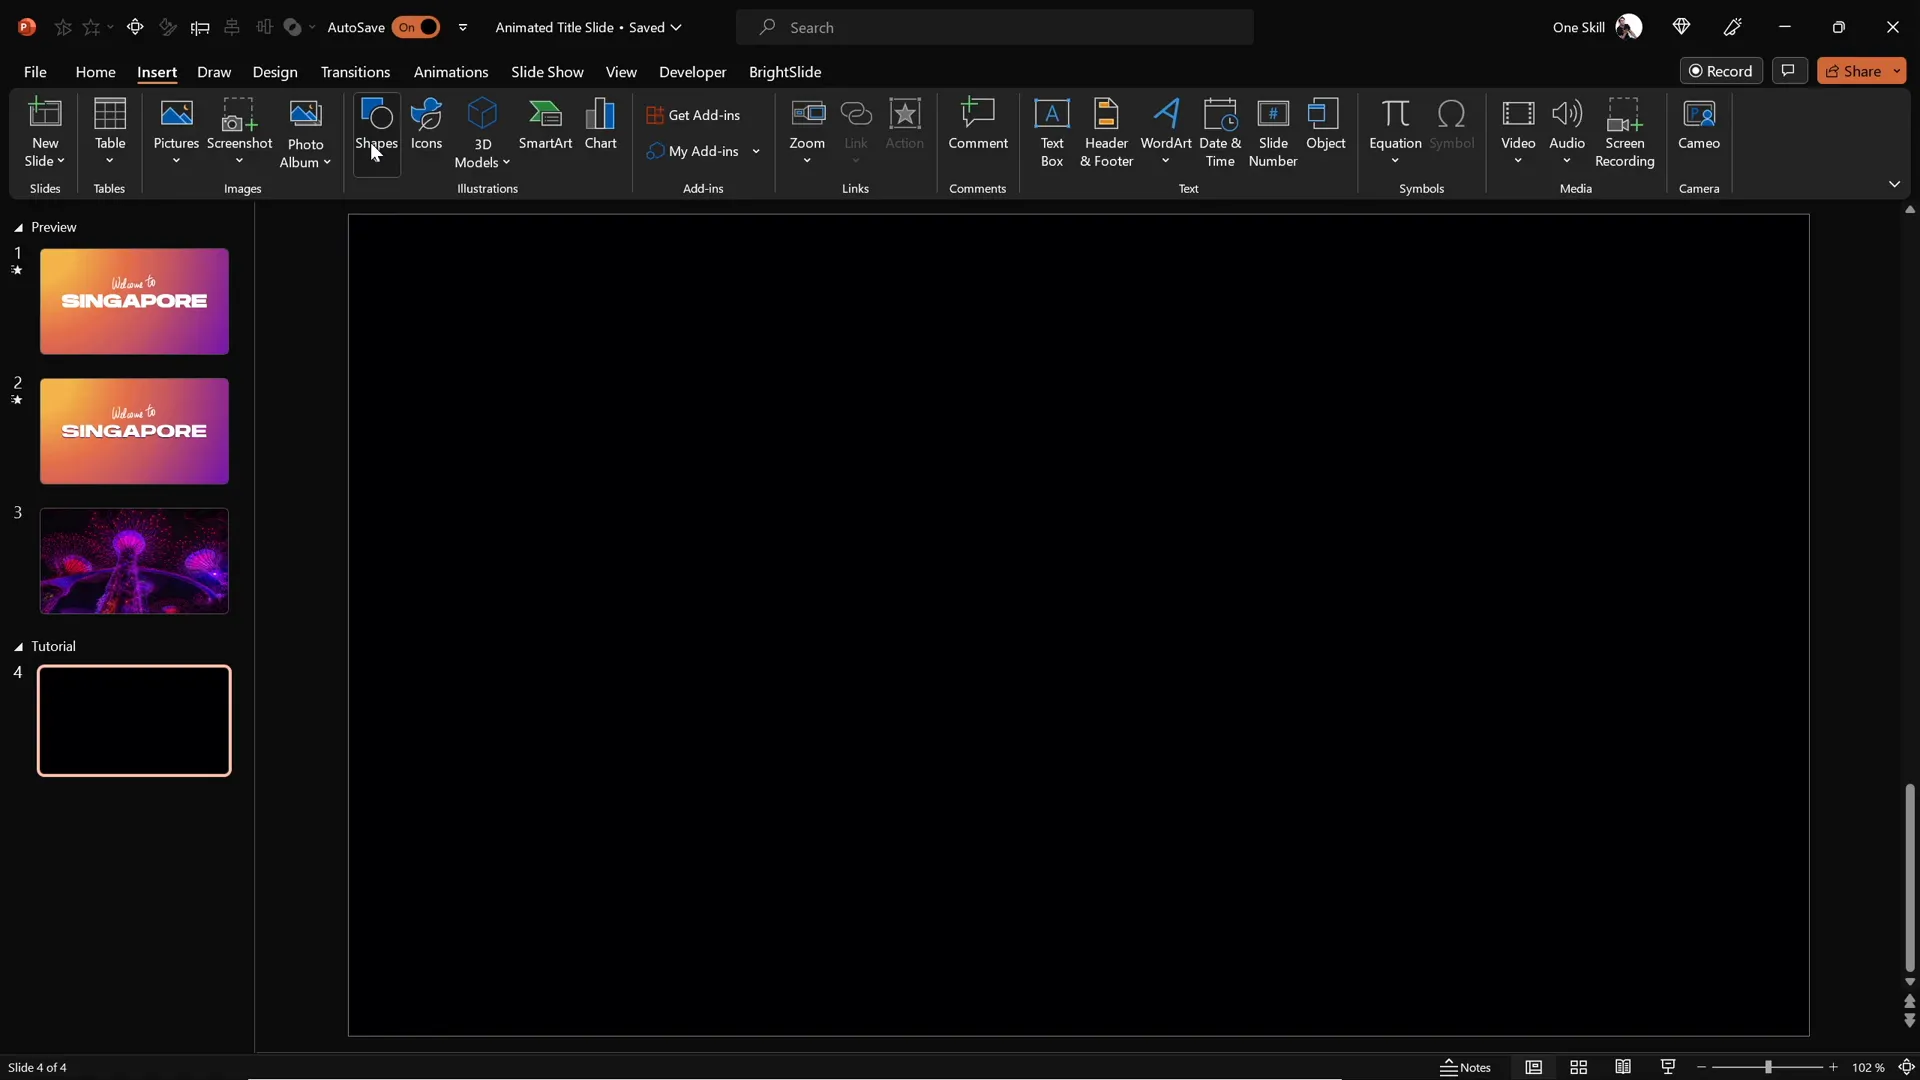
Getting Started: Setting Up Your Slide
Before you start designing your animated title slide, open PowerPoint and create a new blank presentation. Navigate to an empty black slide to serve as your canvas for this project.
Starting with a blank slide gives you full control over the design elements and animations without distractions. This tutorial assumes you are using Microsoft PowerPoint Microsoft 365 on Windows, but most steps are compatible with other versions as well.
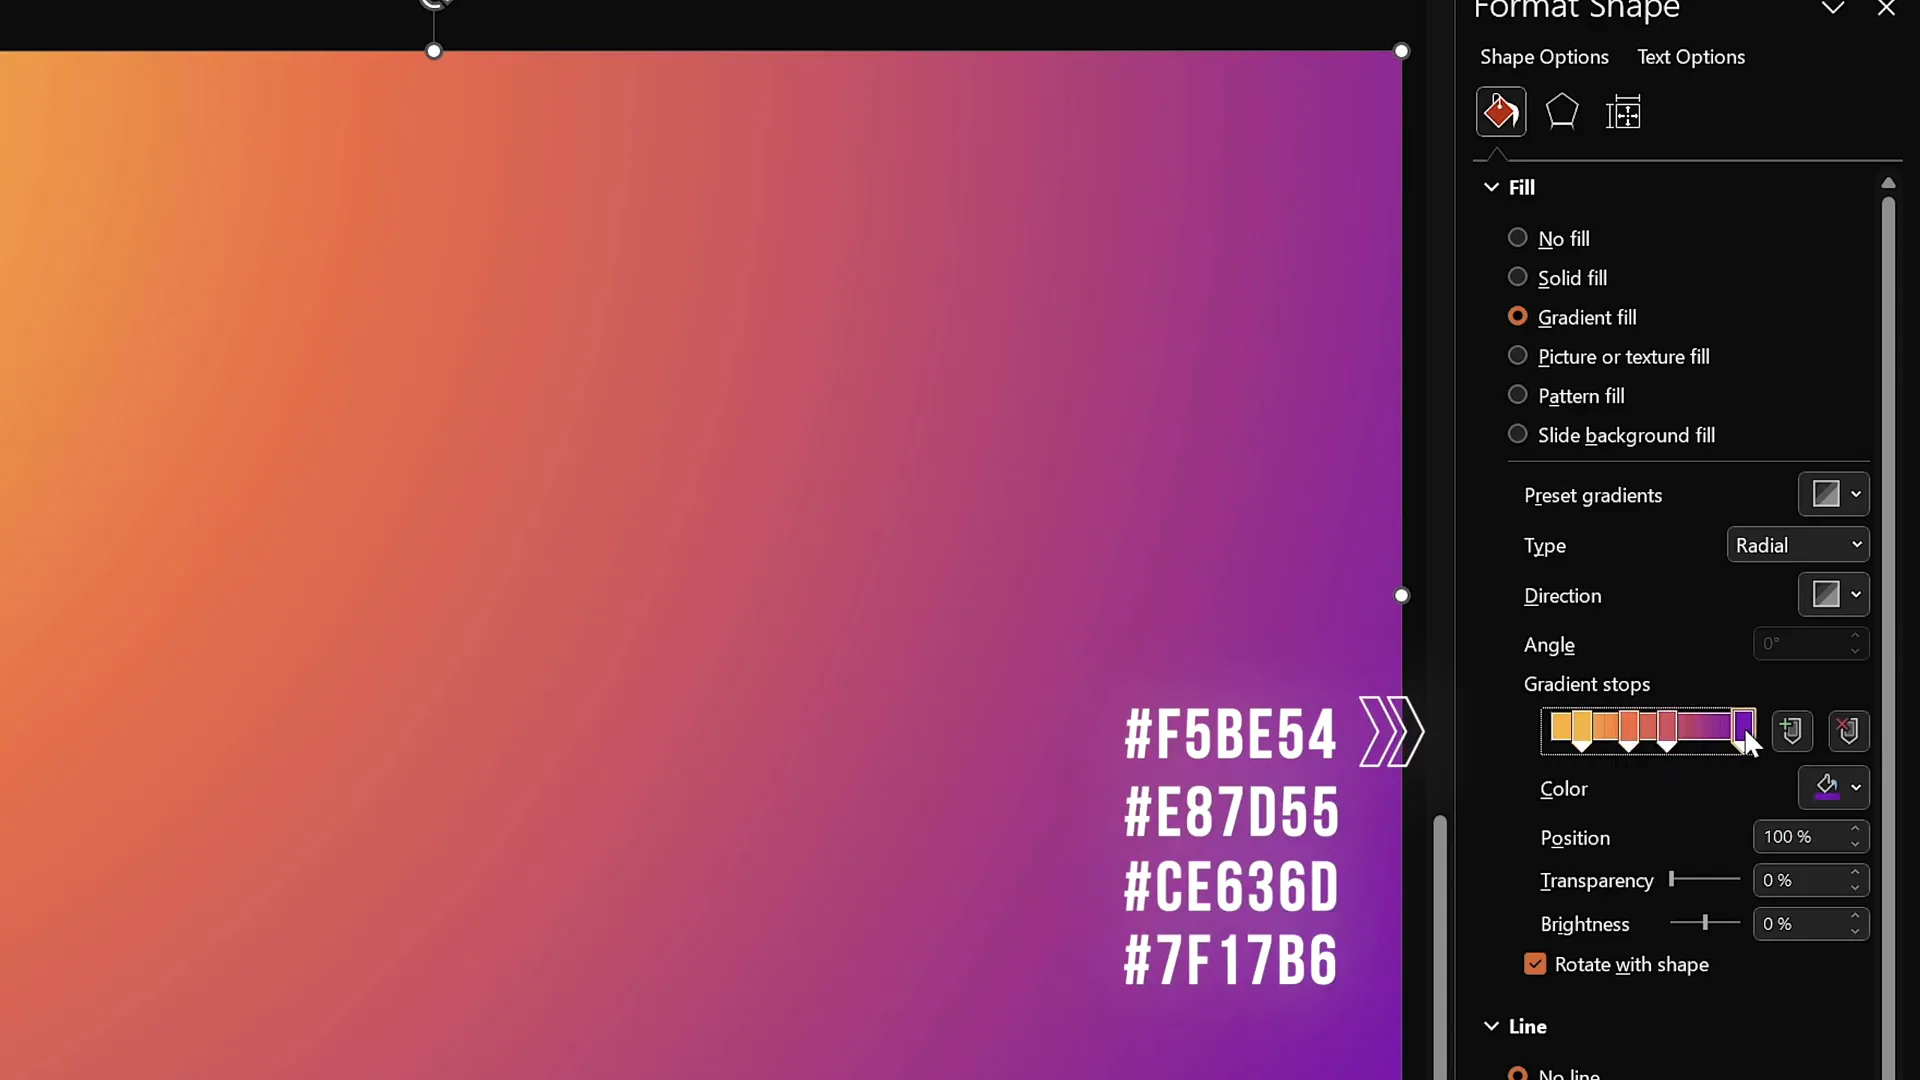
Creating a Stunning Gradient Background
The first step to creating an engaging title slide is to set a visually appealing background. Here’s how to do it:
- Insert a full-screen rectangle: Go to the Insert tab, select Shapes, and choose the rectangle shape. Draw it so it covers the entire slide.
- Copy an existing gradient fill: If you have a gradient fill you like from another slide, select that shape, click Format Painter on the Home tab, and then click on your new rectangle to apply the same gradient.
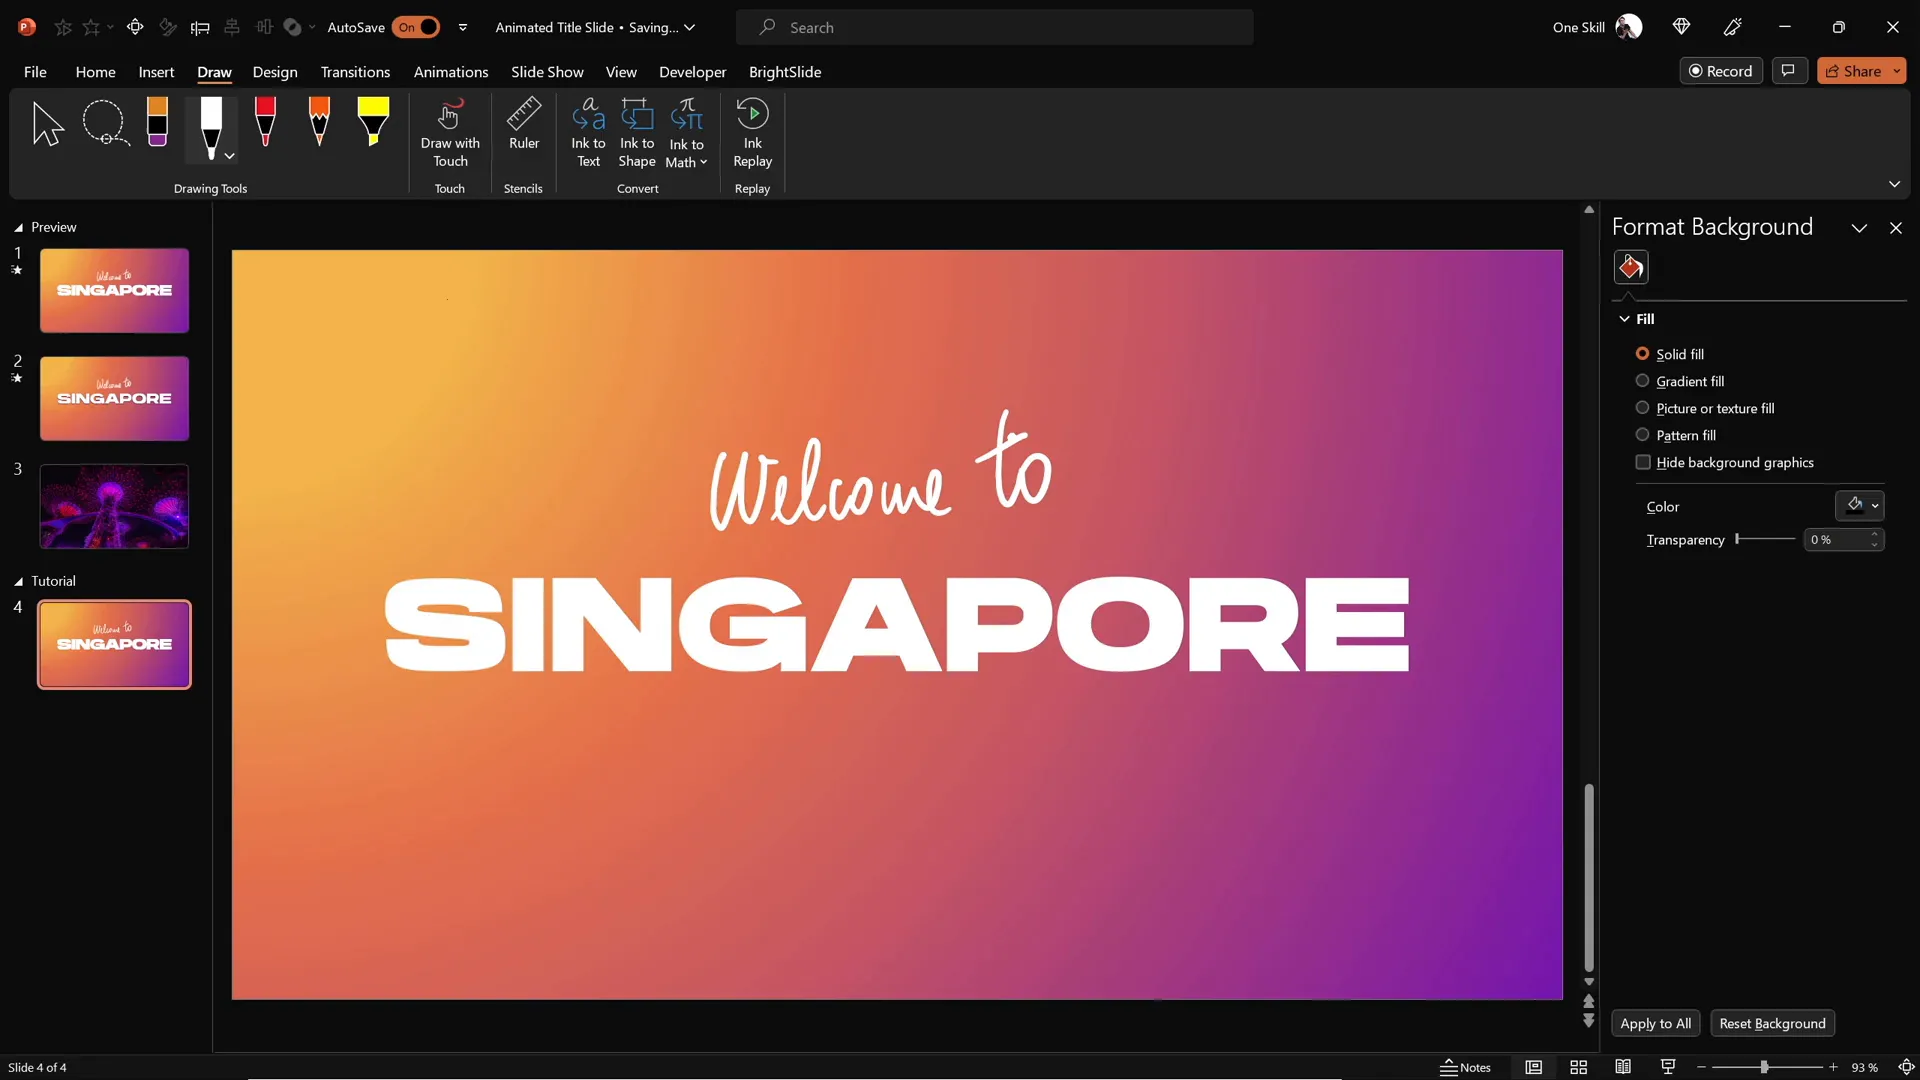
- Customize the gradient fill: Right-click the rectangle and select Format Shape. Under Fill options, ensure it is a Radial Gradient Fill with the direction from the top-left corner.
- Use precise color stops: Adjust the four color stops and their hex codes for the exact gradient look you want. This results in a smooth, professional background perfect for your title slide.
This gradient background sets a vibrant and dynamic tone for your slide.
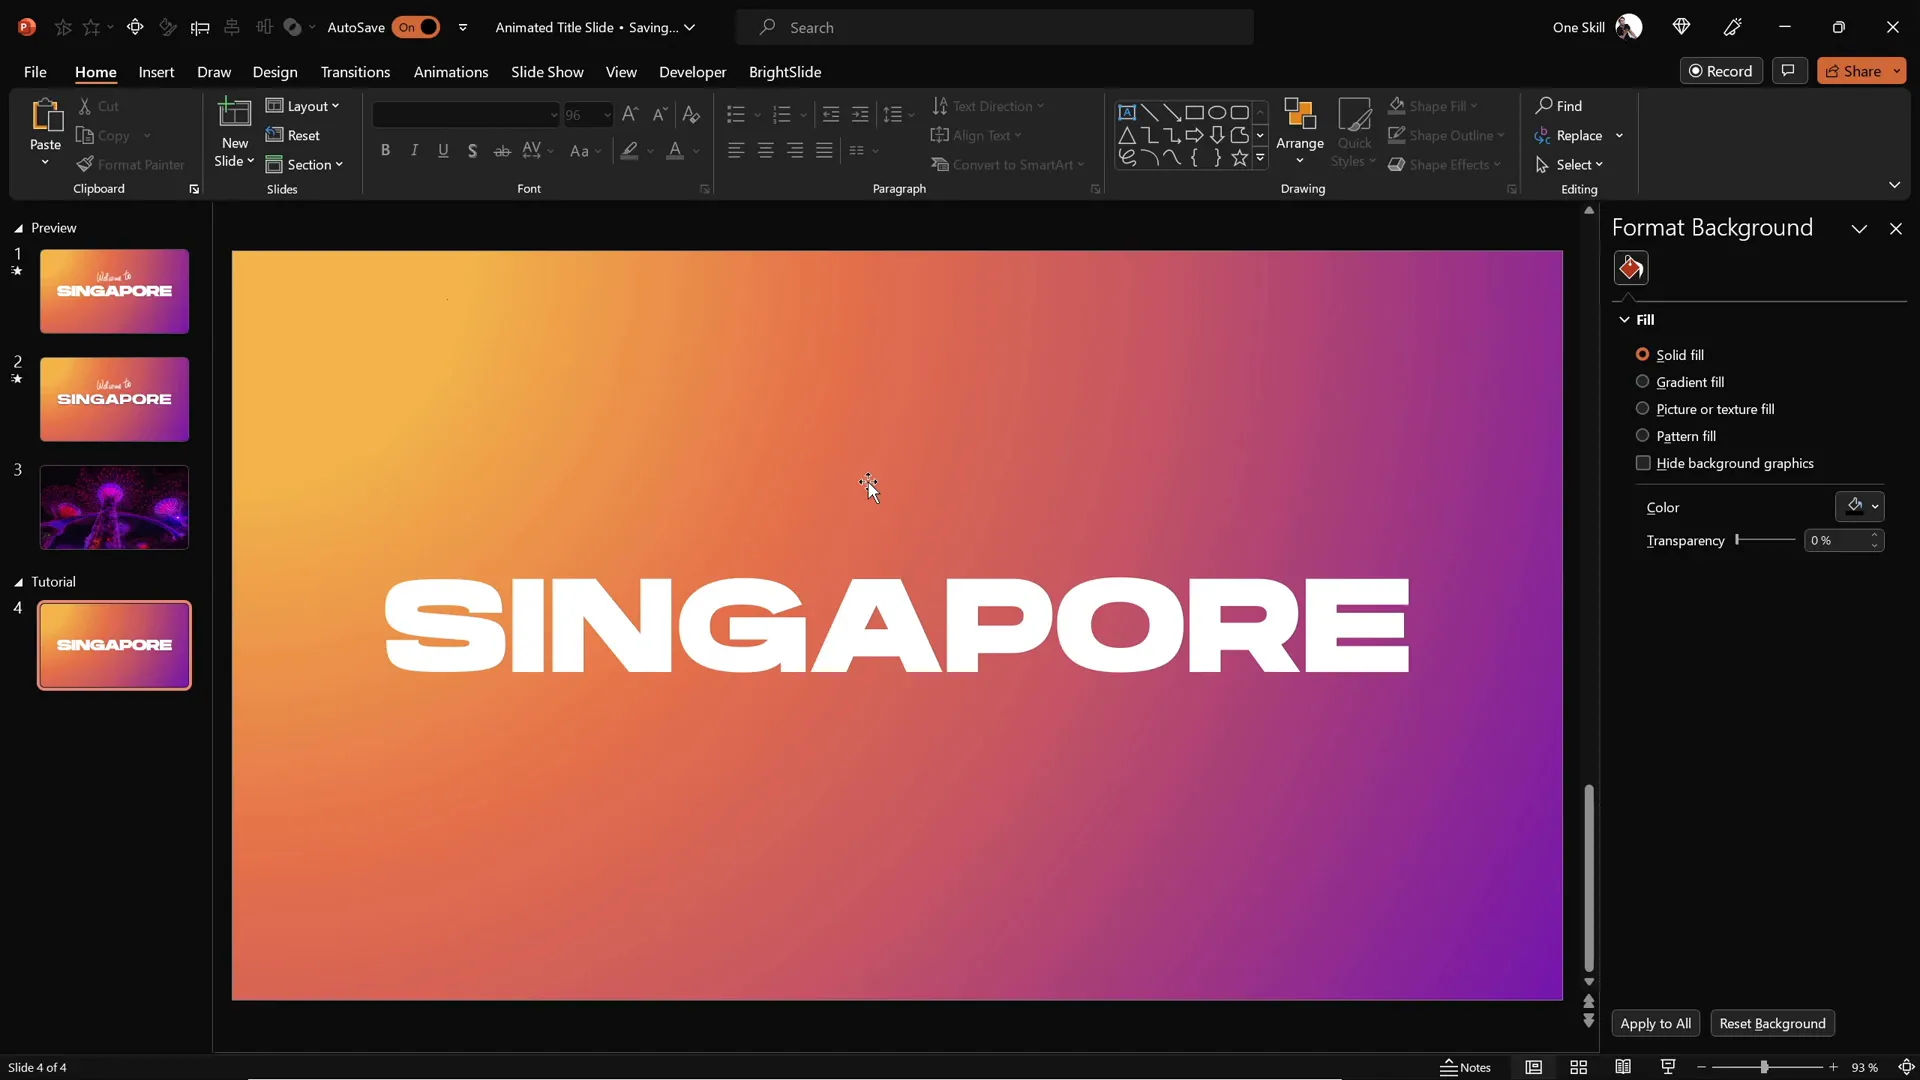
Adding Your Slide Title with Custom Fonts
Next, add a large, bold title to capture attention. Follow these steps:
- Go to the Insert tab and select Text Box.
- Draw a text box and type your title text, for example, Singapore.
- Choose a custom font for style. In this tutorial, the font Hanson is used at size 96 for a bold, modern look.
- Center-align the text box on the slide to maintain balance and symmetry.
Using a strong font and large size ensures your title stands out and is easy to read.
Using the PowerPoint Draw Tool for Handwritten Text
For a handcrafted feel, add some handwritten text on top of your title using PowerPoint‘s Draw tool:
- Activate the Draw tab in PowerPoint. If you don’t see it, enable it via File > Options > Customize Ribbon.
- Select a pen tool with your preferred color and thickness.
- Draw your handwritten text, for example, Welcome to, above the main title.
- Use a graphics tablet like the Wacom Intuos for smoother, more natural strokes. This is highly recommended if you want professional-looking handwriting.
- Position your handwritten text closer to the main title to create a cohesive look.
This technique adds a personal touch and visual interest to your slide.
Animating Your Text for Dynamic Impact
Animations bring your slide to life. Here’s how to animate both your handwritten and typed text:
Animating the Handwritten Text
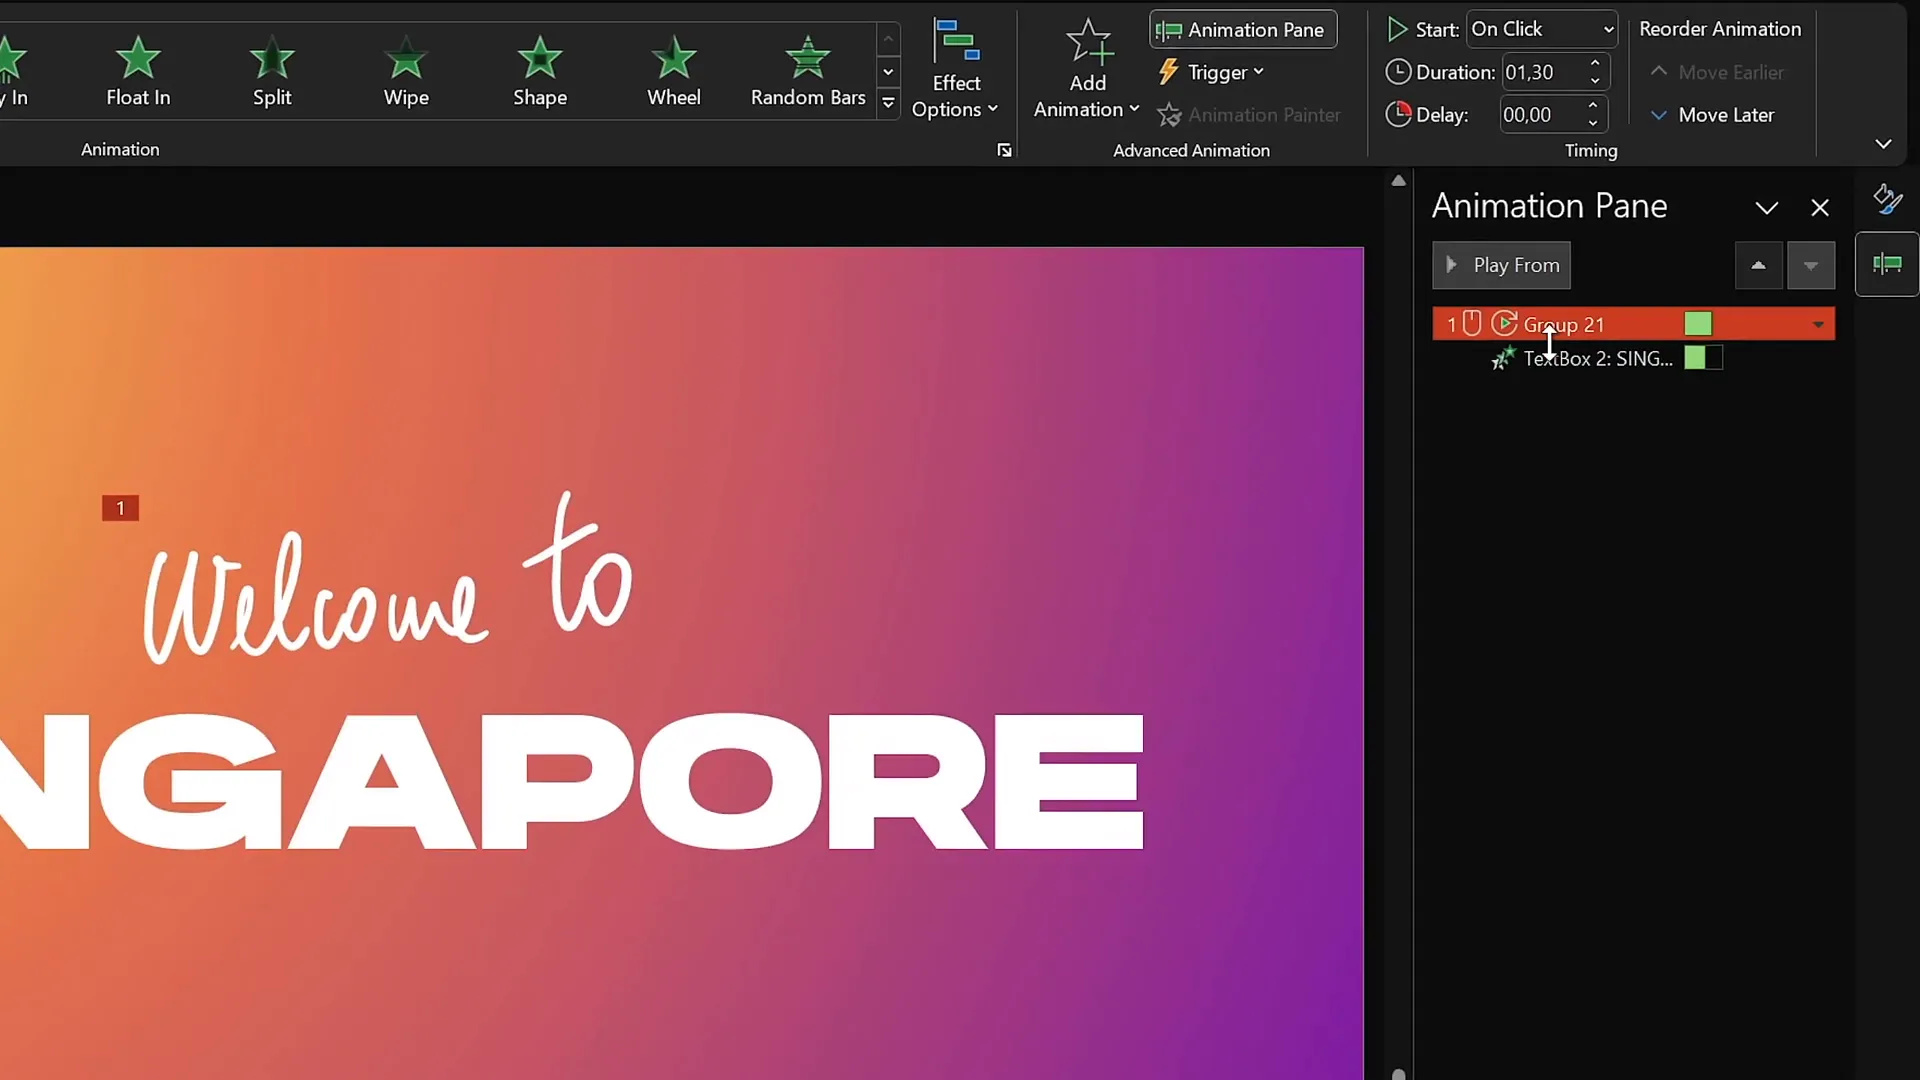
- Select the handwritten text drawn with the Draw tool.
- Apply the Replay animation from the Animation tab. This will replay the drawing stroke animation.
- Open the Animation Pane to adjust the timing.
- Set the duration to 1.3 seconds for a smooth and fast replay effect.
Animating the Title Text
- Select the typed title text box.
- Apply the Fly In animation with the direction set to From Right.
- Set the animation to start With Previous so it plays automatically with the handwritten text animation.
- Adjust the duration to 1 second.
- In the animation options, increase the movement distance for a soft landing effect.
- Set the animation to animate by letter, with a 10% delay between each letter for a dynamic reveal.
These animations create a polished and engaging title entrance.
Cutting Out Text from the Background
To create a visually striking effect, you can punch out the text from the gradient background so the slide’s base color or video shows through. Here’s how:
- Duplicate your animated slide to create a second slide.
- Remove all animations on the duplicated slide for a clean base.
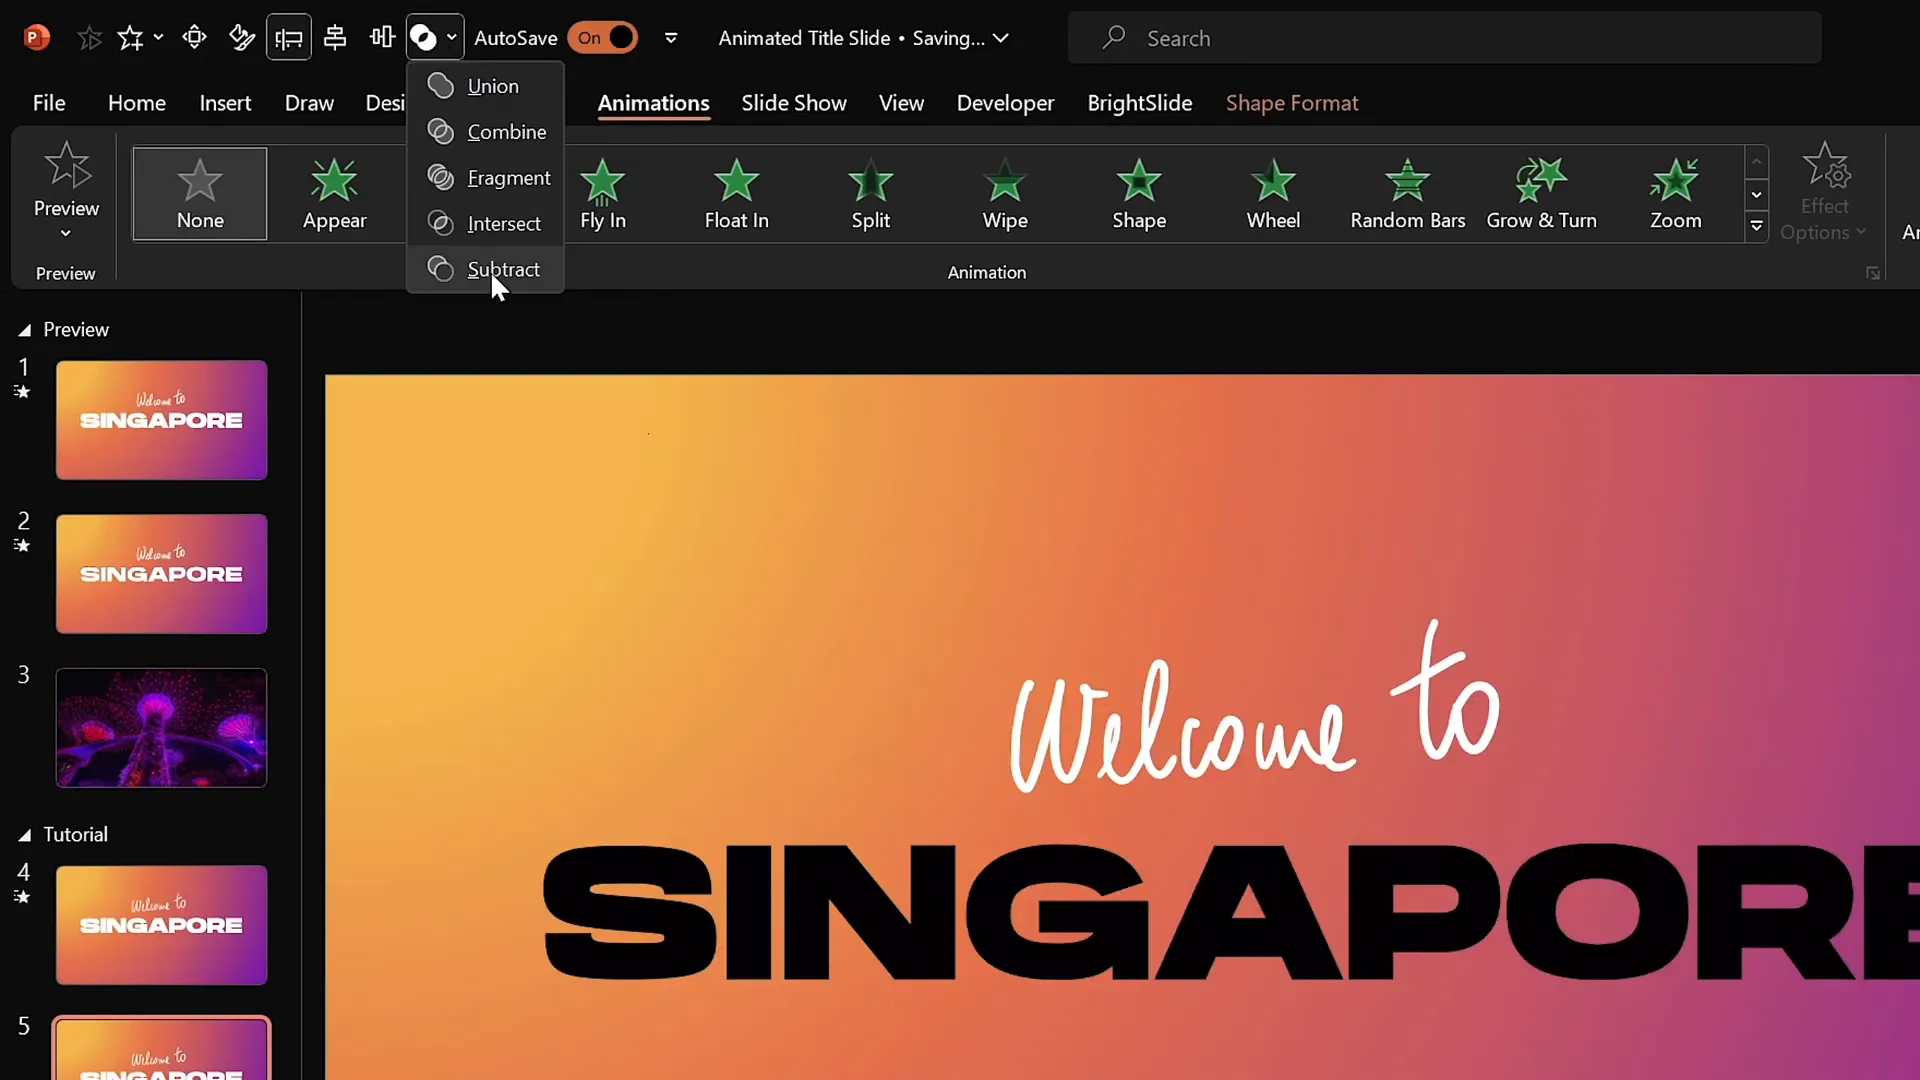
- Select the full-screen gradient rectangle, then hold Shift and select the title text box.
- Go to the Shape Format tab, click Merge Shapes, and select Subtract.
- This cuts out the text shape from the rectangle, revealing the slide background behind it.
This technique is perfect for overlaying videos or images behind your text for a sophisticated look.
Embedding and Animating Video in PowerPoint
Videos add motion and life to your title slide background. Here’s how to embed and animate a video behind your cutout text:
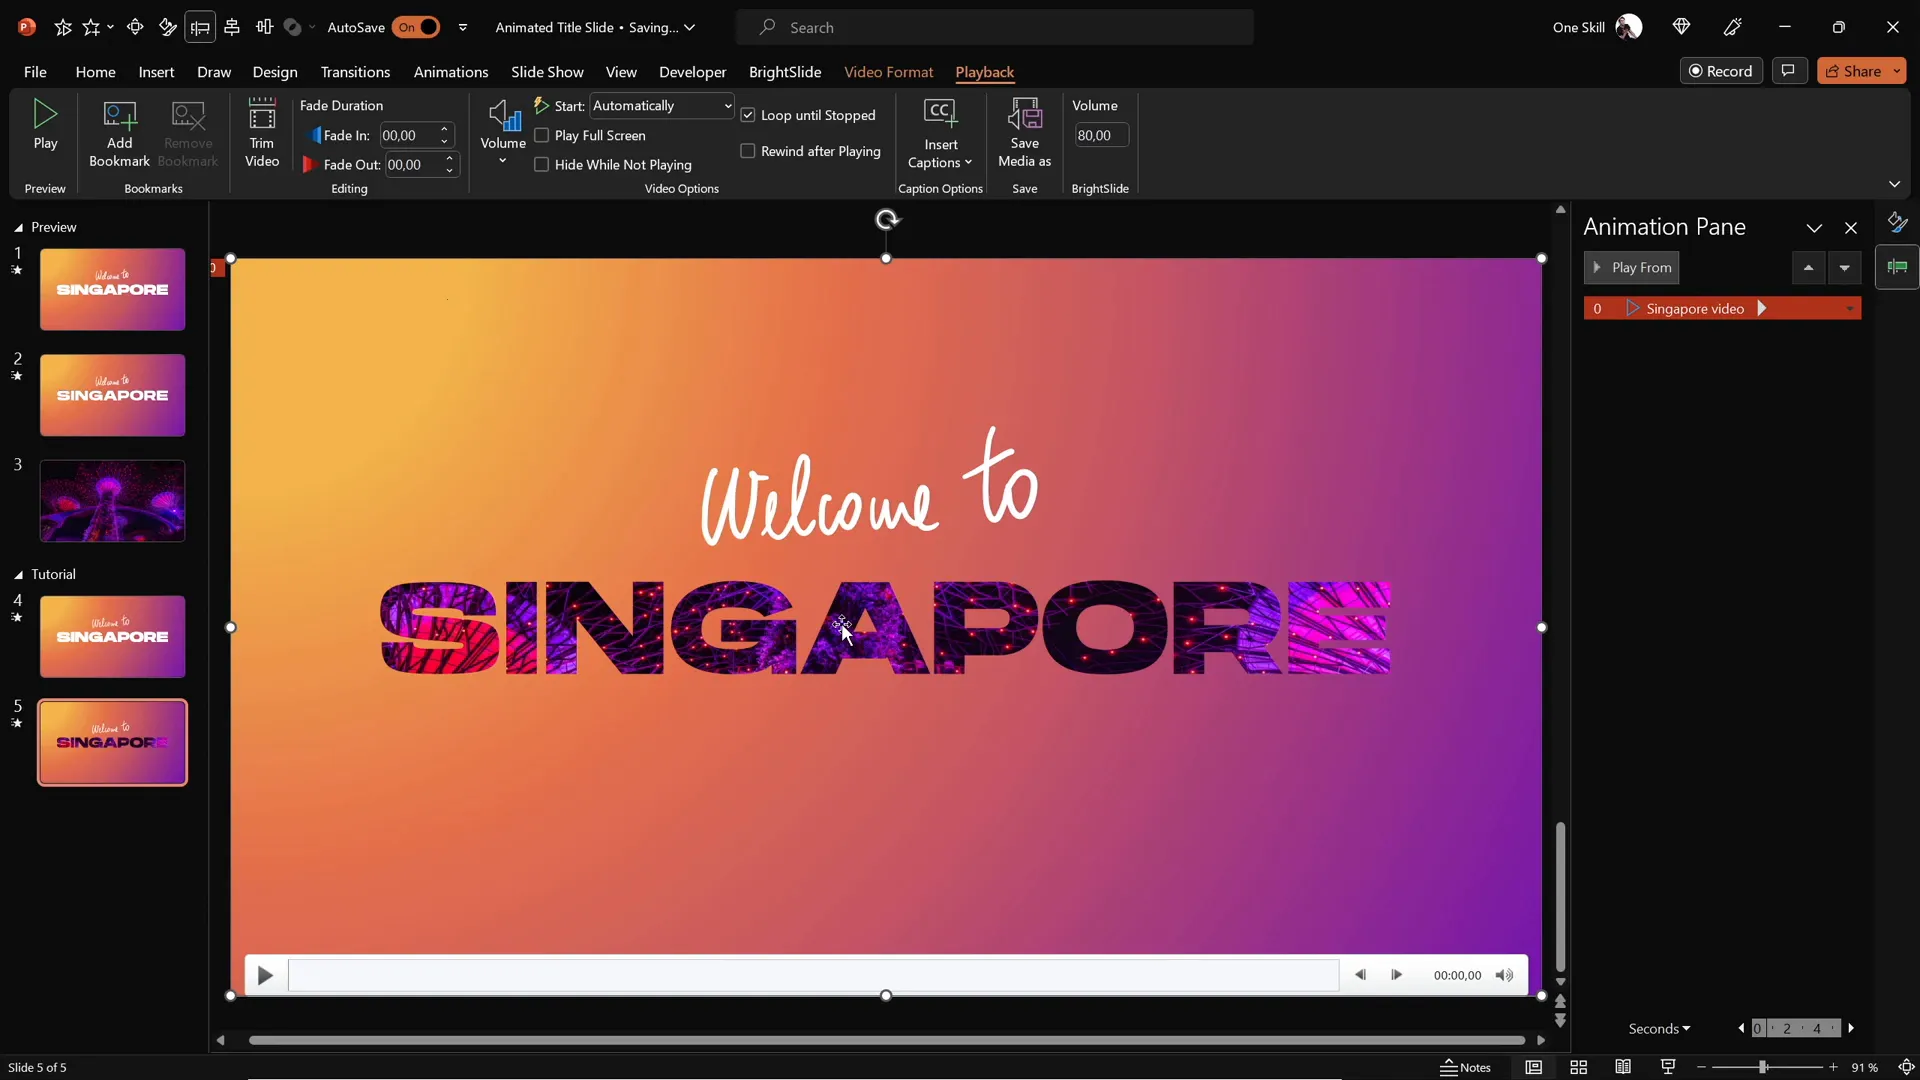
- Find a beautiful royalty-free video to use. For example, this tutorial uses a video of Singapore’s super trees lighting up at night from DepositPhotos.
- Download the video and insert it into your PowerPoint slide with the cutout rectangle.
- Center-align the video on the slide.
- Add a Play animation to the video and set it to start With Previous so it plays automatically when the slide loads.
- Enable looping in the video playback options for continuous play.
- Send the video to the back so it sits behind the cutout rectangle and text.
With the text cut out of the gradient rectangle, the video plays behind the text, creating a stunning animated title slide.
Adding Exit Animations for a Polished Finish
To complete the animated title slide effect, add exit animations to the text and background elements:
- Select the handwritten and typed text boxes.
- Apply the Exit Cloud animation with the direction set to To Top.
- Set both animations to start With Previous for simultaneous exit.
- Adjust the duration to 1 second with a maximum smooth start for a gentle fade out.
- For the typed text, set the animation to exit By Letter with a delay, so each letter flies out separately.
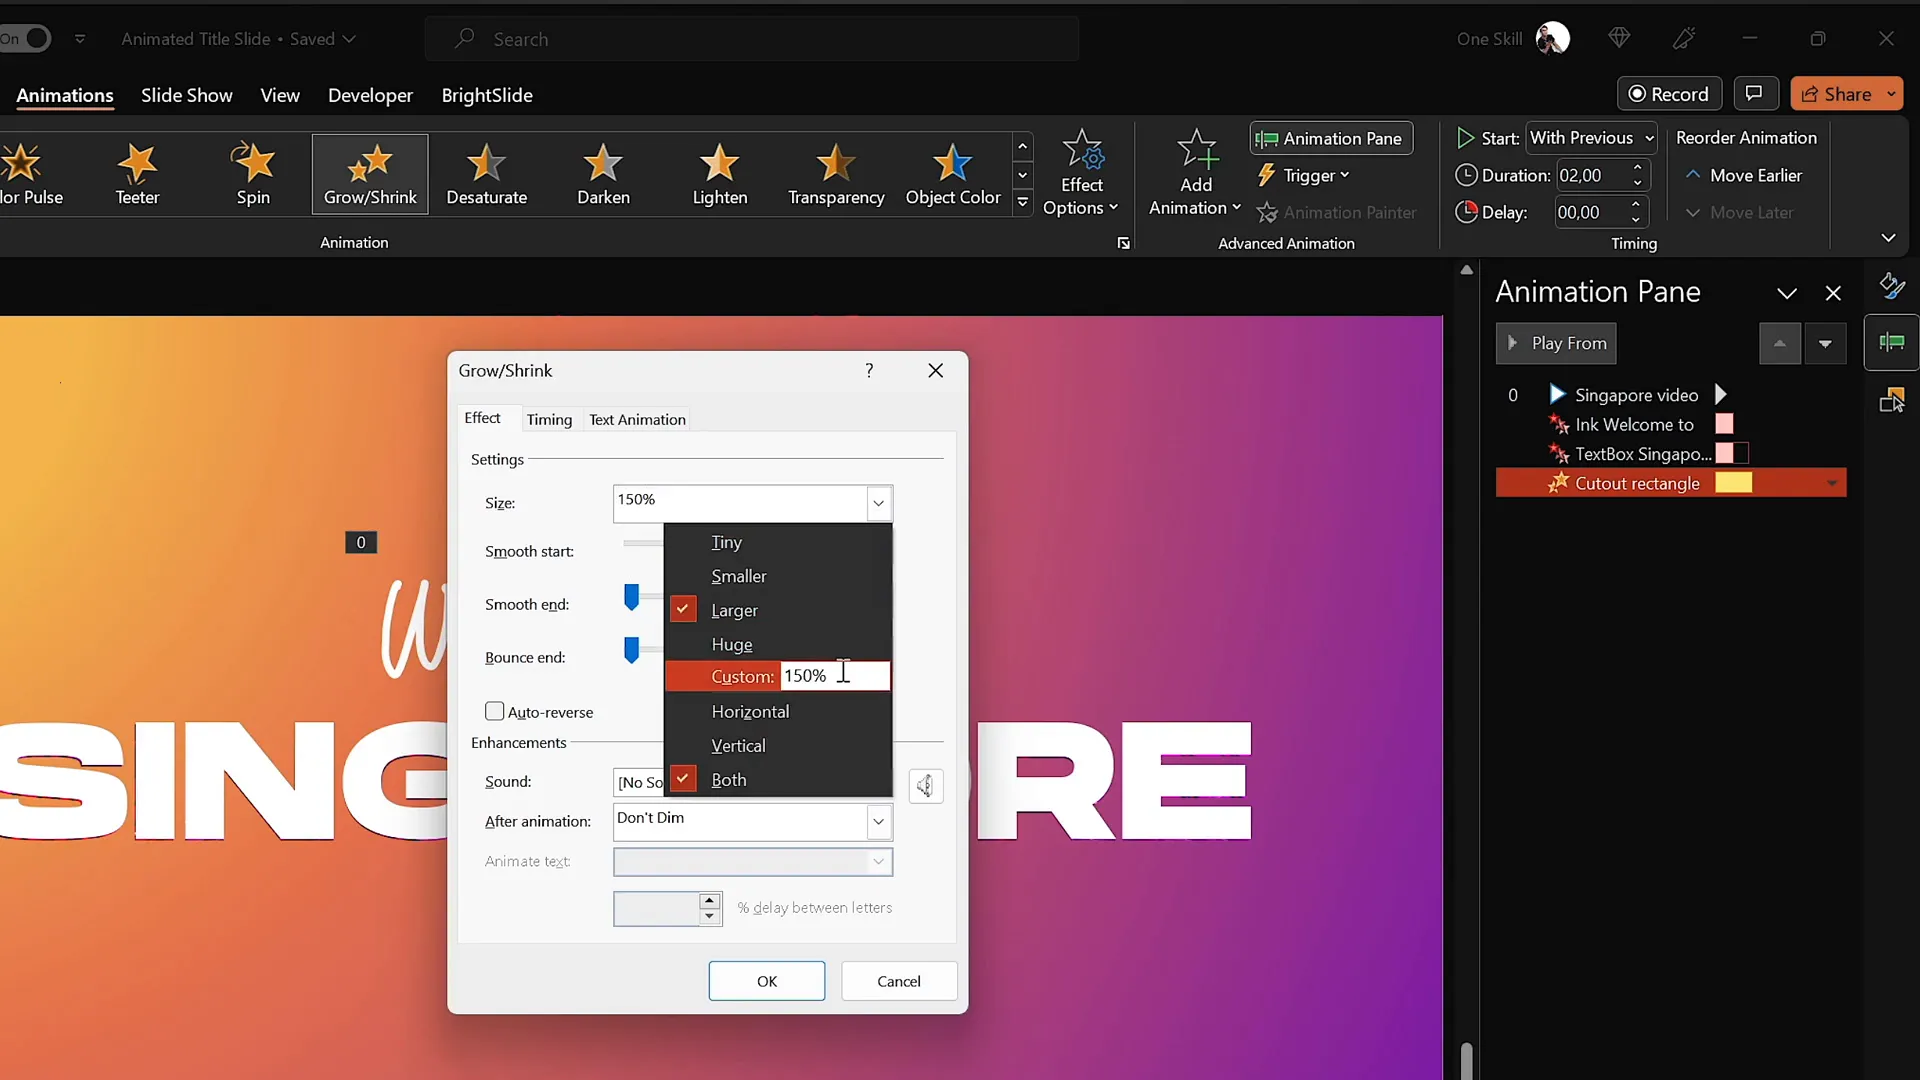
- Select the gradient cutout rectangle and apply a Grow/Shrink animation.
- Set this animation to start With Previous, duration 2 seconds, and smooth start.
- Set the growth size unusually high (9000%) so the rectangle expands dramatically, revealing more of the video behind.
These exit animations add a professional finishing touch and seamlessly transition your audience to the next slide.
Final Touches and Tips
Before wrapping up, here are some important tips to ensure your animated title slide looks polished and professional:
- Remove slide transitions: For the second slide with the video background, set slide transition to None for a smooth instant switch between slides.
- Rename layers: Use the Selection Pane to rename your text, video, and background layers for easier management.
- Test your animations: Preview your animations in the Animation Pane to confirm timing and flow.
- Use consistent fonts: Stick with your chosen fonts throughout the presentation for a cohesive look.
- Save your work often: PowerPoint can crash, so save frequently to avoid losing progress.
By following these tips, your animated title slide will look seamless and professional.

Frequently Asked Questions
What version of PowerPoint do I need to create animated title slides?
This tutorial uses Microsoft PowerPoint Microsoft 365 on Windows, but most steps work on PowerPoint 2016 and later versions. Make sure your version supports the Draw tool and video embedding features.
Do I need a graphics tablet to use the Draw tool?
No, but using a tablet like the Wacom Intuos helps create smoother, more natural handwriting. You can also use a mouse, but it may be harder to achieve the same smooth effect.
Where can I find royalty-free videos to embed?
Websites like DepositPhotos offer a wide range of royalty-free stock videos. Use promo code ONESKILL20 for a 20% discount on downloads and subscriptions.
Can I use this animated title slide for any presentation topic?
Absolutely! You can customize the text, fonts, colors, and video background to fit any presentation theme or subject.
How do I make sure my fonts don’t change on other computers?
Embed your fonts when saving your presentation by going to File > Options > Save and selecting Embed fonts in the file. This ensures font consistency across devices.
Can I add music or sound effects to my animated title slide?
Yes, PowerPoint allows you to embed audio files. Just be mindful to keep animations and sound effects professional and not distracting.
Conclusion
Creating an animated PowerPoint title slide that captivates your audience is easier than you think. By combining gradient backgrounds, custom fonts, handwritten text, smooth animations, and embedded videos, you can design a stunning introduction to your presentation that stands out.
This tutorial walked you through each step—from setting up your slide and creating gradient fills to adding animations and embedding videos. With these skills, you can now create dynamic title slides tailored to your unique style and presentation needs.
For more PowerPoint animation tips and tutorials, don’t forget to explore the creator’s full playlist and resources. Happy designing, and may your presentations impress every time!
Thank you for reading, and stay inspired!


