
If you’re looking to elevate your presentation skills and impress your audience with a visually stunning and animated roadmap infographic, you’ve come to the right place. This comprehensive guide will walk you through creating a beautiful Roadmap Infographic PowerPoint from scratch, including design tips, using external tools like Figma for vector shapes, and adding captivating animations that bring your roadmap to life.
This tutorial is perfect for professionals, marketers, educators, and anyone who wants to communicate a process, project plan, or journey in a clear and engaging way using PowerPoint.
Table of Contents
- Designing the Roadmap Shape Using Figma
- Importing and Customizing the Roadmap in PowerPoint
- Adding Road Details and Styling
- Creating Pins with Numbers Along the Road
- Adding the Animated Car and Animation Effects
- Animation Techniques Explained
- Advanced Animation Tips and Slide Zoom Ideas
- Frequently Asked Questions
- Conclusion
Designing the Roadmap Shape Using Figma
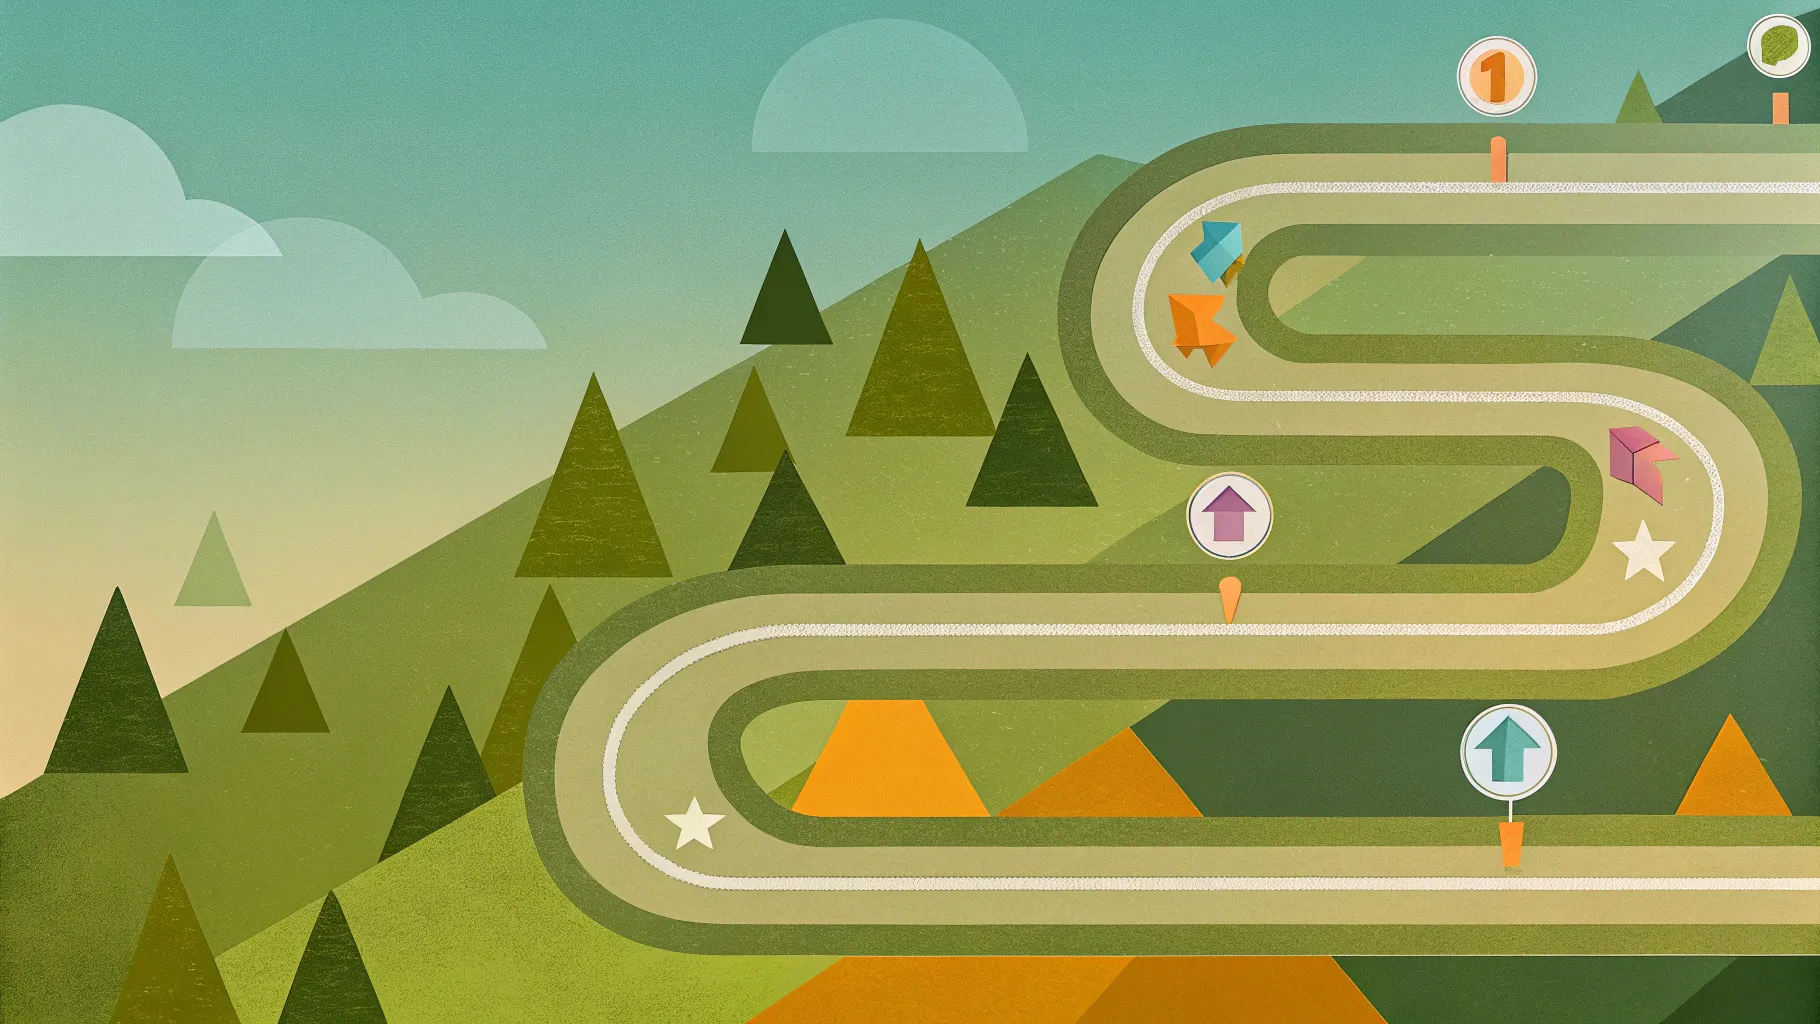
One of the most important elements in creating a roadmap infographic is designing the curvy, flowing path that visually represents a journey or timeline. While PowerPoint offers several shape tools, such as the Freeform or Block Art tool, these are often inefficient for crafting smooth and scalable curved paths.
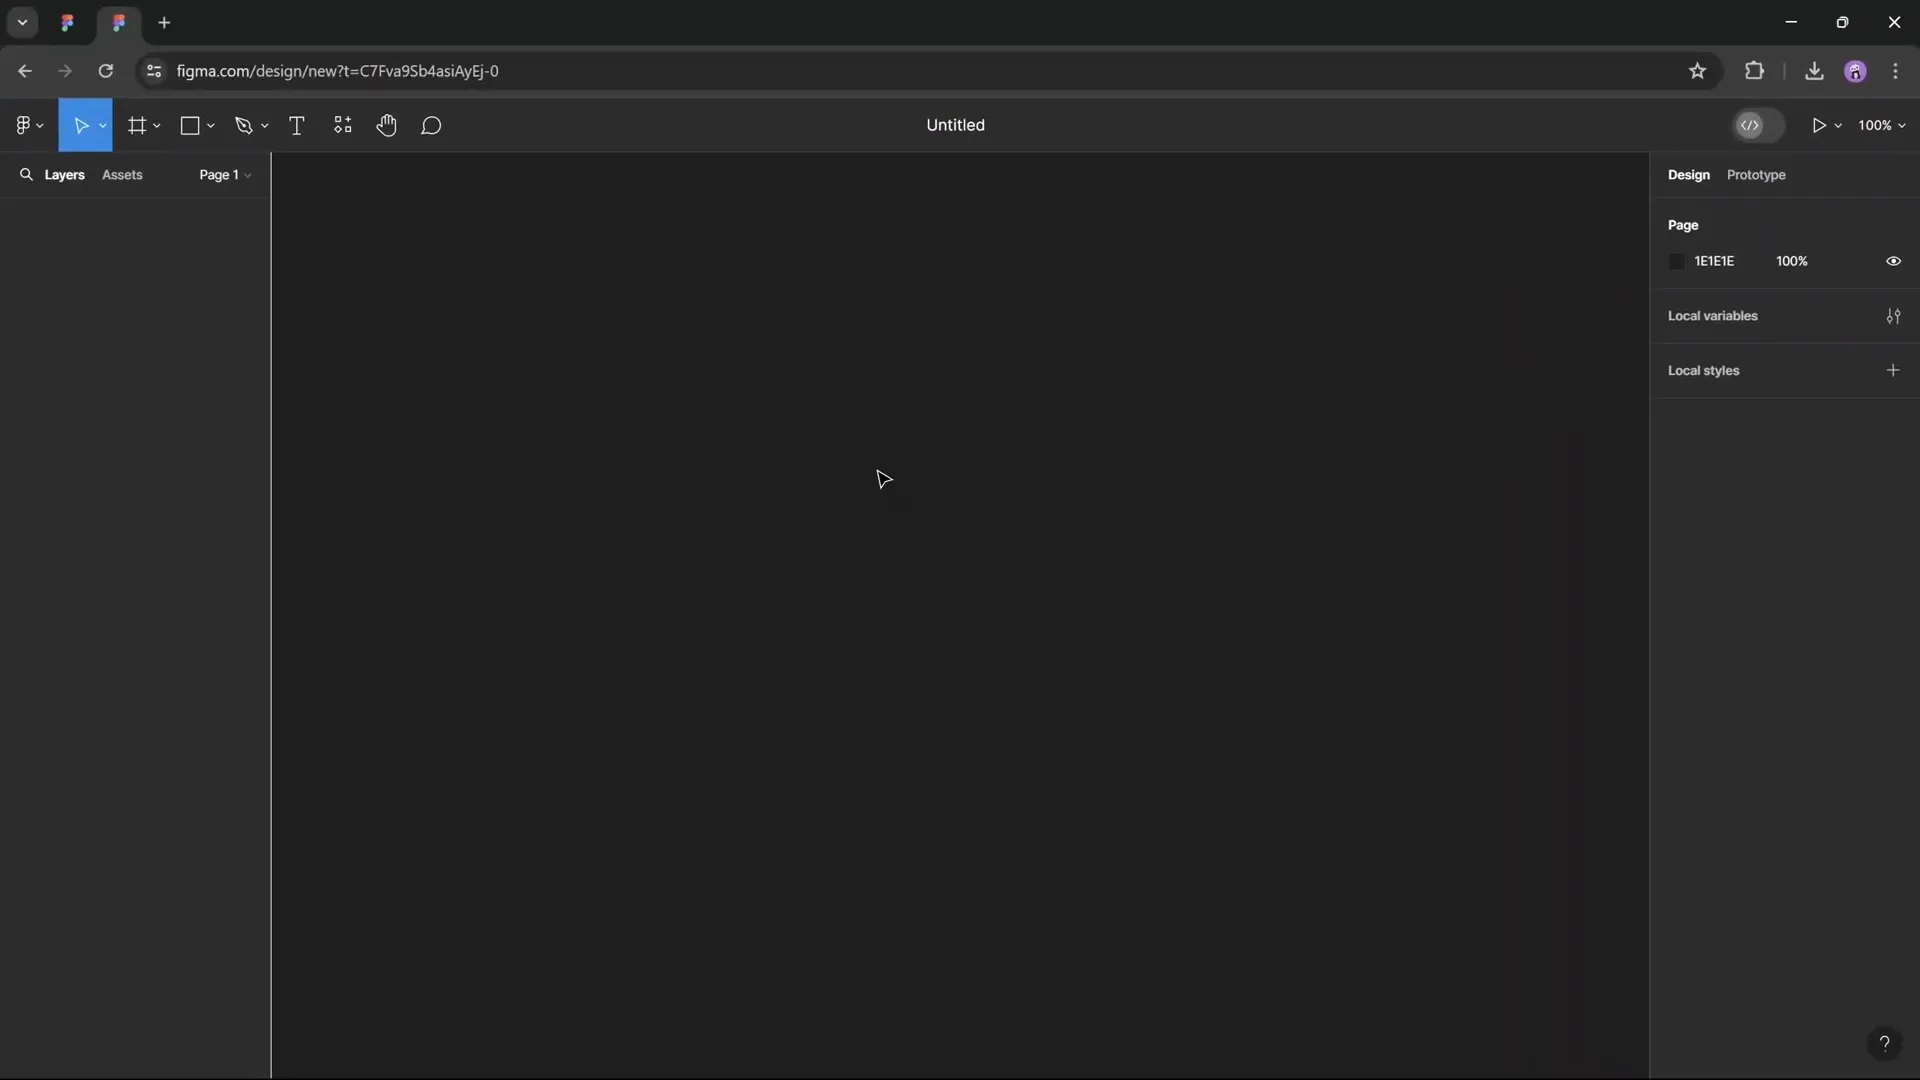
Instead, this guide introduces Figma, a free, powerful online vector design tool that excels at creating precise vector shapes and illustrations. You can then export these shapes as SVG files and seamlessly import them into PowerPoint for further editing.
Why Use Figma?
- It is free and accessible online.
- Enables precise vector drawing with snapping grids.
- Easy to export SVG files compatible with PowerPoint.
- Offers advanced features like corner radius adjustment for smooth curves.
Tip: If you’re new to Figma, consider exploring classes on Skillshare such as “Illustrate and Figma: Create Your First Digital Illustration” by Ludvicus de Samiches for a deeper understanding.
Step-by-Step: Drawing the Roadmap in Figma
- Create a new Figma file and select the Frame Tool (press “F”). Choose the Presentation layout to match PowerPoint slide dimensions.
- Enable the grid by holding Ctrl and scrolling until a pixel grid appears. Ensure “Snap to Pixel Grid” is activated for precise drawing.
- Select the Pen Tool (press P) and begin plotting points along the grid to create your roadmap path. The example uses consistent 4-square distances between turns for uniformity.
- Adjust line thickness to 0.5 initially for easier visualization.
- Scale the shape proportionally using the Scale Tool (press K), holding Alt while dragging to enlarge the roadmap to a suitable size.
- Set specific dimensions if desired. Lock the aspect ratio and set the width (e.g., 1700 px) for consistency.
- Increase line thickness to around 70 points to give the roadmap a bold presence.
- Round the edges and corners for a smooth, flowing look:
- Set the line caps (start/end) to Round.
- Use the corner radius tool to drag and smooth all corners. A radius of 90 points provides a subtle but elegant curve.
- Rename the shape (e.g., “roadmap”) and export it as an SVG file.
This process results in a beautifully smooth and scalable roadmap vector shape ready to be imported into PowerPoint.
Importing and Customizing the Roadmap in PowerPoint
Once your roadmap SVG is ready, it’s time to bring it into PowerPoint and customize it further.
Steps to Import and Customize
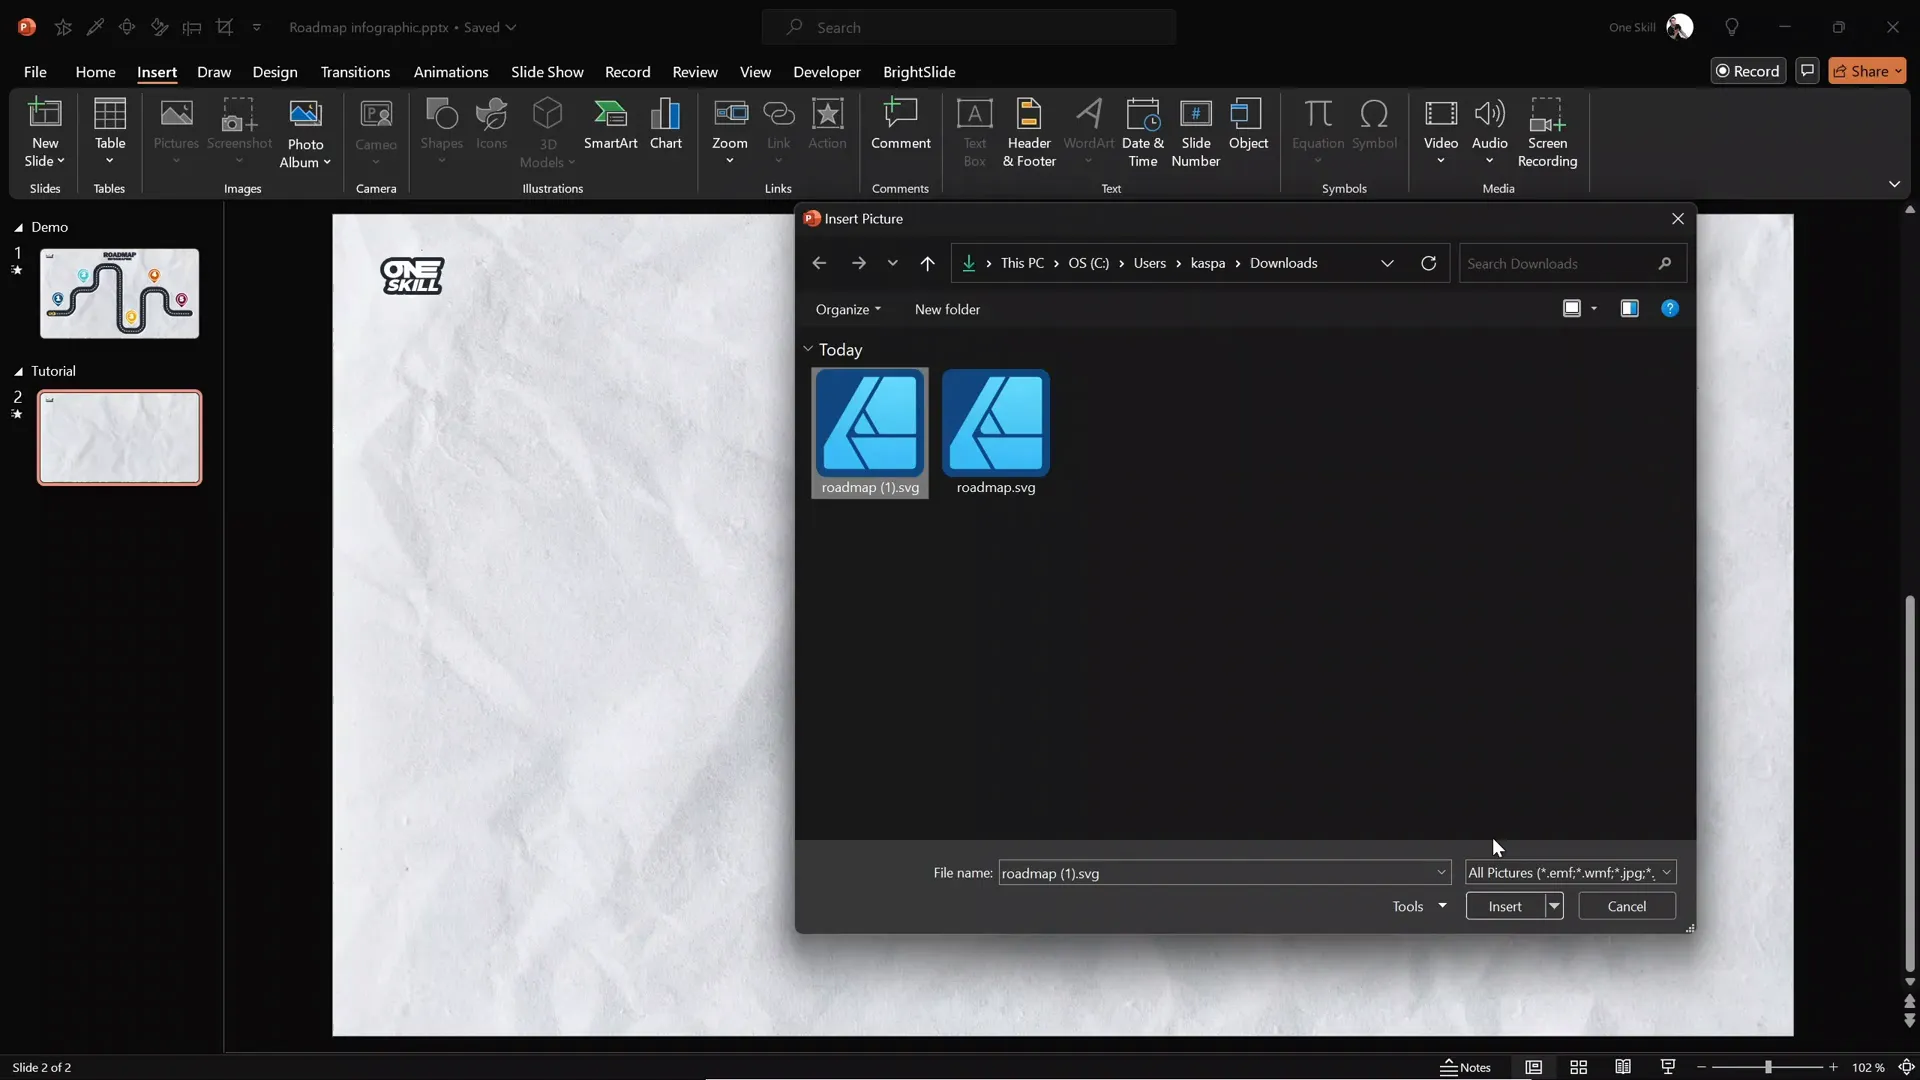
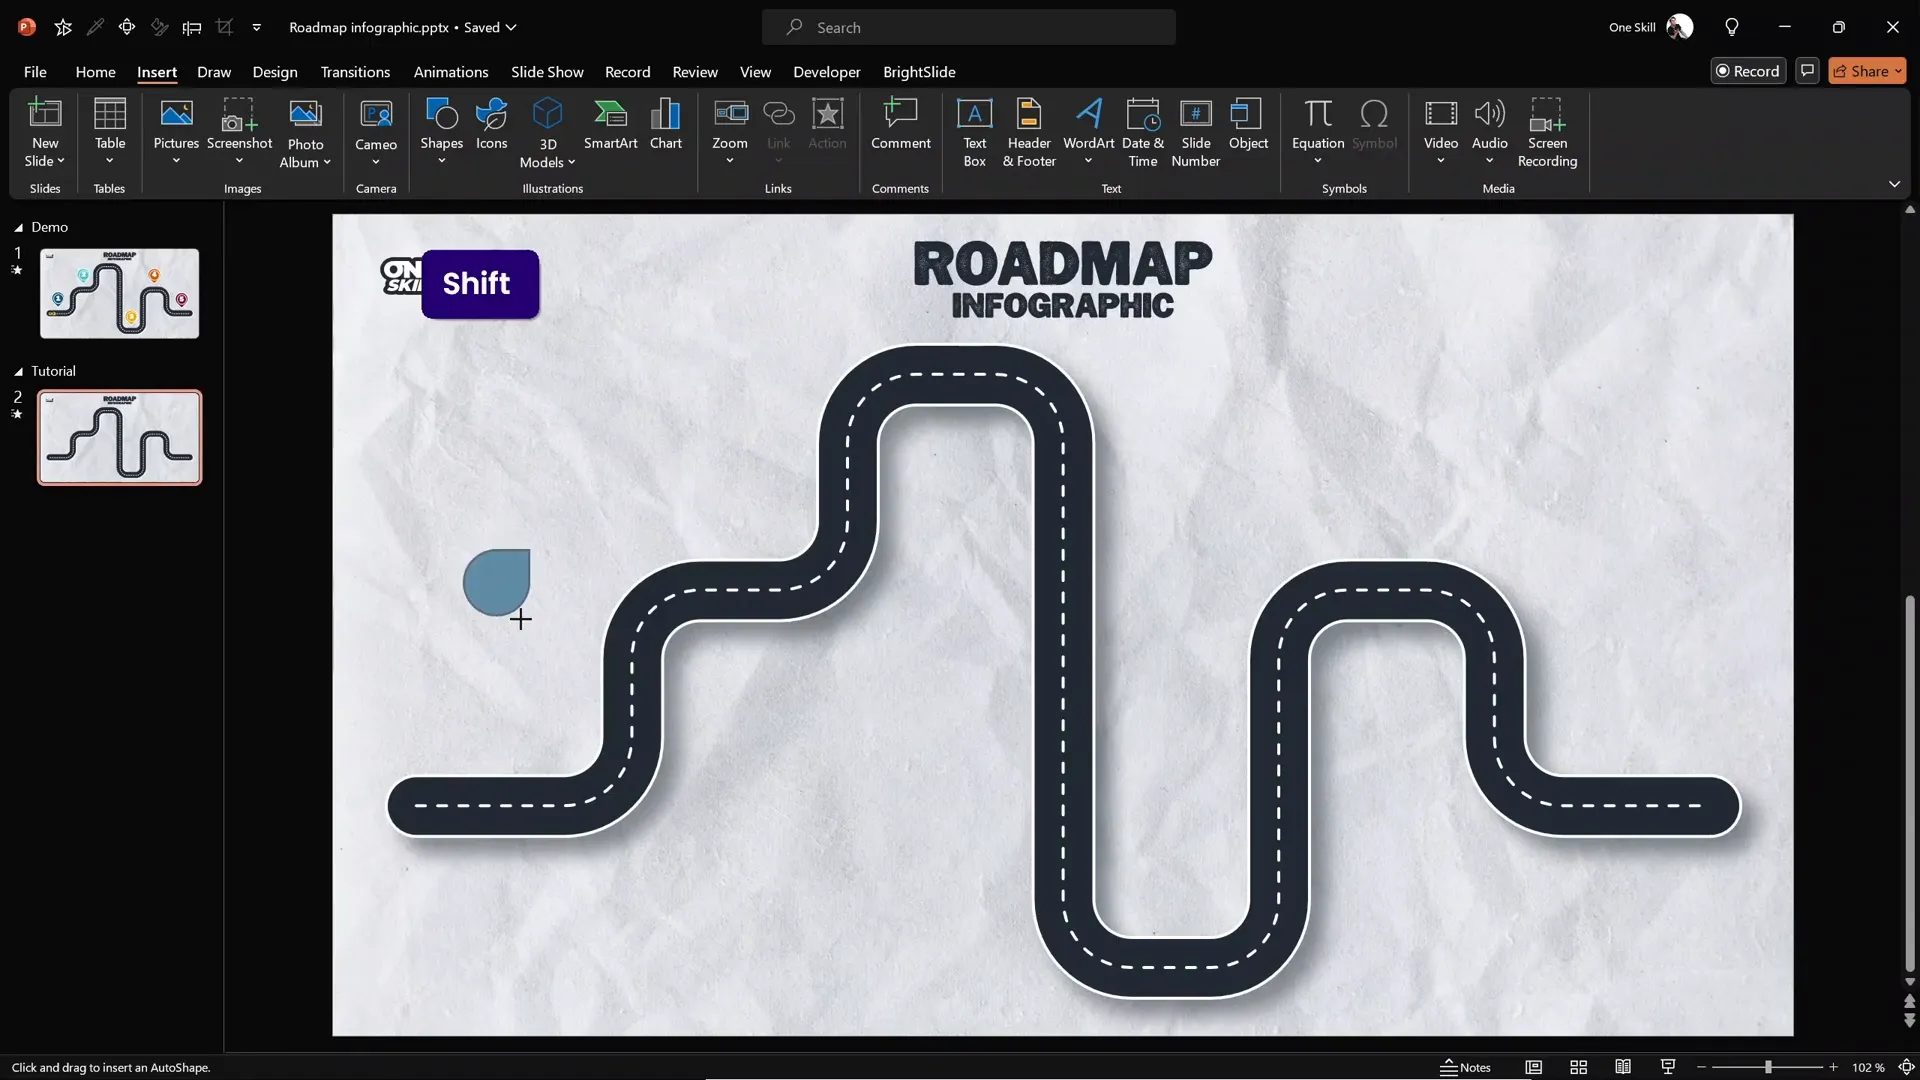
- Go to PowerPoint and insert a new blank slide with a preferred background (a subtle paper texture from Freepik works well).
- Navigate to Insert > Pictures and select the exported SVG roadmap file.
- Right-click the inserted SVG and choose Convert to Shape to enable editing.
- Resize the roadmap by locking the aspect ratio and setting the width (e.g., 30 cm) to fit your slide.
- Center-align the roadmap on the slide for balanced composition.
- Change the roadmap’s color to your brand or presentation palette. For example, set it to a vibrant green.
Now you have a clean, editable roadmap shape in PowerPoint that can be styled and animated further.
Adding Road Details and Styling
To make the roadmap more realistic and visually appealing, add details such as a dashed center line, outlines, and shadows.
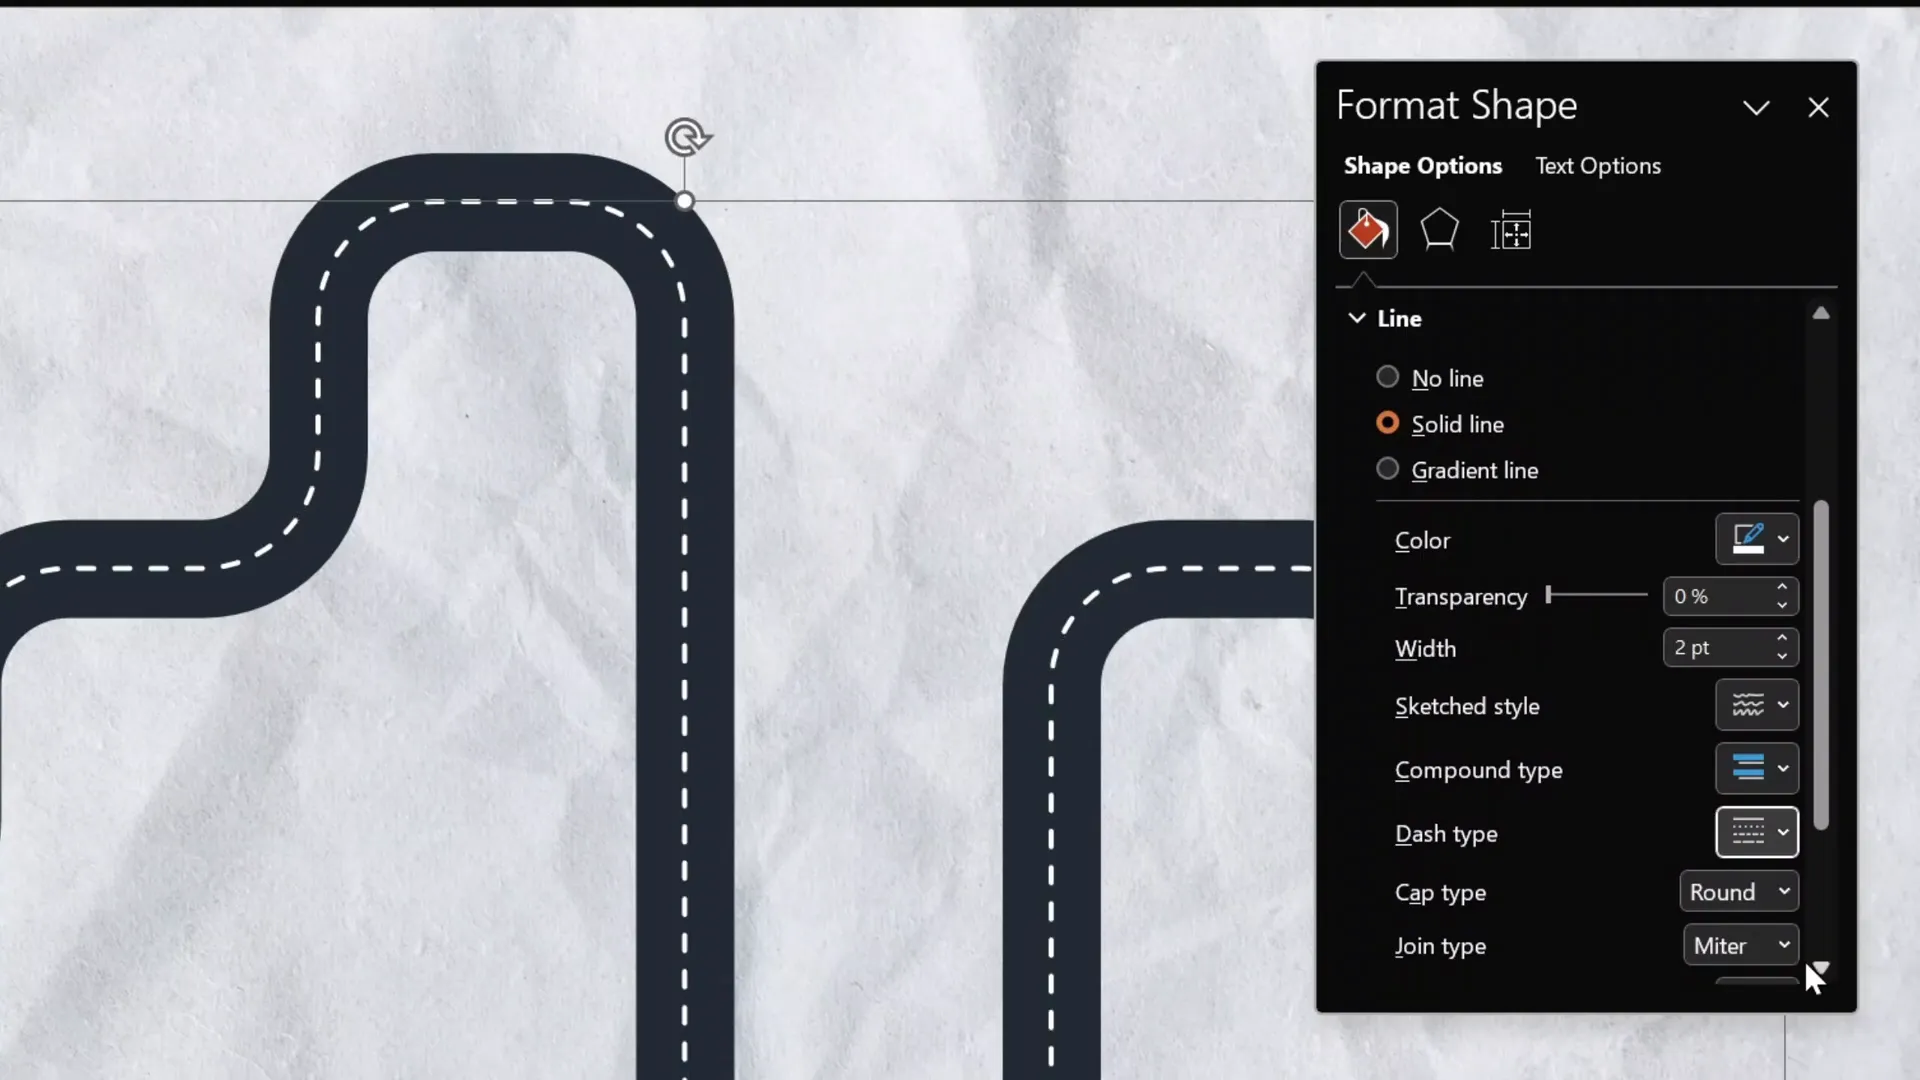
How to Add a Dashed Center Line
- Duplicate the main roadmap shape.
- Format the duplicate line with a white color.
- Reduce the line width to about 2 points to create the dashed road line effect.
- Apply a dashed line style from the format shape options to mimic a typical road centerline.
- Align this white dashed line perfectly on top of the original roadmap.
Adding a White Outline and Shadow
- Duplicate the main roadmap line again to create an outline.
- Increase the width to slightly larger than the main line (e.g., 42 points).
- Set the outline color to white and send it behind the main roadmap layer.
- Select all three lines (outline, main road, and centerline) and group them.
- Add a subtle gray shadow to the group for depth:
- Use 50% transparency
- Blur radius of 15 points
- Distance of 15 points
These steps give your roadmap a polished, three-dimensional look that stands out on any slide.
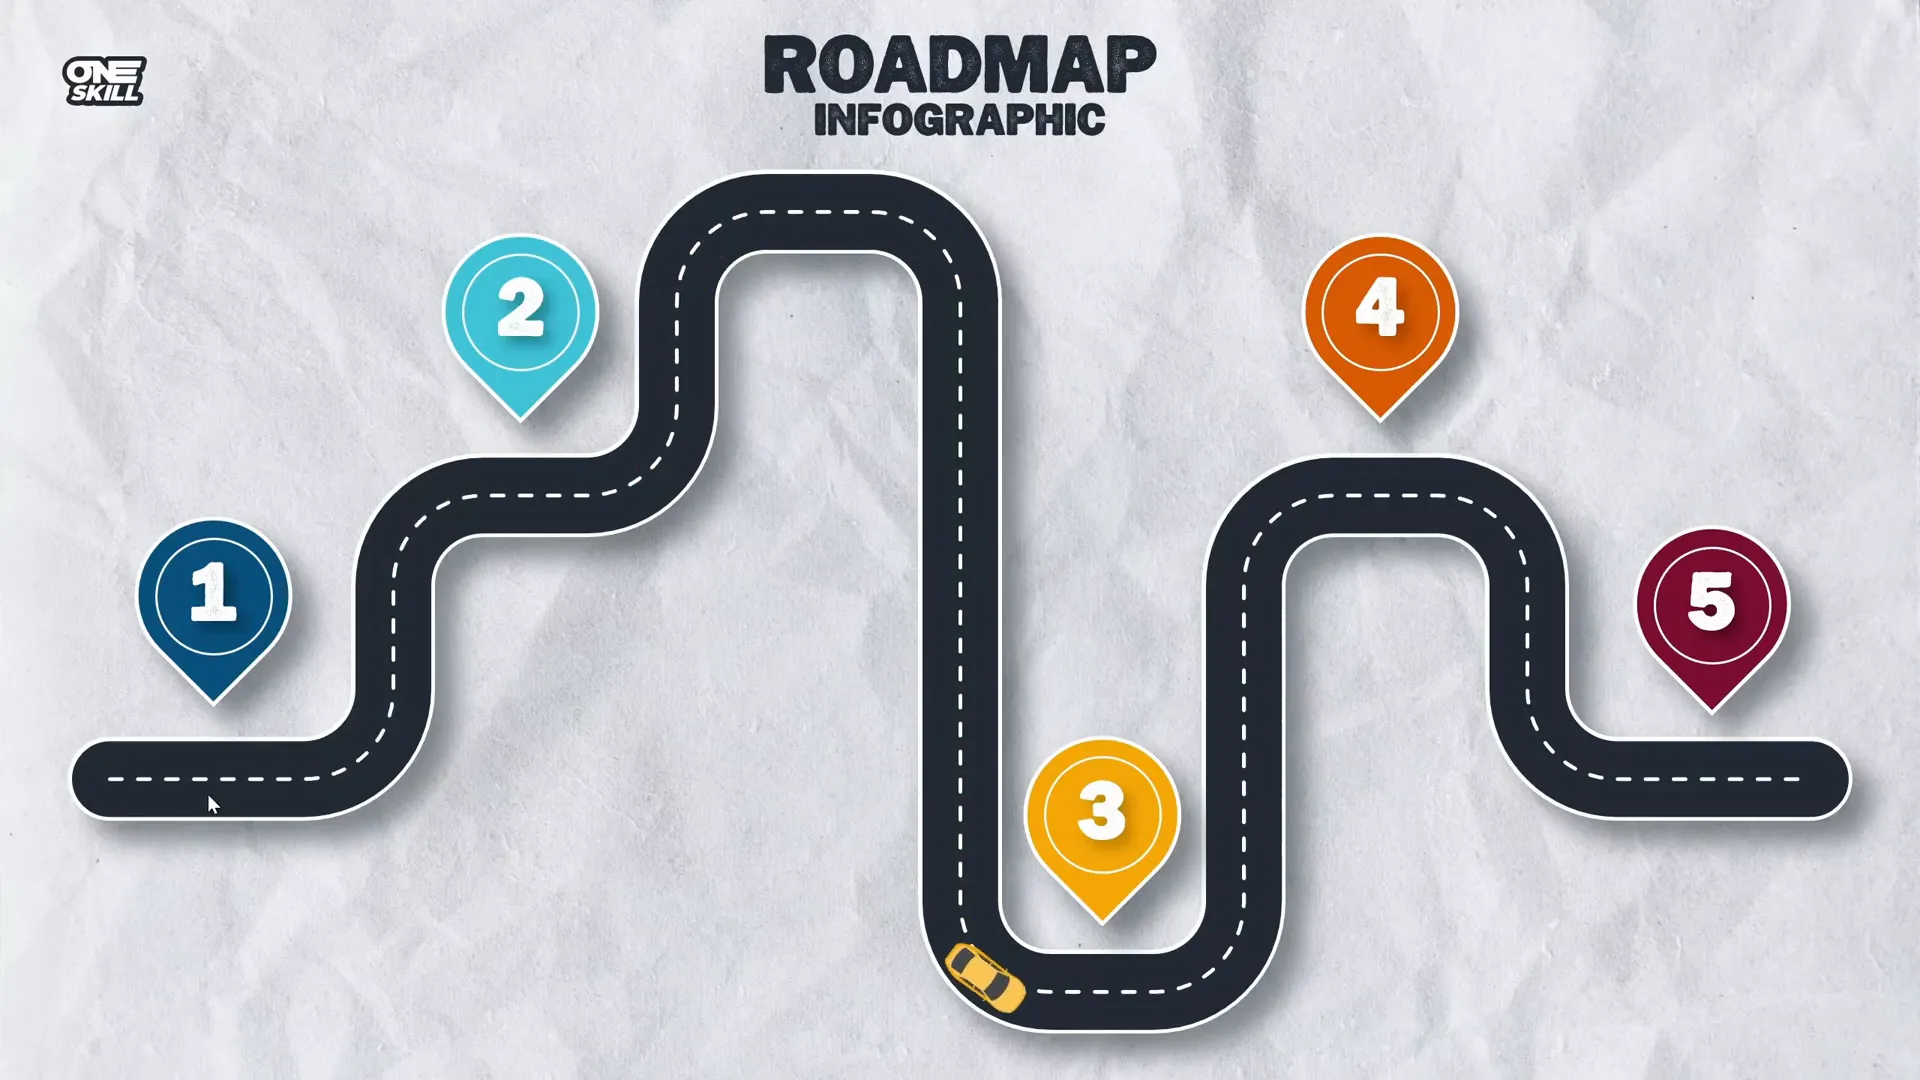
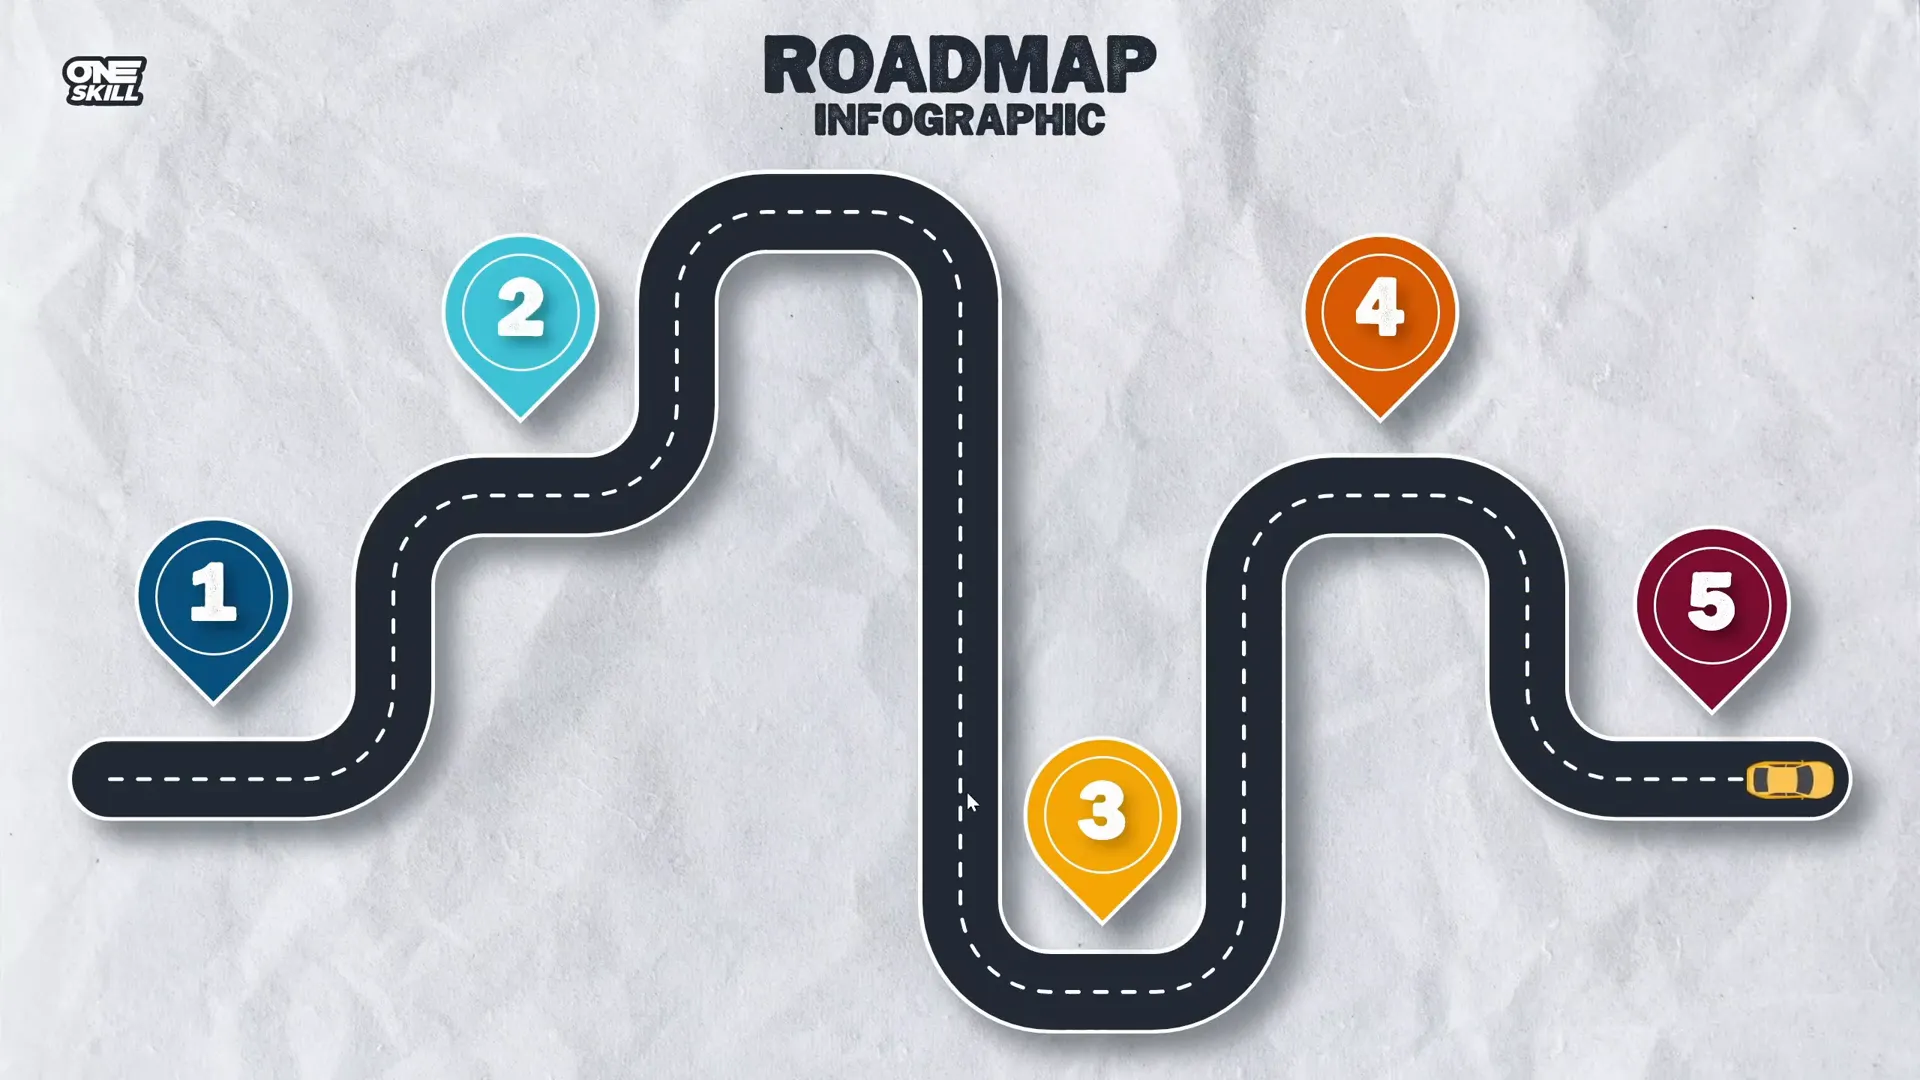
Creating Pins with Numbers Along the Road
To highlight milestones, stages, or key points on your roadmap, you can add numbered pins along the path.
Steps to Create and Customize Pins
- Insert a teardrop shape from PowerPoint’s shapes menu.
- Rotate the teardrop so it points downward.
- Fill the shape with your preferred color (e.g., green or another brand color).
- Add a white outline around the pin, increasing the line thickness to 2 points for prominence.
- Apply the same gray shadow effect used on the roadmap for consistency.
- Insert a circle shape inside the pin, holding Shift to keep it perfectly round.
- Remove the fill of the circle and set its outline to white with a line width of 1 point.
- Double-click the circle and add a number inside (e.g., “1”).
- Change the font to Joyful Mountain, a stylish display font used in this tutorial.
- Adjust font size (e.g., 36 pt) and add top margin padding in text box settings to center the number vertically.
Once your first pin is perfect, duplicate it and place copies along your roadmap to mark additional points.
Adding the Animated Car and Animation Effects
To add dynamic storytelling and movement, this tutorial includes a cute little yellow car that travels along the roadmap path, following turns and stops with realistic animation.
Where to Get the Car Asset
The car illustration was sourced from Freepik. Feel free to use this or any other vehicle or icon that fits your presentation theme.
Animating Elements with Zoom and Slow Motion Effects
- Use three combined animations on the slide title and shapes to create a smooth zoom-in with a slow-motion finish:
- Zoom animation: duration 0.5 seconds
- Shrink (grow/shrink) animation: shrink to 50%, duration 0.01 seconds
- Shrink (grow/shrink) animation: grow to 200%, duration 1.25 seconds with maximum smooth end
- Copy these animations using the animation painter to apply the effect consistently to other elements.
- Set the first animation to start on mouse click and the rest to start with previous for a smooth sequence.
Animation Techniques Explained
Animating the car to follow the roadmap path with turns is a highlight of this tutorial. Here’s how you can achieve this effect in PowerPoint.
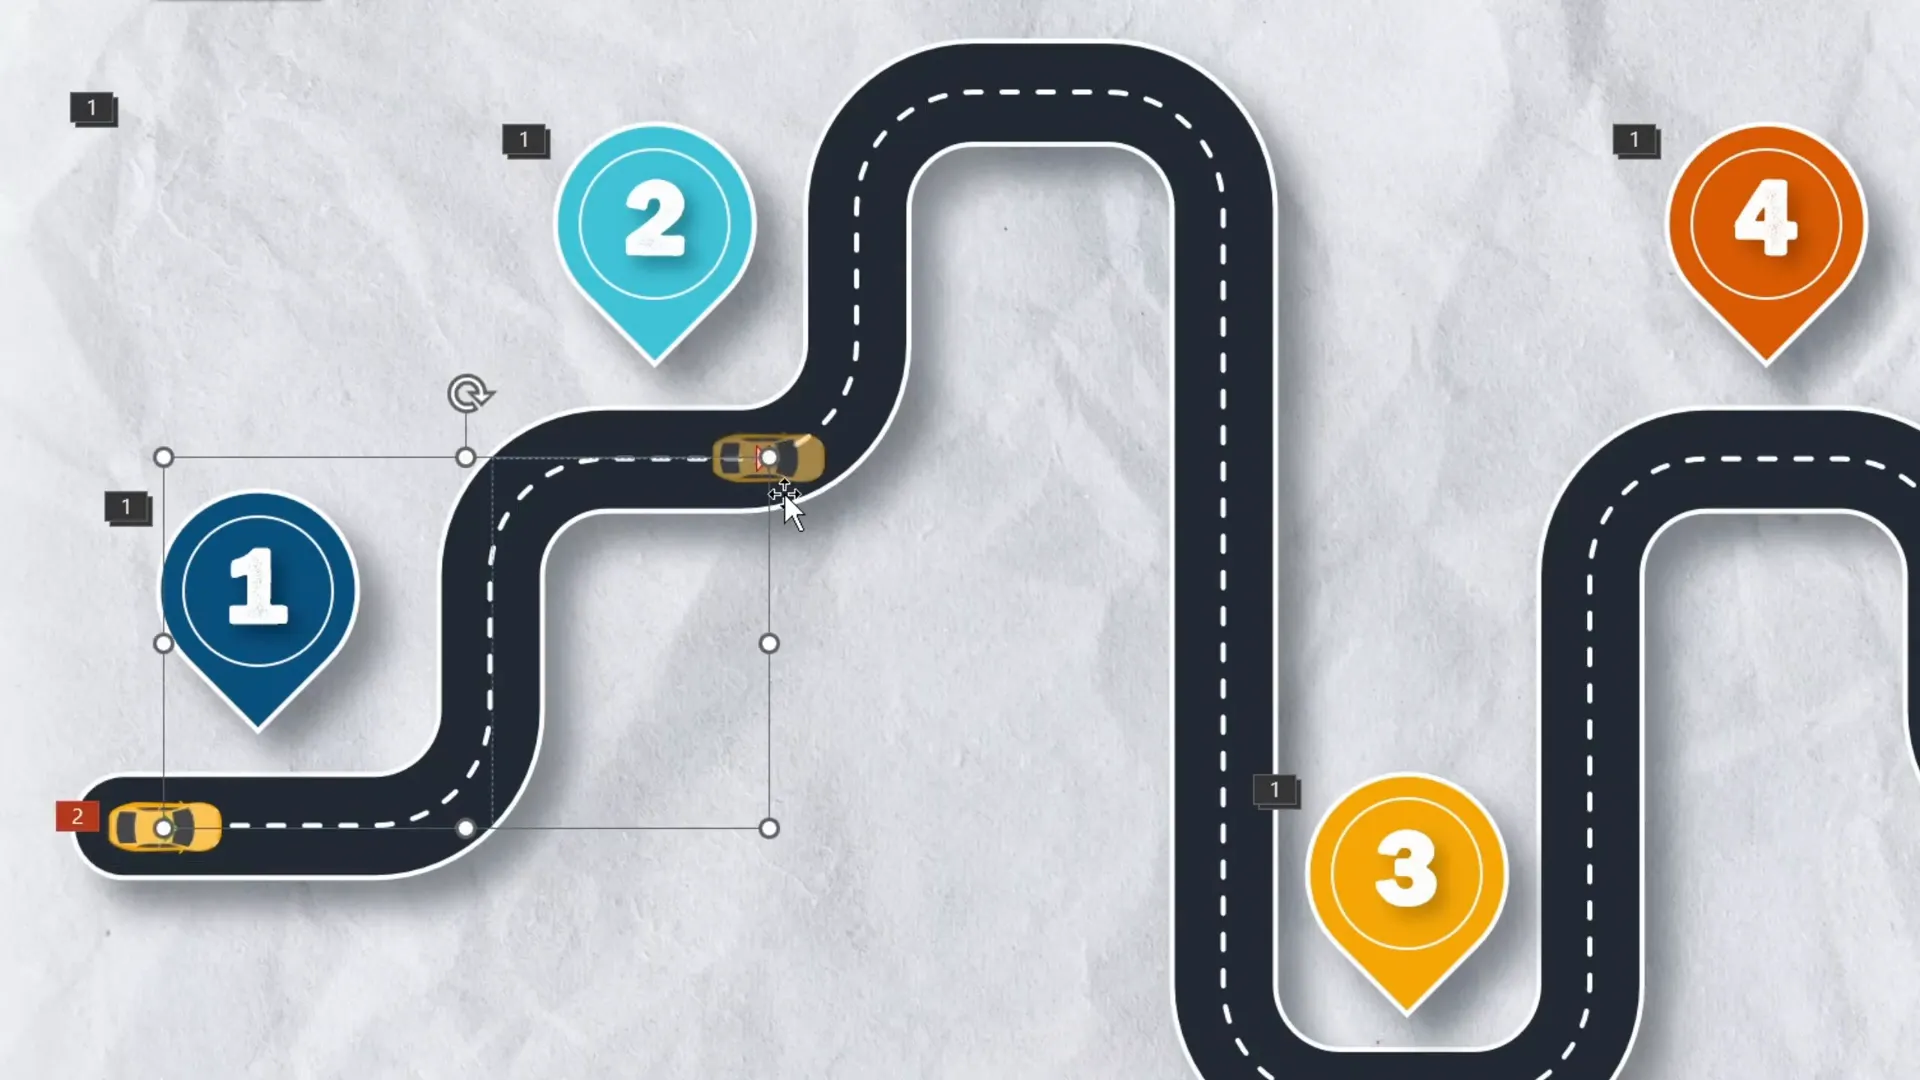
Creating a Custom Motion Path
- Insert the car image onto your slide.
- Delete any existing animations on the car to start fresh.
- Select the car and add a Custom Motion Path animation.
- Click to draw the path following the roadmap’s bends and corners, clicking on each turn and double-clicking to finish.
- Right-click the motion path and select Edit Points to smooth corners and fine-tune the path to align with the dashed centerline.
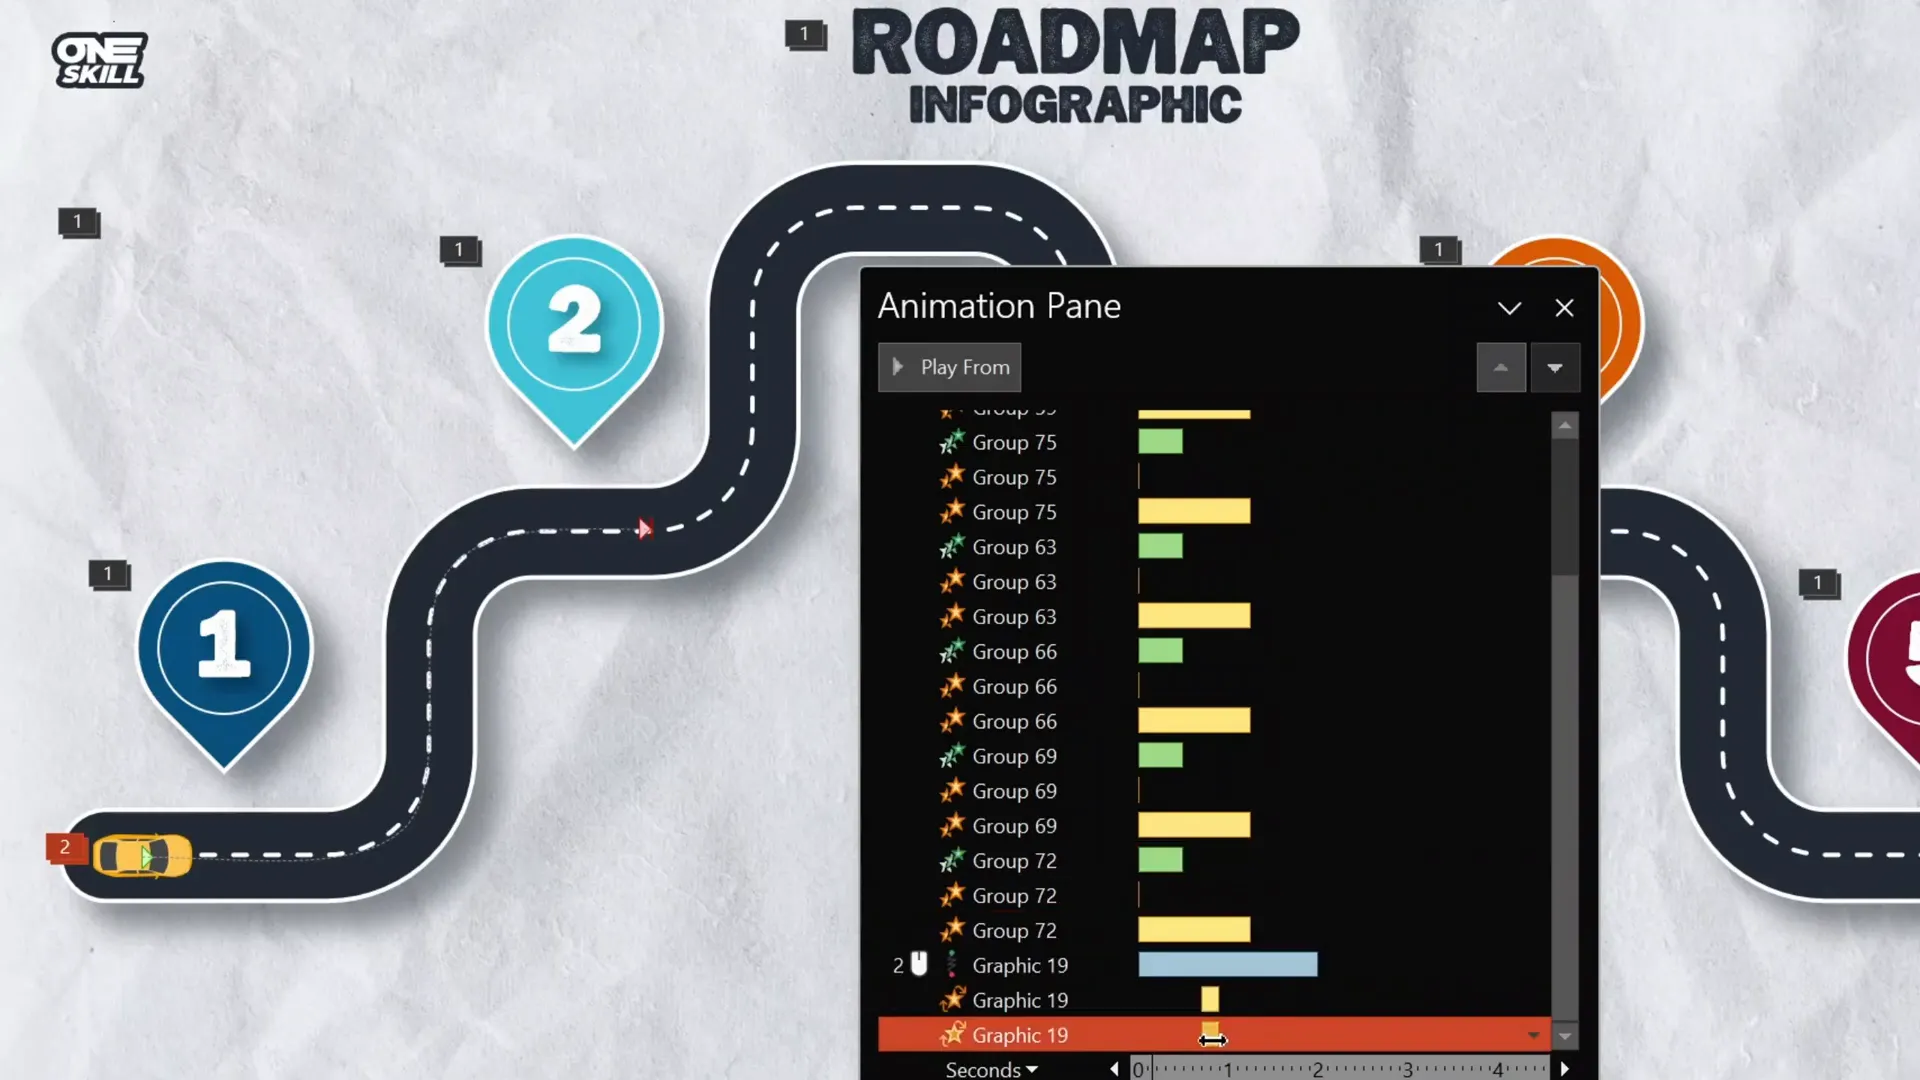
Adding Spin Animations for Realistic Turns
- After creating the motion path, the car will move but not rotate to face turns.
- Add Spin animations to the car timed to the corners where the car should turn.
- Configure the spin duration to 0.2 seconds with 90 degrees rotation, setting directions (counterclockwise or clockwise) depending on the turn.
- Use animation delay and drag the spin animations in the timeline to sync them precisely with the car’s position on the path.
- Add additional spin animations for each turn along the roadmap.
Flying Animation for Car Entrance
- Add a Fly In animation from the left to make the car appear smoothly on the slide.
- Place this animation above the motion path animation in the timeline.
- Set duration to 0.5 seconds with maximum smooth end for a polished entrance.
With these animations combined, your car will zoom onto the slide, smoothly follow the roadmap path, and turn realistically at corners, creating a captivating visual story.
Advanced Animation Tips and Slide Zoom Ideas
Once you master the basics of animating your roadmap and car, you can add even more interactivity and polish to your presentation.
- Apply the zoom-in slow-motion effect to all roadmap elements for a consistent, professional look.
- Add multiple spin animations for each turn to make the car follow complex paths.
- Use the Animation Painter tool to quickly replicate animations across multiple objects.
- Group your roadmap components to apply shadows and effects uniformly.
- Integrate Slide Zooms on pins, allowing you to click a pin and zoom into detailed slides about that milestone or stage.
Slide Zooms can transform your roadmap presentation from a static infographic into a dynamic navigation tool, enhancing audience engagement. For a detailed tutorial on Slide Zooms, check out the recommended video linked at the end of this post.
Frequently Asked Questions
What is the best tool to create curvy roadmap shapes for PowerPoint?
While PowerPoint has shape tools, using a vector design tool like Figma is more efficient for creating smooth, scalable, and editable curvy roadmap shapes. You can export these shapes as SVG files and import them into PowerPoint.
Can I edit SVG files within PowerPoint?
Yes, after importing an SVG file into PowerPoint, right-click on the image and select Convert to Shape. This converts the SVG into editable PowerPoint shapes, allowing you to customize colors, sizes, and other properties.
How do I make the car follow the road and turn realistically?
Use a combination of Custom Motion Path animations for movement and Spin animations timed appropriately for turns. Adjust timing and direction to synchronize the car’s rotation with its path.
Where can I find free assets like backgrounds and icons?
Websites like Freepik offer free and premium assets such as textured backgrounds and vector illustrations that you can use to enhance your presentation design.
What font was used for the pins’ numbers?
The font used is called Joyful Mountain. It’s a stylish display font that works well for numbered markers on infographics.
How can I add interactivity to roadmap pins?
You can add Slide Zoom actions on pins, enabling you to click a pin and zoom into a detailed slide about that specific milestone. This technique enhances audience engagement and navigation.
Conclusion
Creating an eye-catching and animated Roadmap Infographic PowerPoint has never been easier thanks to the combination of tools like Figma and the powerful animation features in PowerPoint. By following this step-by-step guide, you can design a smooth, professional roadmap, add meaningful pins, and bring your presentation to life with animations like zoom effects and a car that follows the path with realistic turns.
Whether you’re presenting a project timeline, a business strategy, or a learning journey, this roadmap infographic will help your audience visually understand your message and stay engaged throughout.
Remember to experiment with different colors, shapes, and animation timings to make the infographic truly your own. And don’t forget to explore Slide Zooms for interactive navigation between roadmap stages.
Happy presenting!
Watch the full tutorial video to see the process in action and get inspired:
For further learning, especially on Slide Zooms, check out the recommended next video linked in the original tutorial.
Thanks for reading, and feel free to share your roadmap infographic creations!


