
Welcome to an in-depth guide on creating an awesome animated slide design that mimics a virtual planner user interface, built entirely within Microsoft PowerPoint. This tutorial is crafted to help you master the art of combining beautiful visuals, smooth animations, and interactive slide zooms to elevate your presentations to the next level. Whether you’re a PowerPoint enthusiast or a professional looking to create engaging UI mockups, this article will walk you through every step with detailed explanations and practical tips.
This comprehensive tutorial draws inspiration from expert techniques demonstrated by One Skill PowerPoint, guiding you through how to use photos, animations, and morph transitions to create a sleek, modern virtual planner UI. Let’s dive in!
Table of Contents
- Overview of the Project: What to Expect
- Step 1: Selecting and Inserting the Perfect Background Photo
- Step 2: Adding a Model Photo with Transparent Background
- Step 3: Creating Smooth Morph Transitions for Animation
- Step 4: Designing Modern UI Widgets with Blurred Backgrounds
- Step 5: Managing Slide Backgrounds for Consistency
- Step 6: Creating Additional Morph Transitions for Dynamic UI
- Step 7: Fine-tuning Widget Animations and Layering
- Step 8: Adding Interactive Slide Zooms for Navigation
- Step 9: Finalizing and Testing Your Animated Virtual Planner UI
- Frequently Asked Questions (FAQ)
- Conclusion
Overview of the Project: What to Expect
The animated slide design project consists of four beautifully crafted slides, each featuring:
- A stunning background image that sets the mood.
- A model photo wearing virtual reality (VR) glasses to add a futuristic vibe.
- Text boxes with motivational greetings and planner prompts.
- Minimalistic UI widgets displaying time, weather, and schedules.
- Engaging animations using PowerPoint’s morph transition and slide zoom features.
By the end of this project, you will have created a dynamic virtual planner interface that is not only visually appealing but also highly interactive.
Step 1: Selecting and Inserting the Perfect Background Photo
The foundation of any great slide design is a compelling background. For this project, the background photo plays a crucial role in setting the tone for the virtual planner interface.
We recommend using high-quality stock photos from Depositphotos, which offers a vast collection of images, vectors, music, and videos. The photos used in this tutorial were selected from Depositphotos, and a special thanks goes to them for sponsoring this project.
Here’s how to insert and prepare your background image:
- Insert a blank new slide in PowerPoint.
- Download your chosen background photo in excellent quality (Excel quality recommended for crisp visuals).
- Go to Insert > Pictures > This Device and select your downloaded photo.
- Once inserted, the photo might not cover the entire slide. To fix this, click on one of the corners, then hold down Ctrl + Shift keys, and drag to resize the photo proportionally until it covers the whole slide.
- Use the Crop tool to adjust the photo to a 16:9 aspect ratio and position it appropriately, usually dragging it slightly upwards to focus on the main elements.
This method ensures your background is perfectly sized and positioned for the slide, creating a solid visual base for the rest of your design.
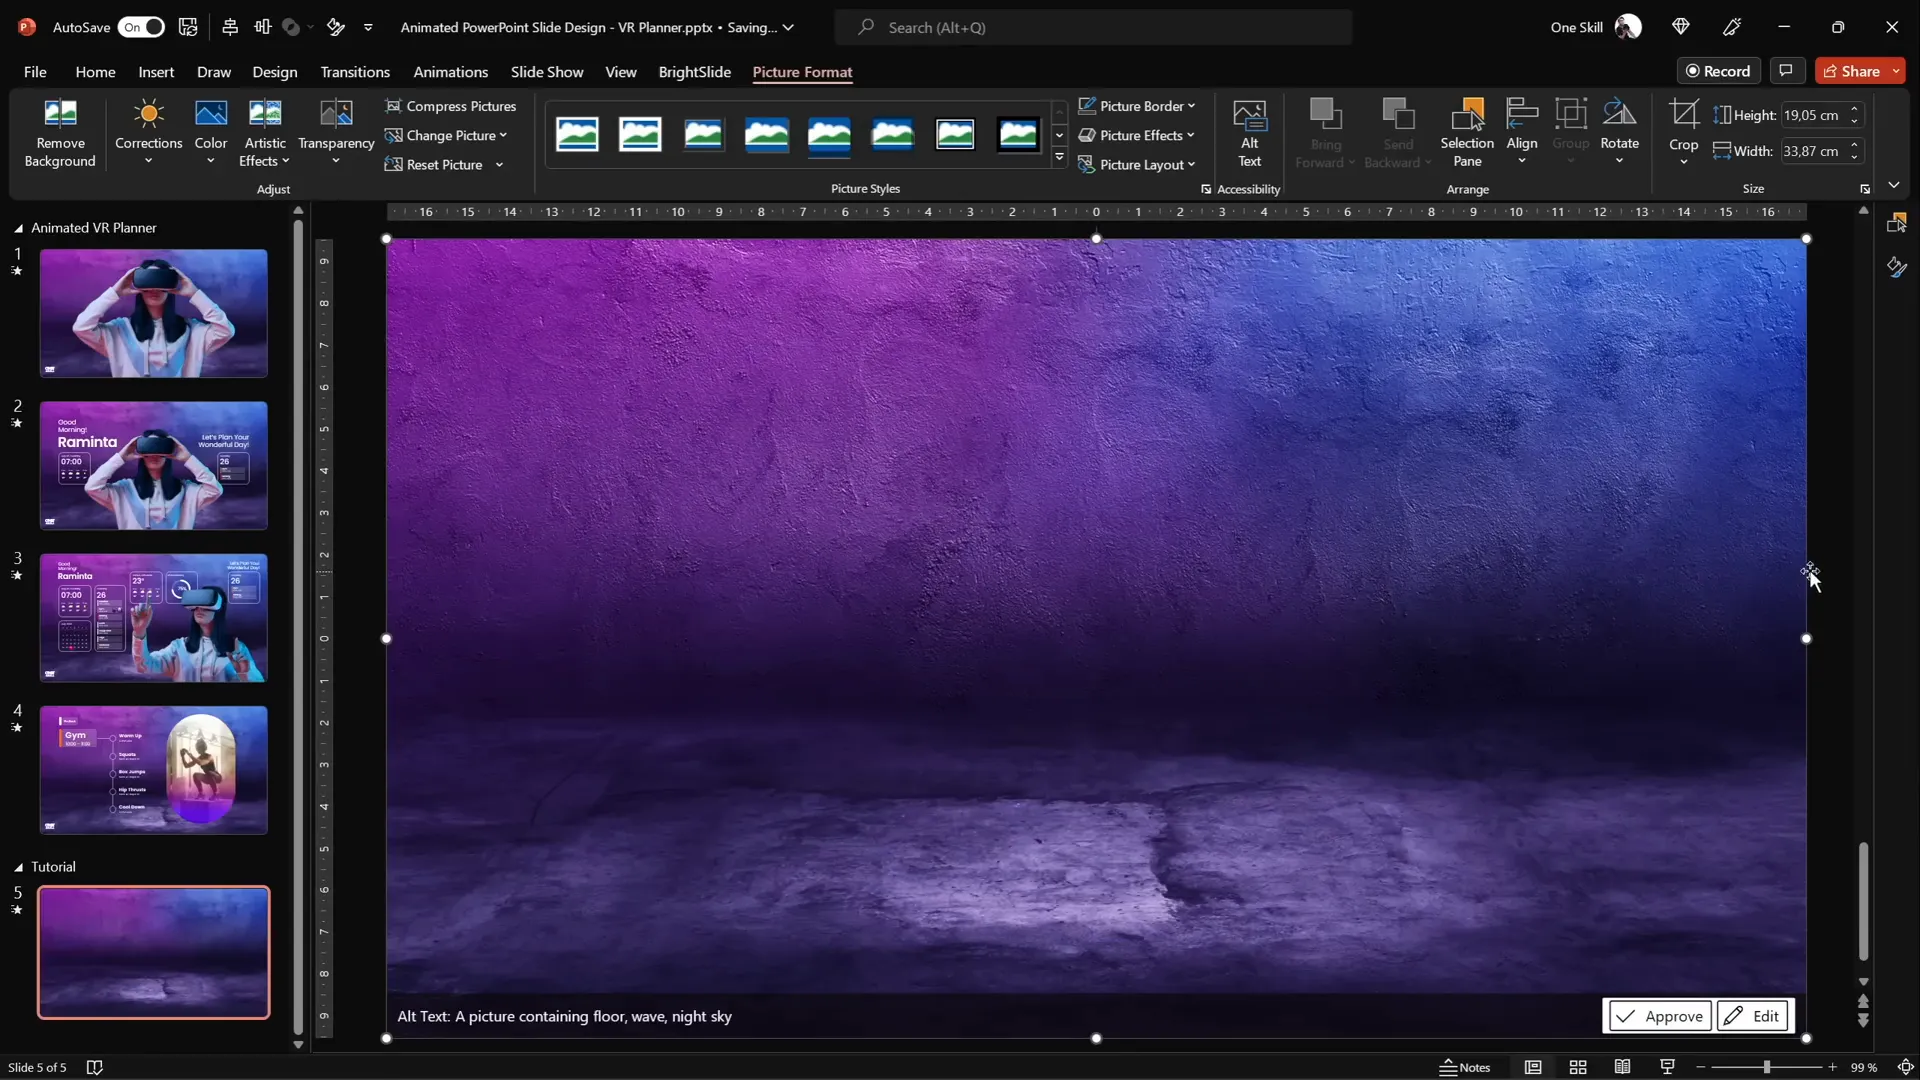
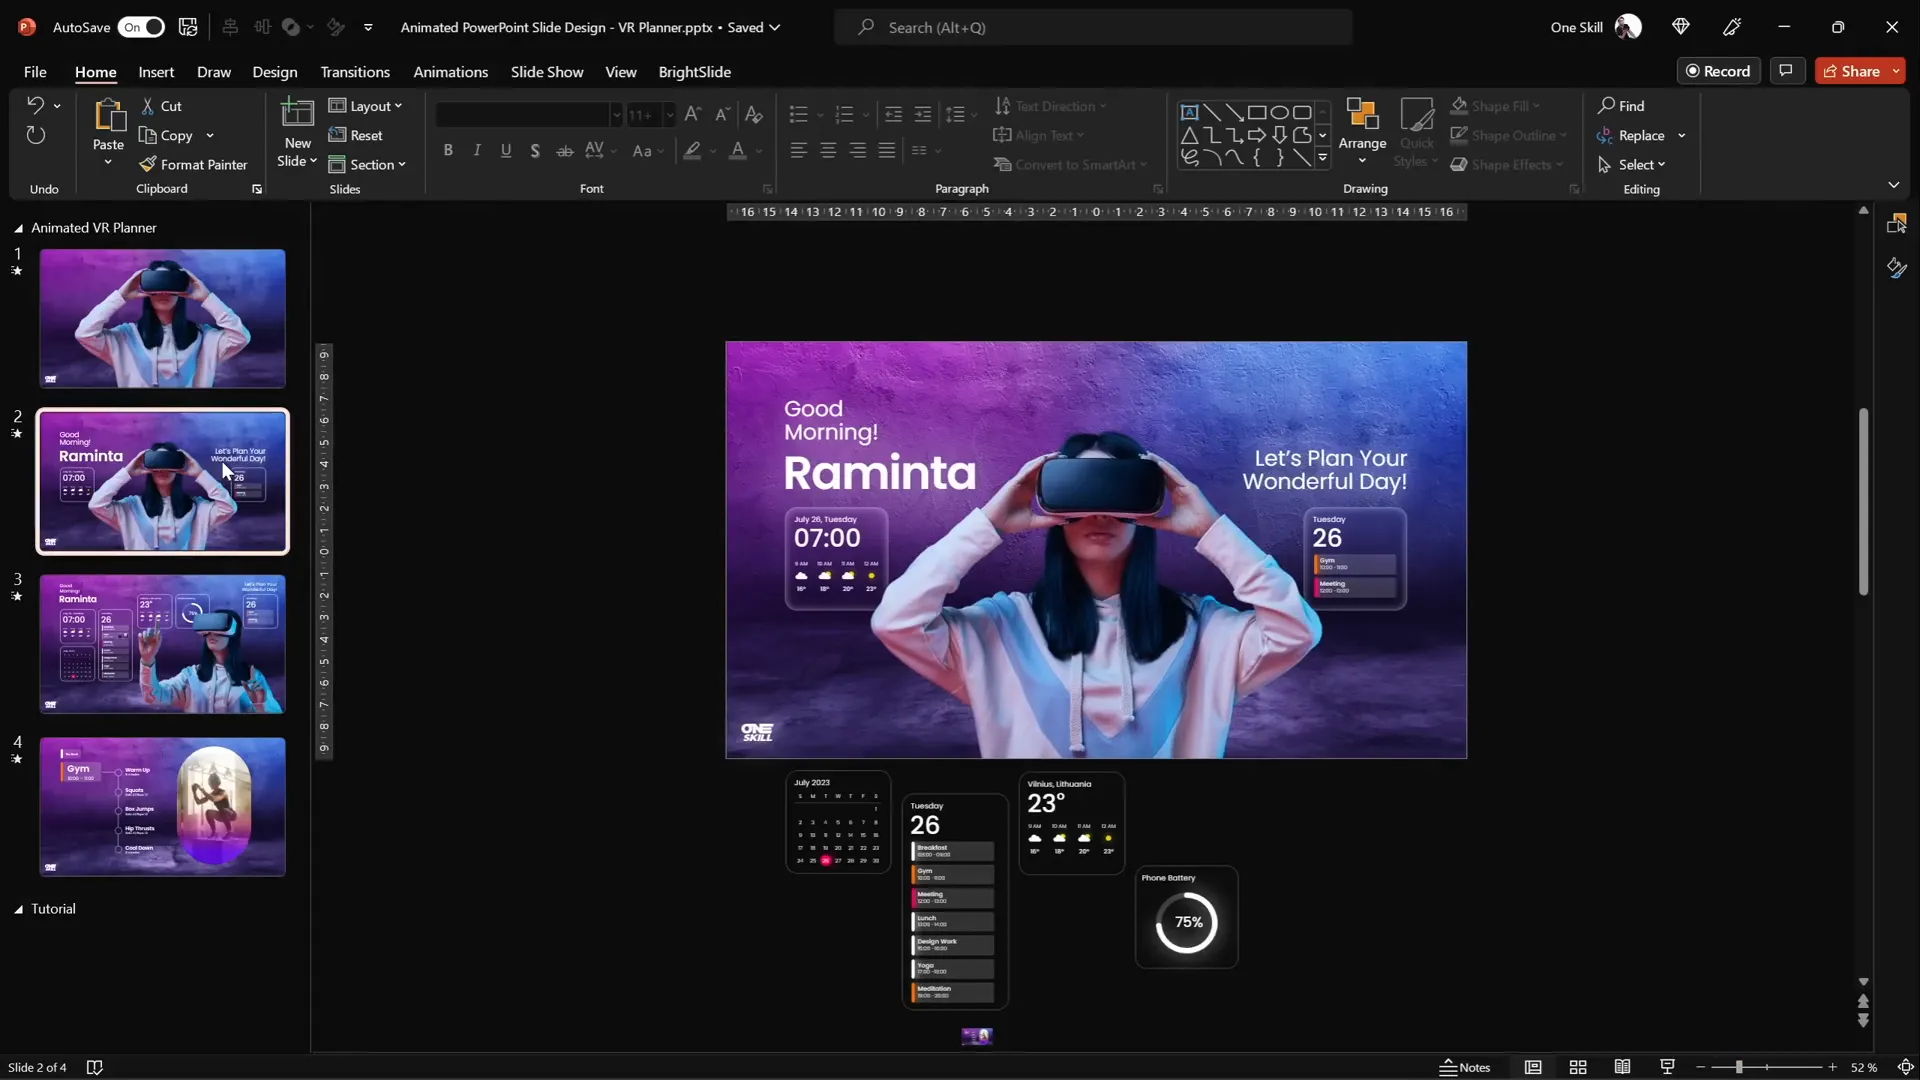
Step 2: Adding a Model Photo with Transparent Background
To add a futuristic feel, the project uses a photo of a model wearing virtual reality glasses. However, most stock photos come with backgrounds, which need to be removed for seamless integration into your slides.
Luckily, Depositphotos offers a Free Background Remover tool that works wonders:
- Upload your chosen photo or drag and drop it onto the tool.
- The tool automatically removes the background, leaving you with a clean cut-out of the subject.
- Download the transparent background image. The standard resolution is free, while HD requires a subscription (use promo code ONESKILL20 for 20% off any plan).
Once you have your cut-out model image, insert it into your slide. Resize and position it as needed, typically centered to become the focal point of your UI.

Step 3: Creating Smooth Morph Transitions for Animation
One of the most powerful features in PowerPoint for animation is the Morph Transition. It allows seamless transformation between slides, animating movement, resizing, and repositioning of objects.
For this virtual planner UI, the first animation involves the model photo shrinking while text boxes and widgets fly in from the sides.
Follow these steps to create this effect:
- Duplicate your slide containing the model photo and background by right-clicking and selecting Duplicate Slide or pressing Ctrl + D.
- On the duplicate slide, select the model photo and reduce its size while keeping it center-aligned.
- Add the text boxes and widgets you want to fly in on this slide, positioning them inside the slide area.
- On the original slide, position the text boxes and widgets just outside the slide boundaries on the sides.
- Select both slides in the slide sorter view and apply the Morph Transition from the Transitions tab.
- Set the duration to 1 second for a smooth animation.
When you run the slideshow and transition between these two slides, the model photo will shrink, and the text boxes and widgets will animate in from the sides, creating a sleek UI entrance effect.

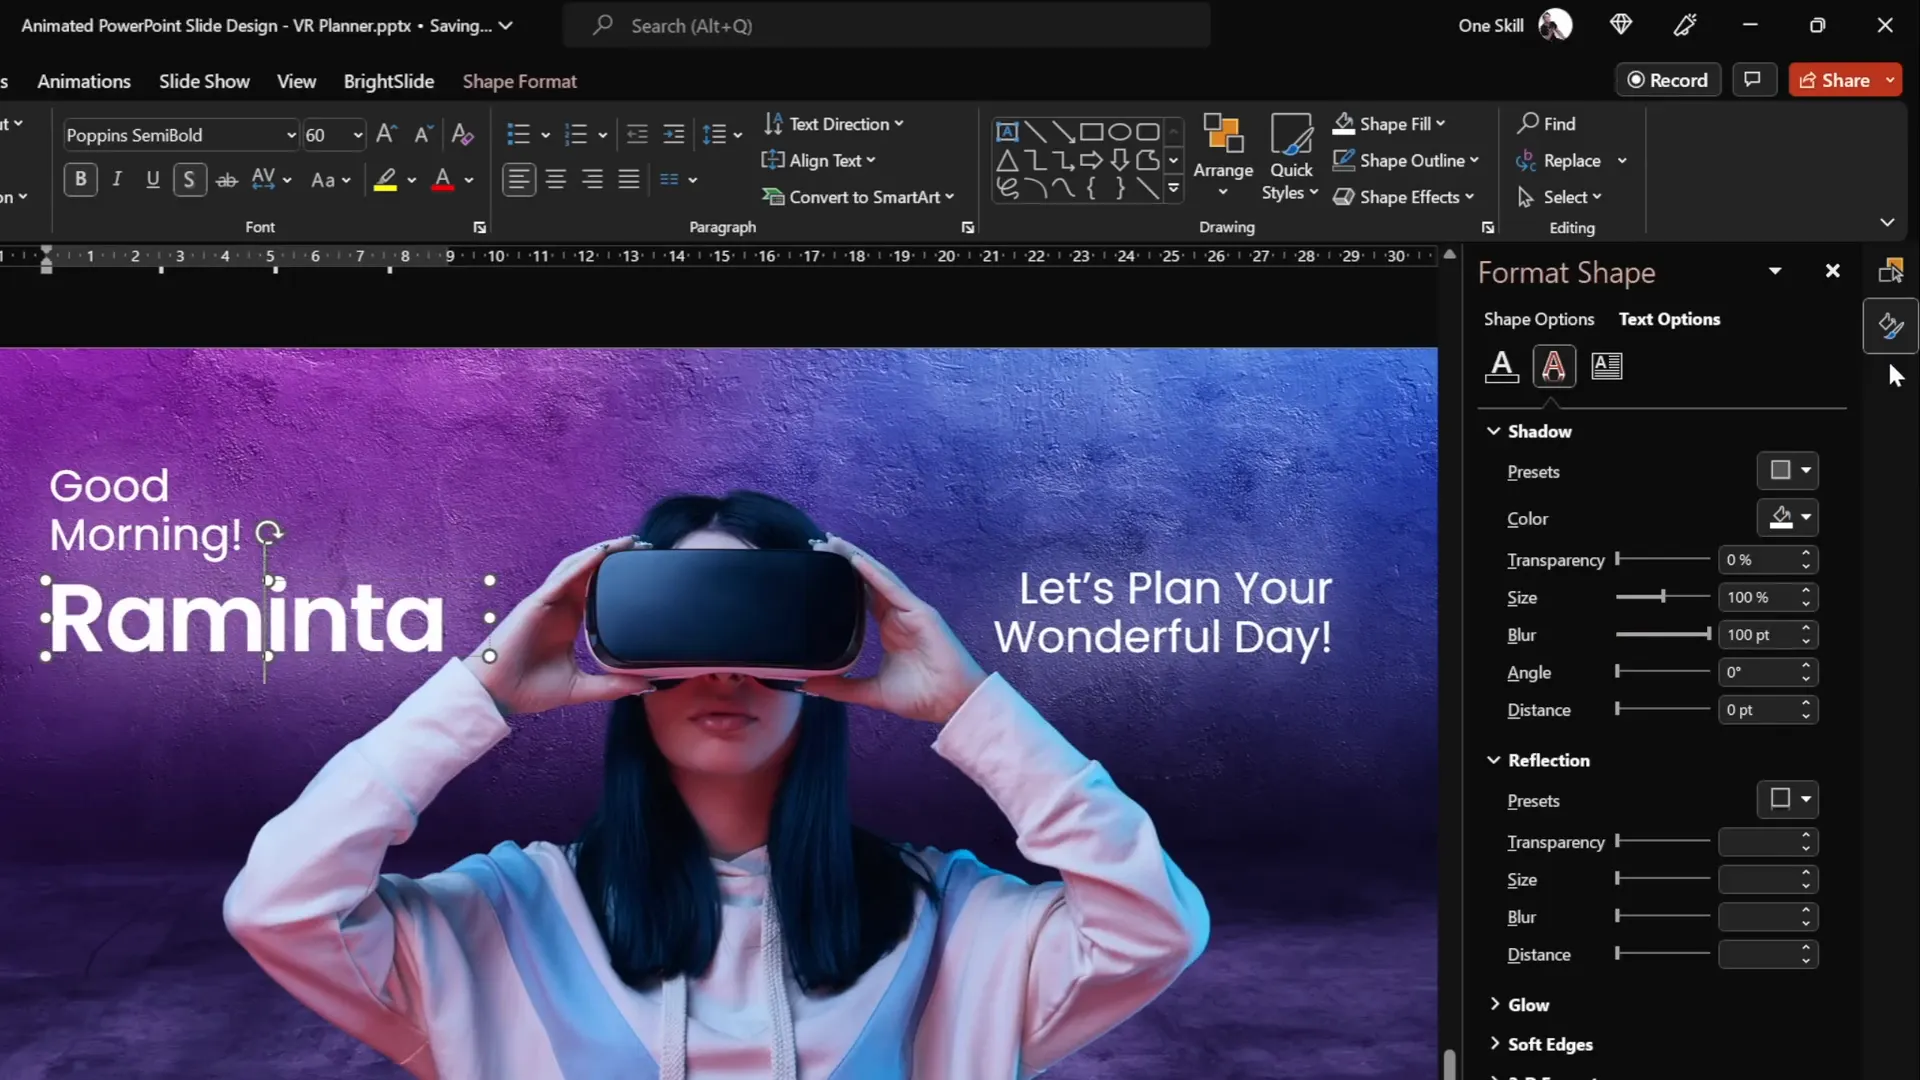
Designing the Text Boxes
To add personality and warmth to the UI, the text boxes feature a greeting and planner prompt:
- “Good morning, Raminta.”
- “Let’s plan your wonderful day.”
Raminta is a beautiful woman’s name from Lithuania, adding a personal touch to the design.
The font used is Poppins, available for free on Google Fonts. Different font weights like Regular and SemiBold are used to create visual hierarchy.
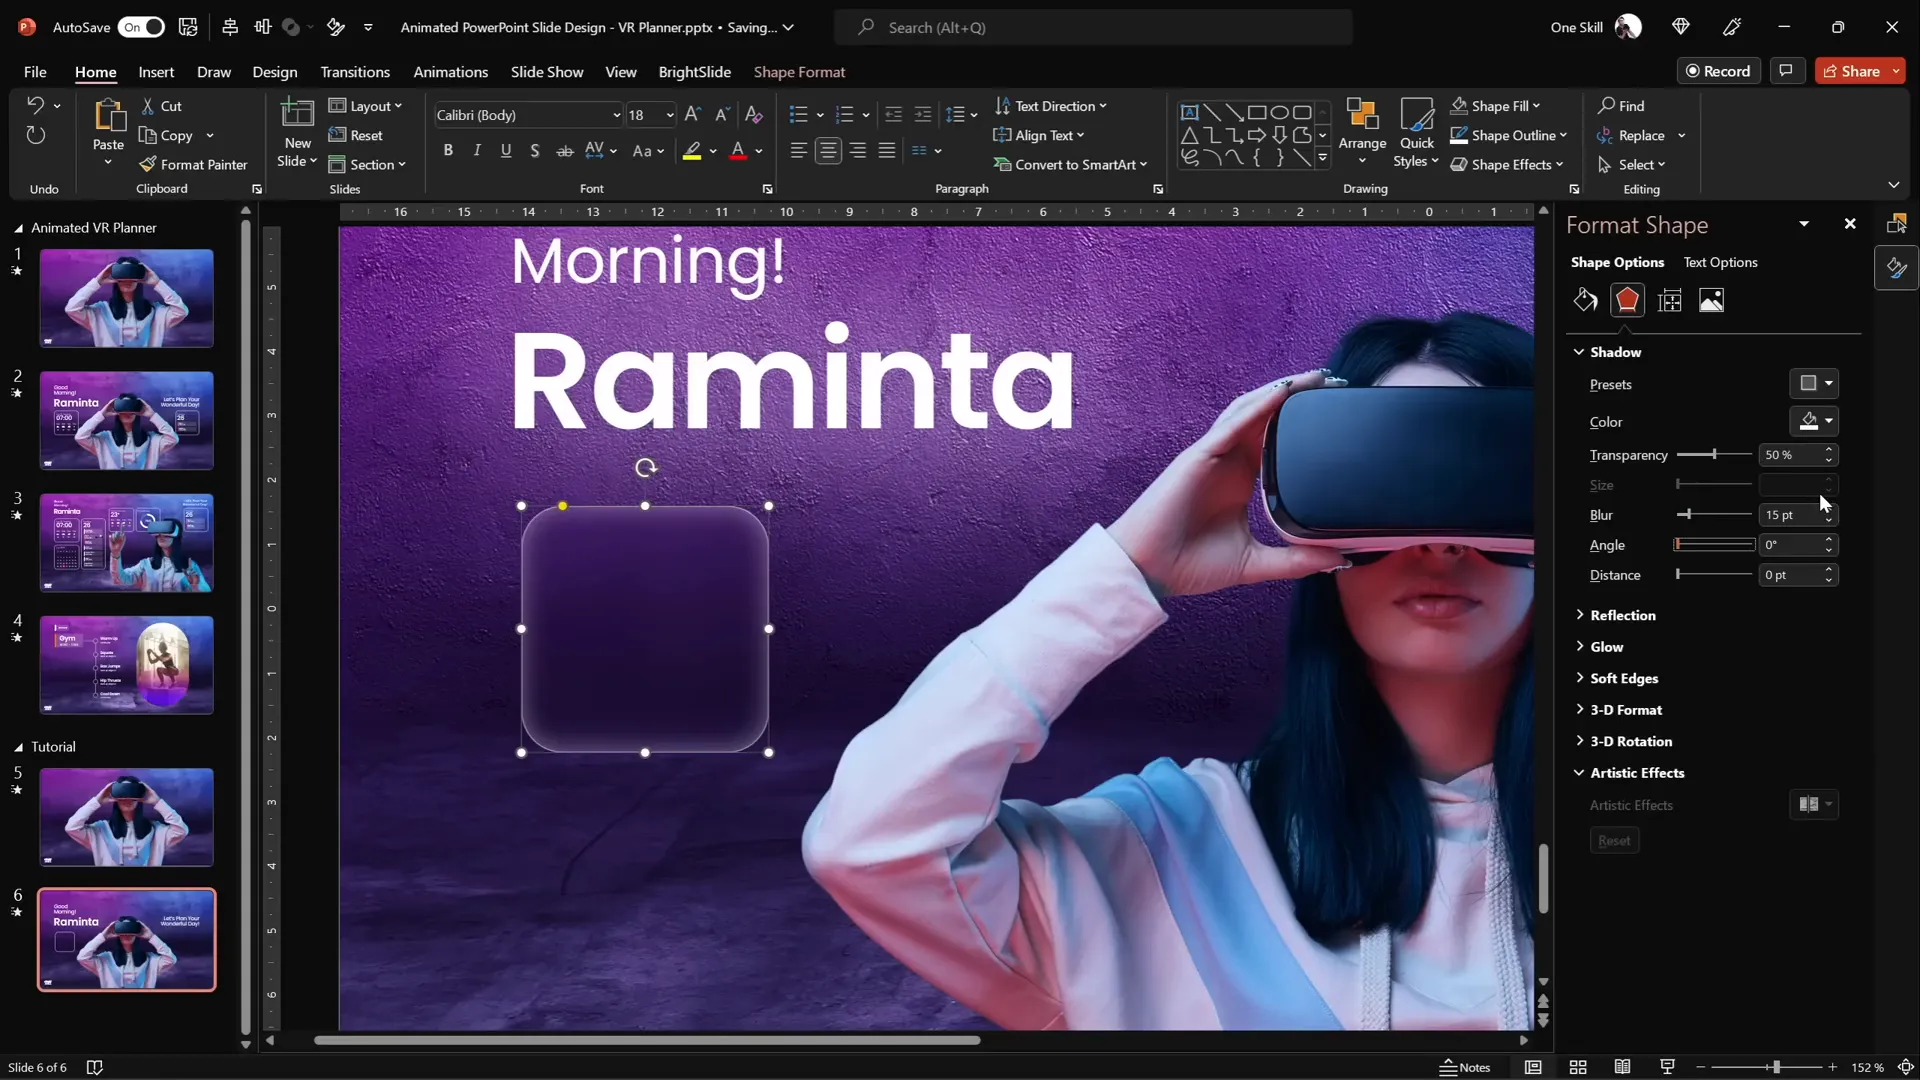
Each text box also has a glowing white shadow with a blur radius of 100 points, adding a subtle neon effect that fits the futuristic theme.
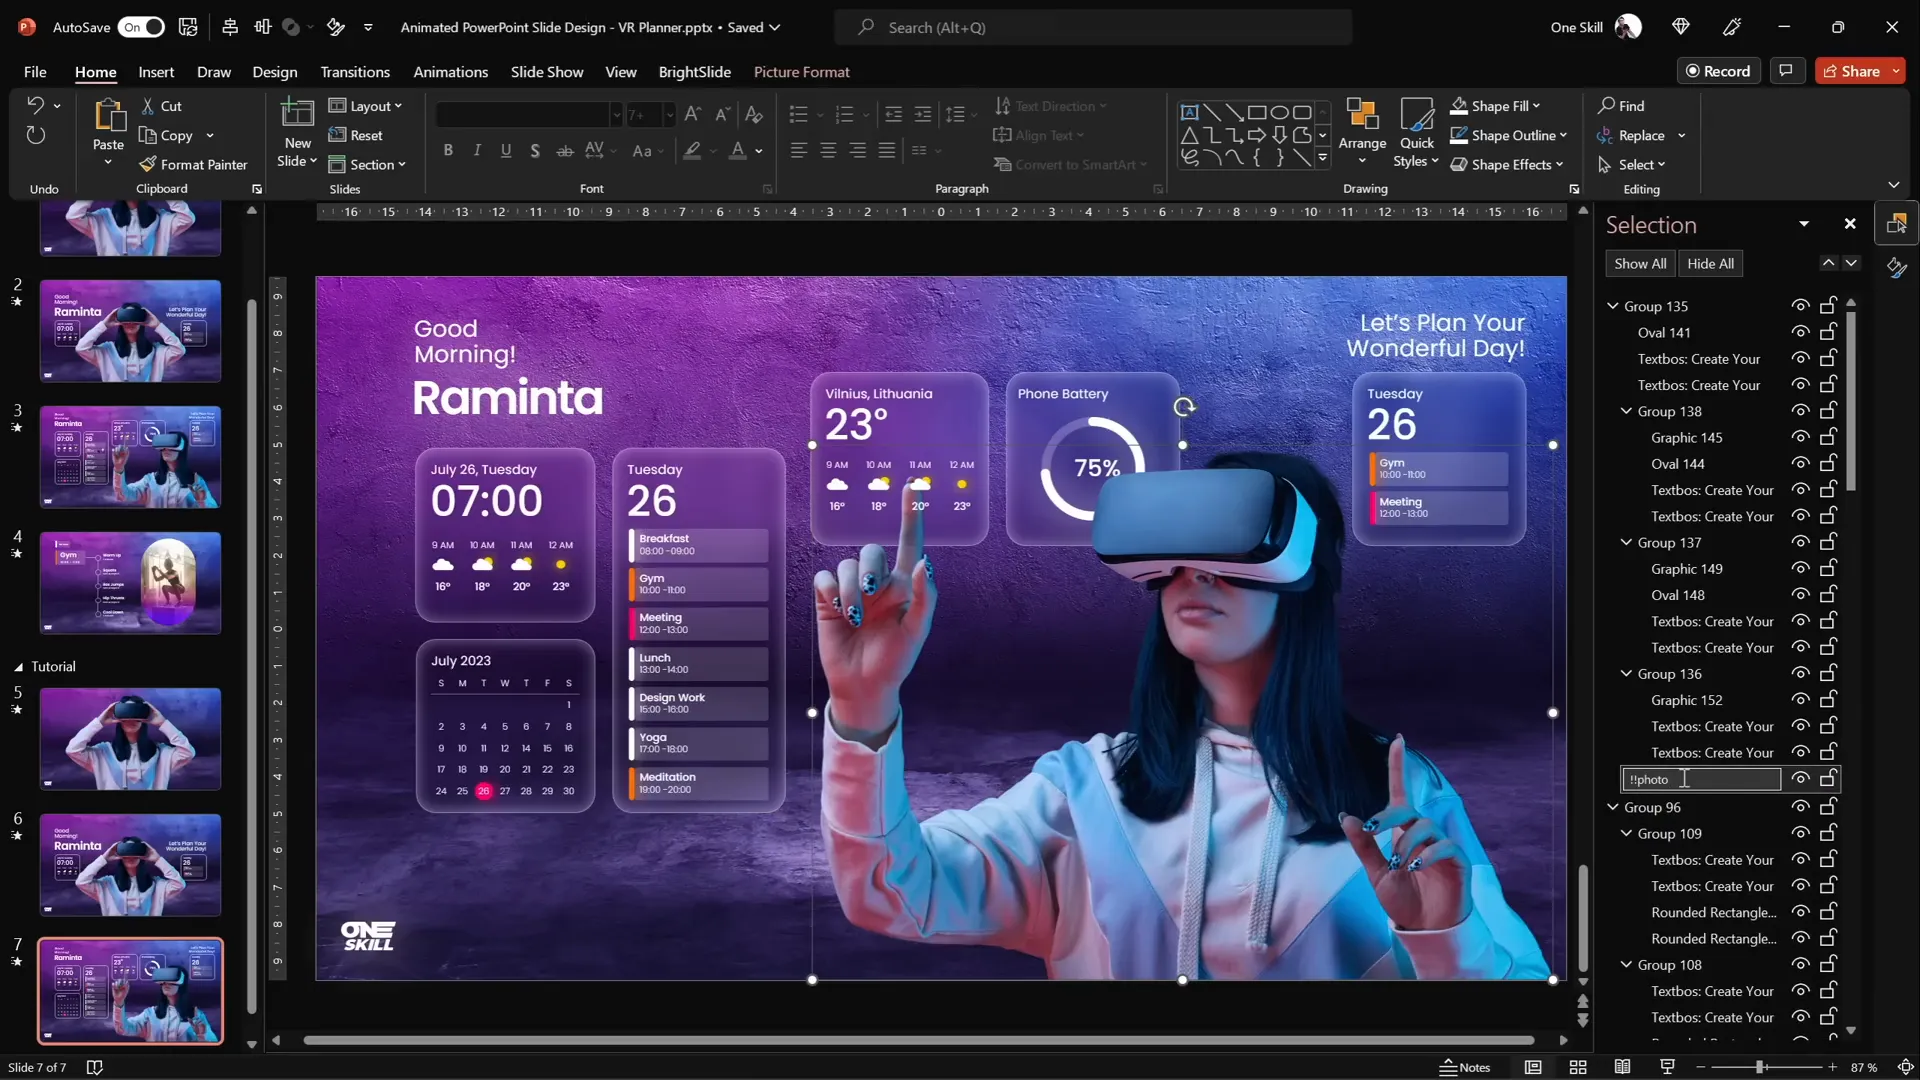
Step 4: Designing Modern UI Widgets with Blurred Backgrounds
Minimalistic widgets enrich the UI by displaying real-time information such as current time, weather, and daily schedule. These widgets are designed as rounded rectangles with a frosted glass effect, achieved through a clever use of PowerPoint’s background fill and blur effects.
Creating a Blurred Background Fill for Widgets
Here’s a breakdown of the process:
- Insert a rounded rectangle shape for your widget.
- Set the outline color to white and reduce its opacity to 50% for subtlety.
- Set the line width to 0.5 points for a delicate border.
- Copy the slide’s background image and paste it on the slide.
- Apply a blur artistic effect to the copied image with a blur radius of 50 points.
- Set the slide background fill of the rounded rectangle to use the blurred background image. This creates the frosted glass effect.
- Add an inside shadow with white color, 50% transparency, and 15 points blur radius to simulate frosty edges.
This technique allows the widget to dynamically match the background, creating a sophisticated and modern look.
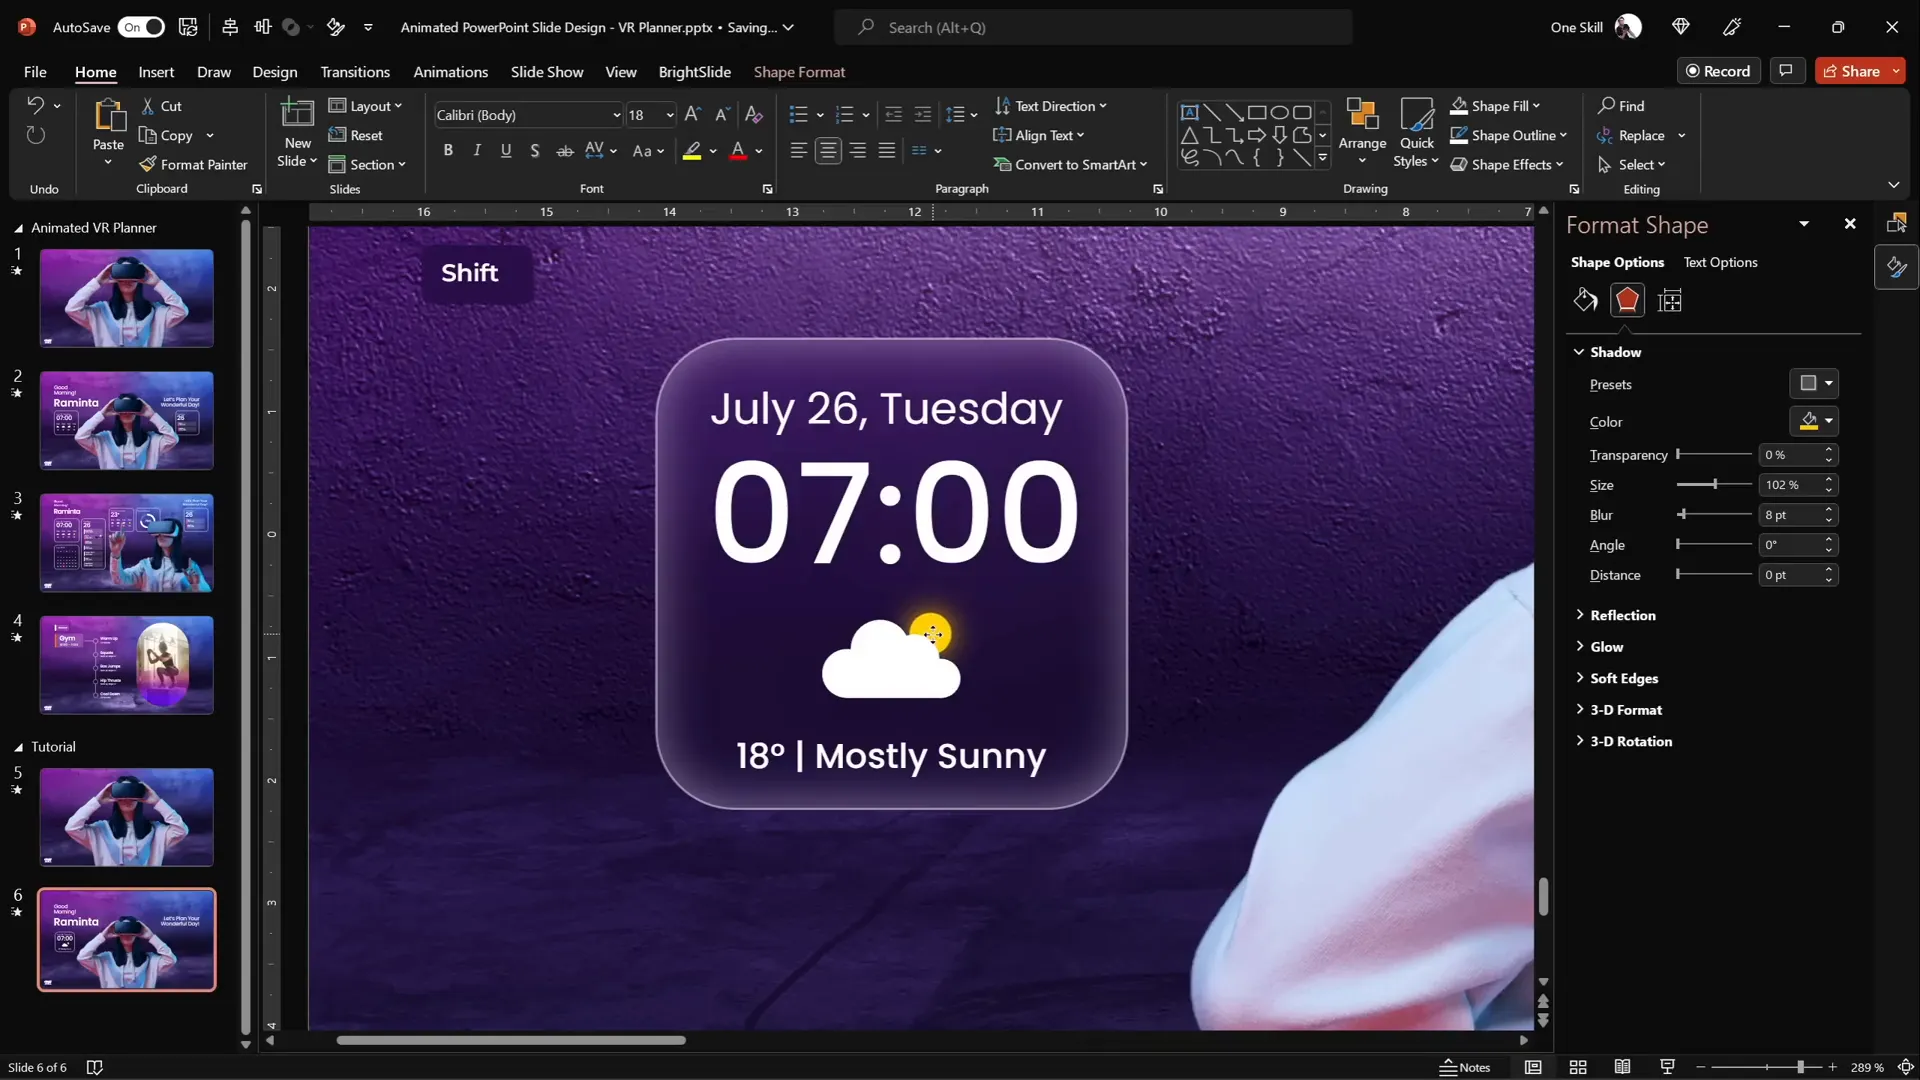
Adding Weather Information and Icons
To enhance the weather widget, add text boxes for temperature and condition (e.g., “18°C”, “Mostly Sunny”) and create simple icons:
- Use PowerPoint’s built-in icon search to find a cloud icon.
- Change the icon color to white for consistency.
- Resize and position the cloud icon.
- Create a sun icon by inserting a perfect circle (hold Shift while drawing) and add an outer shadow with a warm orange color and blur effect to simulate sunlight.
- Layer the sun behind the cloud for a natural look.
Group all elements to keep the widget manageable and easily movable.
Step 5: Managing Slide Backgrounds for Consistency
When copying widgets between slides, you might notice that the blurred background fill doesn’t display correctly if the slide background is white.

To fix this, use the Format Painter tool:
- Select a slide with the correct blurred background.
- Click Format Painter.
- Click on the slide with the white background to apply the blurred background fill.
This ensures that your widgets maintain their frosted glass look consistently across slides.
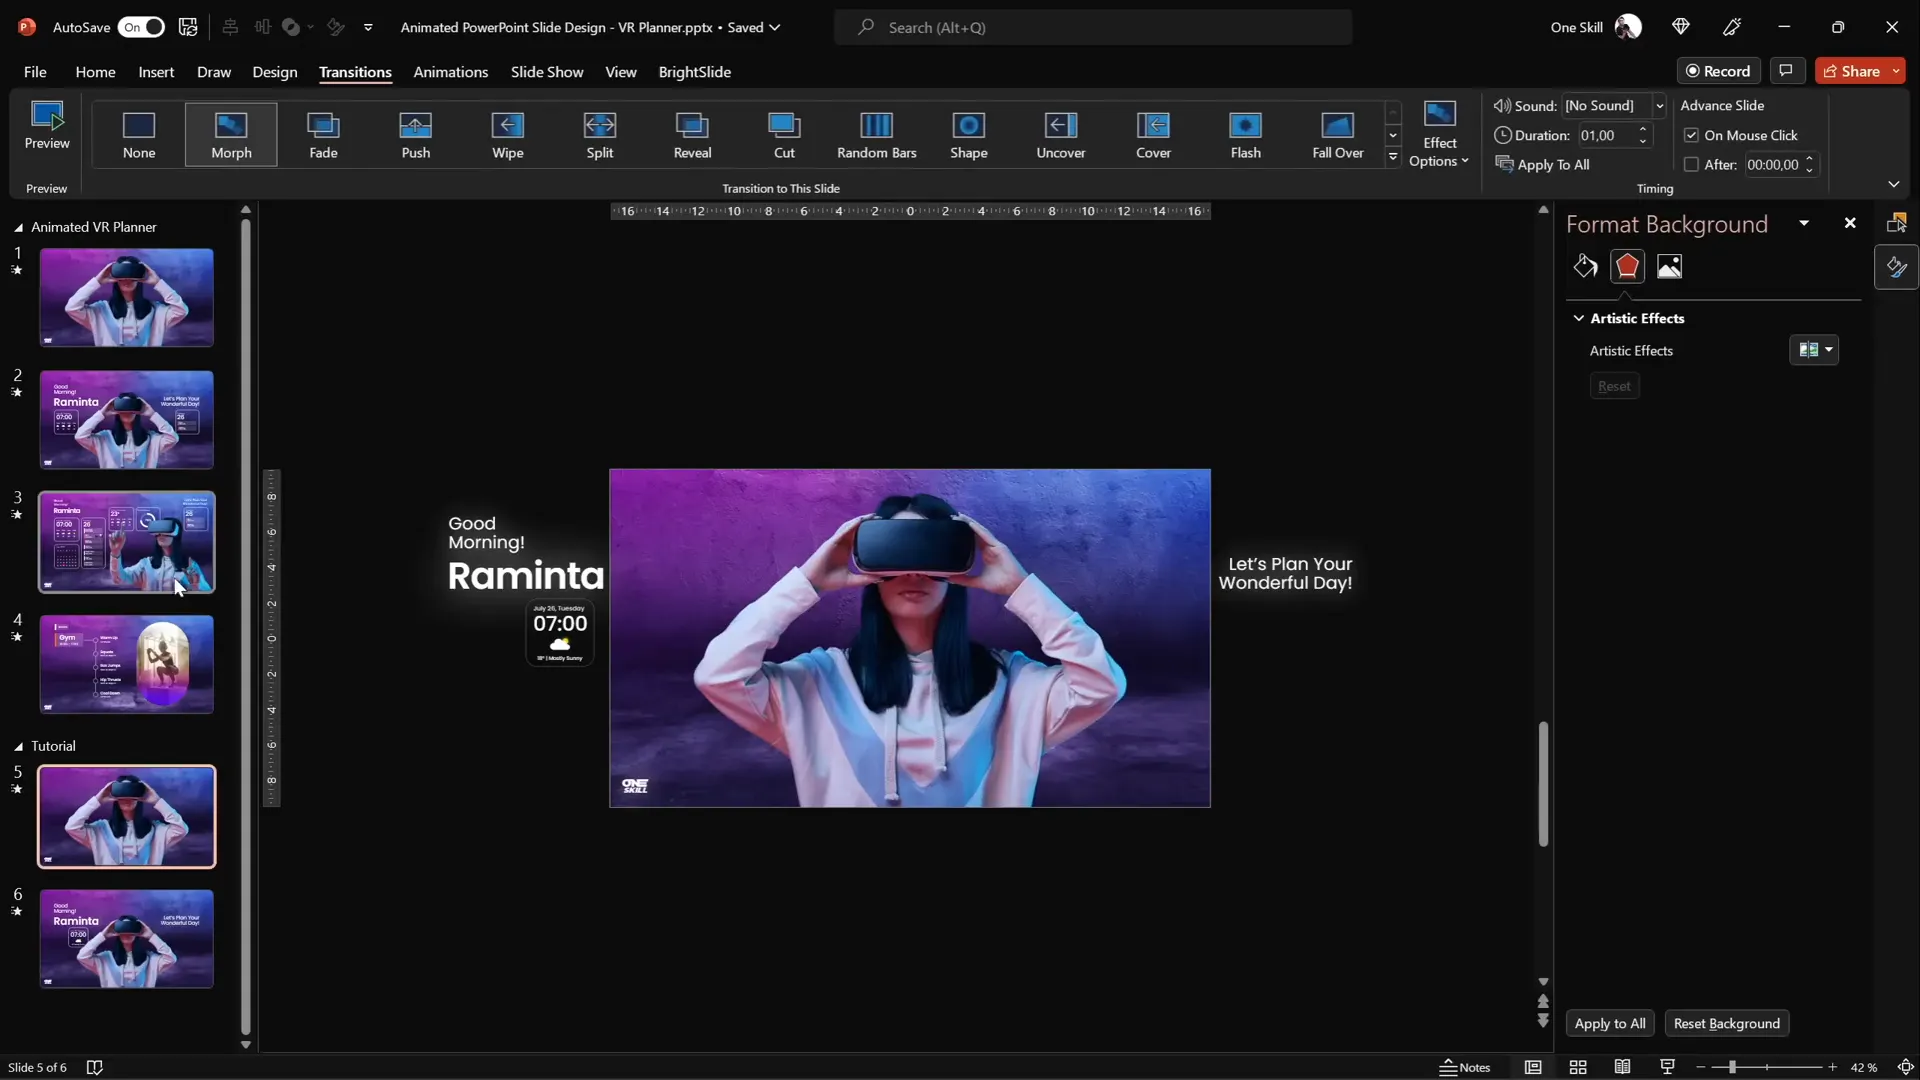
Step 6: Creating Additional Morph Transitions for Dynamic UI
With the first transition complete, the next step is to create a second morph transition where:
- The model photo changes to a side-facing image reaching out with her finger.
- Text boxes shrink and move upwards.
- Additional widgets appear with smooth animations.
- A slight zoom effect adds depth.
To achieve this:
- Duplicate the second slide.
- Delete all elements except the background and logo on the duplicate.
- Copy all elements from the previous slide (except background and logo) and paste them into the duplicate.
- Replace the model photo with the new side-facing image, ensuring the image has the same name with double exclamation marks at the start (e.g., “!!photo”) to enable morphing between two different photos.
- Position widgets and text boxes appropriately to match the desired animation.
- Apply the morph transition with a 1-second duration.
Pay close attention to the naming of photos in the selection pane. If the names differ, morph won’t animate the photo change.
Step 7: Fine-tuning Widget Animations and Layering
For widgets that appear only on the second slide, position them below the slide window on the previous slide so they animate upwards smoothly during the transition.
Layering is important for visual interest. For example, the model’s finger can be placed behind cloud icons to create a sense of depth.
You can adjust the layering order by right-clicking elements and choosing Bring to Front or Send to Back.

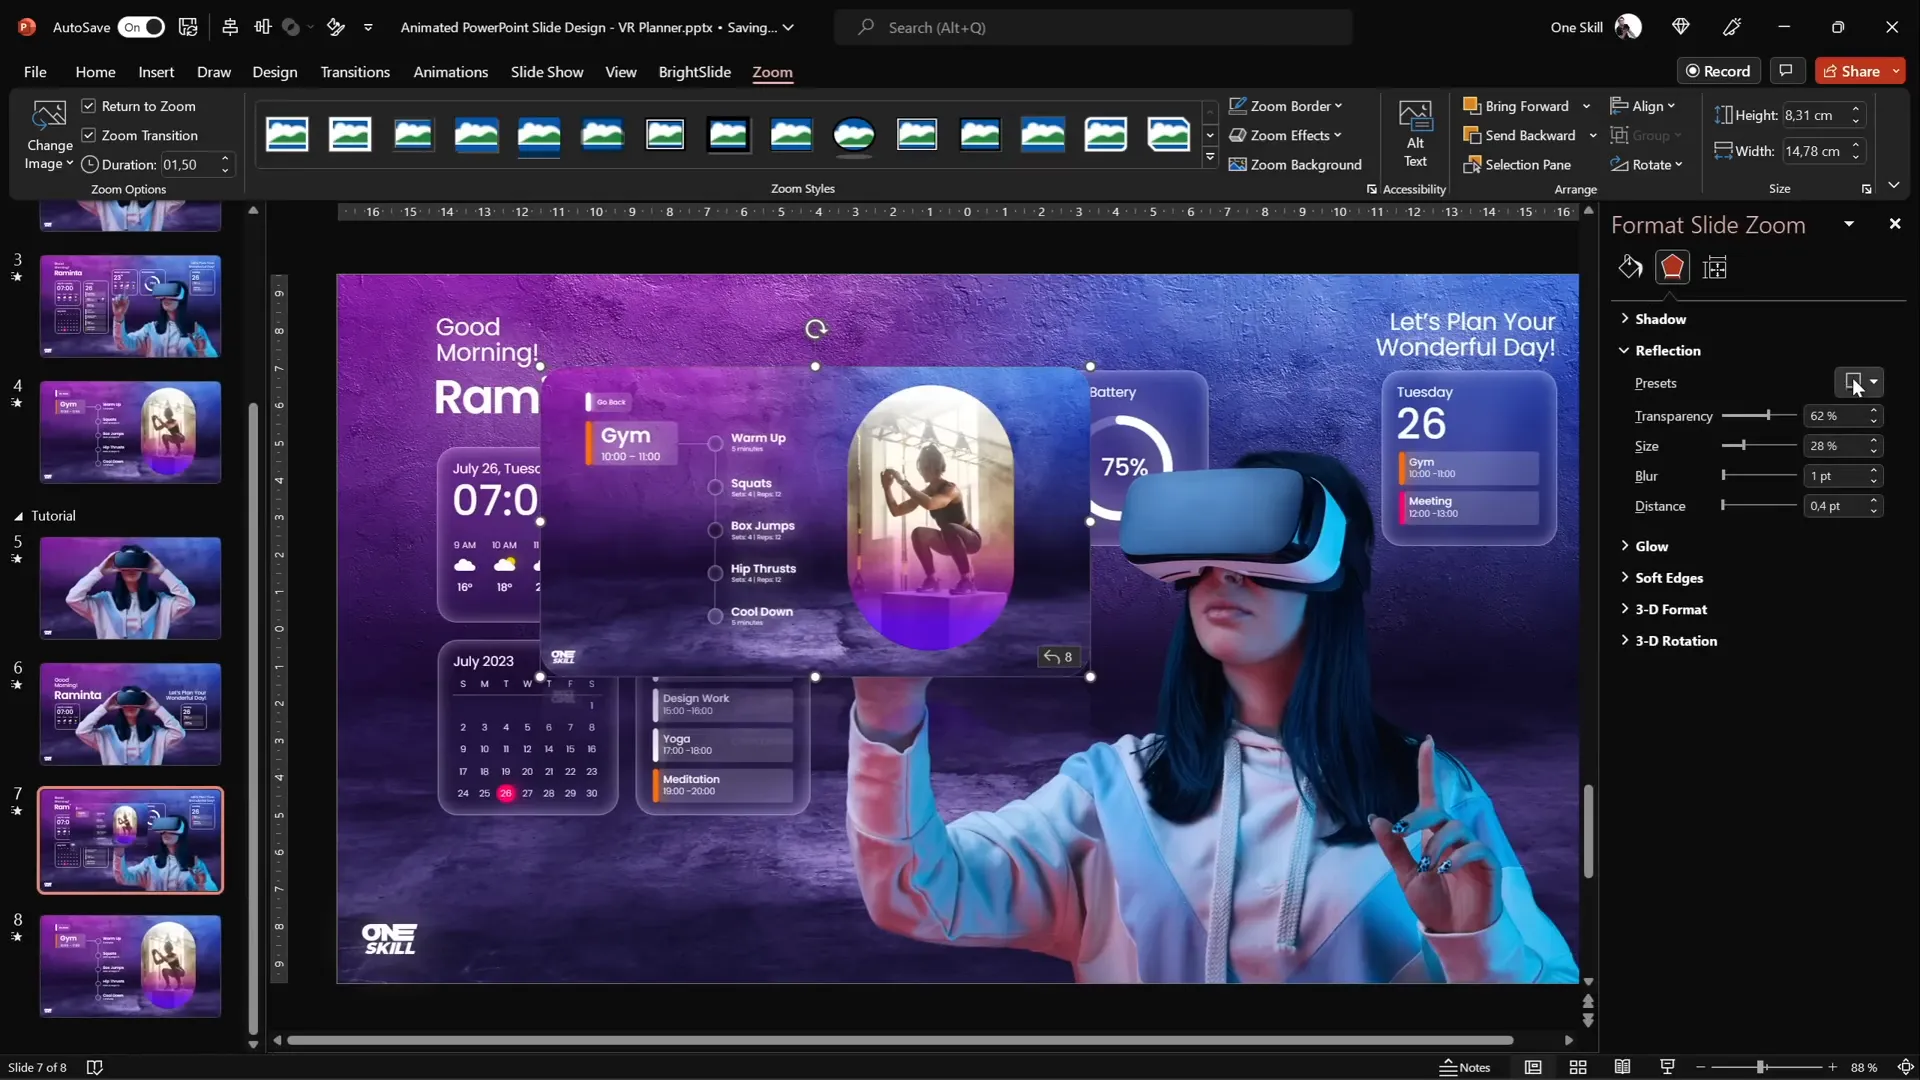
Step 8: Adding Interactive Slide Zooms for Navigation
Slide zooms add an interactive element, allowing you to zoom into a specific slide section and then return smoothly.
Here’s how to add a slide zoom:
- Duplicate your slide to create a “gem” slide or tab.
- Ensure this slide has a blurred background using the format painter.
- Go to Insert > Zoom > Slide Zoom and select the gem slide.
- Resize the slide zoom thumbnail and remove the zoom border for a cleaner look.
- Enable Return to Zoom so you can navigate back easily.
- Set the zoom transition duration to 0.5 seconds.
- Apply rounded corners using presets and remove unwanted reflections via Format Shape > Reflection > None.
- Position the slide zoom inside the corresponding tab on your slide.
You can add multiple slide zooms for different tabs to create a fully interactive planner UI.
Step 9: Finalizing and Testing Your Animated Virtual Planner UI
After setting up all transitions, widgets, and slide zooms, it’s crucial to test your presentation thoroughly:
- Use keyboard arrow keys to navigate back and forth through the slides and observe the morph animations.
- Click on slide zooms to ensure they zoom in and out smoothly.
- Make sure all text boxes, widgets, and images animate correctly and maintain their layering order.
- Adjust timing and positioning as needed to perfect the flow.
After this, your animated slide design virtual planner UI is ready to impress your audience.

Frequently Asked Questions (FAQ)
Q1: What is the Morph Transition in PowerPoint and why is it useful?
The Morph Transition is a powerful animation feature in PowerPoint that allows smooth movement, resizing, and transformation of objects between slides. It’s useful for creating seamless animations without complex motion paths or triggers, making your presentation more dynamic and engaging.
Q2: How do I remove the background from a photo to use in PowerPoint?
You can use online tools such as Depositphotos’ Free Background Remover, which automatically removes backgrounds from images. Alternatively, PowerPoint also has a built-in Remove Background feature under the Picture Format tab, but external tools often provide cleaner results.
Q3: What is the best way to create a frosted glass effect for UI widgets in PowerPoint?
The frosted glass effect is achieved by using a blurred copy of the background image as the fill for your widget shapes, combined with a semi-transparent white outline and inside shadow. This technique mimics blurred glass and adds a modern, minimalistic look to your UI elements.
Q4: Can I morph between two different photos in PowerPoint?
Yes, but to do this, both photos must have the exact same name in the selection pane, preferably starting with double exclamation marks (e.g., “!!photo”). This allows PowerPoint to recognize them as the same object for morphing purposes.
Q5: What are Slide Zooms and how do they enhance presentations?
Slide Zooms are interactive thumbnails that link to other slides within your presentation. They allow you to zoom into a section and then return smoothly, creating a non-linear, interactive navigation experience, perfect for UI mockups and dynamic presentations.
Q6: Where can I find high-quality images and fonts for my PowerPoint projects?
Stock photo sites like Depositphotos offer a wide range of high-quality images and vectors. For fonts, Google Fonts is an excellent source for free, professional fonts like Poppins.
Conclusion
Creating an animated slide design for a virtual planner UI in PowerPoint might sound challenging, but with the right techniques and tools, it becomes an enjoyable and rewarding process. This tutorial has covered everything from selecting and preparing your images, designing glowing text and modern widgets, to applying smooth morph transitions and interactive slide zooms.
By mastering these methods, you’ll be able to create stunning, interactive presentations that captivate your audience and showcase your creativity. Remember to experiment with different photos, fonts, and widget designs to personalize your virtual planner UI and make it truly your own.
Keep practicing, stay inspired, and your PowerPoint skills will continue to soar. Happy designing!
Check out the full video: Animated Slide Design 🔥 Slide Zoom UI 🔥


