
PowerPoint slide design is an essential skill for creating visually compelling presentations that captivate audiences and communicate ideas effectively. In this comprehensive guide, you’ll learn how to design an animated slide set featuring a virtual planner user interface entirely within PowerPoint. This tutorial walks you through using modern design techniques, morph transitions, and creative widgets to elevate your slides from ordinary to extraordinary.
Designed and shared by the expert team at One Skill PPT, this step-by-step tutorial will help you harness PowerPoint’s powerful tools to build a sleek, animated UI that feels interactive and professional. Whether you’re a designer, educator, or business professional, this guide will expand your PowerPoint slide design toolkit and inspire new creative possibilities.
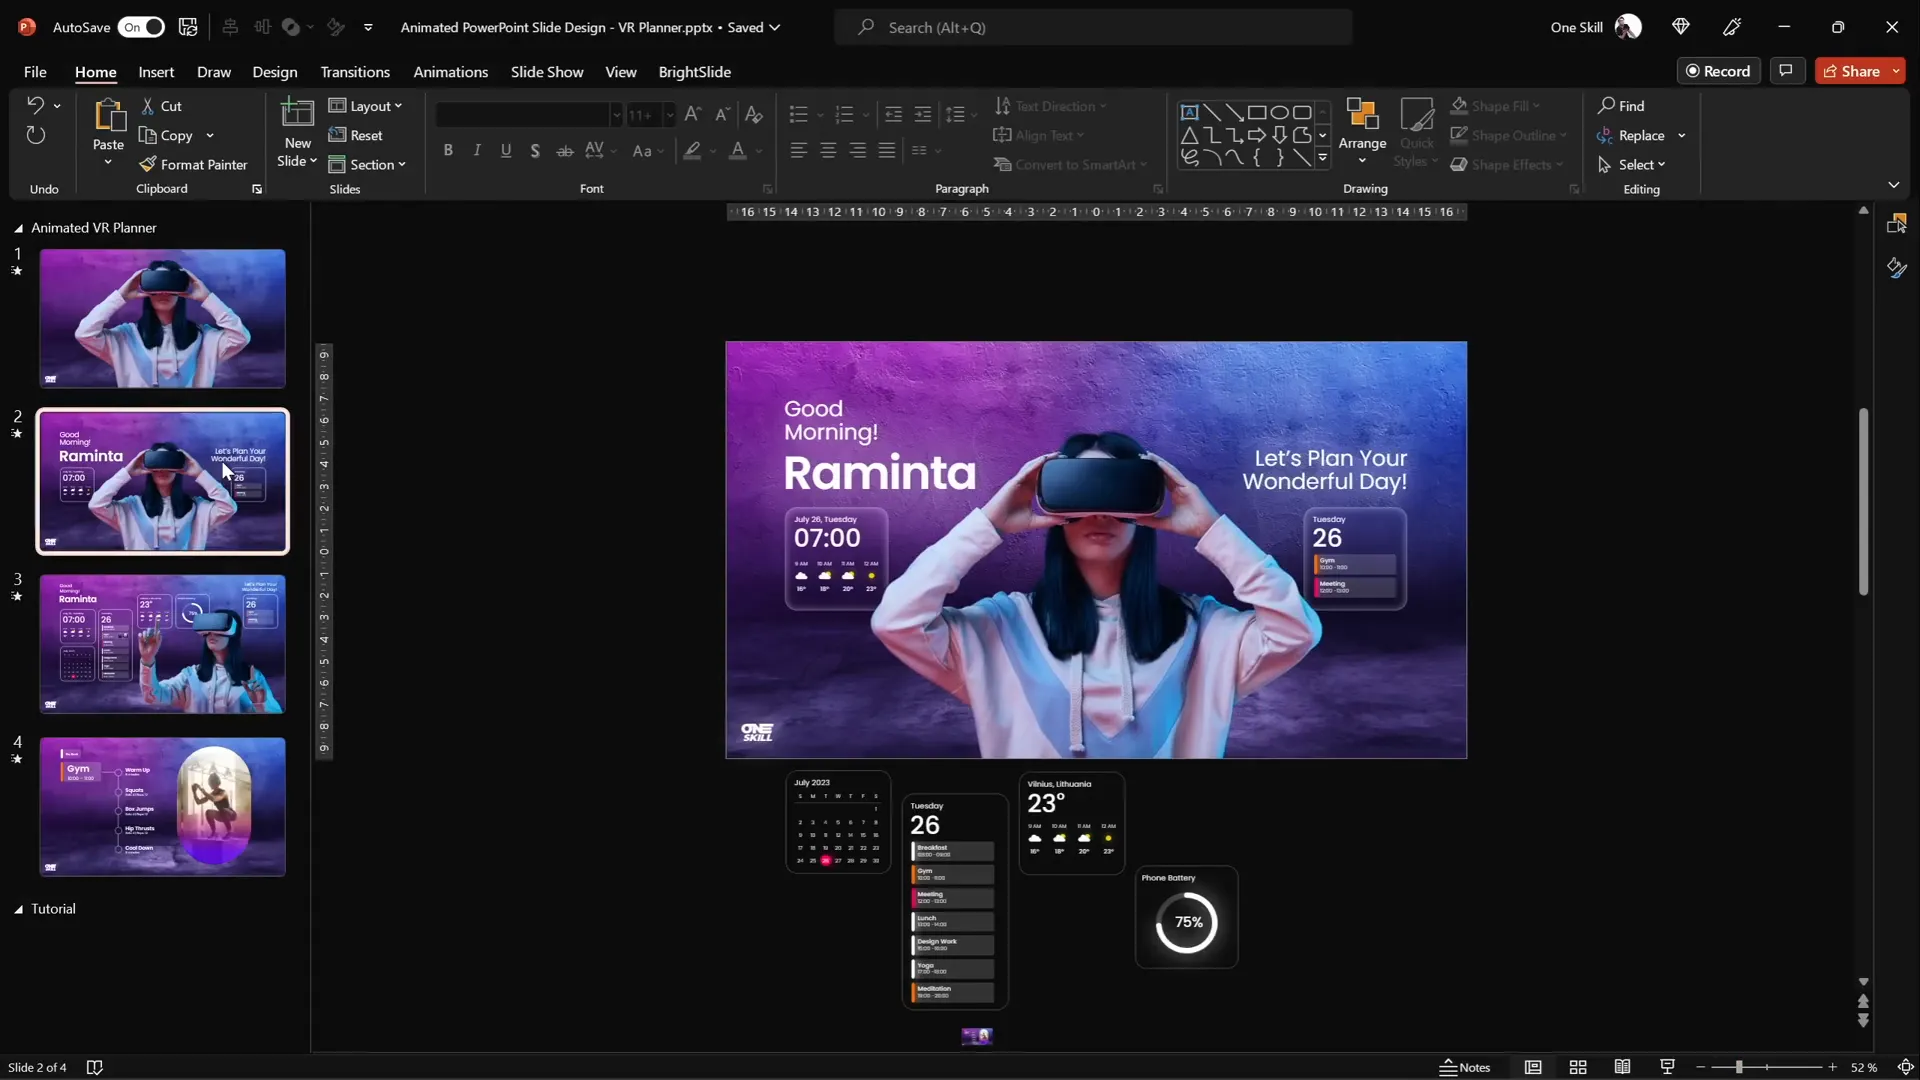
Table of Contents
- Getting Started: Setting Up Your PowerPoint Slides
- Inserting and Adjusting Background Photos
- Cutting Out Subjects Using Background Removal Tools
- Creating Smooth Morph Animations
- Designing Modern UI Widgets with Blurred Backgrounds
- Advanced Morph Animations and Slide Transitions
- Inserting Slide Zooms for Interactive Navigation
- Final Tips for Polishing Your Animated Slide Design
- Frequently Asked Questions (FAQ)
Getting Started: Setting Up Your PowerPoint Slides
Before diving into the design, it’s important to understand the overall structure of your presentation. This project includes four beautifully designed slides that together create a seamless virtual planner user interface.
Each slide contains:
- A high-quality background image
- A model wearing virtual reality (VR) glasses as the focal point
- Text boxes with inspiring messages and interactive widgets
Starting with a blank slide gives you the freedom to build your design from scratch. This allows for maximum customization and creative control.
Here’s how to add a new blank slide:
- Open PowerPoint and navigate to your presentation.
- Click Home on the ribbon, then select New Slide.
- Choose the Blank layout to start fresh.
Inserting and Adjusting Background Photos
A compelling background sets the tone for your slide design. For this project, we use stunning photos sourced from Depositphotos, a rich resource offering high-quality images, vectors, music, and video. Thanks to Depositphotos for sponsoring this tutorial and providing the beautiful images!
To insert and adjust a background photo:
- Download your chosen background photo in excellent quality (Excel quality recommended).
- In PowerPoint, click Insert > Pictures > This Device.
- Select your downloaded photo and click Insert.
- Resize the photo to cover the entire slide by dragging a corner while holding Ctrl + Shift to maintain proportions.
- Use the Crop tool to adjust the photo to a 16:9 aspect ratio and reposition it for best visual balance.
This method ensures your background fills the slide perfectly and looks polished.
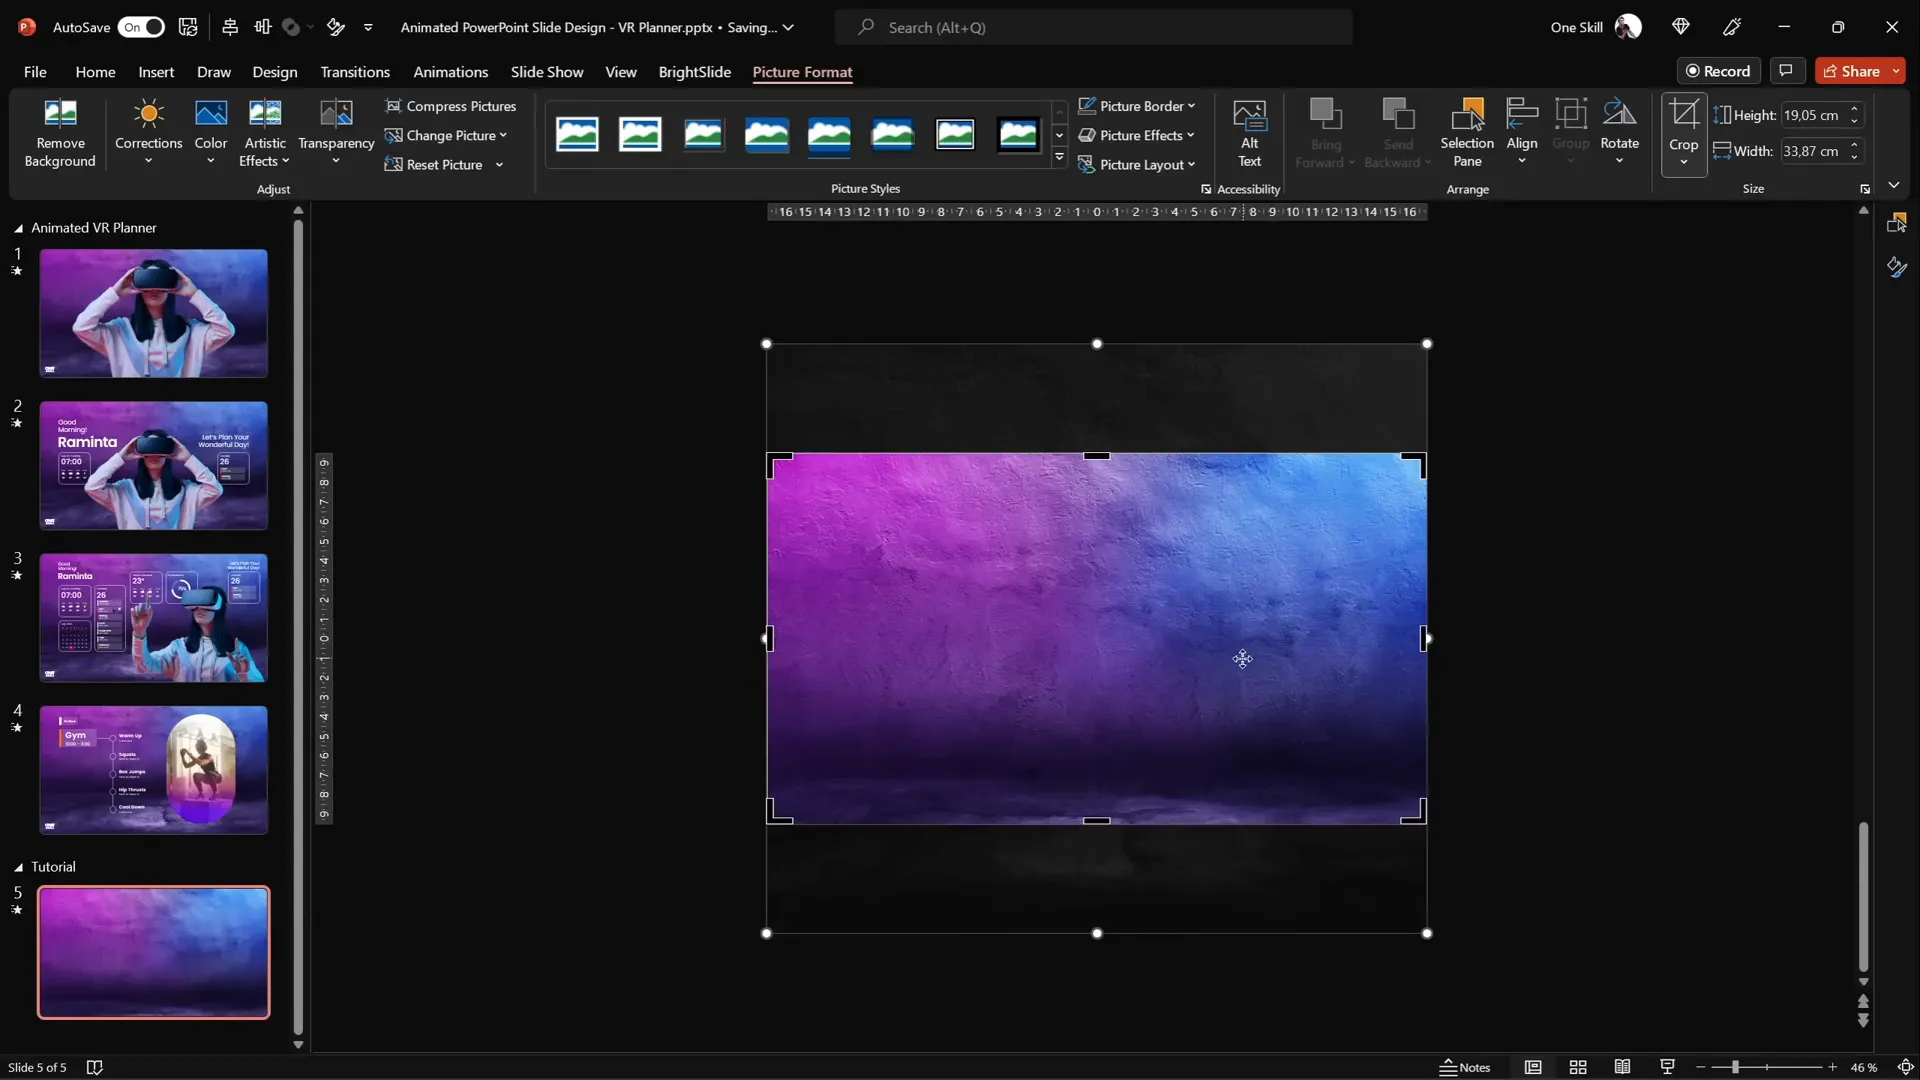
Cutting Out Subjects Using Background Removal Tools
One of the standout features of this slide design is the use of a model wearing VR glasses, whose background is removed to integrate seamlessly with the slide elements. Removing backgrounds manually can be tedious, but Depositphotos offers a free Background Remover tool that makes this process effortless.
Here’s how to remove a photo background quickly:
- Upload your chosen photo to the Depositphotos Background Remover tool.
- The tool automatically detects and removes the background, leaving you with a clean subject cutout.
- Download the cutout in standard resolution for free, or opt for HD with a subscription.
- Paste the cutout image into your PowerPoint slide.
This tool is invaluable for saving time and achieving professional results with minimal effort.

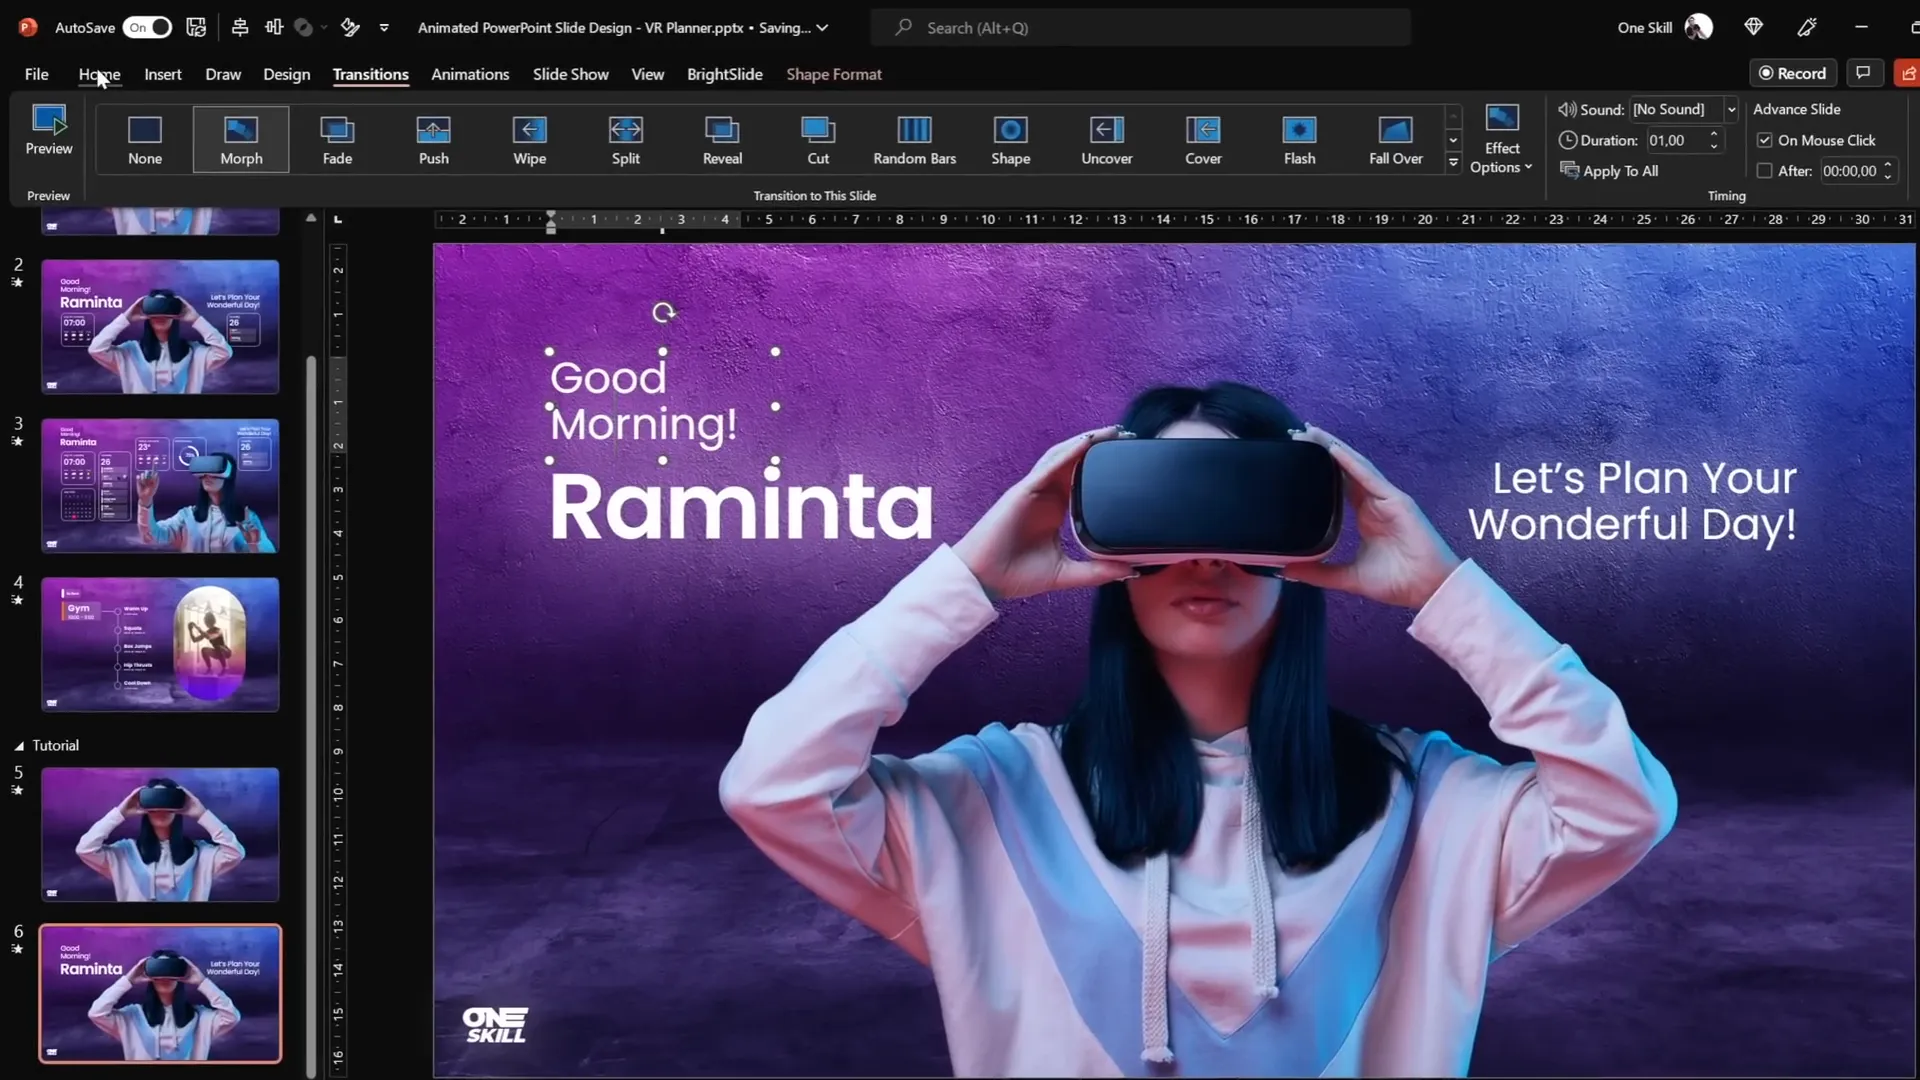
Creating Smooth Morph Animations
PowerPoint’s Morph transition is a game-changer for creating smooth, dynamic animations between slides. In this project, it’s used to animate the VR model shrinking and expanding, while text boxes and widgets fly in from the sides.
To create this effect:
- Paste the model image on your first slide.
- Duplicate the slide by right-clicking the slide thumbnail and selecting Duplicate Slide or pressing Ctrl + D.
- On the duplicate slide, resize the model to be smaller while keeping it center-aligned.
- Select both slides in the slide pane by holding Ctrl and clicking each slide.
- Go to the Transitions tab and select Morph.
- Set the transition duration to 1 second for a smooth effect.
When you navigate between these slides in presentation mode, the model will appear to shrink and grow seamlessly.

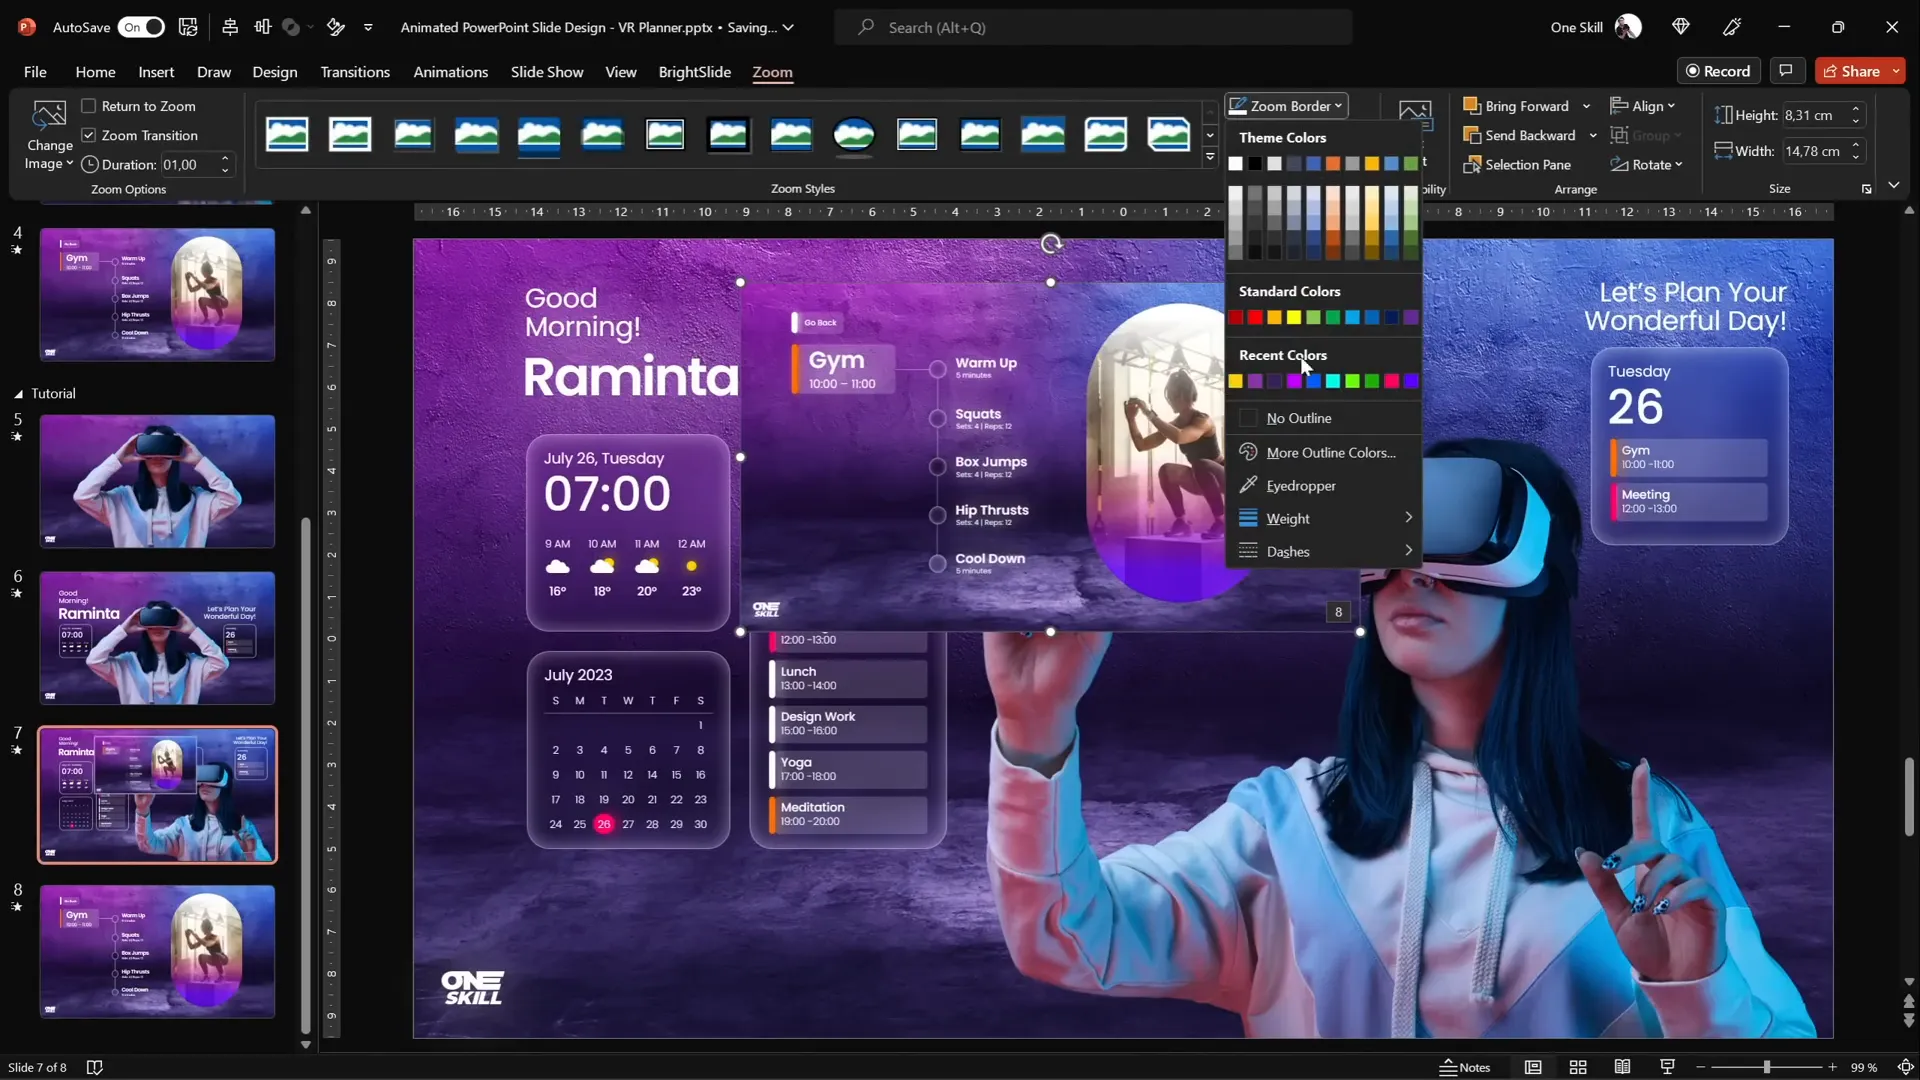
Adding Text Boxes with Stylish Glow
Text boxes add context and personality to your slides. For this design, use the Poppins font (available for free at Google Fonts) in varying weights such as Regular and Semibold.
To enhance readability and style:
- Add a white shadow to your text with a blur radius of 100 points to create a glowing effect.
- Keep the text concise and well-aligned around the model to maintain balance.
Example text: “Good morning, Raminta. Let’s plan your wonderful day.” (Raminta is a beautiful Lithuanian woman’s name, adding a personal touch.)
Animating Text Boxes with Morph
To animate text boxes flying in from the sides:
- Copy the text boxes and paste them on both slides involved in the morph transition.
- On the earlier slide, position the text boxes outside the slide boundaries (off-screen).
- On the following slide, position the text boxes inside the slide, aligned properly.
The morph transition will animate the text boxes flying in from the sides as the slide changes.

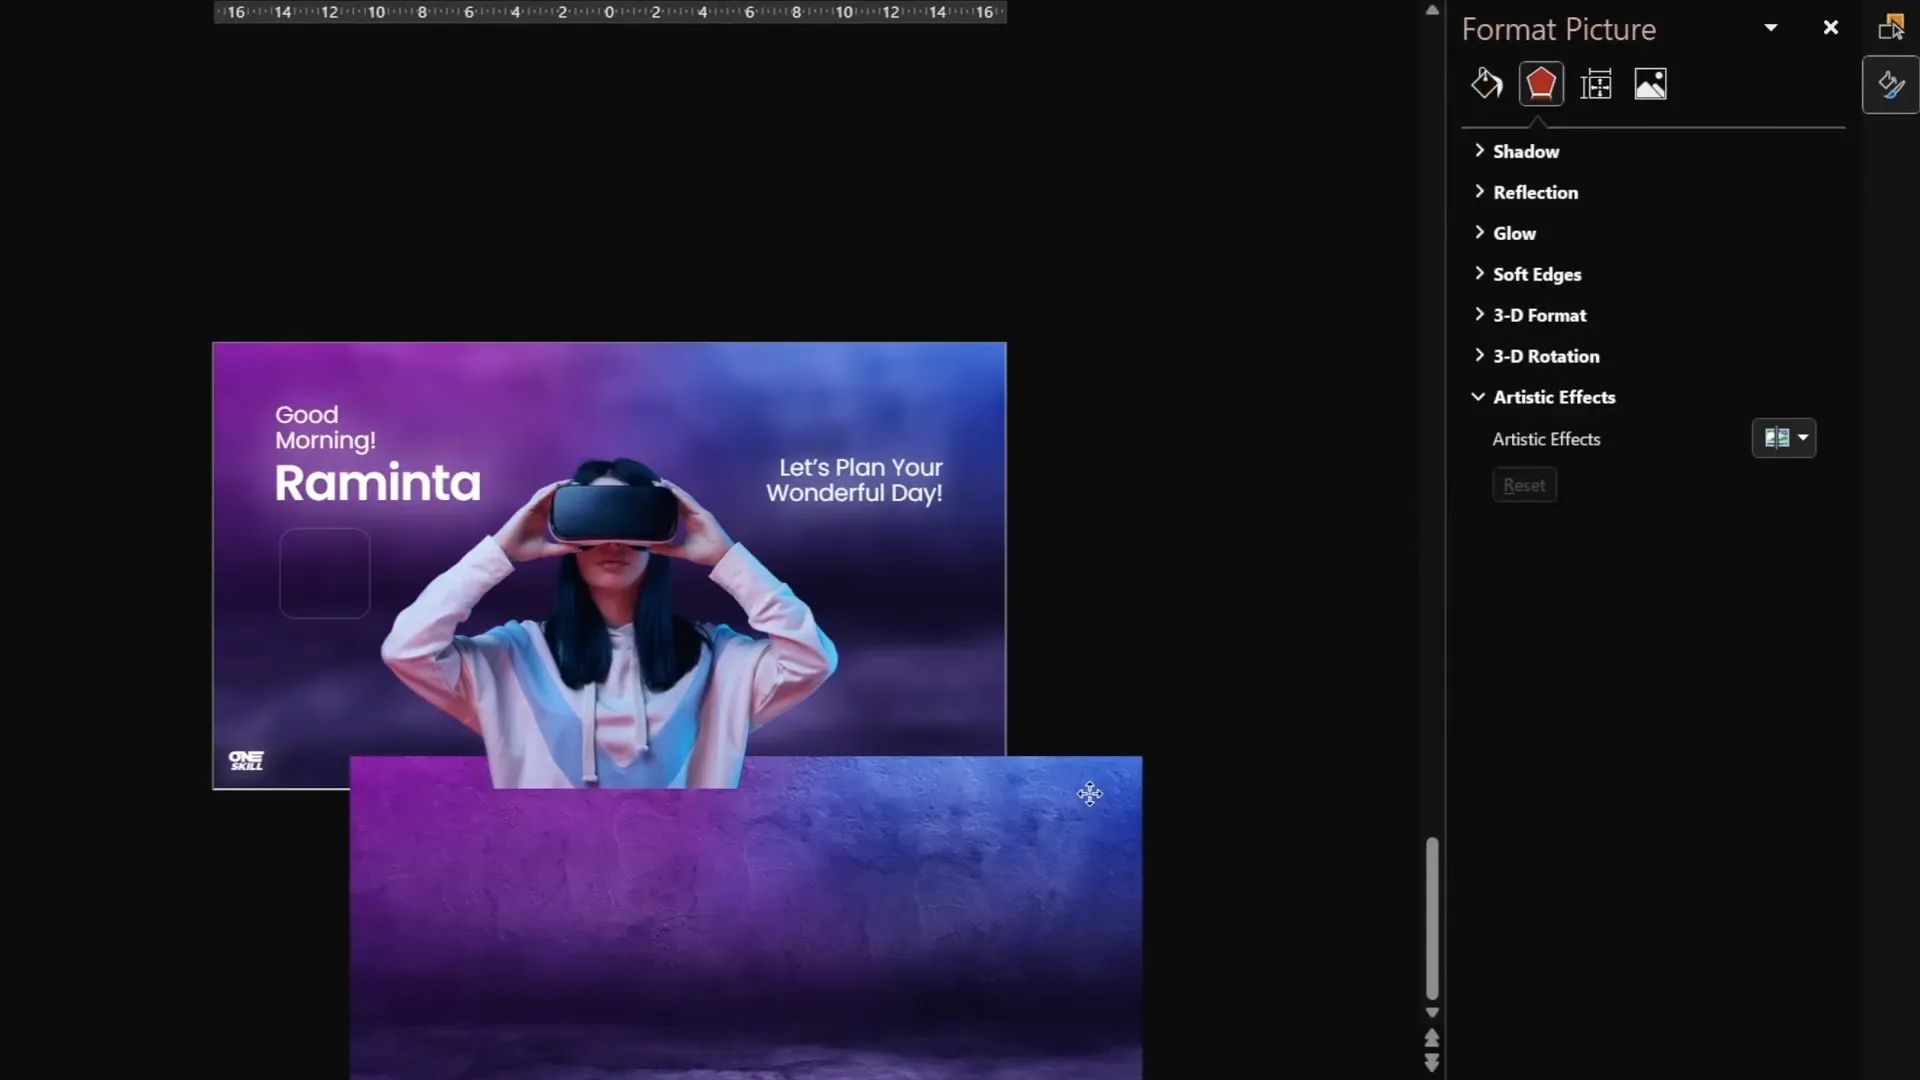
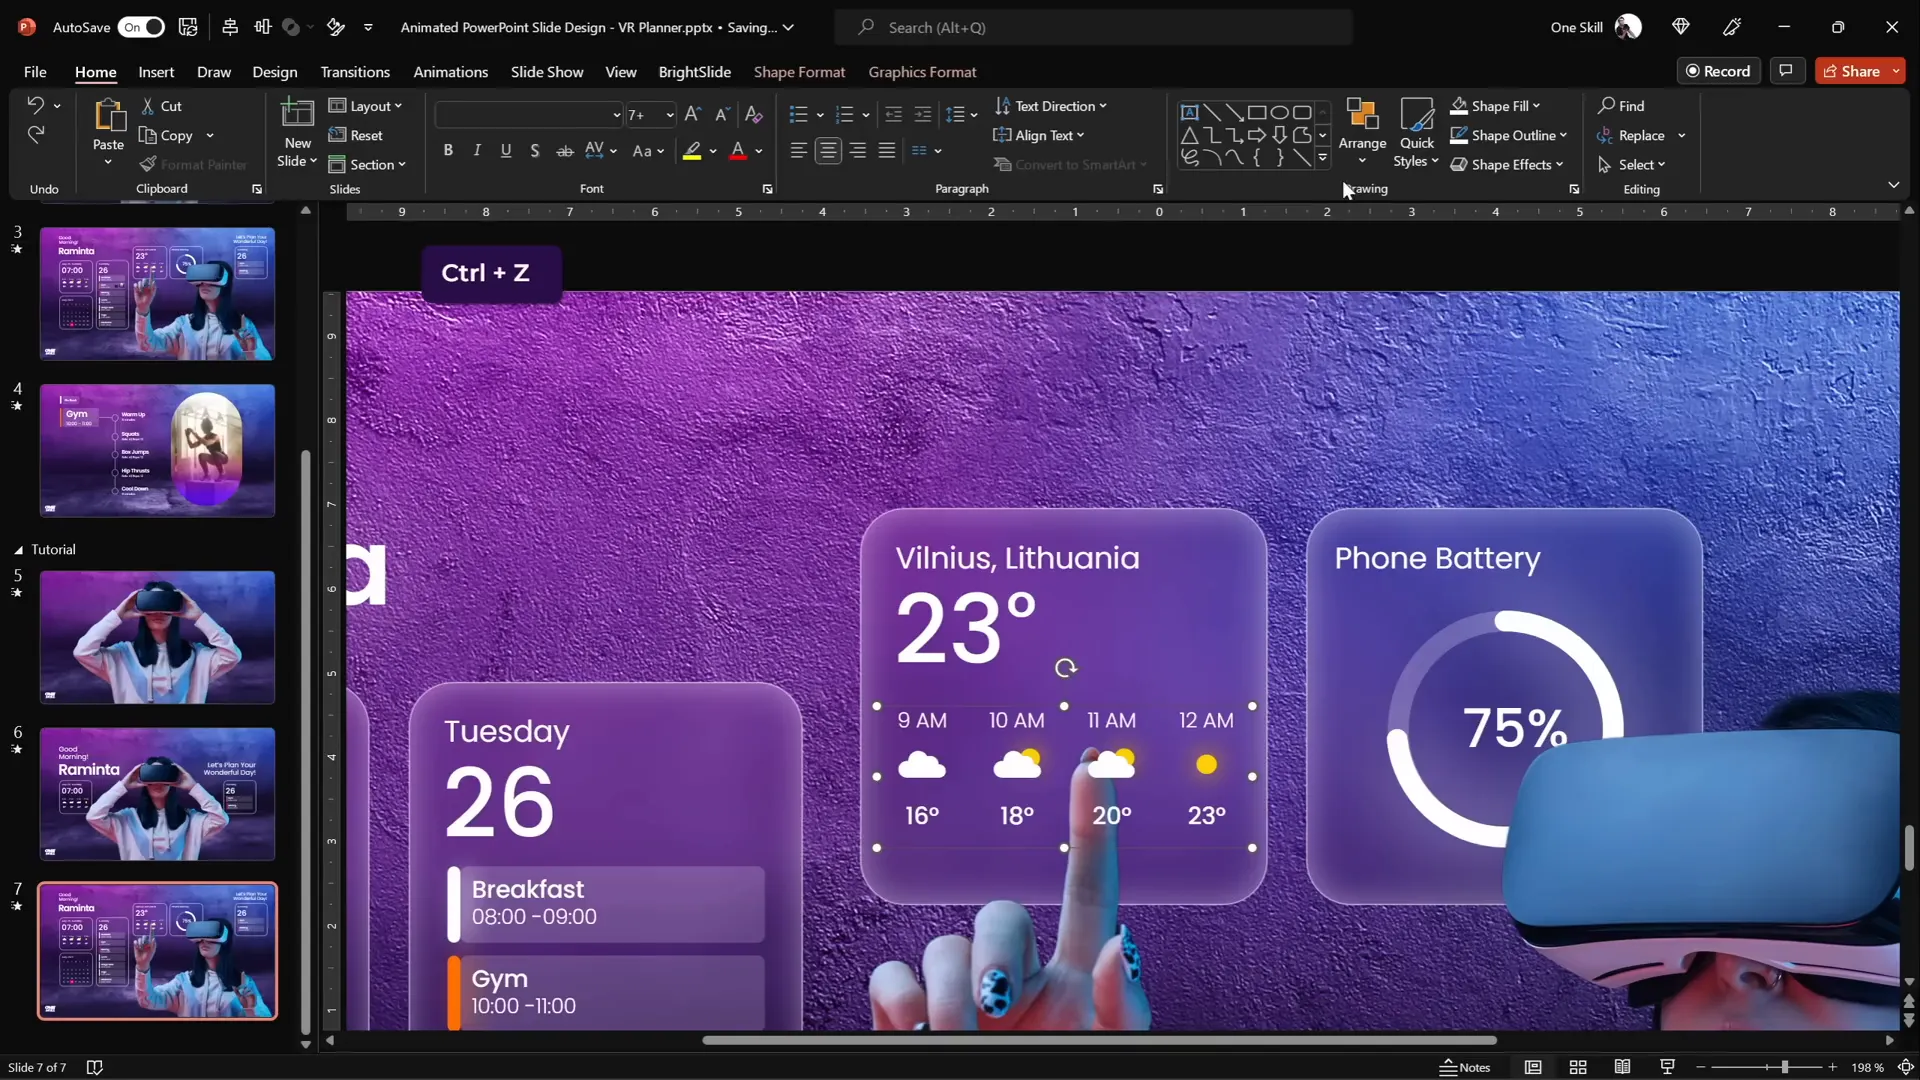
Designing Modern UI Widgets with Blurred Backgrounds
Widgets add functional and aesthetic elements to your virtual planner UI. This tutorial guides you through creating two minimalistic widgets:
- Time and weather widget
- Daily schedule widget
Step-by-Step Widget Creation
- Create a Rounded Rectangle: Insert a rounded rectangle shape with no fill and a white outline.
- Customize the Outline: Set the outline color to white with 50% transparency and reduce the line width to 0.5 points for a delicate look.
- Apply a Blurred Background Fill: This is the key to the widget’s modern look.
Here’s how to achieve the blurred background effect:
| Step | Action |
|---|---|
| 1 | Copy the background photo by holding Ctrl + Shift and dragging it. |
| 2 | Apply the Blur artistic effect with a radius of 50 points. |
| 3 | Copy the blurred image and paste it into the slide background using Format Background > Picture or texture fill > Clipboard. |
| 4 | Select the rounded rectangle and set its fill to Slide background fill. |
This clever technique allows the widget to have a frosted glass effect that dynamically reflects the blurred slide background beneath it.
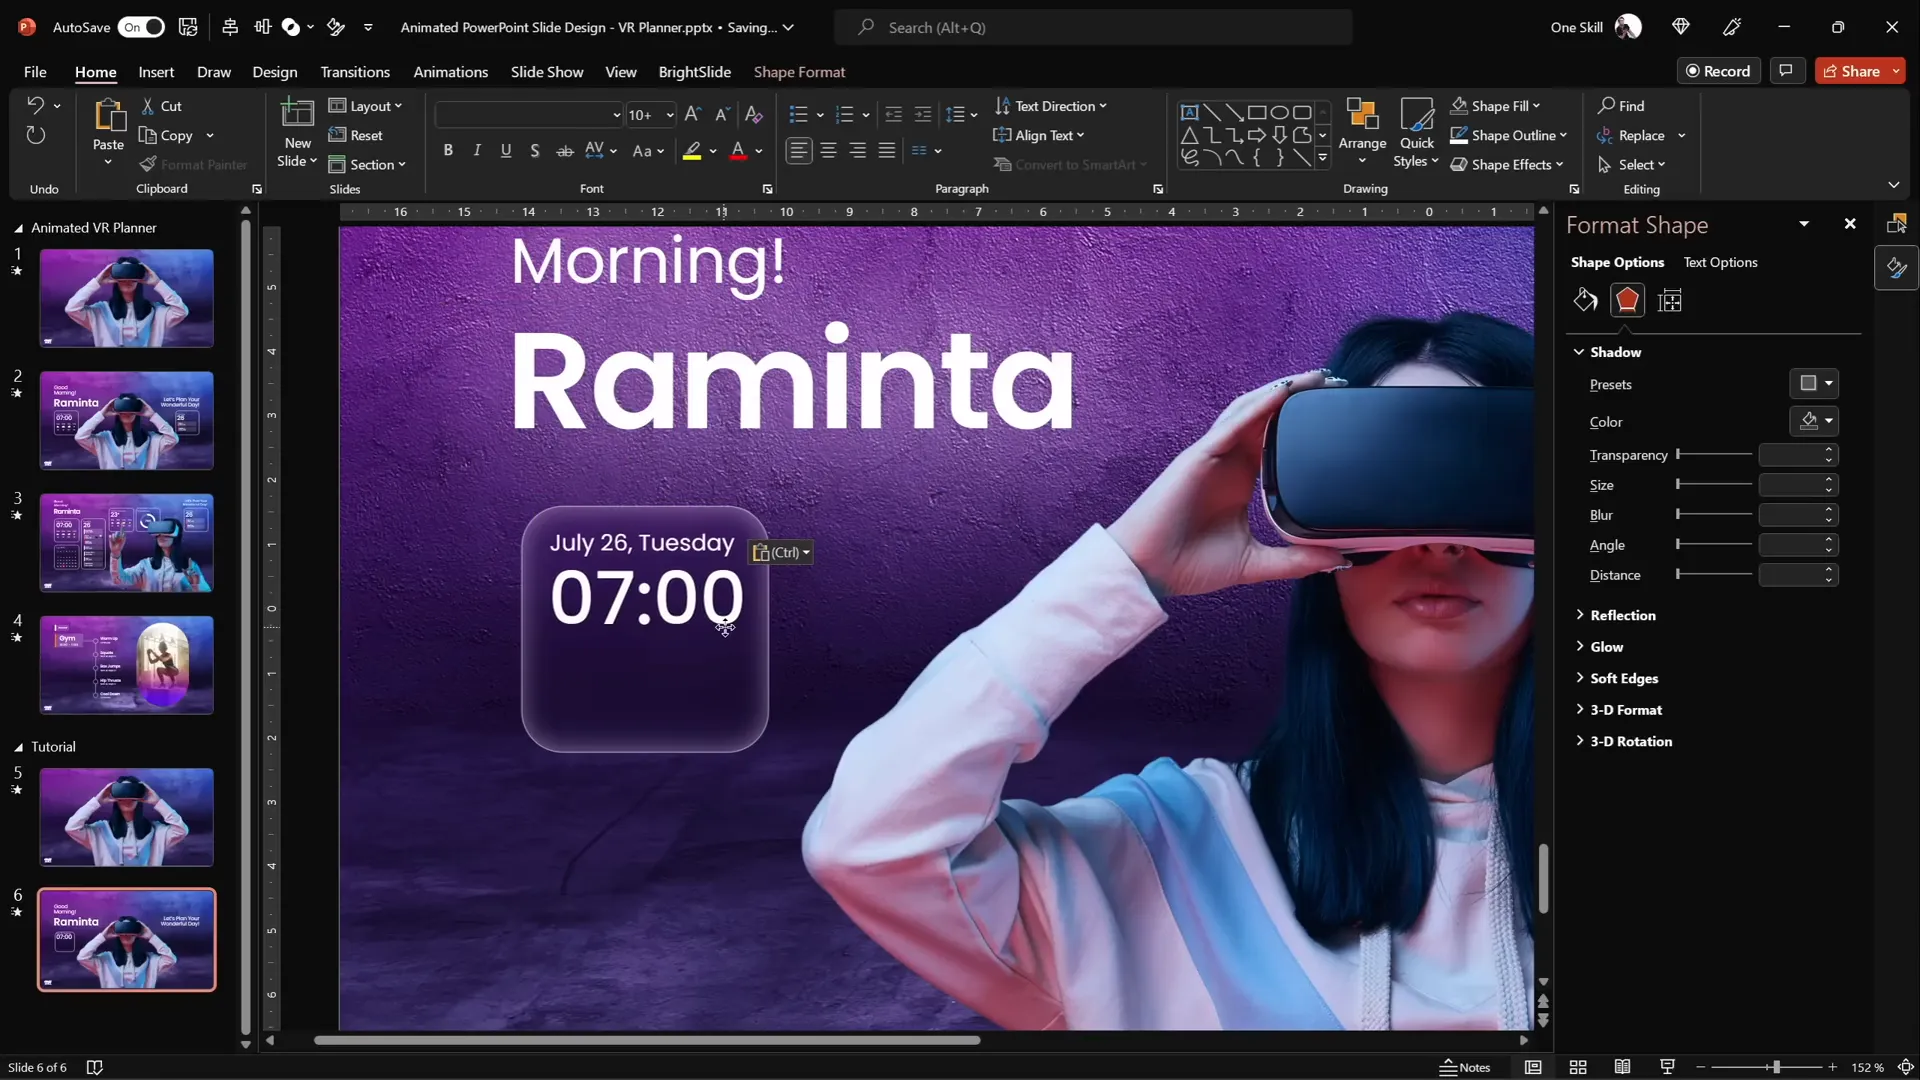
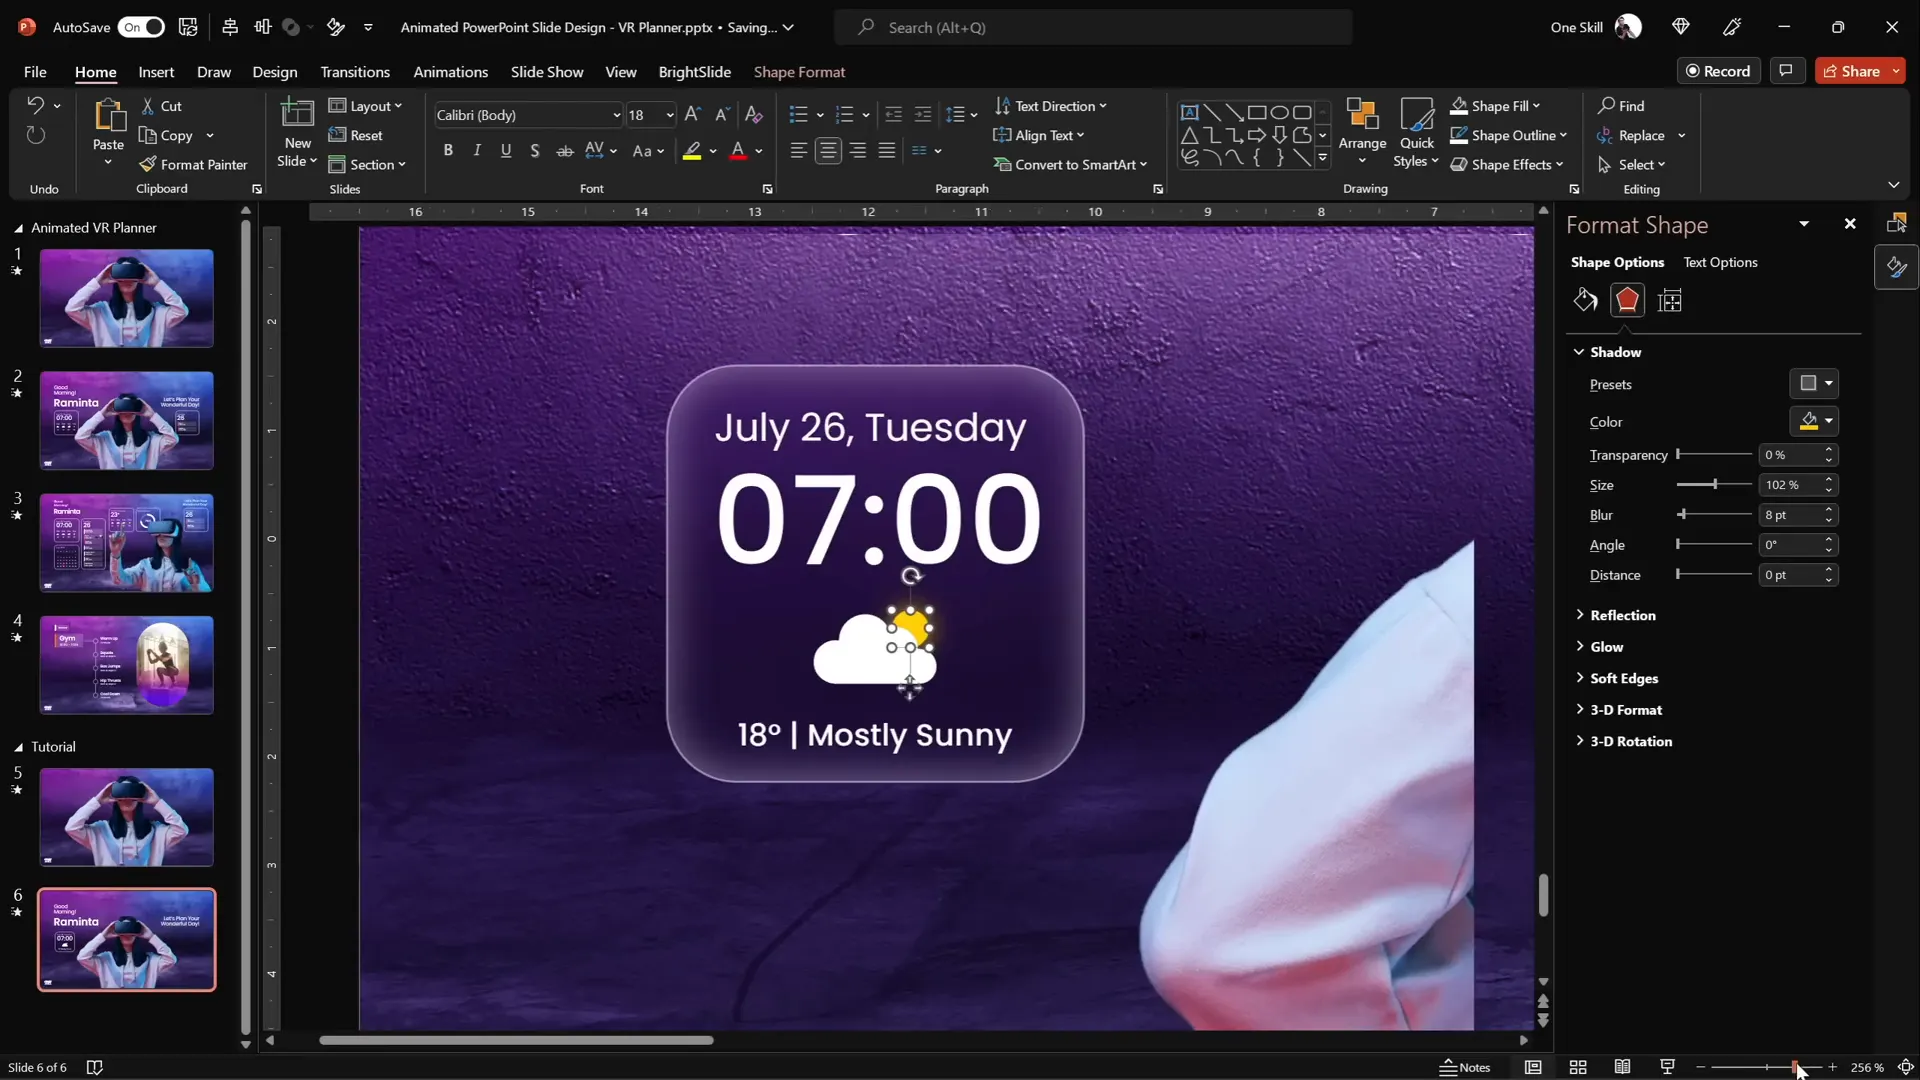
Adding Frosty Shadows for Depth
To enhance the widget’s frosty appearance, add an inside white shadow:
- Shadow color: White
- Transparency: 50%
- Blur radius: 15 points
This subtle effect adds depth and polish to the widget design.
Creating Weather Icons
Use PowerPoint’s built-in icon library to create simple weather visuals:

- Insert a cloud icon via Insert > Icons and search for “cloud.”
- Change the icon color to white for consistency.
- Create a shining sun by inserting a perfect circle (Shift + drag) and adding an orange outside shadow with blur.
- Arrange the sun behind the cloud to simulate a partly sunny day.
Group the text and icons together for easy movement and consistent formatting.
Advanced Morph Animations and Slide Transitions
To create complex animations where multiple elements move and change simultaneously, leverage the Morph transition across multiple duplicated slides. This technique allows for:
- Models changing pose or position
- Widgets appearing and disappearing smoothly
- Text boxes shrinking and moving up
- Slight zoom effects for dynamic emphasis
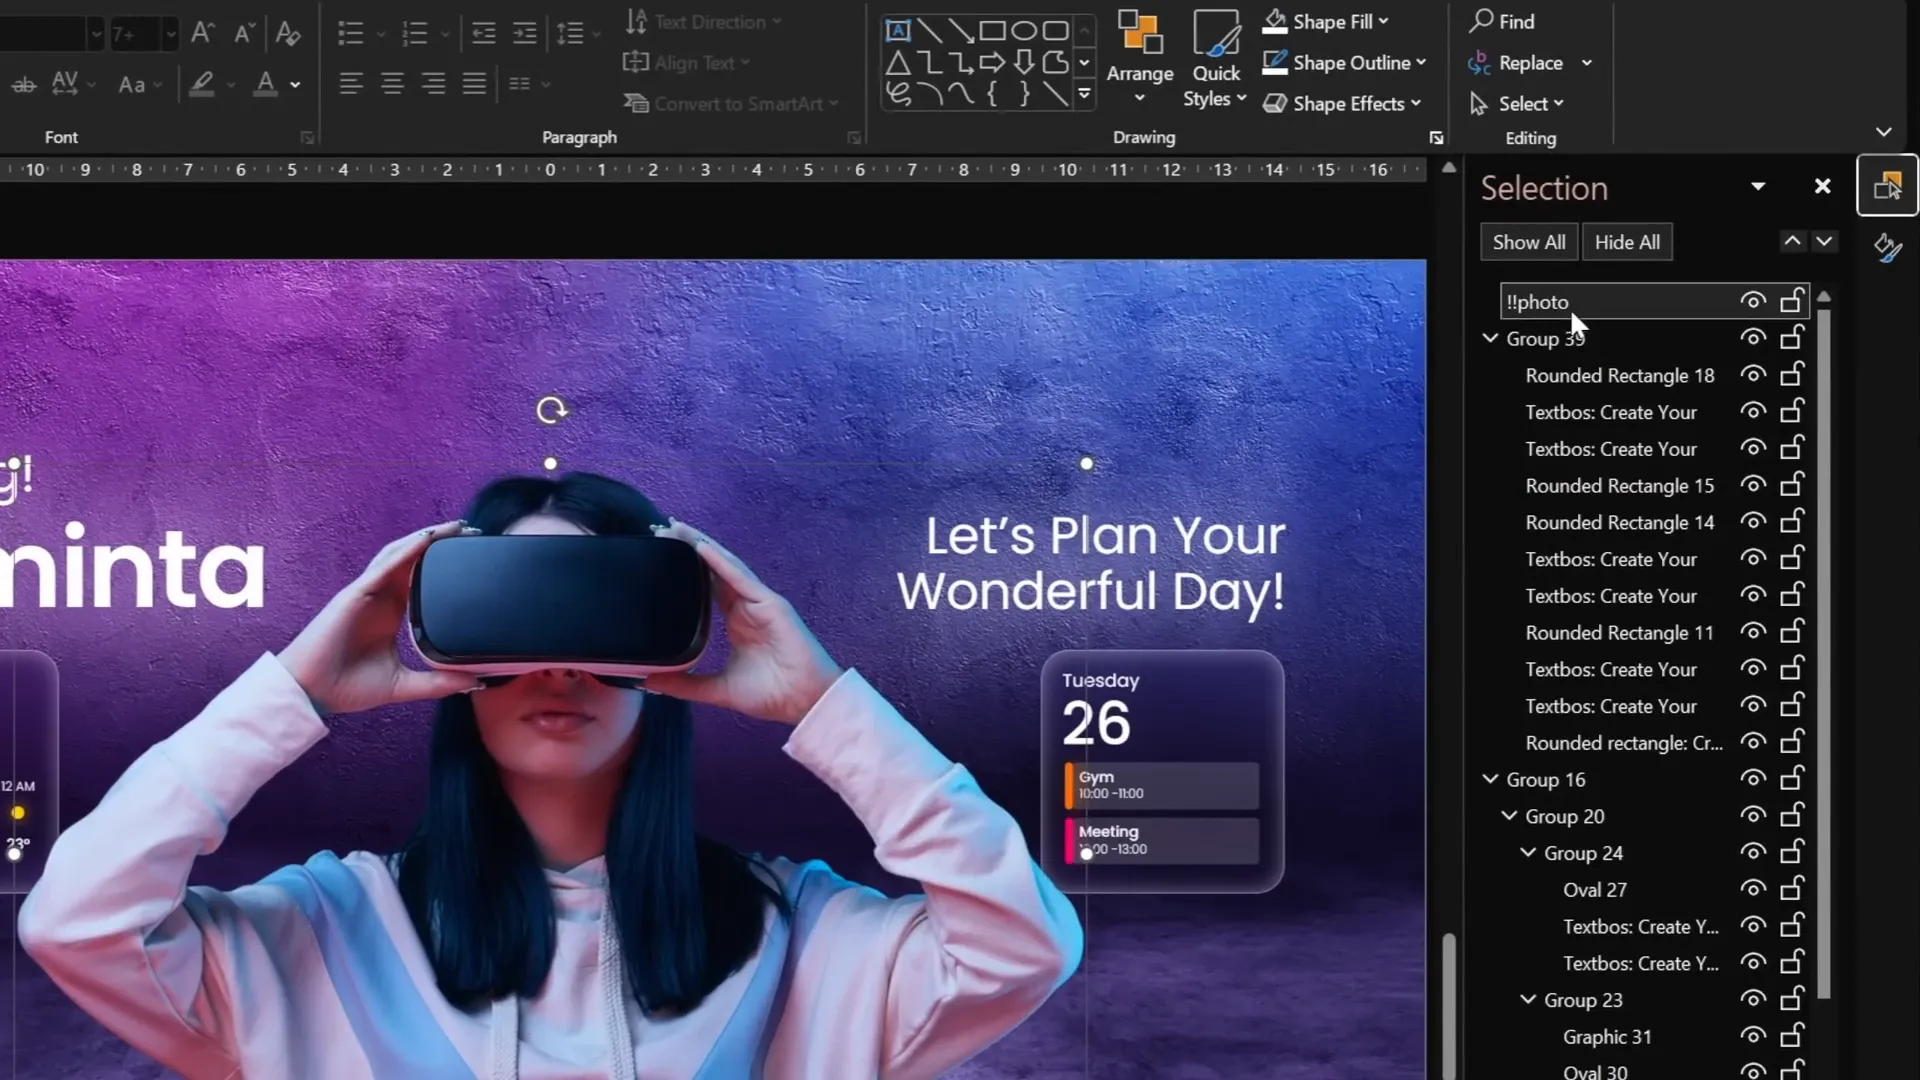
Maintaining Morph Continuity with Object Naming
One crucial tip is to ensure that objects you want to morph between slides share exactly the same name. For photos, prefix the name with double exclamation marks (e.g., !!photo) in the selection pane. This tells PowerPoint to recognize them as the same object and morph them smoothly.
Changing the name arbitrarily breaks the morph effect and results in a simple fade or jump.
Animating Widgets to Fly Up
For widgets that appear only on some slides, place them below the slide boundary on the previous slide to animate them flying up. The Morph transition will then animate them moving into view.
Ensure your model stays in front of widgets for a clean layering effect, or experiment with widget layering for creative visuals.
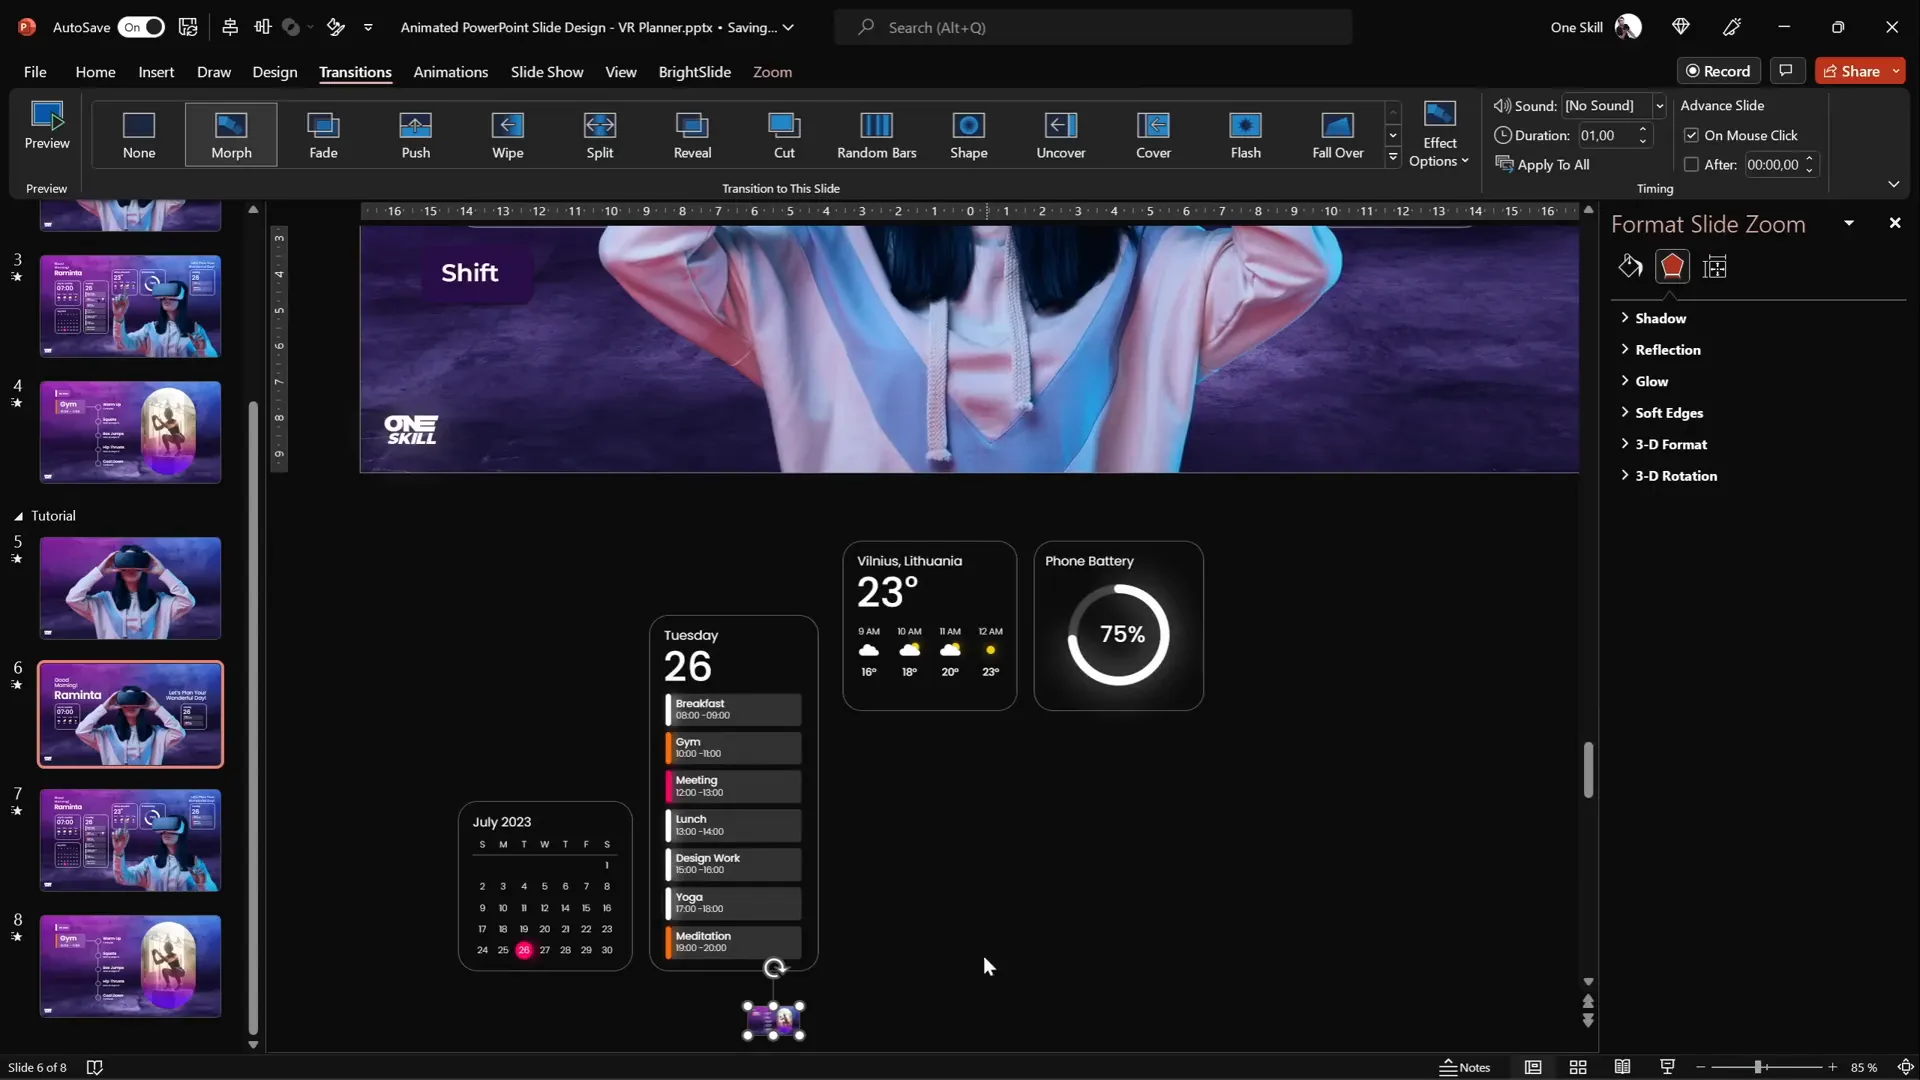
Inserting Slide Zooms for Interactive Navigation
Slide Zooms are a powerful PowerPoint feature that lets you create interactive navigation elements within your presentation, perfect for user interface designs like this virtual planner.
How to Add a Slide Zoom
- Copy the slide you want to zoom into and paste it at the bottom of your slide list for easy access.
- On your working slide, go to Insert > Zoom > Slide Zoom.
- Select the slide to zoom into, then insert it.
- Resize and position the slide zoom to fit your UI element (e.g., a “Gym” tab).
- Remove the zoom border and activate Return to Zoom for easy navigation back to the original slide.
- Add rounded corners using the preset options for a polished look.
- Disable reflections if unnecessary by selecting the zoom, going to Format Shape > Reflection > None.
Slide Zooms can be added to multiple tabs or UI elements for a fully interactive experience.
Troubleshooting Slide Zoom Animations
If your slide zoom fades in instead of flying in as desired, ensure the zoom object is present on both the previous and current slides with proper positioning. Using the Morph transition on these slides will animate the zoom flying in smoothly.
Final Tips for Polishing Your Animated Slide Design
- Consistent Fonts and Styling: Use the Poppins font family for a clean, modern look. Use different weights and white glowing shadows for emphasis.
- Layering and Order: Keep your model and key visuals in front to avoid awkward overlaps.
- Duplicate Slides to Save Time: Use duplication extensively to maintain consistency and speed up your workflow.
- Use Format Painter: Quickly copy formatting such as blurred backgrounds between slides.
- Test Frequently: Use presentation mode and keyboard arrow keys to preview your animations and transitions continuously.
By mastering these techniques, you can create highly engaging PowerPoint slide designs that look professionally animated and interactive without needing external software.
Frequently Asked Questions (FAQ)
What is the Morph transition in PowerPoint?
The Morph transition allows you to animate smooth movement, resizing, and transformation of objects across slides. By duplicating slides and adjusting object positions or sizes, Morph creates seamless animations for dynamic presentations.
How do I remove a background from an image for PowerPoint?
You can use online tools like Depositphotos’ free Background Remover to automatically remove photo backgrounds. Alternatively, PowerPoint has a built-in Remove Background feature under Picture Format, though external tools often provide cleaner results.
Can I use any font for my PowerPoint slide design?
While you can use any font, it’s best to choose clean, modern, and widely supported fonts like Poppins (available free on Google Fonts) to ensure readability and professional appearance across devices.
How do I create a blurred background effect inside a shape?
Copy the slide background, apply a blur effect, and set it as the fill for your shape using Slide Background Fill. This produces a frosted glass effect that dynamically reflects the slide’s blurred background.
What are Slide Zooms and why use them?
Slide Zooms create clickable thumbnails of slides within your presentation, allowing interactive navigation. They’re great for mimicking app or UI navigation and making your presentations more engaging and user-friendly.
How do I ensure objects morph correctly between slides?
Objects must have the same name on both slides for Morph to recognize them. Use the Selection Pane (Home > Select > Selection Pane) to rename objects consistently, using prefixes like double exclamation marks (e.g., !!photo) for images.
Can I create animated UI designs entirely in PowerPoint?
Yes! PowerPoint’s advanced features like Morph transitions, Slide Zooms, and shape formatting allow you to build interactive, animated UI designs without external tools. This tutorial demonstrates how to create a virtual planner UI using only PowerPoint.
Where can I find high-quality photos and icons for my slides?
Depositphotos is an excellent resource for premium photos, vectors, and videos. PowerPoint also offers a built-in Icons library with many vector icons you can customize and use freely.
How can I speed up my PowerPoint slide design workflow?
Use slide duplication, Format Painter, and grouping to reuse elements efficiently. Preparing master slides and templates helps maintain consistency and saves time when building complex presentations.
What is the recommended duration for Morph transitions?
A duration of about 1 second is optimal for smooth, engaging transitions without feeling too slow or rushed.
Conclusion
Mastering PowerPoint slide design with advanced animation techniques like Morph transitions and Slide Zooms unlocks a world of creative possibilities. By combining high-quality visuals, thoughtful layout, and clever animation, you can craft engaging virtual planner UIs and interactive presentations that stand out.
This guide has walked you through sourcing images, cutting out backgrounds, creating glowing text effects, designing frosted glass widgets, and adding interactive slide zooms—all within PowerPoint.
With practice and experimentation, these techniques will become second nature, empowering you to design professional-grade slides that capture attention and communicate your message effectively.
Happy designing, and remember: PowerPoint is not just for static slides—it’s a powerful tool for dynamic storytelling and UI prototyping!
Check out the full video: Animated Slide Design 🔥 Slide Zoom UI 🔥


