
Welcome to your comprehensive guide on getting started with PowerPoint, crafted to help absolute beginners create impactful presentations quickly and confidently. Whether you’re overwhelmed by the sheer number of tools or pressed for time to prepare your slides, this tutorial will equip you with just the essentials you need to know. You don’t have to master every feature to make a professional slide deck—knowing just five percent of PowerPoint is enough to create presentations that impress your audience.
In this article, you will learn how to open PowerPoint, navigate its interface, create slides, enhance them with design themes, convert bullet points into engaging visuals, insert images, add animations and transitions, and finally present your slides smoothly. Let’s dive in and start mastering PowerPoint step by step.
Table of Contents
- How to Open PowerPoint
- Pinning PowerPoint to the Taskbar
- Saving Your Presentation
- Understanding Basic PowerPoint Terminology
- Creating Your First Slide
- Enhancing Slide Design with Themes
- Adding New Slides
- Building a Bullet Point Slide
- Transforming Bullet Points into Visuals with SmartArt
- Adding Pictures to Visualize Your Slides
- Copying and Pasting Elements
- Summary of What You’ve Learned So Far
- Presenting Your Slides
- Adding Animations to Engage Your Audience
- Adding Transitions Between Slides
- Final Tips for PowerPoint Beginners
- Frequently Asked Questions (FAQ)
- Conclusion
How to Open PowerPoint
Starting PowerPoint is straightforward, even if you’re a complete beginner. On a Windows PC, look at the bottom left corner of your screen and click the Start button. Begin typing “PowerPoint” and before you finish, the PowerPoint app option will appear. Click on it, and the program opens.
This method works across many versions, from Office 2007 through the latest Microsoft 365. Once PowerPoint opens, you’ll be greeted by a screen that offers three key options:
- Blank Presentation: Start fresh with a clean slate.
- Design Themes: Choose from professionally designed slide decks to jumpstart your presentation.
- Templates: Select a ready-made presentation layout for specific purposes like business pitches, reports, or educational content.
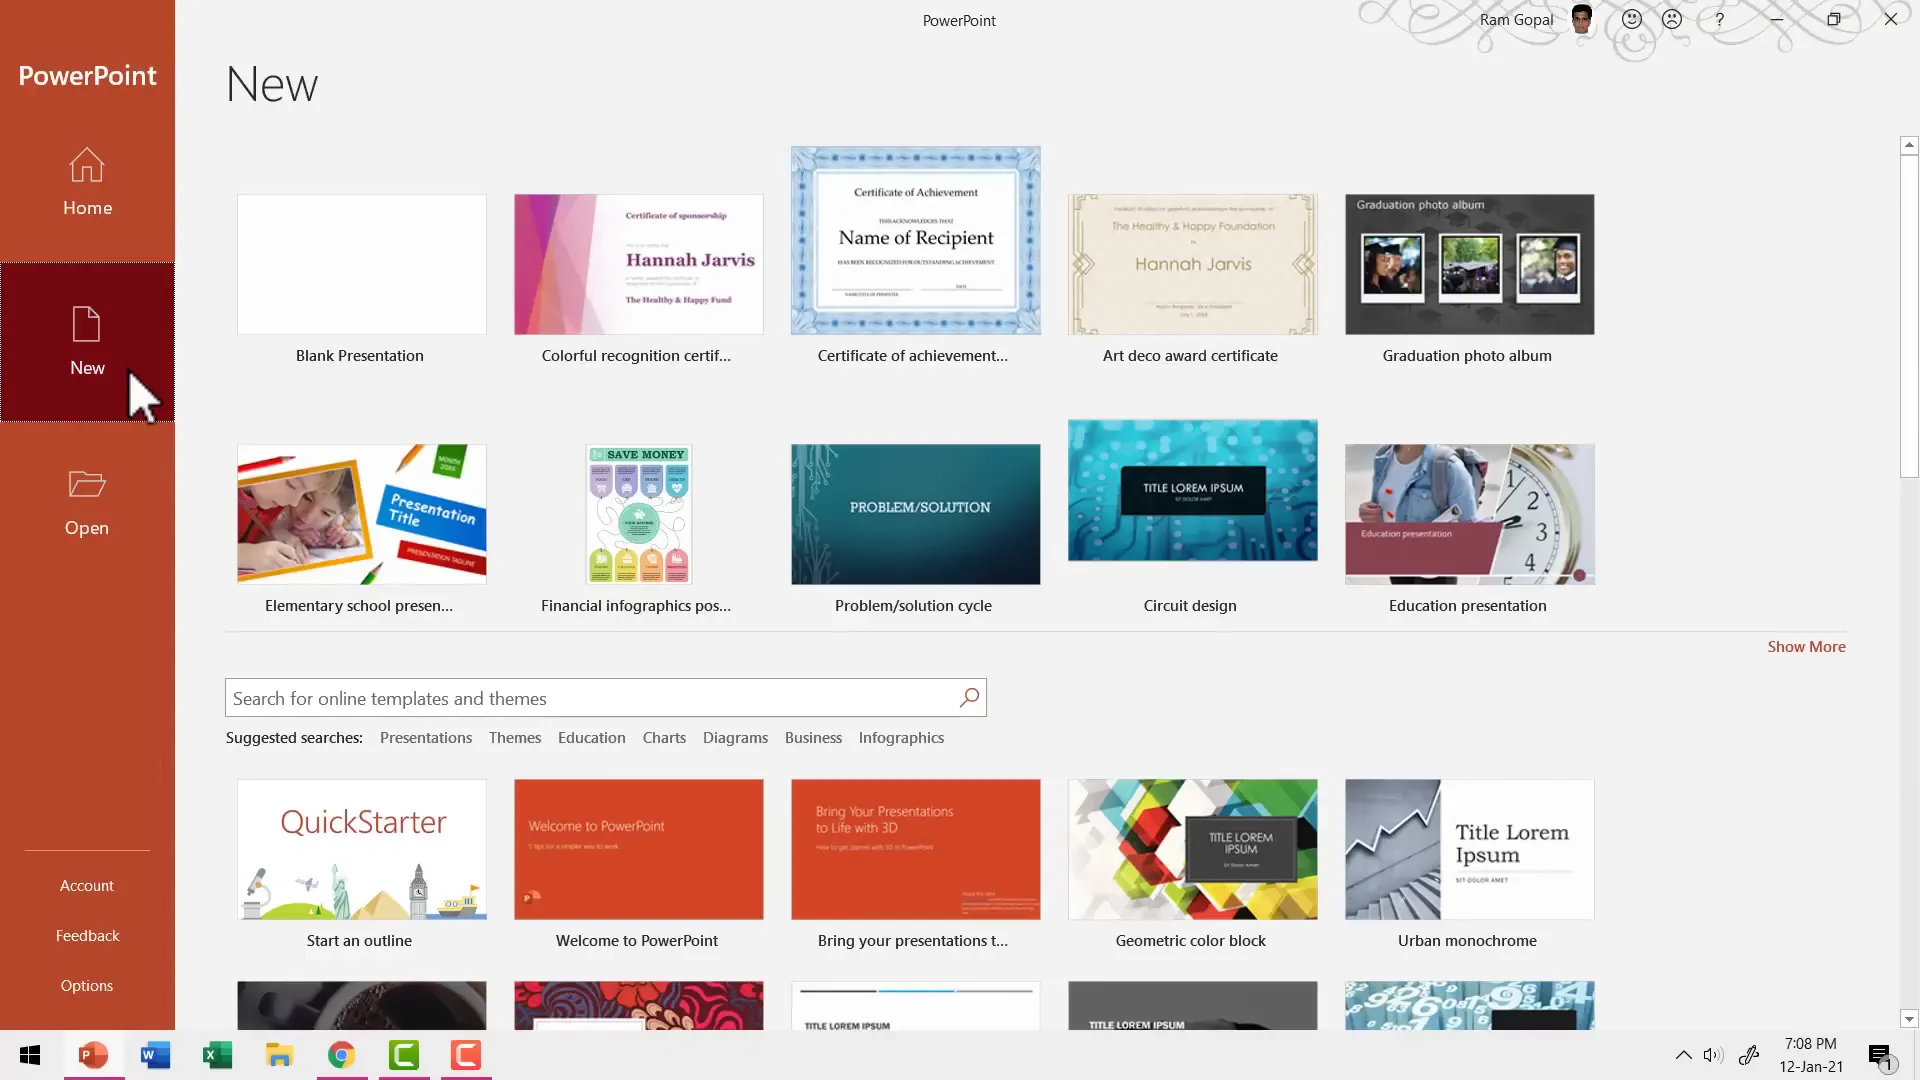
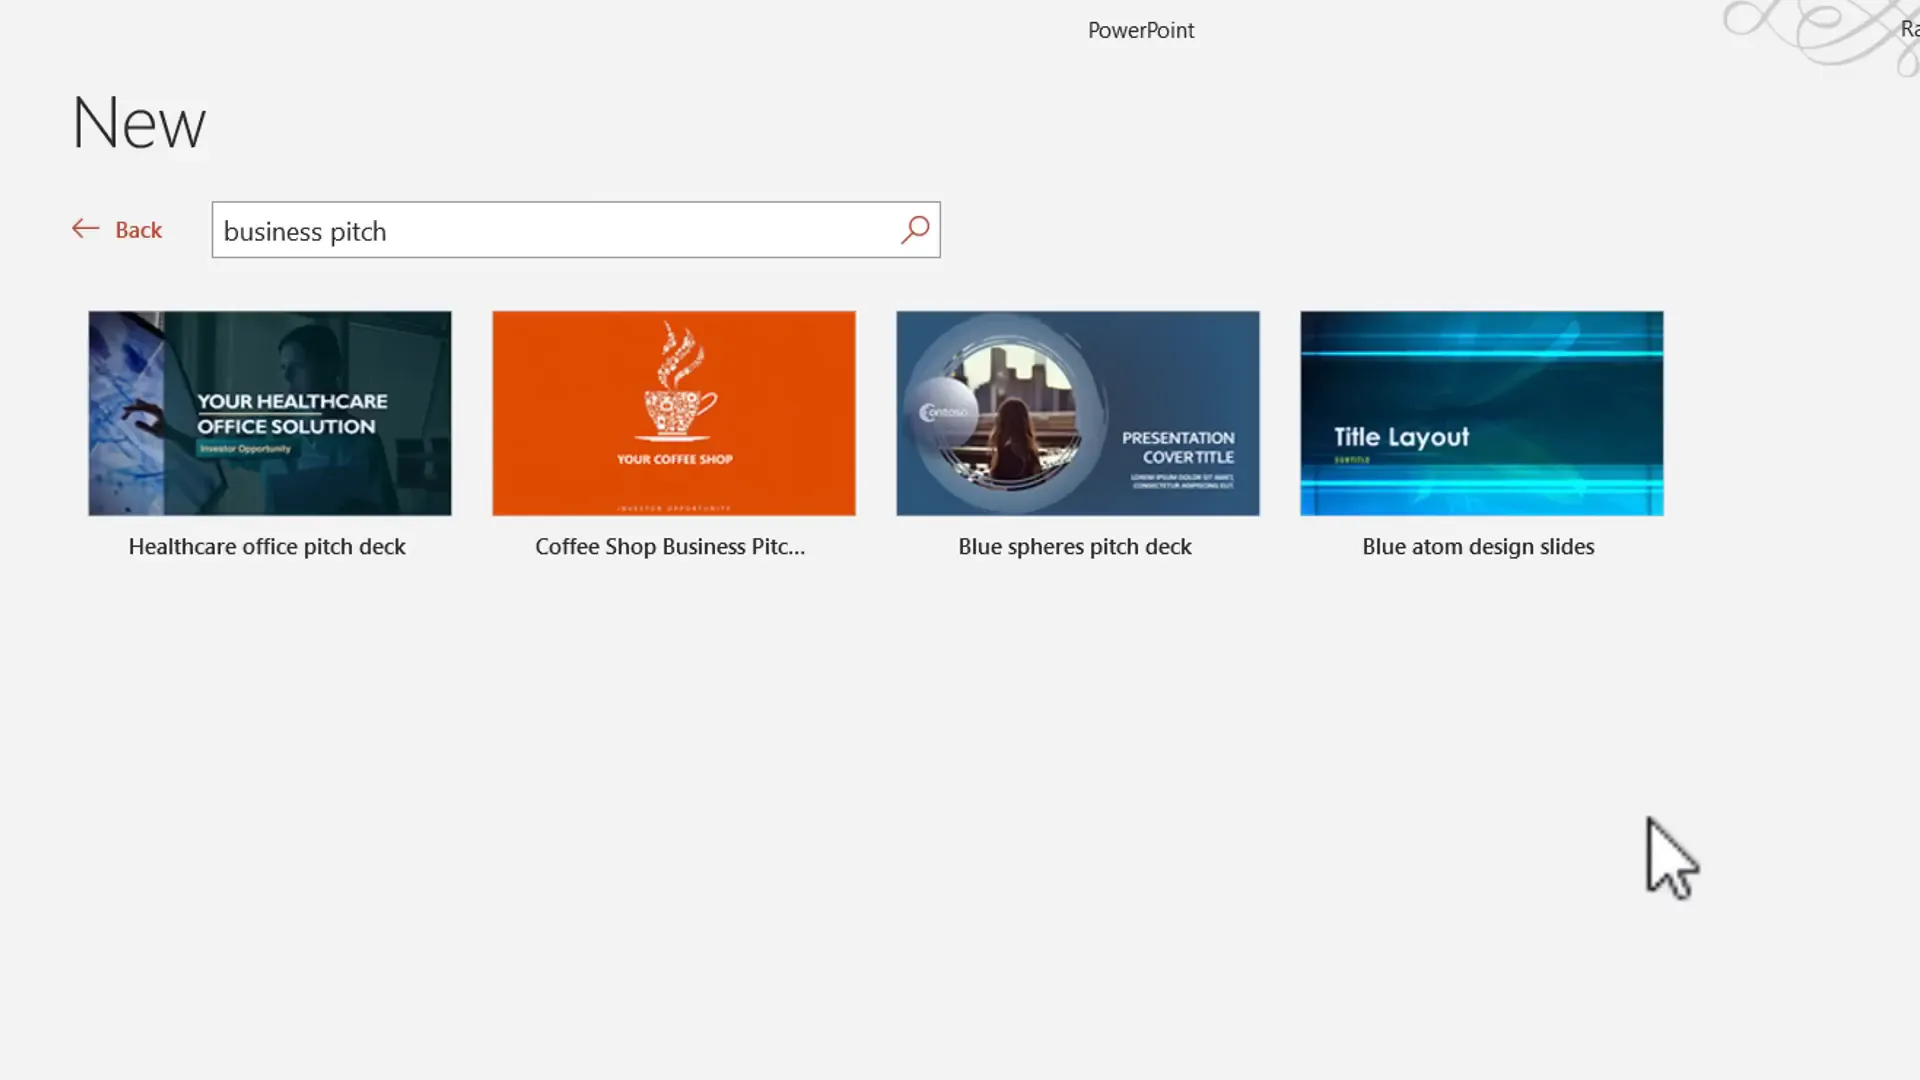
Using Templates to Save Time
If you want to create a specific type of presentation, such as a business pitch, you can search for related templates. Simply type the topic in the search bar and browse the options PowerPoint provides. Once you find a template you like, click on it, read the description, and hit Create to download it. Replace the sample text with your own content, and you’re ready to go.
Templates are a huge time saver because they provide a polished design and layout structure. Even if the template doesn’t fit your content exactly, you can tweak it as needed.
Starting with a Blank Presentation
If your presentation topic doesn’t fit any template, or if you prefer to build your slides from scratch, choose the Blank Presentation option or pick a Design Theme to start with an attractive slide deck. For this tutorial, we’ll begin with a blank presentation.
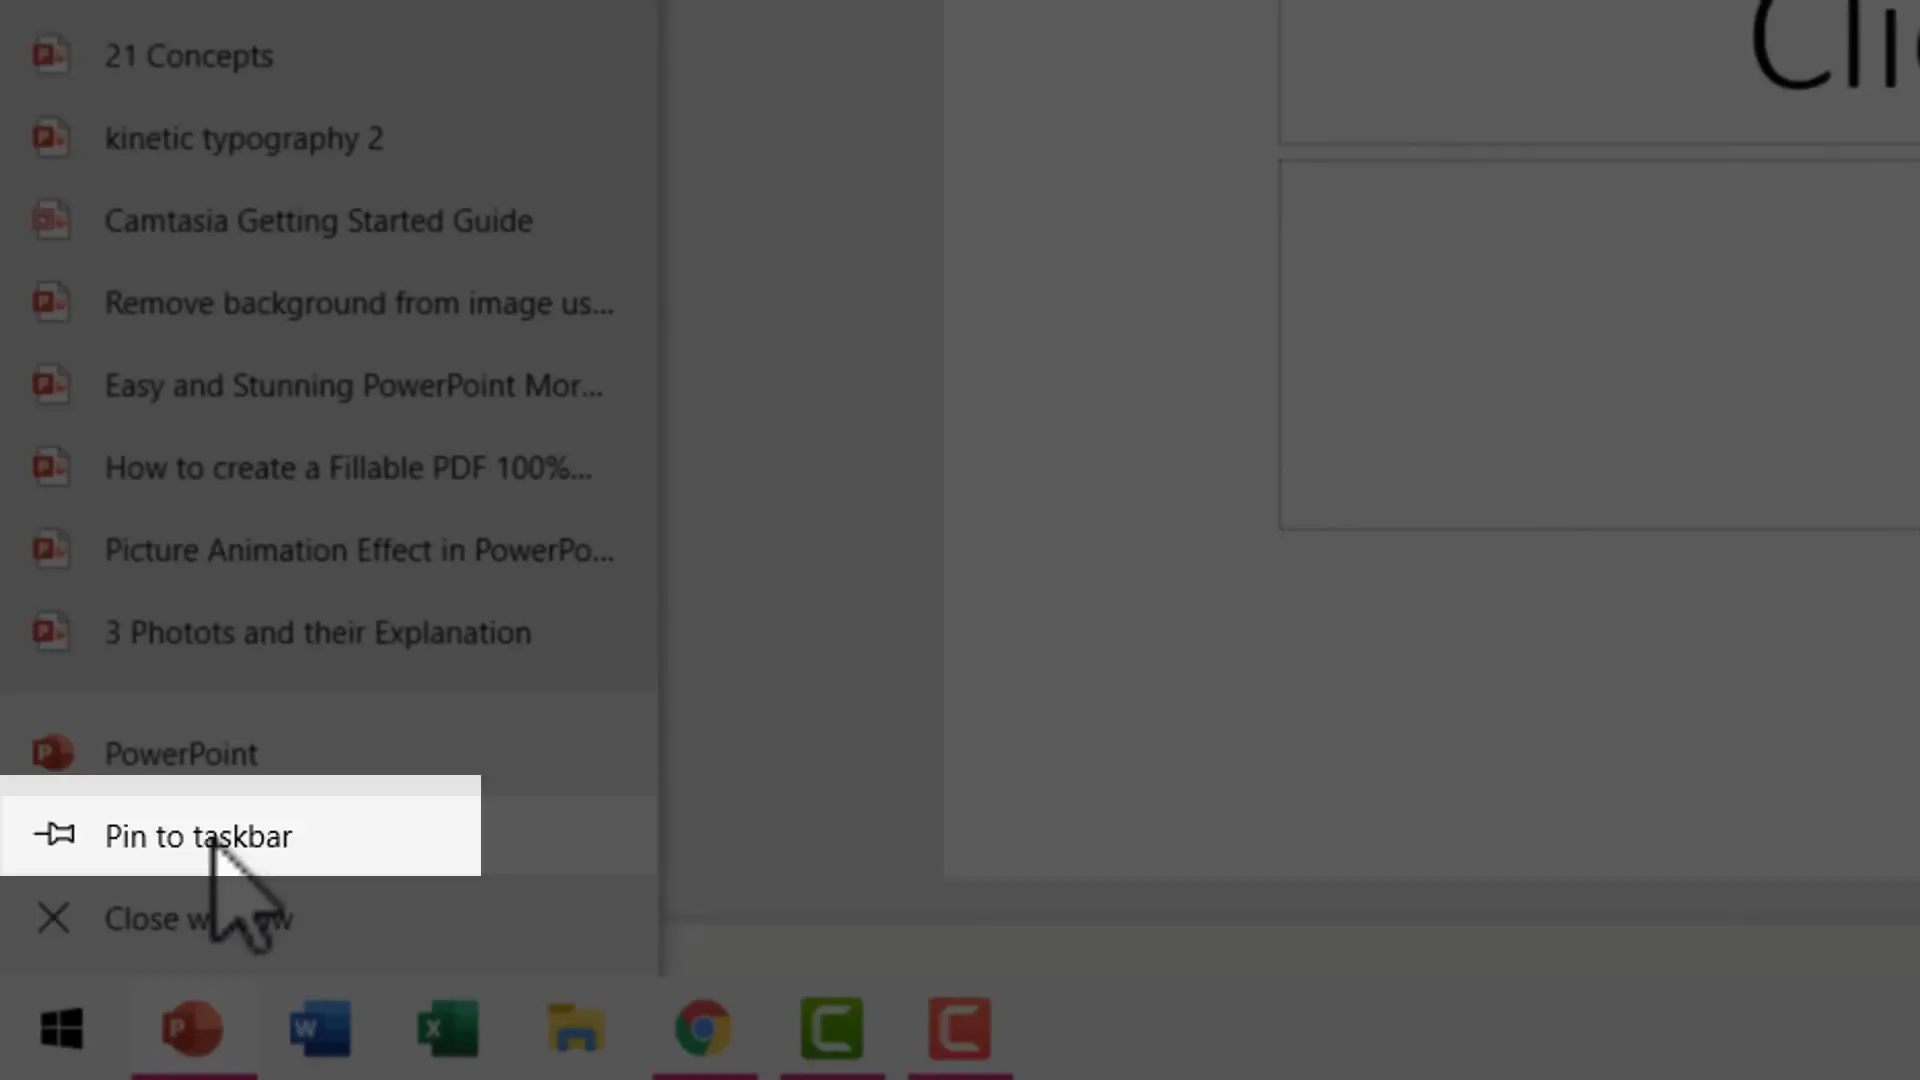
Pinning PowerPoint to the Taskbar
Once PowerPoint is open, it’s a good idea to pin it to your taskbar for quick access in the future. Right-click the PowerPoint icon in the taskbar and select Pin to taskbar. Now, instead of searching for PowerPoint every time, you can open it with a single click.
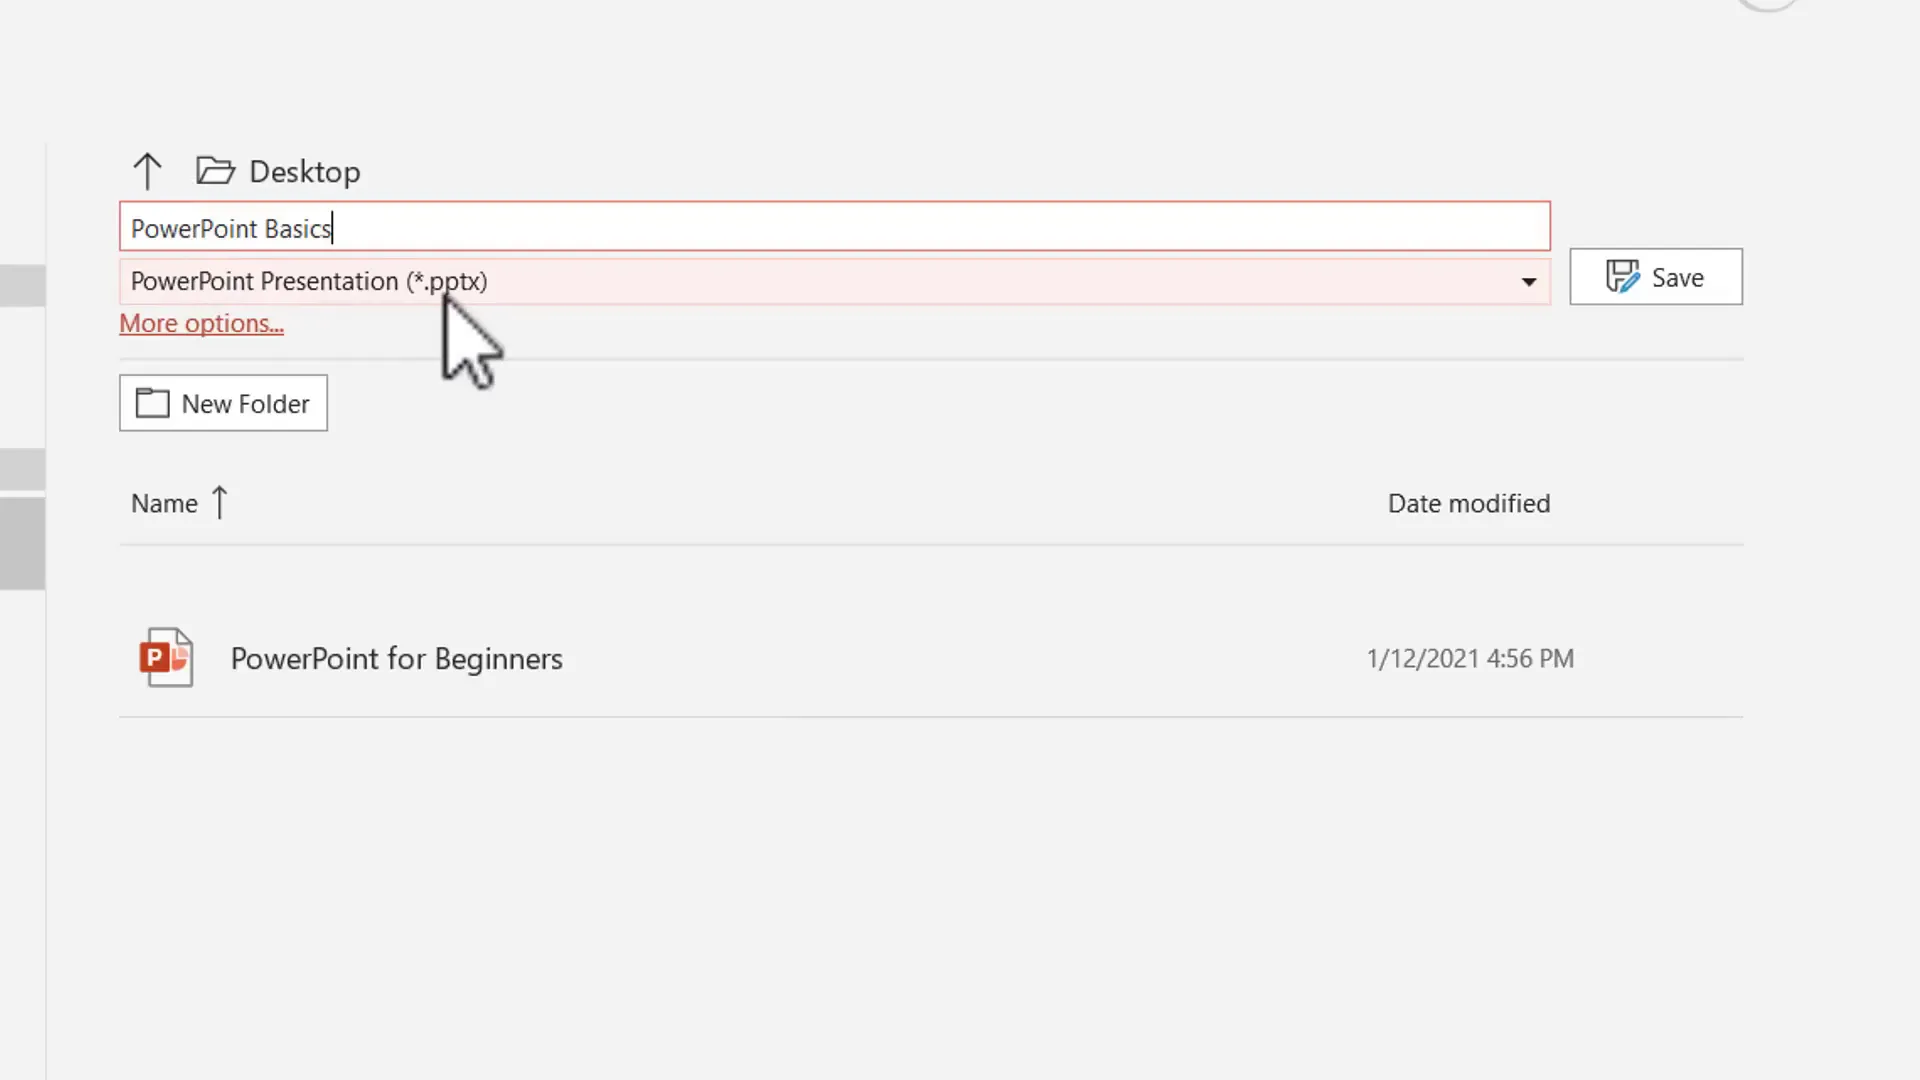
Saving Your Presentation
Saving your work is crucial to avoid losing progress. Many beginners make the mistake of working on their slides without saving, only to accidentally close the file and lose everything. To save your presentation:
- Click on File in the top left corner.
- Select Save As.
- Choose a location to save, such as your desktop.
- Give your file a memorable name, for example, “PowerPoint Basics.”
- Ensure the file type is
.pptx, which is the standard PowerPoint format. - Click Save.
Once saved, you can double-click the file icon on your desktop anytime to reopen your presentation.
Understanding Basic PowerPoint Terminology
Before creating content, it helps to know the basic parts of the PowerPoint interface:
- Slide Area: The large panel in the center where you edit individual slides.
- Thumbnail Area: The vertical panel on the left showing small previews of all your slides.
- Ribbon: The horizontal toolbar at the top containing tabs and groups of tools for editing and formatting.
- Tabs: Collections of tool groups, such as Home, Insert, Design, Animations, and Transitions.
- Groups: Sets of related tools within each tab (e.g., Font group, Paragraph group).
- Status Bar: The strip at the bottom showing commands and view options.
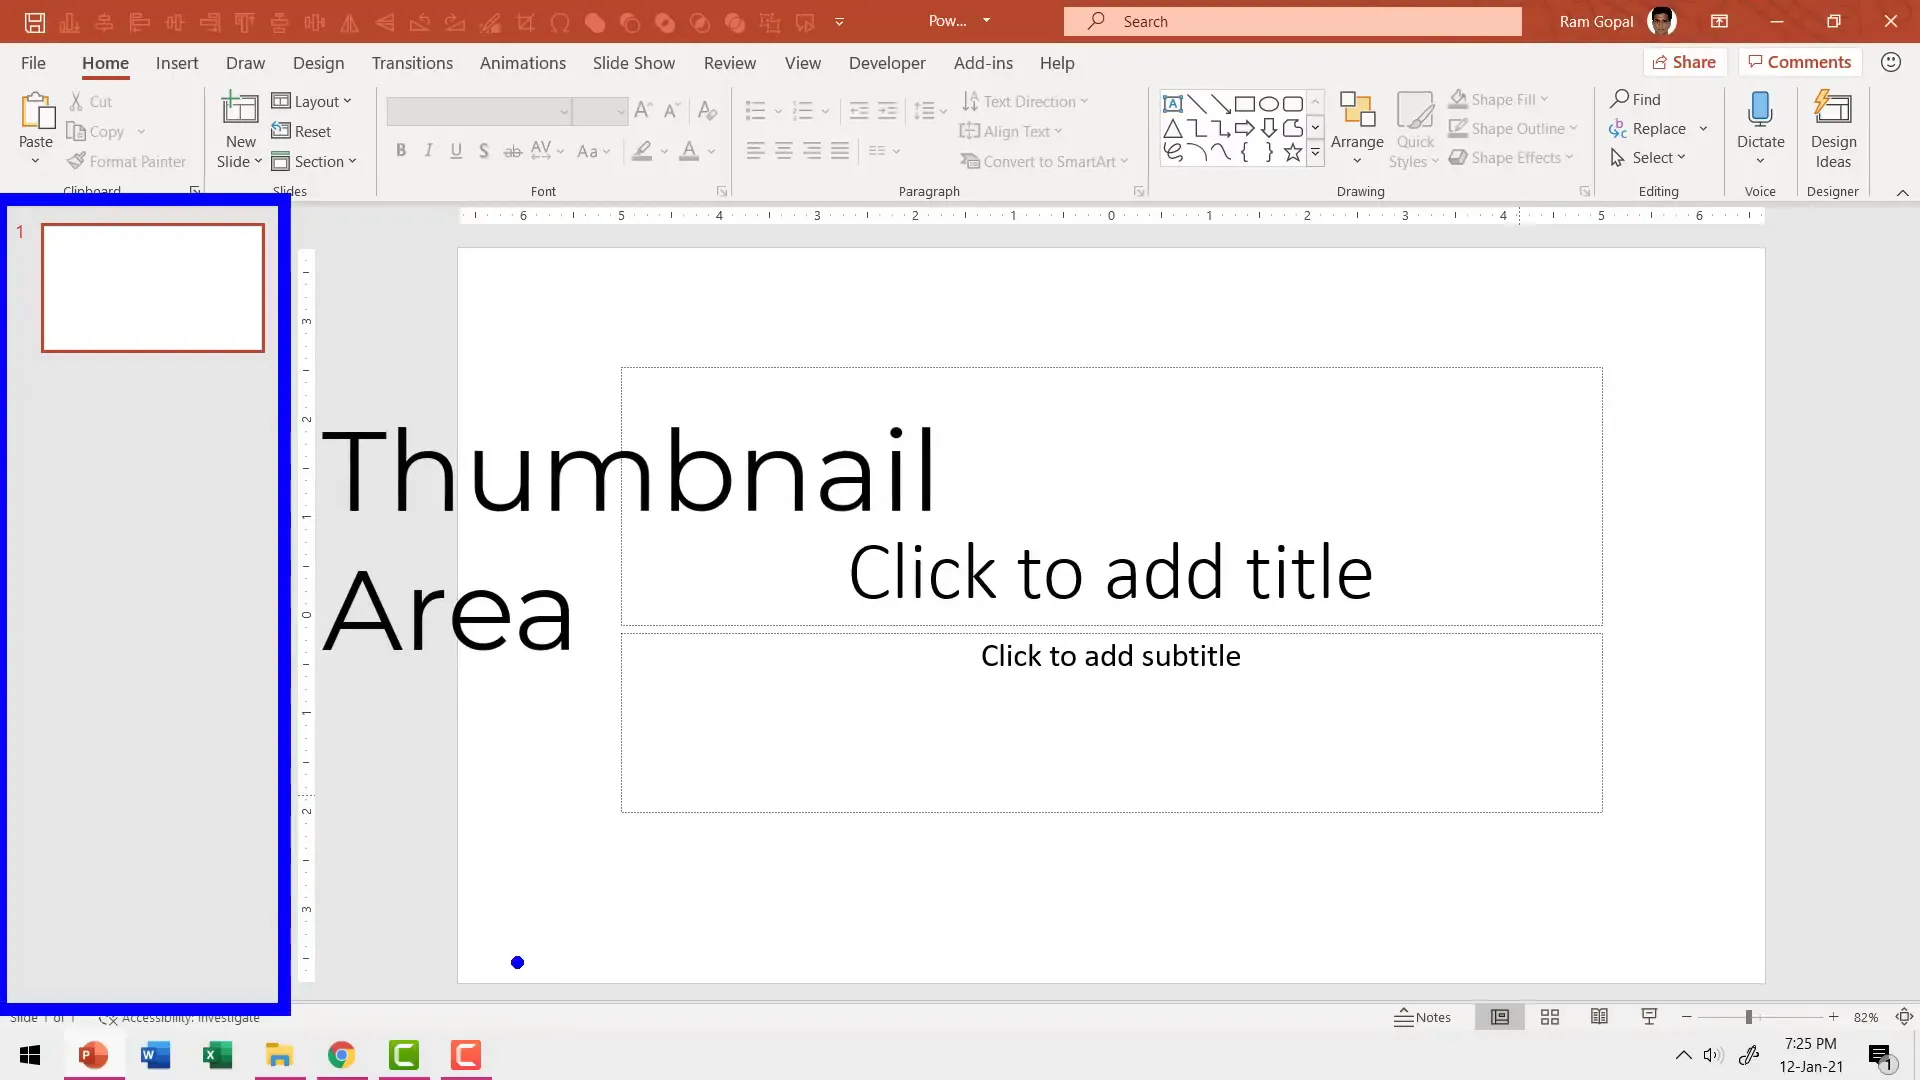
Creating Your First Slide
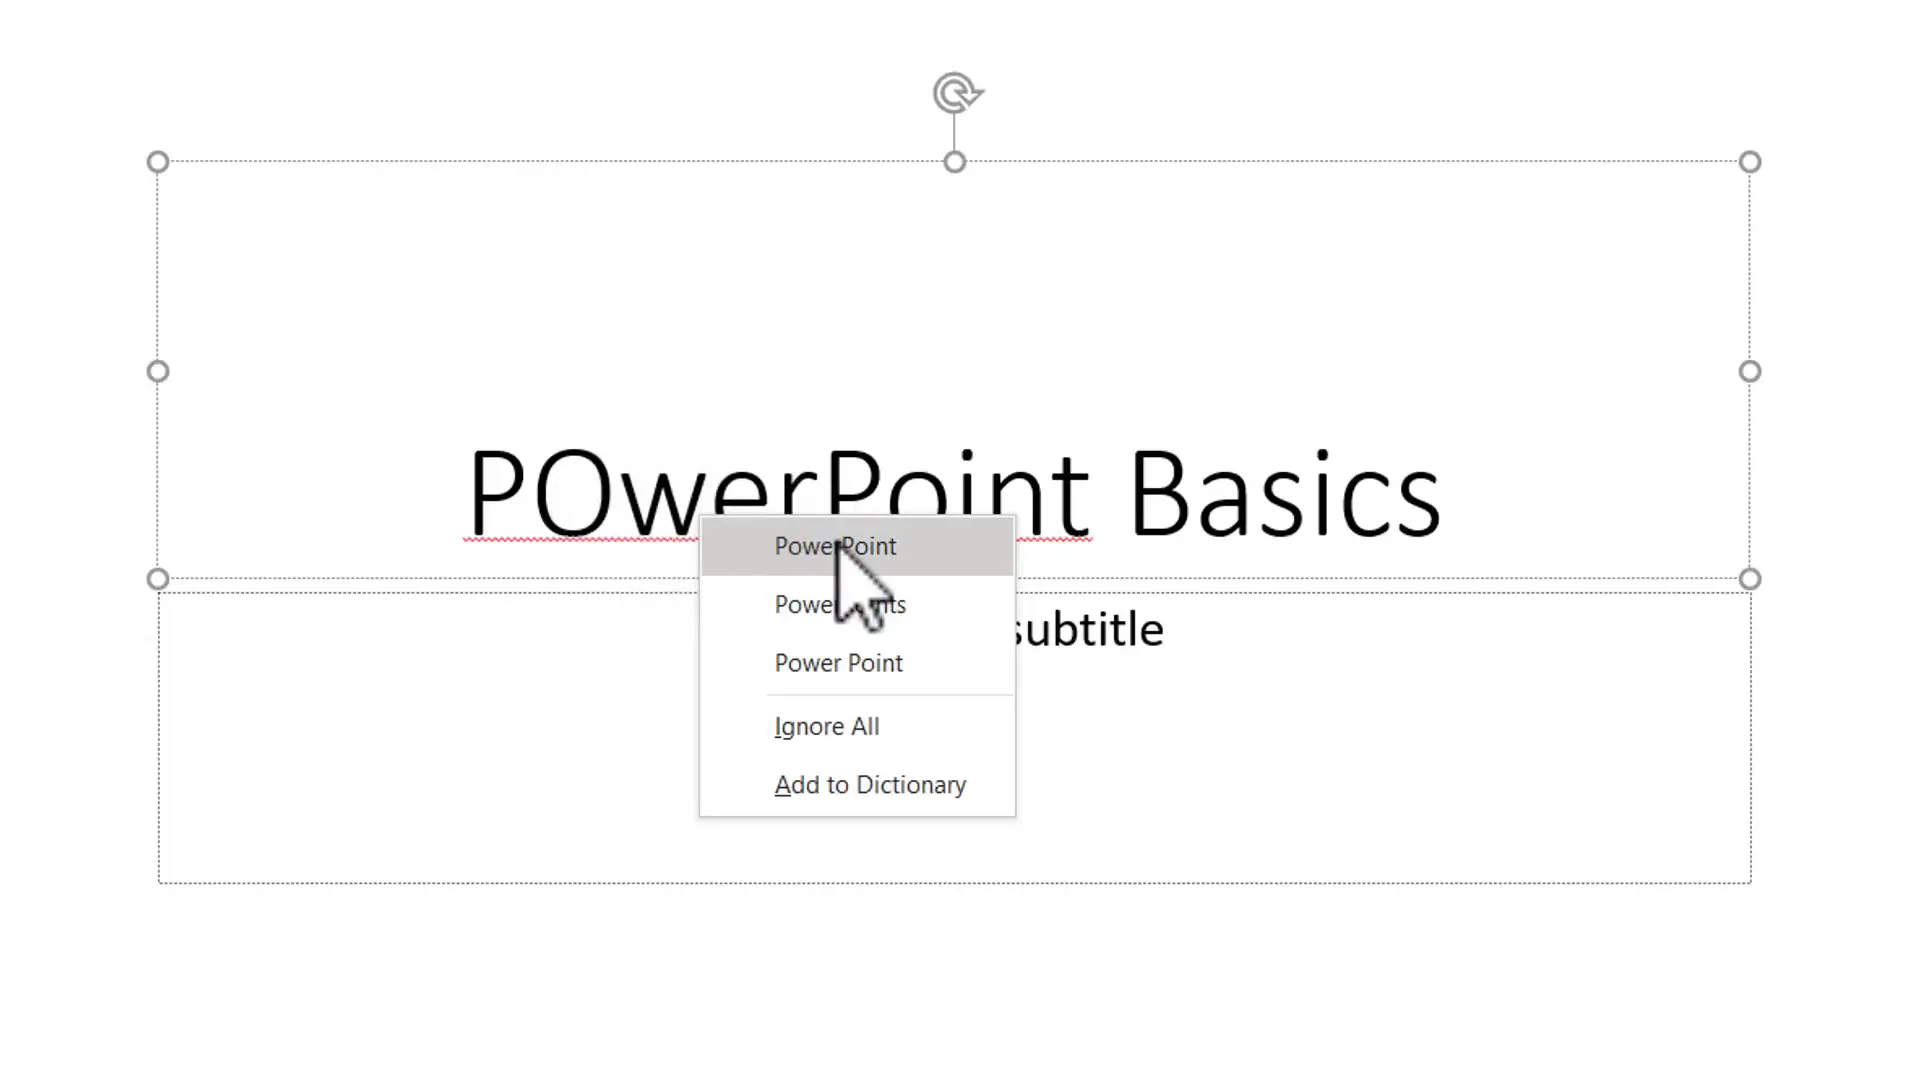
PowerPoint makes it easy to start creating your slides. When you open a blank presentation, the first slide usually has placeholders labeled “Click to add title” and “Click to add subtitle.” Simply click on these areas and start typing your content.
For example, you can write “PowerPoint Basics” as the title and add your name as the subtitle.
If you make a typing mistake, right-click on the text to access options like spell check or formatting, similar to other software you might be familiar with.
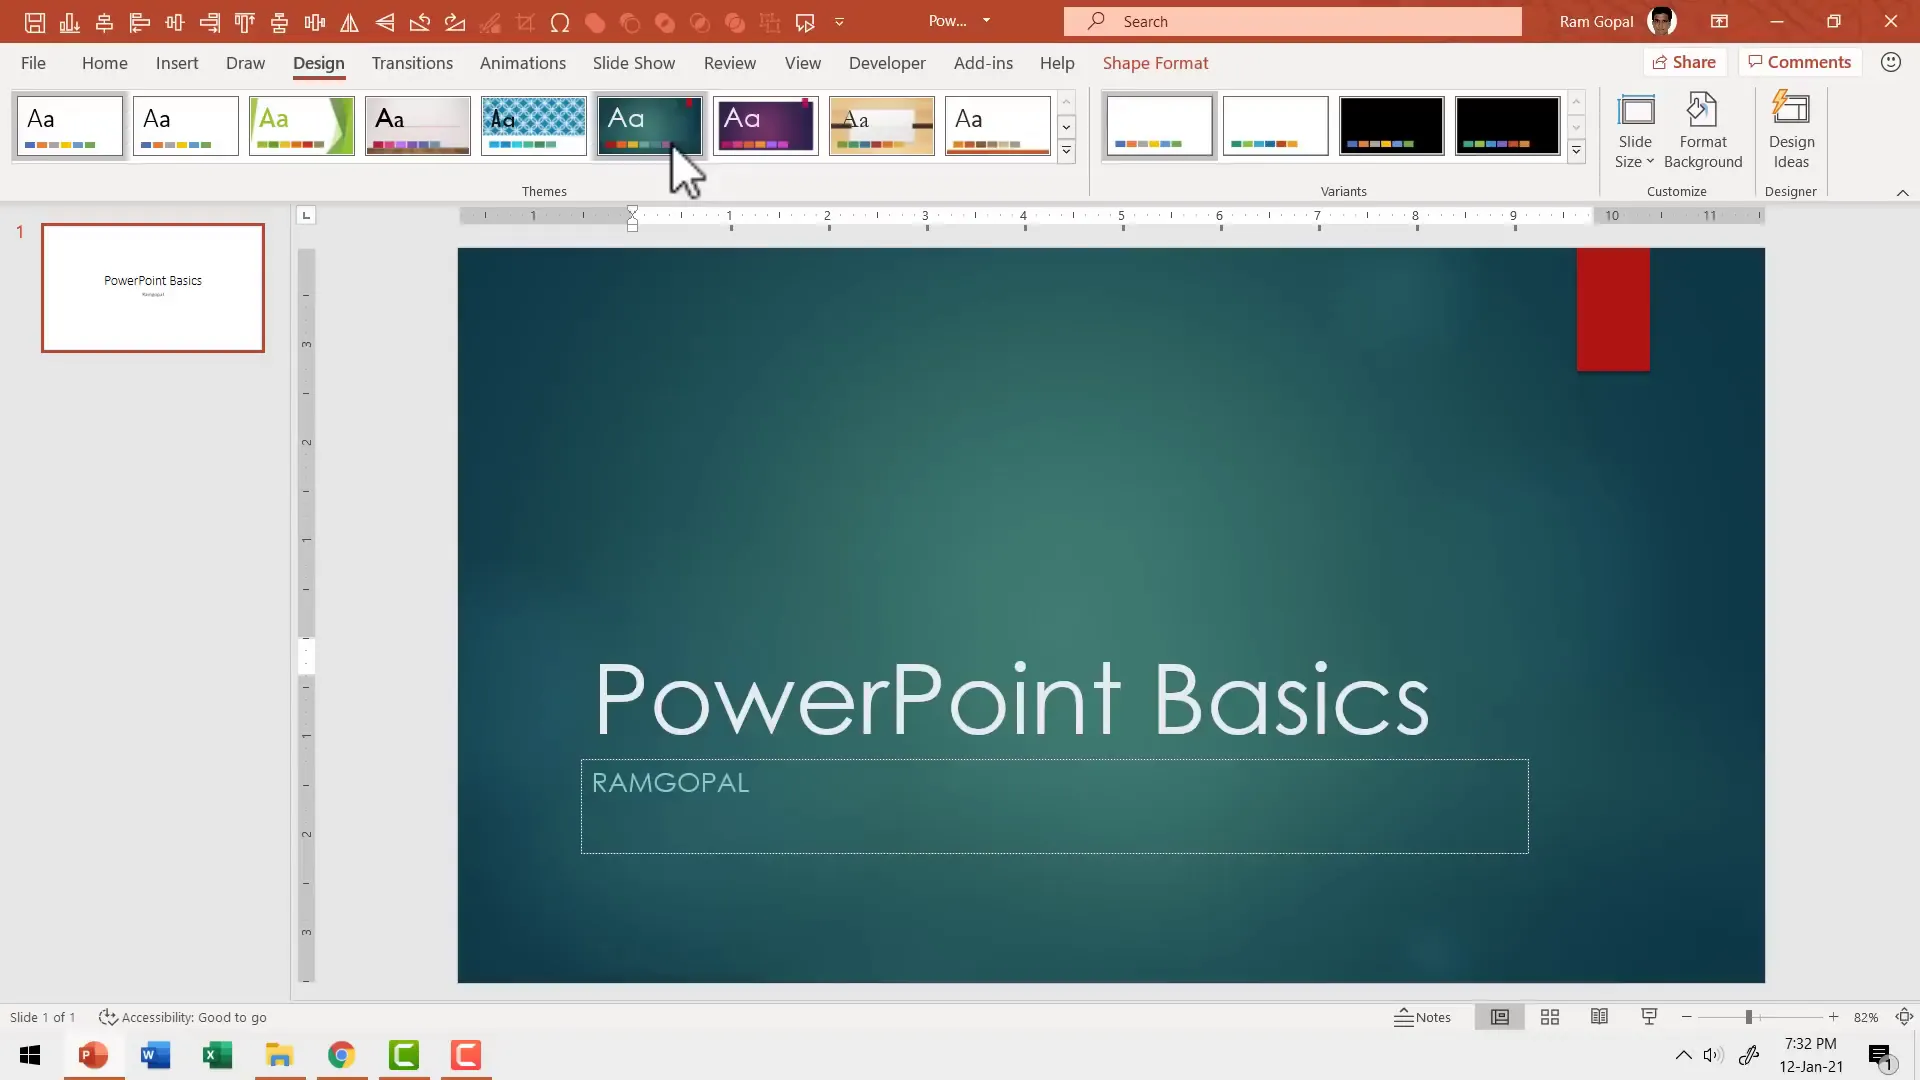
Enhancing Slide Design with Themes
A plain slide isn’t very appealing, so let’s improve its look quickly using PowerPoint’s Design tab. This tab offers Themes, which are pre-designed slide layouts with coordinated colors, fonts, and effects.
Hover your cursor over the theme thumbnails to see a live preview of how your slide will look. You can scroll through more themes by clicking the dropdown arrow.
Once you find a theme you like, click to apply it. You will also notice Variants for the chosen theme, which allow you to select different color schemes and styles to further customize your slides.
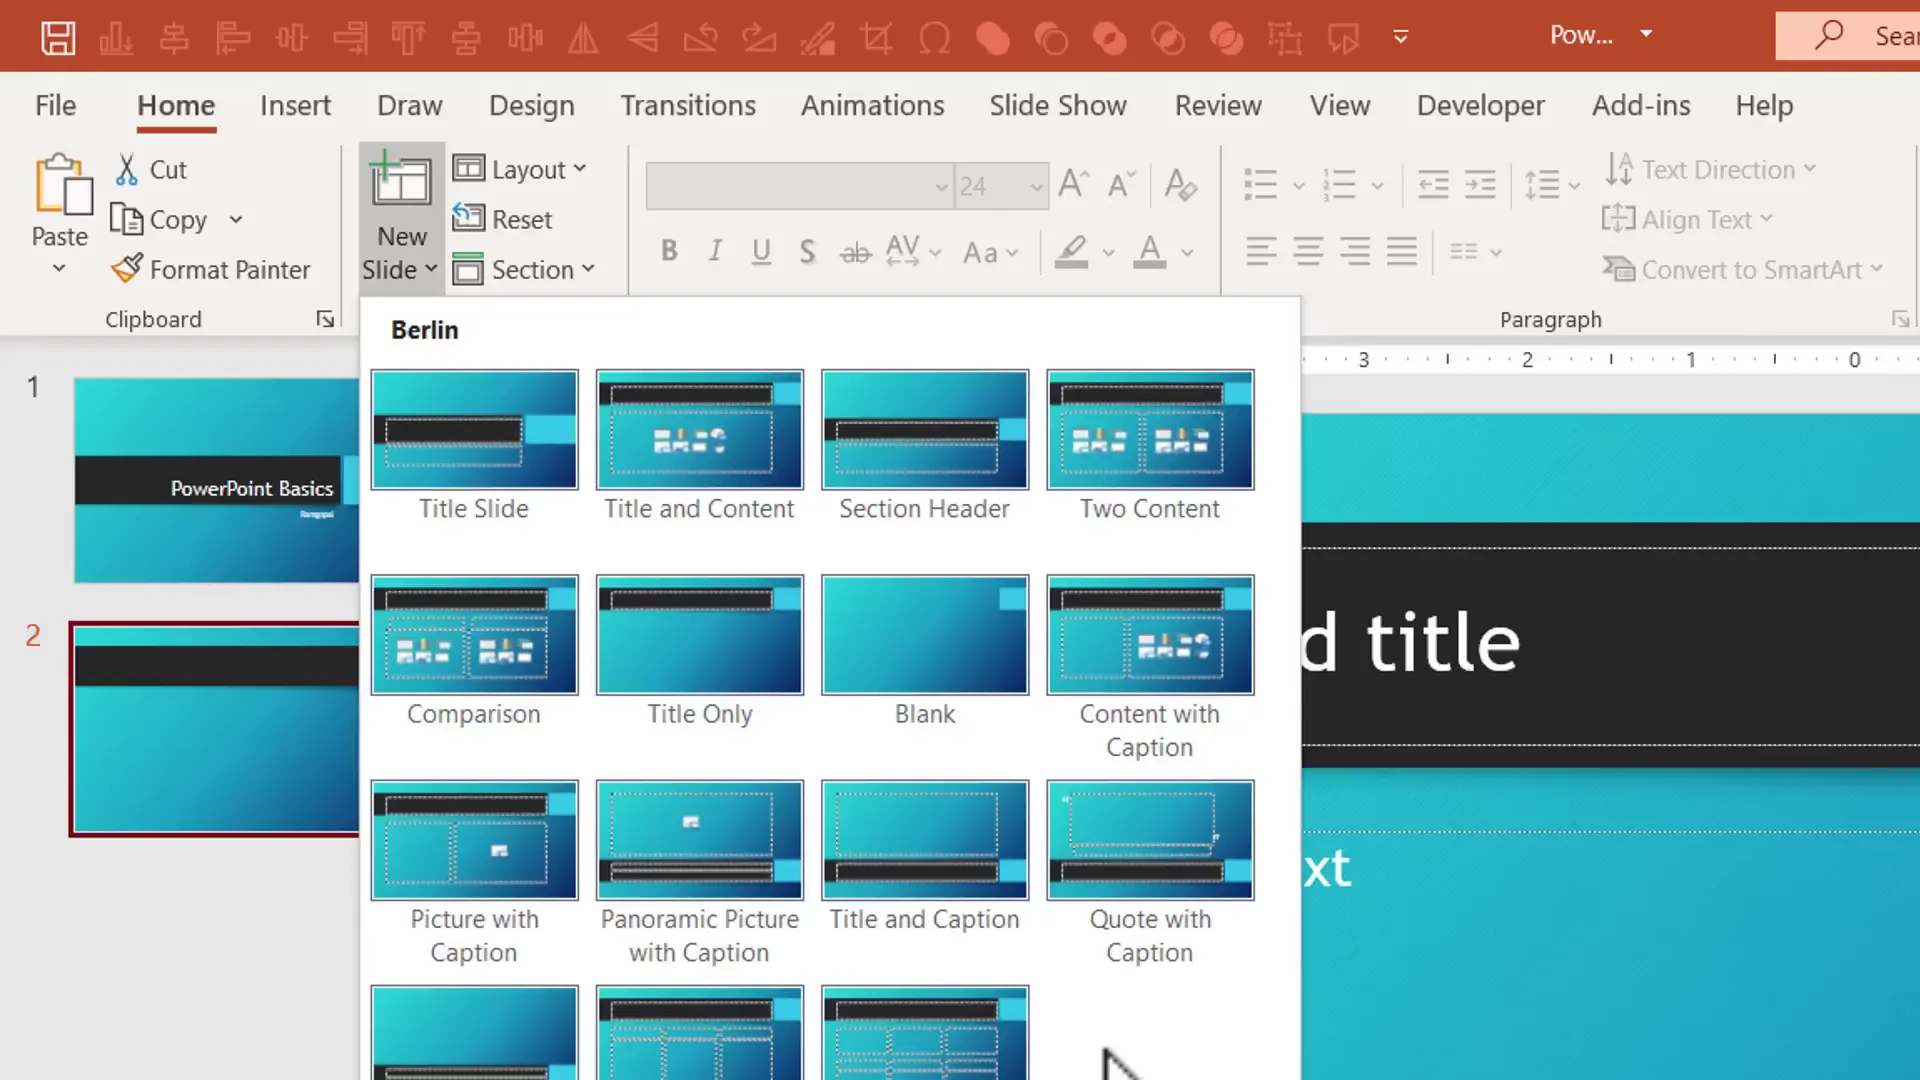
Adding New Slides
To add more slides for your content, you have multiple ways:
- In the Thumbnail Area on the left, click below the last slide and press Enter to add a new slide.
- Go to the Home tab and click New Slide.
Notice some buttons have dropdown arrows next to them. Clicking these arrows reveals additional layout options for your new slide, such as title and content, two content columns, blank, and more. Always look for these dropdowns to explore more layouts.
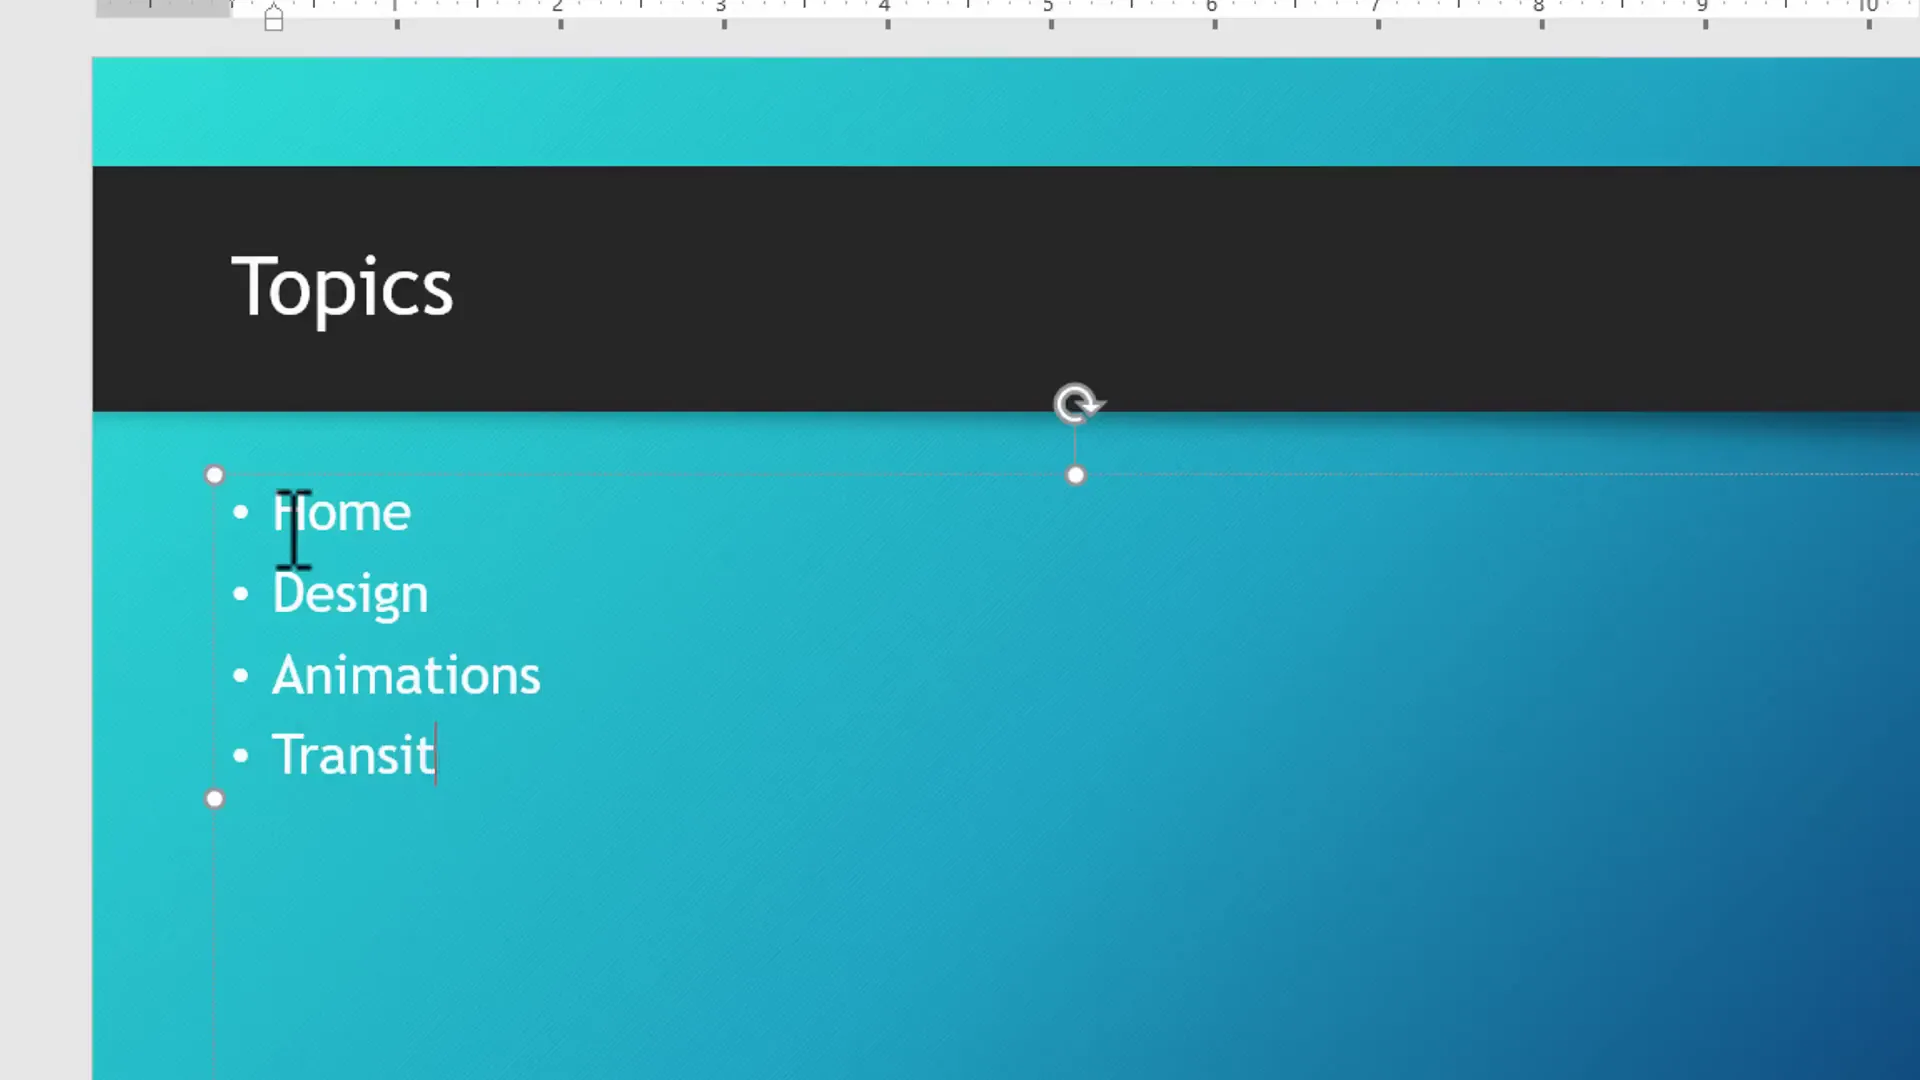
Building a Bullet Point Slide
Let’s create a typical slide listing the topics you will cover. Click on the title placeholder and type “Topics.” Then, in the content area, type your bullet points like:
- Home Tab
- Design Tab
- Animations
- Transitions
This is a classic bullet point slide, but these can often be dull and fail to engage your audience.
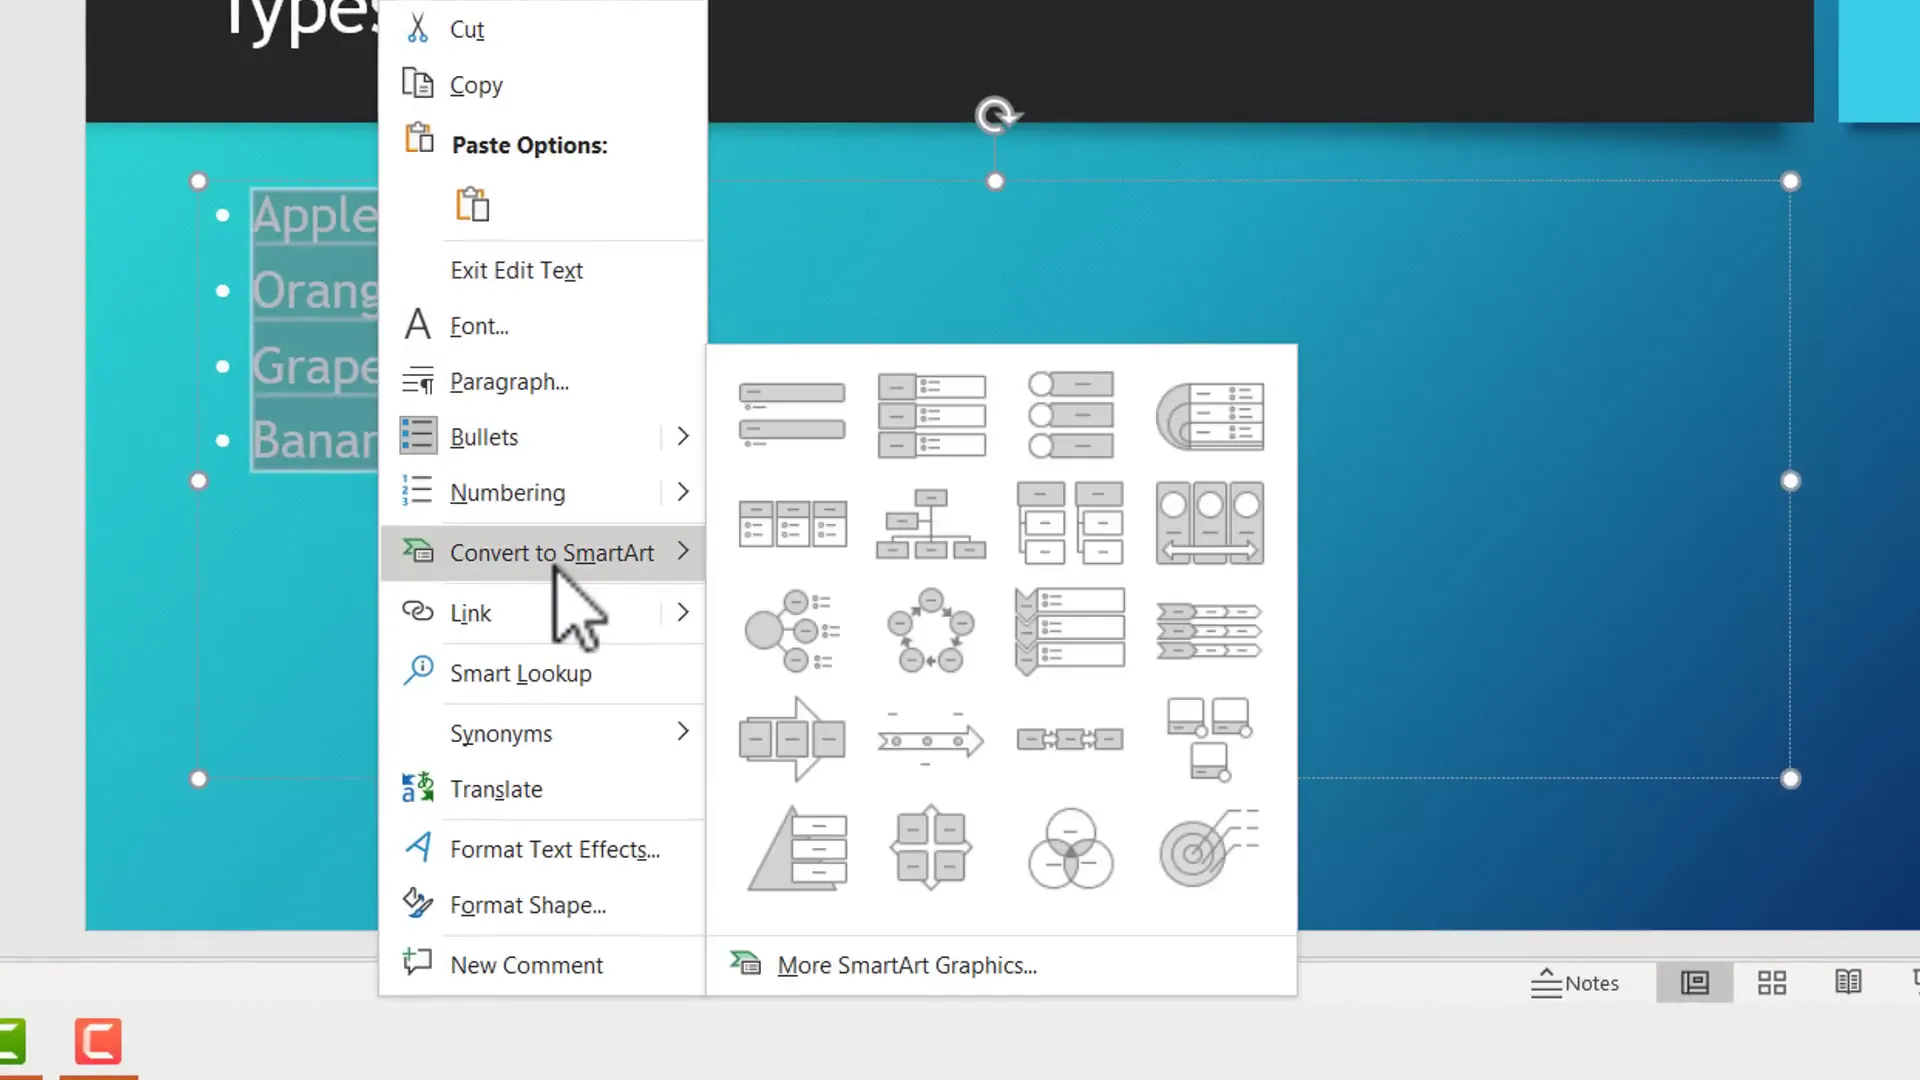
Transforming Bullet Points into Visuals with SmartArt
To make your bullet points more attractive and visually engaging, use PowerPoint’s SmartArt feature. Here’s how:
- Select all your bullet points by clicking and dragging your cursor over them.
- Right-click the selection and choose Convert to SmartArt.
- Pick a SmartArt style from the gallery that fits your content.
Instantly, your plain bullet points transform into a professional-looking diagram, making the slide more dynamic and easier to follow.
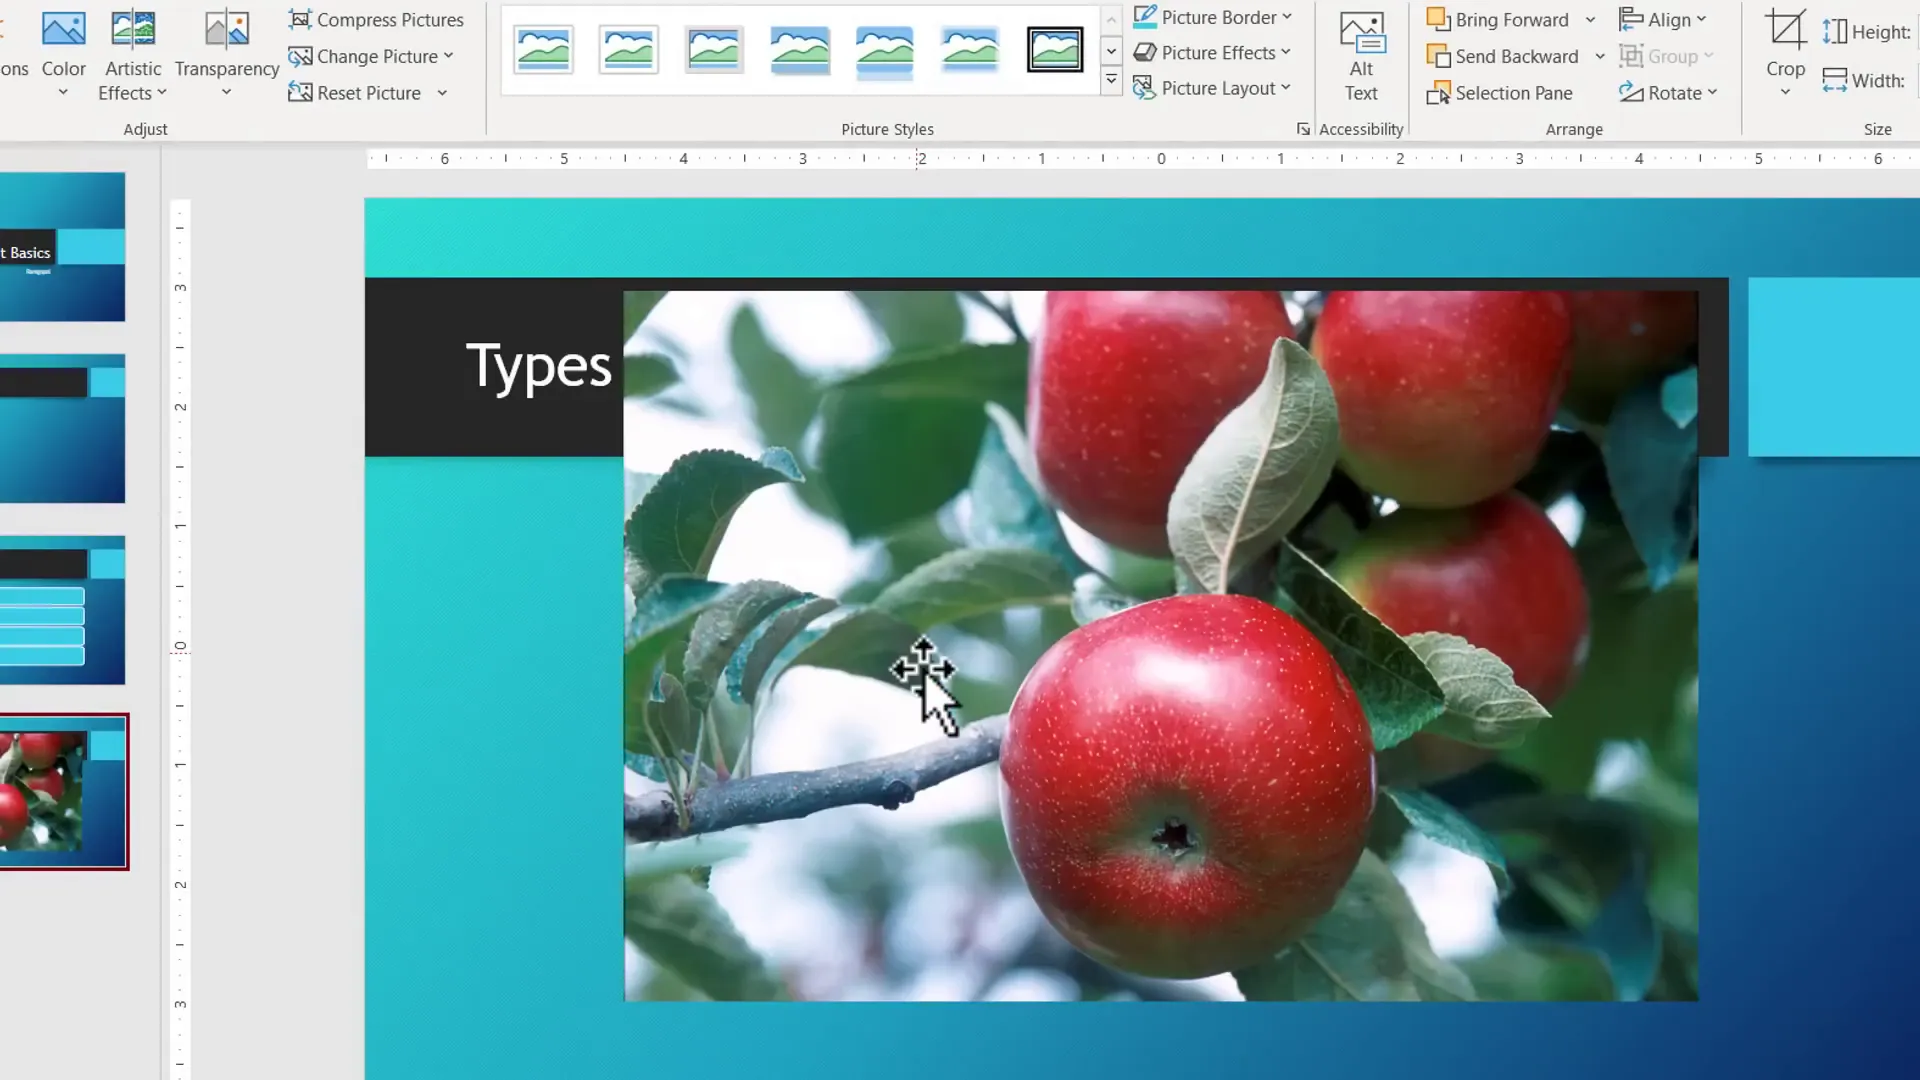
Adding Pictures to Visualize Your Slides
Visuals help convey information more effectively than text alone. To add pictures to your slides, follow these steps:
- Create a new slide and title it, for example, “Types of Fruits.”
- Change the slide layout to Title Only to give yourself more space for images. Right-click on the slide background, select Layout, and choose Title Only.
- Go to the Insert tab and click Pictures.
- You can insert pictures from:
- This Device: If you have images saved locally.
- Stock Images: Available with Microsoft 365 subscription.
- Online Pictures: Search Bing for free images directly within PowerPoint.
- Search for the image you want, such as “apples,” select it, and click Insert.
- Resize the image by holding the Shift key (to maintain proportions) and dragging the corner handles.
- Position the image on your slide.
- Insert a Text Box from the Insert tab to label your picture. Type the label, adjust the font size and style as needed.
Repeat the process for other images, such as oranges, to create a visually appealing slide with multiple items.

Copying and Pasting Elements
To save time, you don’t need to create new text boxes from scratch for every label. Simply:
- Select the existing text box.
- Right-click and choose Copy.
- Right-click on the slide and select Paste.
- Move the copied text box to the desired location and edit the text.
This technique speeds up your workflow and keeps your slide consistent.
Summary of What You’ve Learned So Far
- How to open PowerPoint and start a presentation.
- Pinning PowerPoint to the taskbar for quick access.
- Saving your presentation early and often.
- Basic PowerPoint terminology to understand the interface.
- Creating slides by adding titles and content.
- Applying professional design themes and variants.
- Adding new slides using the thumbnail area or Home tab.
- Converting bullet points into SmartArt diagrams.
- Inserting pictures and labeling them with text boxes.
Presenting Your Slides
Once your slides are ready, it’s time to present. PowerPoint offers multiple views at the bottom right of the window, including:
- Normal View: Default editing view.
- Slide Sorter View: Displays thumbnails of all slides for easy rearranging.
- Reading View: A windowed presentation mode.
- Slide Show: Full-screen presentation mode to display slides to your audience.
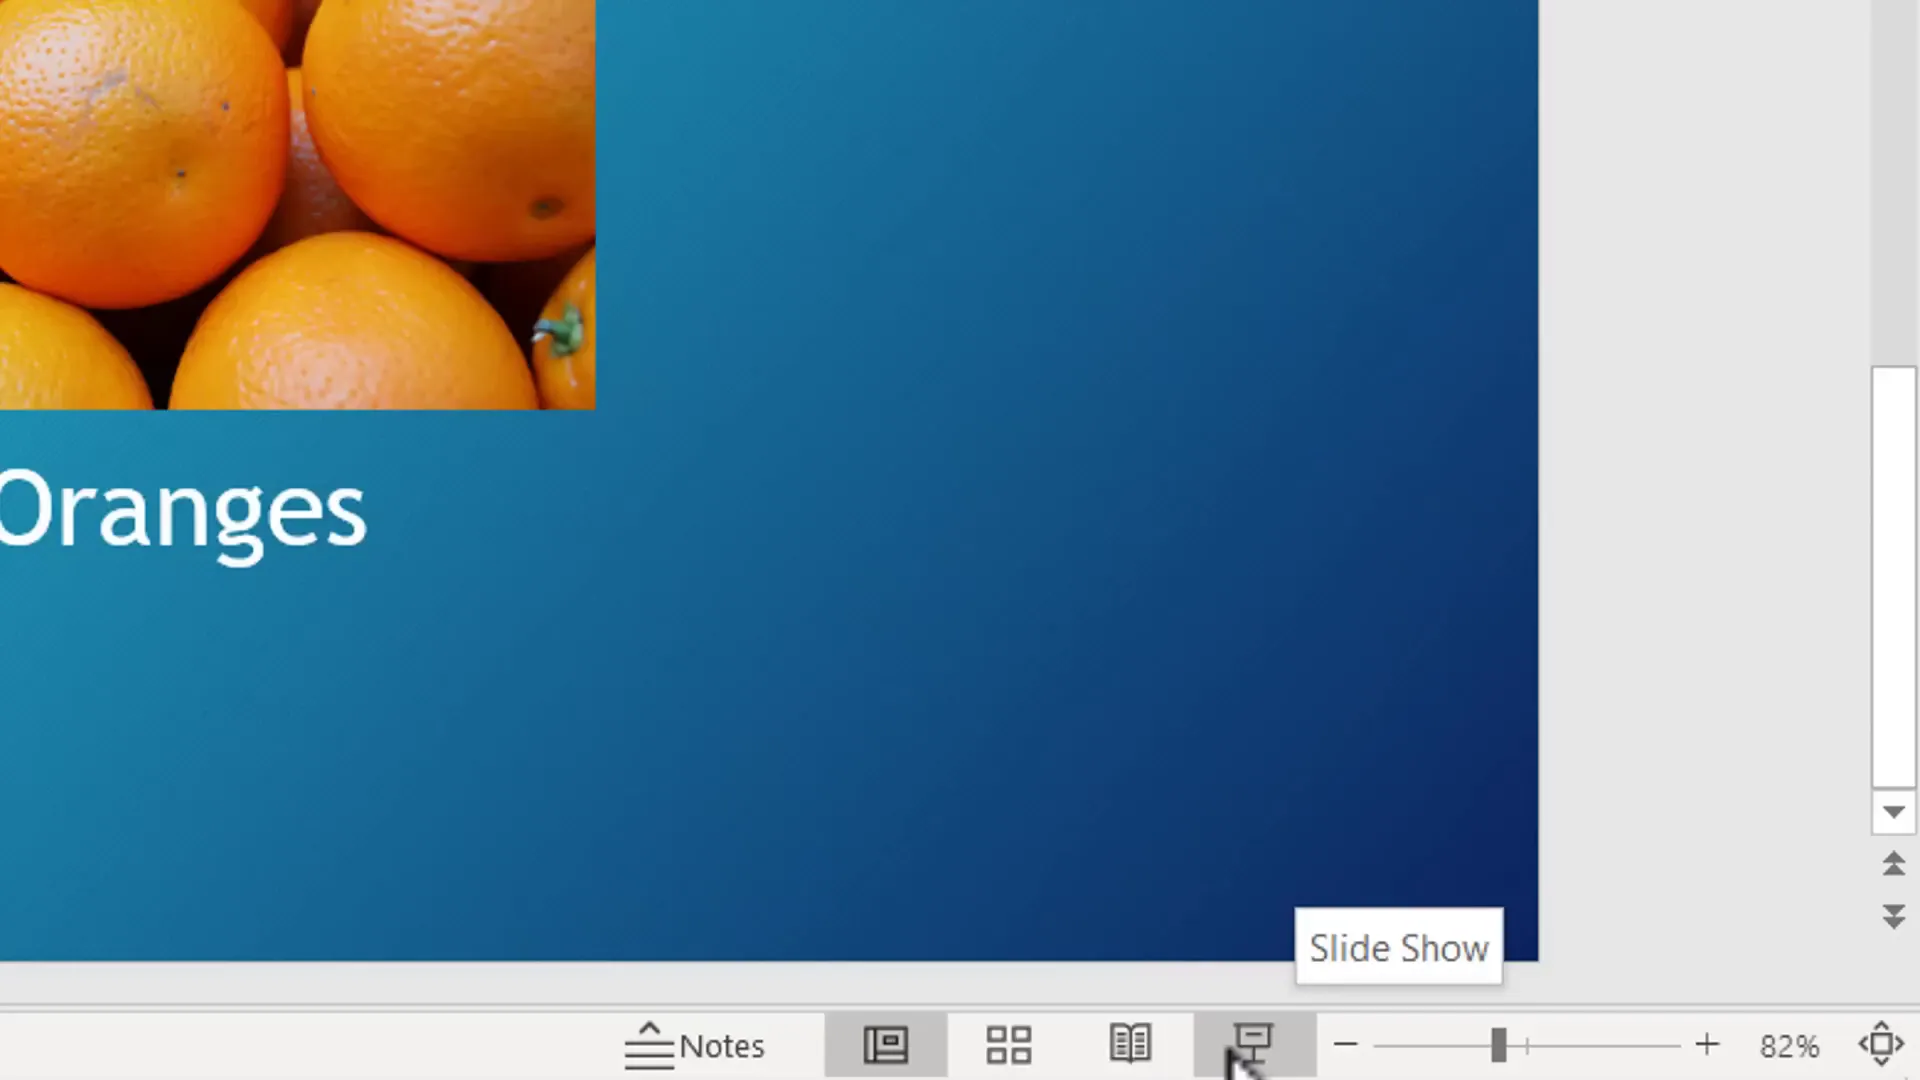
To start the slideshow, select the first slide and click the Slide Show icon. You can navigate slides using:
- Enter or Spacebar to move forward.
- Up and Down arrow keys for navigation.
- Page Up and Page Down keys.
To exit the slideshow at any time, press the Escape key.
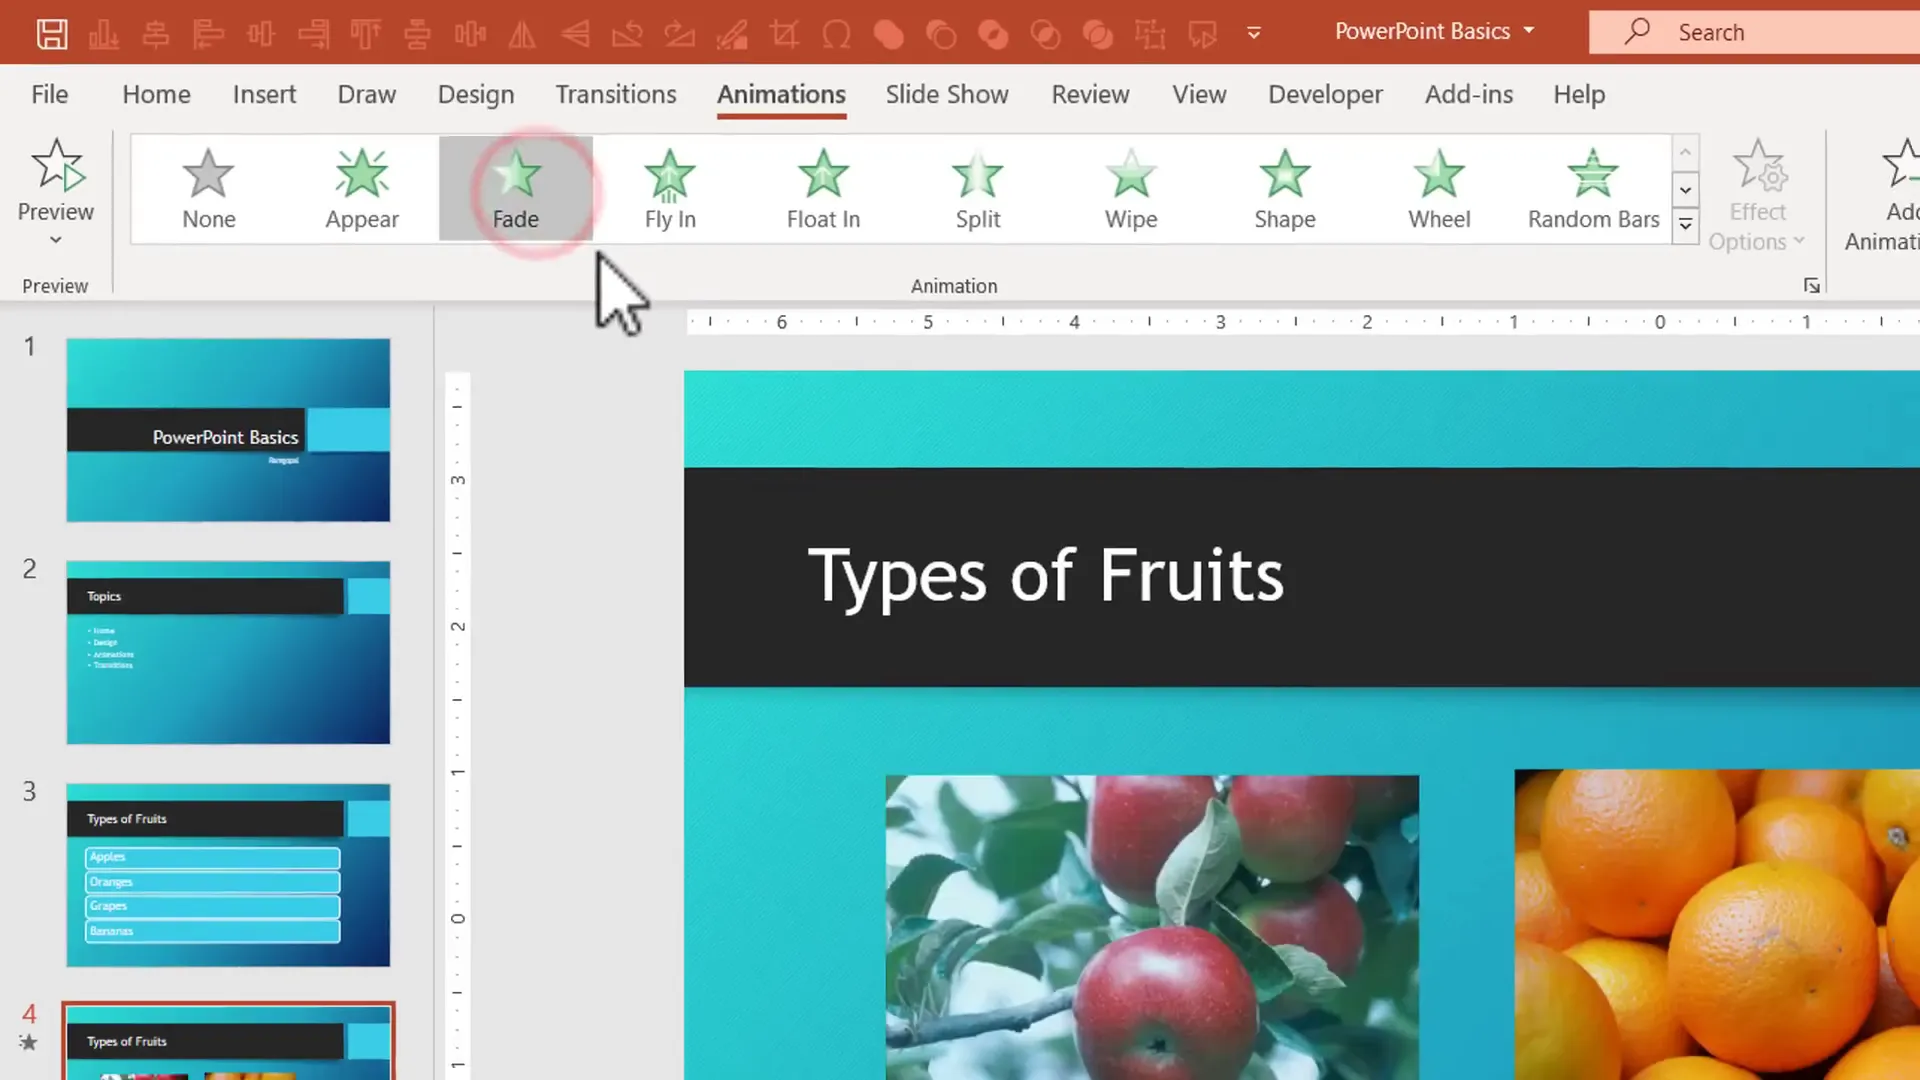
Adding Animations to Engage Your Audience
To keep your audience’s attention, add simple animations that reveal slide elements one at a time. Here’s how:
- Select the object (text or image) you want to animate.
- Go to the Animations tab.
- Choose the Fade animation for a subtle effect.
- Repeat for each object you want to animate.
When presenting, each click will reveal the next animated object, allowing you to control the flow of information smoothly.
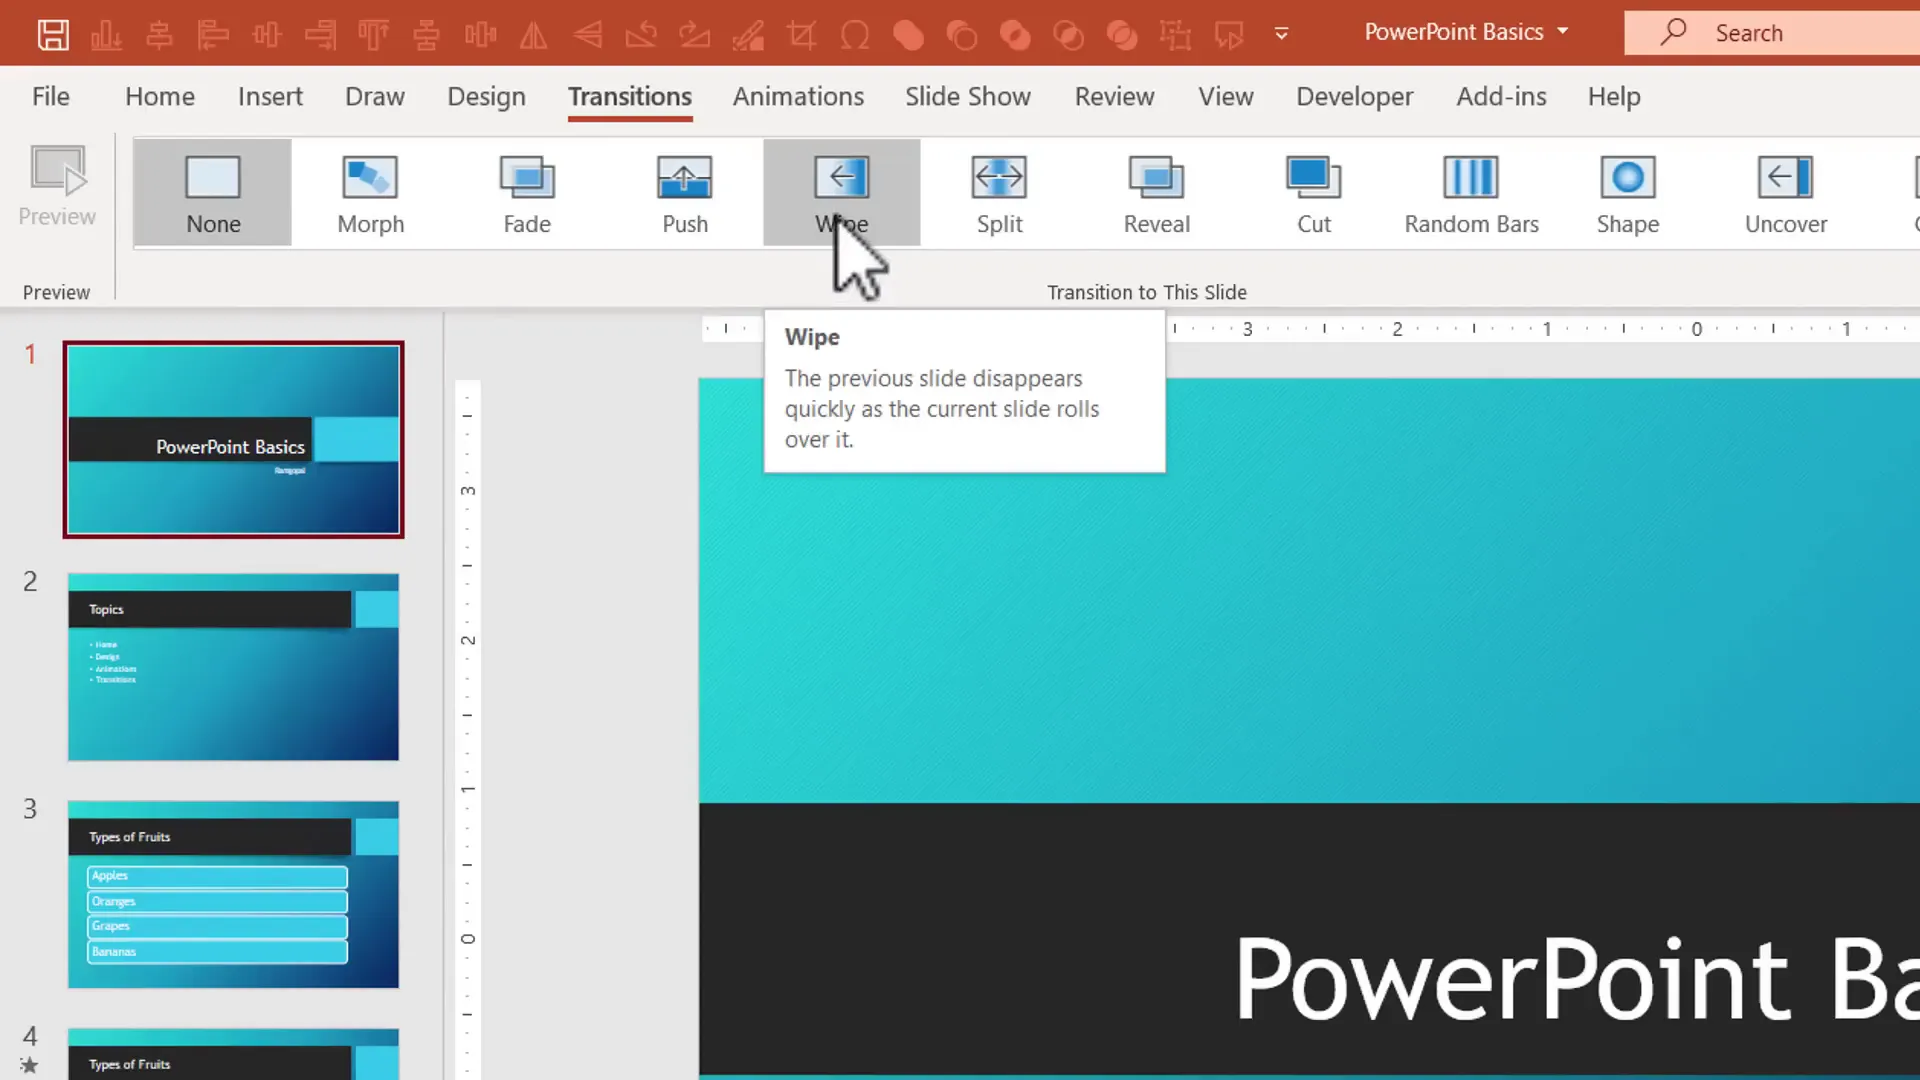
Adding Transitions Between Slides
Transitions add polish by creating smooth movements between slides. To add transitions:
- Select the first slide.
- Go to the Transitions tab.
- Choose a simple transition like Wipe.
- Click Apply To All to maintain consistency across all slides.
During your presentation, transitions create a professional feel as you move from one slide to another.
Final Tips for PowerPoint Beginners
With these skills, you’re now equipped to create basic, professional slide decks and impress your audience. Remember to save your work frequently by clicking File > Save or using the shortcut Ctrl + S.
If you want to deepen your PowerPoint knowledge and unlock more advanced techniques, consider enrolling in a comprehensive PowerPoint foundation course. Such programs offer step-by-step video tutorials, practical exercises, and lifetime access to help you master the software fully.
Frequently Asked Questions (FAQ)
1. How do I open PowerPoint quickly on Windows?
Click the Start button and type “PowerPoint.” When the app appears, click to open. For faster access, pin PowerPoint to your taskbar by right-clicking its icon and selecting “Pin to taskbar.”
2. What is the difference between a template and a design theme?
Templates provide complete slide decks tailored for specific presentation types with pre-filled content and design. Design themes are styles applied to blank presentations that control colors, fonts, and backgrounds but don’t include content.
3. How can I make my bullet point slides more engaging?
Convert bullet points to SmartArt diagrams for visual appeal, or add relevant images and labels to illustrate your points.
4. How do I insert pictures from the internet into my slides?
Use the Insert tab, click Pictures, and select “Online Pictures.” Search for your desired images via Bing, select, and insert them directly into your slide.
5. What are animations and transitions, and how do they differ?
Animations affect individual objects on a slide, such as text or images appearing one by one. Transitions affect the movement between slides, adding effects when moving from one slide to another during a presentation.
6. How do I present my slides to an audience?
Start the slideshow from the first slide using the Slide Show view. Navigate through your slides using Enter, Spacebar, arrow keys, or Page Up/Page Down. Exit the slideshow anytime with the Escape key.
7. Can I save my presentation to access it later?
Yes. Always save your presentation by clicking File > Save As, choosing a location, and giving your file a name. Save frequently to avoid data loss.
8. Is this tutorial applicable to all PowerPoint versions?
Yes. The basics covered here apply to versions from PowerPoint 2007 to Microsoft 365, with minor differences in interface layout.
Conclusion
PowerPoint might seem overwhelming at first with its myriad of tools and options, but you only need to learn a small fraction to get started confidently. By understanding how to open and save presentations, navigate the interface, apply design themes, create slides with engaging visuals, and present with animations and transitions, you can deliver professional presentations that capture attention.
Practice these fundamentals, and you’ll quickly develop the skills to communicate your ideas effectively. Remember, the key is to focus on the essentials, save your work regularly, and build on your knowledge gradually.
Happy presenting!
Check out the full video: PowerPoint for Beginners | Step by Step Tutorial to get started


