
Welcome! I’m Kevin Stratvert, and in this comprehensive guide, I’ll walk you through how to use Microsoft PowerPoint effectively, even if you’re a complete beginner. PowerPoint is a powerful tool that lets you create, edit, and share professional presentations that can captivate your audience and clearly communicate your message. Whether you’re preparing for a business meeting, a classroom lecture, or a personal project, mastering PowerPoint can make a huge difference in how your ideas are received.
In this tutorial, you’ll learn everything from getting started with PowerPoint, creating slides, applying themes, adding animations, and even recording your presentation. Let’s dive in and explore the essentials to help you become confident with Microsoft PowerPoint.

Table of Contents
- Getting Started with Microsoft PowerPoint
- Creating and Saving Your First Presentation
- Building Your Presentation: Adding and Organizing Slides
- Enhancing Your Presentation Design
- Adding and Formatting Content
- Animating and Transitioning Slides
- Working with Charts and Shapes
- Preparing and Sharing Your Presentation
- Presenting Your Slides
- Recording Your Presentation
- Conclusion: Tips for Effective PowerPoint Presentations
- Frequently Asked Questions (FAQ)
Getting Started with Microsoft PowerPoint
Before you can create stunning presentations, you need to know how to access PowerPoint. Fortunately, Microsoft offers two convenient ways to use PowerPoint:
- PowerPoint on the Web: You can use PowerPoint for free in your web browser by visiting PowerPoint.New. This instantly opens a blank presentation where you can start working without installing any software.
- PowerPoint App: For a more robust experience, you can download the PowerPoint app by visiting the Microsoft 365 website. Click on “Get Microsoft 365” to explore subscription options that include PowerPoint and other Office applications.
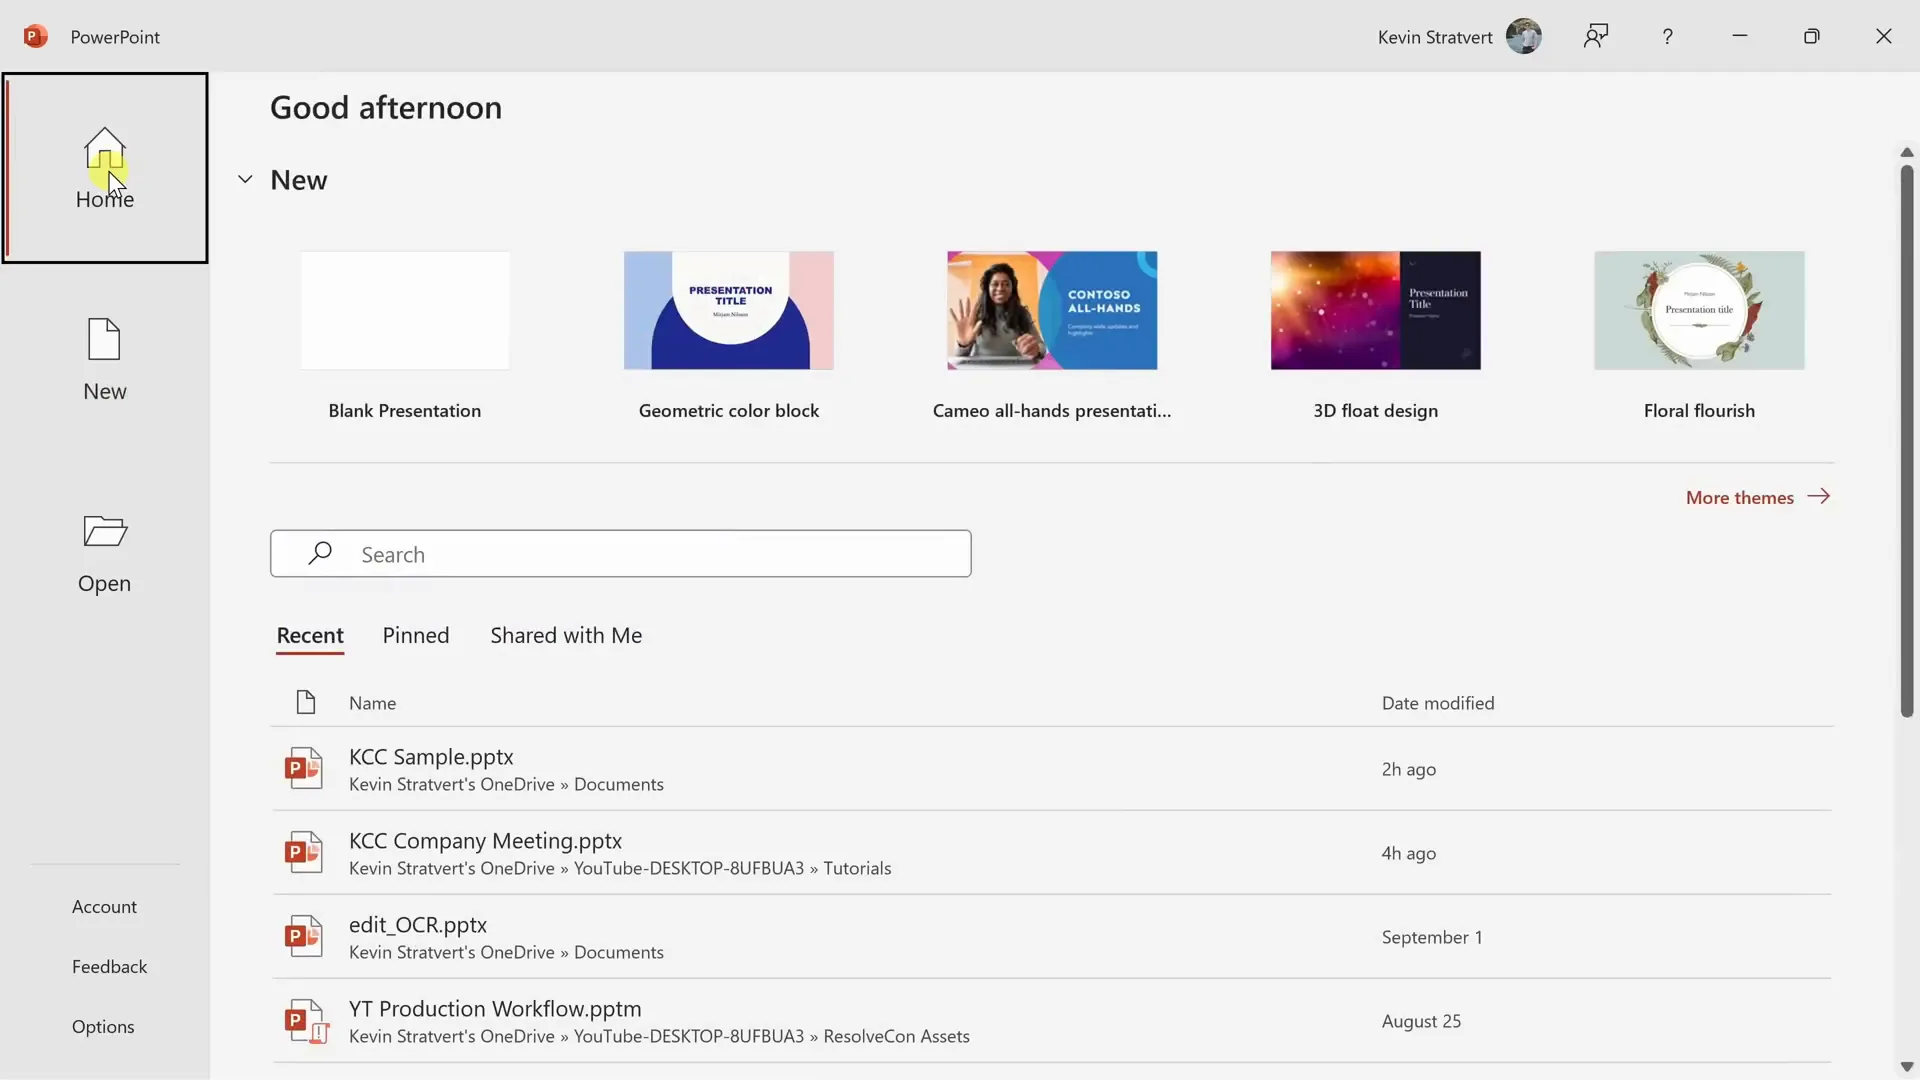
Once you launch PowerPoint, you’ll land on the home screen, which is designed to help you get started quickly. Here you can create a blank presentation or select from a variety of themes and templates that match your style or project needs.
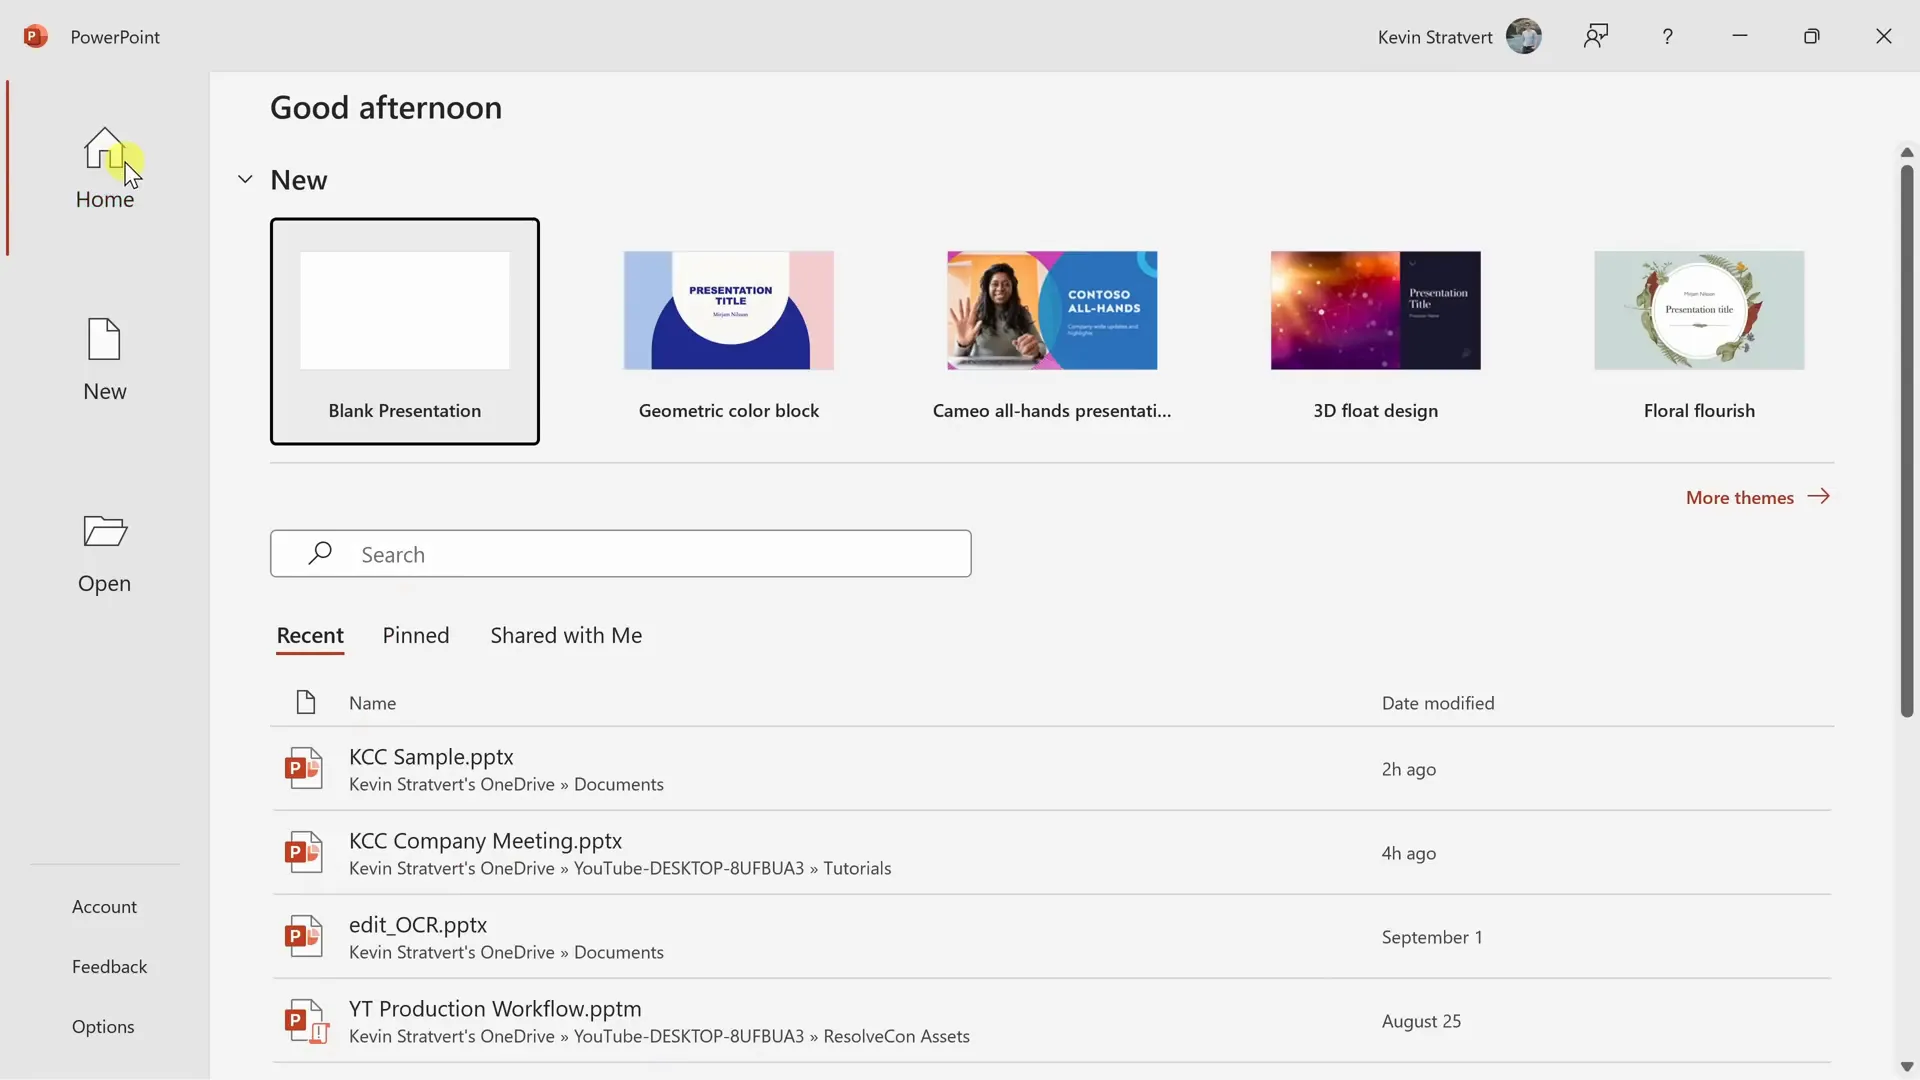
Exploring the Home Screen
On the home screen, you’ll find several useful features:
- New Presentation: Located at the top-left corner, this option lets you start a blank presentation from scratch.
- Themes: To the right of the new presentation button, you’ll see a selection of themes. These are pre-designed slide styles that can give your presentation a cohesive and polished look.
- More Templates: Click “More Themes” or “New” on the left sidebar to browse an exhaustive collection of templates and themes tailored for various presentation types.
- Search Field: You can search for existing presentations you’ve worked on, making it easy to pick up where you left off.
- Recent Presentations: Your most recent files appear below the search bar for quick access.
Creating and Saving Your First Presentation
Let’s start by creating a new presentation. Click on “Blank Presentation” to open a fresh slide deck. Before diving into content creation, it’s important to save your work. Click the floppy disk icon at the top left or press Control + S to save your file.
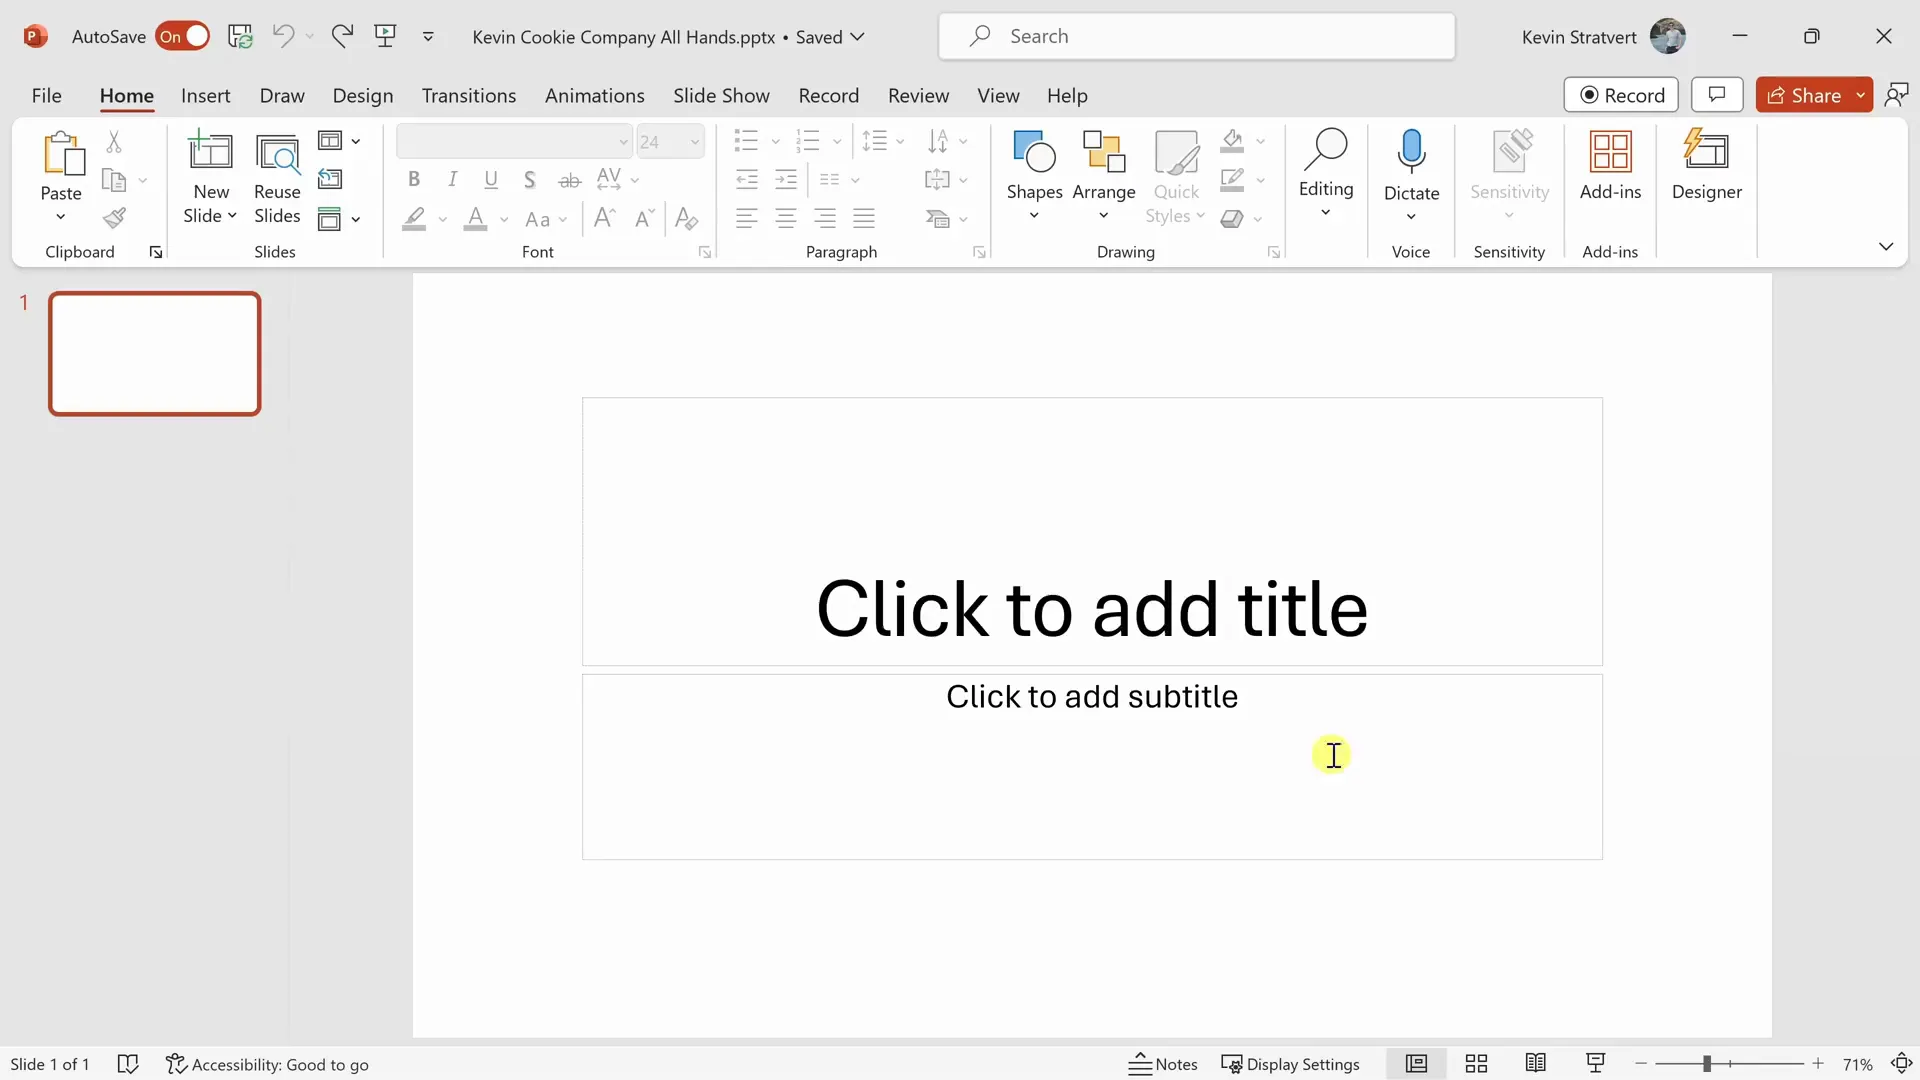
When saving, you’ll be prompted to name your file and choose a save location. I recommend saving to OneDrive, Microsoft’s cloud storage service. Saving to the cloud offers several advantages:
- Automatic saving: Your work is saved continuously as you edit.
- Version history: You can revert to previous versions if needed.
- Easy sharing: You can quickly share your presentation with others.
For example, I named my presentation “Kevin Cookie Company All Hands” and saved it to OneDrive.
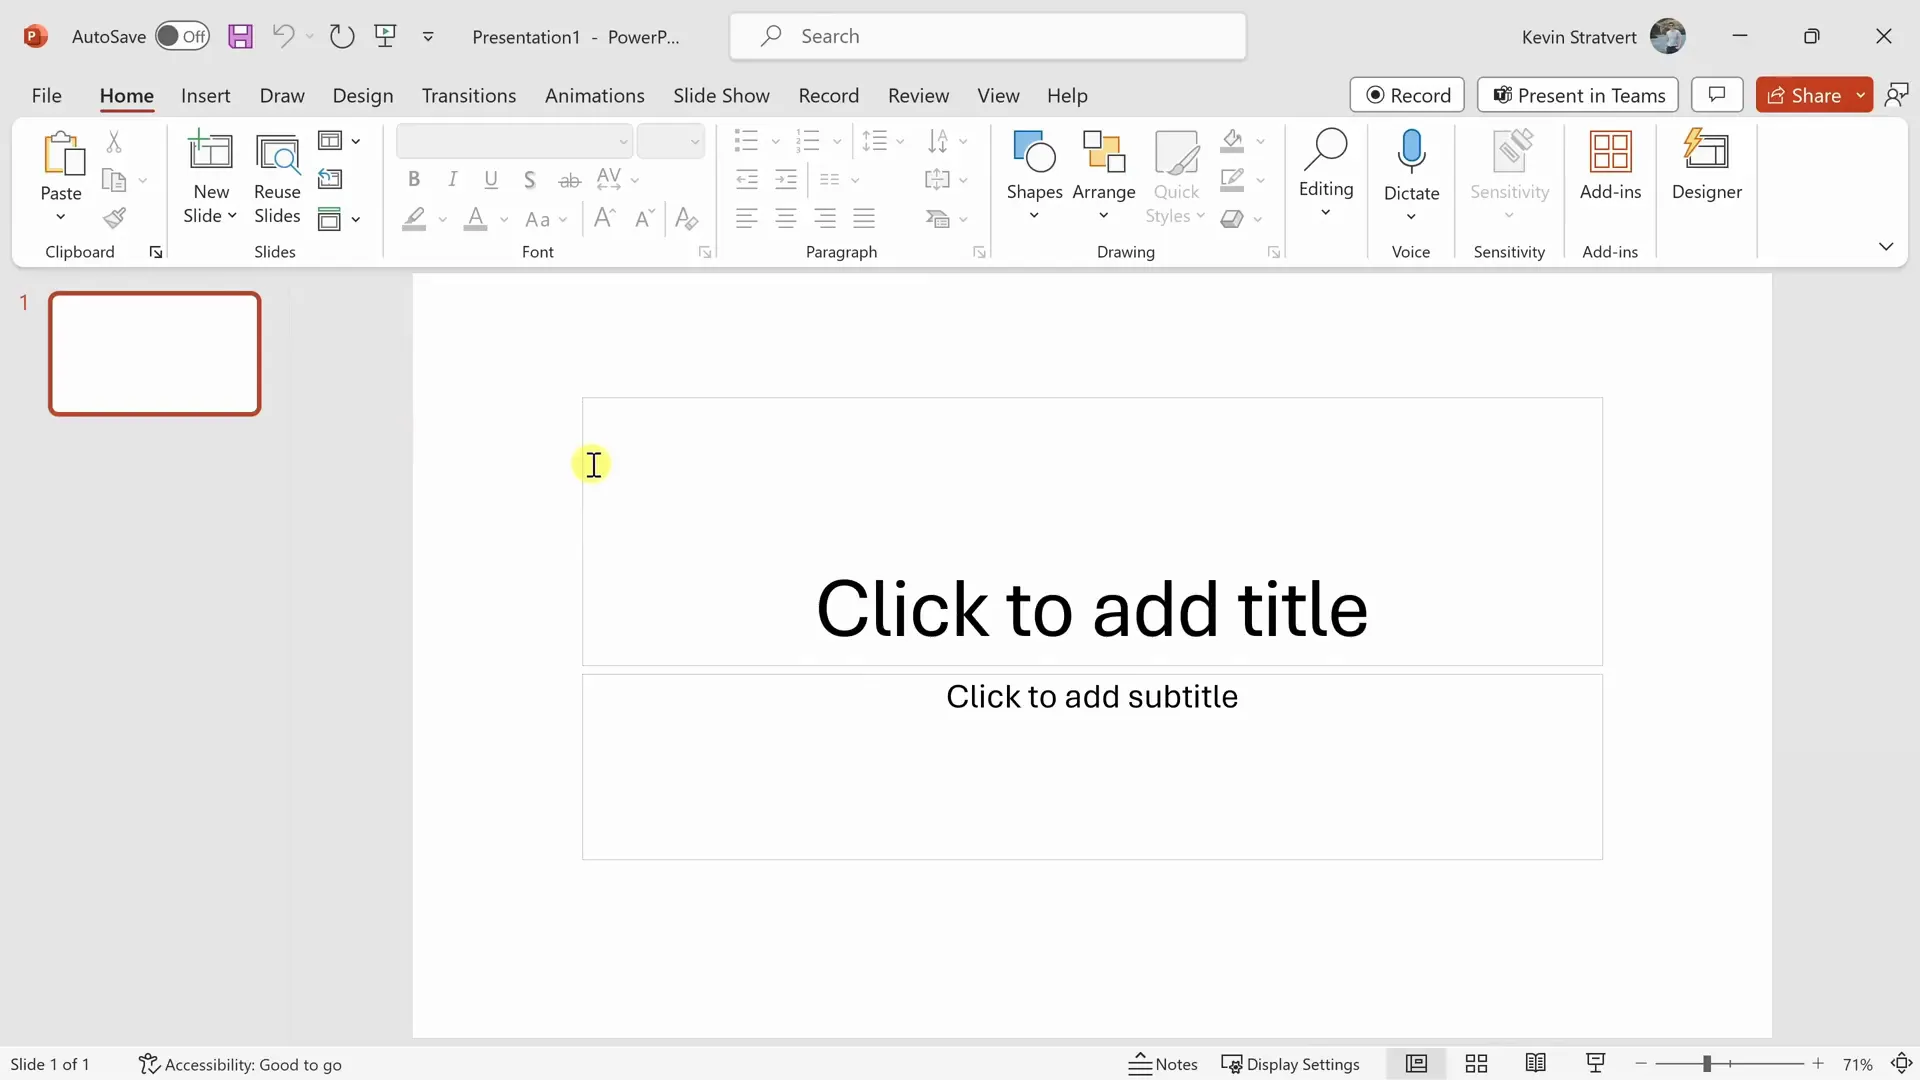
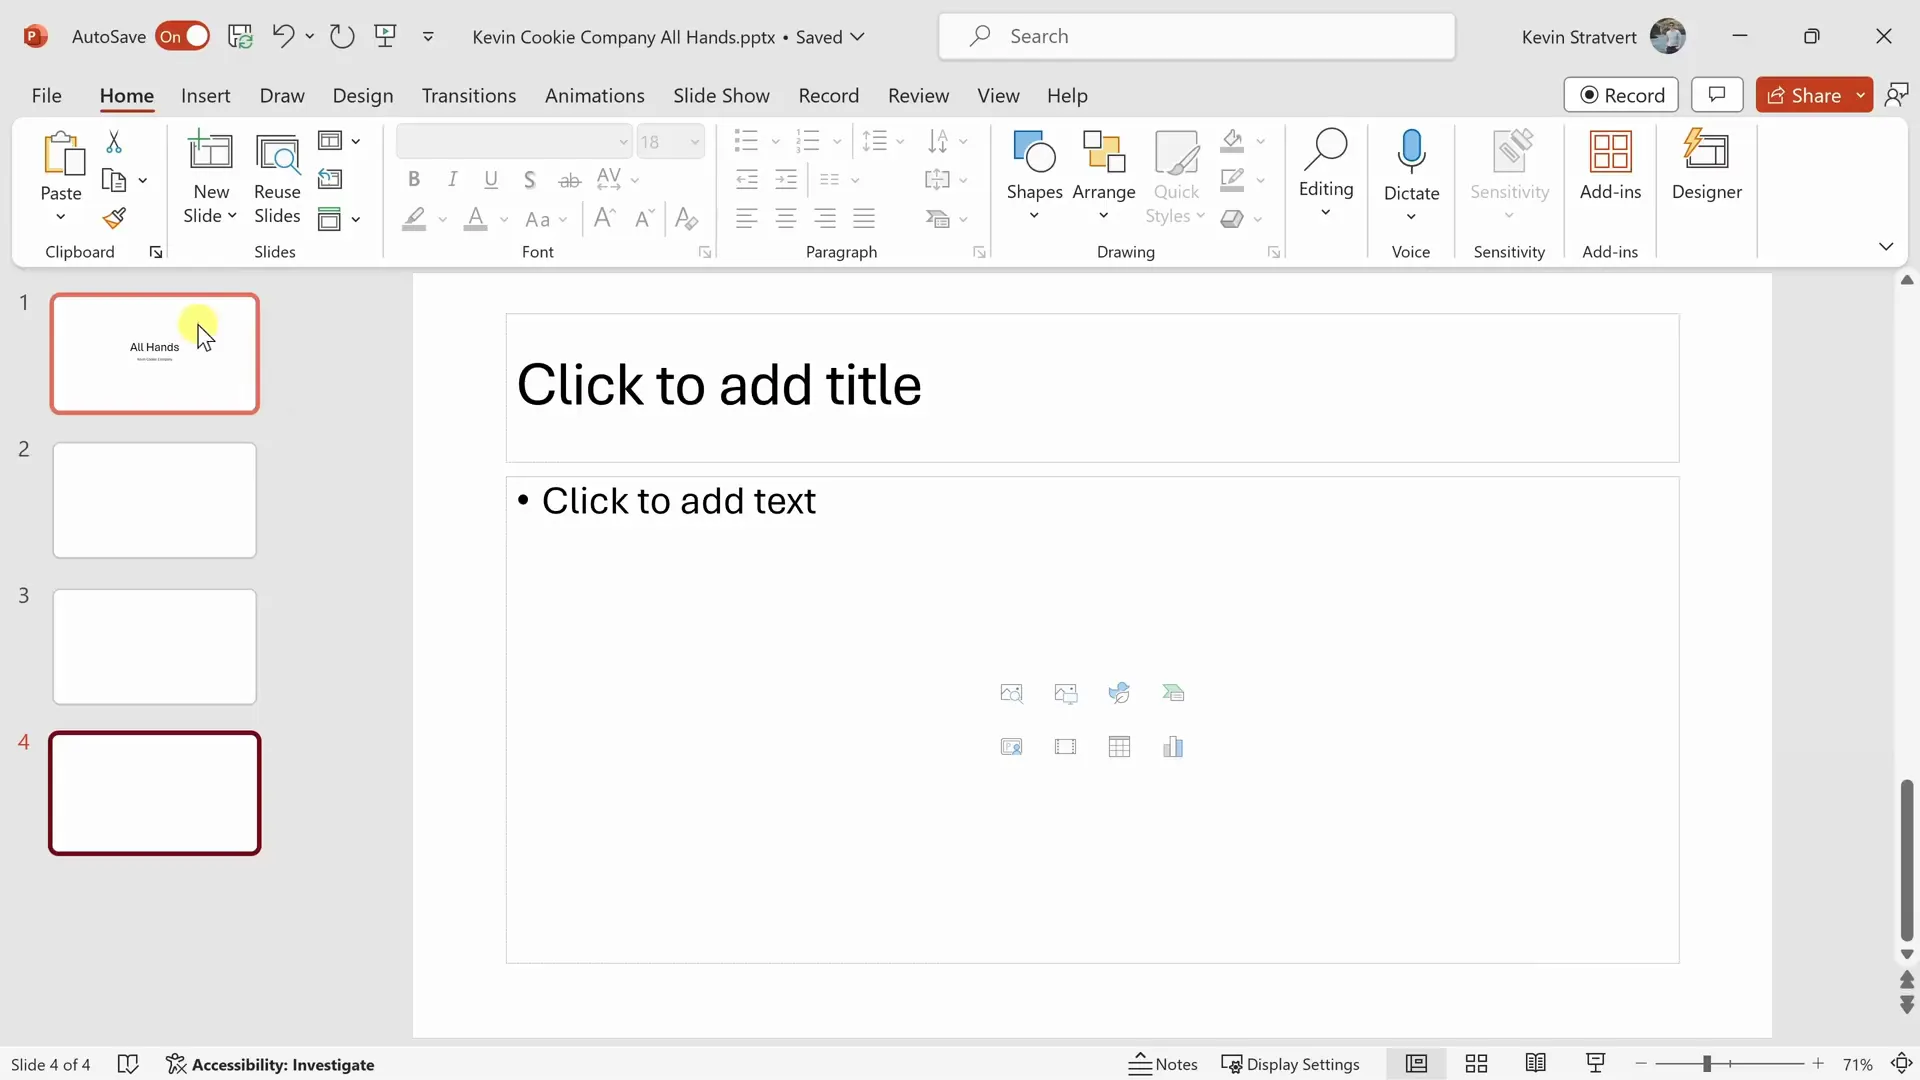
Building Your Presentation: Adding and Organizing Slides
After saving your presentation, you’ll see your first slide. This is typically a title slide where you can add your presentation’s main title and subtitle. For instance, I titled mine “All Hands” with a subtitle “Kevin Cookie Company.”
To add more slides, navigate to the Home tab on the ribbon and click “New Slide.” You can also use the shortcut Control + M or press Enter when the slide pane is selected.
Choosing and Changing Slide Layouts
Each new slide can have a different layout to suit your content. When you add a slide, you can select a layout upfront from the dropdown menu next to the “New Slide” button. If you want to change the layout later, select the slide, click the “Layout” button, and pick a new option. For example, I switched a slide to a “Section Header” layout to highlight a new topic.
Organizing Slides for a Cohesive Flow
Planning the order of your slides is crucial for a smooth presentation. You can navigate through slides using arrow keys or by clicking on the slide thumbnails on the left.
To rearrange slides, simply click and drag them to a new position. You can select multiple slides by holding Control or Shift while clicking, then drag them together. For a broader view, use the slide sorter view by clicking the icon in the bottom right corner. This view lets you easily reorder slides visually.
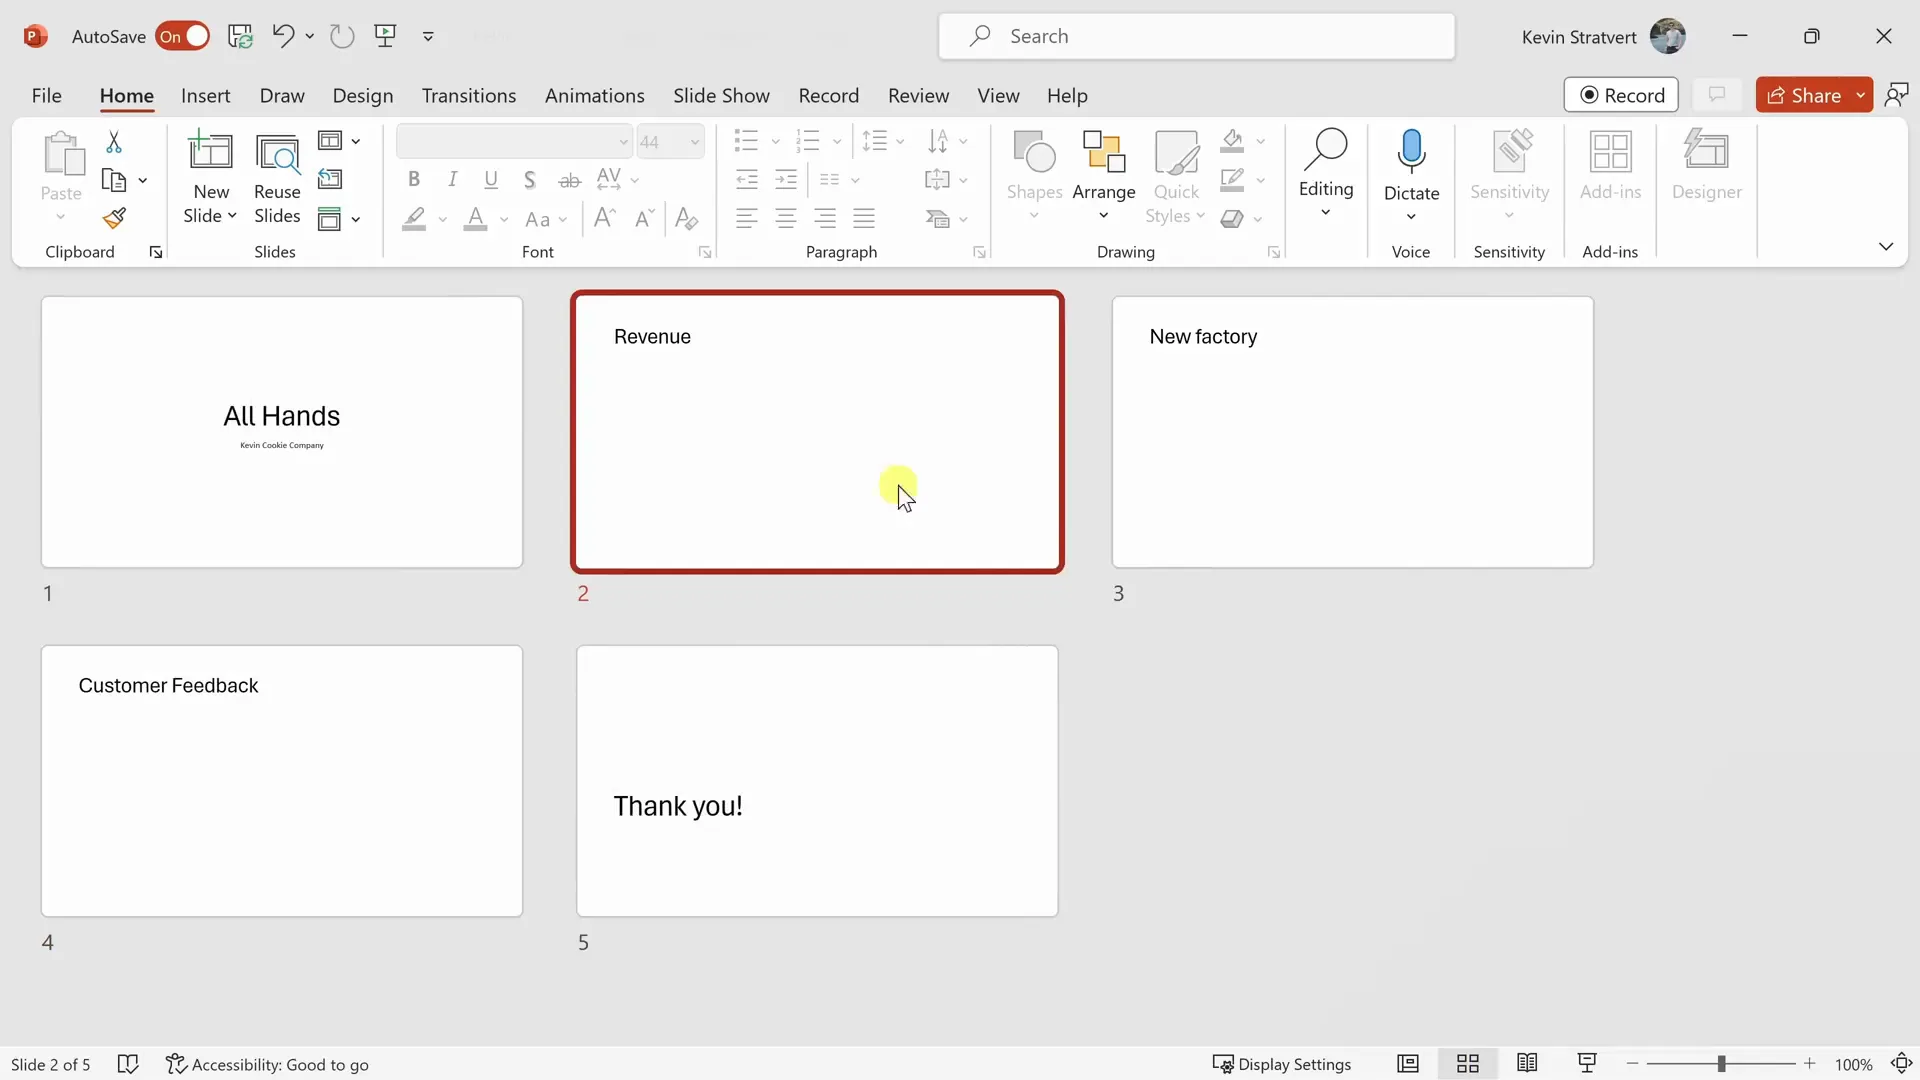
Deleting Slides
If a slide is no longer needed, right-click on it and select “Delete Slide,” or simply select the slide and press the Delete key. For example, I removed a slide containing sensitive customer feedback that I decided not to share with management.

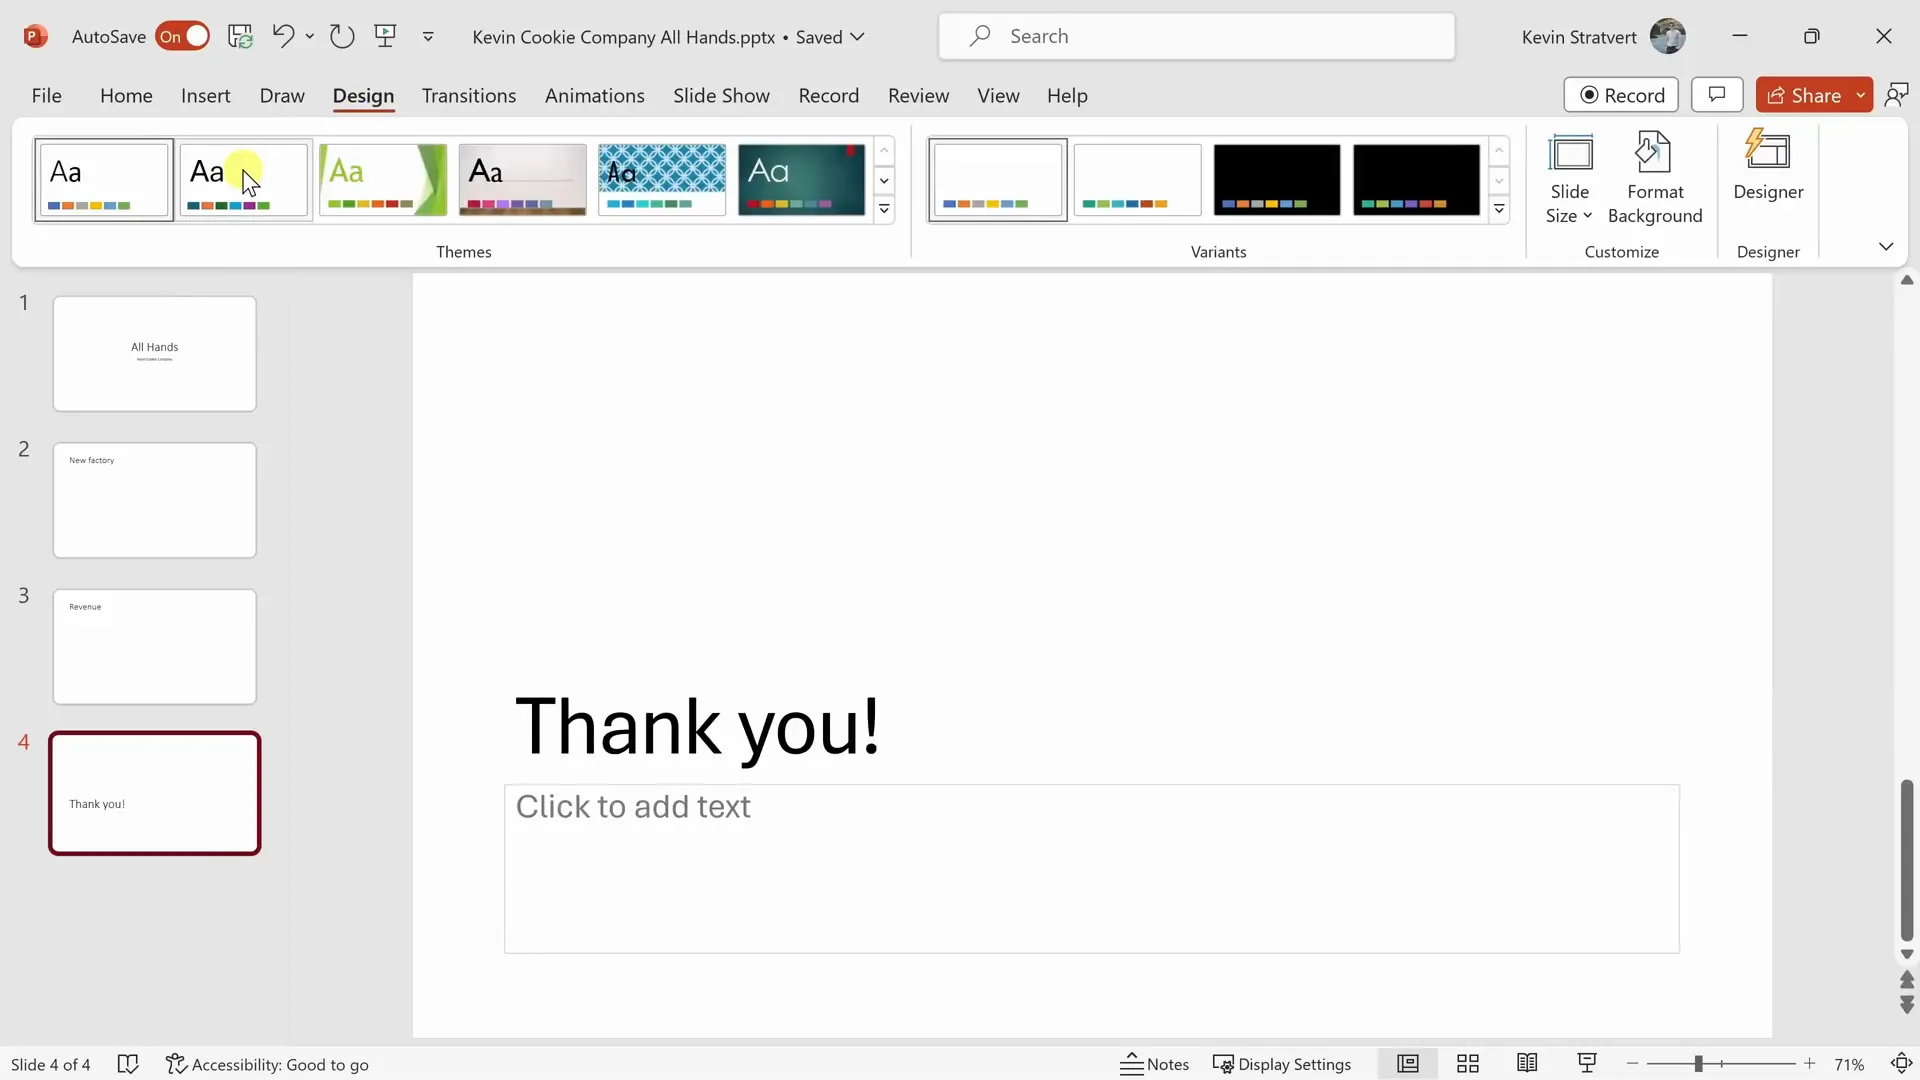
Enhancing Your Presentation Design
Applying Themes for a Professional Look
A presentation without style can look dull. PowerPoint offers a wide range of themes that apply consistent colors, fonts, and backgrounds across all slides. To apply a theme, go to the Design tab and hover over the theme options to preview them.
I chose the “Organic” theme because it aligned well with the Kevin Cookie Company’s use of organic ingredients. You can also explore theme variants on the right side to adjust backgrounds or color schemes.
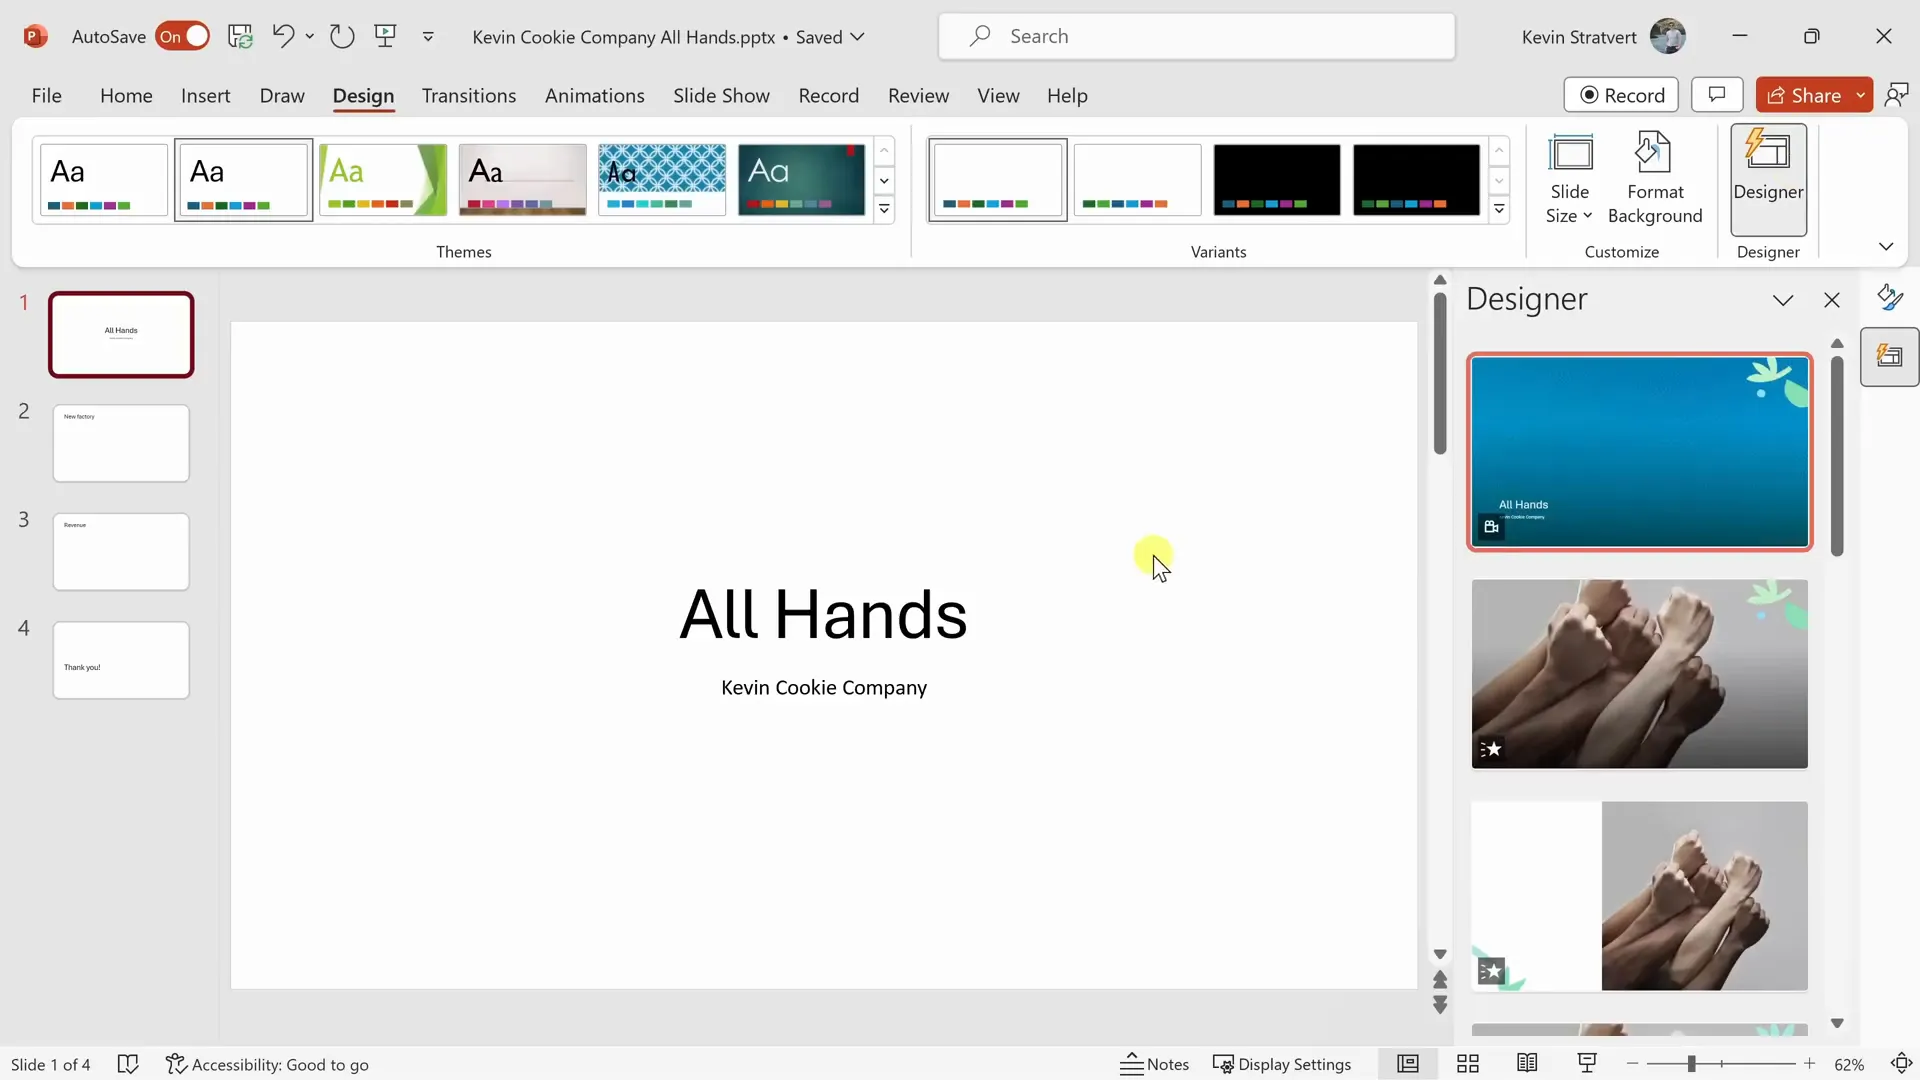
Using Designer for Slide Layout Suggestions
One of my favorite features is the Designer, located in the top right corner. When you select a slide, Designer analyzes its content and suggests visually appealing layouts. For example, on my title slide “All Hands,” Designer recommended several options featuring hands raised in the air, which added a clever and professional touch.
Creating a Custom Theme with Slide Master
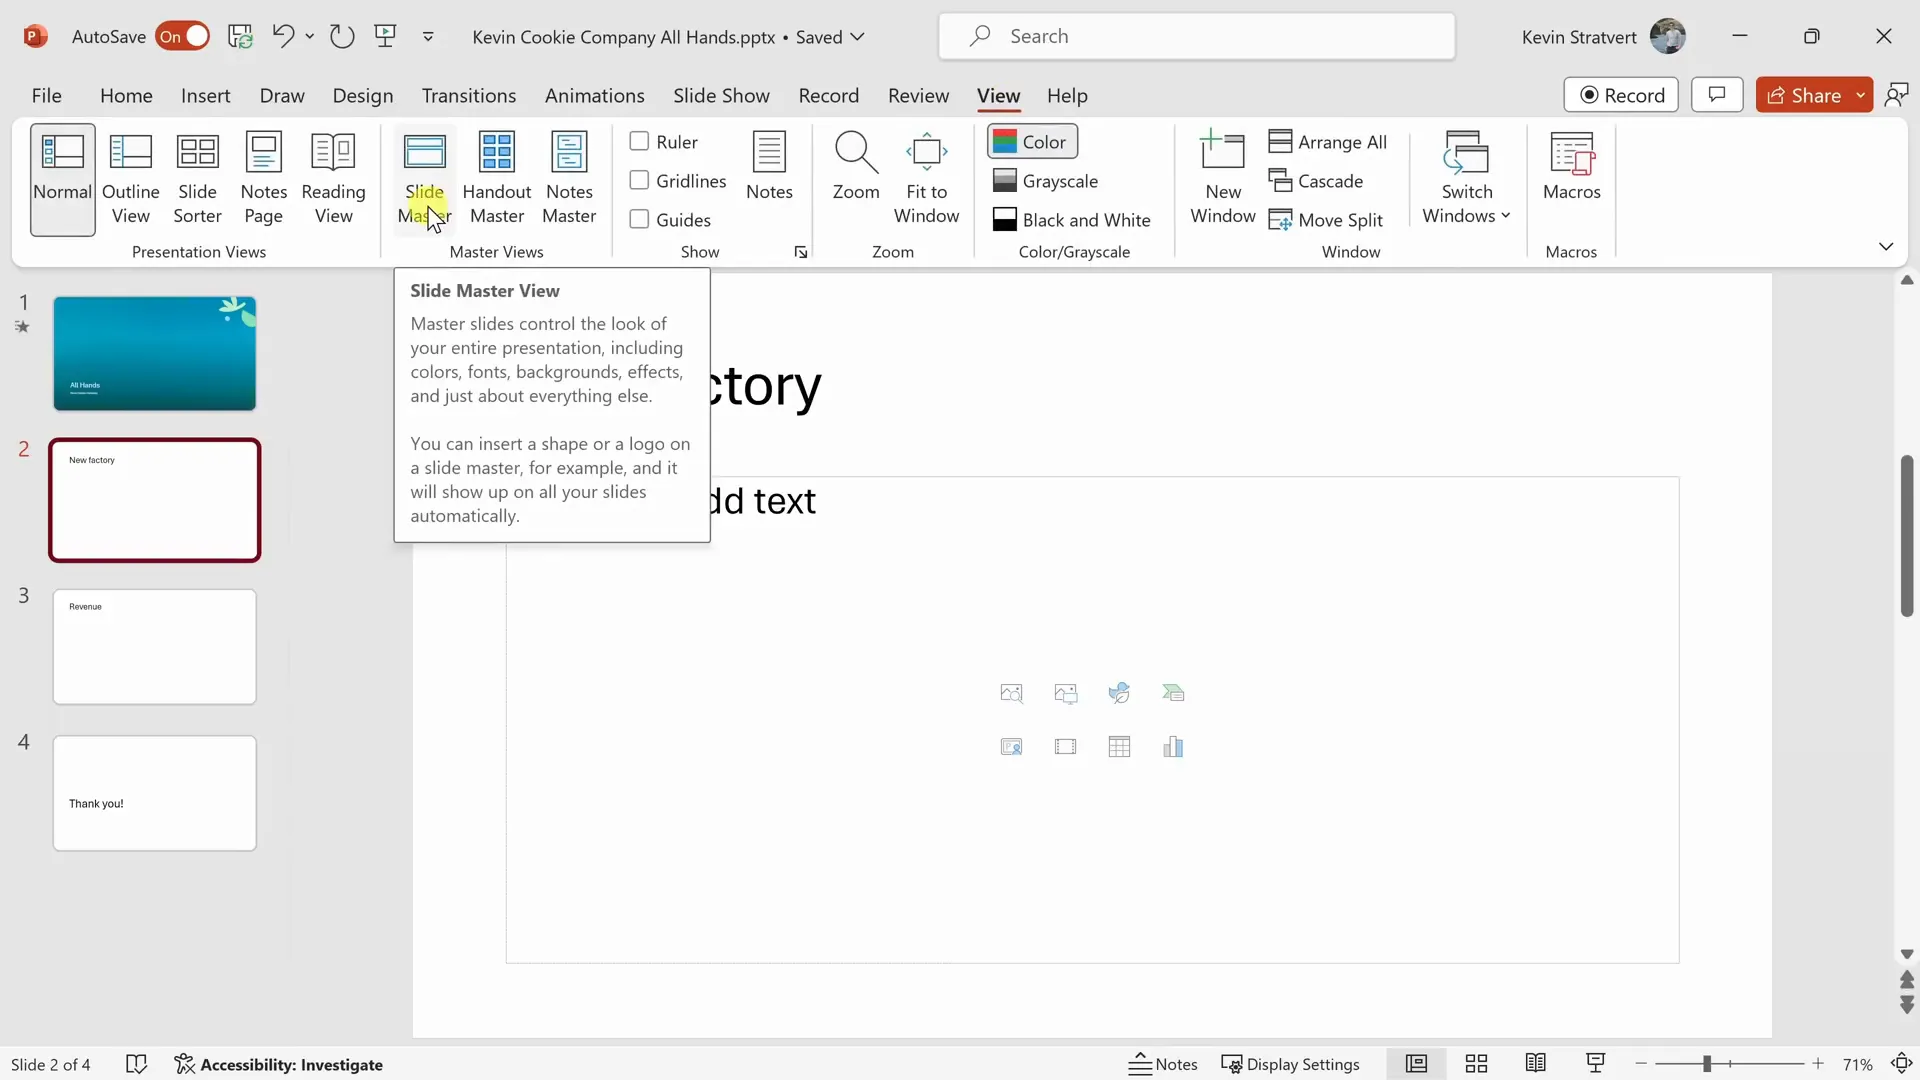
If you want full control over your presentation’s look, use the Slide Master feature under the View tab. This opens a master slide and layout templates where you can customize colors, fonts, effects, and backgrounds that apply to every slide.
For instance, I added the Kevin Cookie Company logo to the master slide and chose a gray gradient background. This ensures consistency and saves time, as new slides automatically inherit these styles.
Adding and Formatting Content
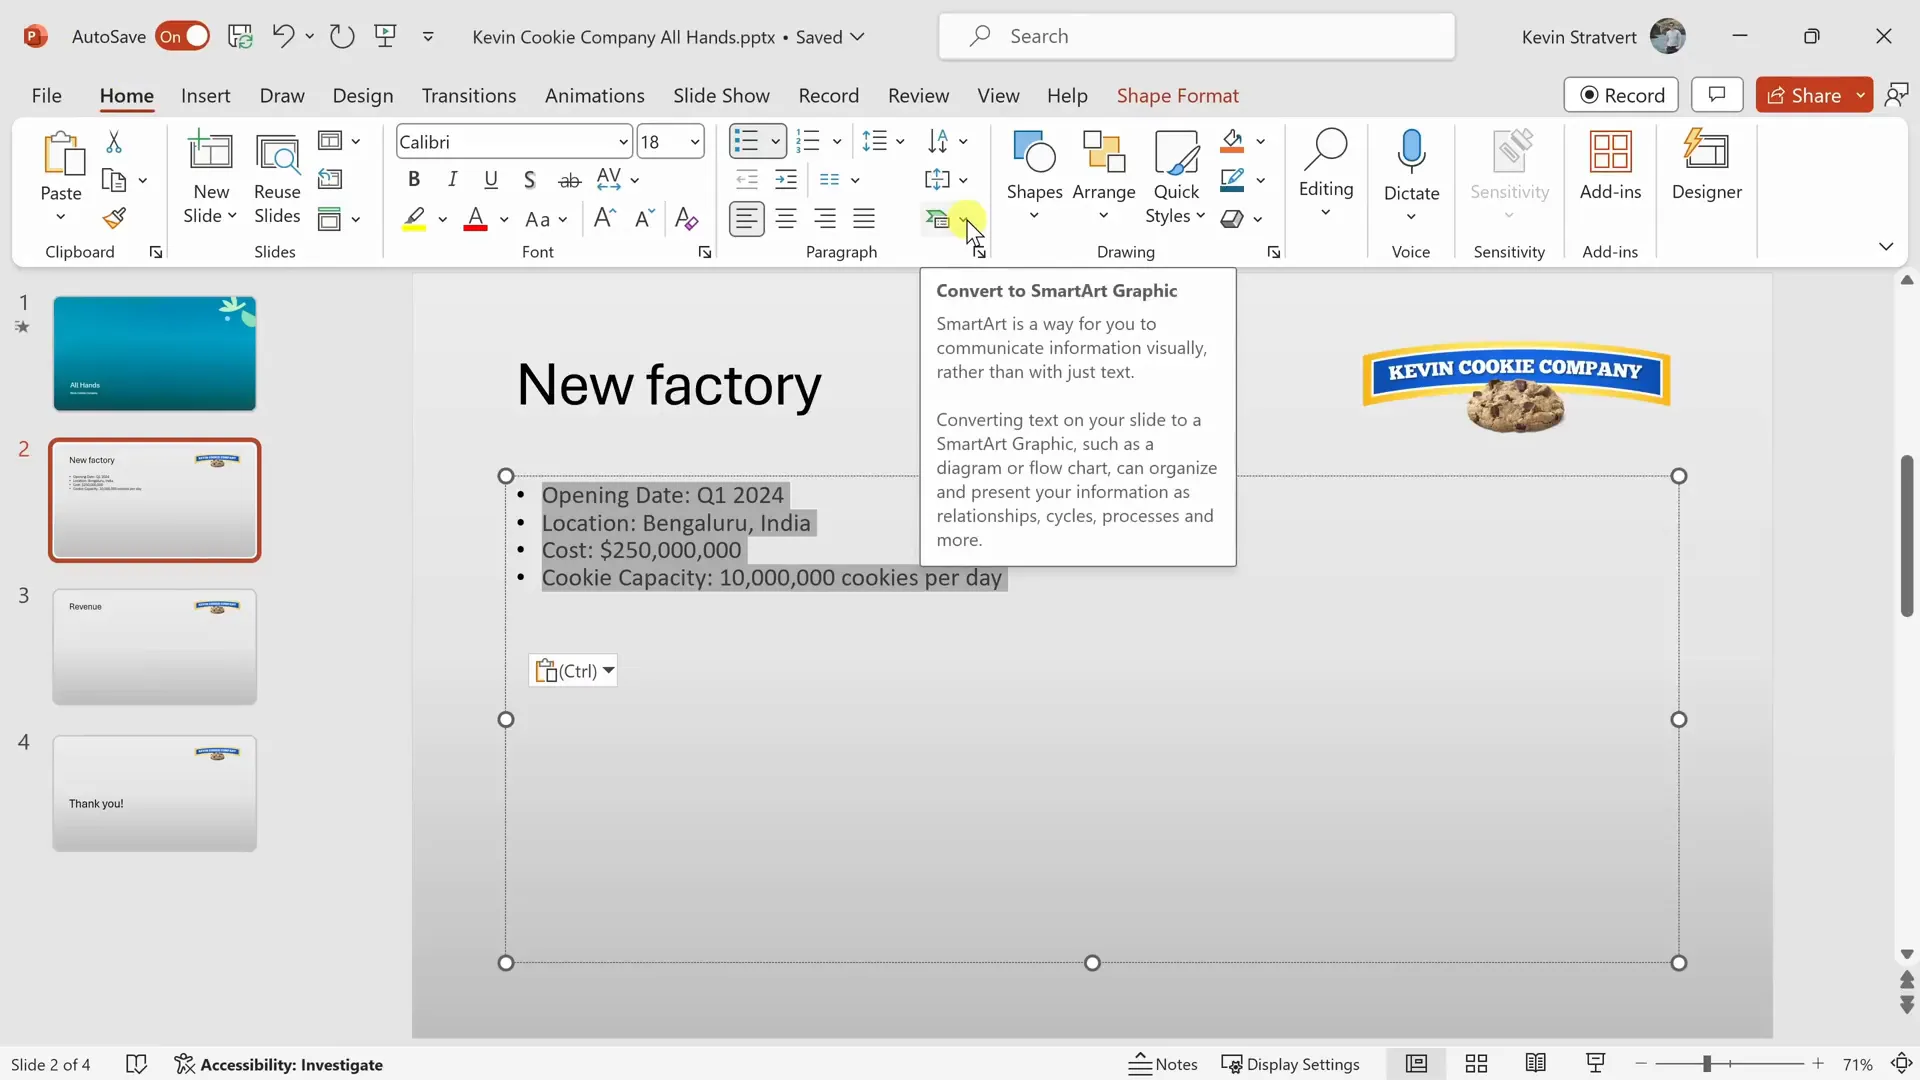
Inserting and Visualizing Text with SmartArt
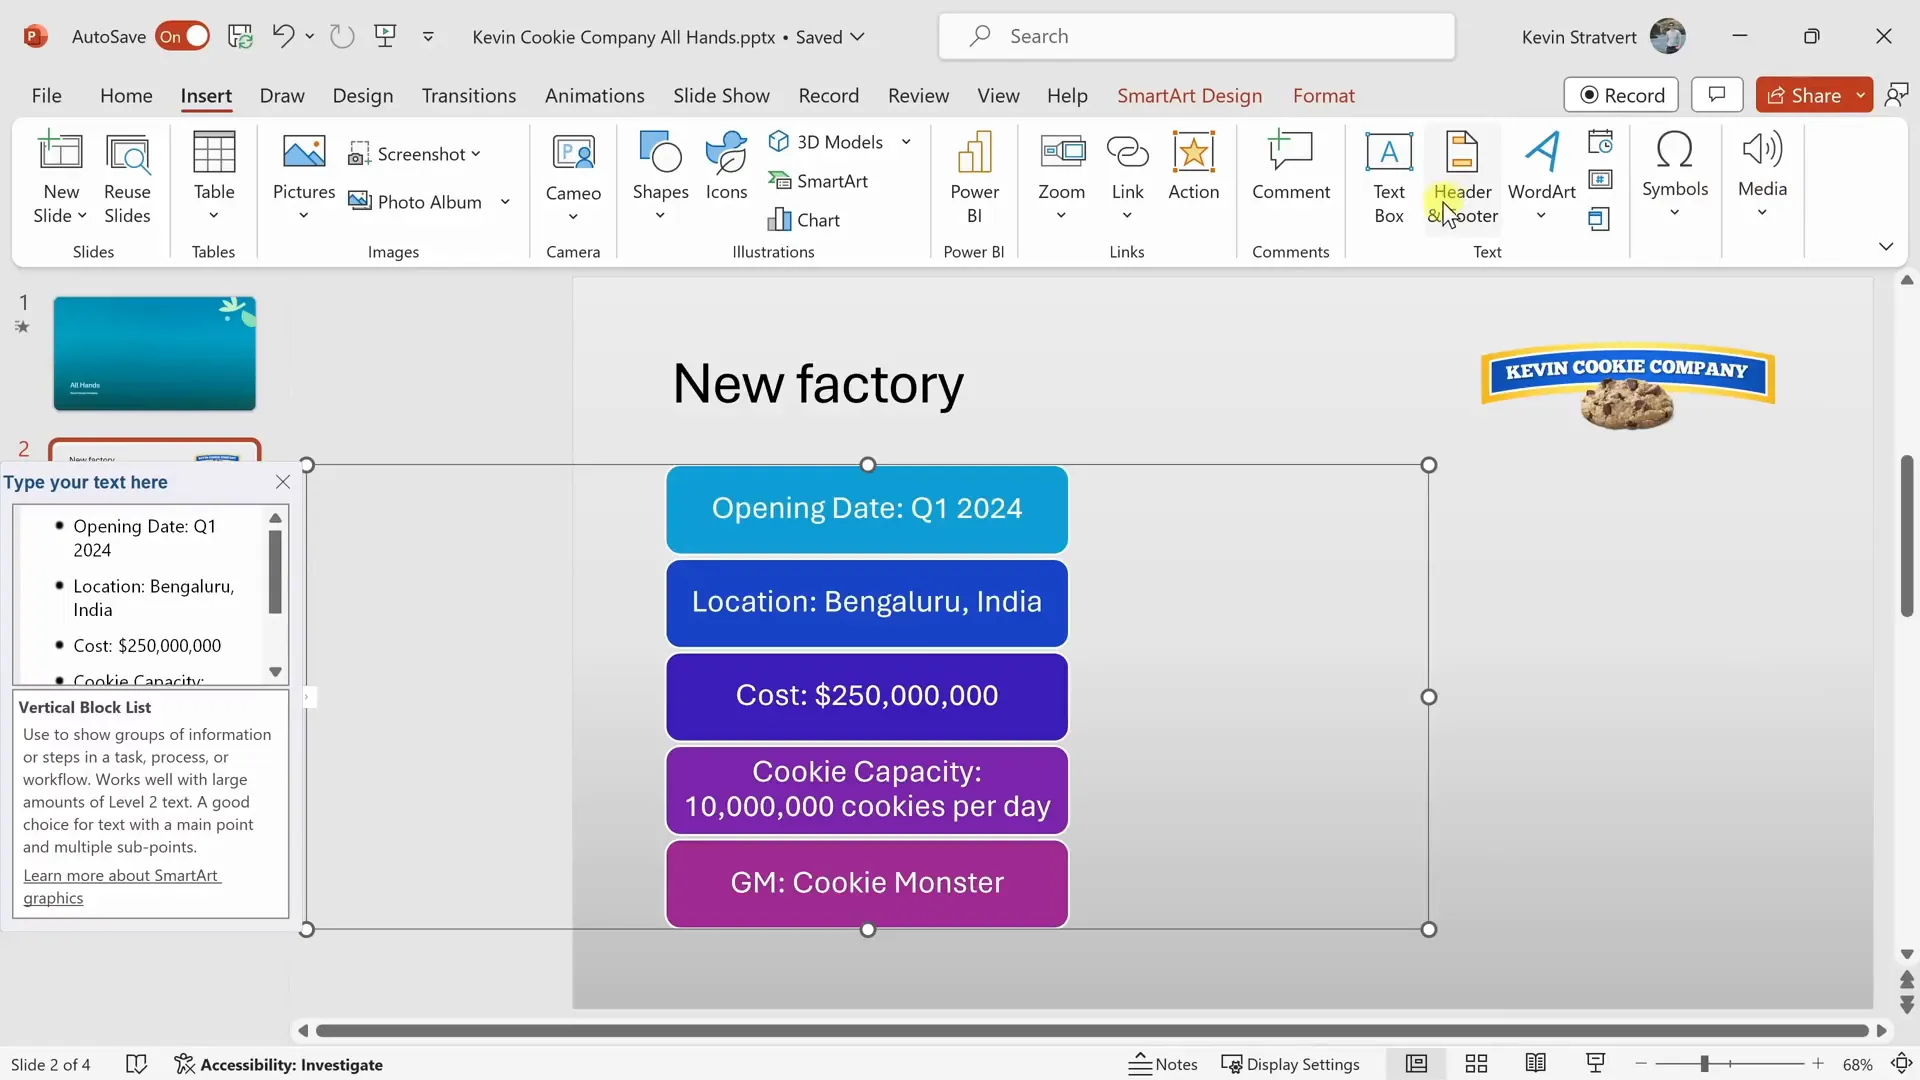
Slides packed with text can be overwhelming. PowerPoint’s SmartArt feature helps transform bullet points into engaging visuals. Select your text, then click the SmartArt icon on the Home tab to choose from various graphic layouts.
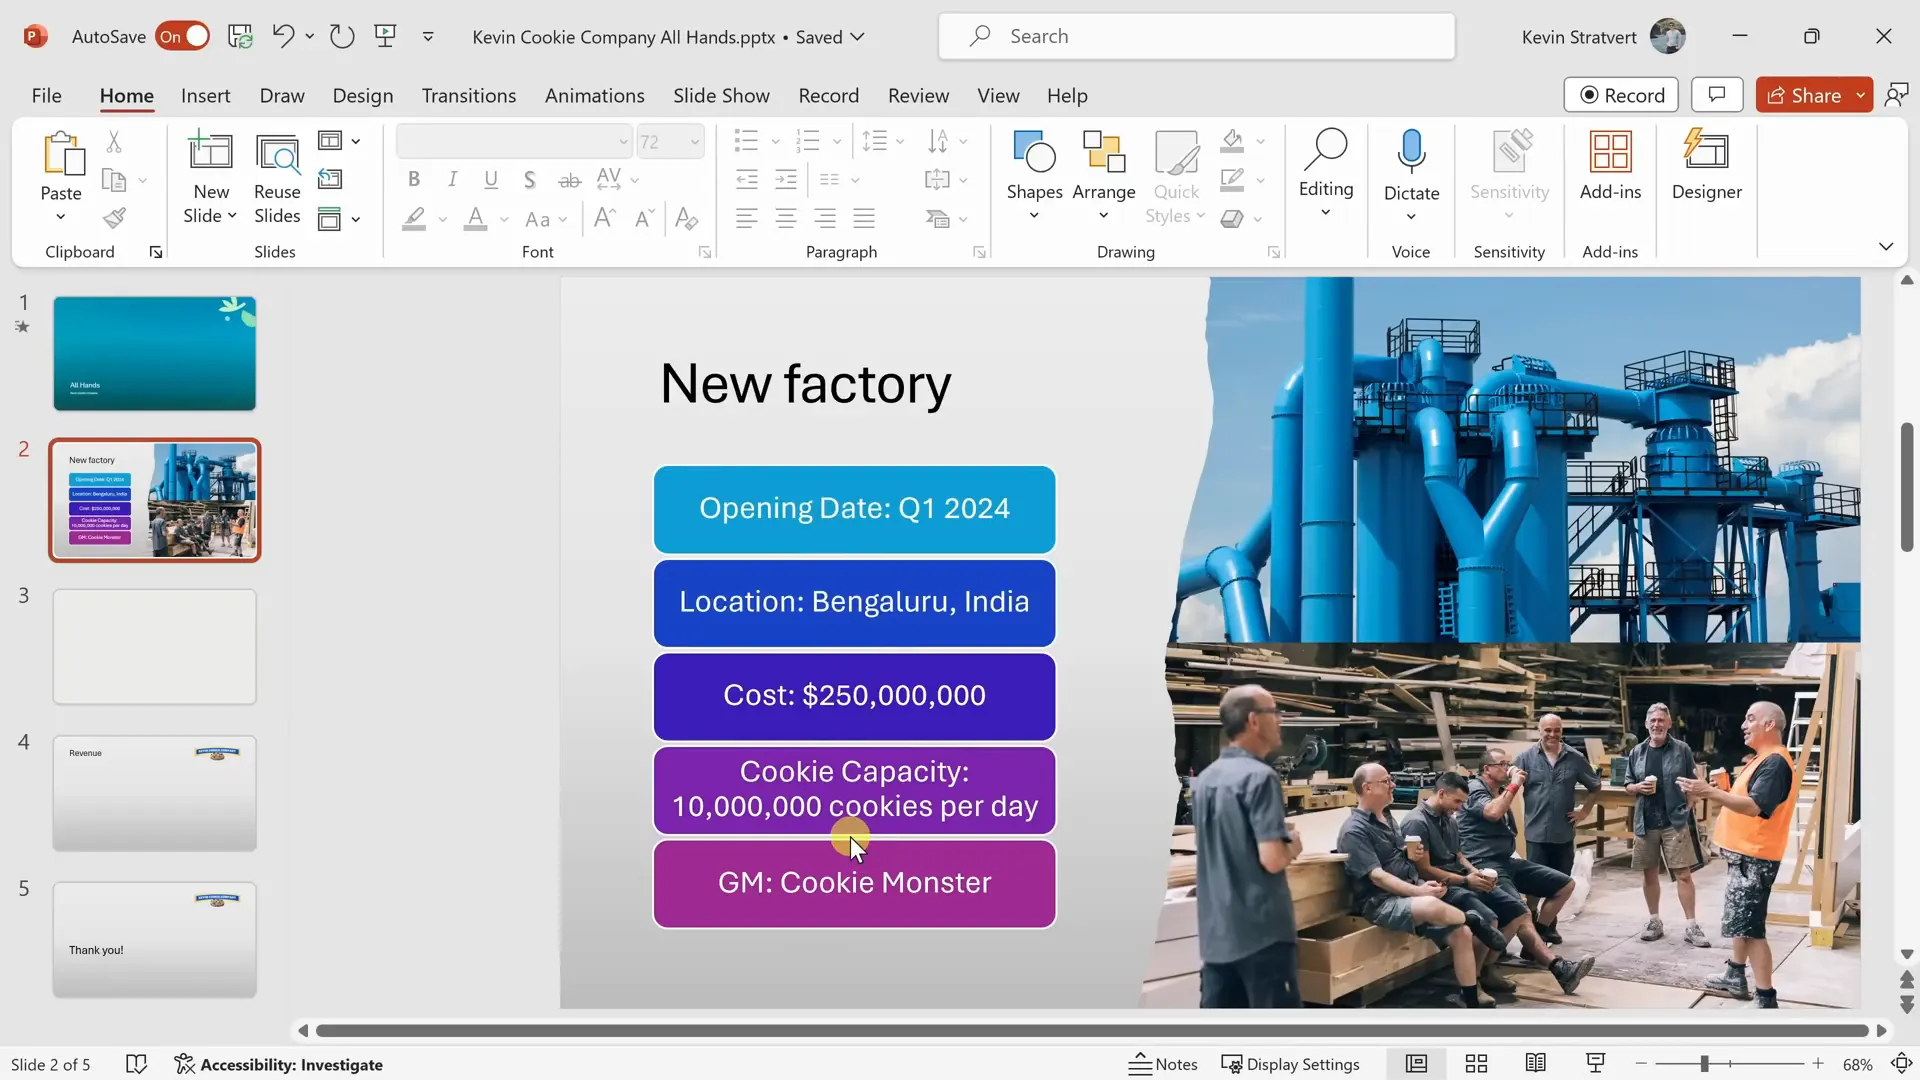
I converted a dense bulleted list about the new factory into a visually appealing SmartArt graphic. You can customize its colors and style to match your theme, making information easier to digest.
Working with Text Boxes and Fonts
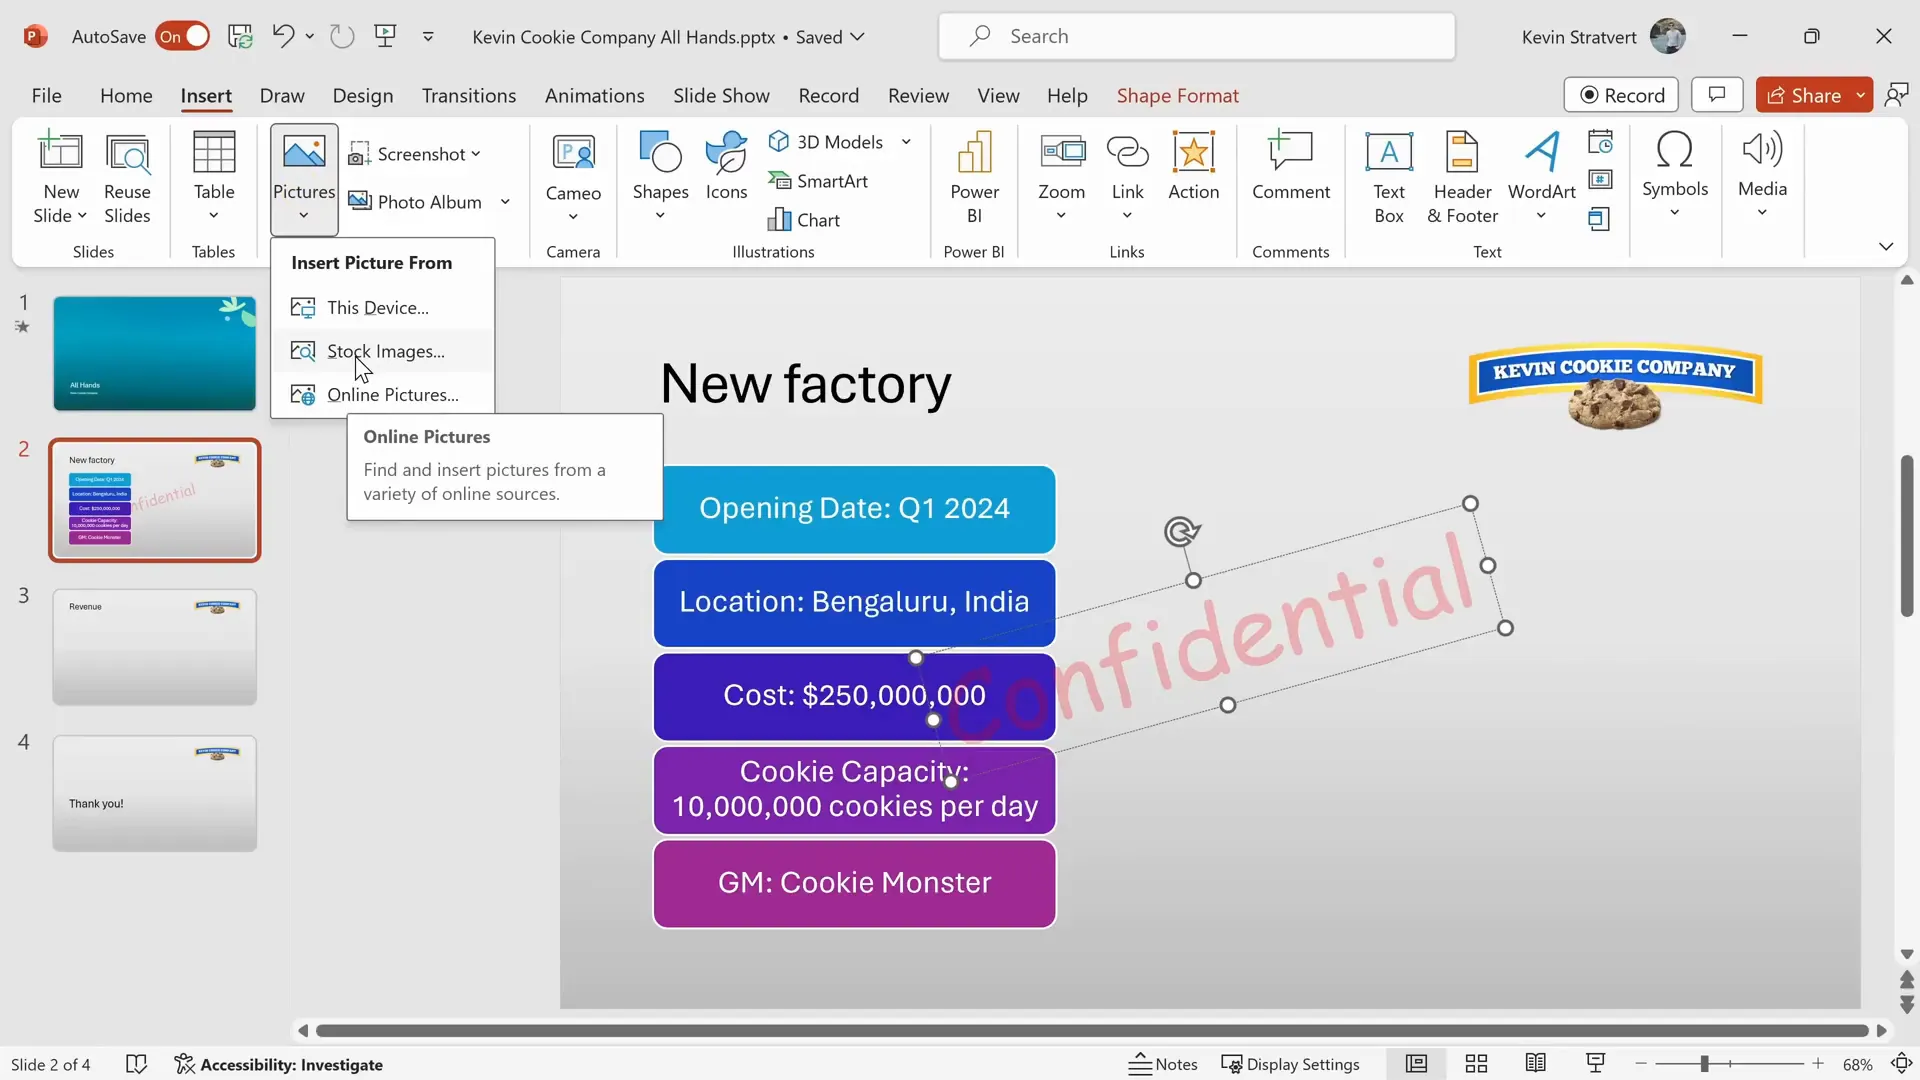
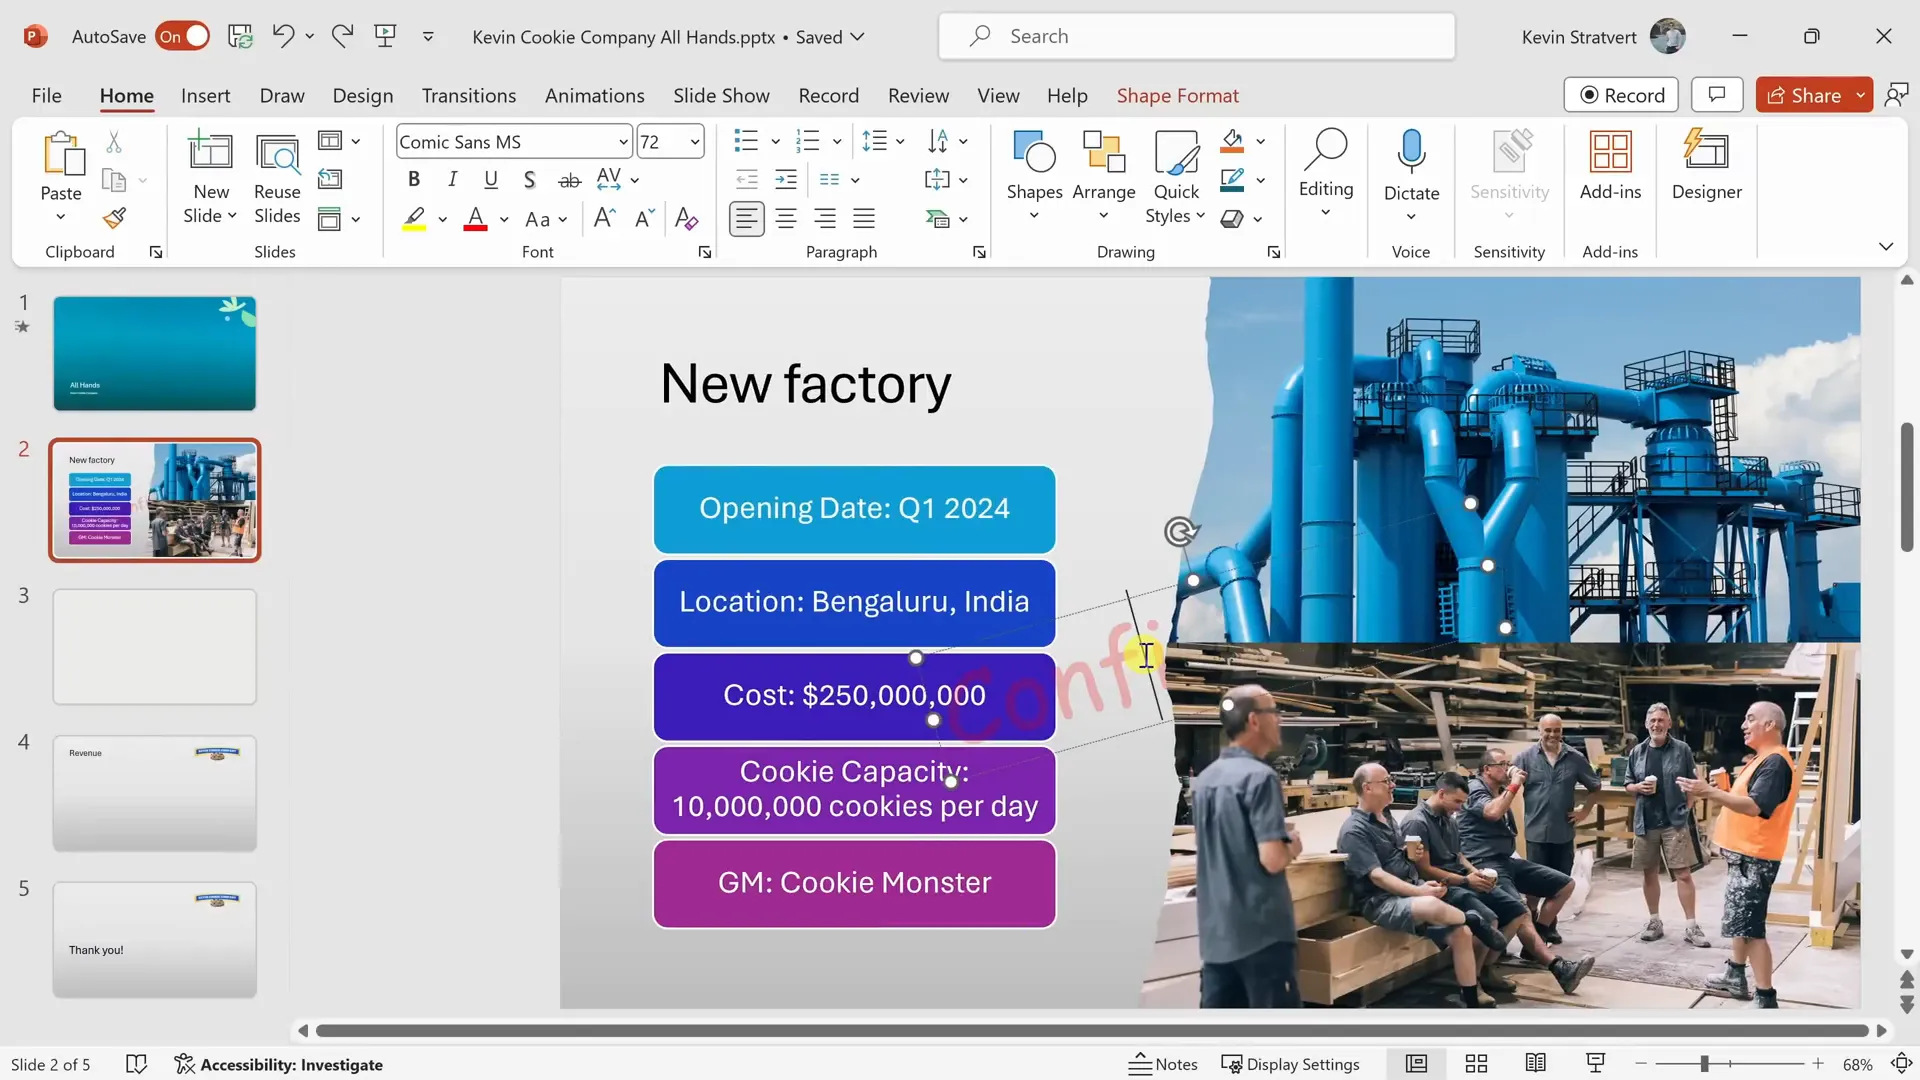
You can insert text boxes anywhere on a slide by going to the Insert tab and selecting “Text Box.” This flexibility lets you add labels or callouts like “Confidential” to emphasize sensitive information.
For example, I typed “Confidential” using the playful Comic Sans font, sized it large (72 pt), and applied transparency so it overlays content without overpowering it.
Inserting and Editing Images
Pictures can greatly enhance your slides. Use the Insert > Pictures option to add images from your device, stock images, or online sources. I added photos of the new factory from stock images.
Once inserted, you can reposition, resize, and apply formatting such as color adjustments or artistic effects. If you want a professional layout, select your images and click Designer to get stylish arrangement suggestions.
Managing Layers with the Selection Pane
Sometimes objects overlap, and you need to control which items appear on top. Right-click an object and choose “Bring to Front” or “Send to Back.” For more granular control, open the Selection Pane from the Shape Format tab. This pane lists all objects on a slide and lets you reorder or hide them temporarily.
For example, I had to bring the “Confidential” text in front of the photos to ensure it was visible.
Animating and Transitioning Slides
Adding Animations to Objects
Animations help you present information step-by-step, keeping your audience engaged. Select an object and go to the Animations tab to add effects like fade-in or fly-in.
By default, all bullets might appear simultaneously. To reveal them one by one, use the “Effect Options” menu and select “By Paragraph” or “On Click.” This way, you control the flow of information during your presentation.
Using the Morph Transition for Dynamic Effects
The Morph transition creates smooth animations between slides by transforming objects’ positions, sizes, or colors. To use Morph, duplicate a slide, then modify objects on the second slide. When you apply Morph, PowerPoint animates the changes seamlessly.
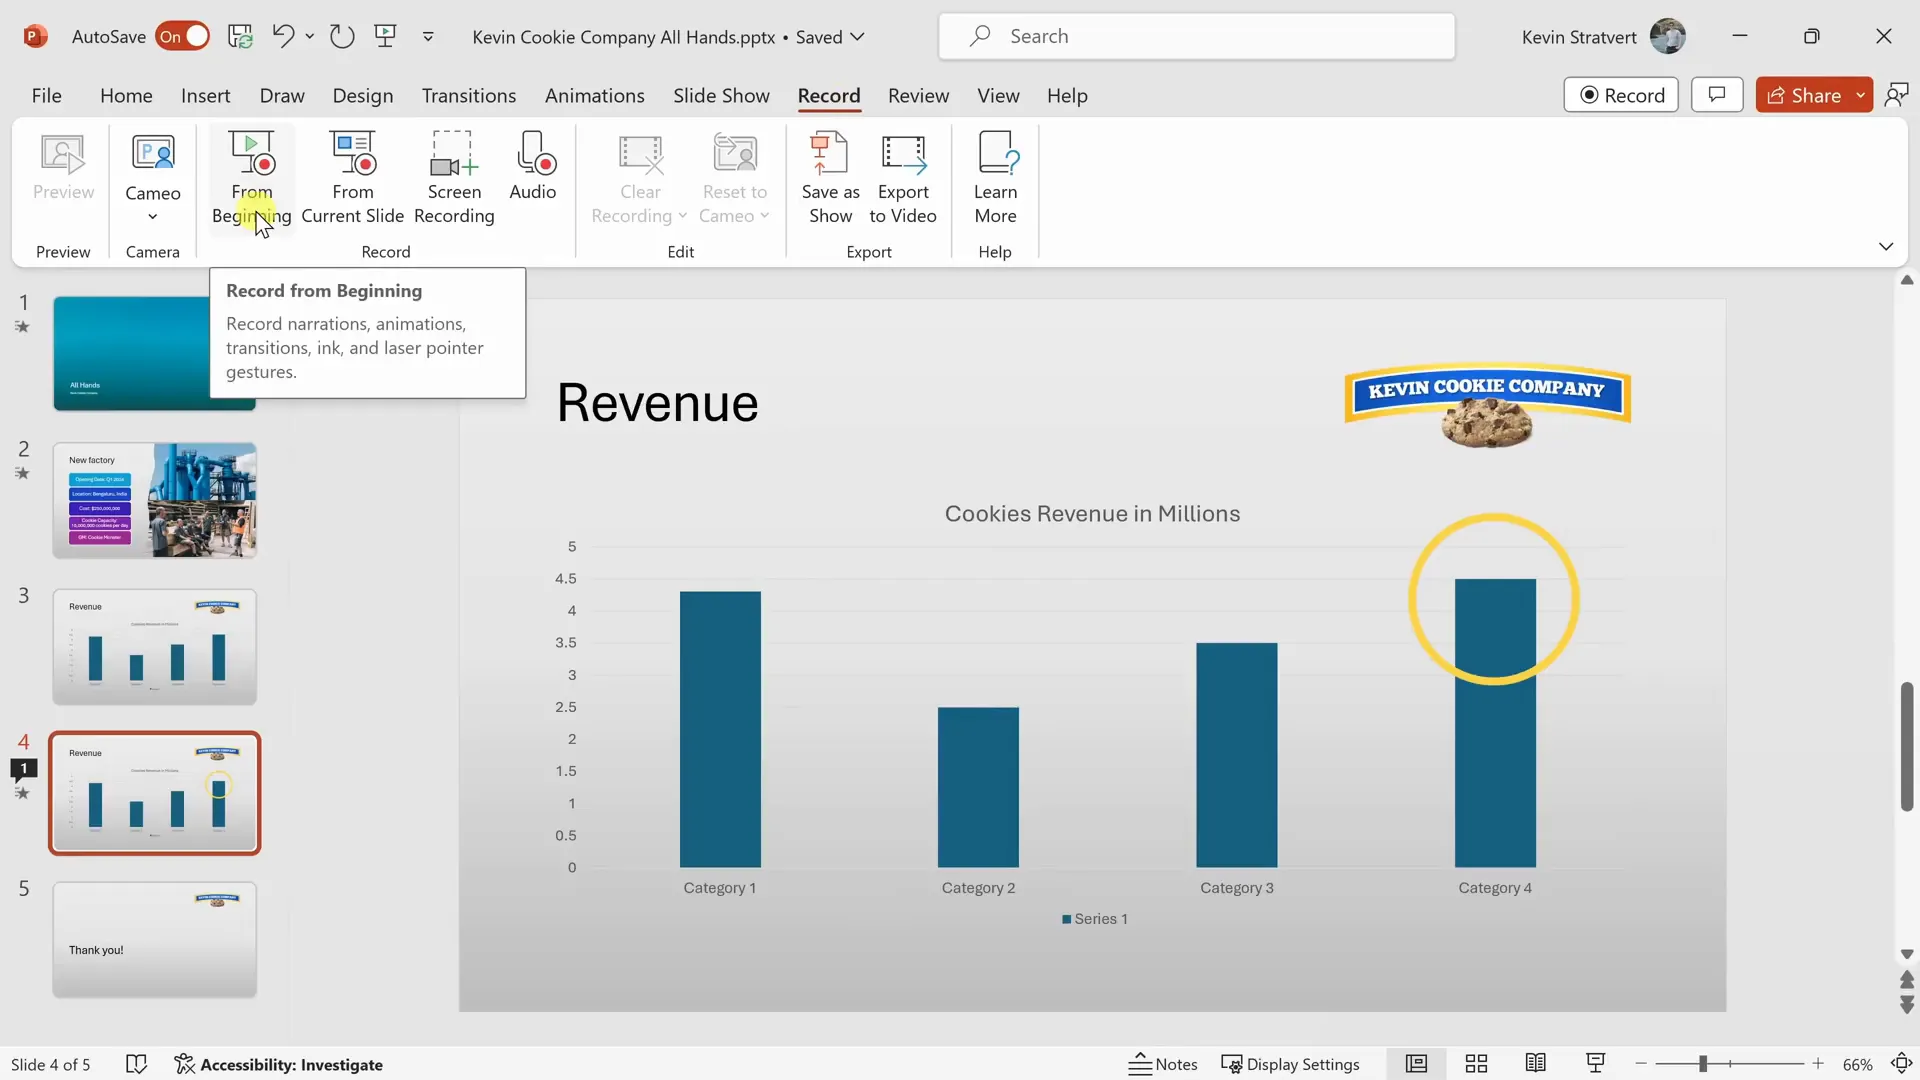
For example, I drew a large oval around a chart to highlight record revenue, then shrunk it in the next slide using Morph, creating a zoom-in effect that draws attention.

Working with Charts and Shapes
Inserting Charts
Charts are essential for visualizing data. Under the Insert tab, click “Chart” to add bar, column, pie, or other chart types. PowerPoint opens a mini Excel worksheet where you input data that the chart reflects in real-time.
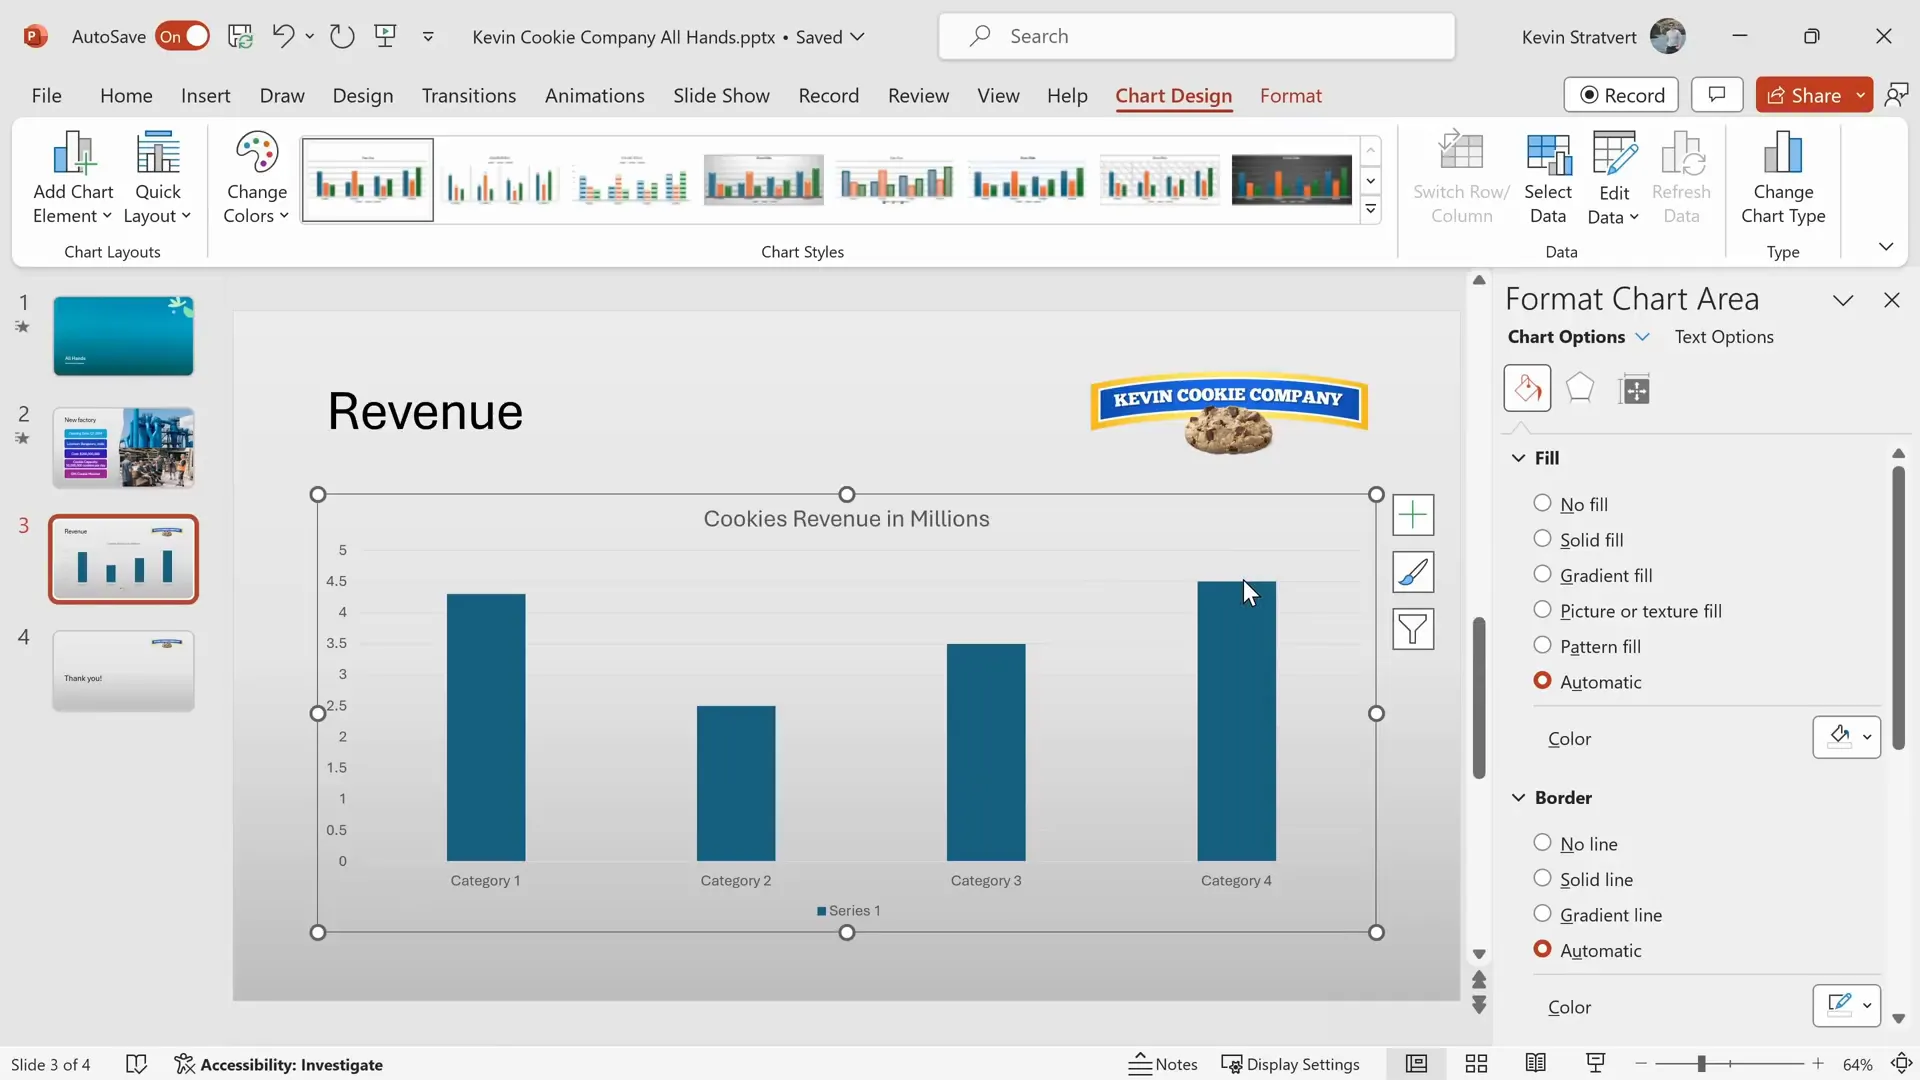
I added a column chart showing cookie revenue in millions and customized its colors and labels to match the presentation’s style.
Drawing and Formatting Shapes
Shapes can emphasize or decorate your slides. Insert shapes like circles, rectangles, or arrows from the Insert > Shapes menu. Holding the Shift key while drawing maintains perfect proportions (e.g., a perfect circle).
For my revenue slide, I drew a transparent circle with a colored outline matching the logo to spotlight the record sales figure.
Preparing and Sharing Your Presentation
Adding Speaker Notes
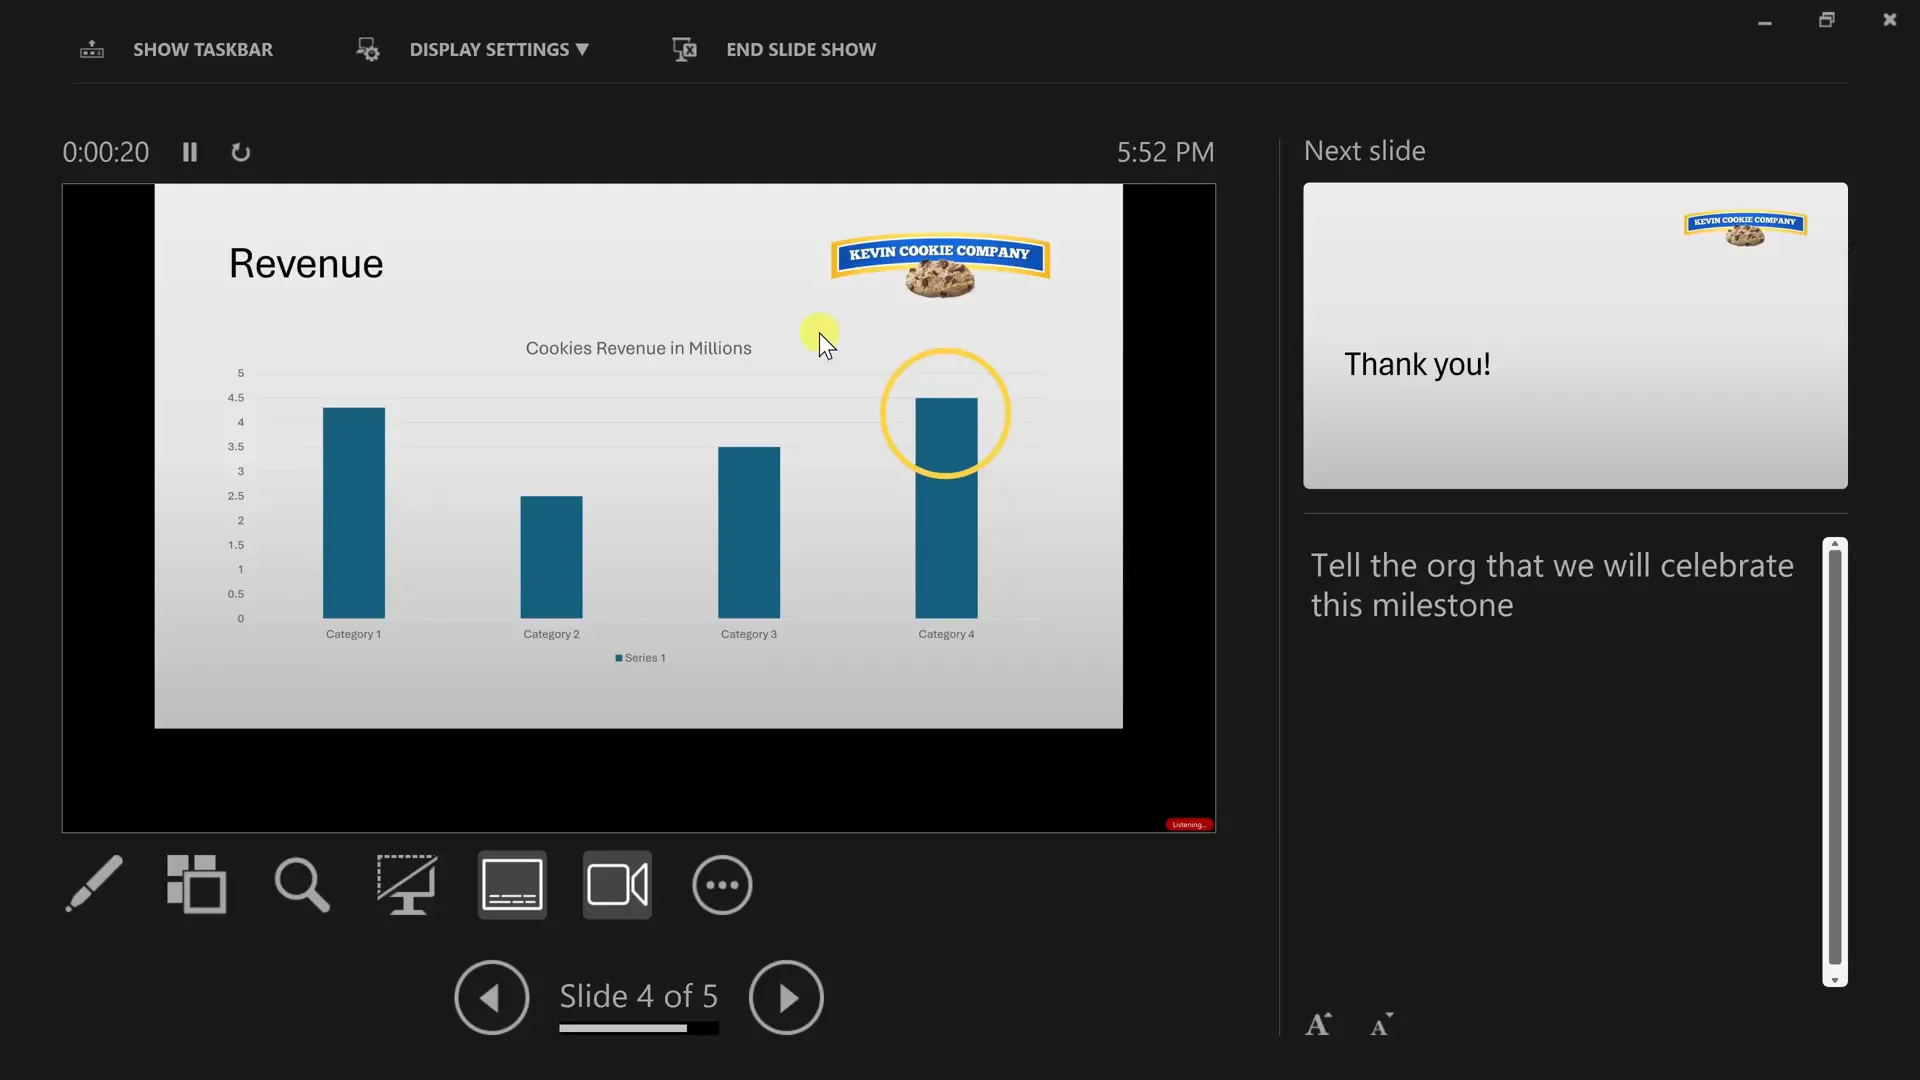
Speaker notes are handy reminders or talking points that only you see while presenting. Toggle the notes pane at the bottom of the screen and type your notes. You can resize the pane for better visibility.
For example, I added a note reminding myself to tell the team to celebrate the milestone.
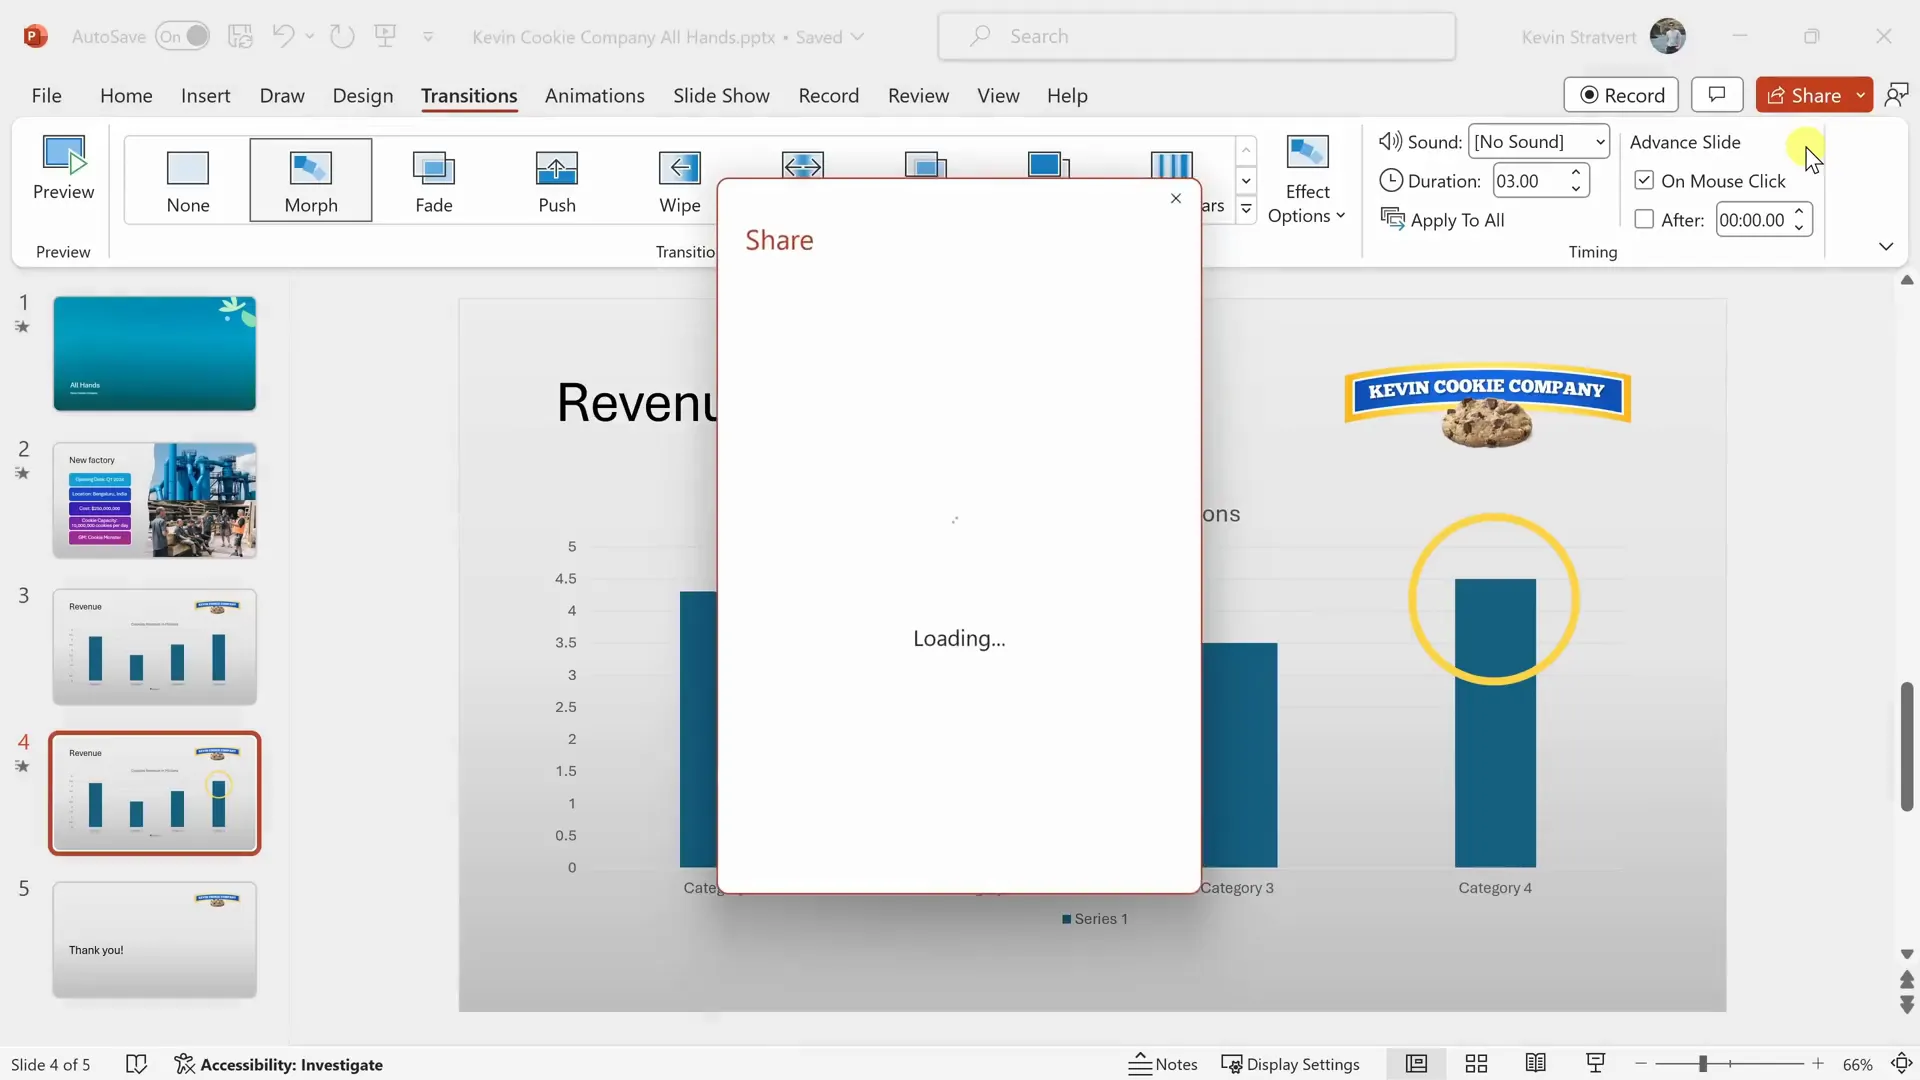
Collaborating and Sharing
Once your presentation is ready, you can share it with teammates for review. Click the Share button in the top right corner, enter email addresses, and set permissions (view or edit).
You can also insert comments directly on slides to facilitate discussions and tag collaborators.
Presenting Your Slides
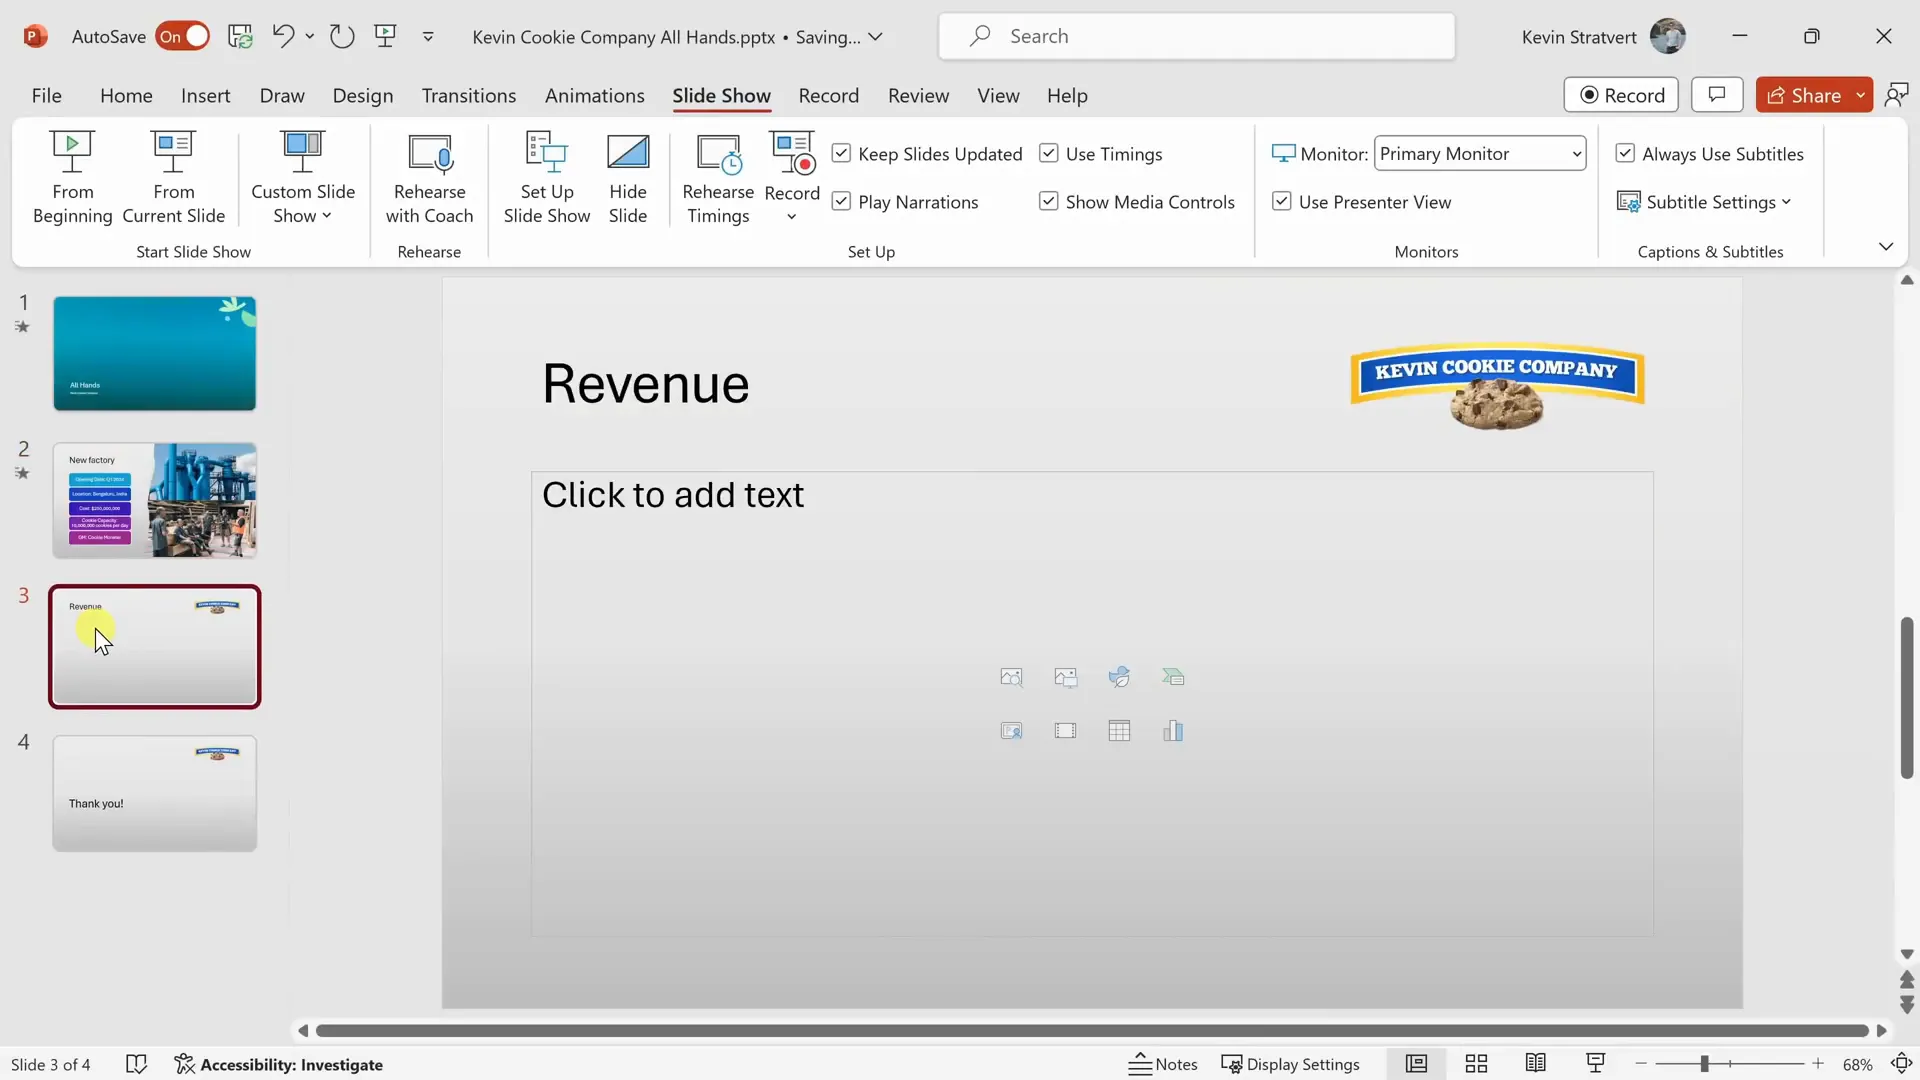
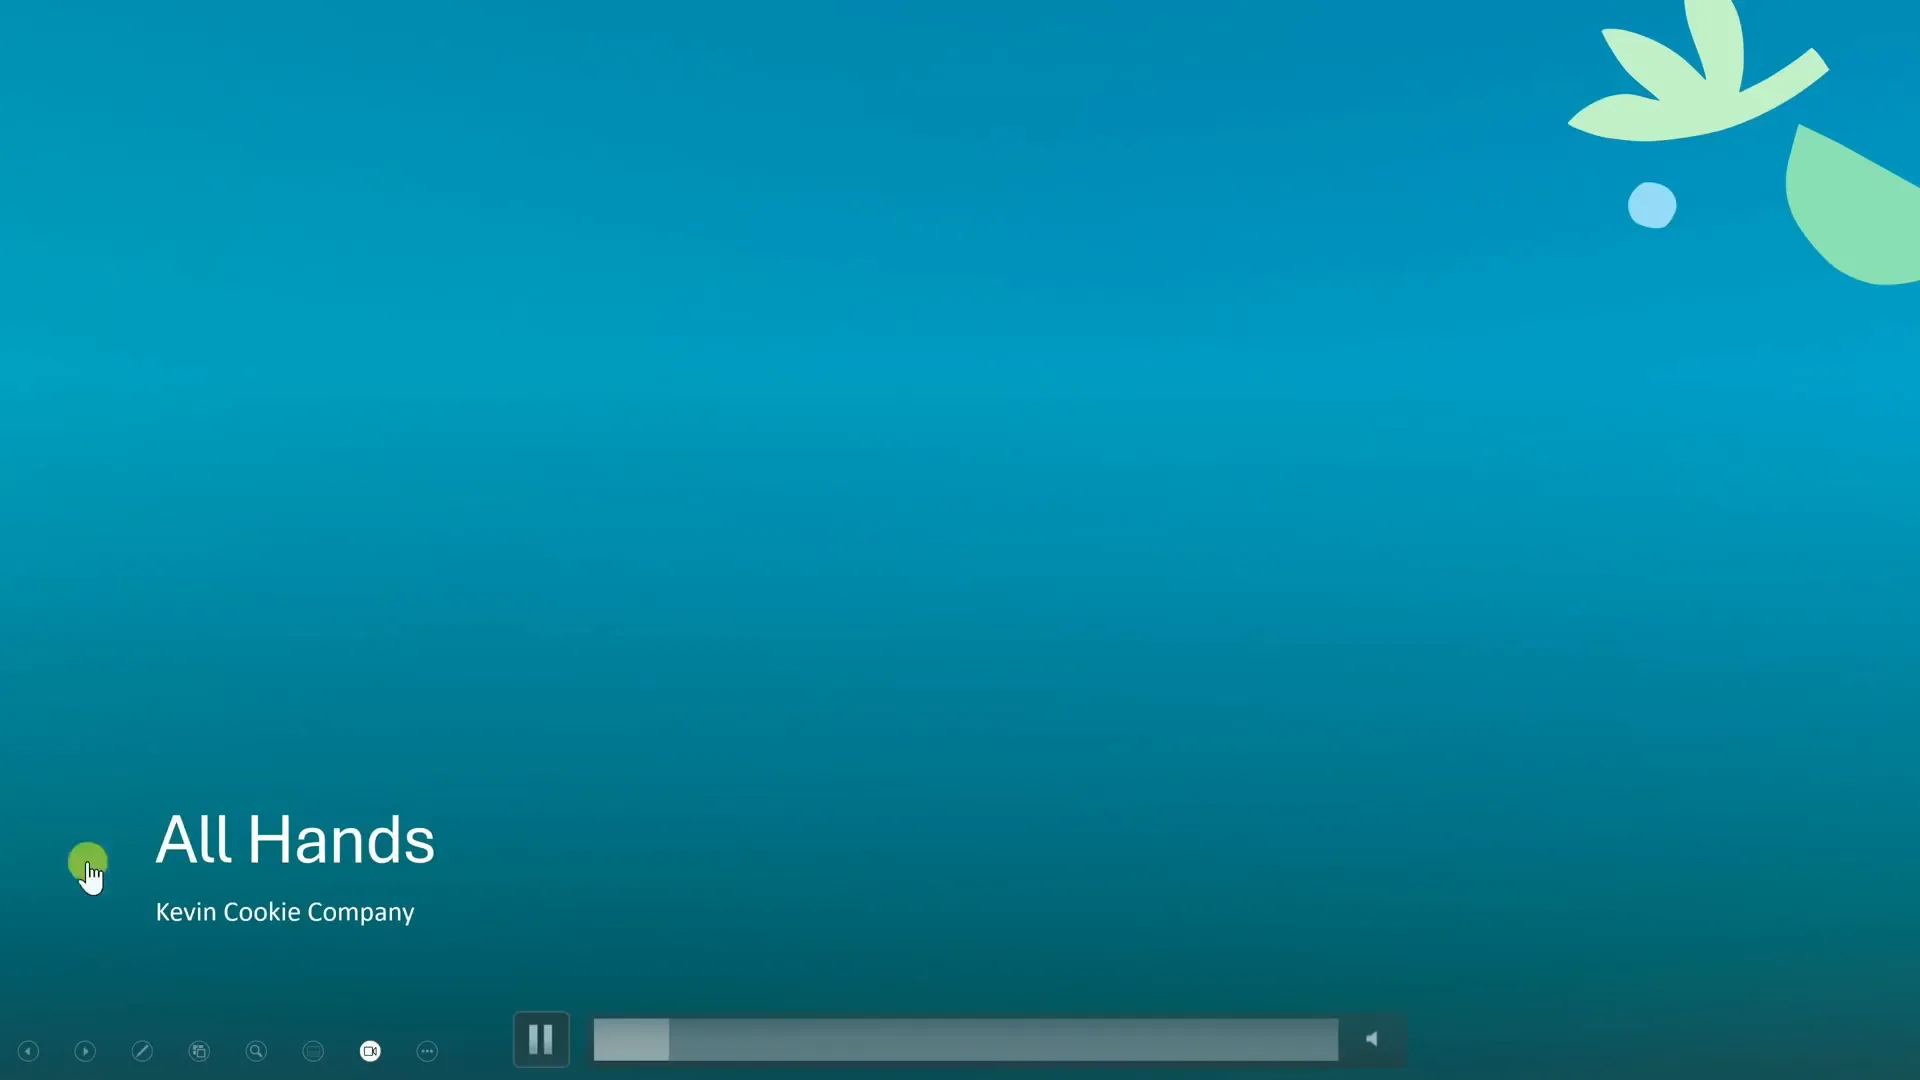
Starting the Presentation
To begin presenting, go to the Slide Show tab and choose to start from the beginning or current slide. Alternatively, press F5 to start from the beginning.
During the presentation, mouse movement reveals controls like navigation arrows, laser pointer, and annotation tools. You can also right-click the slide to access these options.
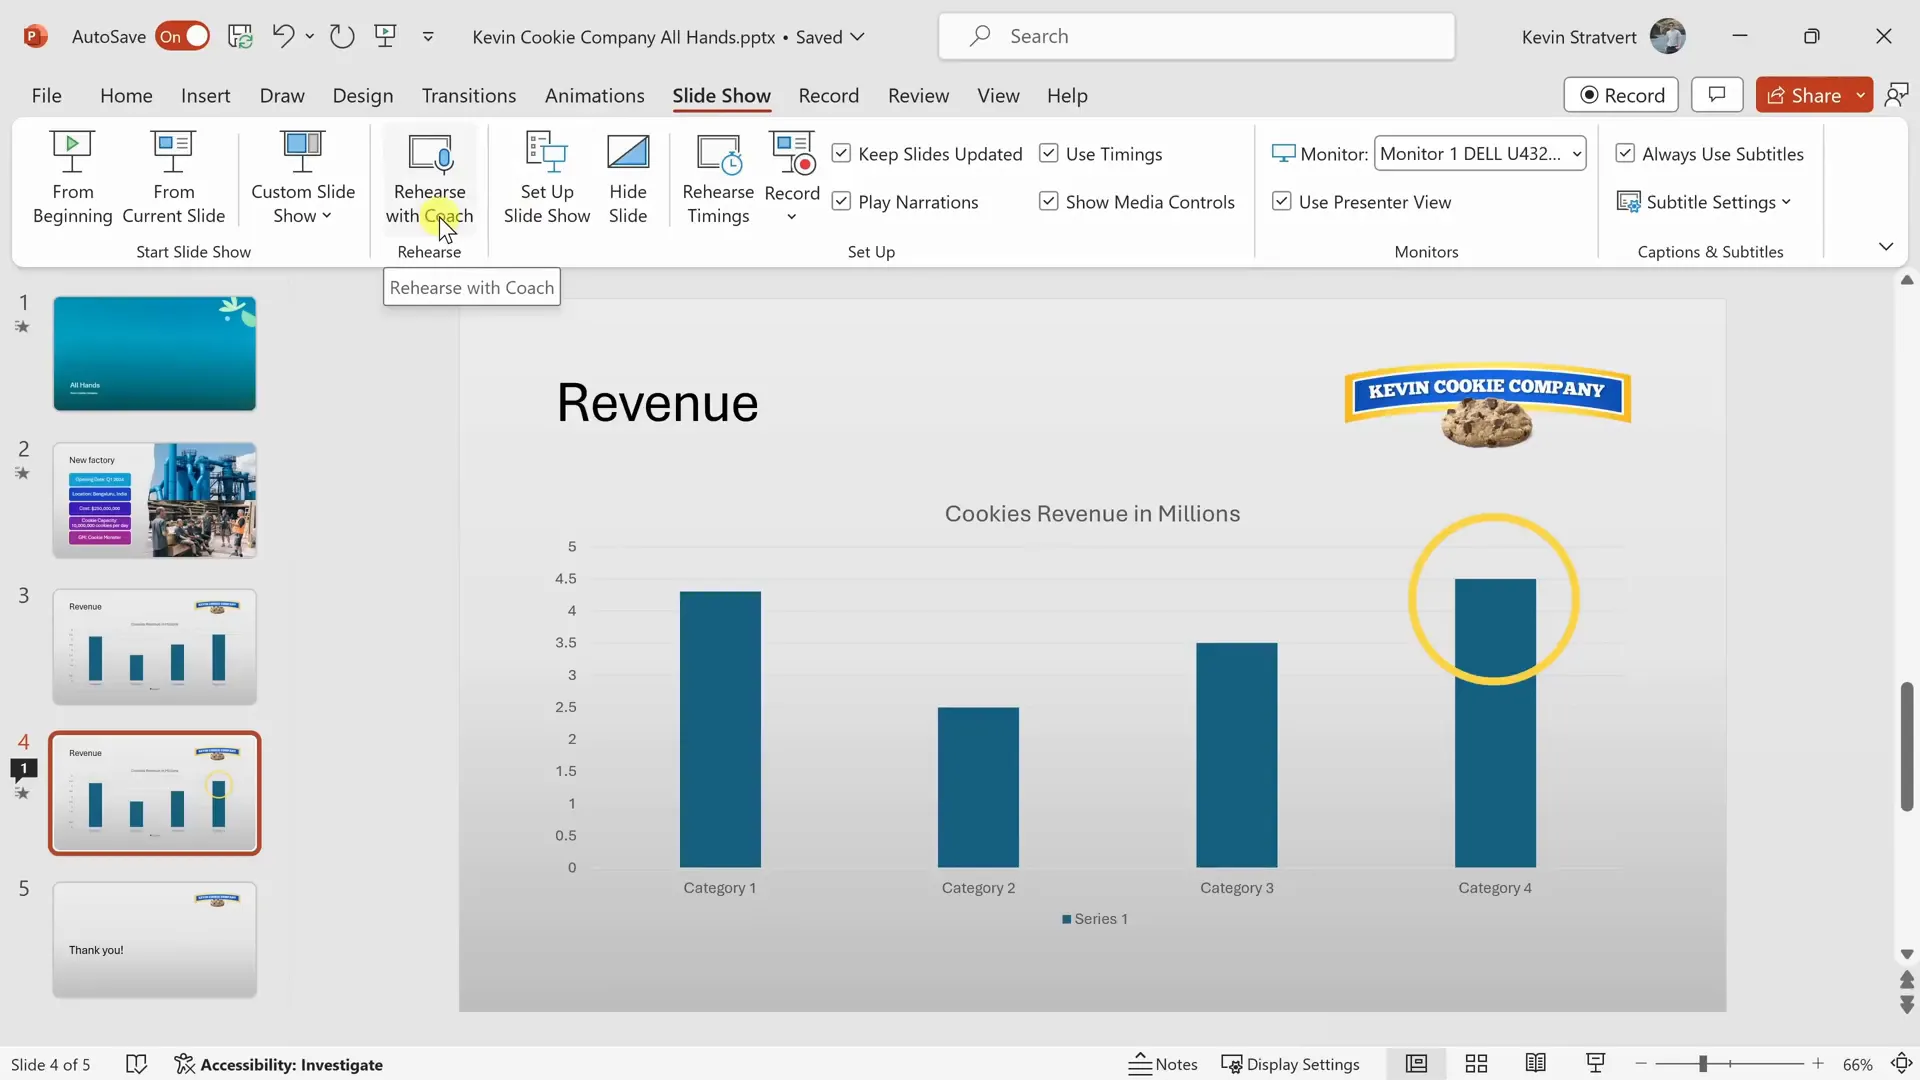
Using Presenter View
If you have multiple monitors, Presenter View is invaluable. It shows your current slide, upcoming slide, and your speaker notes on your screen, while the audience sees only the current slide.
Rehearse with Coach
PowerPoint includes a built-in tool called Rehearse with Coach that lets you practice your presentation and receive feedback on pacing, filler words, and more. It even generates a helpful report after rehearsal to improve your delivery.
Recording Your Presentation
You can pre-record your presentation with audio and video narration. Go to the Record tab and start recording from the beginning or current slide.
The recording interface includes your notes and annotation tools. Once done, you can export the presentation as an MP4 video, perfect for sharing or uploading online.
Conclusion: Tips for Effective PowerPoint Presentations
Learning how to use Microsoft PowerPoint opens up a world of possibilities to communicate your ideas effectively. Remember, your slides are there to complement your message, not overshadow it. Use visuals, animations, and clear layouts to support your story.
As you practice and explore PowerPoint’s features—from themes and SmartArt to animations and recording—you’ll build confidence and create presentations that truly resonate with your audience.
For more tips and tutorials, keep exploring and practicing. Your next great presentation awaits!
Frequently Asked Questions (FAQ)
Q: Can I use PowerPoint for free?
A: Yes! You can use PowerPoint for free via your web browser by visiting PowerPoint.New. This version offers many core features without requiring a paid subscription.
Q: How do I save my presentation to avoid losing work?
A: Save your presentation to OneDrive, Microsoft’s cloud storage, which automatically saves changes as you work and allows access from any device.
Q: What is the best way to make my presentation visually appealing?
A: Use PowerPoint’s built-in themes and Designer feature to apply professional styles and layouts. Also, convert dense text into SmartArt graphics for better visualization.
Q: How can I rehearse my presentation effectively?
A: Use the “Rehearse with Coach” feature in PowerPoint, which provides feedback on your speaking pace, use of filler words, and more to help you improve.
Q: Can I record my presentation and share it as a video?
A: Absolutely! PowerPoint allows you to record your slides with narration and export the presentation as an MP4 video file.
Q: How do animations and transitions enhance my presentation?
A: Animations help introduce content step-by-step, keeping the audience focused. Transitions like Morph create smooth visual effects between slides, making your presentation more dynamic.
Q: What is the Slide Master and why should I use it?
A: Slide Master lets you create a consistent look across your entire presentation by editing layouts, fonts, colors, and backgrounds in one place, saving time and ensuring uniformity.

Check out the full video: PowerPoint Tutorial for Beginners


