
Welcome to your ultimate beginner’s guide to Microsoft PowerPoint, where you’ll learn how to design and animate professional-quality slides from scratch. Whether you’re new to PowerPoint or looking to sharpen your skills, this comprehensive tutorial will walk you through the entire process—from creating a fresh presentation to adding dynamic animations and editable charts. You’ll also discover powerful tips and tricks that will help you gain full control over your slide design, making your presentations not only visually appealing but also engaging and effective.
This guide is inspired by the expert insights of One Skill PowerPoint, who breaks down every essential feature step-by-step, ensuring that even beginners can follow along and create impressive slides. So, let’s dive in and start transforming your ideas into stunning PowerPoint presentations!
Table of Contents
- Introduction to PowerPoint and Learning Resources
- Starting a New PowerPoint Presentation
- Working with PowerPoint Panes: Format, Selection, and Animation
- Inserting and Cropping Pictures
- Creating Gradient Overlays and Adding Blur Effects
- Designing a Custom Logo in PowerPoint
- Adding Slide Titles and Subtitles with Control
- Inserting and Managing Logos Across Multiple Slides
- Adding and Customizing Slide Numbers
- Creating a Cutout Person Image and Icon Bubbles
- Designing Text Boxes and Aligning Elements
- Creating a Clickable Button with a Link
- Photo Rings with Icons and Gradient Effects
- Creating Animated Slide Transitions and Effects
- Inserting and Formatting Editable Charts
- Tips for Precise Alignment and Consistency
- Final Thoughts and Encouragement
- Frequently Asked Questions (FAQ)
Introduction to PowerPoint and Learning Resources
Before we jump into PowerPoint itself, it’s worth mentioning how continuous learning can boost your creativity and productivity. One Skill PowerPoint highlights the value of platforms like Skillshare, an online community offering thousands of creative classes on topics such as animation, design, and illustration. For example, the class Productivity for Creatives: Build a System That Brings Out the Best by Thomas Frank introduces a powerful concept: applying creative constraints when faced with too many ideas. By limiting your tools or options, like using only three music tracks and one instrument when making a song, you can overcome creative blocks and maintain focus.
Skillshare is ad-free and continually refreshed with premium content, making it an ideal place for creatives to grow. For beginners eager to improve their PowerPoint skills and creativity simultaneously, exploring such courses can be a game-changer.

Starting a New PowerPoint Presentation
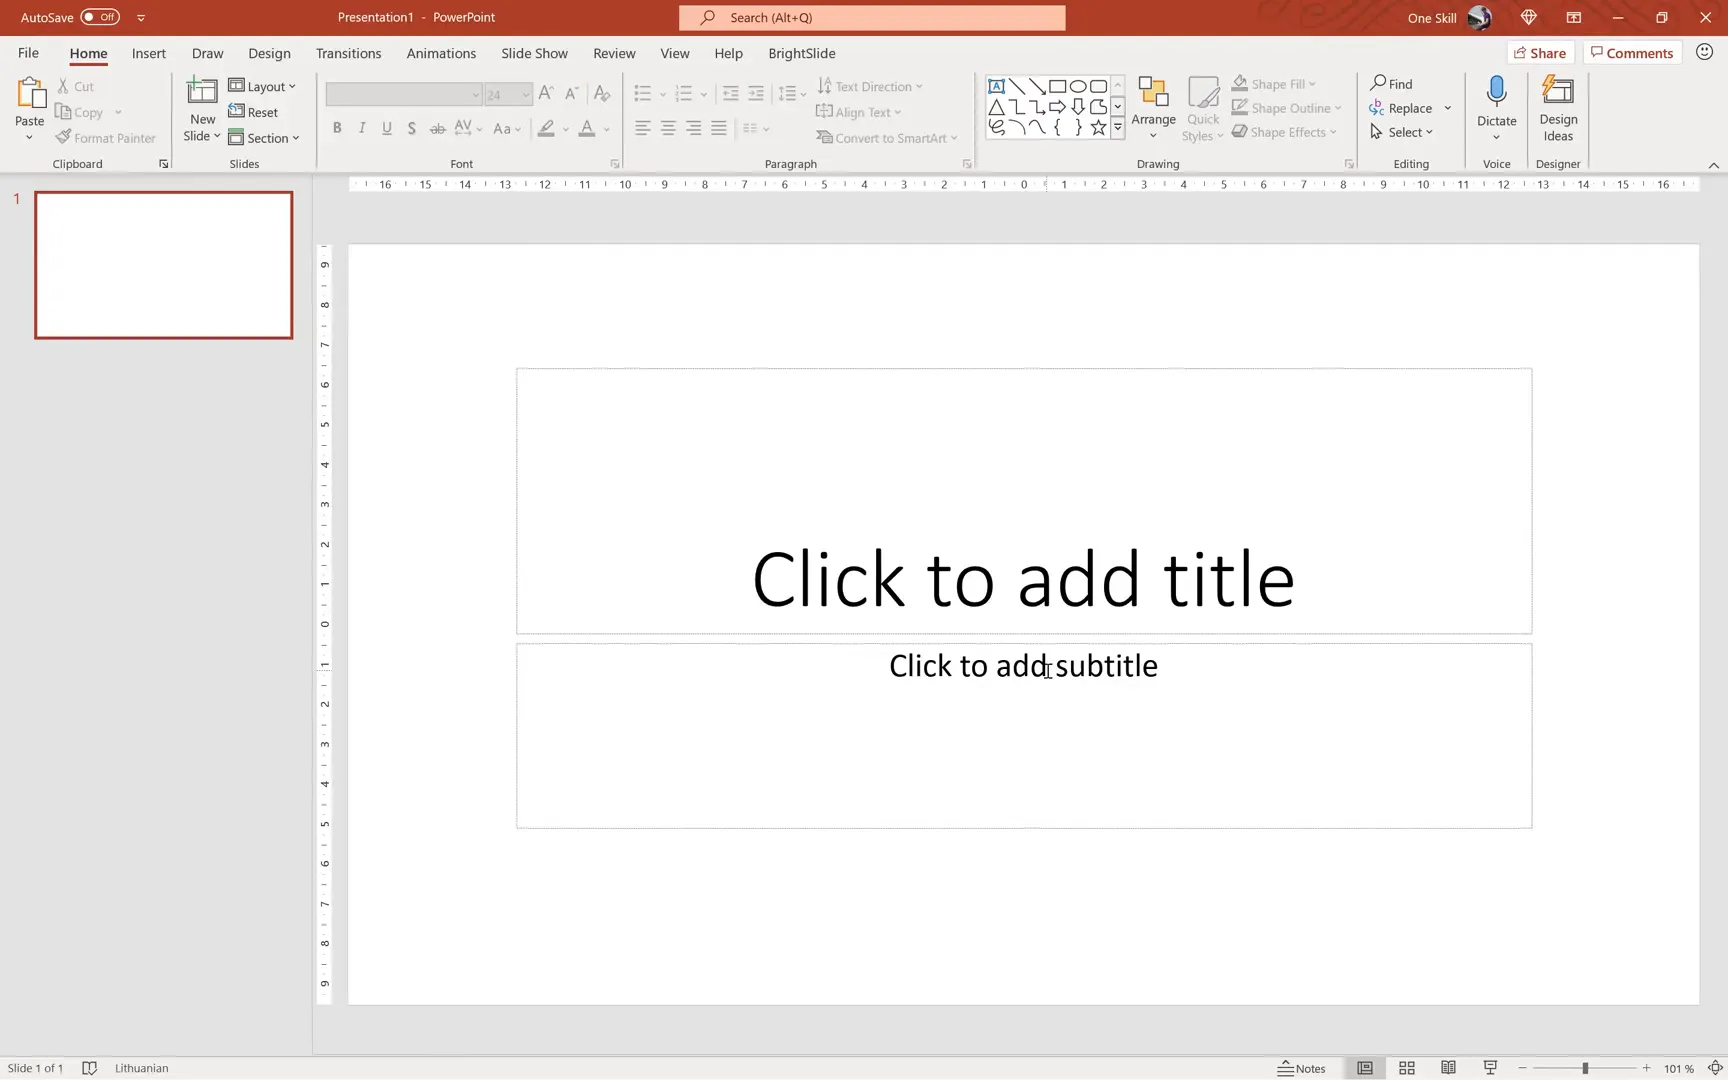
Let’s begin by opening a fresh, blank presentation. When you launch PowerPoint, you are presented with two main options:
- Use a premade template: Great for rapid presentation creation but may result in designs similar to others.
- Create your own design from scratch: Offers full creative control and uniqueness.
For this tutorial, we will choose a blank presentation to build everything from the ground up.

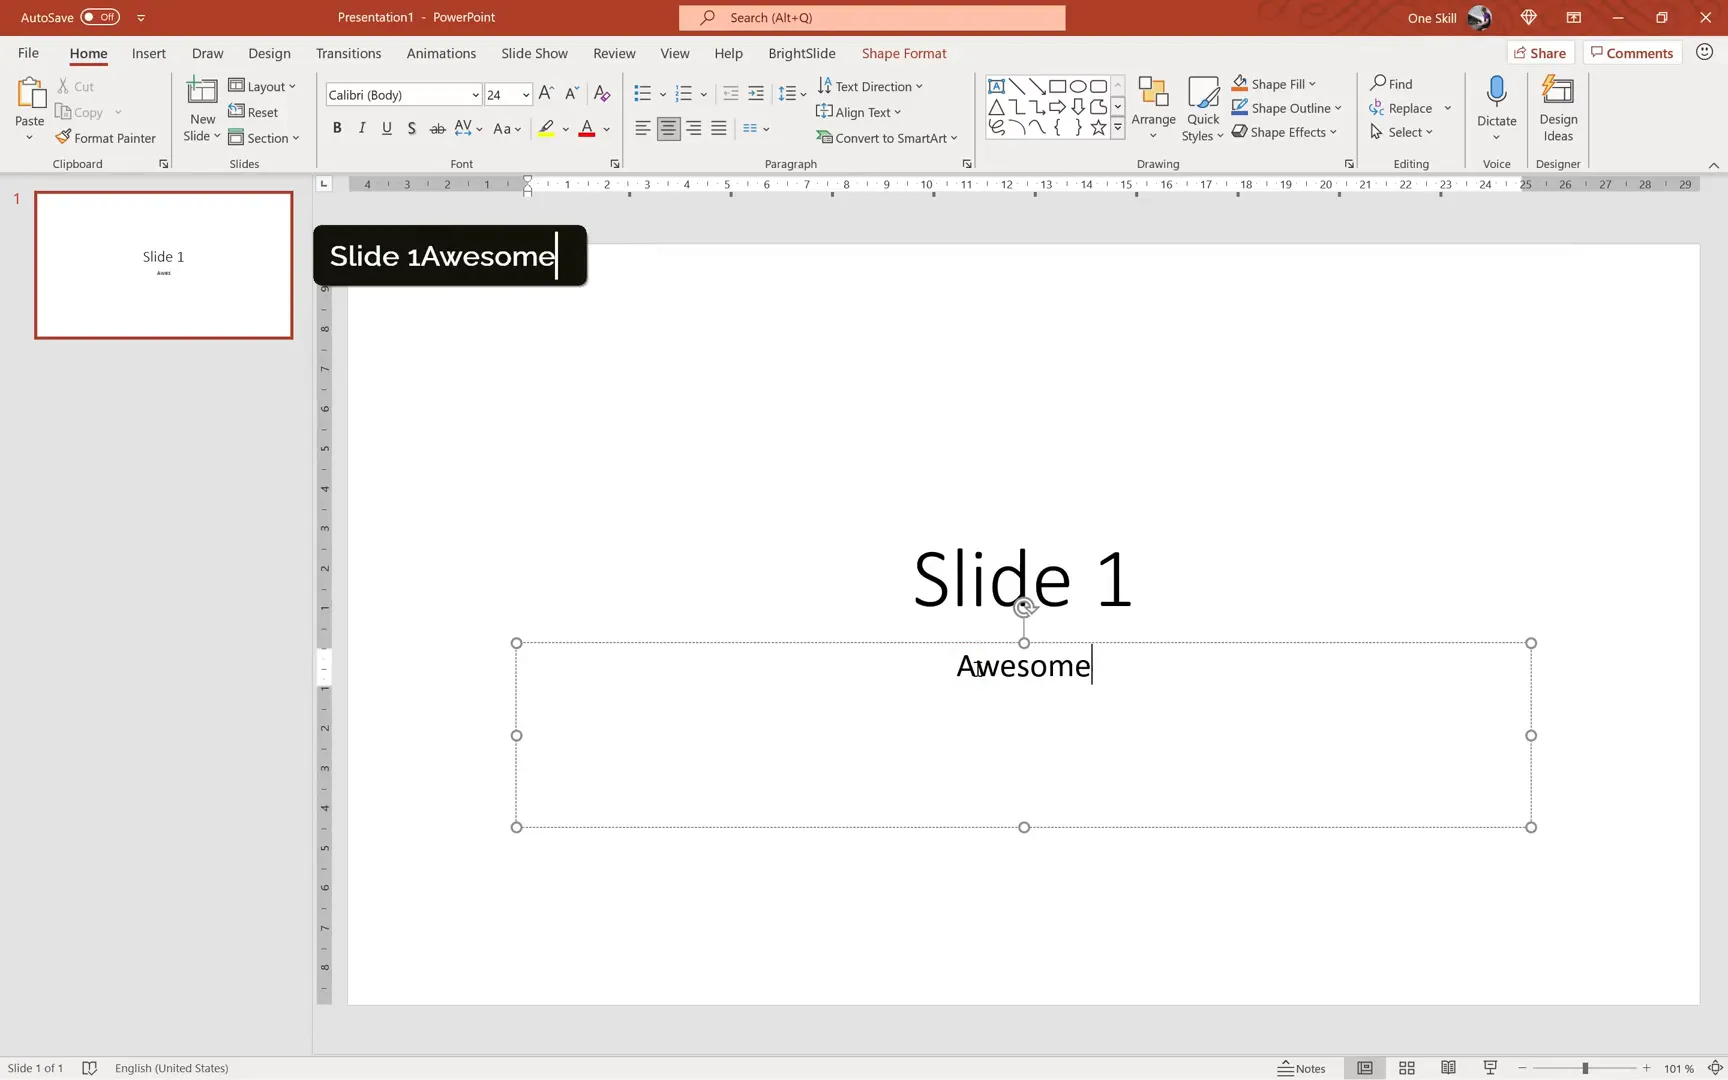
Once inside, you’ll see PowerPoint automatically inserts text placeholders on the slide. You can click inside these fields to add titles and subtitles. For example, typing “Slide 1” in the title box and “An awesome subtitle” below.
On the left sidebar, thumbnails provide a real-time preview of all your slides, which is very handy for navigation and rearrangement. You can easily add new slides by right-clicking and selecting New Slide or pressing the Enter key repeatedly.
Rearranging slides is as simple as dragging them to a new position in the sidebar. If you want to delete multiple slides, select them while holding Shift, right-click, and choose Delete.
Choosing the Right Slide Layout
PowerPoint offers various slide layouts with different combinations of placeholders for text, images, and other content. For maximum control, it’s best to start with a Blank slide layout and manually insert text boxes or other elements as needed. This approach ensures you’re not restricted by predefined layouts and can customize every aspect.
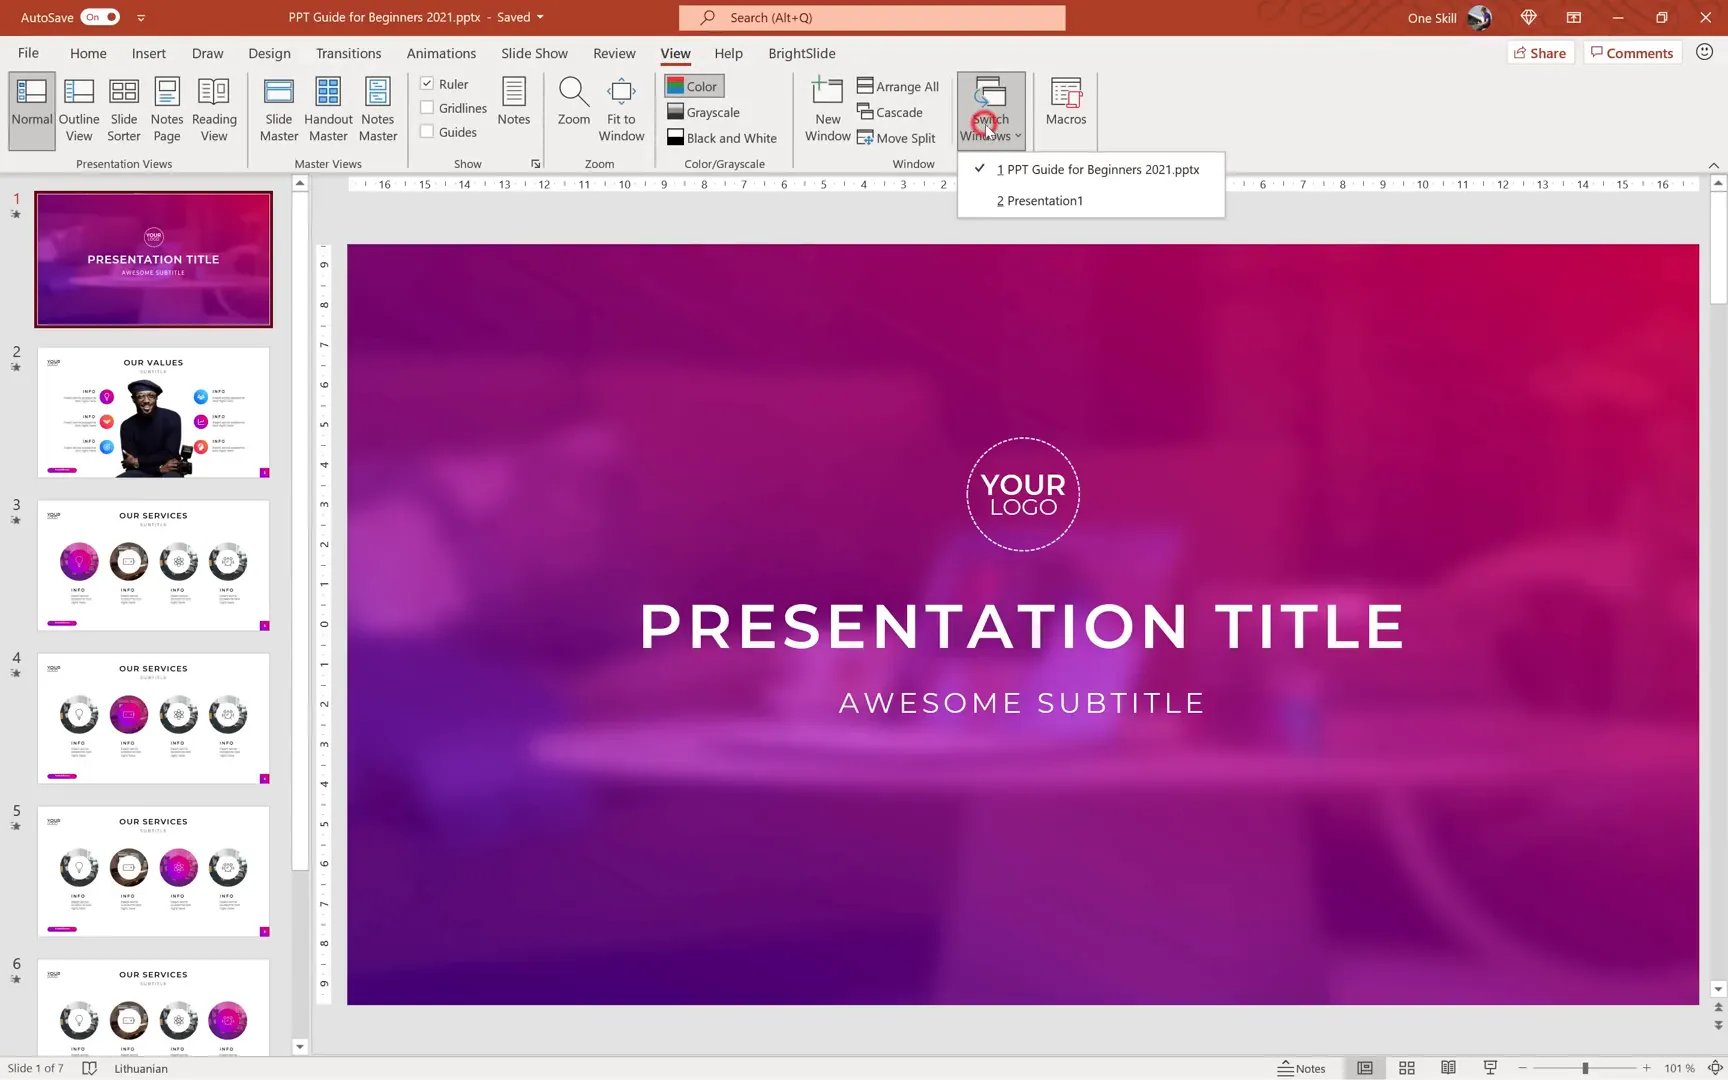
Managing Multiple Presentations
If you’re working on several presentations simultaneously, PowerPoint’s Switch Windows feature (found under the View tab) allows you to toggle between files quickly. This is especially useful for comparing content or reusing elements across presentations.
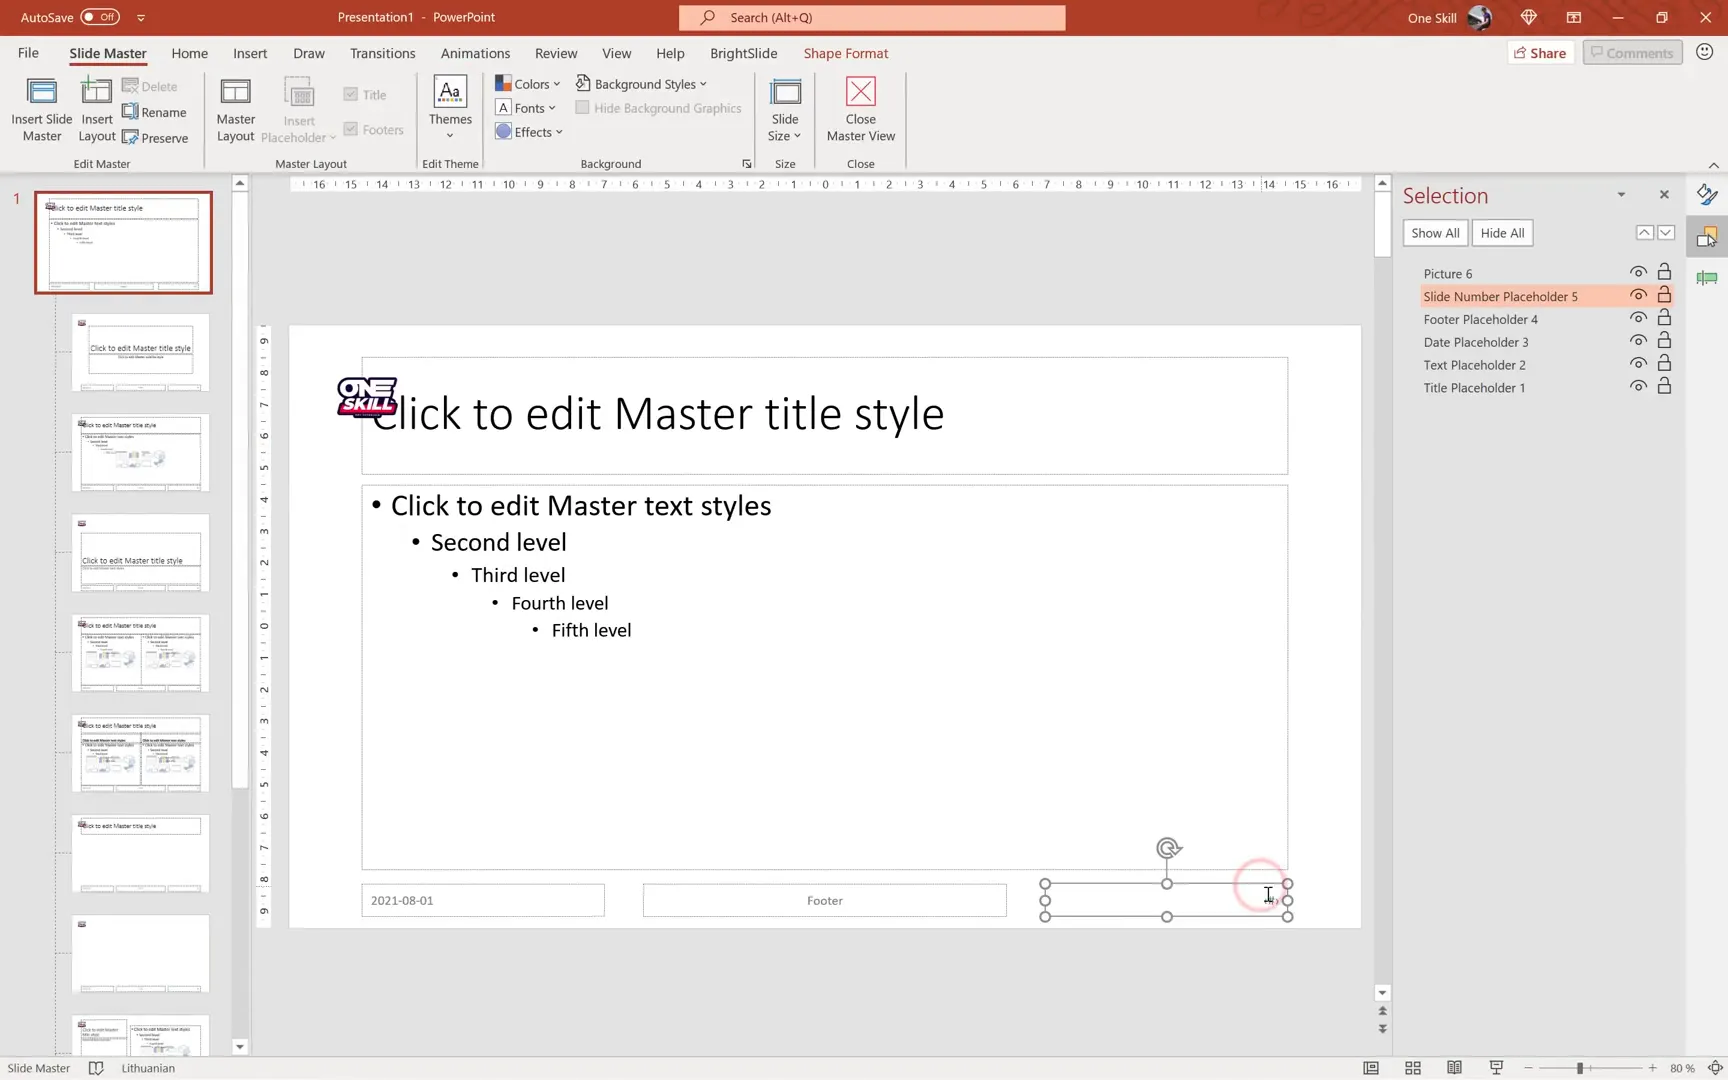
Working with PowerPoint Panes: Format, Selection, and Animation
To design slides efficiently, you need to master the right panes:
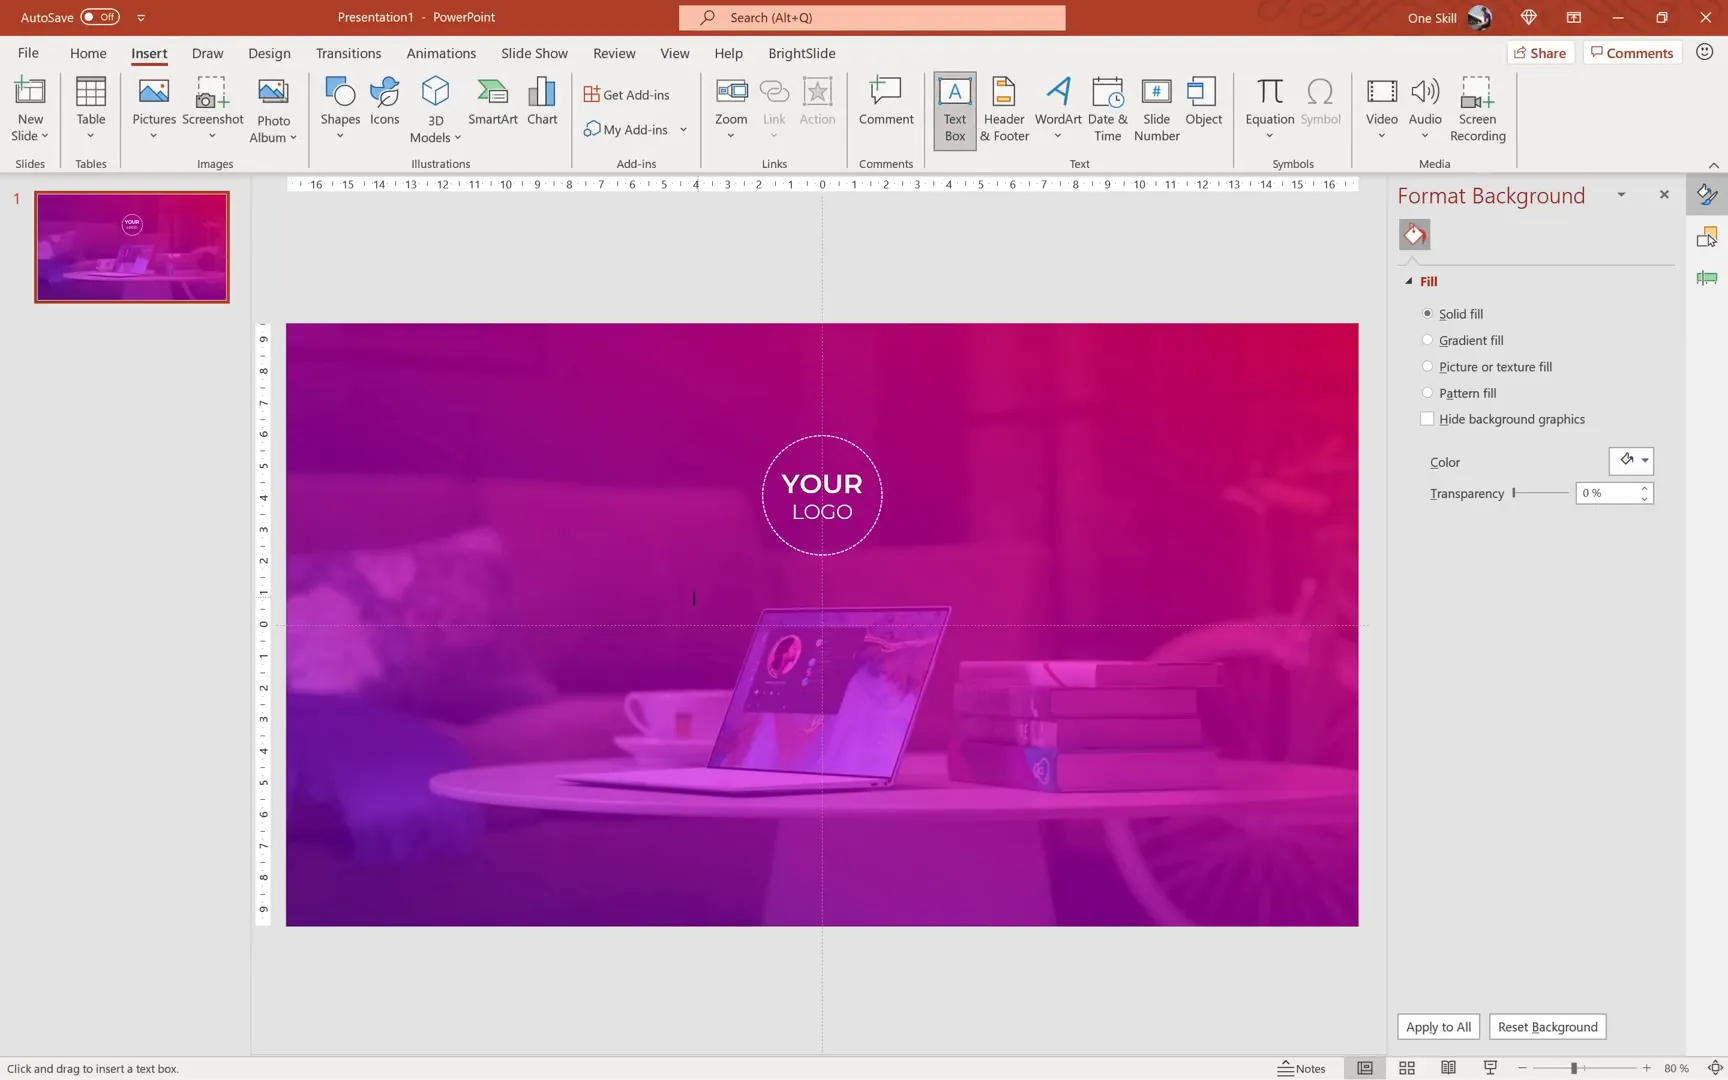
- Format Pane: Lets you customize fills, outlines, shadows, and other style properties of shapes and images.
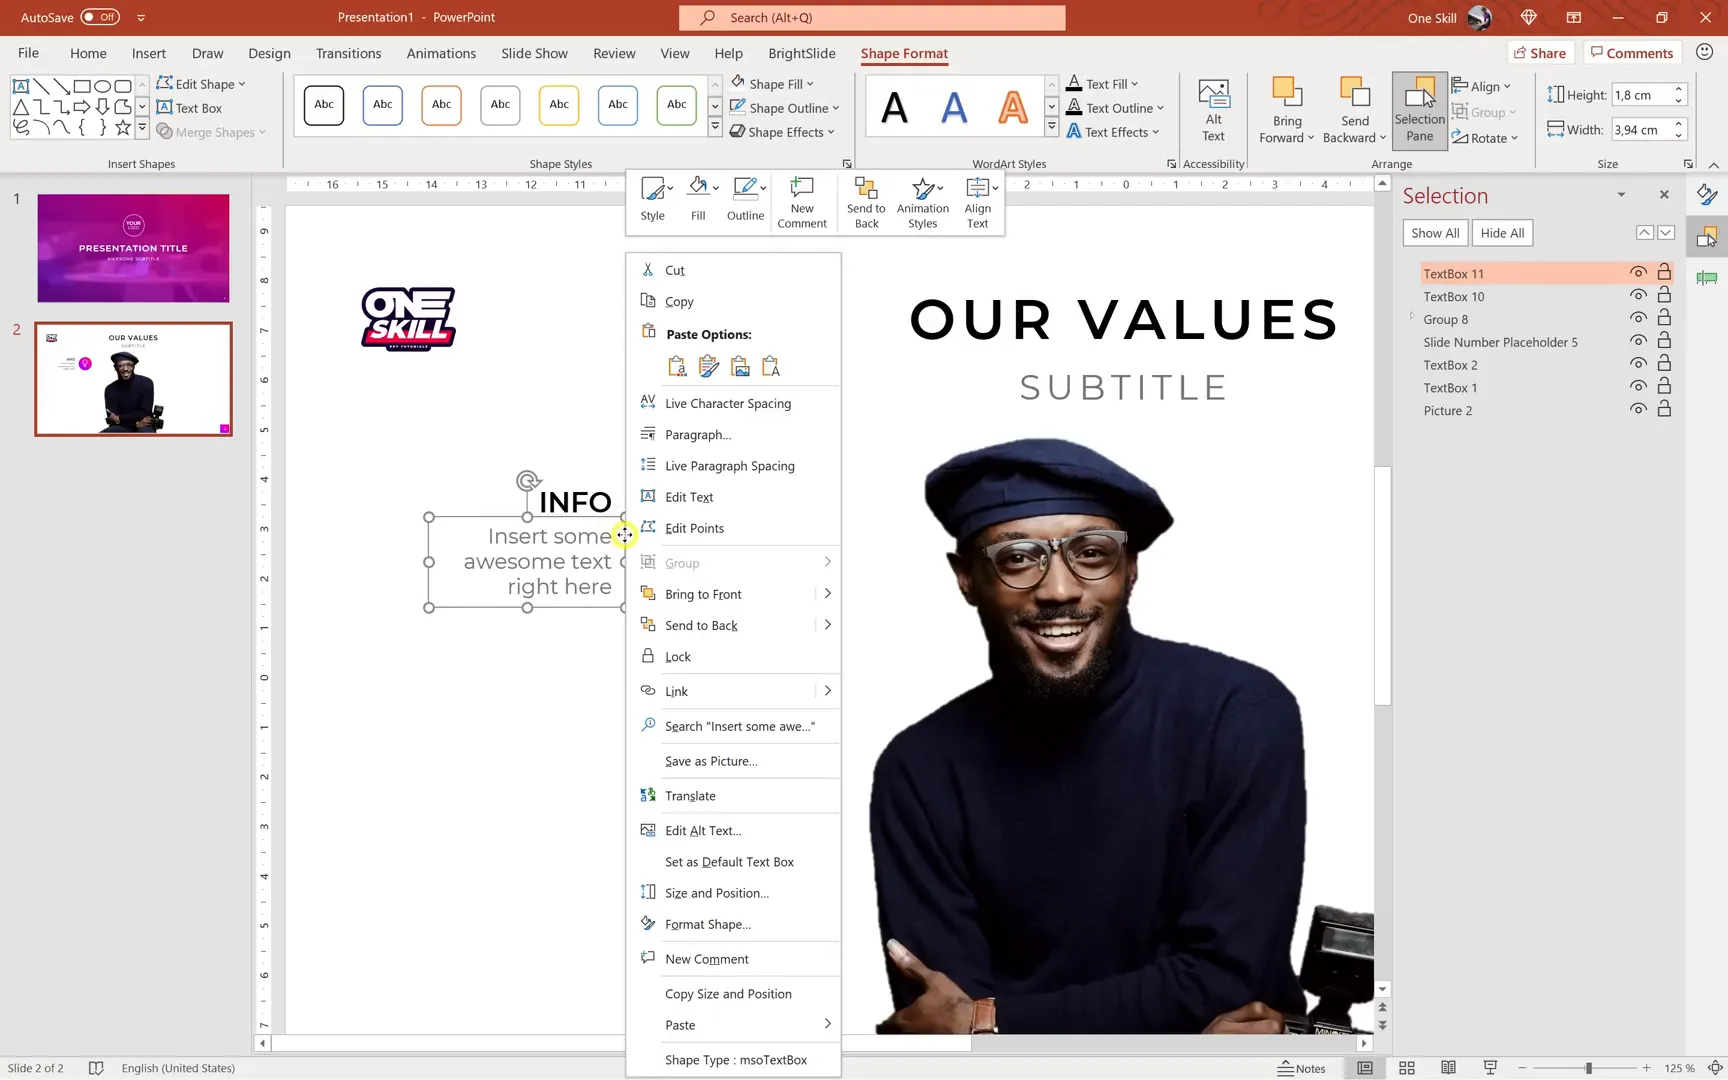
- Selection Pane: Shows all objects on the slide, allowing you to rename, reorder, hide, or select specific elements with ease.
- Animation Pane: Essential for adding, editing, and managing animations on your slide content.
Opening these panes can be done through the Format, Arrange, and Animations tabs respectively. Keeping these panes open and aligned to the right side of your workspace provides a powerful overview and control as you design.
Inserting and Cropping Pictures
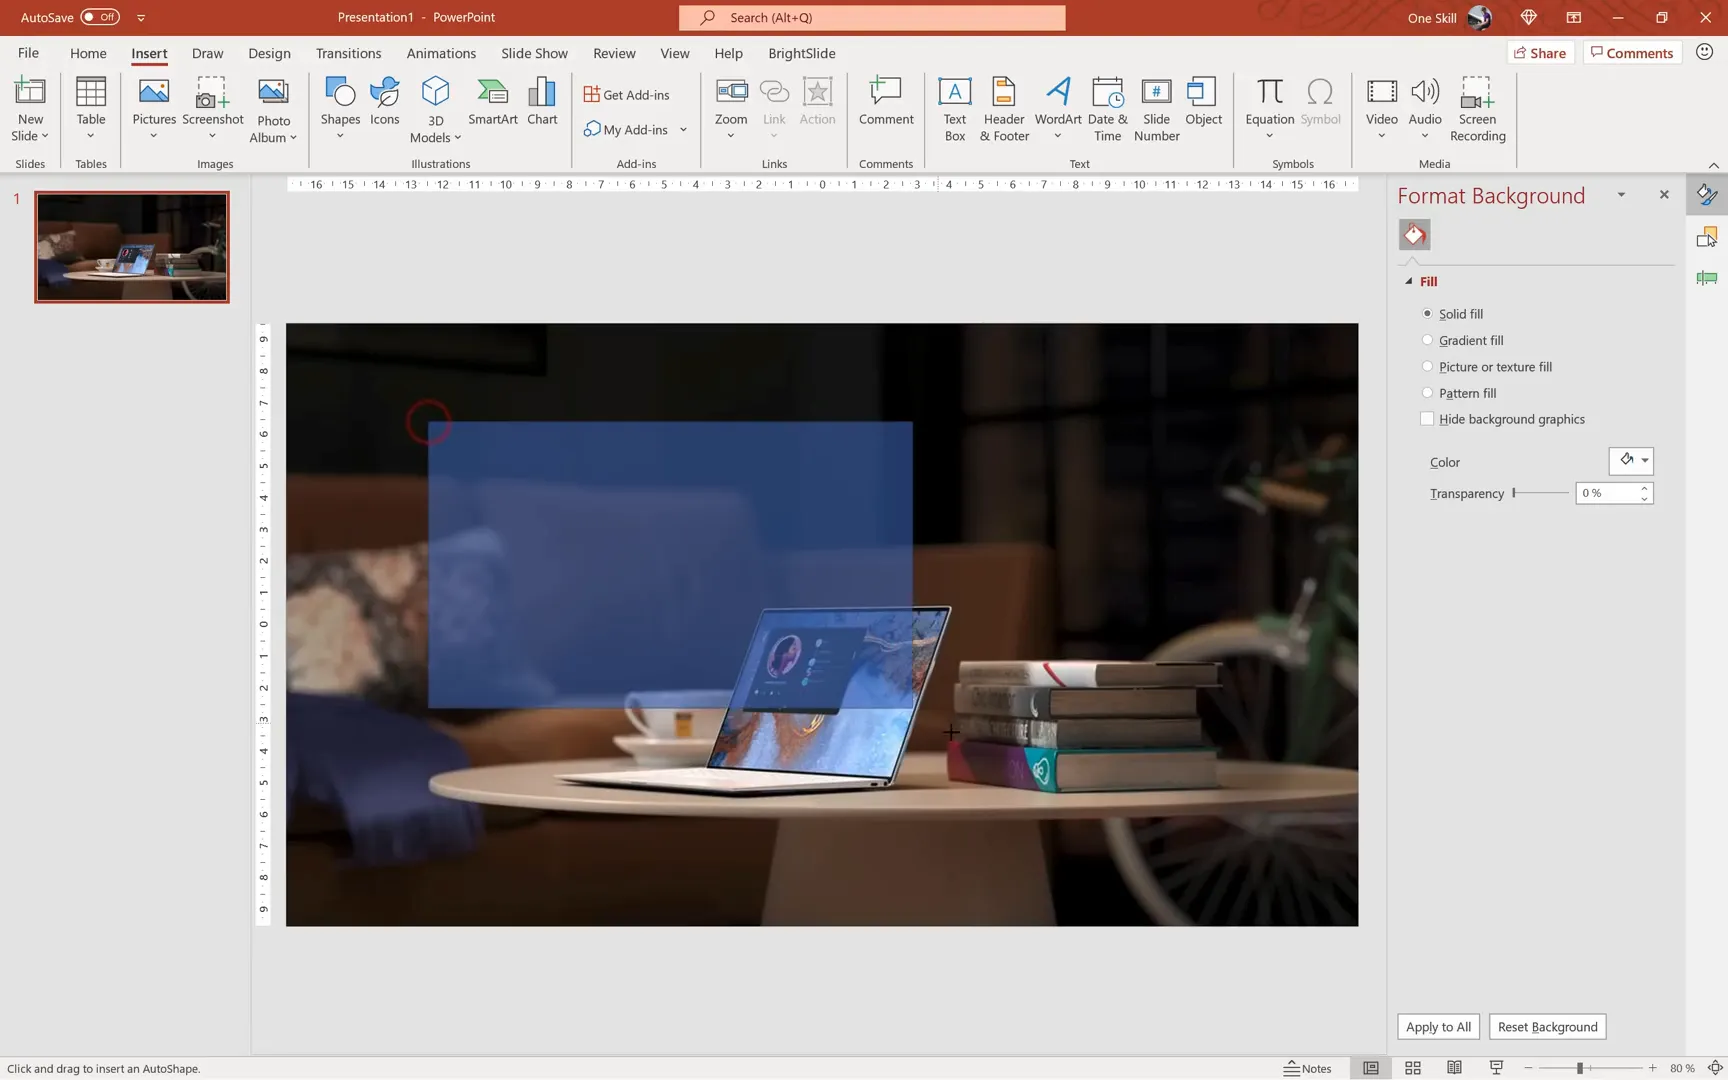
Visuals play a huge role in making slides engaging. You can insert pictures directly from your computer or use PowerPoint’s stock images. However, a favorite approach is to use free high-quality photos from Unsplash. Simply copy an image from Unsplash and paste it into your slide with Ctrl+V.
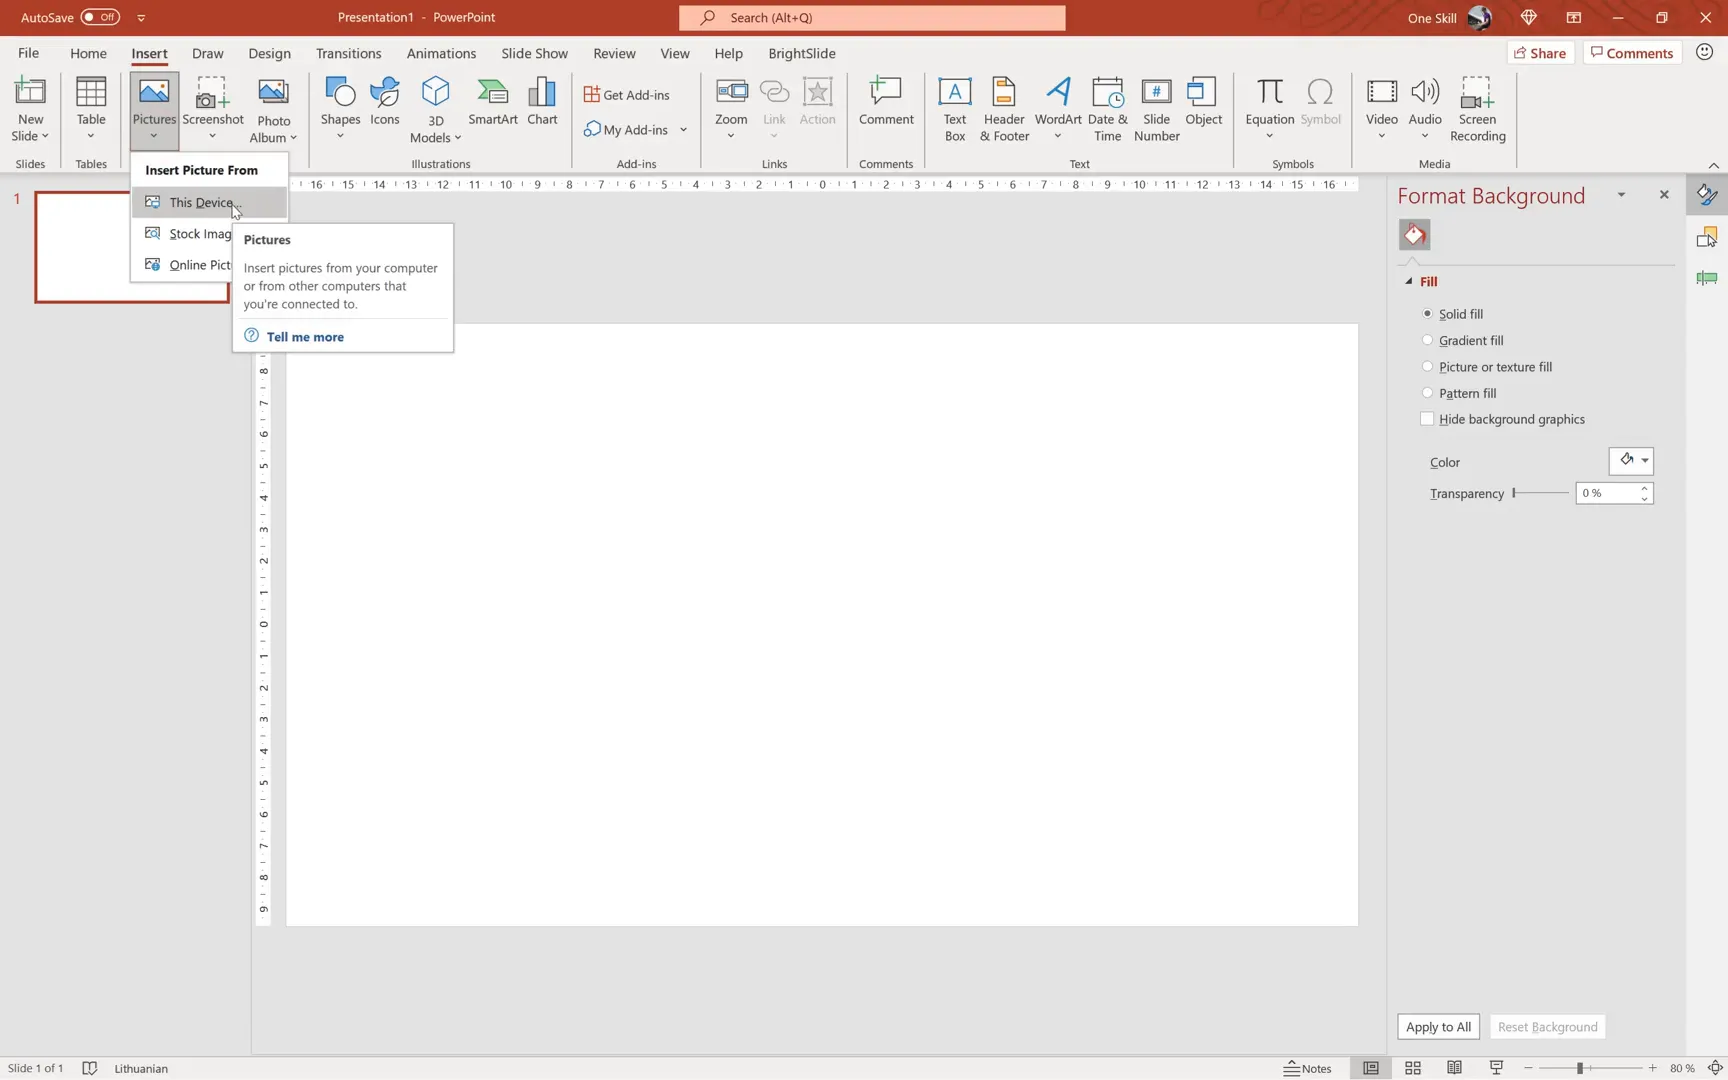
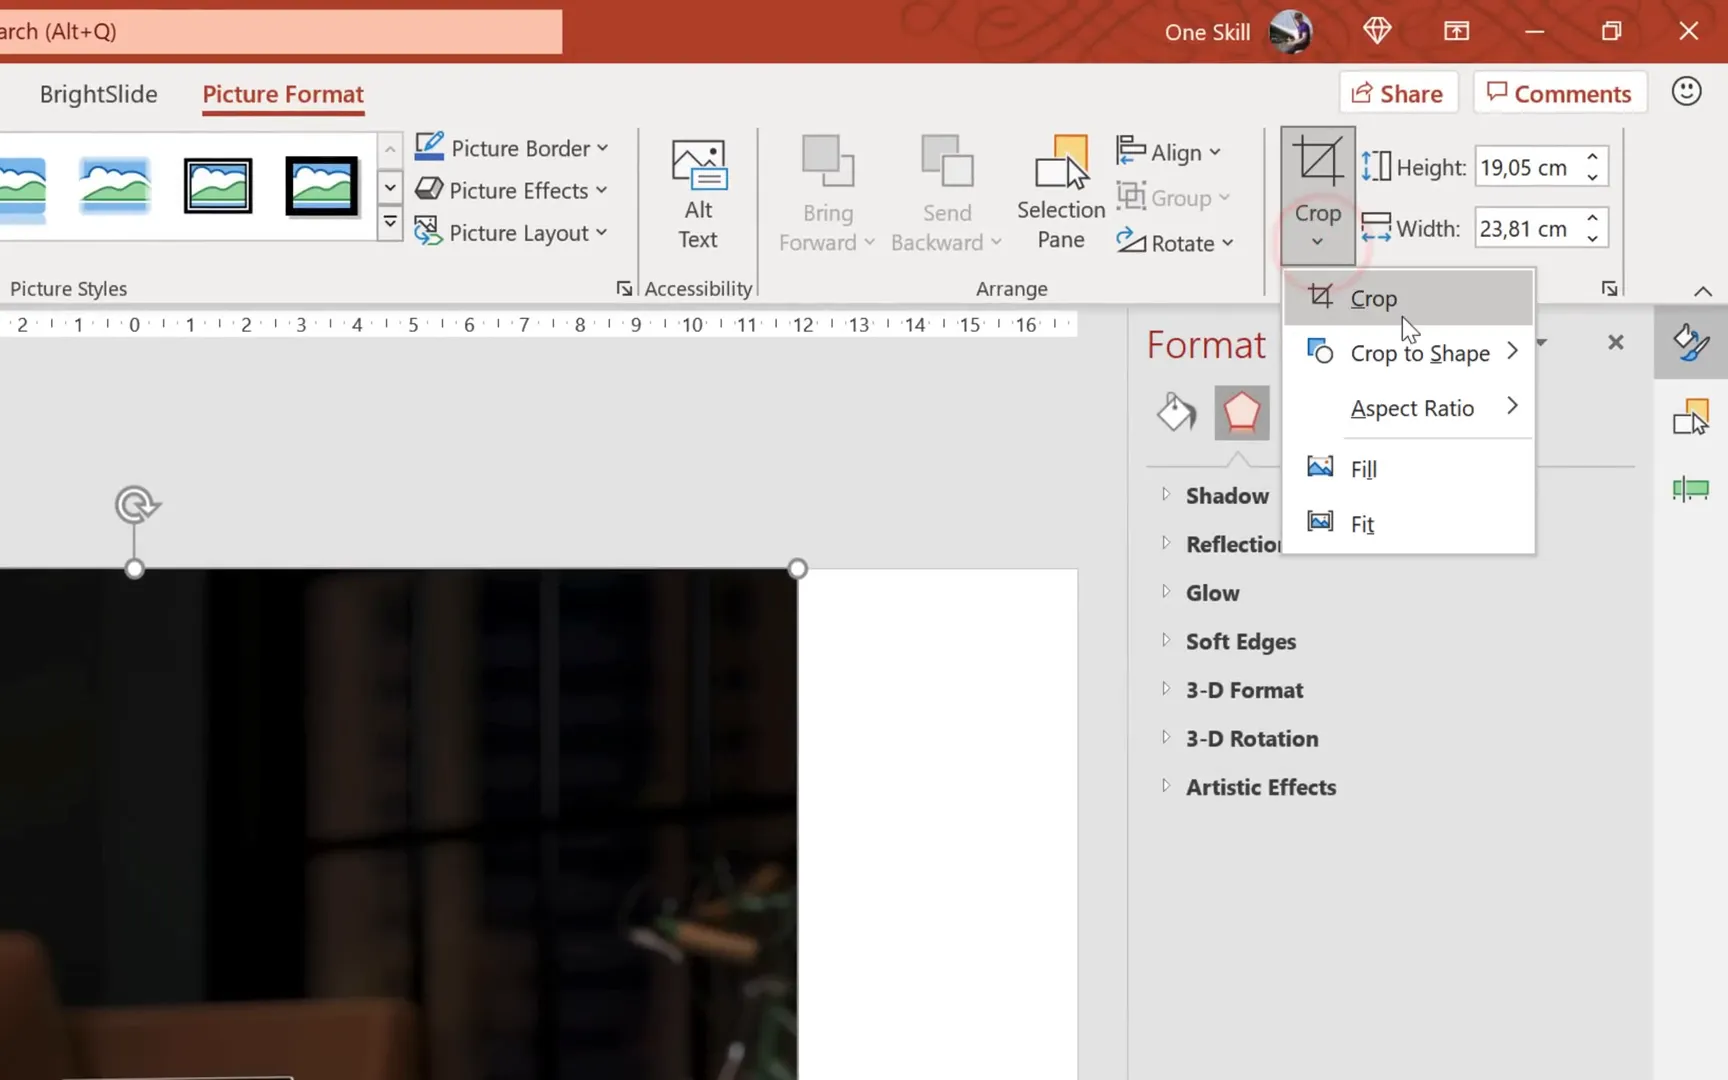
After inserting a picture, it’s important to adjust its size and crop it to fit your slide’s aspect ratio, typically 16:9 for modern presentations. Use the Crop tool under the Picture Format tab, select Aspect Ratio, and choose 16:9. Then resize the photo so it covers the entire slide without white gaps.
Creating Gradient Overlays and Adding Blur Effects
To make text stand out against a busy photo background, it’s common to add a semi-transparent gradient overlay. Here’s how:
- Insert a rectangle shape covering the entire slide.
- Remove the outline line by selecting No Line.
- Fill the rectangle with a gradient using two colors of your choice (e.g., purple and hot pink).
- Adjust the transparency levels of each gradient stop (e.g., 50% and 20%) to allow the photo to subtly show through.
- Change the gradient direction to suit your design preference.
Adding a blur effect to the photo beneath the gradient can further enhance readability. To do this:
- Use the Remove Background tool if needed to isolate subjects.
- Select the photo and go to the Effects tab.
- Choose Artistic Effects and apply the Blur filter with a suitable radius (e.g., 15).
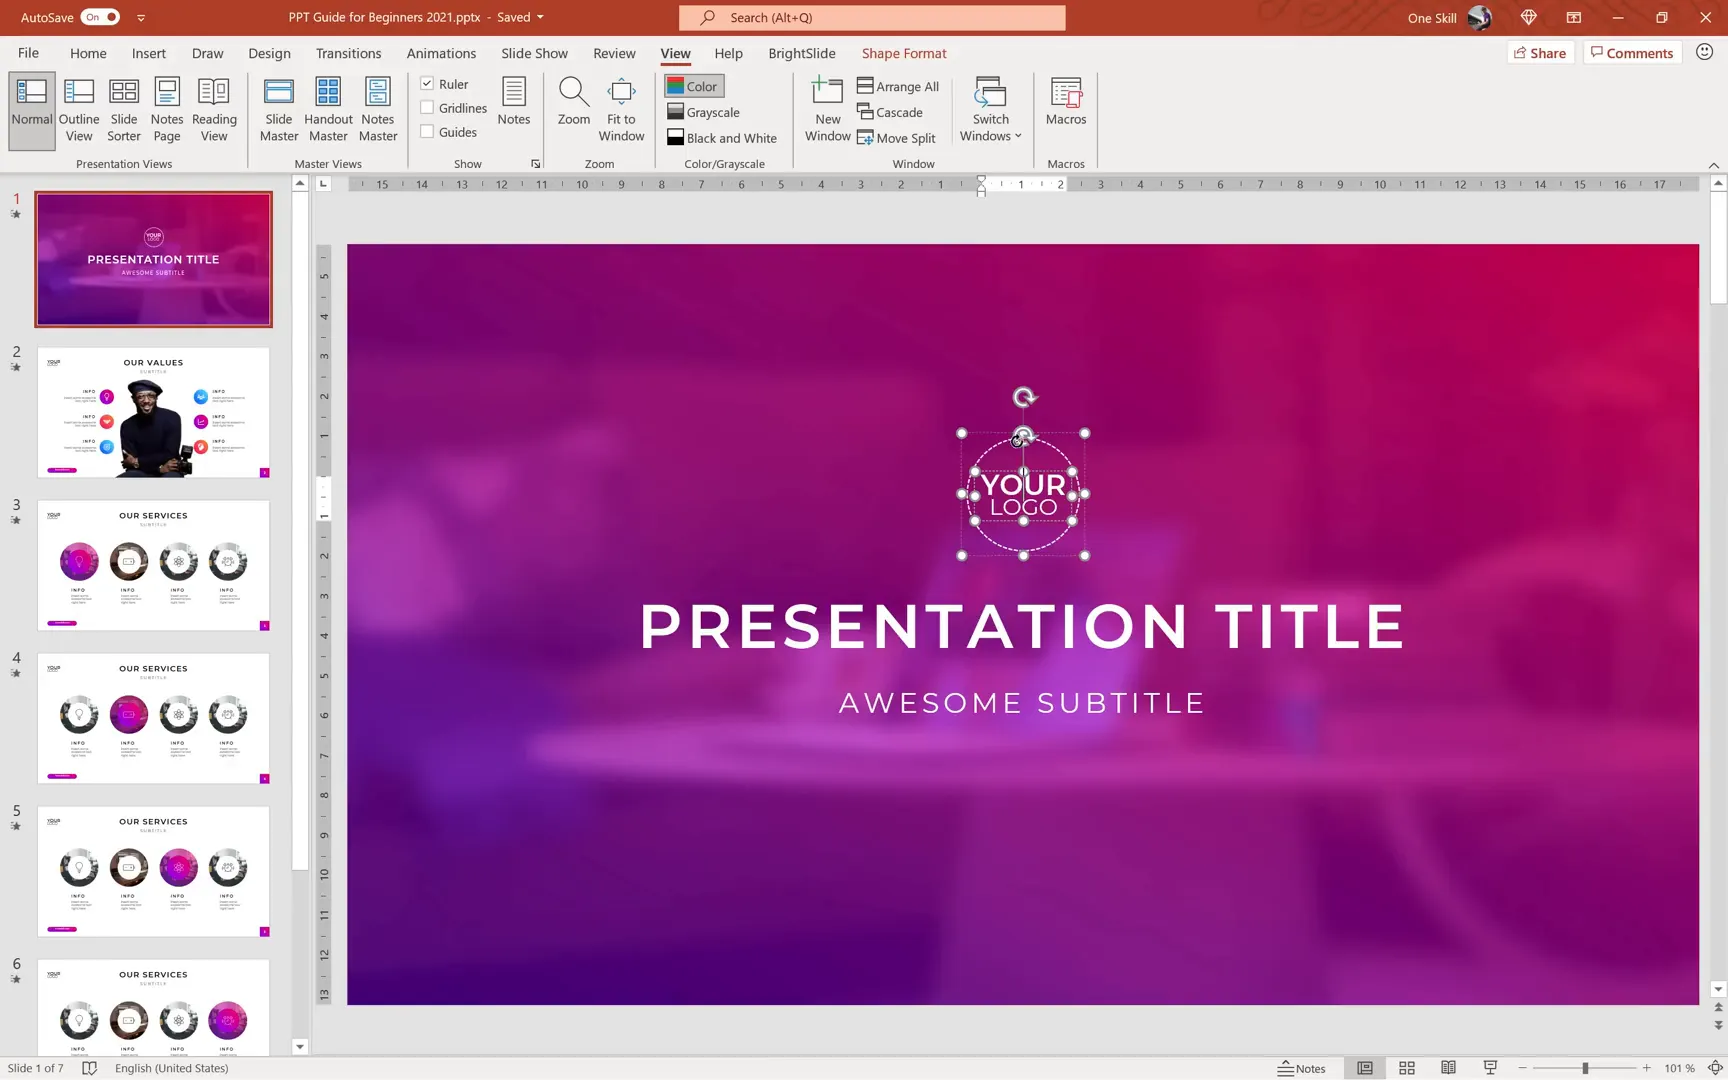
Designing a Custom Logo in PowerPoint
Creating a simple yet elegant logo directly in PowerPoint is a great exercise in shape manipulation and text formatting. Here’s the approach:
- Insert a perfect circle using the Oval shape while holding Shift.
- Set the fill to No Fill and apply a white dashed outline.
- Add text inside the circle by right-clicking and selecting Edit Text.
- Use the Montserrat font family for a modern and clean look, adjusting font size and weight.
- Remove internal margins in the text box to ensure the text fits neatly within the circle.
- Align the logo precisely to the center of the slide using guides or the Align tools.
Adding Slide Titles and Subtitles with Control
Rather than typing directly into placeholders, creating separate text boxes gives you more flexibility. Steps include:
- Insert a text box outside the slide area to avoid automatic resizing.
- Type your title or subtitle and then drag the box onto the slide.
- Use Montserrat Semi Bold for titles and Montserrat Regular for subtitles.
- Center-align the text inside the box and also align the box itself to the slide center.
- Use the Shift key to move objects vertically or horizontally in a straight line.
- Adjust letter spacing for stylistic effects, such as loosening letters in titles.
Inserting and Managing Logos Across Multiple Slides
When working with multiple slides, it’s inefficient to copy and paste a logo onto each slide manually. Instead, use the Slide Master feature:
- Cut the logo from your slide (Ctrl+X).
- Go to View > Slide Master.
- Paste the logo on the Slide Master; it will appear on all slides linked to that master.
- Position the logo as desired (e.g., top-left or right corner).
- Close the Slide Master view to return to normal editing.
This method saves time and ensures consistency. If you change the logo’s position in the Slide Master, it updates across all slides instantly.
Adding and Customizing Slide Numbers
Slide numbers help your audience keep track of your presentation flow. To add them:
- Go to Insert > Slide Number.
- Check the Slide number box and click Apply.
- To style slide numbers, return to the Slide Master.
- Resize the slide number placeholder and add a gradient-filled rectangle behind it for emphasis.
- Bring the slide number text box to the front to make sure it’s visible over the rectangle.
- Format the text with Montserrat Semi Bold, font size 12, and white color.
- Align the number and rectangle to the center for a polished look.
You can also hide the slide number on the first slide by unchecking the slide number option for that slide.
Creating a Cutout Person Image and Icon Bubbles
Adding a cutout image of a person can make your slide more relatable and dynamic. Here’s how to do it:

- Insert a photo on your slide (copy-paste from Unsplash or use Insert Picture).
- Go to Picture Format > Remove Background.
- Use the Mark Areas to Keep and Mark Areas to Remove tools to fine-tune the selection.
- Click Keep Changes to finalize the cutout.
- Crop the image as needed and align it to the bottom of the slide.
Next, create icon bubbles to highlight key points:
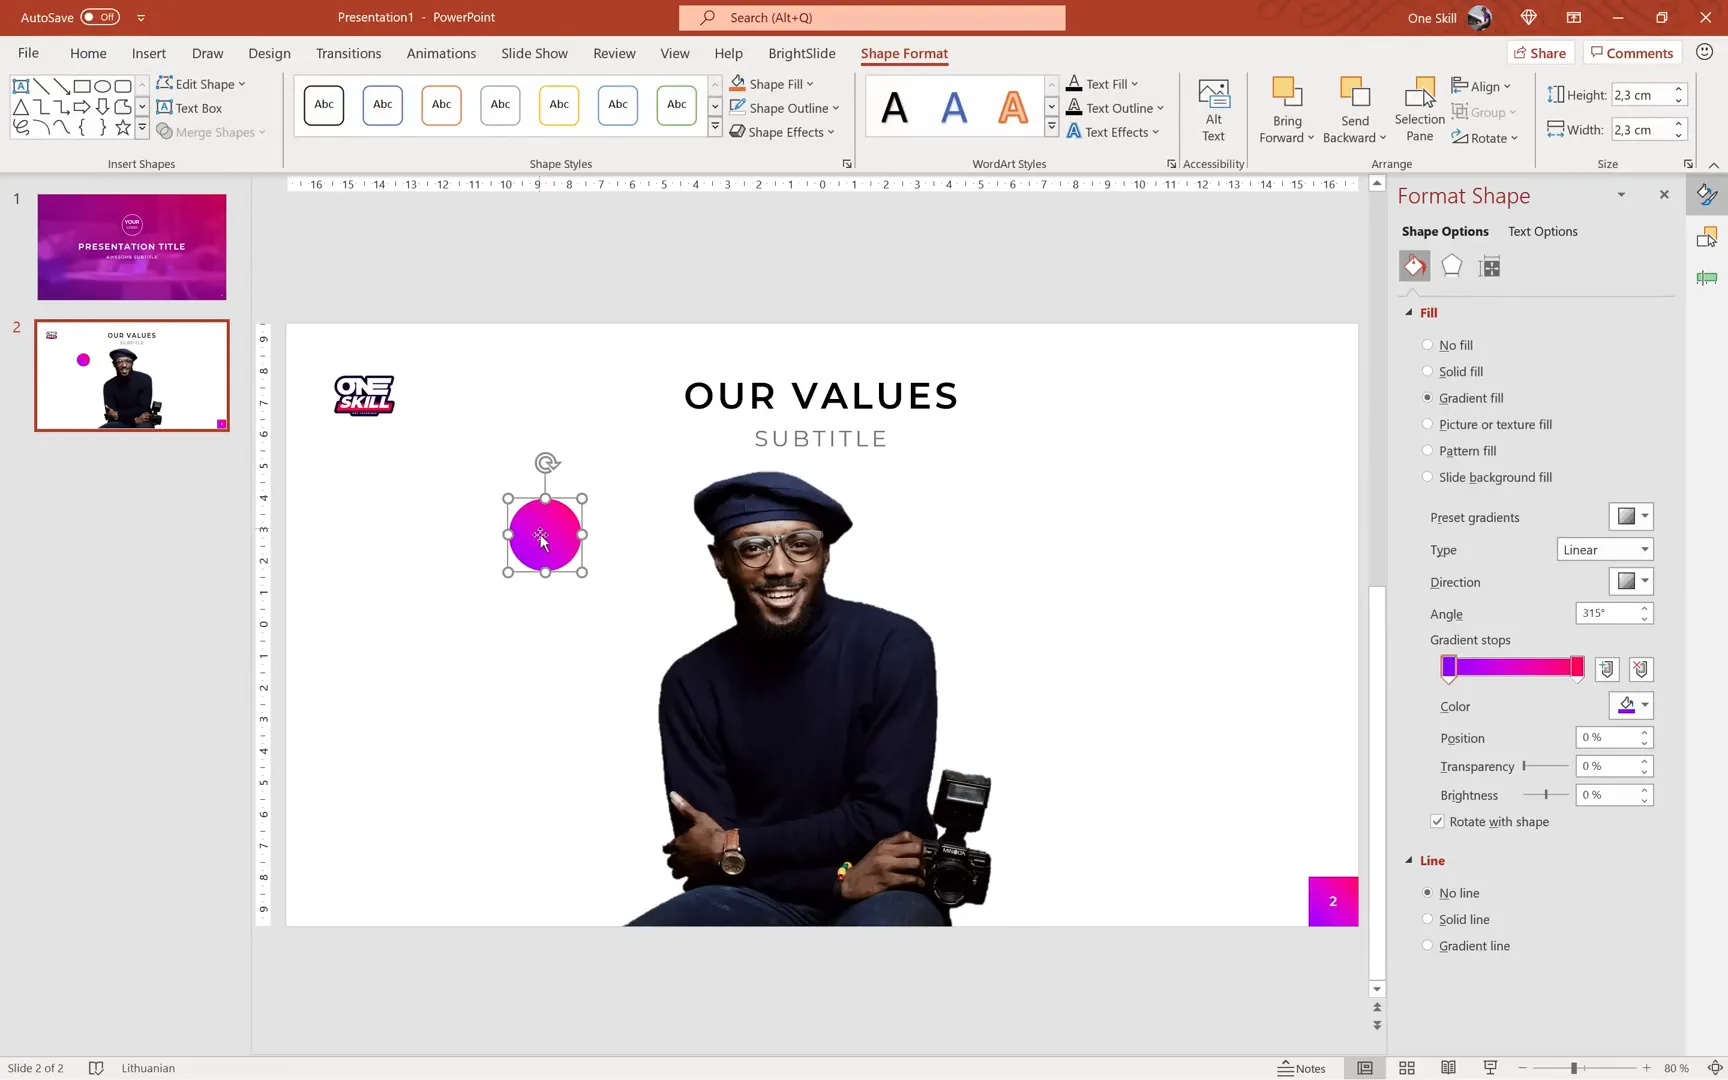
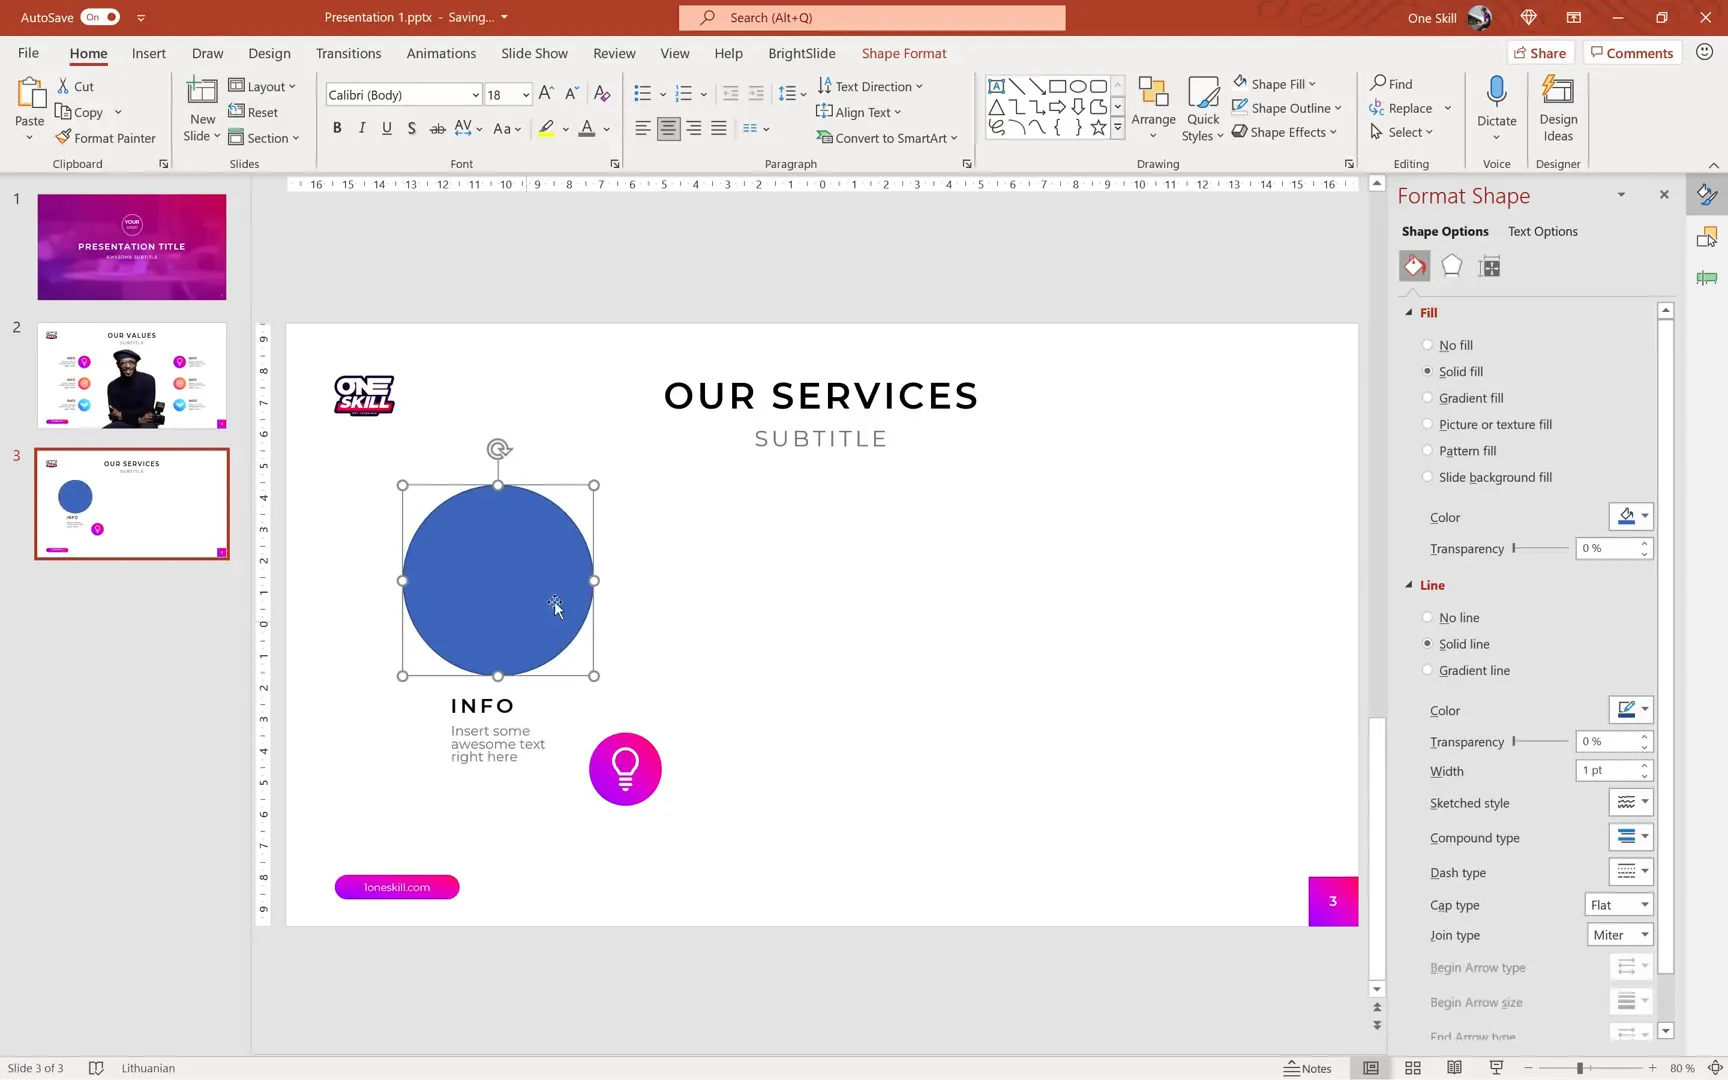
- Insert a circle shape (hold Shift for perfect circle) and size it appropriately (e.g., 2.3 cm diameter).
- Apply a gradient fill with no outline.
- Insert an icon inside the circle using PowerPoint’s Insert > Icons feature or external sources like Icons8.
- Resize and color the icon white for contrast.
- Group the circle and icon together (Ctrl+G) for easy movement.
Designing Text Boxes and Aligning Elements
To complement your icon bubbles, add descriptive text boxes:
- Copy existing title or subtitle boxes and resize for smaller text.
- Adjust font size (e.g., 16 pt or 12 pt) and letter spacing for readability.
- Use the Paragraph settings to tweak line spacing for a cleaner look.
- Group related icons and text boxes for easier management.
- Distribute multiple groups evenly using the Align > Distribute Vertically option.
- Use vertical guides to ensure equal spacing from the slide center for symmetrical layouts.
Creating a Clickable Button with a Link
Interactive buttons can direct your audience to websites or external resources. Here’s how to create one:
- Insert a Rounded Rectangle shape and adjust the corner roundness using the yellow handle.
- Apply gradient fill matching your slide’s color scheme.
- Use the Format Painter or keyboard shortcuts (Ctrl+Shift+C to copy style and Ctrl+Shift+V to paste) to replicate styles quickly.
- Double-click the shape to add text (e.g., “onescale.com”).
- Format the text with Montserrat font, size 9 pt.
- Align the button with other elements using guides for precision.
- Insert a hyperlink by selecting the shape, then going to Insert > Link, and pasting the URL.
- Test the button in slideshow mode to ensure it works.
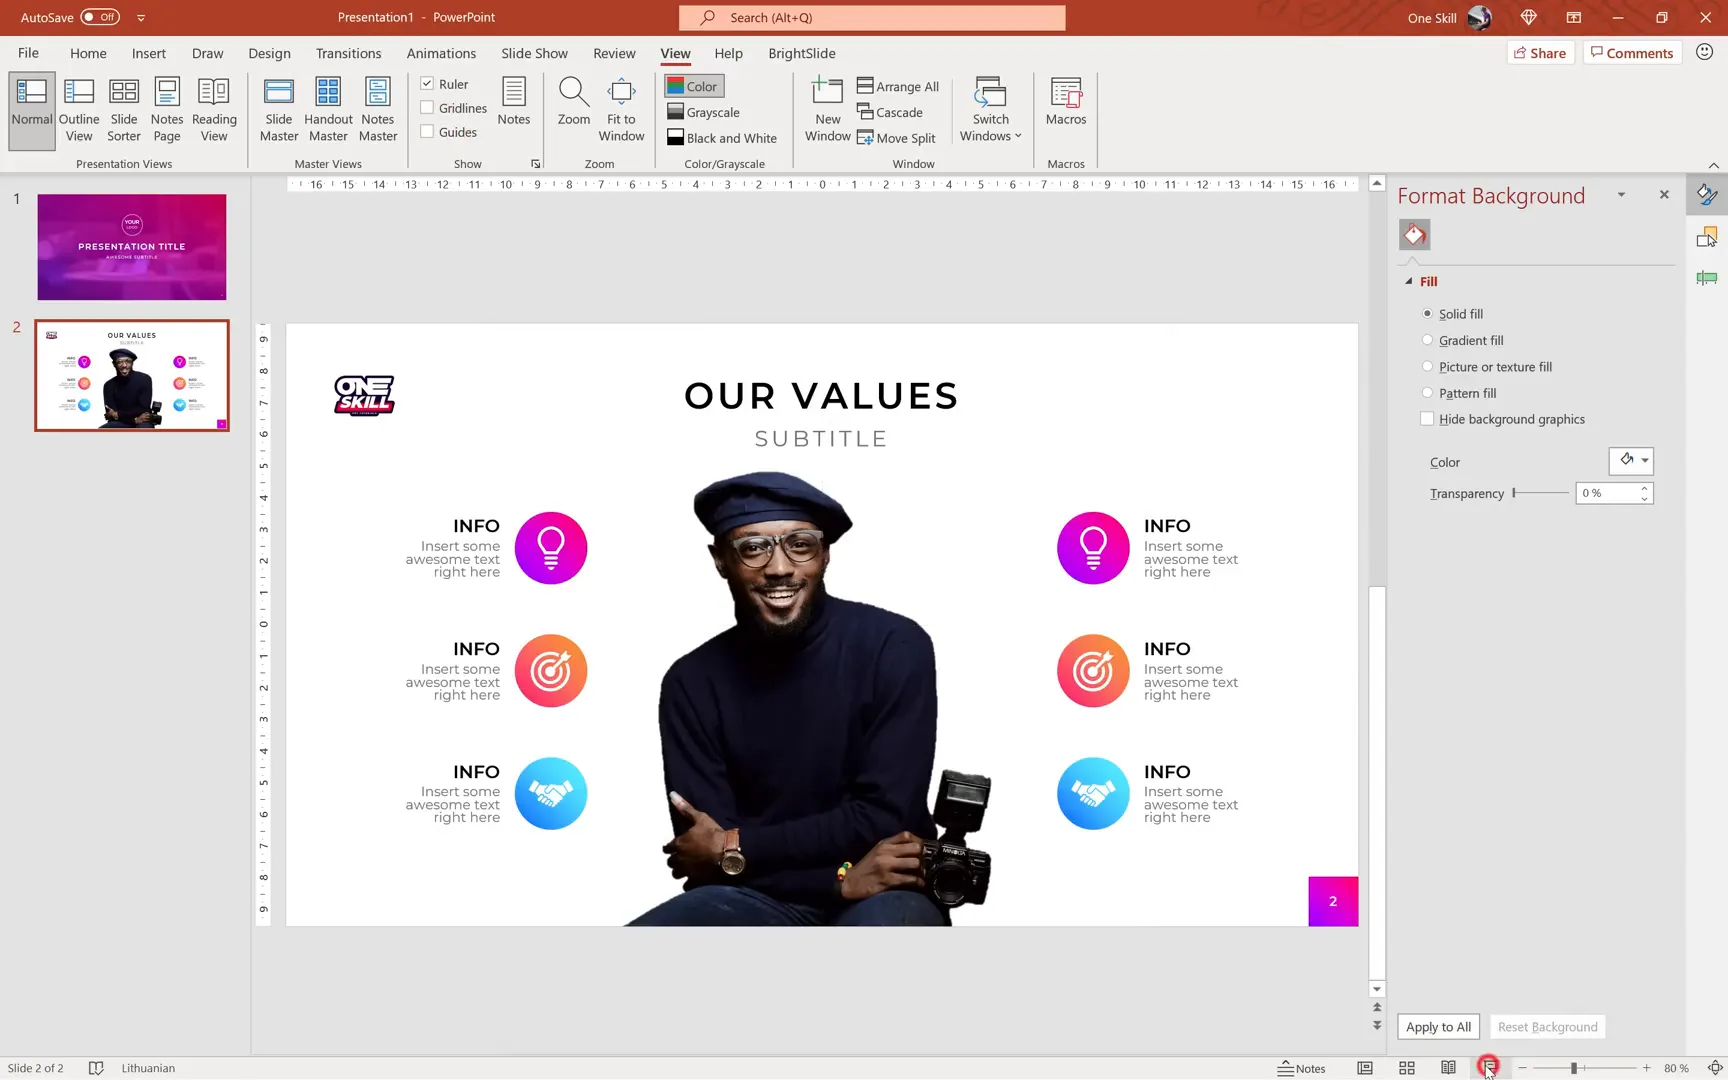
Photo Rings with Icons and Gradient Effects
Photo rings combine circular images with decorative gradient overlays and icons, creating an eye-catching design element:
- Draw a circle (e.g., 6 cm diameter) for your photo ring.
- Paste a photo behind the circle and use Shape Format > Merge Shapes > Intersect to crop the photo into the circle.
- Adjust the photo’s position and zoom inside the circle using the Crop tool.
- Place a gradient-filled circle with partial transparency on top to create a color overlay.
- Insert a white icon above the gradient circle.
- Group all elements together for easy duplication and alignment.
- Duplicate and space the photo rings evenly across the slide using Distribute Horizontally.
- Use vertical guides to ensure symmetrical spacing from the slide center.
Creating Animated Slide Transitions and Effects
Animations breathe life into your slides, making your presentation more dynamic and engaging. PowerPoint categorizes animations into three main types:
- Entrance Animations: How objects appear on the slide (e.g., fade in, fly in).
- Emphasis Animations: Effects applied while objects are on the slide (e.g., spin, pulse).
- Exit Animations: How objects leave the slide (e.g., fade out, fly out).
Here’s how to add and customize animations:
- Select the object you want to animate.
- Go to the Animations tab and choose an animation effect.
- Use the Animation Pane to manage the order, duration, and delay.
- Set animations to start On Click, With Previous, or After Previous for timing control.
- Use the Animation Painter to easily copy animations between objects.
- Add slight delays between animations to create waterfall effects.
For slide transitions (the effect between slides), try using the Fade transition with varying durations to create smooth, professional slide changes. This technique is especially effective for subtle movement effects like shifting color gradients.
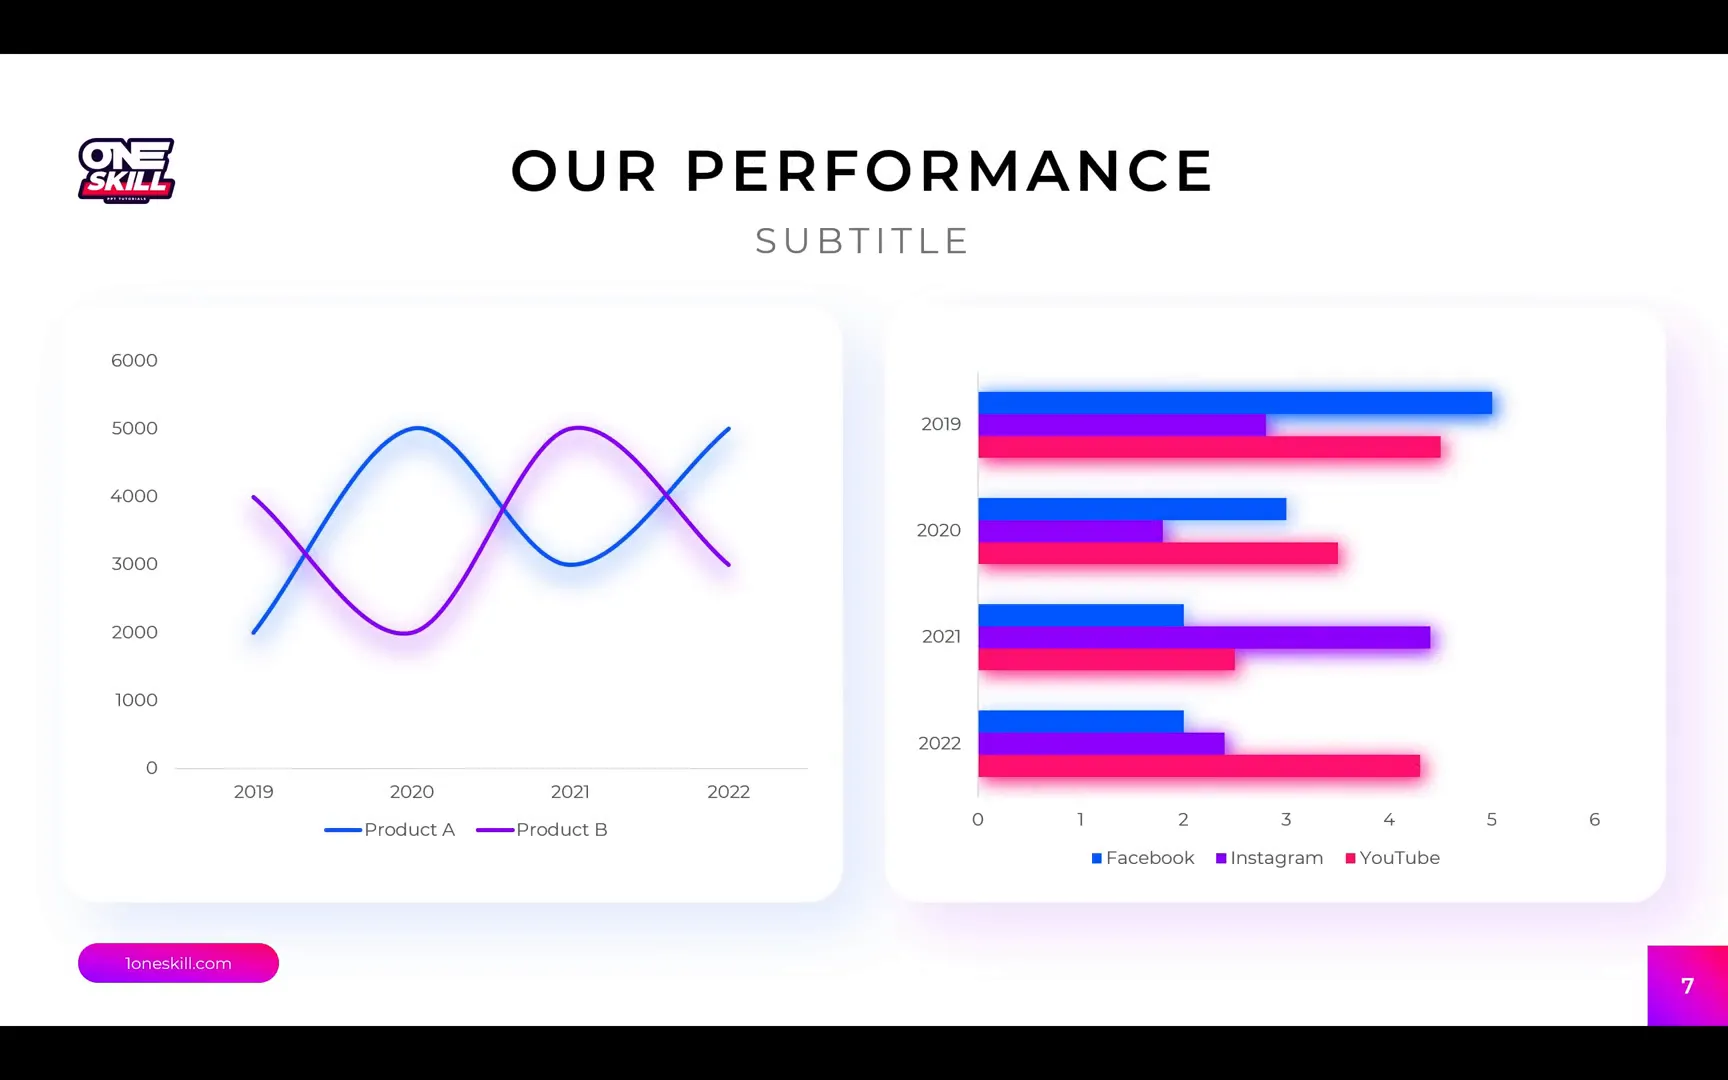
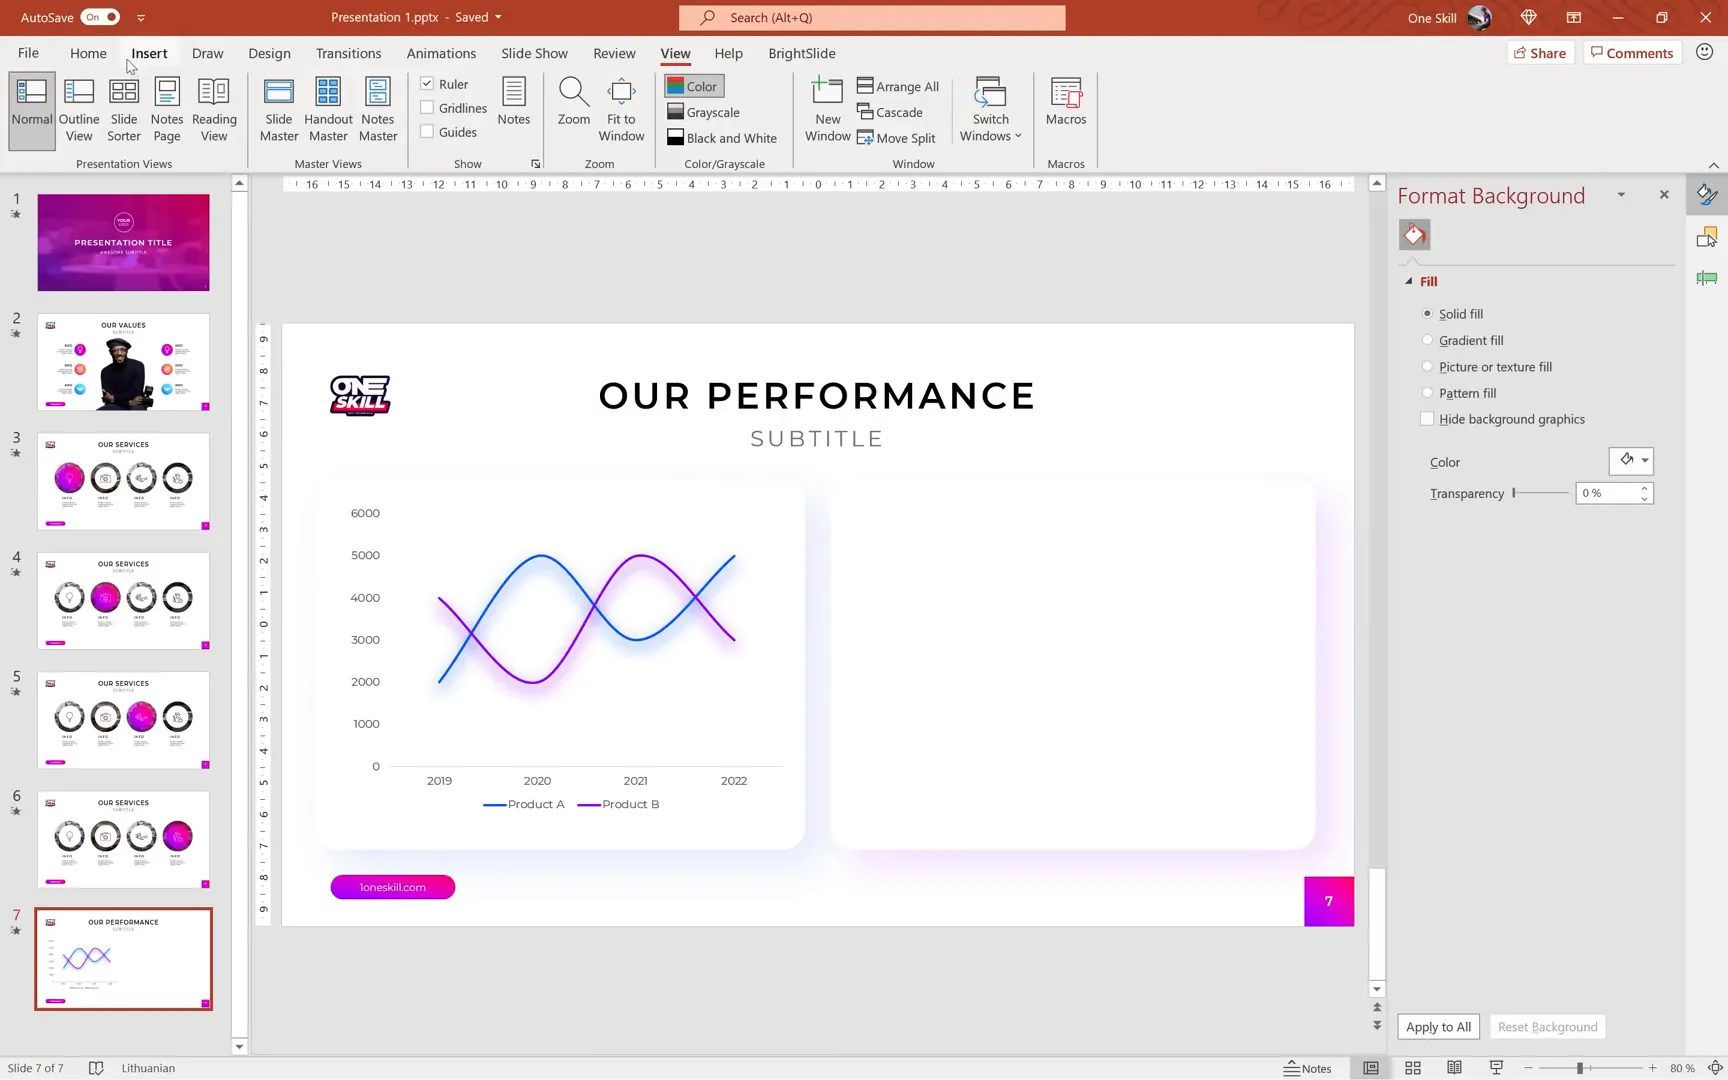
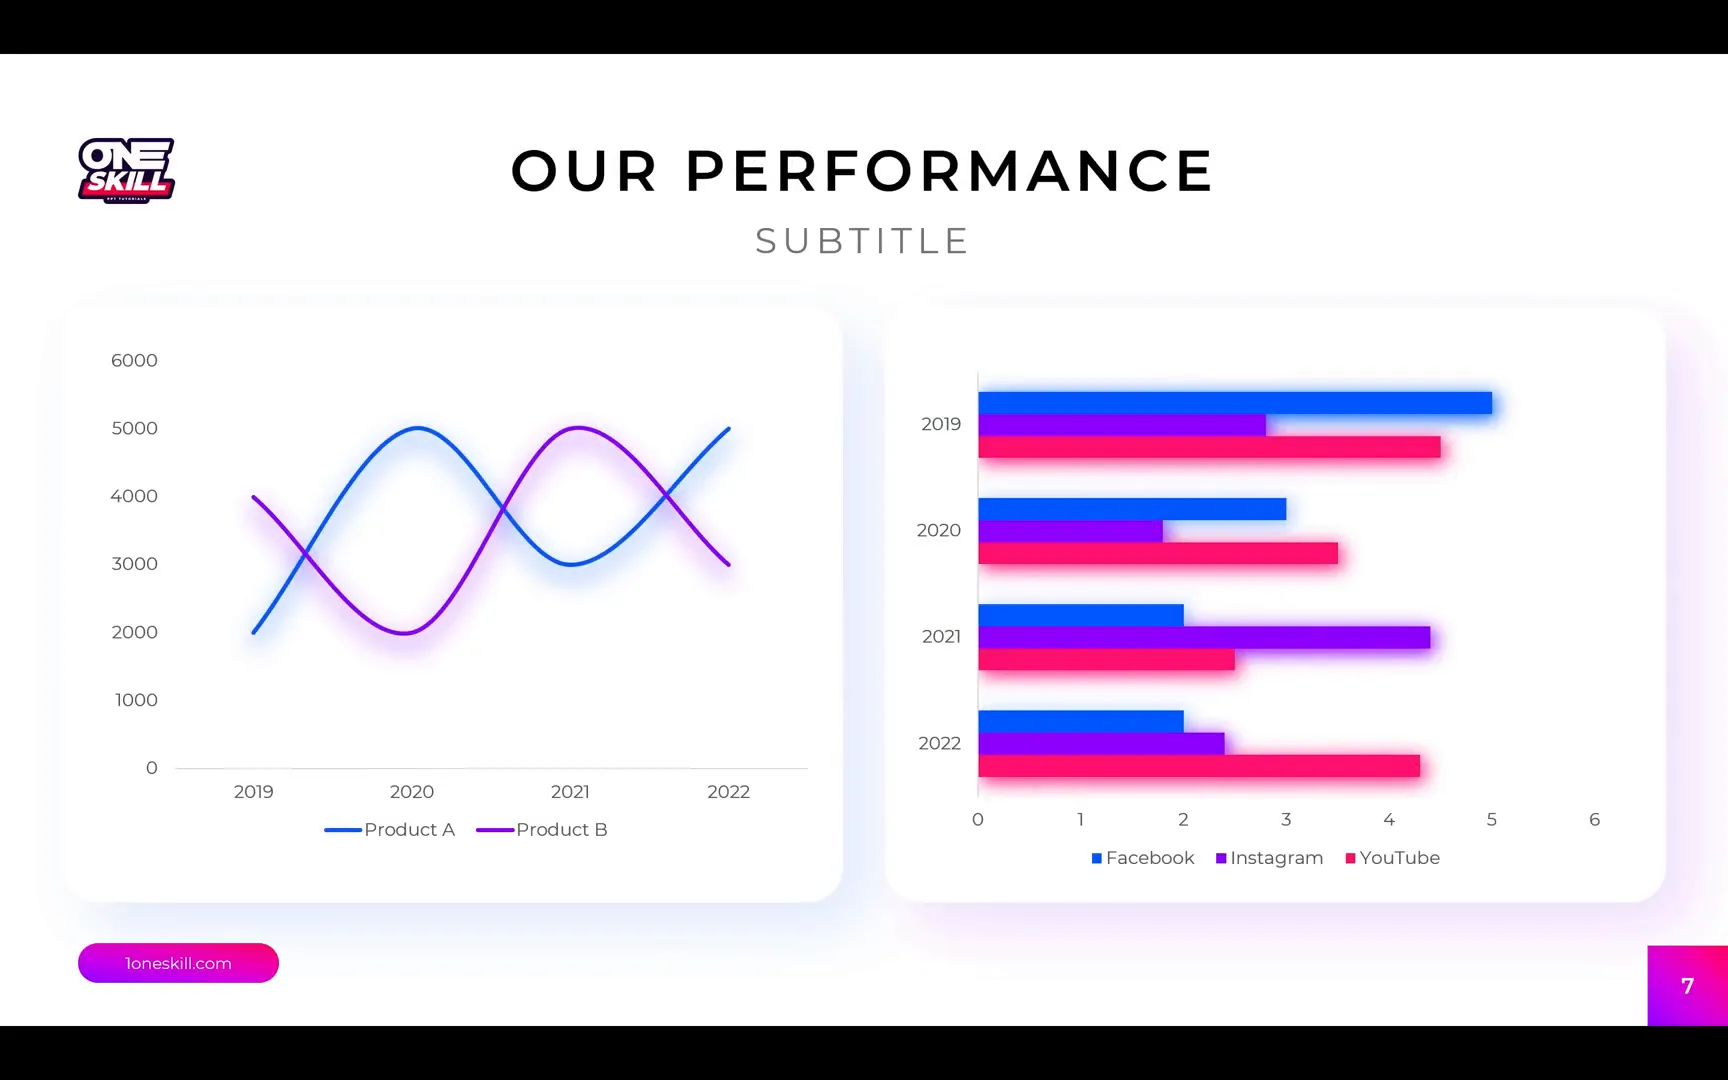
Inserting and Formatting Editable Charts
PowerPoint allows you to insert a variety of editable charts to visualize your data effectively. Here’s how to create and customize charts:
- Go to Insert > Chart and select the chart type (e.g., line chart, bar chart).
- PowerPoint opens an Excel-like window where you can input or paste your data.
- Resize the chart to fit your slide’s design.
- Use the chart’s formatting options to hide gridlines or titles for a cleaner look.
- Customize fonts to maintain consistency (e.g., Montserrat Regular, size 10).
- Enable Smooth Line for line charts to soften sharp edges.
- Change line and bar colors to match your theme.
- Add shadows or subtle effects to enhance chart depth.
- Place charts on rounded rectangles with shadows to create emphasis and separation from the background.
Tips for Precise Alignment and Consistency
Maintaining consistent spacing and alignment across slides contributes to a professional appearance. Use these PowerPoint features:
- Guides and Smart Guides: Enable these to see alignment cues when moving objects.
- Distribute Tools: Use Distribute Horizontally or Vertically to space objects evenly.
- Selection Pane: Reorder objects and hide/show elements for easier editing.
- Grouping: Group related shapes and text boxes to move or animate them as one unit.
- Keyboard Shortcuts: Hold Shift to move objects in a straight line; use Ctrl+D to duplicate objects quickly.
Final Thoughts and Encouragement
Creating professional PowerPoint slides is a skill that improves with practice and understanding of the software’s tools. By mastering slide layouts, images, gradients, icons, charts, and animations, you can craft presentations that captivate and inform your audience effectively.
Remember, the key is to start simple, build your slides step-by-step, and gradually incorporate more advanced features like transitions and animations. Don’t hesitate to experiment with colors, fonts, and layouts to find your unique style.
With the techniques covered here, you are well-equipped to create beautiful, functional, and engaging PowerPoint presentations from scratch. Happy designing!
Frequently Asked Questions (FAQ)
1. What is the best way to start a PowerPoint presentation as a beginner?
Start with a blank presentation to have full creative control. Avoid using premade templates initially so you can learn how to build slides from scratch, including inserting text boxes, images, and shapes.
2. How can I make my text stand out on photo backgrounds?
Add a semi-transparent gradient overlay on top of the photo and consider applying a blur effect to the background image. This creates contrast and improves text readability.
3. How do I insert a logo on all slides without copying it manually?
Use the Slide Master view to place the logo once. It will then appear on every slide linked to that master. Any changes made in Slide Master update all slides automatically.
4. Can I create clickable buttons in PowerPoint?
Yes! Insert a rounded rectangle shape, style it with gradients, add text, and then insert a hyperlink to any URL. When presenting, clicking the button will open the linked website.
5. How do I add animations to my slides?
Select objects and apply entrance, emphasis, or exit animations from the Animations tab. Use the Animation Pane to control timing, order, and delays for smooth effects.
6. Are there free resources for photos and icons compatible with PowerPoint?
Absolutely! Websites like Unsplash provide free high-quality photos, and Icons8 offers free icons. PowerPoint also includes a built-in icon library with scalable vector graphics.
7. How can I ensure my slides look consistent and professional?
Use guides and smart guides for alignment, group related objects, distribute them evenly, and maintain consistent fonts, colors, and styles throughout your presentation.
8. How do I insert editable charts in PowerPoint?
Go to Insert > Chart, pick your chart type, and enter data in the Excel-like window. Customize the chart’s appearance, colors, and fonts to match your design.
9. How can I edit or replace photos inside shapes like circles?
Use the Change Picture option by right-clicking the photo inside the shape. This allows you to swap images while preserving the shape and formatting.
10. What are some useful keyboard shortcuts for PowerPoint slide design?
- Ctrl+D: Duplicate selected object
- Ctrl+G: Group selected objects
- Shift + drag: Move object in a straight line
- Ctrl+Shift+C / Ctrl+Shift+V: Copy and paste formatting
By mastering these tools and techniques, your PowerPoint presentations will stand out with professional polish and dynamic flair. Keep practicing, exploring, and creating!
Check out the full video: Beginner’s Guide to Microsoft PowerPoint ✅ FREE Slides


