
Creating stunning presentations doesn’t have to be complicated or time-consuming. Whether you’re a beginner or a seasoned pro, mastering just a few simple tricks can dramatically improve the quality and impact of your slides. In this comprehensive guide, I’ll walk you through three of the easiest yet most impressive PowerPoint tricks that I use to upgrade any presentation. These tips focus on using Microsoft PowerPoint from Microsoft 365, especially leveraging the powerful Morph transition to create smooth, dynamic effects.
Along the way, I’ll also share the video editing tool I use for my tutorials, how to source images effectively, and step-by-step instructions to help you replicate these tricks perfectly. By the end of this article, you’ll have the confidence and skills to make your presentations more engaging, professional, and visually appealing.
Table of Contents
- Why These PowerPoint Tricks Matter
- Bonus: The Video Editing App I Use
- Trick 1: The Mosaic Table Trick
- Trick 2: The Carousel Image Trick
- Trick 3: The Text Mask Trick
- Summary: Transform Your Presentations with These Three Tricks
- Frequently Asked Questions (FAQ)
- Additional Tips for PowerPoint Success
- Conclusion
Why These PowerPoint Tricks Matter
PowerPoint presentations are everywhere—from classrooms and boardrooms to webinars and conferences. But many presentations fall flat because they rely on static slides with little visual interest or animation. Learning how to use transitions and layout techniques effectively can transform your slides into a captivating story that holds your audience’s attention.
The three tricks covered here are designed to be easy to implement, requiring minimal technical knowledge but delivering maximum visual impact. You don’t need to be a design expert or spend hours tweaking your slides to achieve professional results.
Bonus: The Video Editing App I Use
Before diving into the PowerPoint tricks, I want to answer a question I get asked all the time: What app do I use to edit my videos? Transparency is important, so here’s the answer—Wondershare DemoCreator. I’ve been using this software for quite a while to make all the screen recordings you see in my tutorials.
DemoCreator is a multitrack recording software, which means it allows you to record your screen, microphone, and webcam simultaneously on separate tracks. This feature is incredibly handy for creating professional-looking tutorials and presentations.
What I love most is that you can make all your edits within the software itself. You can trim video sections, add transitions, highlight cursors, insert annotations, and more—all without switching between multiple apps. The software recently added a suite of AI-powered features like automatic subtitles, AI voice changers and denoisers, beauty filters, and even a 3D avatar that tracks your movements.
If you want to try it out, Wondershare DemoCreator offers a free trial. I’ve included a link below so you can explore it yourself:
Trick 1: The Mosaic Table Trick
The first trick is a simple yet elegant way to create a mosaic-style slide layout that looks polished and professional. It’s perfect for showcasing images or data in a visually appealing grid format.
Step-by-Step Instructions
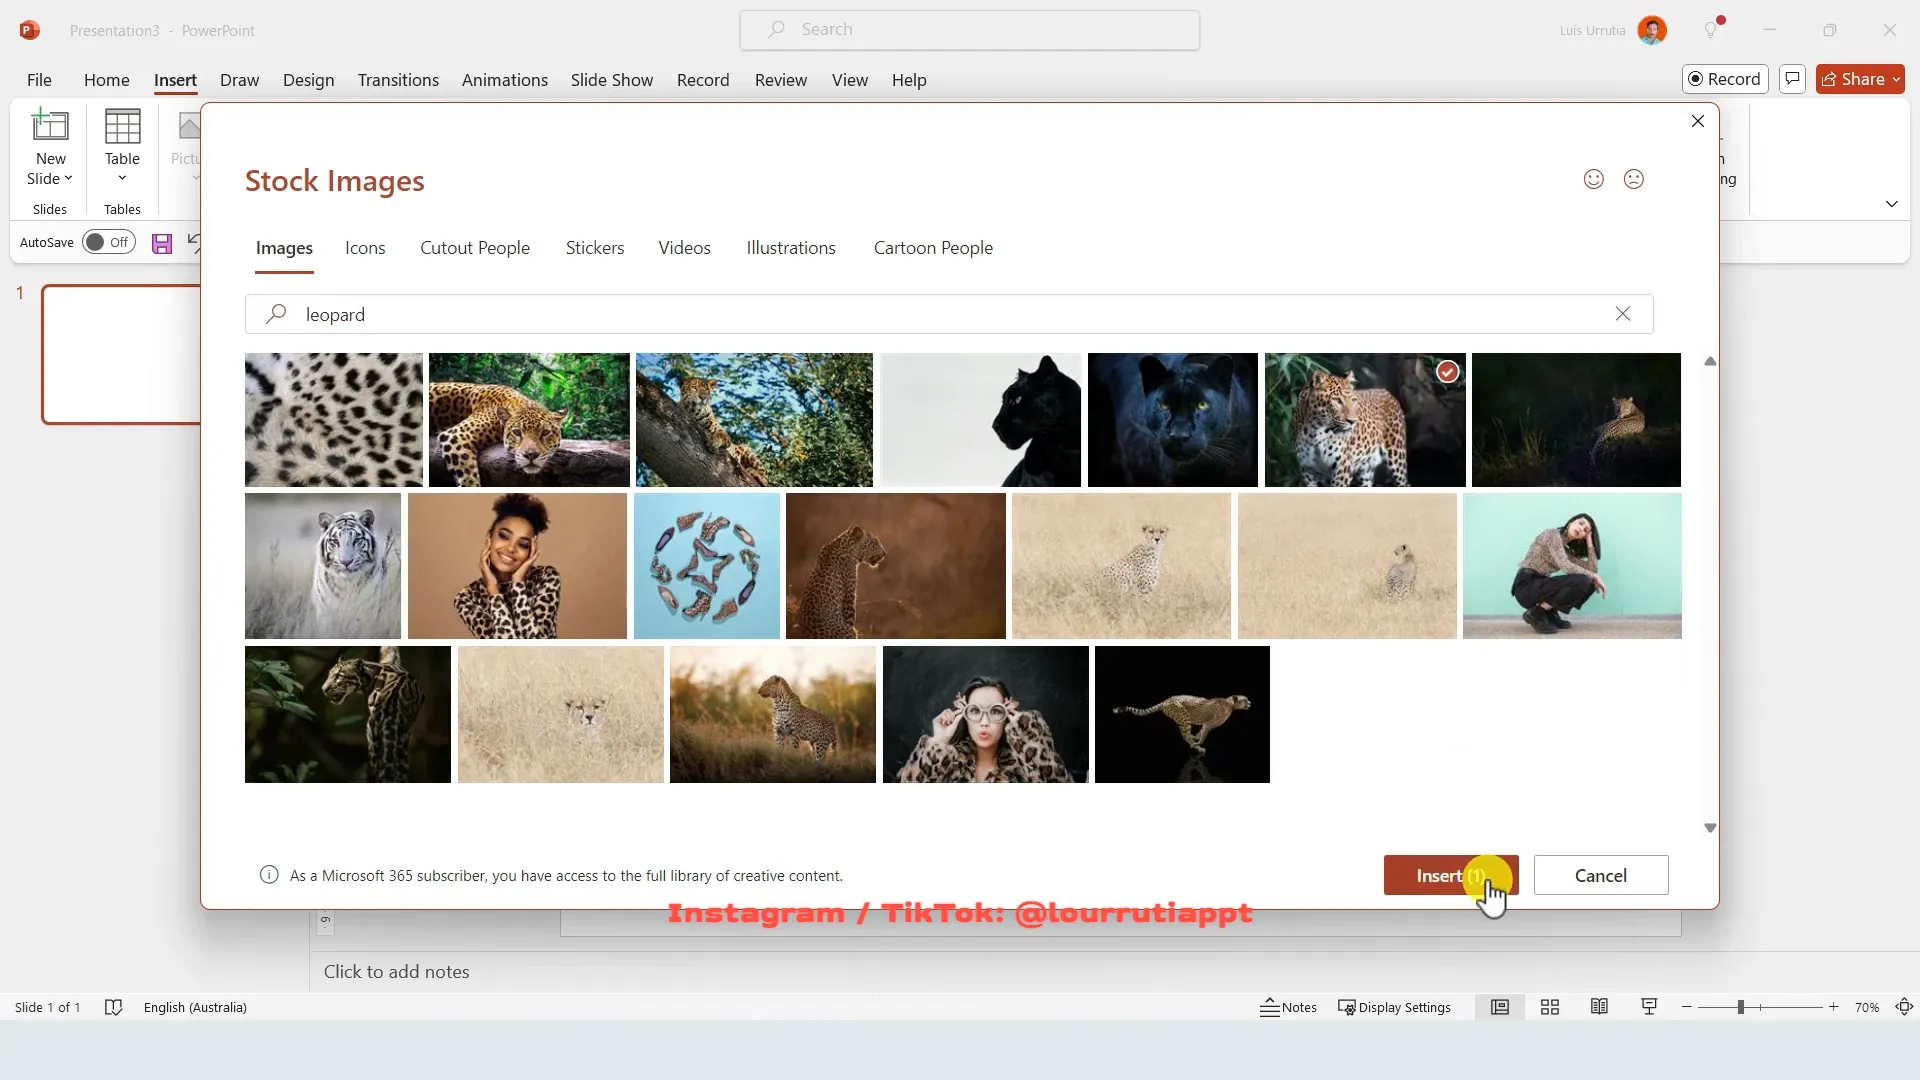
- Insert an Image: Start by inserting an image into your slide. I recommend using the stock image library built into PowerPoint for high-quality, royalty-free images. To make the image fit perfectly, click on the dropdown arrow next to the Crop button, select Aspect Ratio, and choose 16:9. This ensures the image fills the entire slide area when resized.
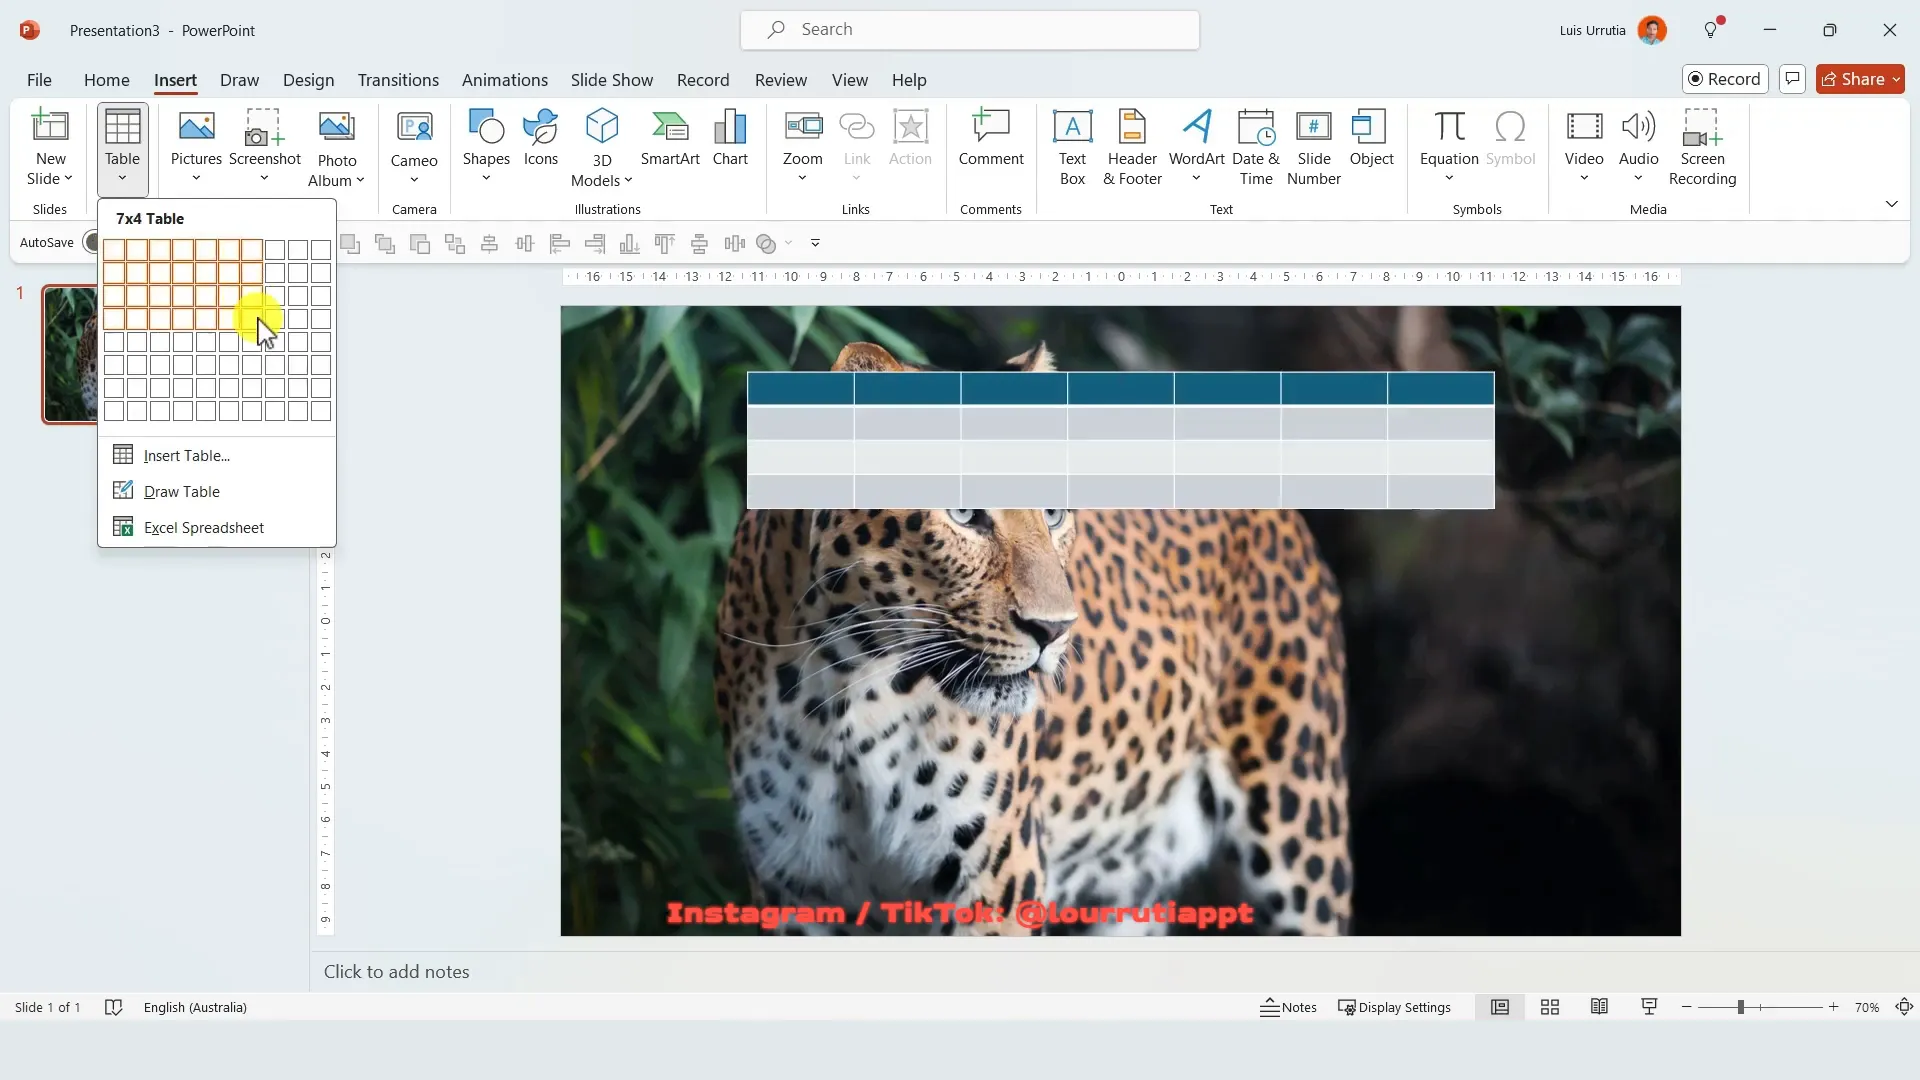
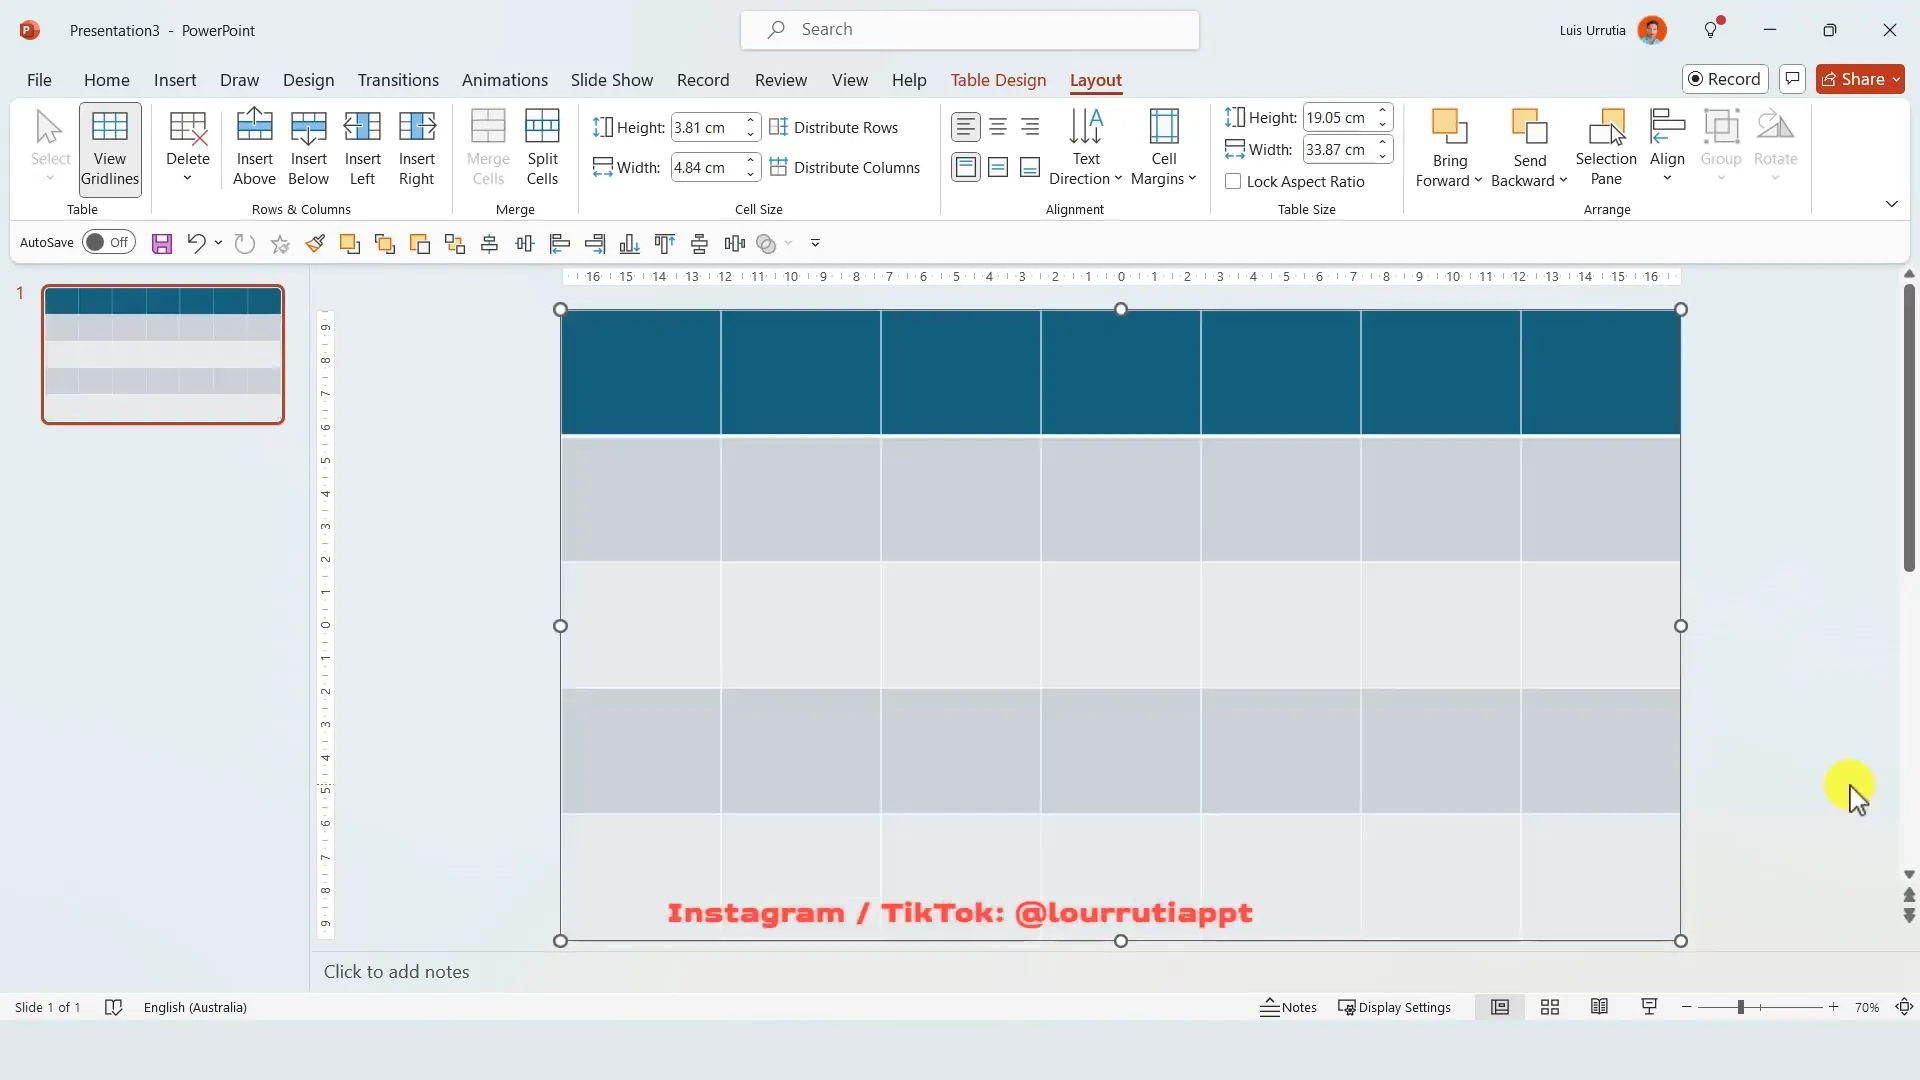
- Insert a Table: Go to the Insert tab and choose Table. Hover over the squares to select a 7×5 table (7 columns and 5 rows). Once inserted, resize the table to cover the whole slide.
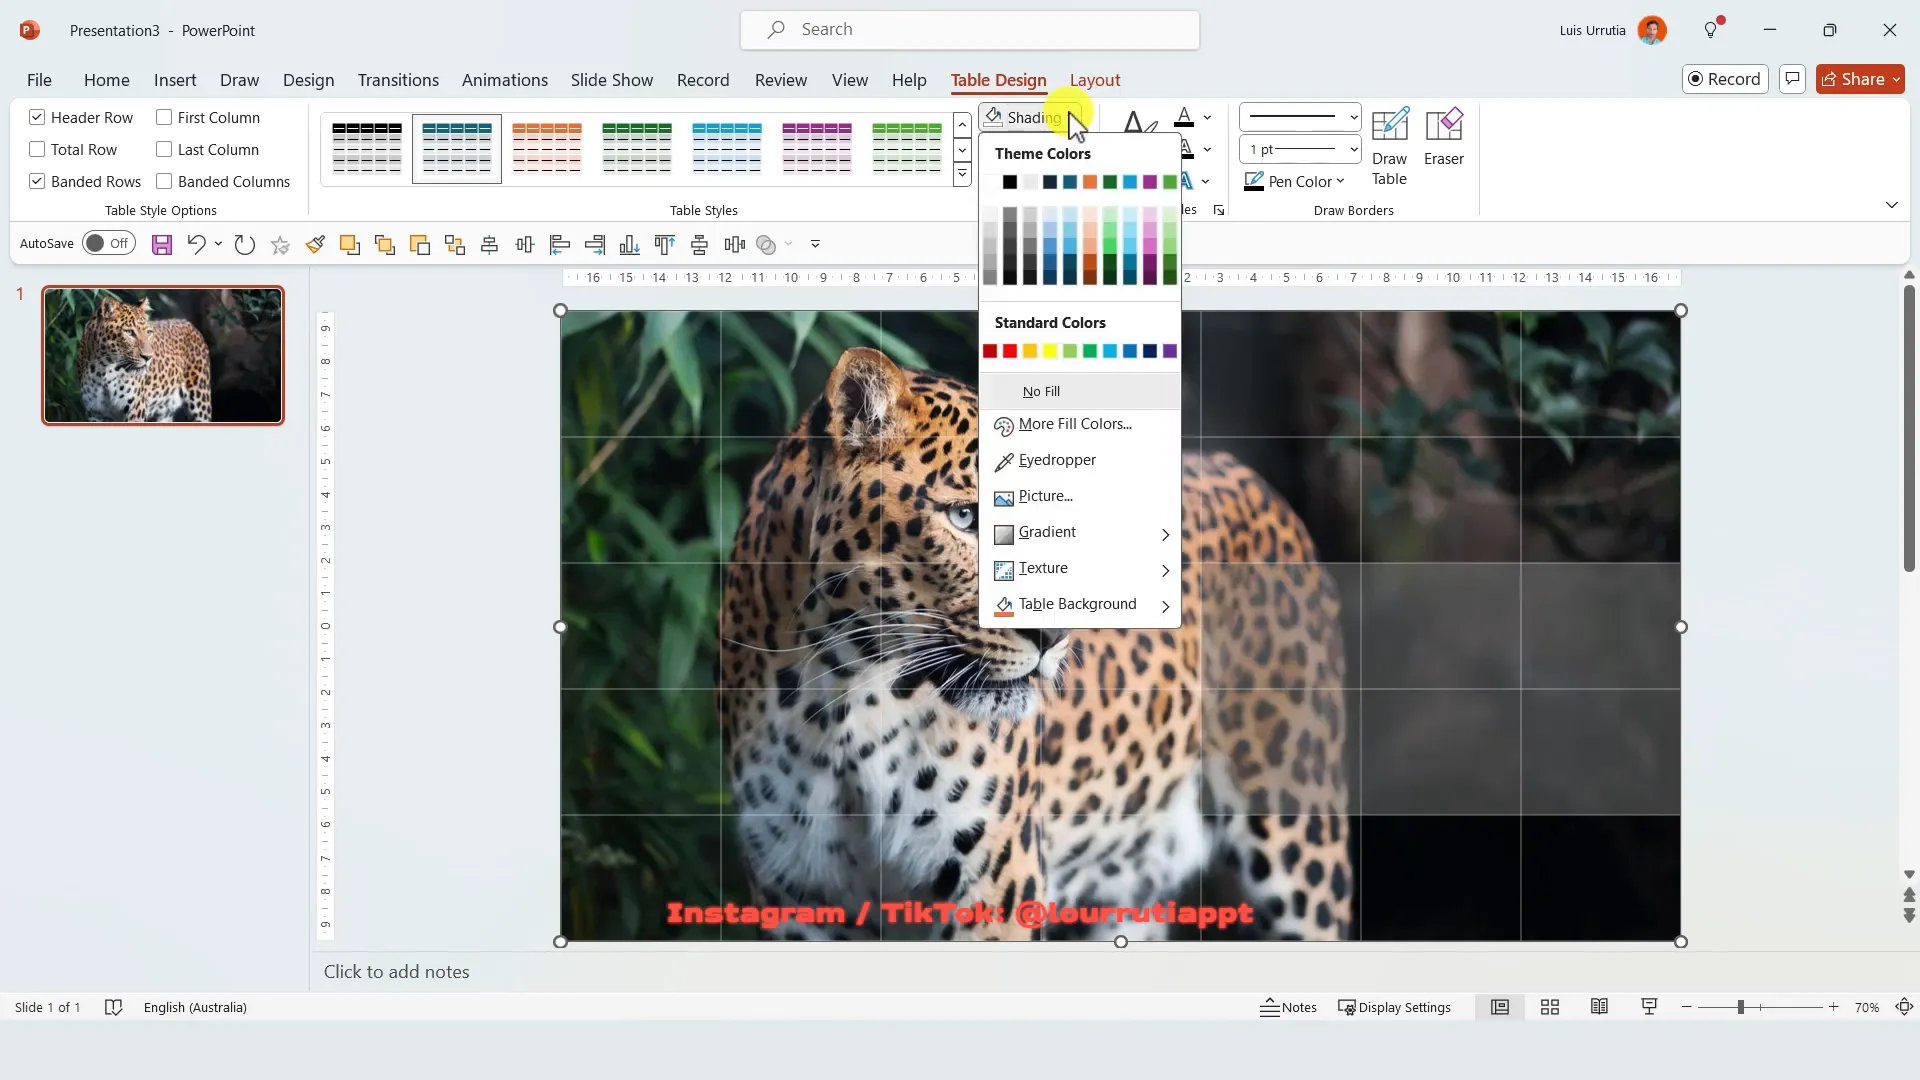
- Remove Table Borders and Fill: Click on Table Design. Under Shading, remove the fill color. Then, under Borders, select No Borders to make the table grid invisible.
- Shade Selected Cells: Select several cells within the table and fill them with white shading. This creates a mosaic pattern. You can select as many cells as you like and even experiment with colors, but I find white gives a clean, professional look.
- Add Text Boxes: Insert text boxes on top of your mosaic grid. Use a bold font for the headline (I use For the Headline font) and a clean font like Aptos for descriptions. Adjust sizes and positioning to fit nicely within the mosaic pattern.
- Duplicate and Customize Slides: Repeat the process for as many slides as you want, changing images and text as needed.
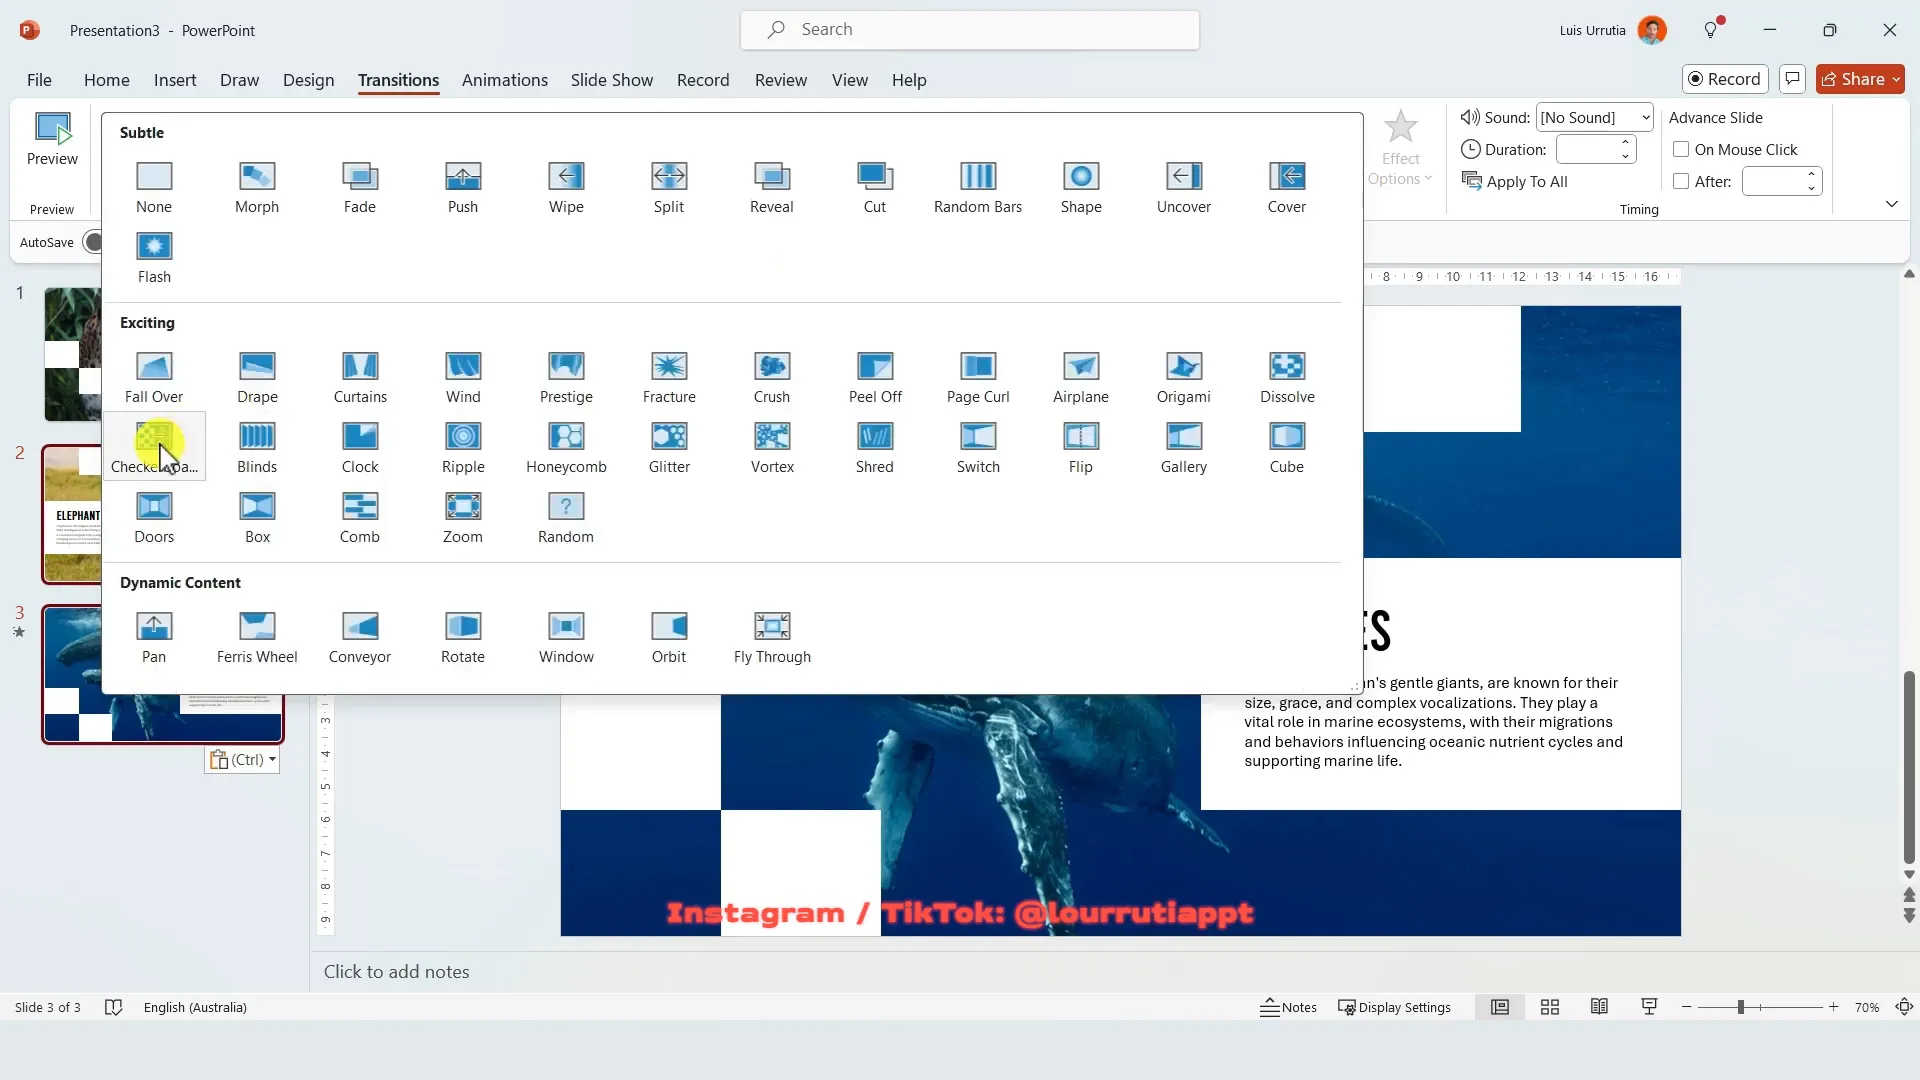
- Apply the Checkerboard Transition: Select all the slides except the first one by holding Shift and clicking. Go to the Transitions tab, click the dropdown, and choose Checkerboard. This transition creates a dynamic effect that complements the mosaic layout.

In just a few minutes, you’ll have a sleek presentation with an eye-catching mosaic effect that elevates your content.
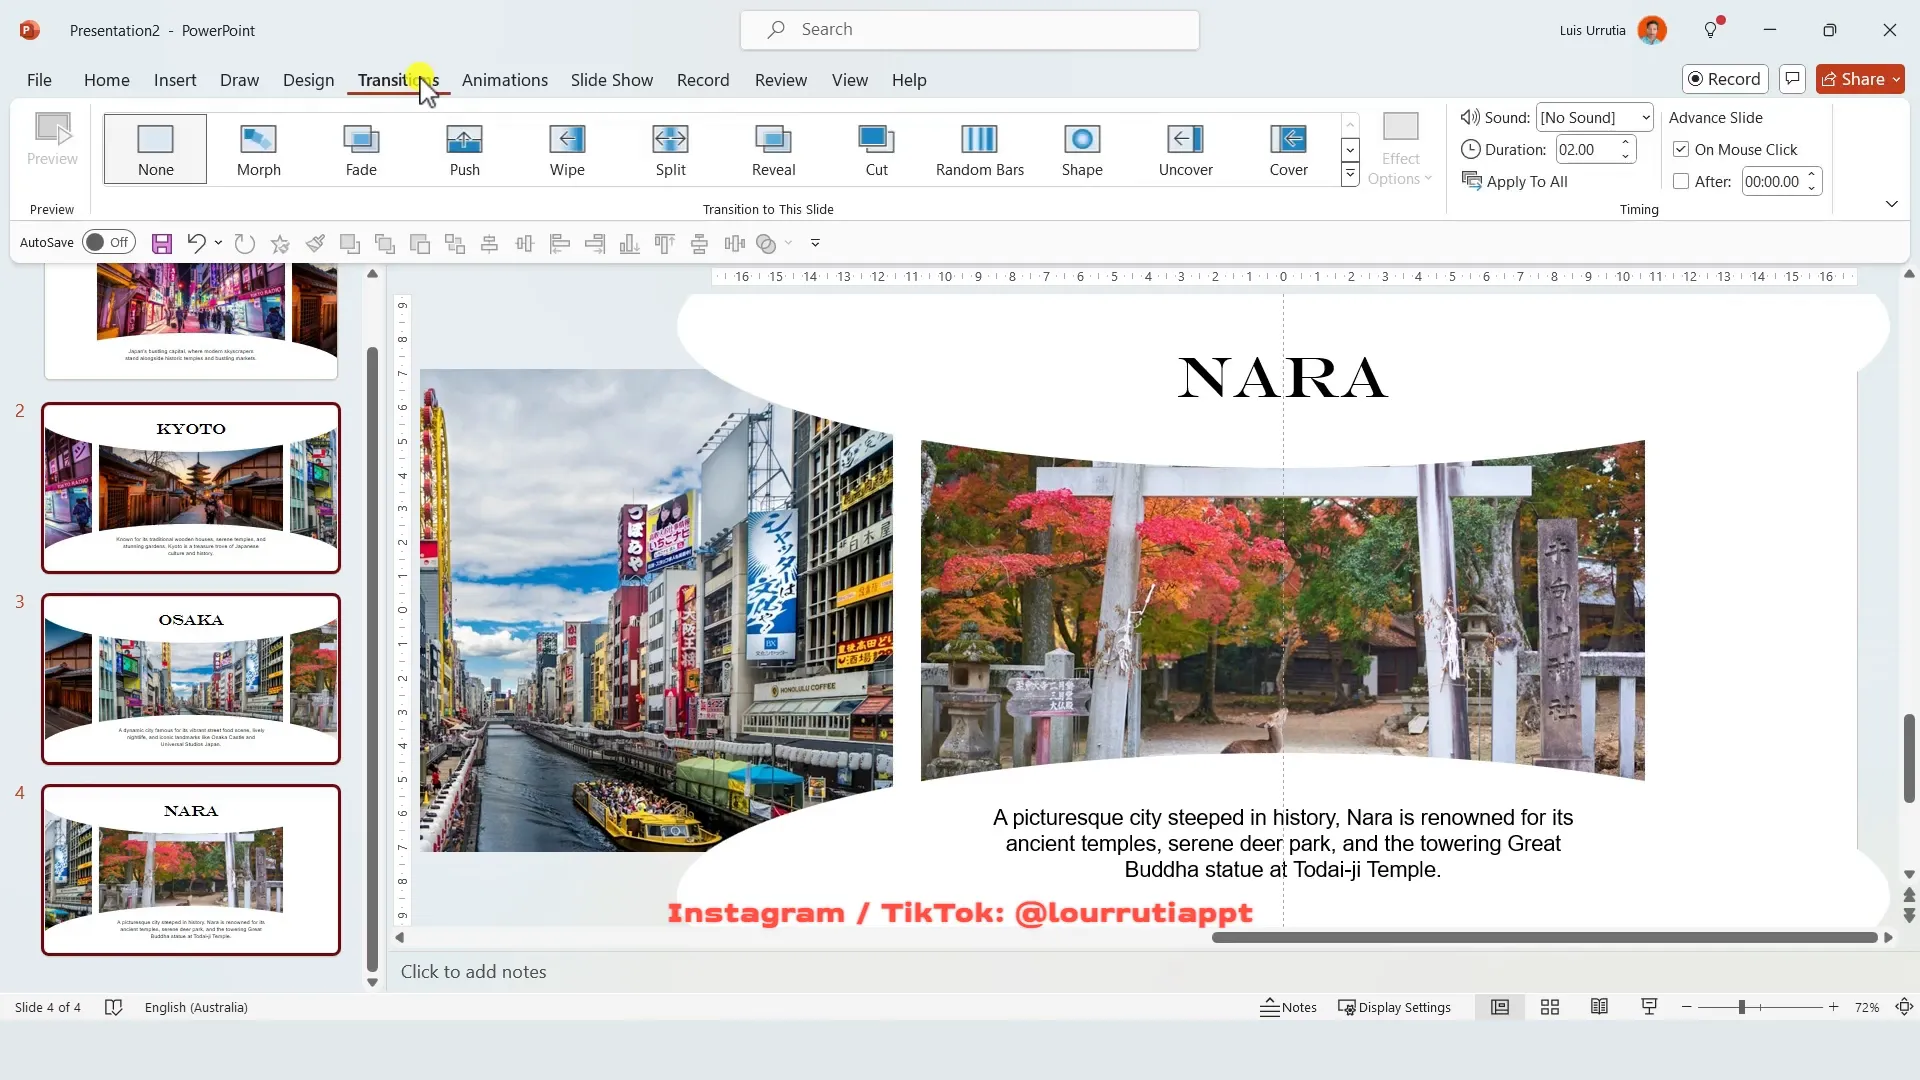
Trick 2: The Carousel Image Trick
The second trick is a carousel-style image presentation that uses layering and the morph transition to create a smooth sliding effect. It’s perfect for photo galleries, showcasing products, or displaying locations like cities or landmarks.
Step-by-Step Instructions
- Insert Images: Start by inserting multiple images into your slide. Place one image in the center and another on the right side, even if it extends beyond the slide boundary. You can continue adding images as many times as you like. I usually get my images from Unsplash.com for high-quality, free photos.
- Add a Vertical Guide: Right-click on the slide background, go to Grids and Guides, and add a vertical guide. This will help you align the images consistently.
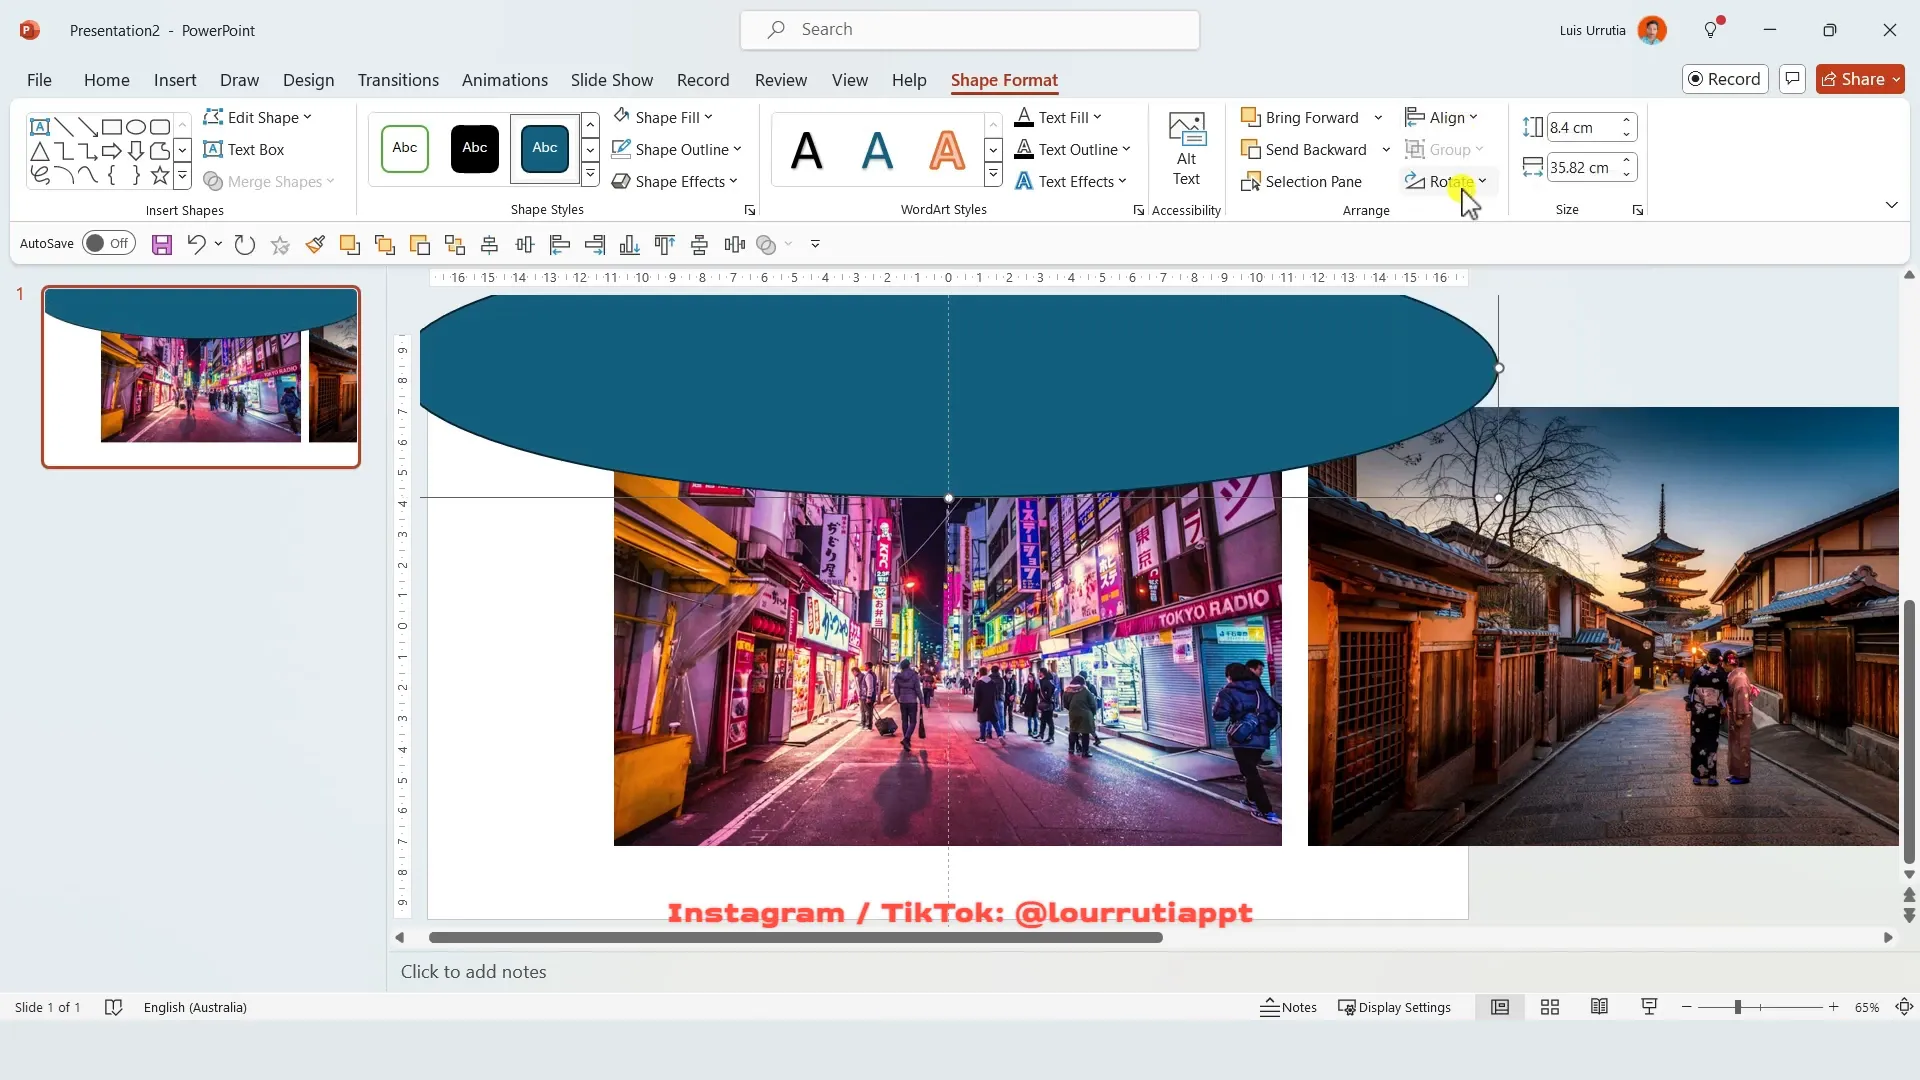
- Create Oval Shape Masks: From the Shapes panel, select the circle and draw an oval at the top of the slide. Align it to the center using the Align tool. Then hold Ctrl and drag the oval downward to create a duplicate at the bottom. Select both shapes, remove the outlines, and fill them with white. These ovals act as masks or frames for the images.
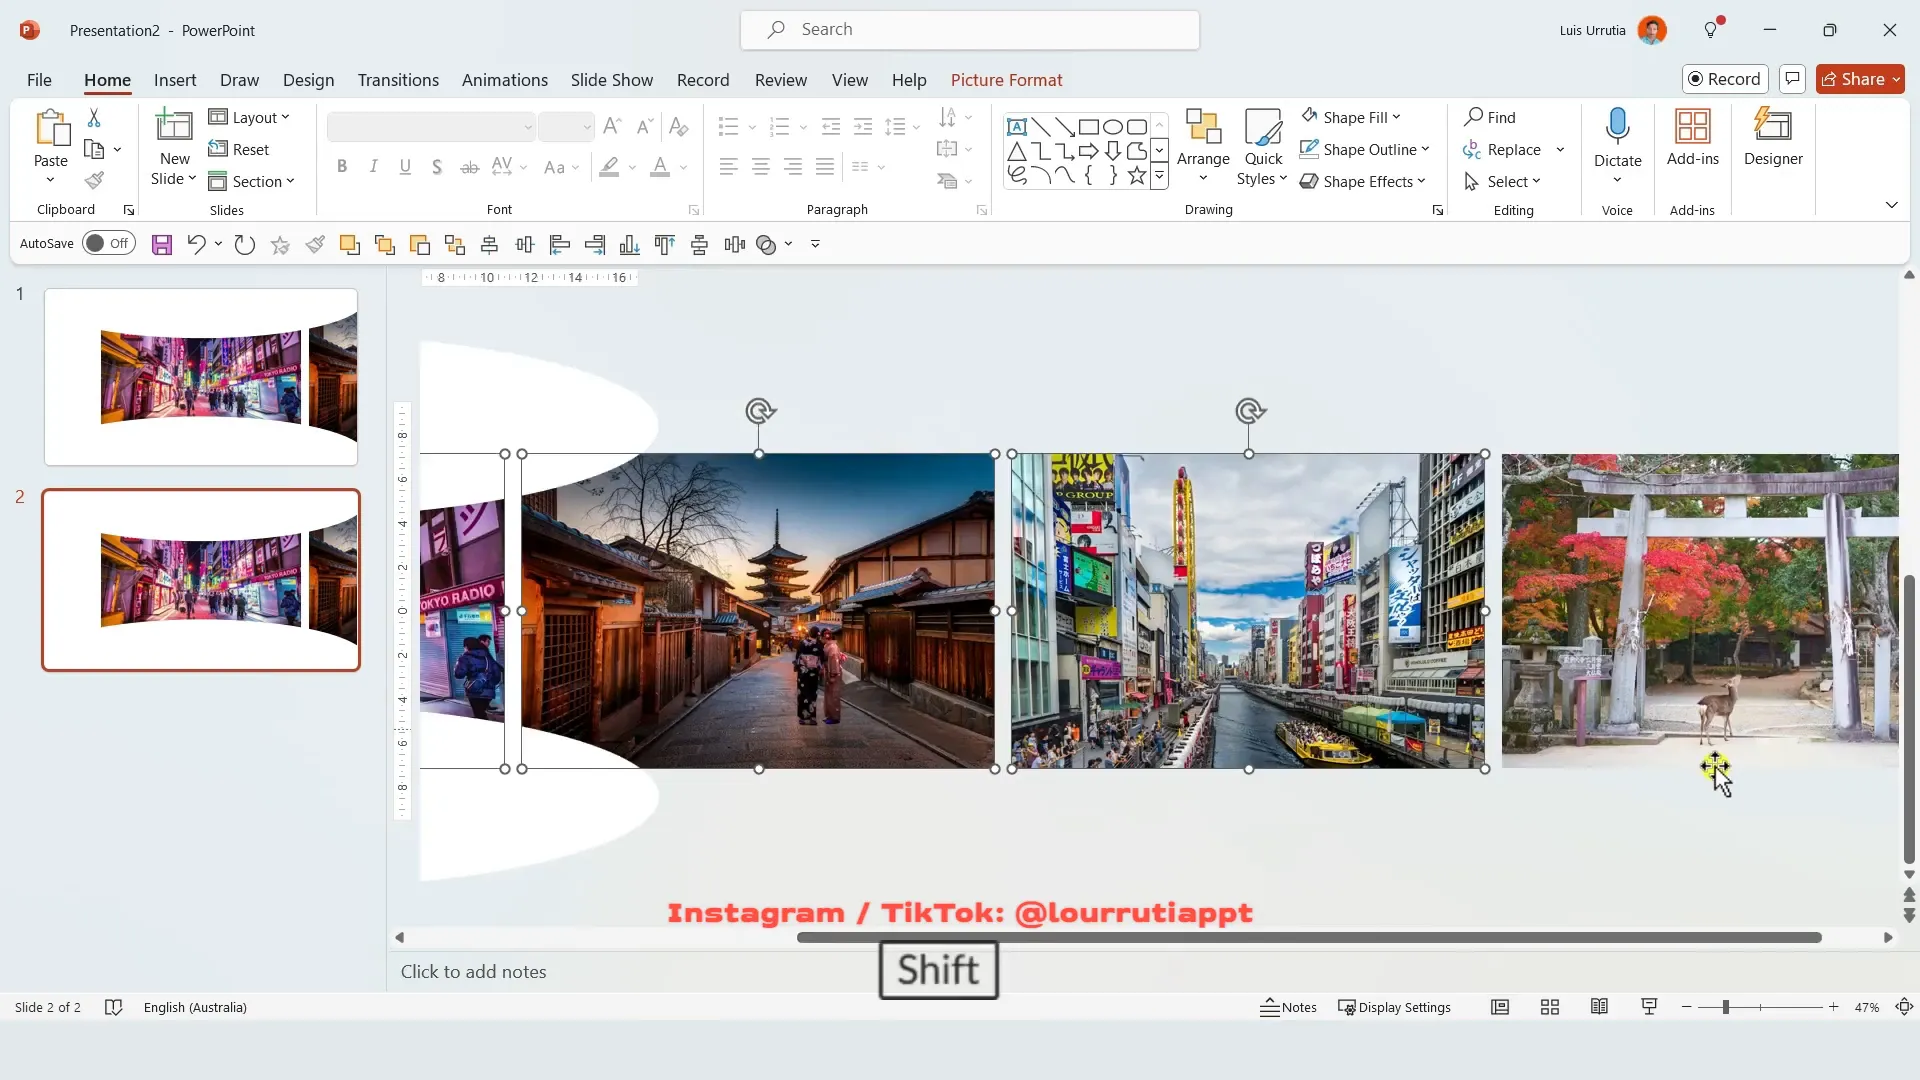
- Duplicate Slides and Shift Images: Duplicate the slide using Ctrl + D. Then, hold Shift, select all images, and move them to the left so that the center of the second image aligns with the vertical guide. Repeat this process for each duplicate, shifting images left each time to simulate a carousel effect.
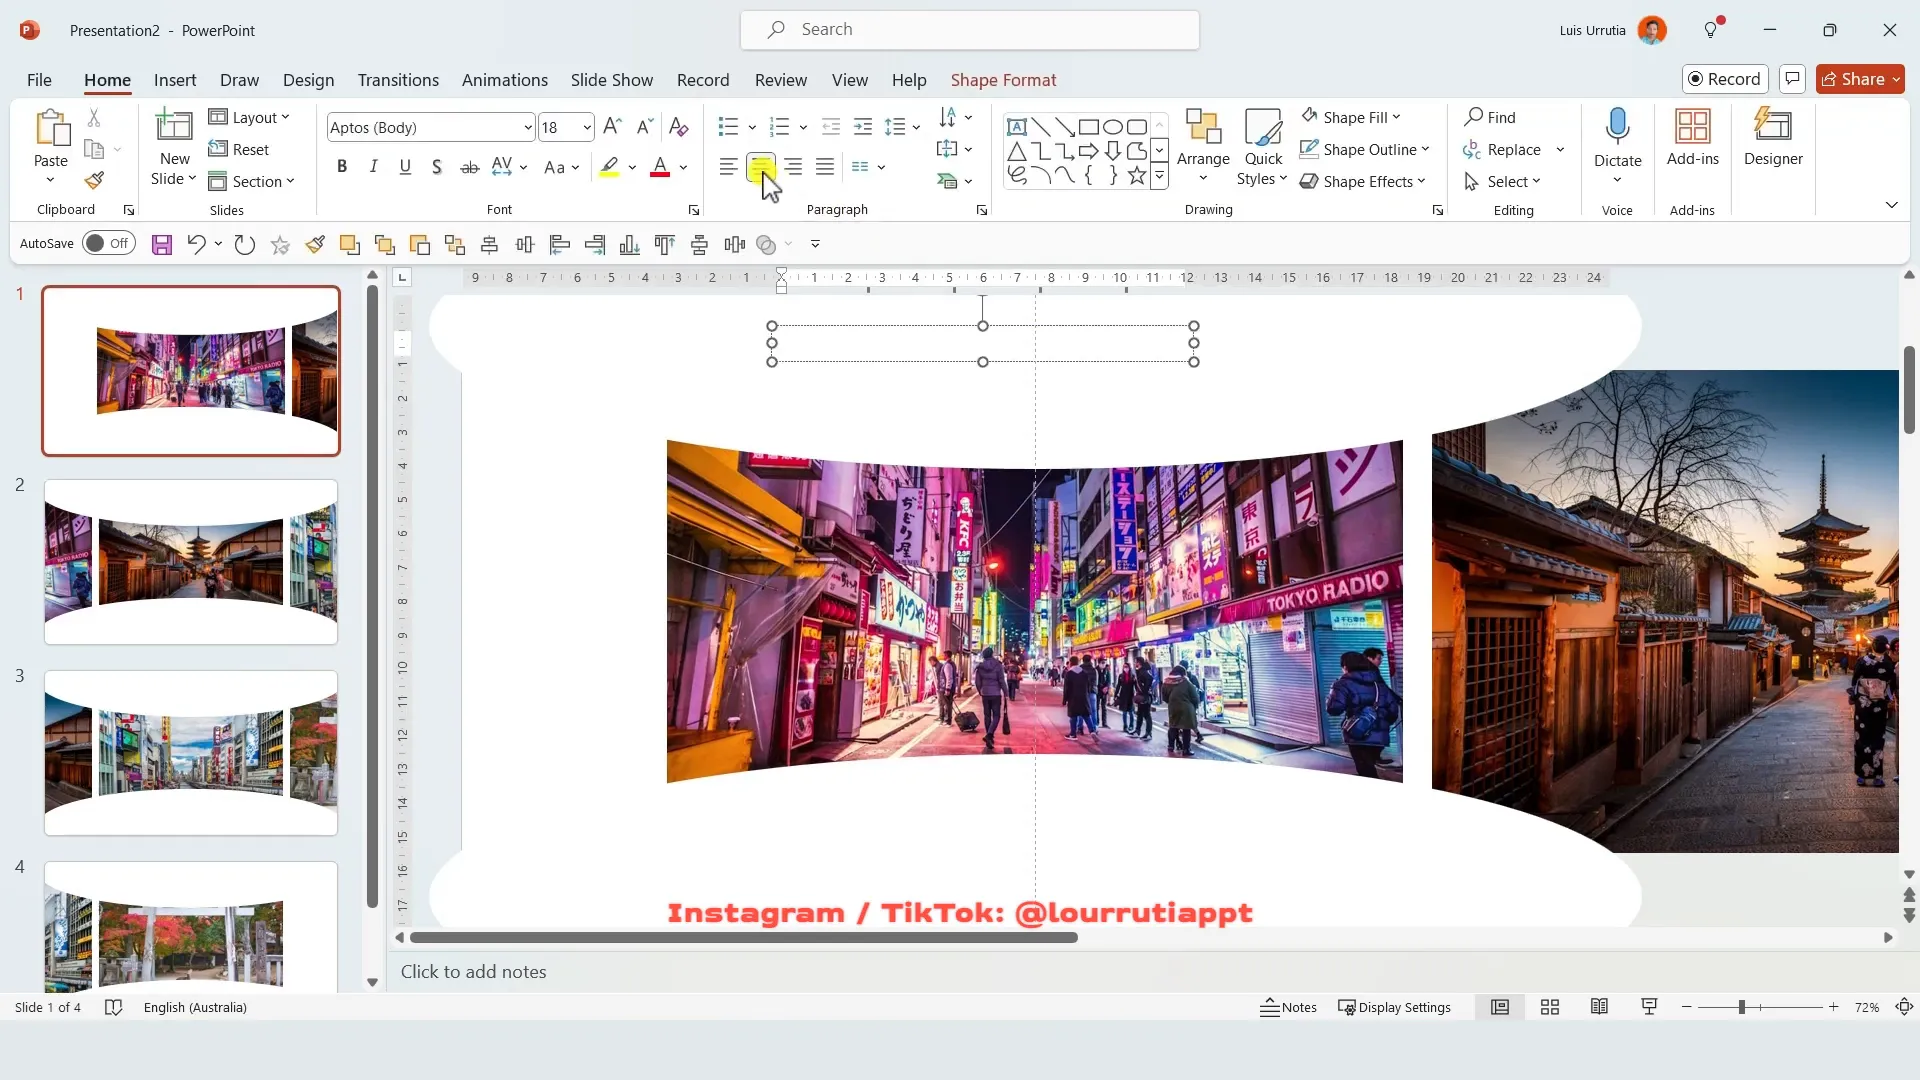
- Add Text Boxes: Insert text boxes for headlines and descriptions on each slide. Center-align the text. For headlines, I like to use the font Engravers Empty and increase the font size for impact. Add the name or title related to the image, such as city names like “Tokyo.” For descriptions, use a simpler font and place the text at the bottom.
- Apply the Morph Transition: Select all the slides except the first one by holding Shift. Go to the Transitions tab and select Morph. This transition animates the images sliding smoothly from right to left, creating a professional carousel effect.

This technique is fantastic for storytelling where you want to highlight multiple images with a sleek and modern animation.
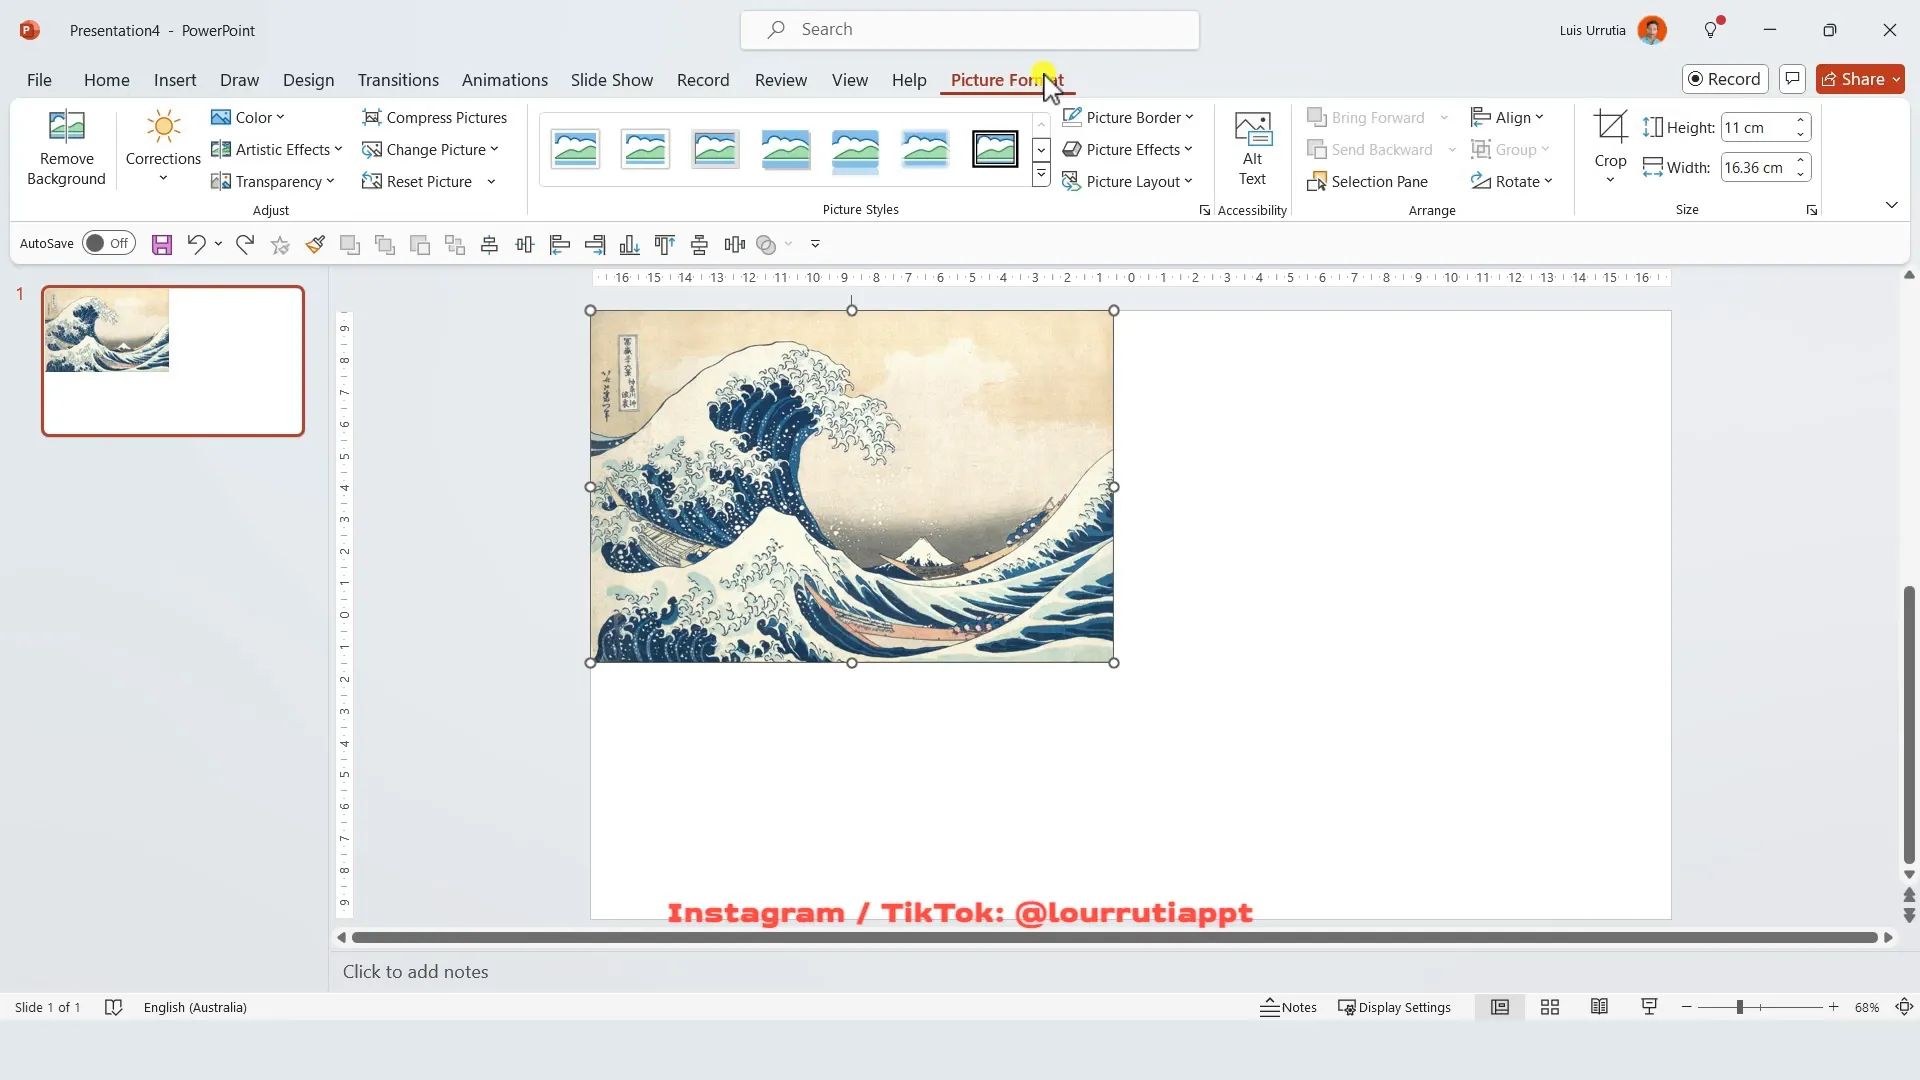
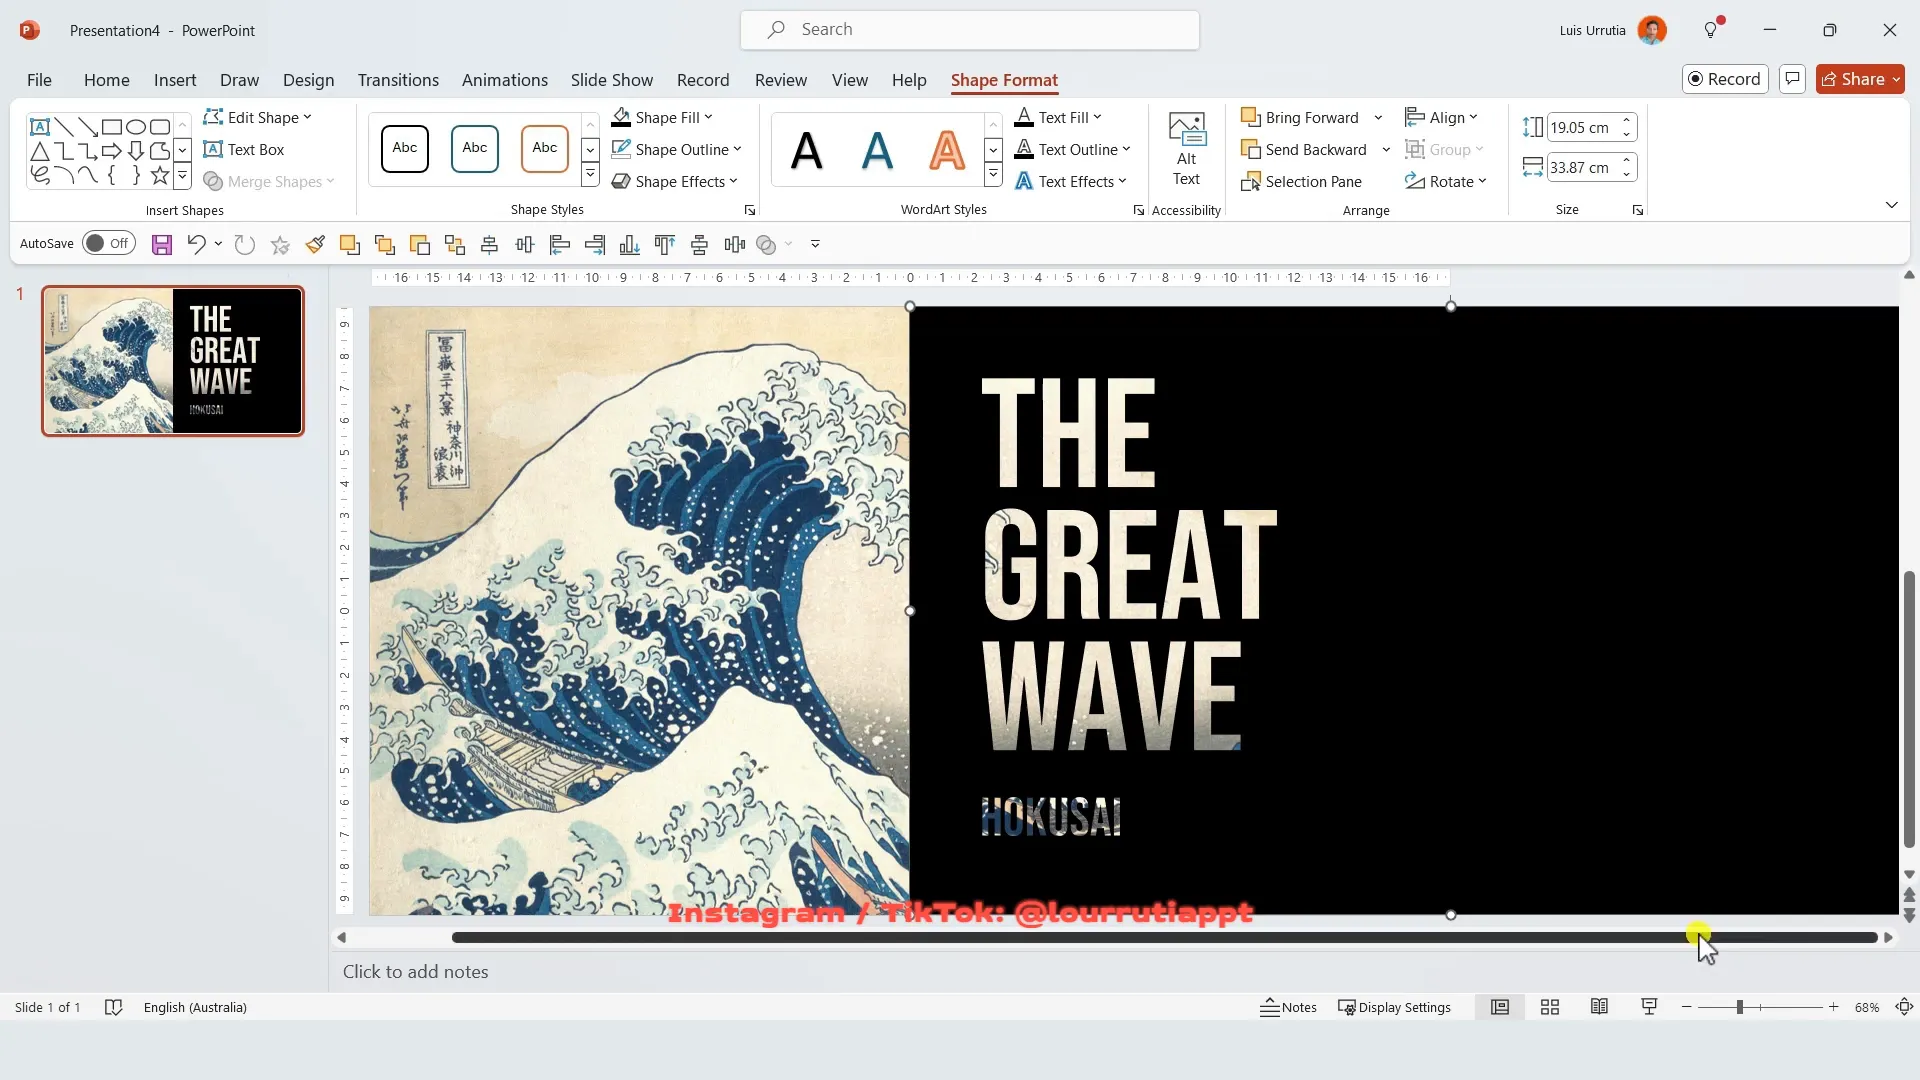
Trick 3: The Text Mask Trick
The final trick is a stylish way to combine images and text by creating a text mask effect. This is ideal for showcasing artwork, photographs, or any slide where you want the text to blend creatively with the background.

Step-by-Step Instructions
- Insert and Crop an Image: Insert an image and crop it to a 16:9 aspect ratio to fill the slide. Slightly adjust the crop to position the image as desired.
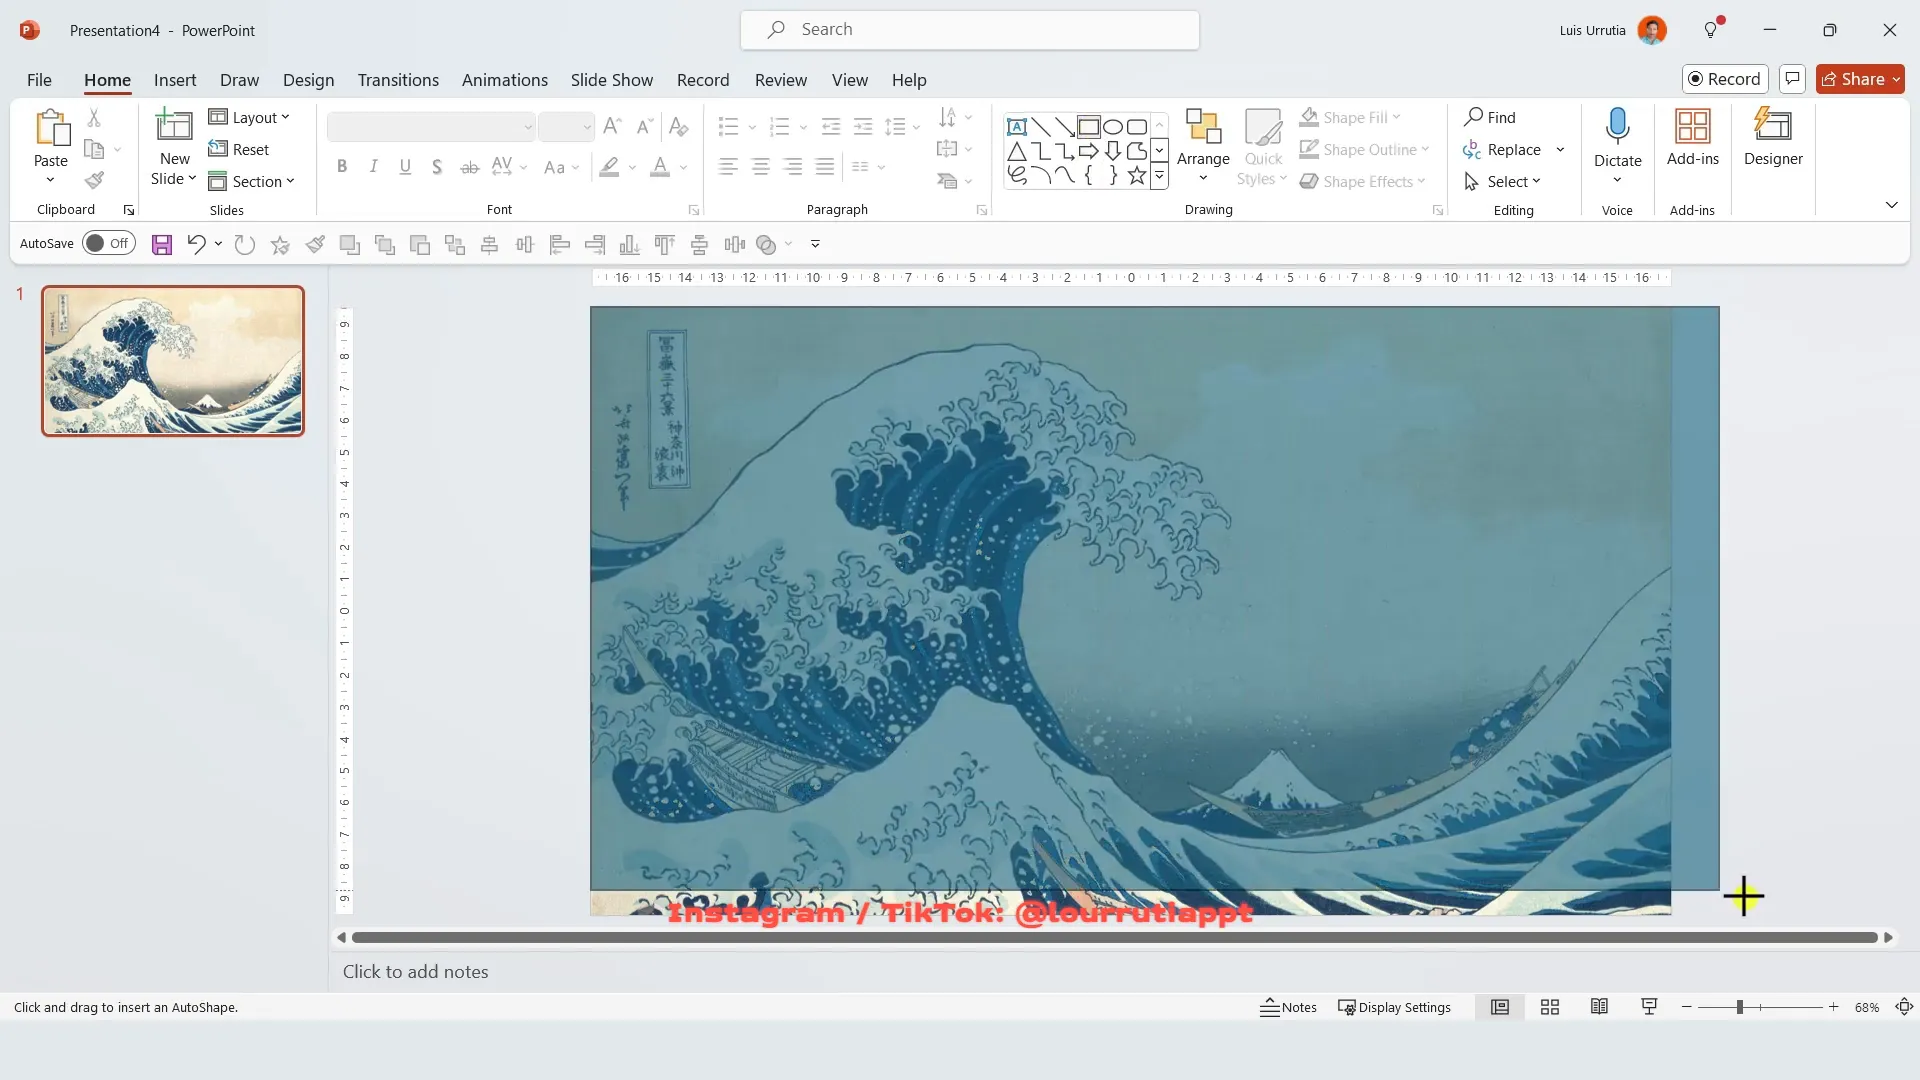
- Insert a Rectangle Shape: From the Shapes panel, insert a rectangle that covers the entire slide. Remove the outline and fill it with a solid color (I chose black). Move this rectangle slightly to the right to create a layered effect.
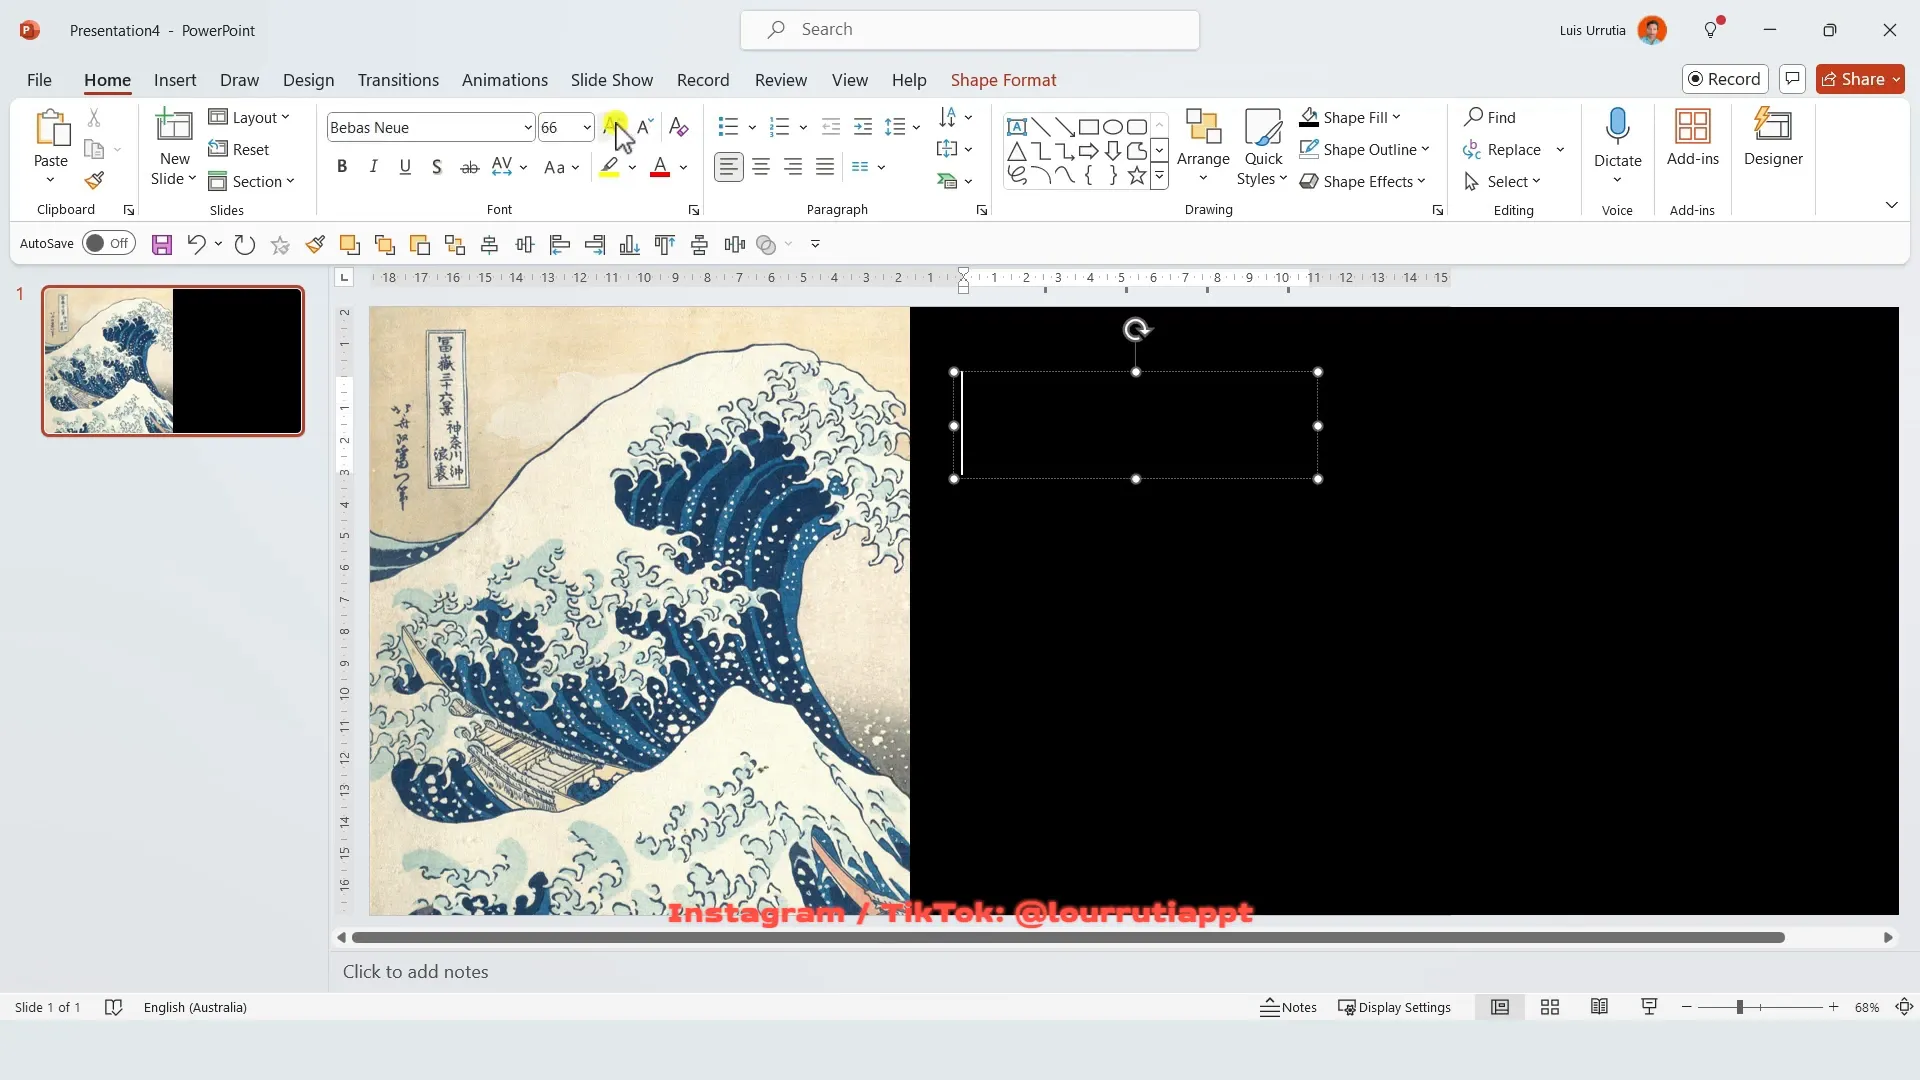
- Add Text Boxes for Headline: Insert text boxes on top of the rectangle where you want your headline. Use a bold, clean font like Vivas New, increase the font size, and change the text color to white for visibility.
- Merge Shapes to Create Text Mask: Select the rectangle and all text boxes, then go to Shape Format and click Merge Shapes → Combine. This creates a text cutout effect, where the text appears as a mask revealing the image beneath.
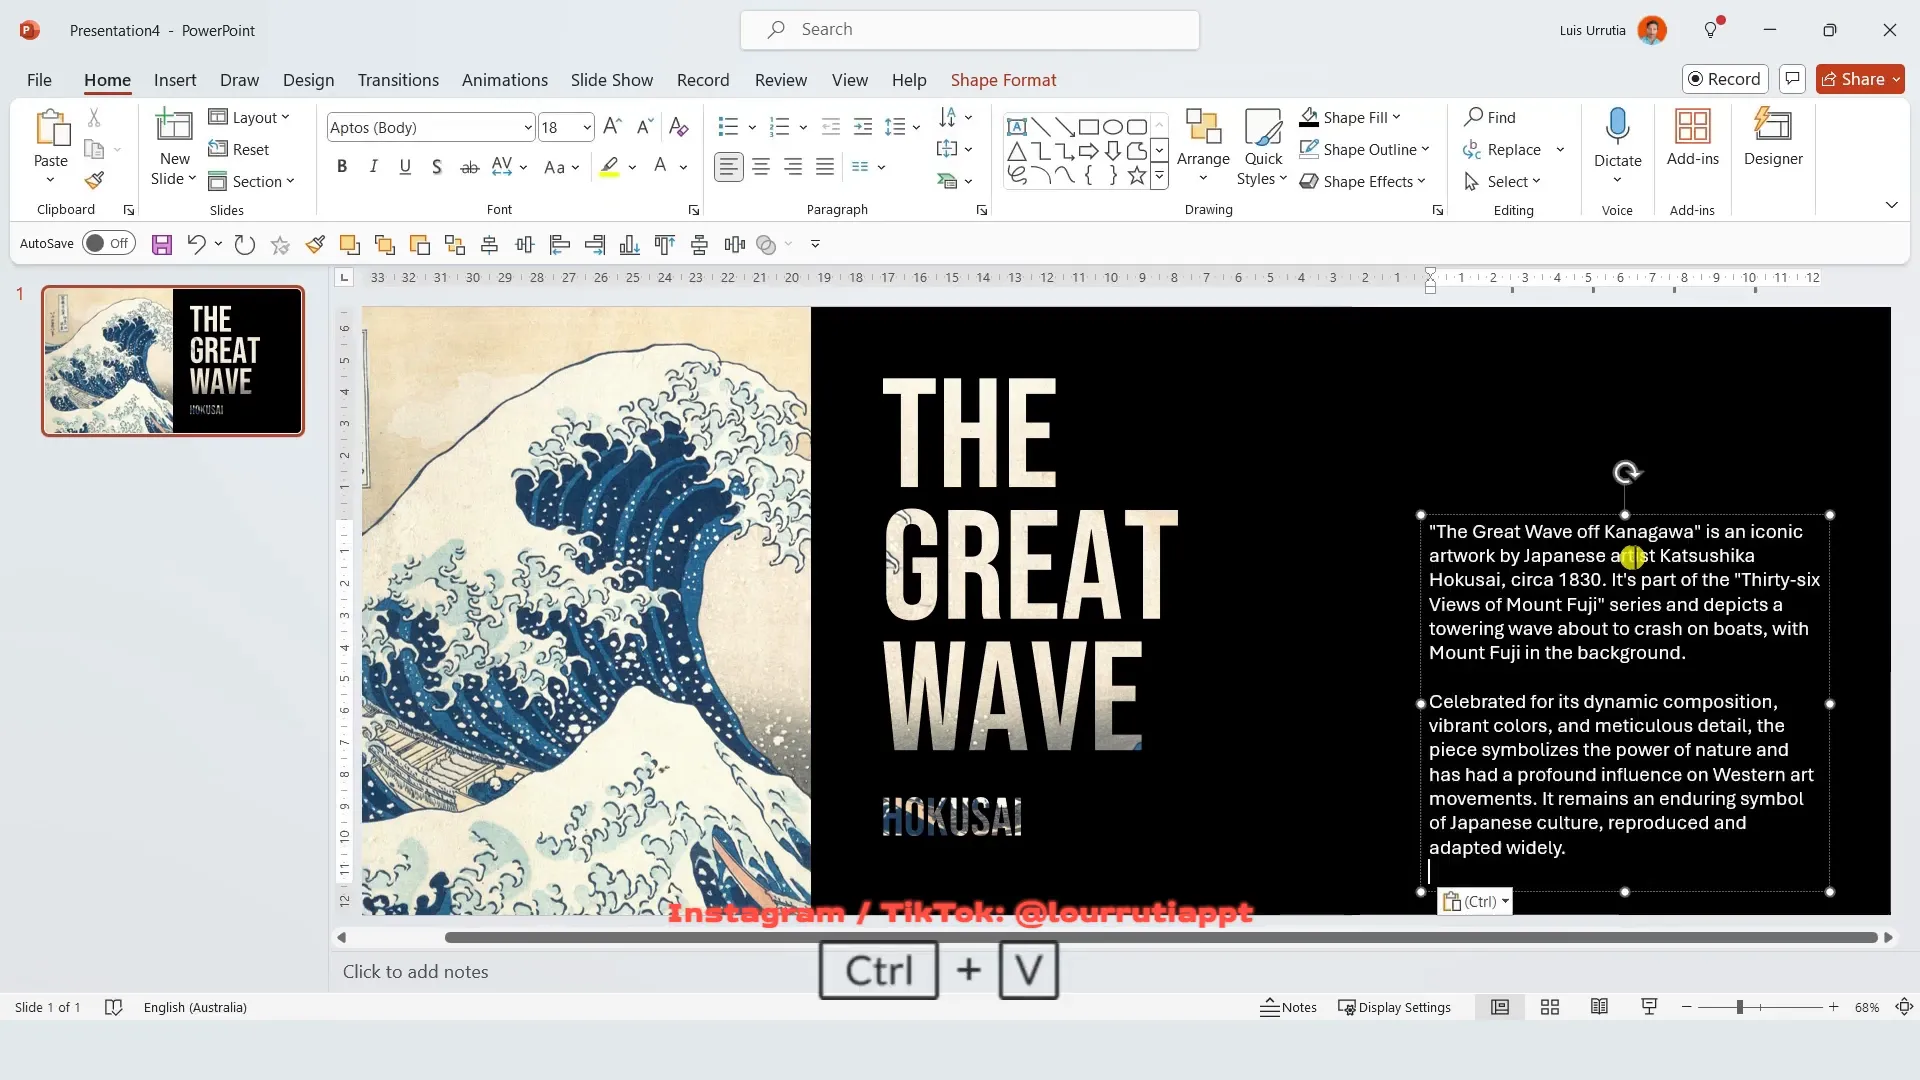
- Add Body Text: Insert another text box for additional body text and place it where it fits best (e.g., on the right side of the slide).
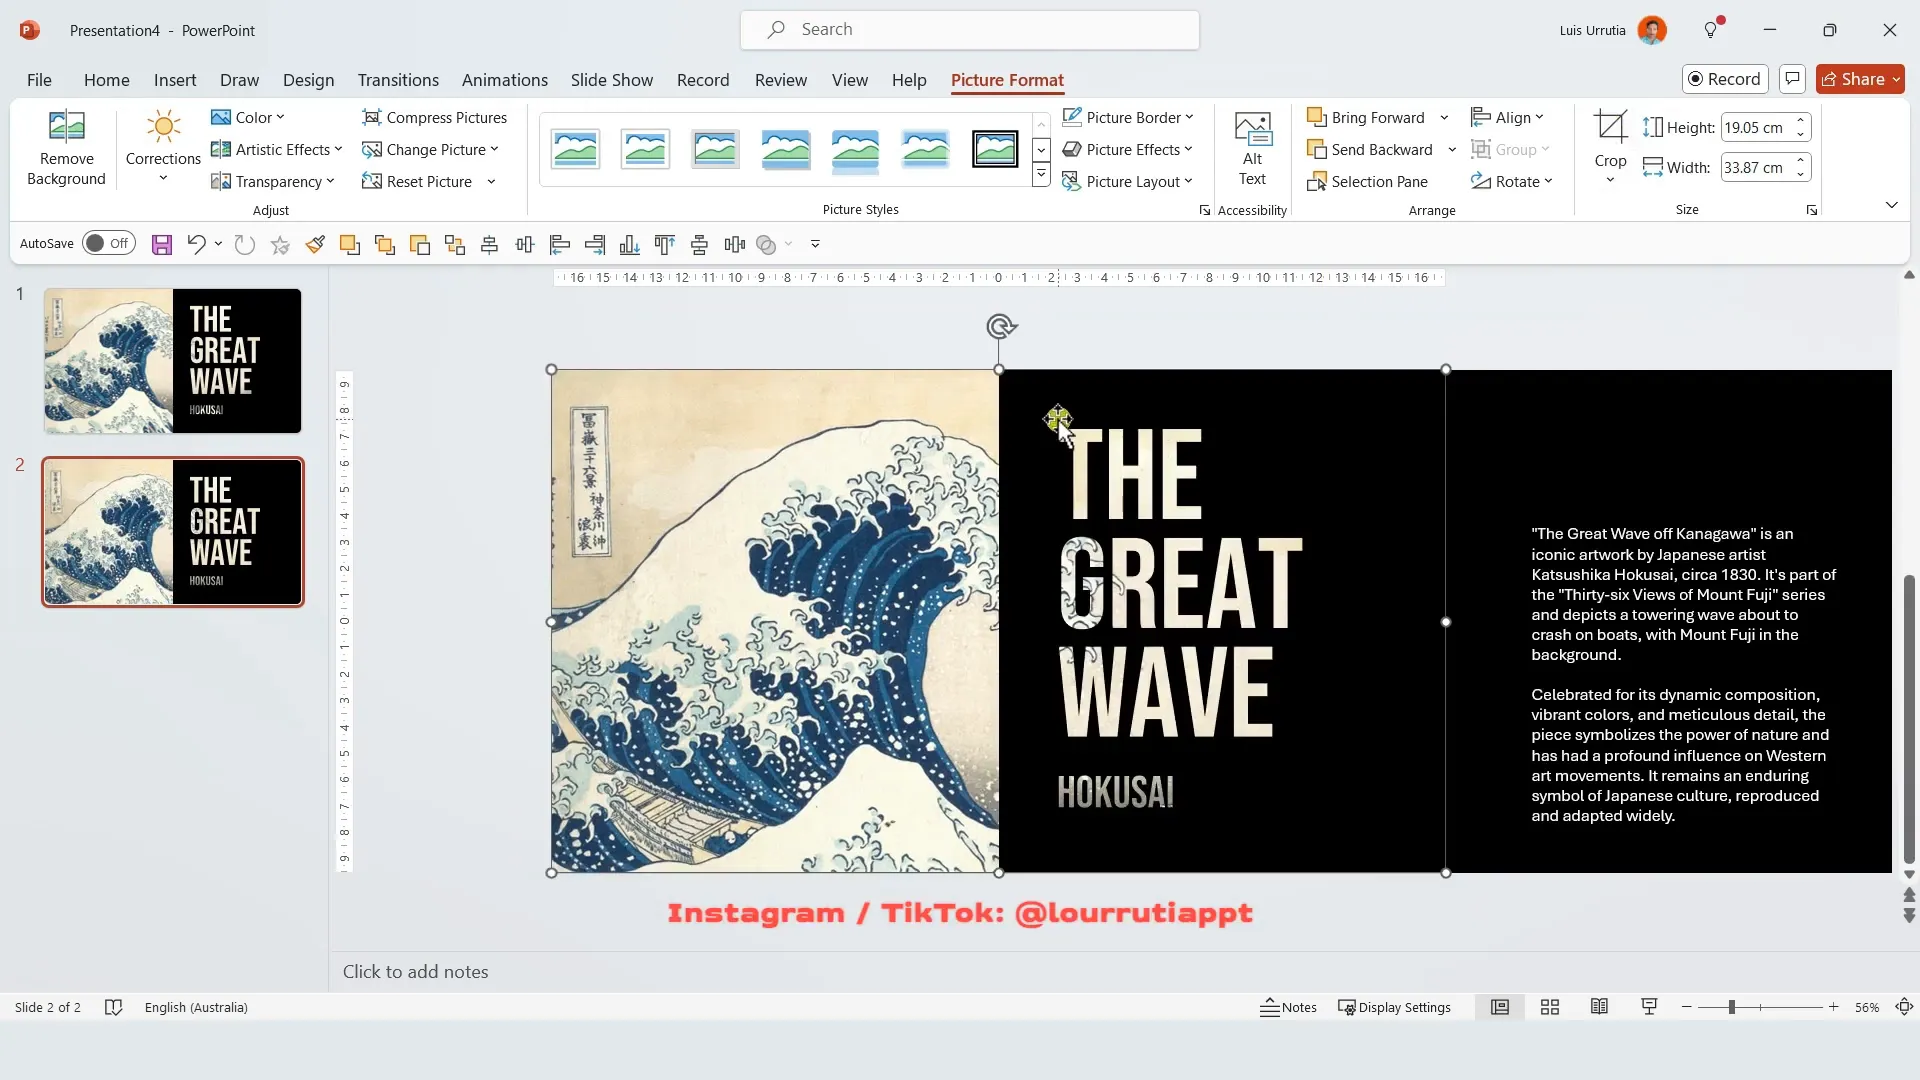
- Duplicate and Adjust Background Image: Duplicate the slide using Ctrl + D. Select the background image, crop it to make it slightly larger, and reposition it by moving it down a bit. Then, select the text mask and all related shapes, and move everything to the left to prepare for the transition.
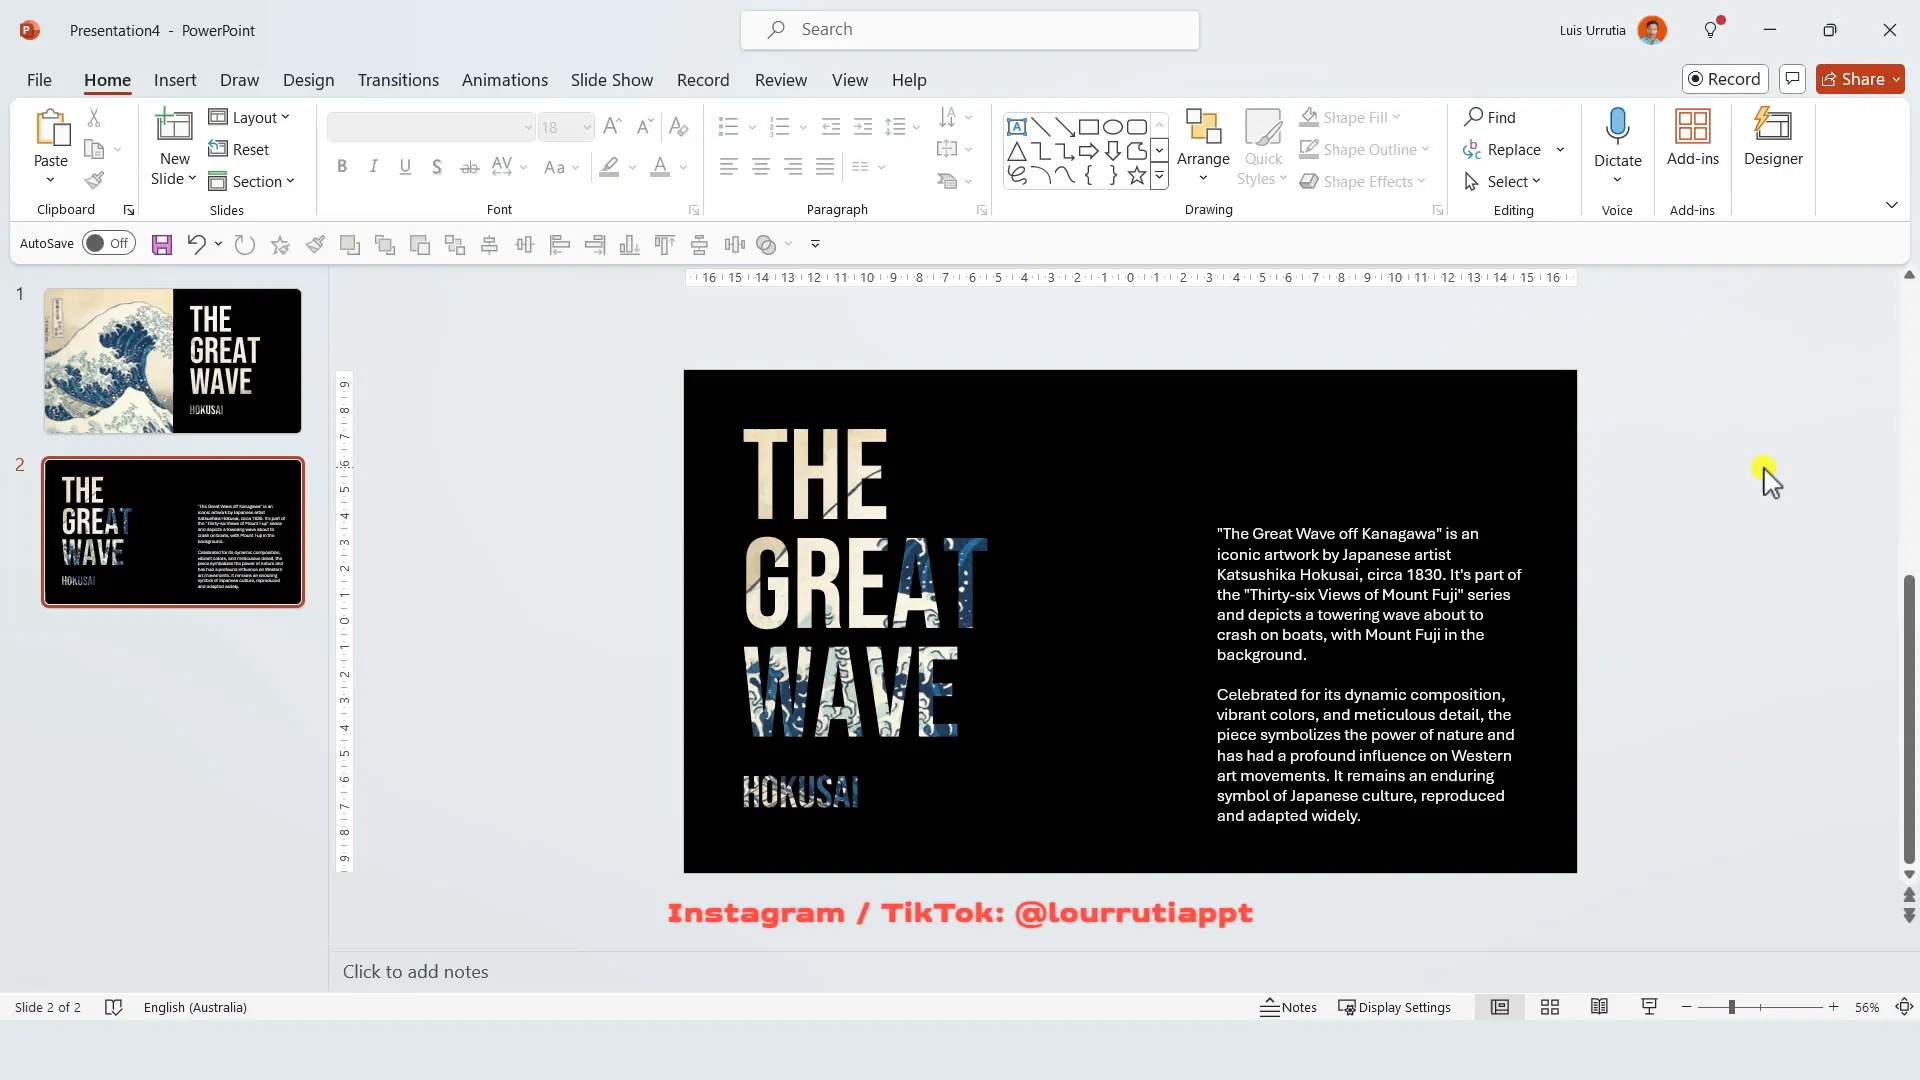
- Apply Morph Transition: As with previous tricks, select all slides except the first one, go to Transitions, and choose Morph. This animates the text mask and image beautifully, giving your presentation a polished and creative look.
Summary: Transform Your Presentations with These Three Tricks
To recap, here are the three easy PowerPoint tricks that can take your presentations from ordinary to extraordinary:
- Mosaic Table Trick: Create professional mosaic layouts using tables with shaded cells and checkerboard transitions.
- Carousel Image Trick: Use layered images, vertical guides, and morph transitions to build smooth sliding carousels.
- Text Mask Trick: Combine shapes and text with merge features to create stunning masked text effects over images.
Each trick leverages built-in PowerPoint features like cropping, tables, shapes, and especially the Morph transition, which is available in Microsoft 365 versions of PowerPoint. These techniques require minimal time but deliver maximum visual appeal, perfect for making your presentations memorable.
Frequently Asked Questions (FAQ)
1. What version of PowerPoint do I need to use these tricks?
These tricks rely heavily on the Morph transition, which is available in PowerPoint for Microsoft 365 (formerly Office 365). If you have this subscription or a recent version of PowerPoint, you should be able to use these features. Older versions may not support Morph.
2. Where can I find high-quality images for my presentations?
I recommend using free stock image websites like Unsplash or the built-in stock image library within PowerPoint. These sources offer professional, royalty-free images that can enhance your slides.
3. How do I apply the Morph transition correctly?
To use Morph effectively, create two or more slides with similar objects (images, shapes, text boxes) but slightly different positions or sizes. Then select the slides you want to animate and apply the Morph transition from the Transitions tab. PowerPoint will animate the changes smoothly between slides.
4. Can I use these tricks for business presentations?
Absolutely! These tricks are versatile and can be adapted for business, educational, creative, or personal presentations. They add polish and professionalism without overwhelming your content.
5. Are there any video tutorials available for these tricks?
Yes! You can find detailed video tutorials on platforms like YouTube that walk you through these techniques step-by-step. Watching these can complement the written instructions and help you visualize the process better.
Additional Tips for PowerPoint Success
- Keep it Simple: Don’t overload your slides with too much text or too many images. Use white space effectively to create balance.
- Use Consistent Fonts and Colors: Stick to a limited color palette and font family to maintain a coherent and professional look.
- Practice Your Transitions: Use transitions like Morph sparingly and purposefully to enhance storytelling, not distract.
- Leverage PowerPoint’s Built-in Tools: Explore features like gridlines, guides, and alignment tools to keep your slides tidy and well-organized.
Conclusion
Upgrading your PowerPoint presentations doesn’t require complex software or advanced design skills. With just a few simple tricks—like the mosaic table layout, carousel image effect, and text mask technique—you can create slides that captivate and engage your audience.
Remember, the key to great presentations is combining clear messaging with appealing visuals. These tricks help you do just that by adding dynamic effects and polished layouts effortlessly.
Give these techniques a try in your next presentation and watch how they transform your slides. And if you want to streamline your video editing for tutorials or presentations, consider using Wondershare DemoCreator—it’s a powerful all-in-one tool that I highly recommend.
For more resources, including downloadable slides and templates, be sure to visit my website and explore additional tutorials. Happy presenting!
Check out the full video: Three EASY PowerPoint Tricks to upgrade any presentation 🤯


