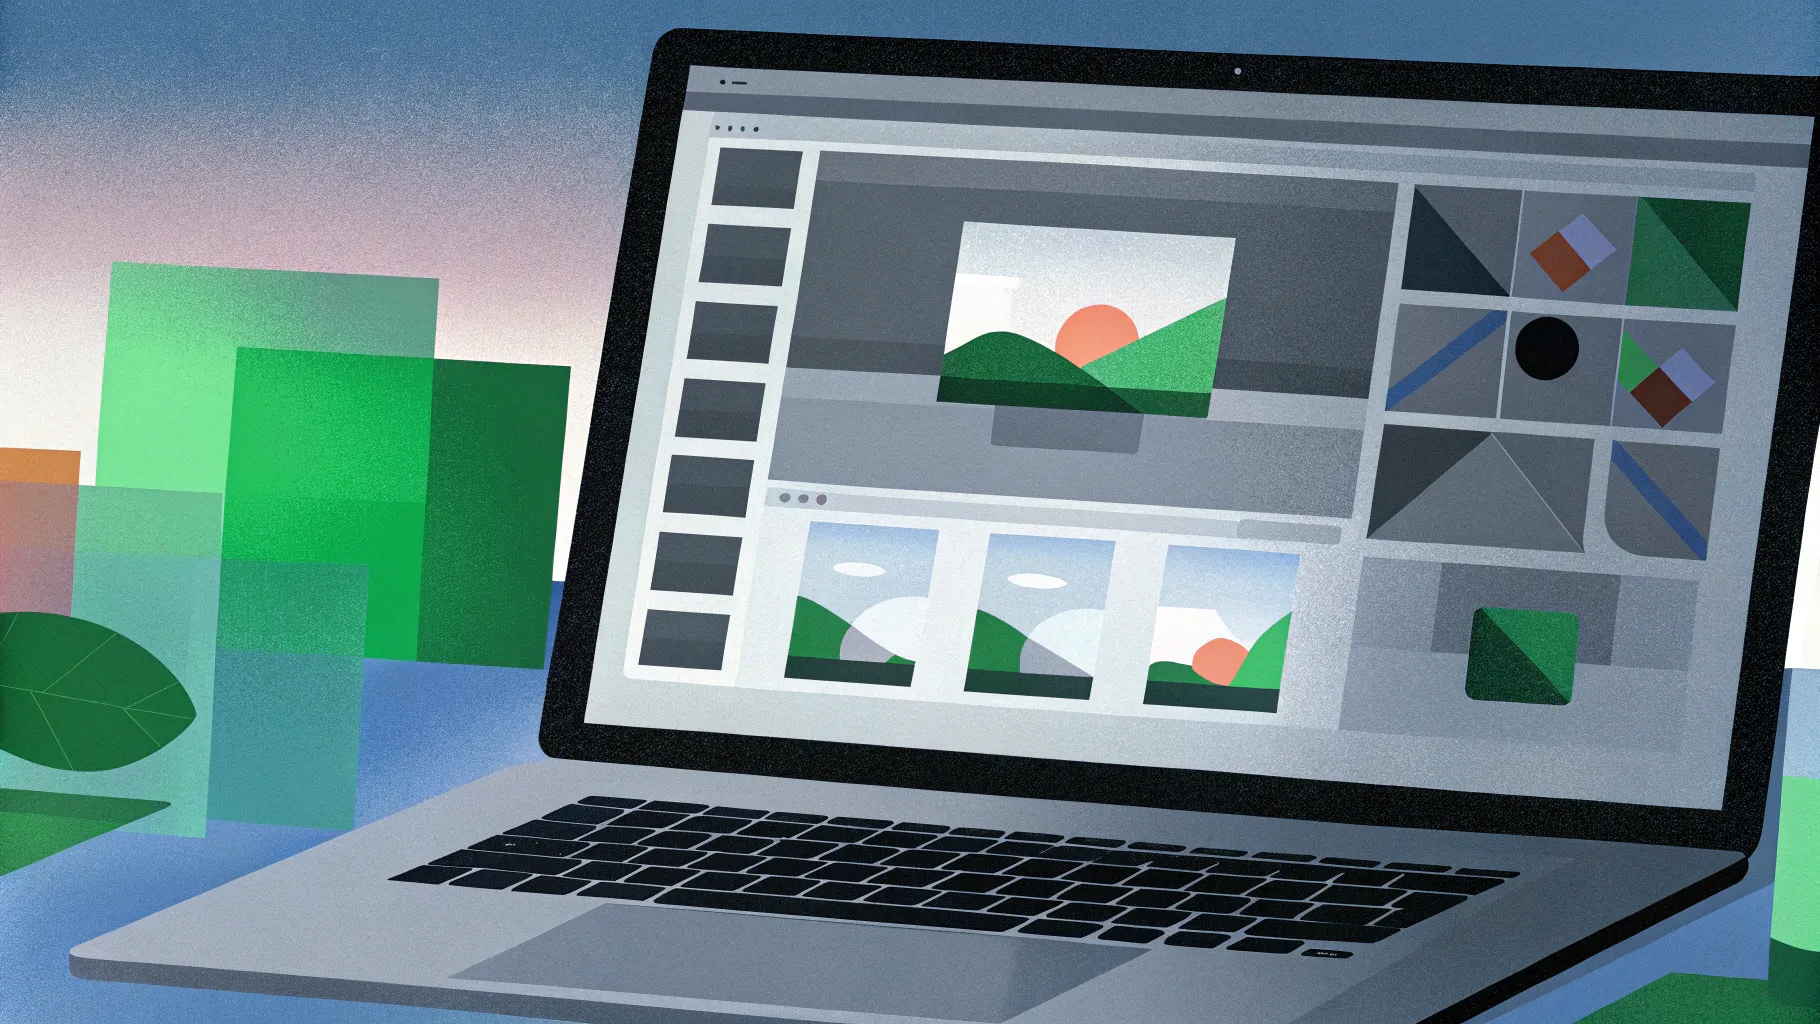
Hello, dear friends! If you’ve ever wondered how to create stunning 3D animations using just PowerPoint, you’re in for a treat. Today, we’ll dive deep into the fascinating process of crafting a customizable laptop open animation that looks incredibly realistic—all without using any 3D models. Instead, you’ll learn how to use simple shapes, photos, and the powerful morph perspective rotation feature in PowerPoint to bring your slides to life.
This tutorial is designed to empower you with skills that elevate your presentations, making them not just informative, but visually captivating and dynamic. Whether you want to insert your own text, pictures, or even videos inside the laptop screen, this guide will walk you through every step.
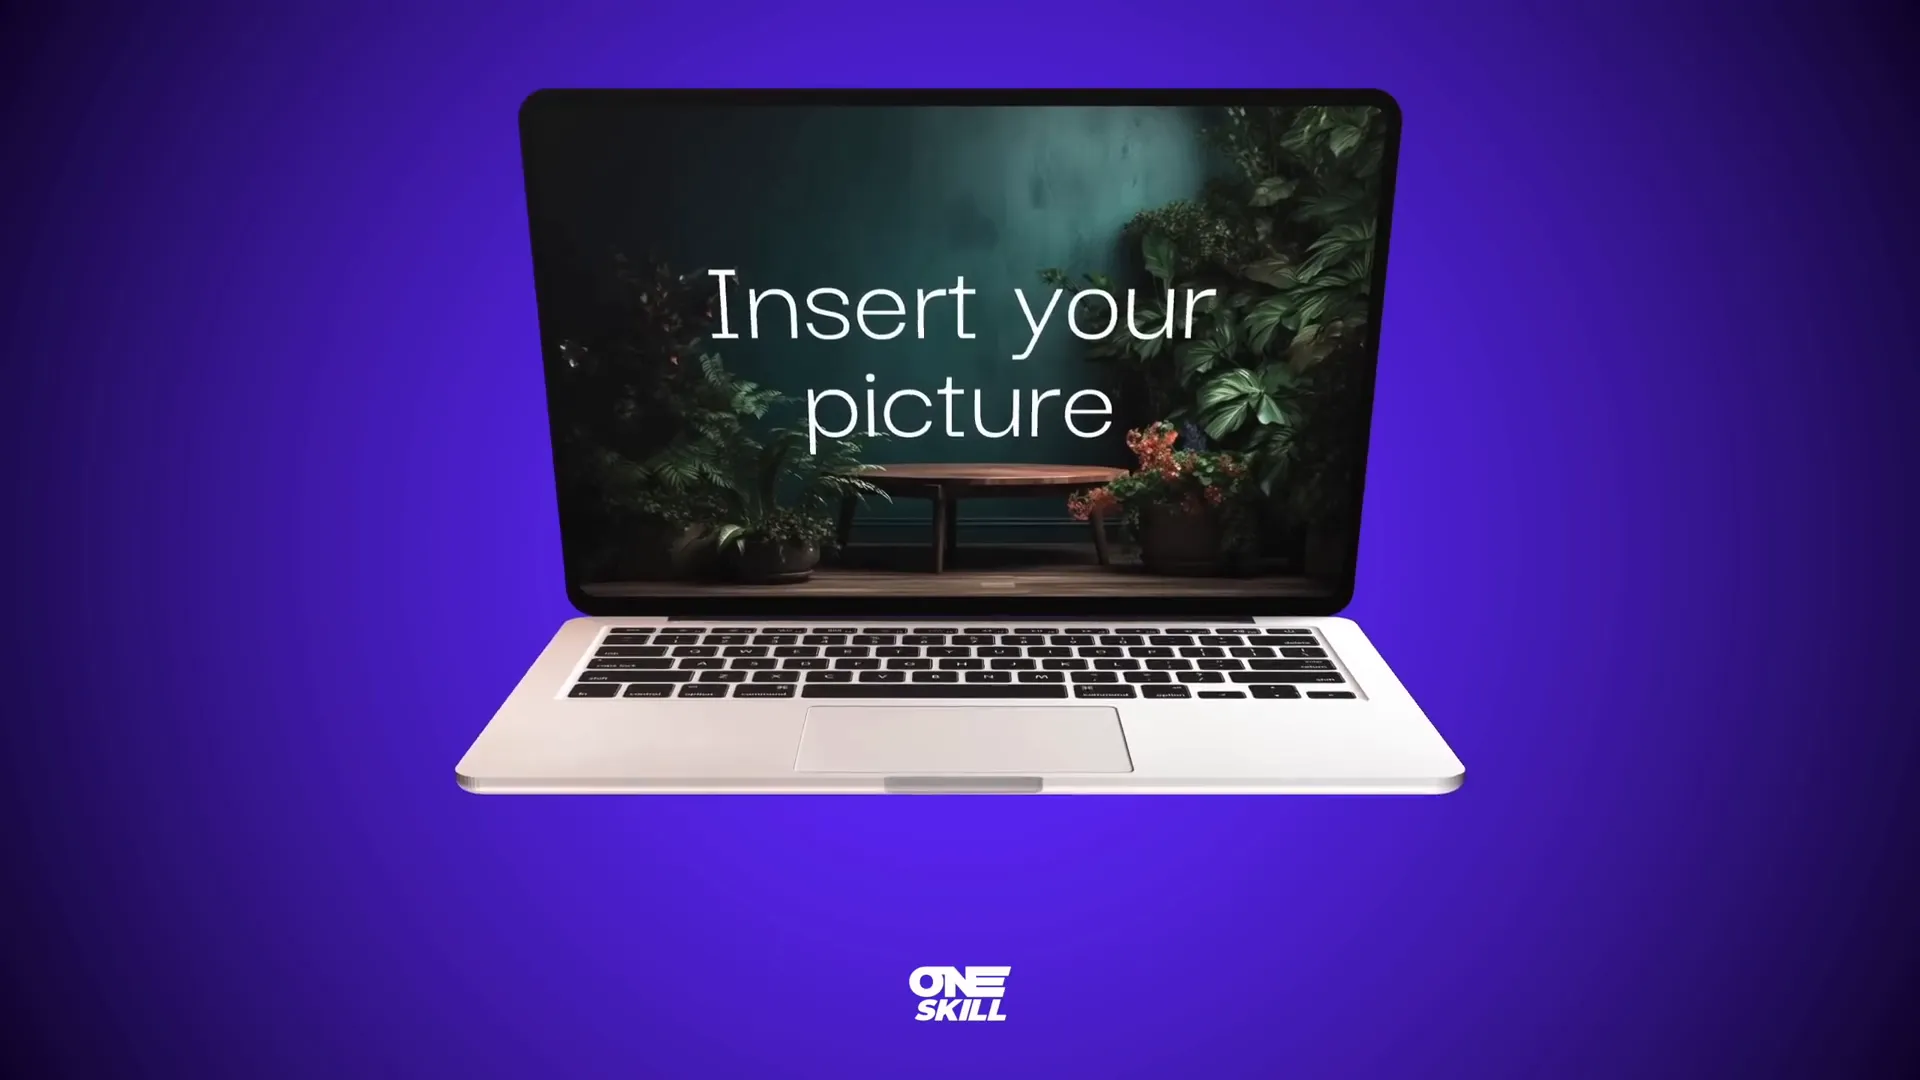
Table of Contents
- Getting Started: Setting Up Your Slide Background
- Building the Laptop: Step-by-Step Shape Creation
- Understanding Rotation and Morphing: Making the Laptop Open
- Animating the Laptop: Creating the Open and Close Effect
- Enhancing Realism with a Laptop Photo
- Customizing the Laptop Screen: Adding Text, Pictures, and Videos
- Final Tips and Encouragement
- Frequently Asked Questions (FAQ)
- Conclusion
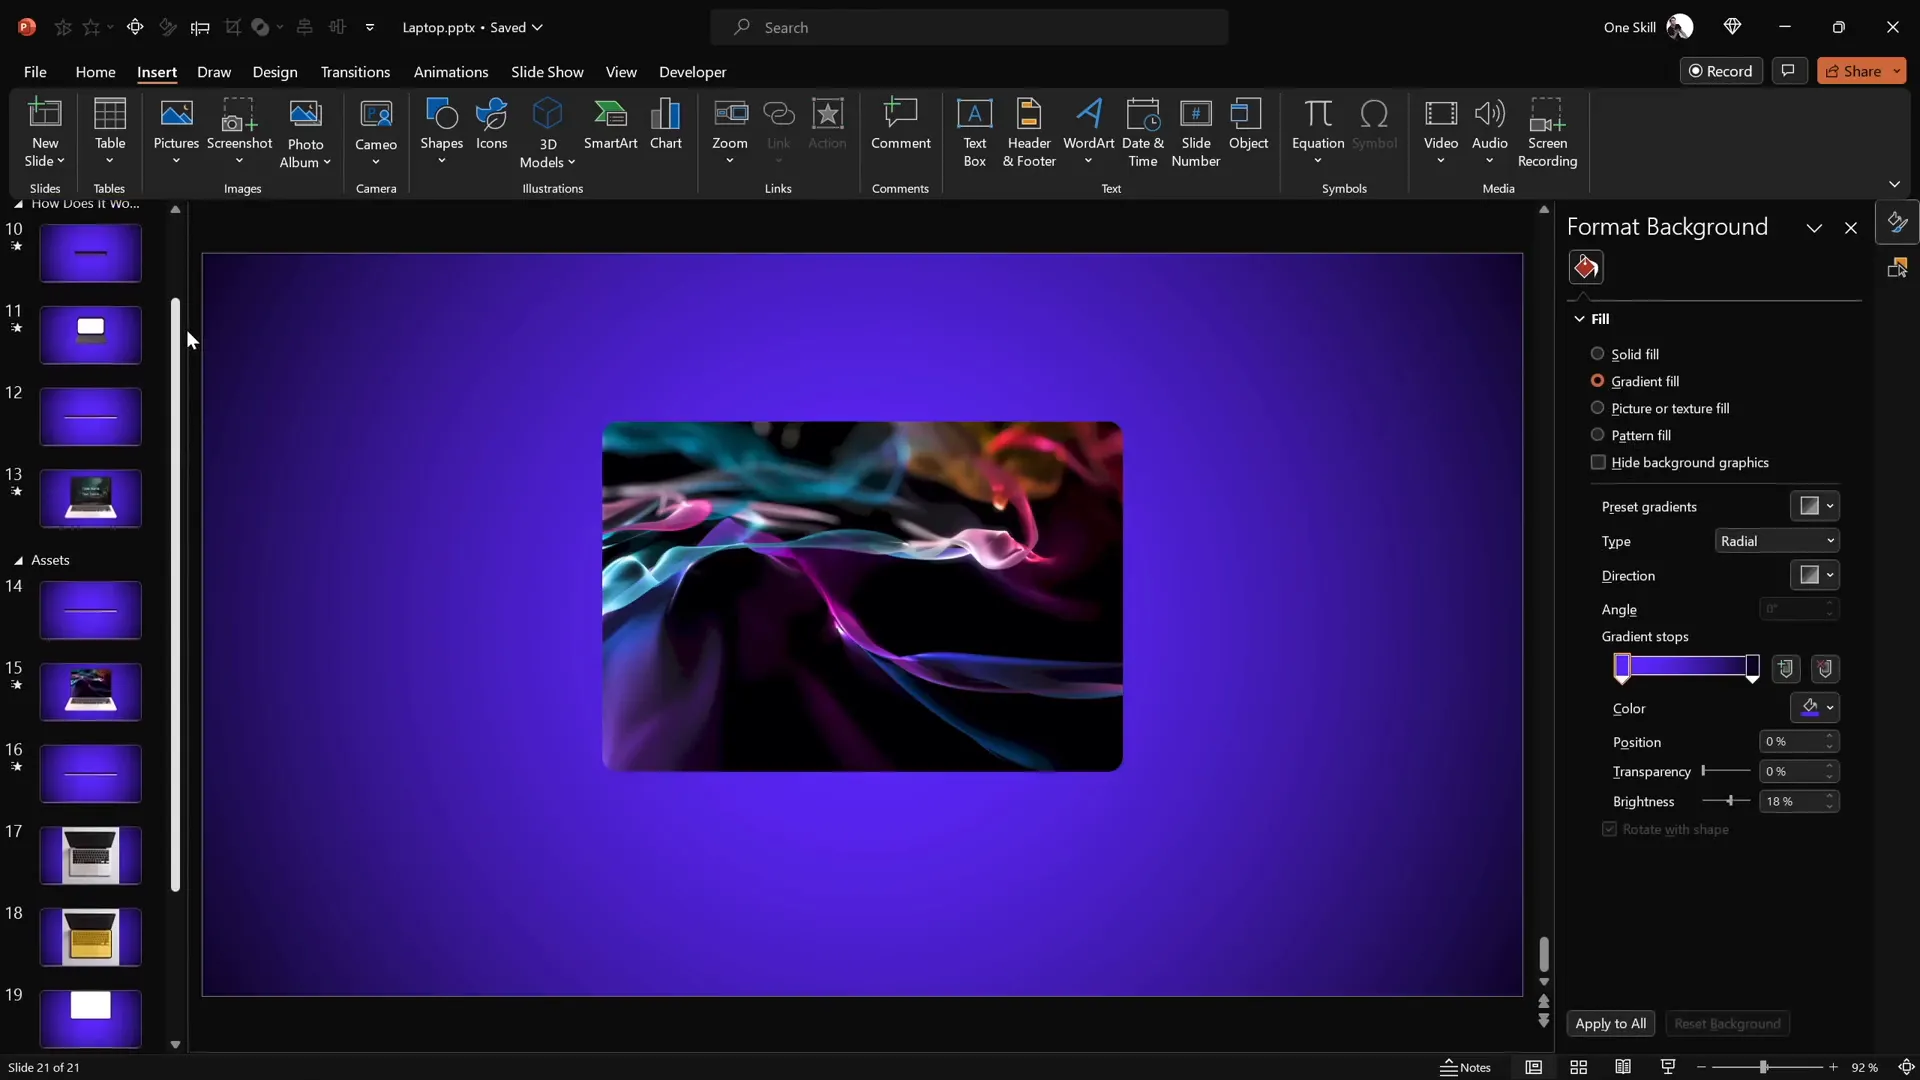
Getting Started: Setting Up Your Slide Background
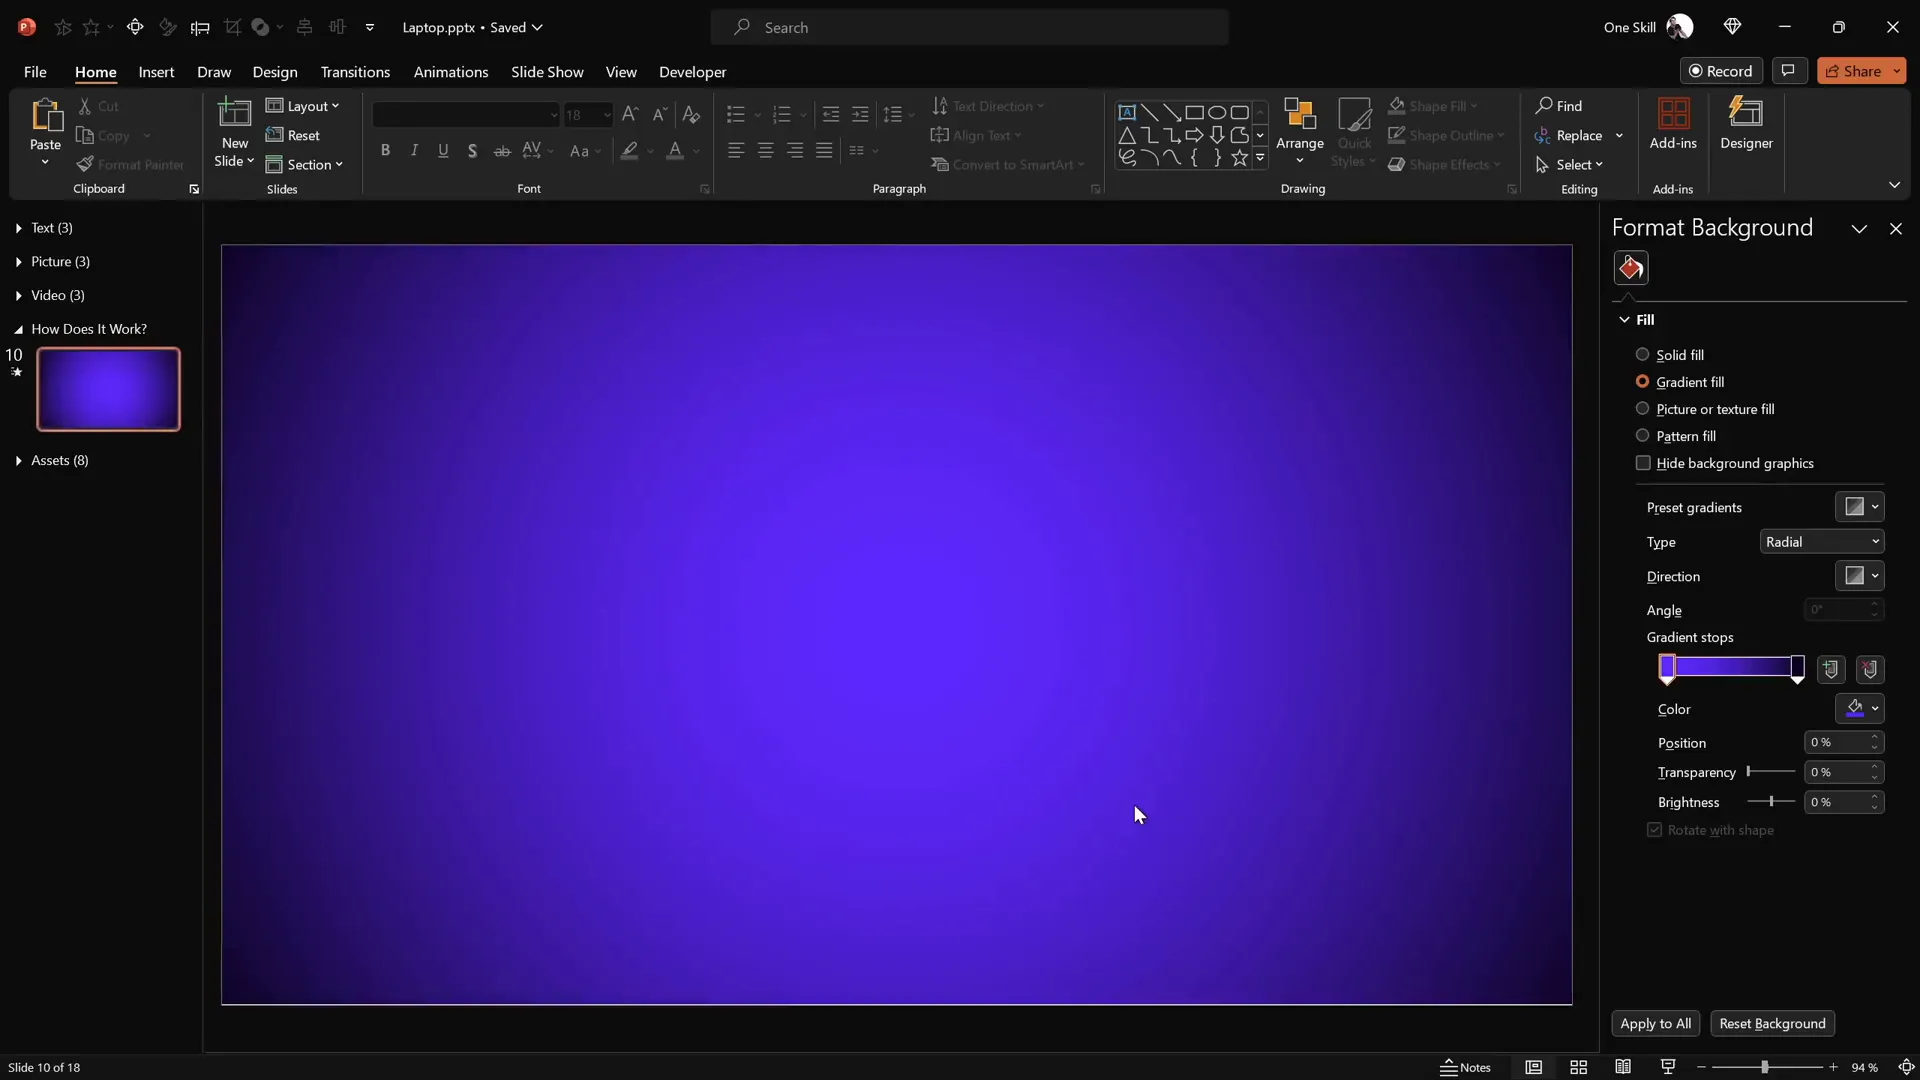
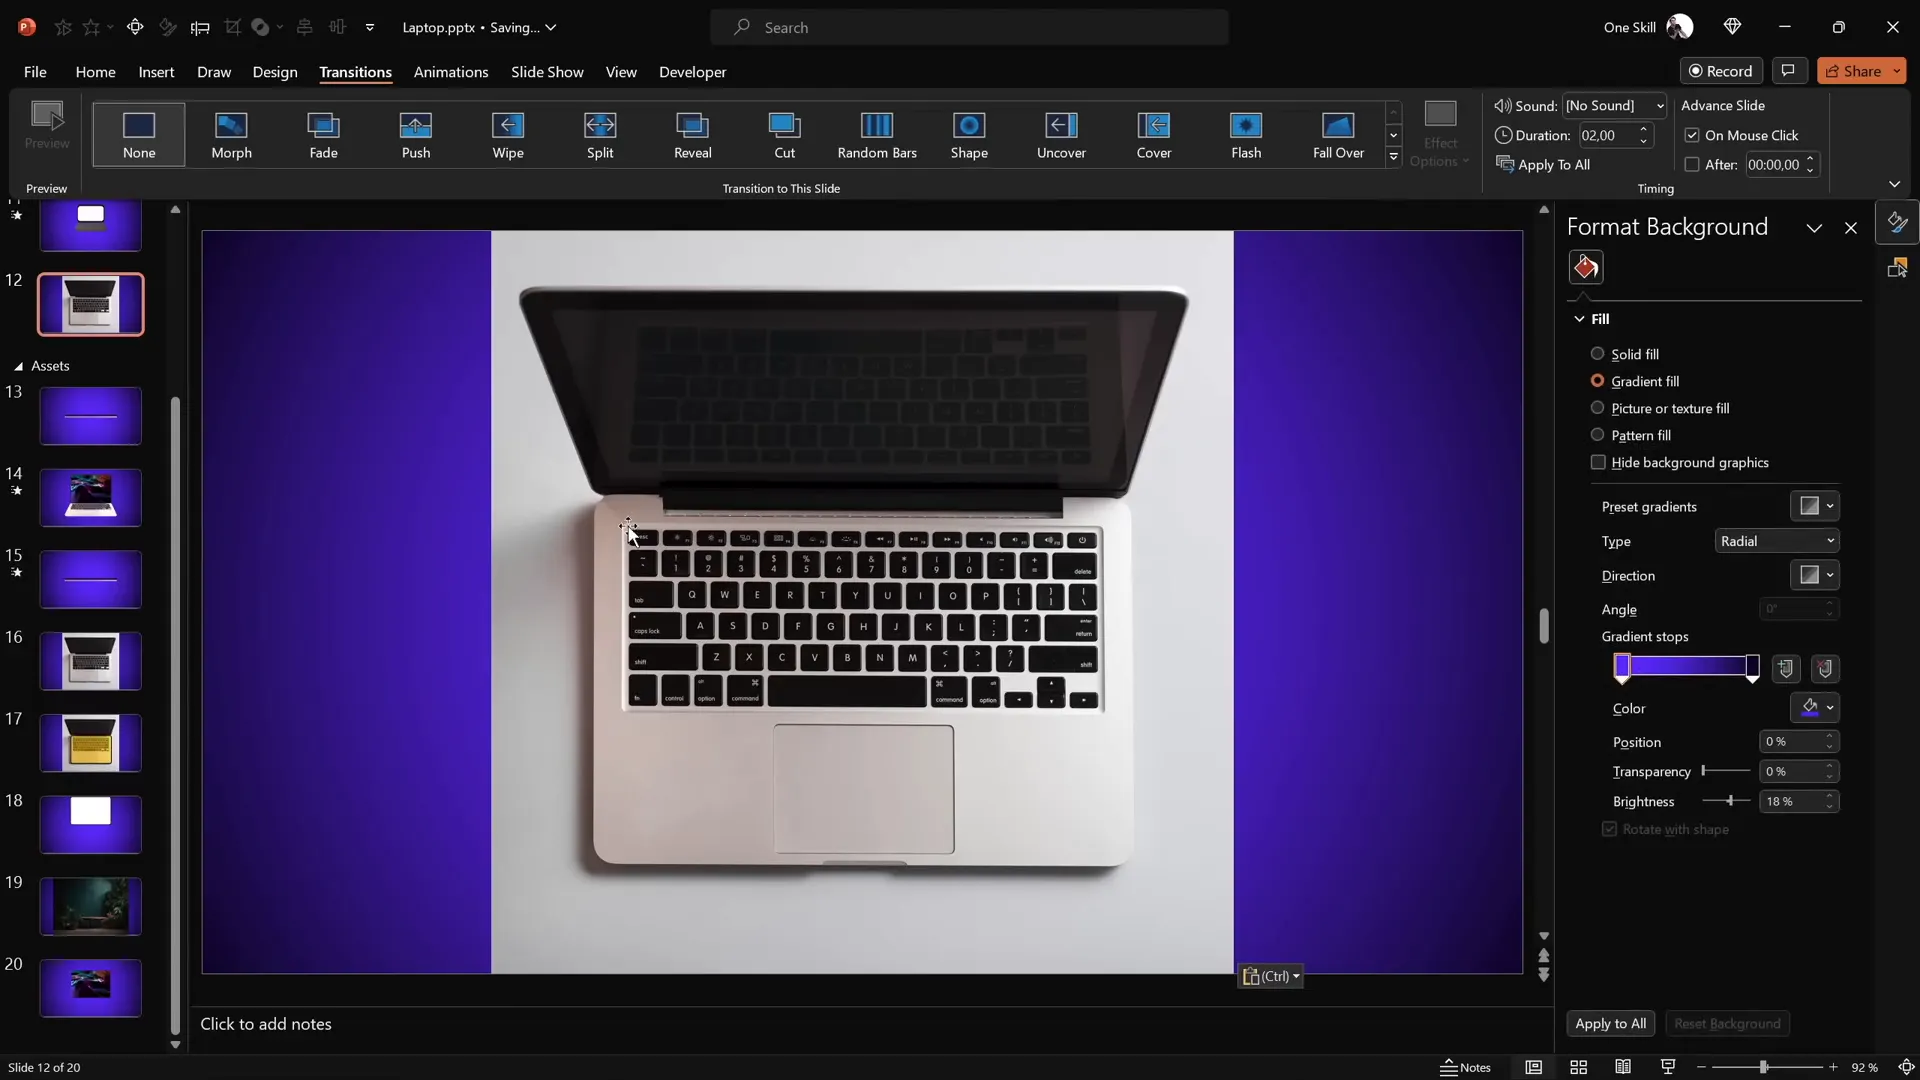
Before we begin building the laptop animation, it’s essential to create an appealing background that complements the animation and enhances its visual appeal. Although this step is optional, I highly recommend applying a beautiful gradient fill to your slide.
To replicate the same look:
- Right-click on your slide and select Format Background.
- Choose the Gradient Fill option.
- Use the following hex color codes for a smooth transition:
- First color:
#692dff(a vibrant purple-blue) - Second color:
#0d0002c(a deep navy blue)
- First color:
This creates a subtle, elegant backdrop that makes your laptop animation pop.
Building the Laptop: Step-by-Step Shape Creation
Now, let’s build the laptop using PowerPoint shapes. The goal is to create two main components:
- The Keyboard Base
- The Screen
Follow these steps:
1. Creating the Keyboard
- Go to Insert > Shapes and select the Rounded Rectangle tool.
- Draw a rounded rectangle in the middle of the slide. This will represent the laptop’s keyboard base.
- Ensure there is no transparency and no outline on the shape.
- Fill it with a dark gray color to mimic a modern laptop keyboard.
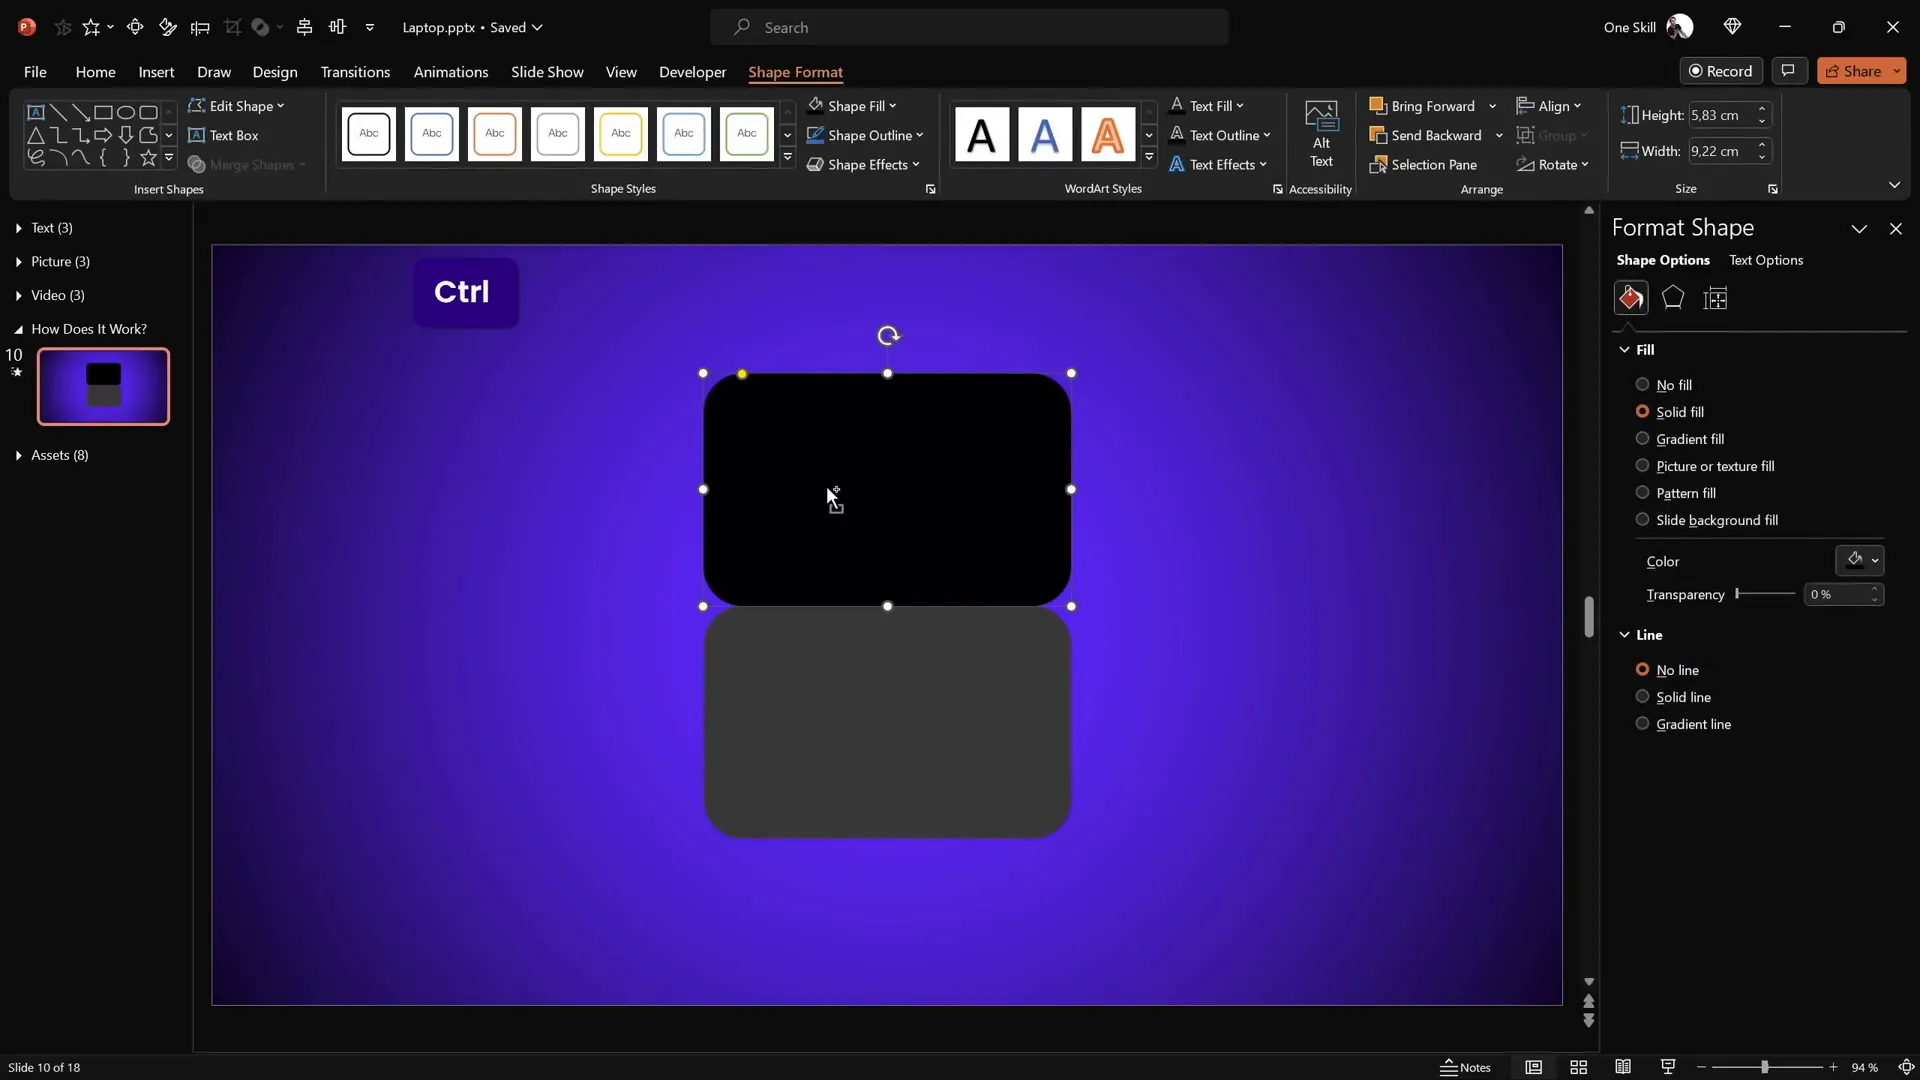
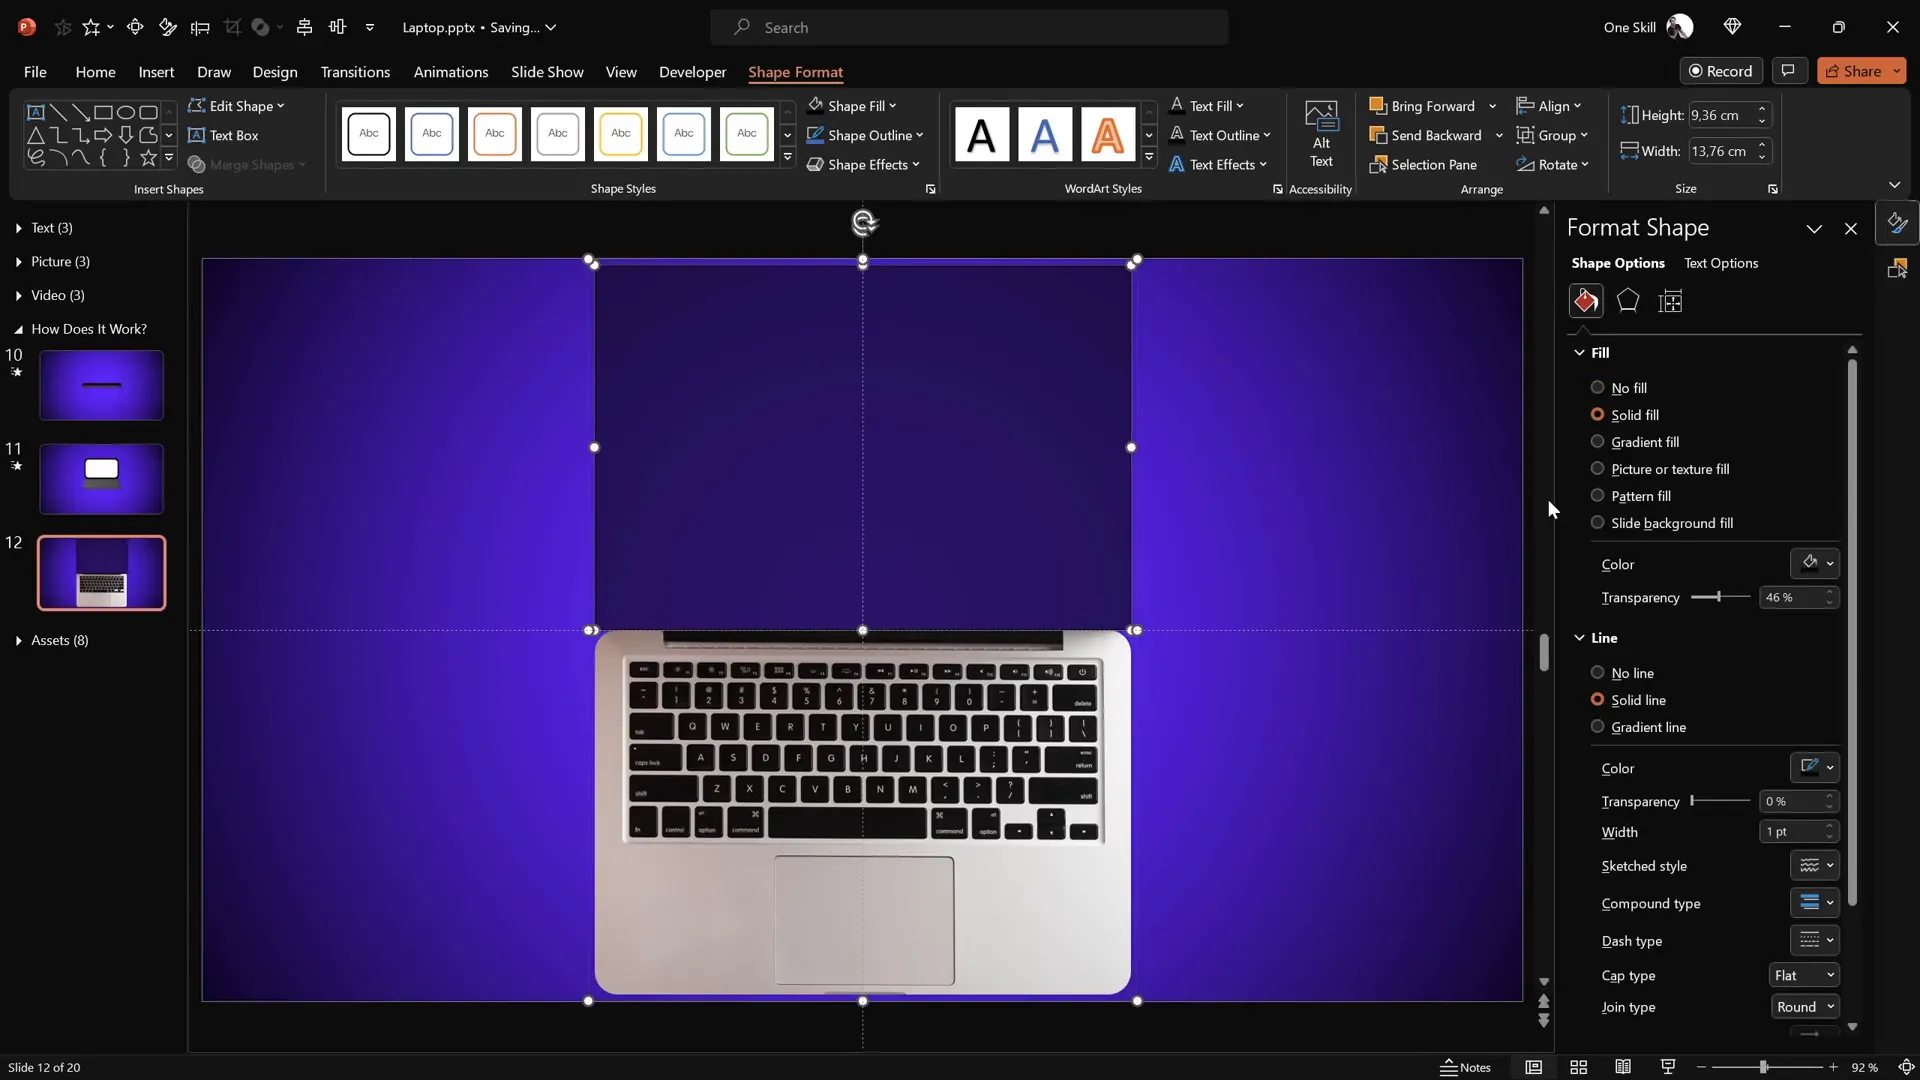
2. Creating the Screen
- Hold down Ctrl + Shift and drag a copy of the keyboard rectangle upwards.
- Change the fill color of this new rectangle to black—this will be the laptop’s screen frame.
- Attach this black rectangle snugly to the top edge of the keyboard base.
- Duplicate the black screen shape by holding Ctrl and dragging it again.
- Change the fill color of this duplicate to white, resize it slightly smaller, and center it perfectly inside the black screen. This white rectangle will act as the laptop’s display surface.
- Select the black and white screen shapes and group them together (Ctrl + G), naming this group “Screen.”
Understanding Rotation and Morphing: Making the Laptop Open
This is where the magic happens. To create the animation of the laptop opening, we need to manipulate the rotation axes and apply perspective effects carefully.
Adjusting the Rotation Axis
By default, PowerPoint rotates shapes around their center. But for a realistic laptop opening animation, the keyboard should rotate along the hinge edge where it connects to the screen—not the center.
Here’s how to fix this:
- Select the keyboard shape and reset any rotation applied.
- Duplicate the keyboard shape (Ctrl + Shift and drag upwards) and position it so it touches the bottom of the original keyboard.
- Select both the original and duplicated keyboard shapes and group them (Ctrl + G).
- This grouping creates a new rotation center along the edge where the two shapes meet.
- Set the fill of the duplicated keyboard to No Fill so it remains invisible during the animation.
Now, when you apply 3D rotation presets, the keyboard will rotate along this new axis, creating a realistic hinge effect.
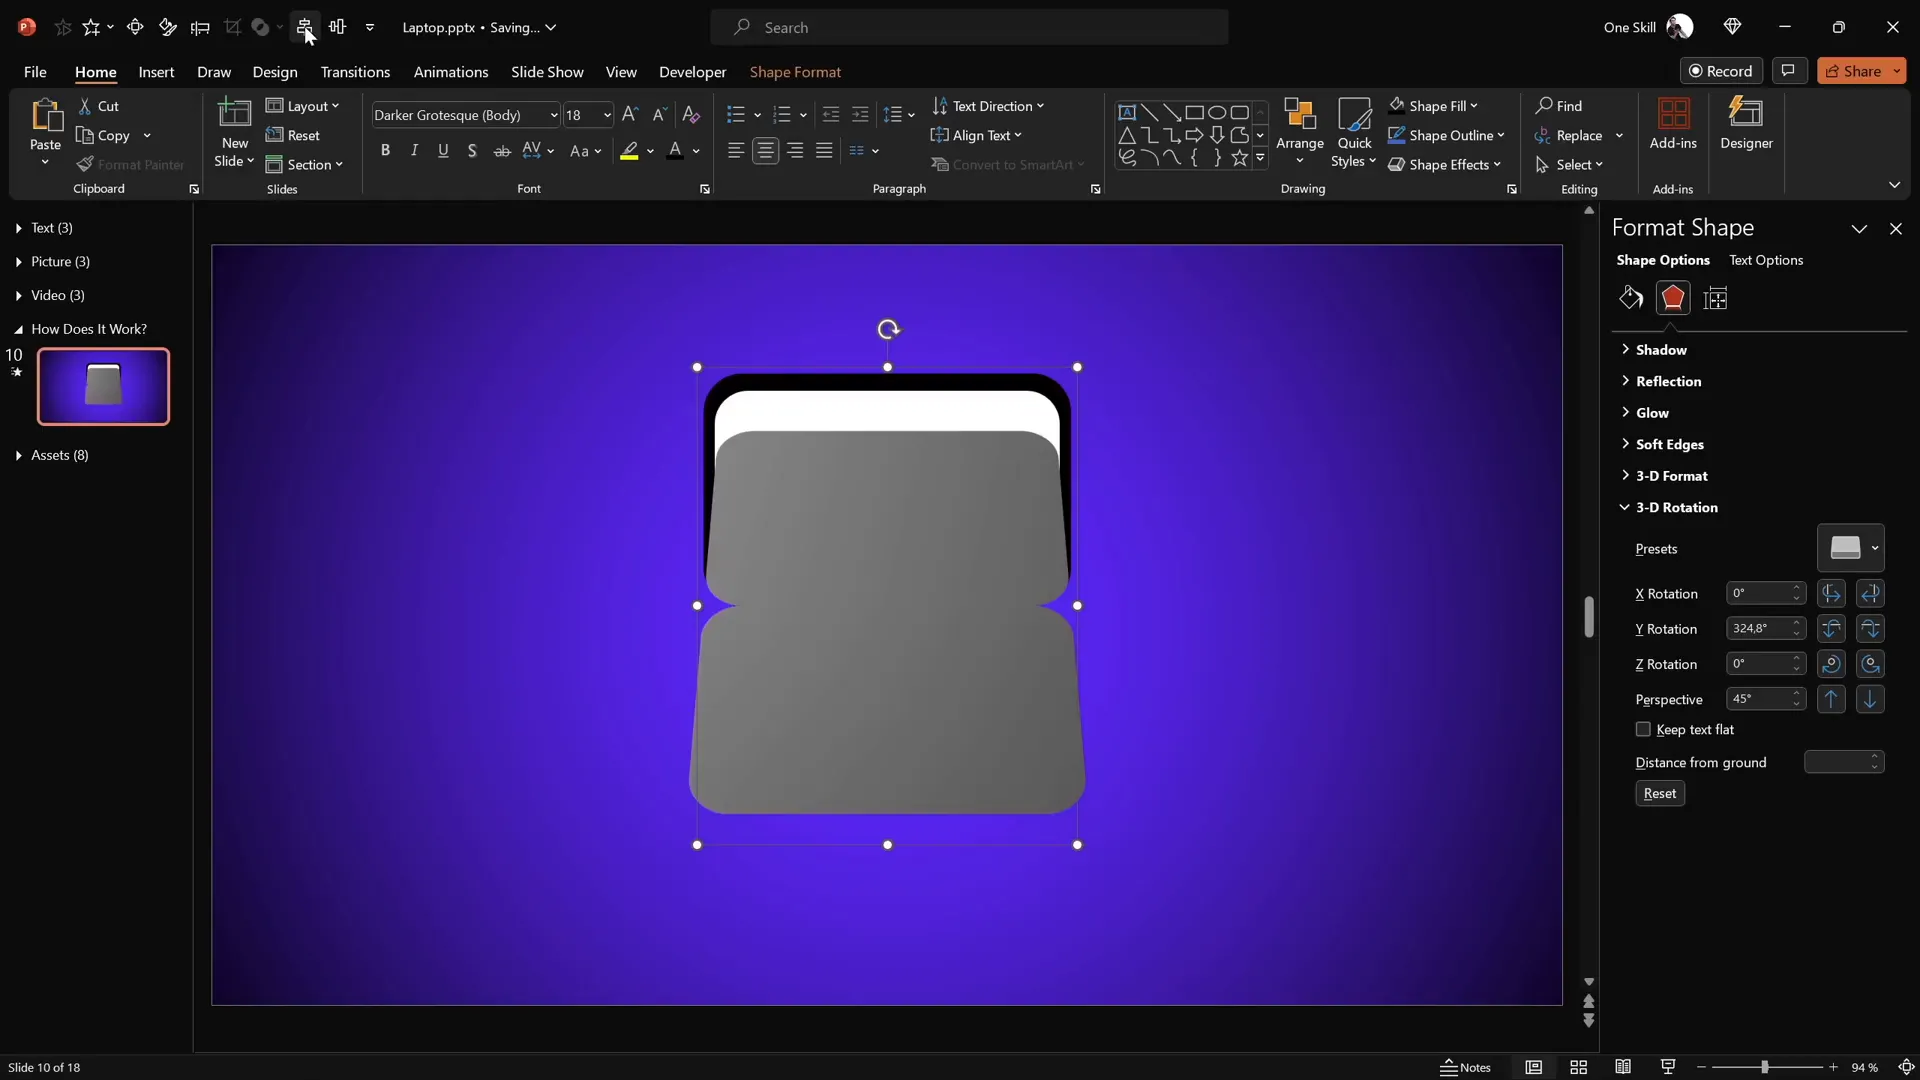
Adding 3D Depth for Realism
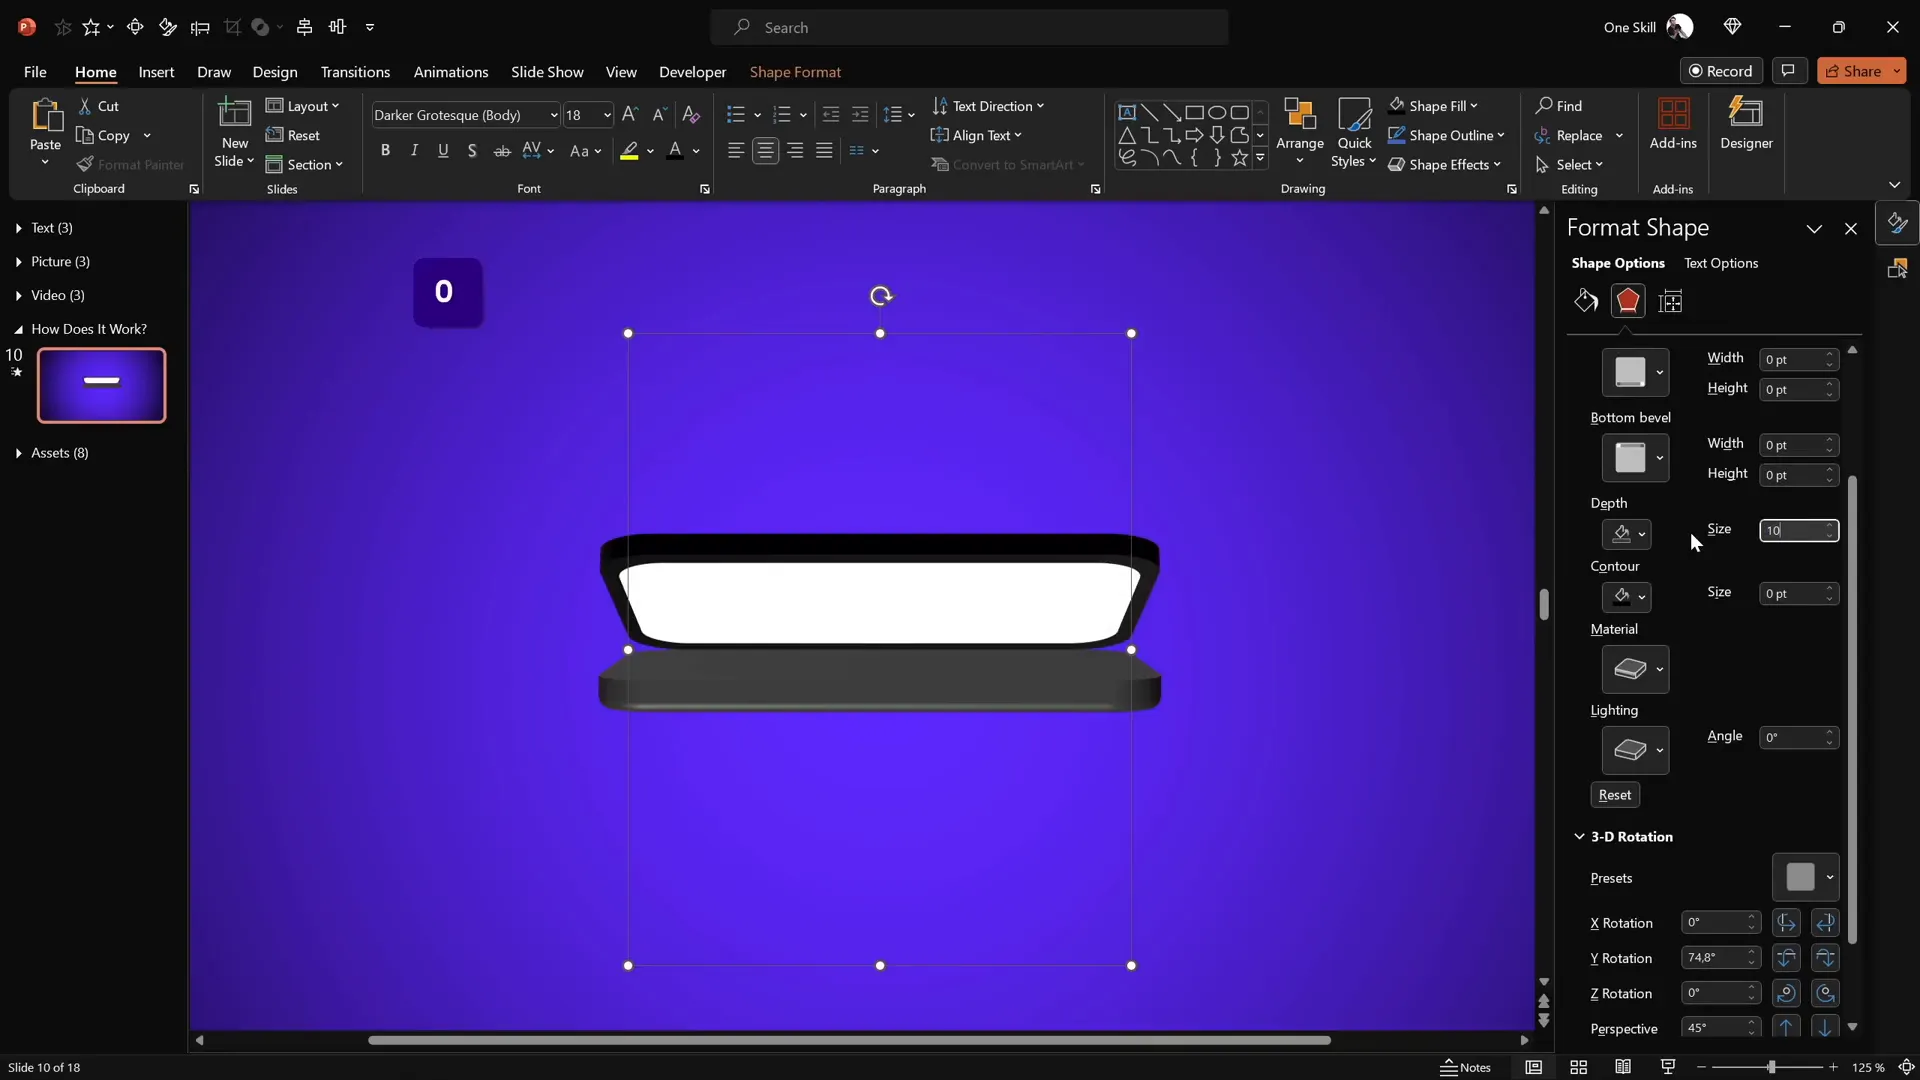
To make the laptop parts appear more three-dimensional, we add depth and bevel effects.
- Select the keyboard group and navigate to 3D Format Options.
- Add a depth of about 10 points to give thickness to the keyboard.
- Apply a bottom bevel with 5 points width and height to soften the edges and make them rounded.
Rotate the keyboard slightly upwards to visualize the rounded edges and depth, enhancing the realistic feel.
Repeating for the Screen
Repeat the same process for the screen group:
- Duplicate the screen group and attach the duplicate to the bottom of the original to set a new rotation axis.
- Set the fill of the duplicate to No Fill to keep it invisible.
- Apply the same 3D rotation perspective preset used for the keyboard.
- Add 3D depth and bottom bevel with the same settings (depth: 10 points; bevel width and height: 5 points each).
- Make sure both keyboard and screen are perfectly aligned to the center of the slide using slide guides.
Animating the Laptop: Creating the Open and Close Effect
With the laptop parts ready, it’s time to animate them using PowerPoint’s Morph Transition. This transition automatically animates the transformation between two slides, making it perfect for smooth opening and closing effects.
Step 1: Set the Laptop in Closed Position
- On the first slide, rotate the screen to 90 degrees on the Y-axis (making it look closed).
- Rotate the keyboard to 270 degrees on the Y-axis.
Step 2: Duplicate Slide and Set Open Position
- Duplicate the slide.
- On the duplicate, set the screen’s Y rotation to 0 degrees (fully open).
- Set the keyboard’s Y rotation to about 290 degrees (slightly lowered to simulate opening).
Step 3: Apply Morph Transition
- Apply the Morph Transition between the two slides.
- Set the duration to about 2 seconds for a smooth effect.
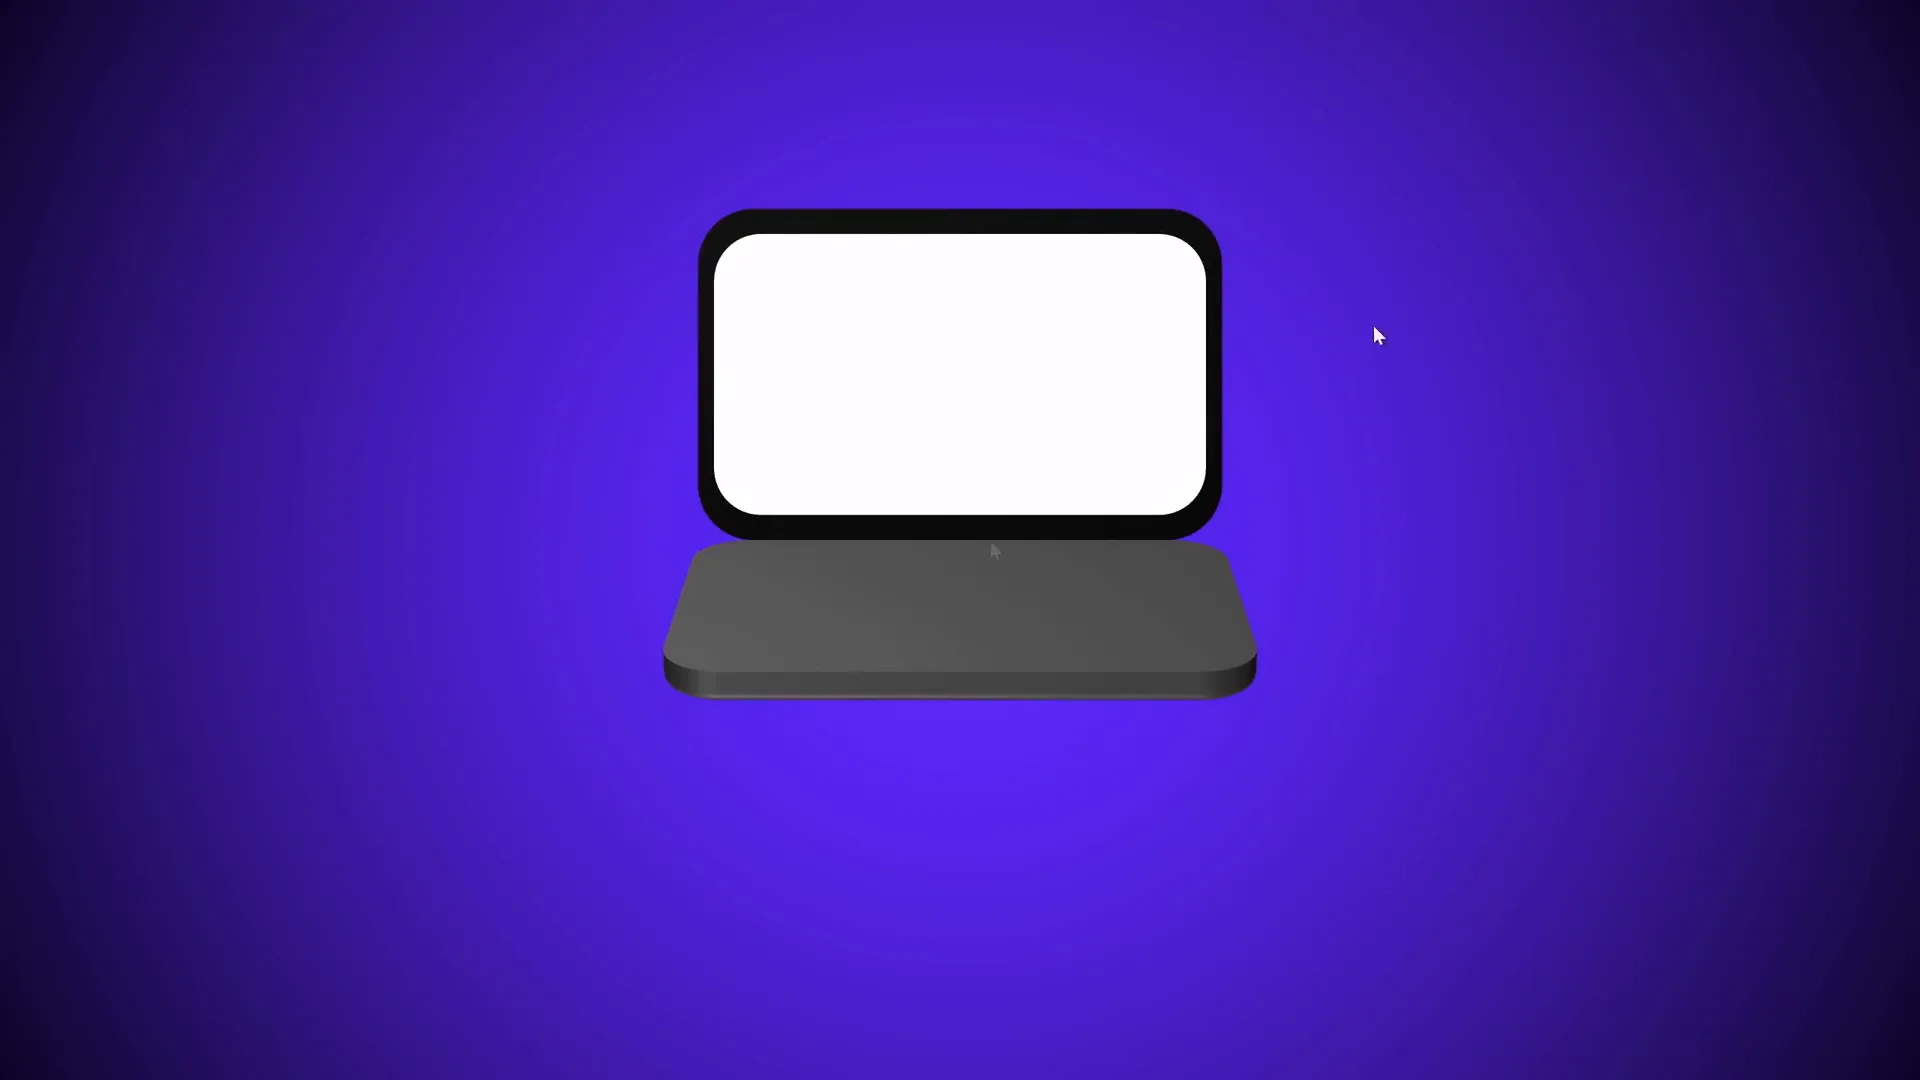
Now, when you play the slideshow, the laptop will beautifully open and close with a realistic hinge rotation.
Enhancing Realism with a Laptop Photo
To take the animation even further, you can replace the simple shapes with a high-quality photo of a laptop viewed from the top. This adds realism without compromising the animation’s customization.
Preparing the Laptop Photo
- Get a top-view laptop photo (free resources like Freepik provide great options).
- Insert the photo into your slide.
- Use the Rounded Rectangle shape to cover the keyboard area.
- Select the photo and the rectangle, then use Merge Shapes > Intersect to cut out only the keyboard portion.
- Repeat the process for the screen area using rounded rectangles to create matching shapes.
Setting Rotation Centers for Photo Components
Since the photo parts don’t have a natural rotation center, you’ll need to create them:
- Insert a rectangle with the same dimensions as the keyboard photo portion.
- Position it precisely at the hinge edge.
- Group the photo keyboard and this rectangle to set a new rotation axis.
- Set the rectangle fill and line to No Fill and No Line to keep it invisible.
Repeat the same for the screen photo portion.
Adding 3D Effects and Animating
- Apply the same perspective rotation presets to the photo groups.
- Add a subtle 3D depth (3 points) and bottom bevel (5 points width and height) for a realistic edge.
- Rotate the components to the closed position (screen at 90° Y rotation, keyboard at 270°).
- Duplicate the slide and set the open position (screen at 0°, keyboard at 290°).
- Apply the morph transition for smooth animation.
This approach blends the photo’s realism with the dynamic animation you created earlier.

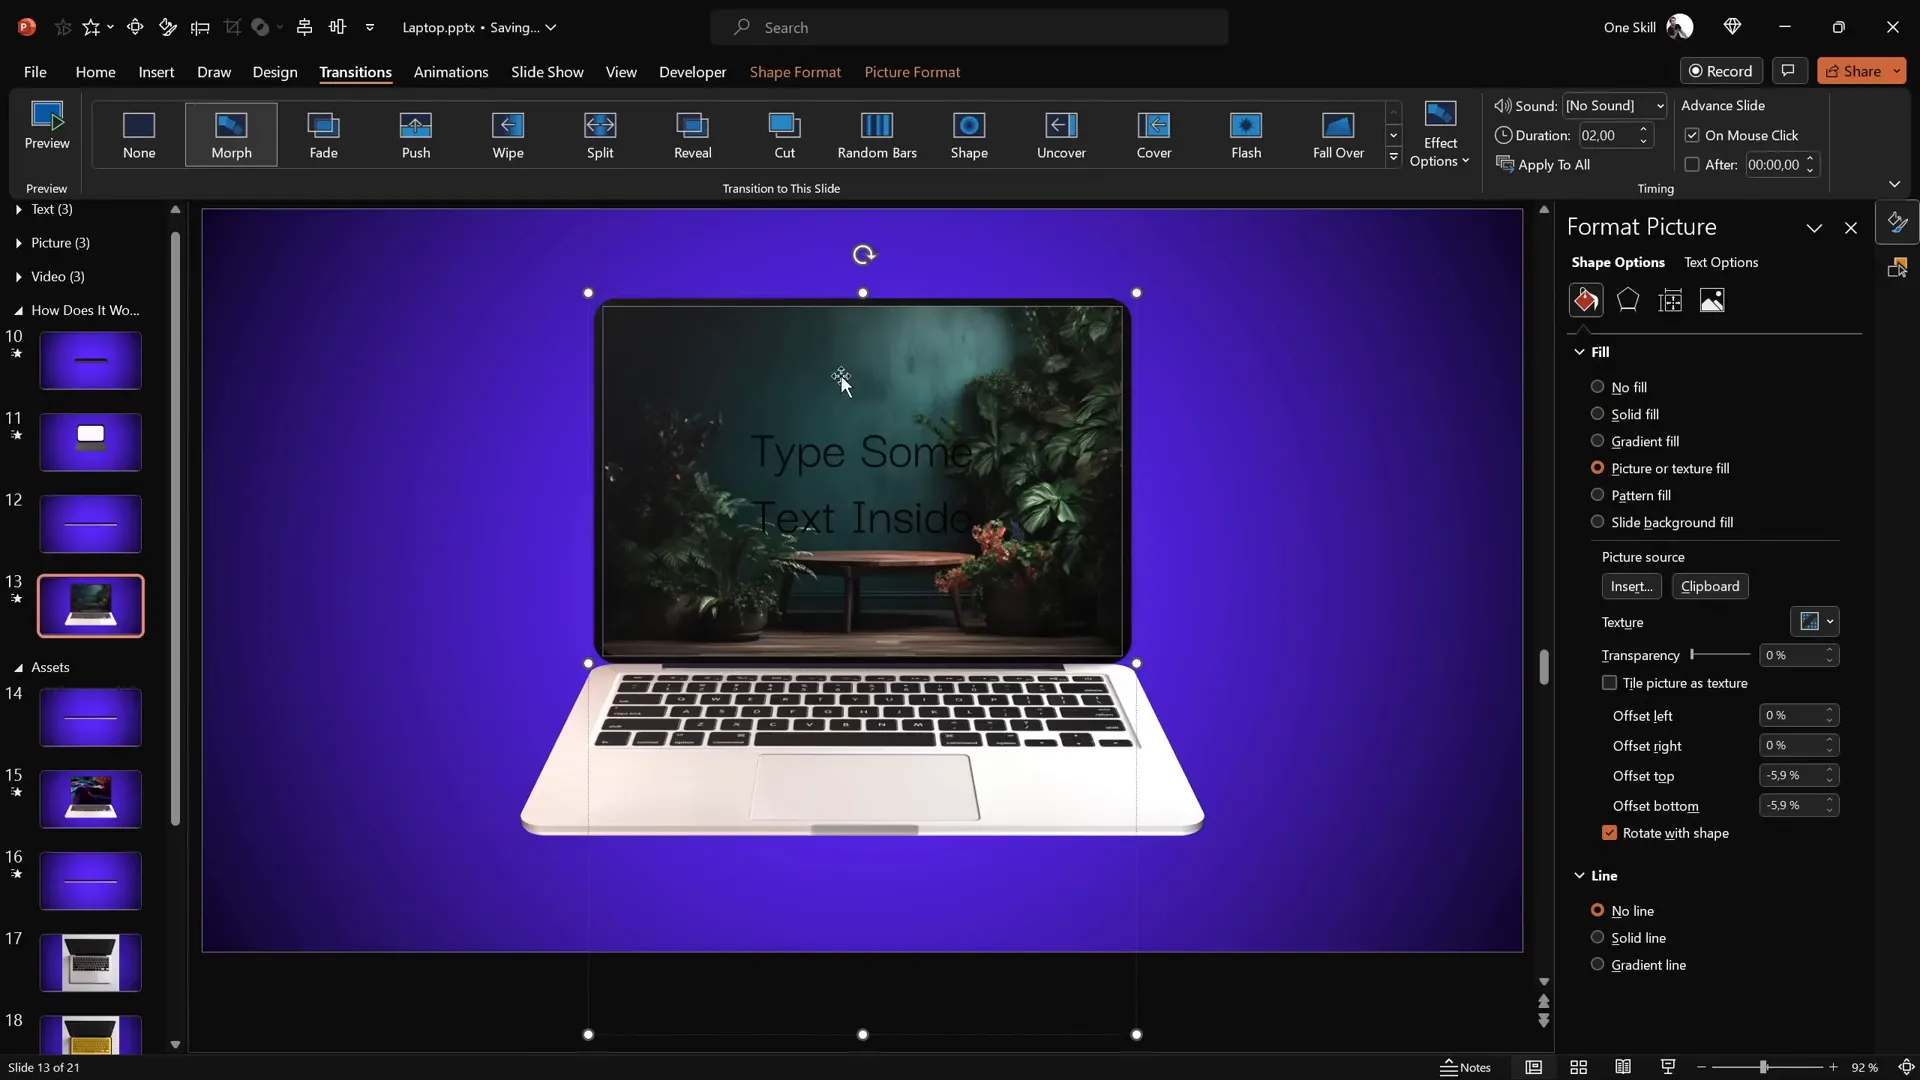
Customizing the Laptop Screen: Adding Text, Pictures, and Videos
One of the most exciting aspects of this animation is how customizable the laptop screen is. You can easily insert your own content inside the screen, whether it’s text, images, or even videos.
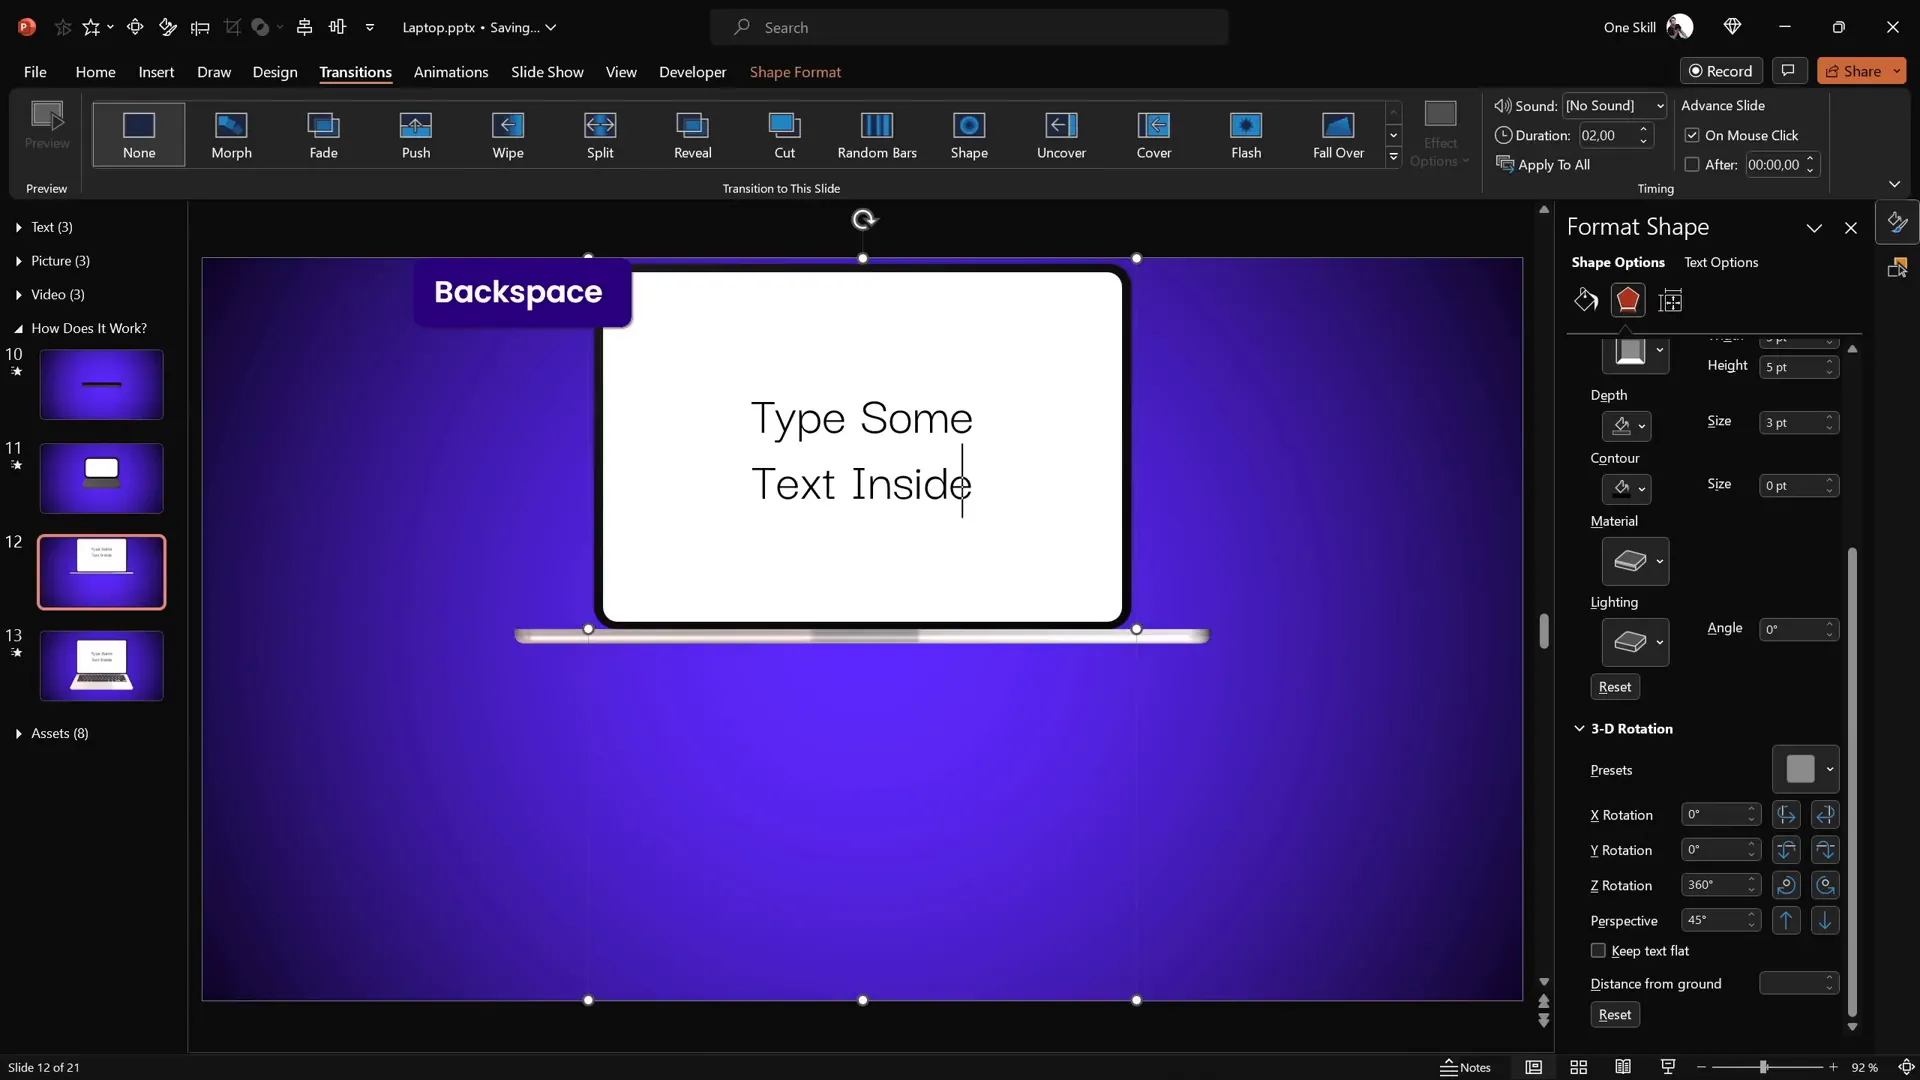
Adding Text
- Double-click the white screen shape to add text.
- Type your desired content—whether it’s a presentation title, message, or any other information.
- Adjust font styles and colors for readability (white font color works well on darker backgrounds).
- Copy the text box and paste it onto the corresponding screen shape on the other slide to maintain consistency during the morph transition.
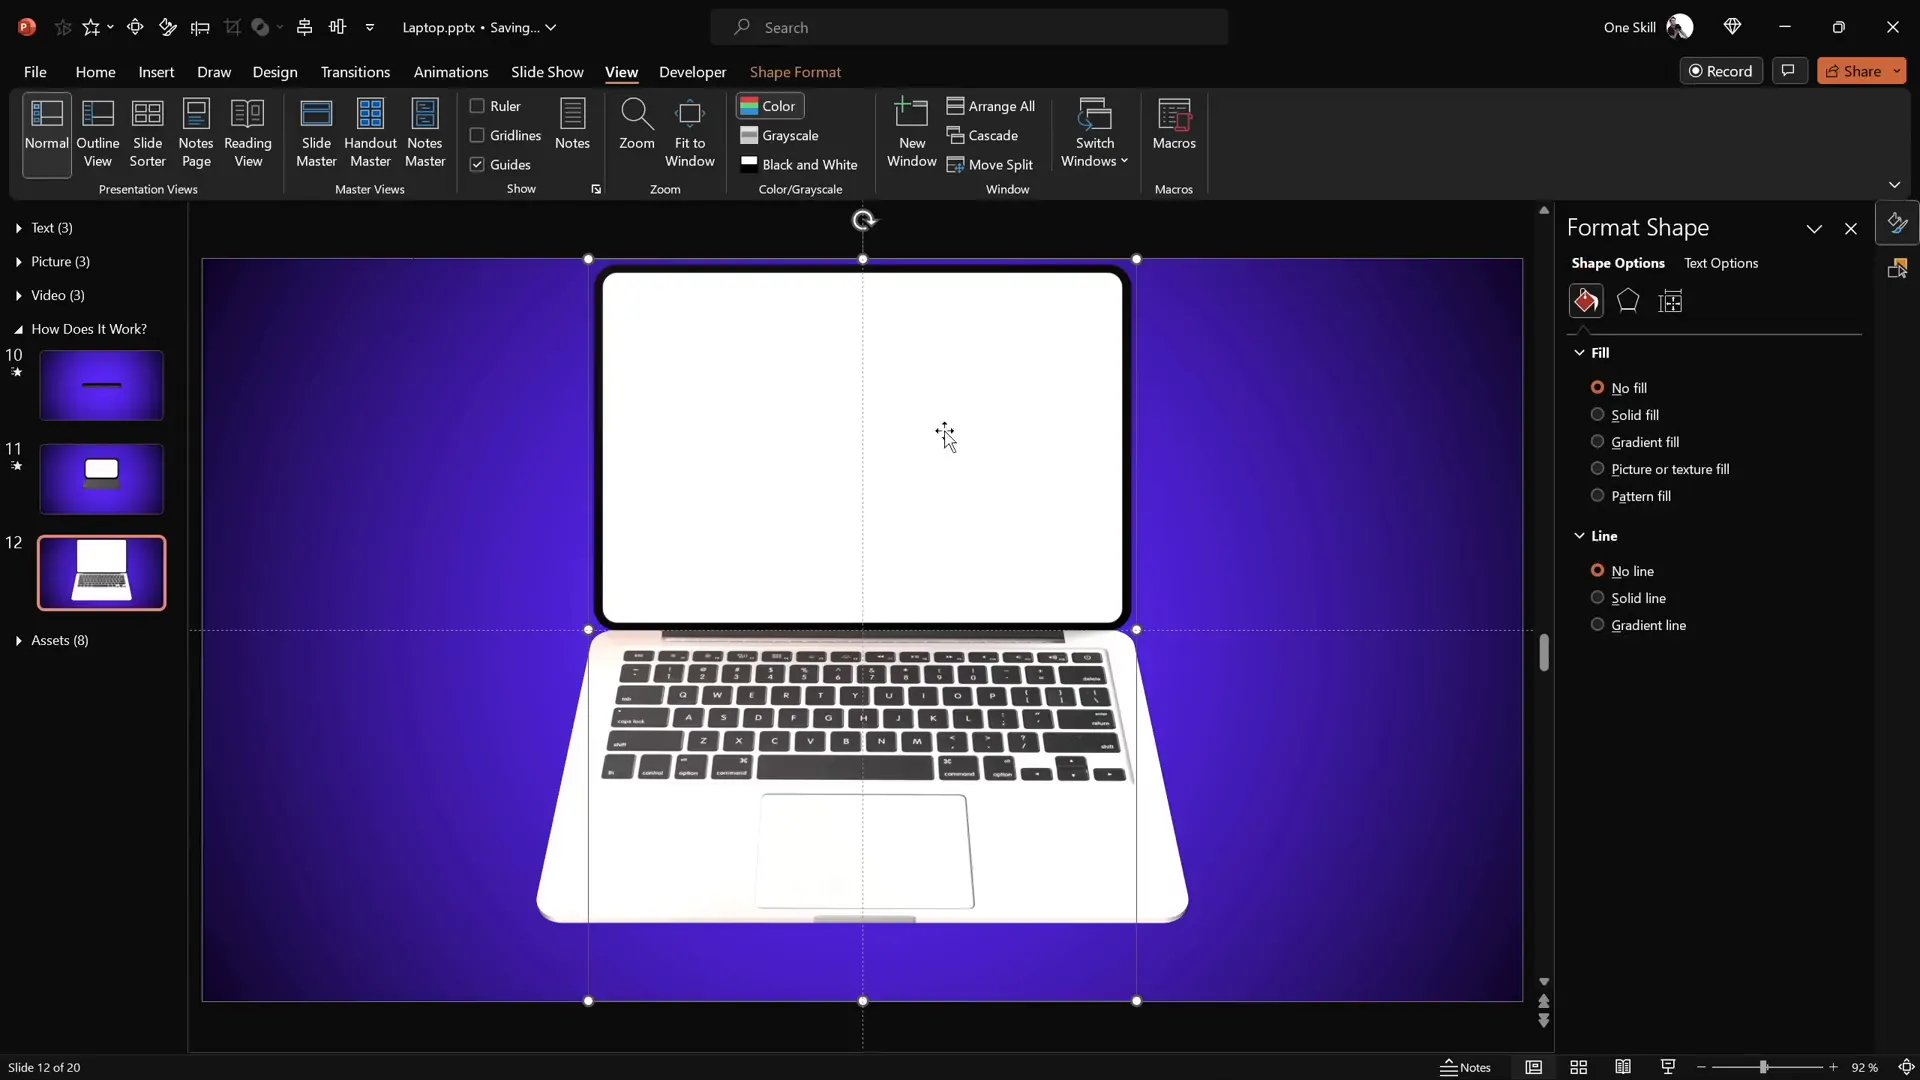
Inserting Pictures
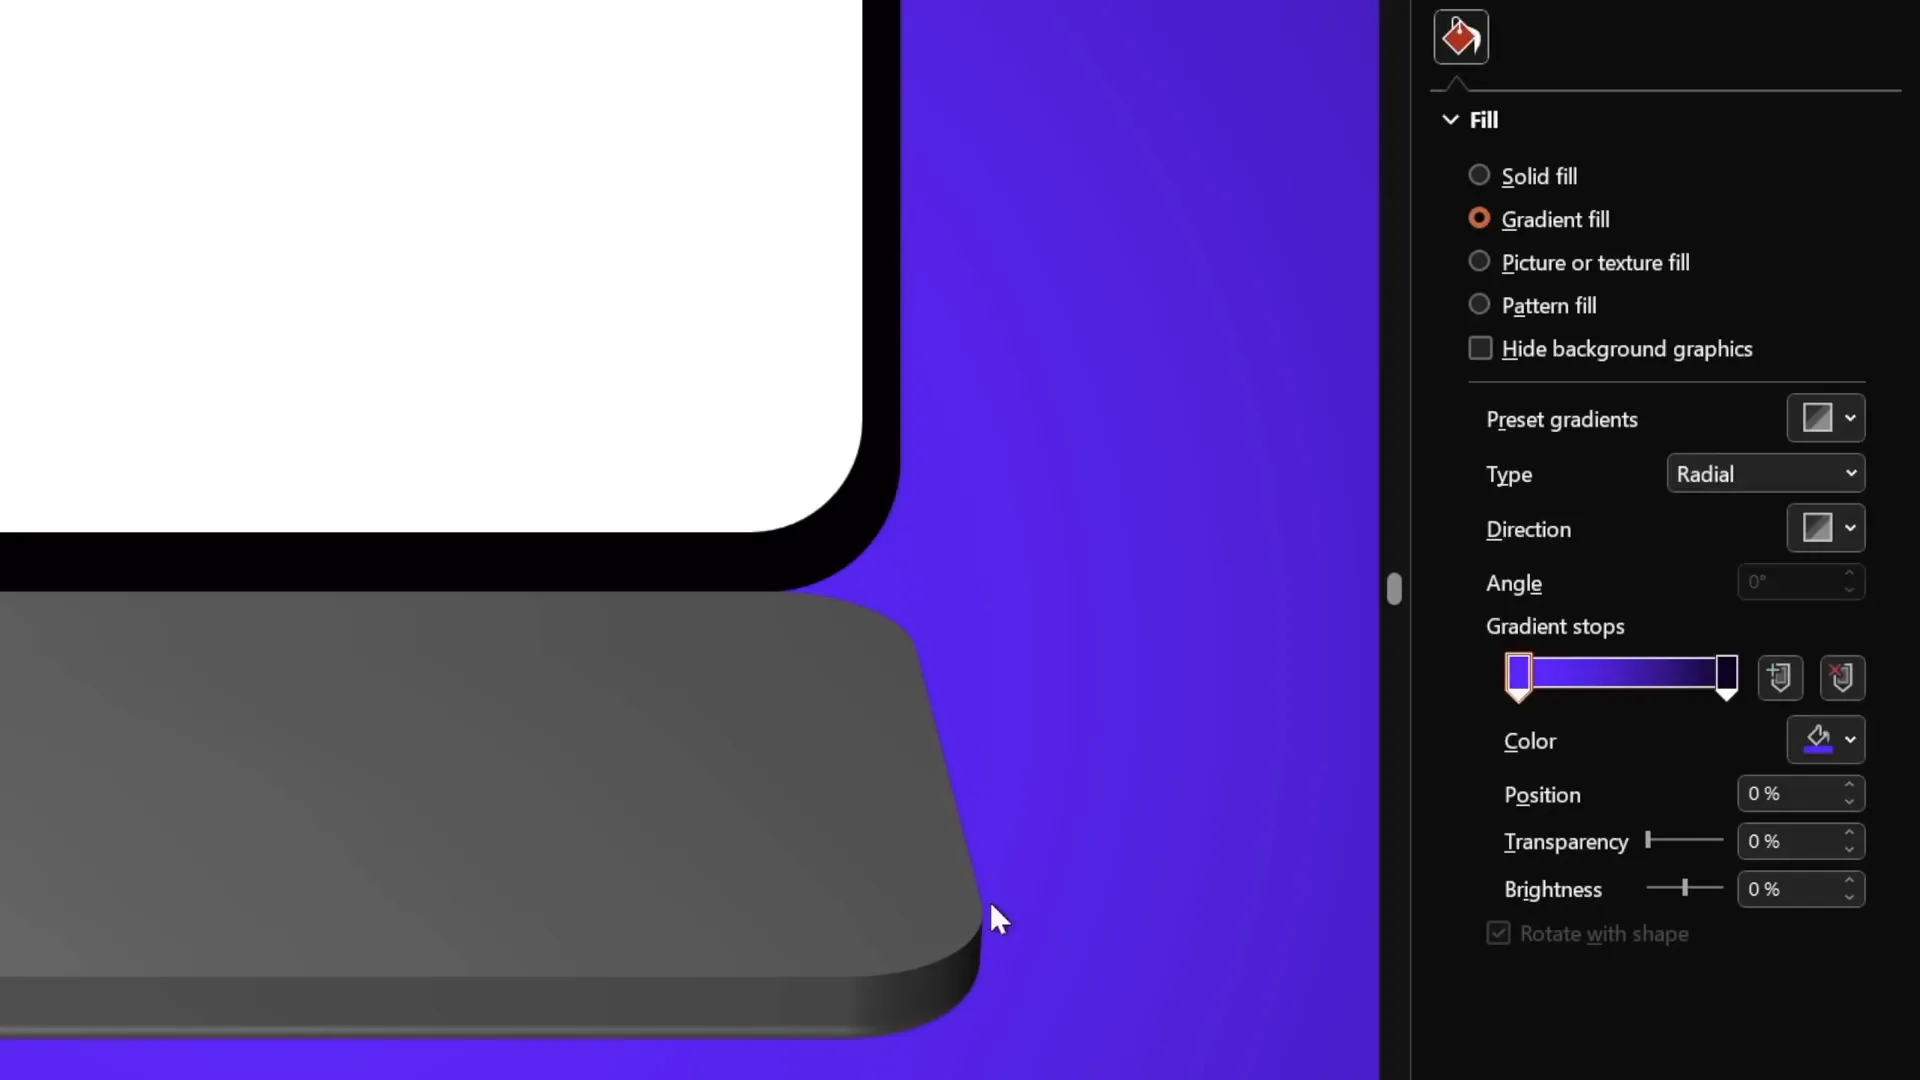
- Copy a picture from your assets or free image sources.
- Select the white screen shape and go to Format Shape > Fill.
- Choose Picture or Texture Fill and select Clipboard to insert the copied picture inside the screen.
- Adjust the picture for proper alignment and scaling.
- Copy the screen style and paste it onto the corresponding screen on the other slide to keep the animation seamless.
Embedding Videos
Embedding videos inside the laptop screen takes your animation to the next level, making your presentation dynamic and engaging.
- Go to Insert > Video > Stock Videos (available in PowerPoint 365).
- Select a video and insert it into the slide.
- Use the shape of the laptop screen to crop the video precisely:
- Copy the white screen shape.
- Paste it on top of the video.
- Select both the video and the shape, then use Merge Shapes > Intersect to crop the video.
- Copy the cropped video and paste it as a picture fill inside the screen shape for the closed laptop slide.
- Paste the actual video on the open laptop slide, aligning it perfectly with the screen shape.
- Add a Fade animation to the video with a 1-second duration, set to start With Previous.
- Set the video to start playing automatically on slide load.
This setup ensures that when the laptop opens, the video fades in smoothly and starts playing, creating a highly professional and interactive effect.
Final Tips and Encouragement
This tutorial may seem lengthy, but each step builds upon the last, giving you a thorough understanding of how to harness PowerPoint’s animation and 3D features to create something truly unique and professional.
Remember:
- The key to realistic rotation is setting new rotation centers by grouping shapes strategically.
- Adding 3D depth and bevel softens edges and adds dimension.
- The Morph Transition is a powerful tool that automates smooth animations between slides.
- Customizing the laptop screen with your own content makes the animation versatile and suited for any presentation theme.
With practice, you can master these techniques and create all kinds of animated devices, objects, and scenes using PowerPoint alone.
Frequently Asked Questions (FAQ)
Q1: Do I need a 3D model to create this laptop animation?
No! This animation is created entirely using simple PowerPoint shapes, photos, and 3D rotation/perspective effects. No external 3D models are required.
Q2: Can I customize the laptop screen with my own content?
Absolutely. You can insert text, pictures, or even videos inside the laptop screen shape, making the animation highly versatile for different presentation needs.
Q3: What versions of PowerPoint support these features?
The tutorial uses PowerPoint 365 for Microsoft 365, which supports 3D rotation, morph transitions, and stock videos. Some features may not be available or behave differently in older versions.
Q4: How do I create a new rotation center for a shape?
You create a new rotation center by grouping the shape with a duplicated, invisible shape positioned where you want the rotation axis to be. This tricks PowerPoint into rotating the group around that new center.
Q5: What is the Morph Transition, and why is it important?
The Morph Transition automatically animates smooth transformations between two slides with similar objects. It’s essential here because it creates the opening and closing laptop animation without manually animating each part.
Q6: Can I use this technique for other devices or objects?
Yes! The principles of setting rotation centers, adding 3D depth, and using morph transitions can be applied to animate phones, tablets, boxes, or any object you can create using shapes and images.
Q7: Where can I find free laptop photos to use?
Free stock photo websites like Freepik offer high-quality images suitable for these projects. Always check the license for commercial use.
Q8: How can I add smooth animation to videos embedded in PowerPoint?
Use fade-in animations set to start with the slide and set the video to play automatically. This ensures a seamless viewing experience when the laptop opens.
Conclusion
Congratulations! You now have a comprehensive understanding of how to create a visually stunning, customizable 3D laptop opening animation using only PowerPoint. From setting up the slide background to crafting realistic rotation axes, adding 3D depth, and embedding your own content, you have the tools to captivate your audience like never before.
PowerPoint is much more than a simple presentation tool; it’s a creative platform that, when mastered, can bring your ideas to life with dynamic animations and professional polish.
So go ahead—experiment, customize, and create the PowerPoint animations you’ve always dreamed of. The world of PowerPoint animation mastery awaits you!
Happy animating!
Check out the full video: PowerPoint Presentation Skills: Creating 3D Laptop Animation ✨


