Creating stunning 3D scenes from simple photos is an exciting way to bring your visuals to life and captivate your audience. Imagine taking a beautiful landscape photo and transforming it into a dynamic, layered parallax animation—all within PowerPoint! This comprehensive guide will walk you through the entire process, from selecting the perfect photo to cutting it into layers and animating it for a mesmerizing 3D effect.
This tutorial draws inspiration from an amazing video by MDMZ, who demonstrated how to convert a single photo into a 3D scene using After Effects. Inspired by that, we’ll explore how to achieve a similar effect using just PowerPoint and some free photo editing tools, making this technique accessible to anyone. Let’s dive in and unleash your creativity!
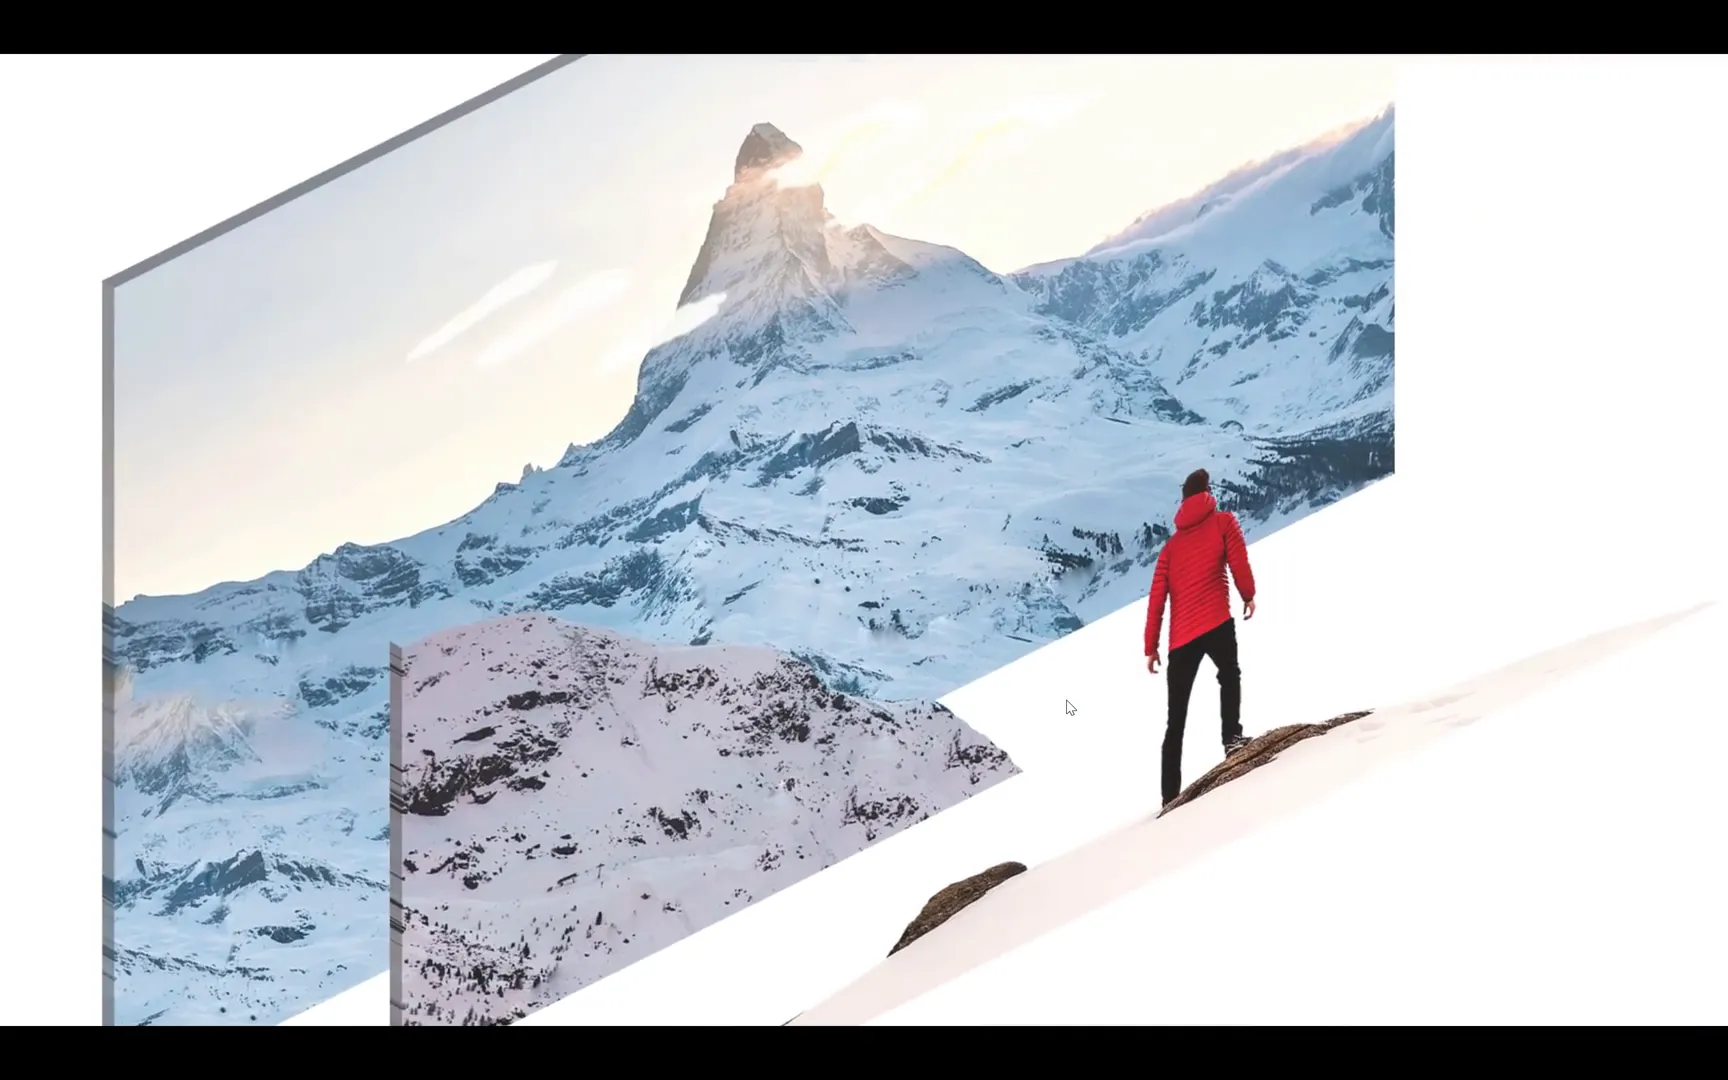
Table of Contents
- Why Create 3D Scenes from Photos?
- Step 1: Choosing the Right Photo
- Step 2: Preparing Your Photo in Photopea
- Step 3: Selecting and Isolating Layers
- Step 4: Exporting Layers from Photopea
- Step 5: Importing and Aligning Layers in PowerPoint
- Step 6: Adding Animations for the 3D Effect
- Step 7: Adding Flying Text Behind the Foreground
- Final Result: A Stunning 3D Parallax Scene
- FAQ
- Conclusion
Why Create 3D Scenes from Photos?
Photos are often flat and static, but adding depth and motion can make them more engaging. A 3D scene with a parallax effect mimics how our eyes perceive depth, making the image feel alive. This technique is perfect for presentations, social media content, or creative projects where you want to stand out.
With PowerPoint‘s animation capabilities and some clever photo editing, you can turn ordinary photos into eye-catching 3D scenes without expensive software or complicated workflows.
Step 1: Choosing the Right Photo
The foundation of a great 3D scene is the photo itself. You want an image with distinct layers—foreground, middle ground, and background—that can be separated and animated independently.
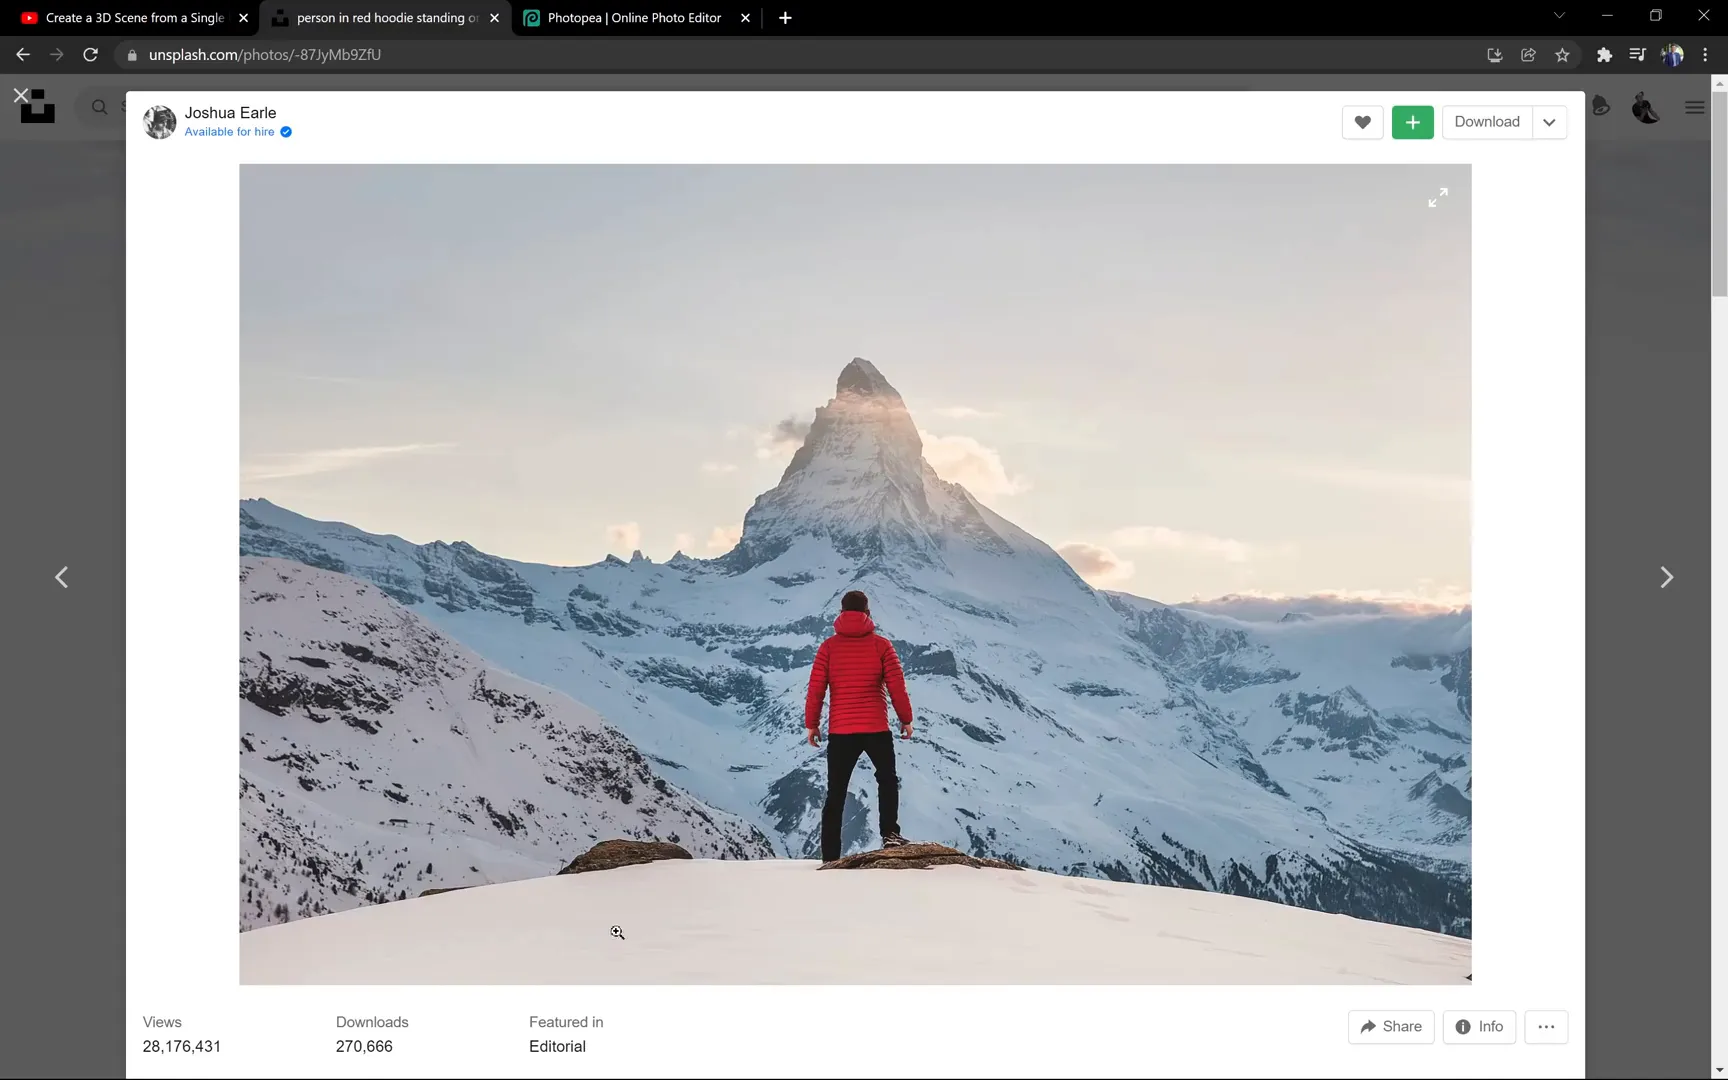
For this tutorial, I recommend using photos from Unsplash’s curated collection of images suitable for 3D conversion. These photos have clear elements that will help in creating depth.
For example, the photo by Joshua Earl of snowy mountains with a person in a red jacket works perfectly. It has:
- A foreground with the person
- A middle ground with mountains on the left
- A background with distant mountains
Having these layers separated in the photo helps us create a convincing 3D parallax effect later on.
Step 2: Preparing Your Photo in Photopea
To create the 3D effect, you need to isolate different parts of your photo into layers. I use Photopea, a free online photo editor similar to Photoshop, for this task.
If you’re proficient with Photoshop, GIMP, or any other photo editor, feel free to use those. The key is to make clean selections of the parts of the photo you want to animate separately.
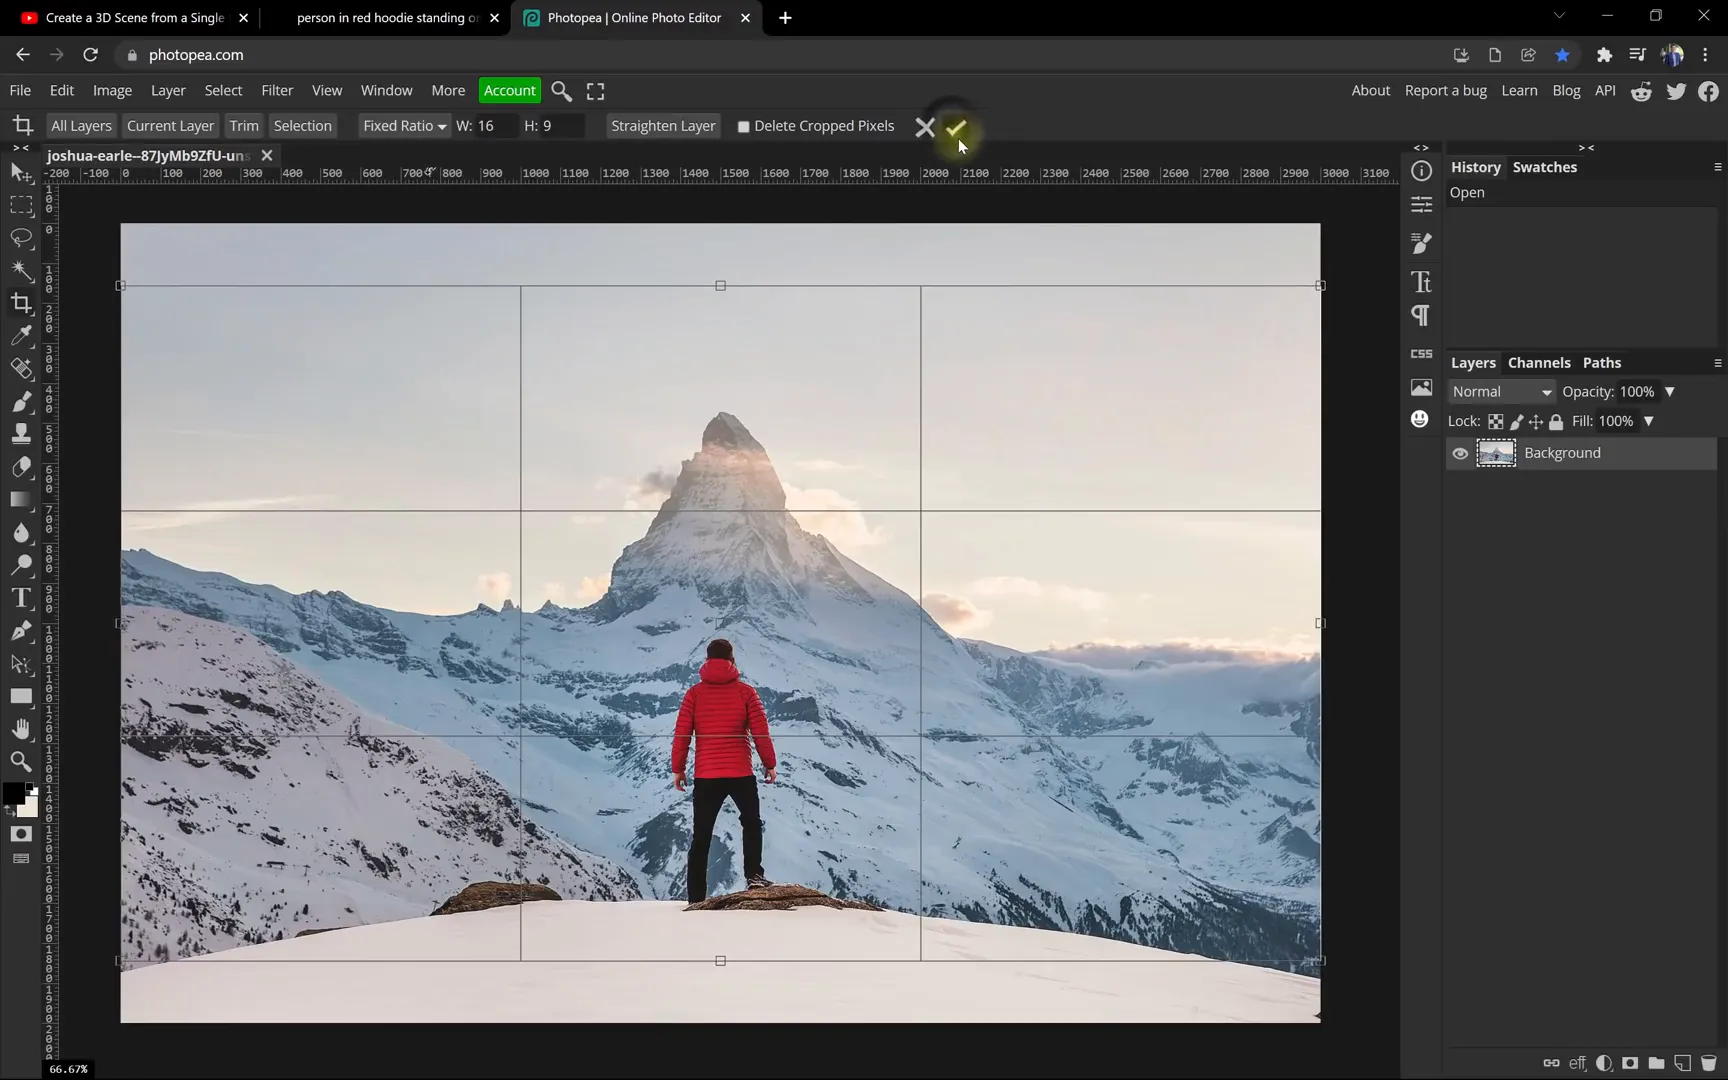
Crop to 16:9 Aspect Ratio
First, crop your photo to a 16:9 aspect ratio to match PowerPoint‘s widescreen slides. This saves you from adjusting the size later.
In Photopea:
- Select the Crop Tool from the left toolbar.
- Choose Fixed Ratio in the dropdown menu.
- Set Width to 16 and Height to 9.
- Drag to select the crop area and double-click the checkmark to apply.
Adjust Contrast and Saturation
Enhance the photo’s vibrancy by adding a bit of contrast and saturation:
- Go to Image > Adjustments > Brightness/Contrast and increase contrast (around 40 works well).
- Go to Image > Adjustments > Hue/Saturation and slightly boost saturation (about +5).
These tweaks make the image pop and improve the final animation’s visual appeal.
Useful Shortcuts in Photopea
- Z: Zoom tool (drag right to zoom in, left to zoom out)
- Spacebar: Grab tool to pan around the image
- Ctrl + 0: Fit image to window
Step 3: Selecting and Isolating Layers
Now comes the crucial part: selecting and isolating different parts of the photo for layering.
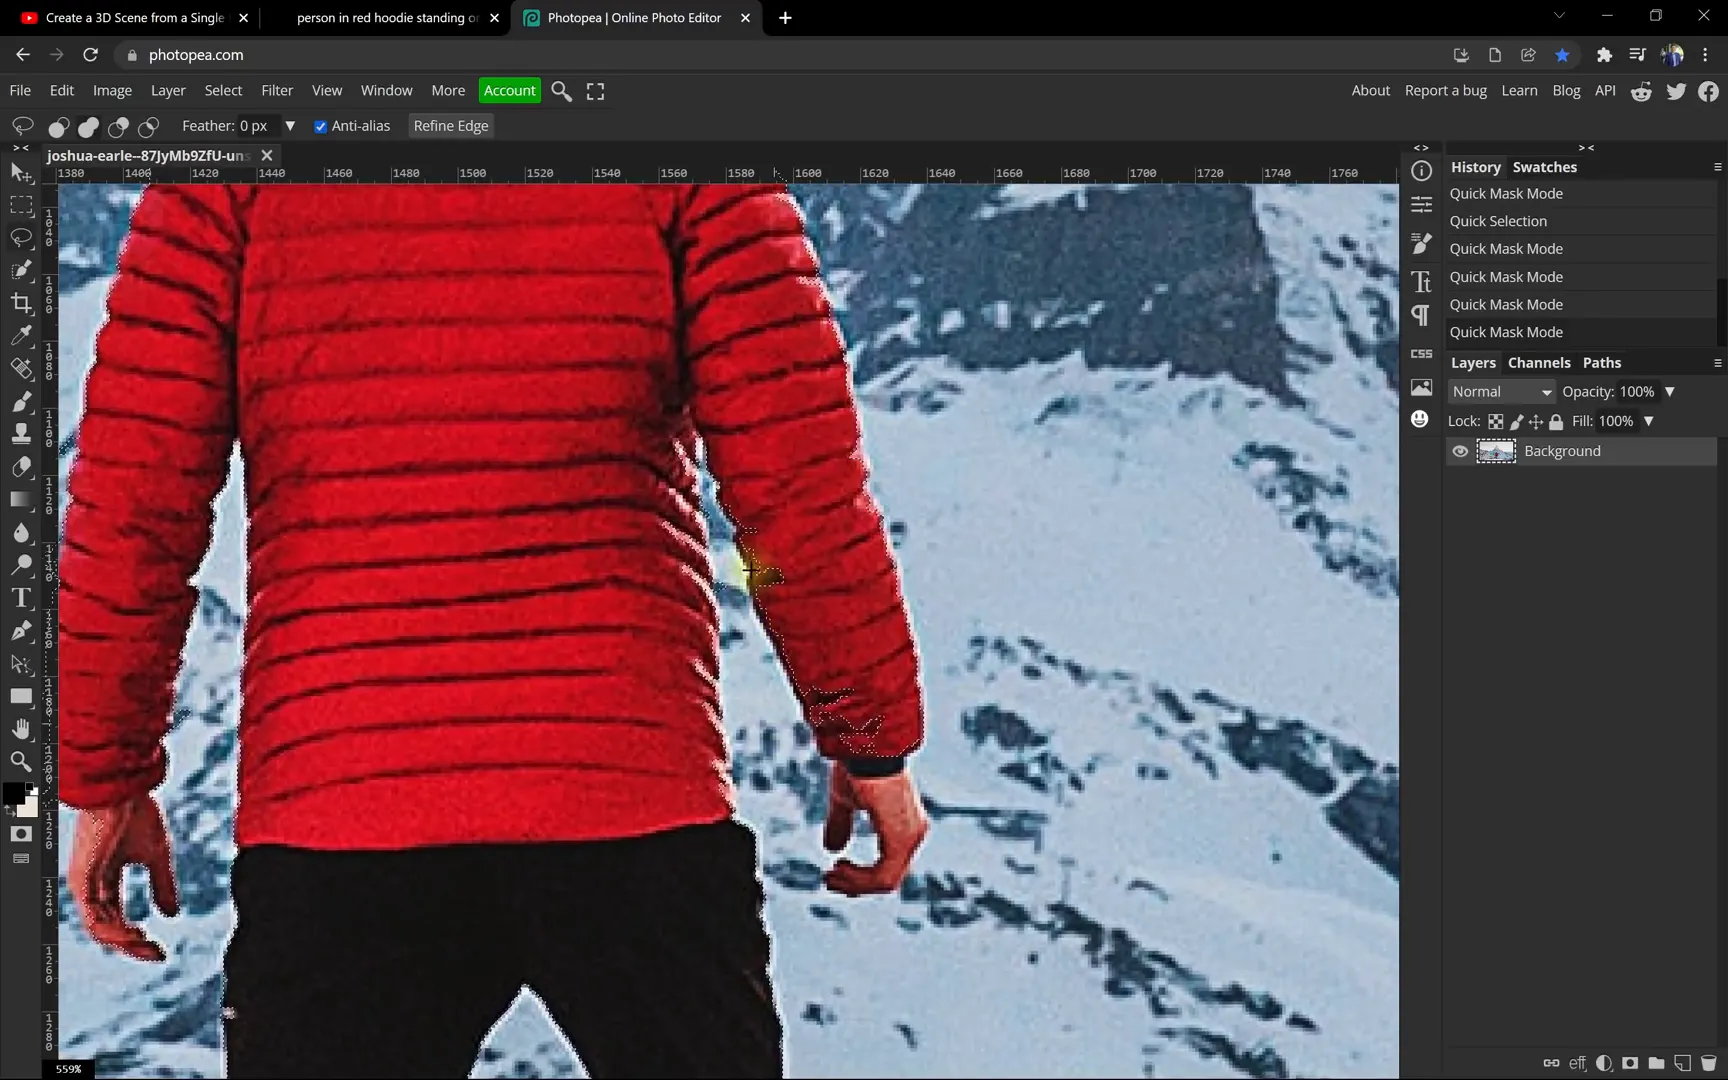
Selecting the Foreground (Person)
Use the Object Selection Tool (found under the Magic Wand tool) to quickly select the person:
- Click and drag around the person in the red jacket to create a selection.
- Press Q to toggle Quick Mask mode to visualize your selection (selected areas remain visible, others turn red).
You’ll notice some extra areas selected around the hands or between the legs. Don’t worry—we’ll clean those up next.
Adding the Ground to the Foreground Selection
We also want to include the rock and snow the person is standing on:
- Press Q again to exit Quick Mask mode.
- Use the Quick Selection Tool in unite mode to add the ground to your selection by clicking and dragging over it.
Cleaning Up the Selection
To remove unwanted parts from your selection (like gaps between legs):
- Hold down the Alt key to switch to subtract mode.
- Click or drag around unwanted areas to deselect them.
Use the Lasso Tool (L) for precise additions or subtractions:
- Draw a loop around areas to add (in unite mode).
- Hold Alt and draw loops to subtract.
Creating a Mask for the Foreground
Once satisfied with your selection:
- Click the Add Layer Mask button to isolate the foreground.
- If the edges look rough, undo the mask and refine the selection by contracting it by 1 pixel (Select > Modify > Contract) and feathering by 1 pixel (Select > Modify > Feather).
- Apply the mask again for smooth edges.
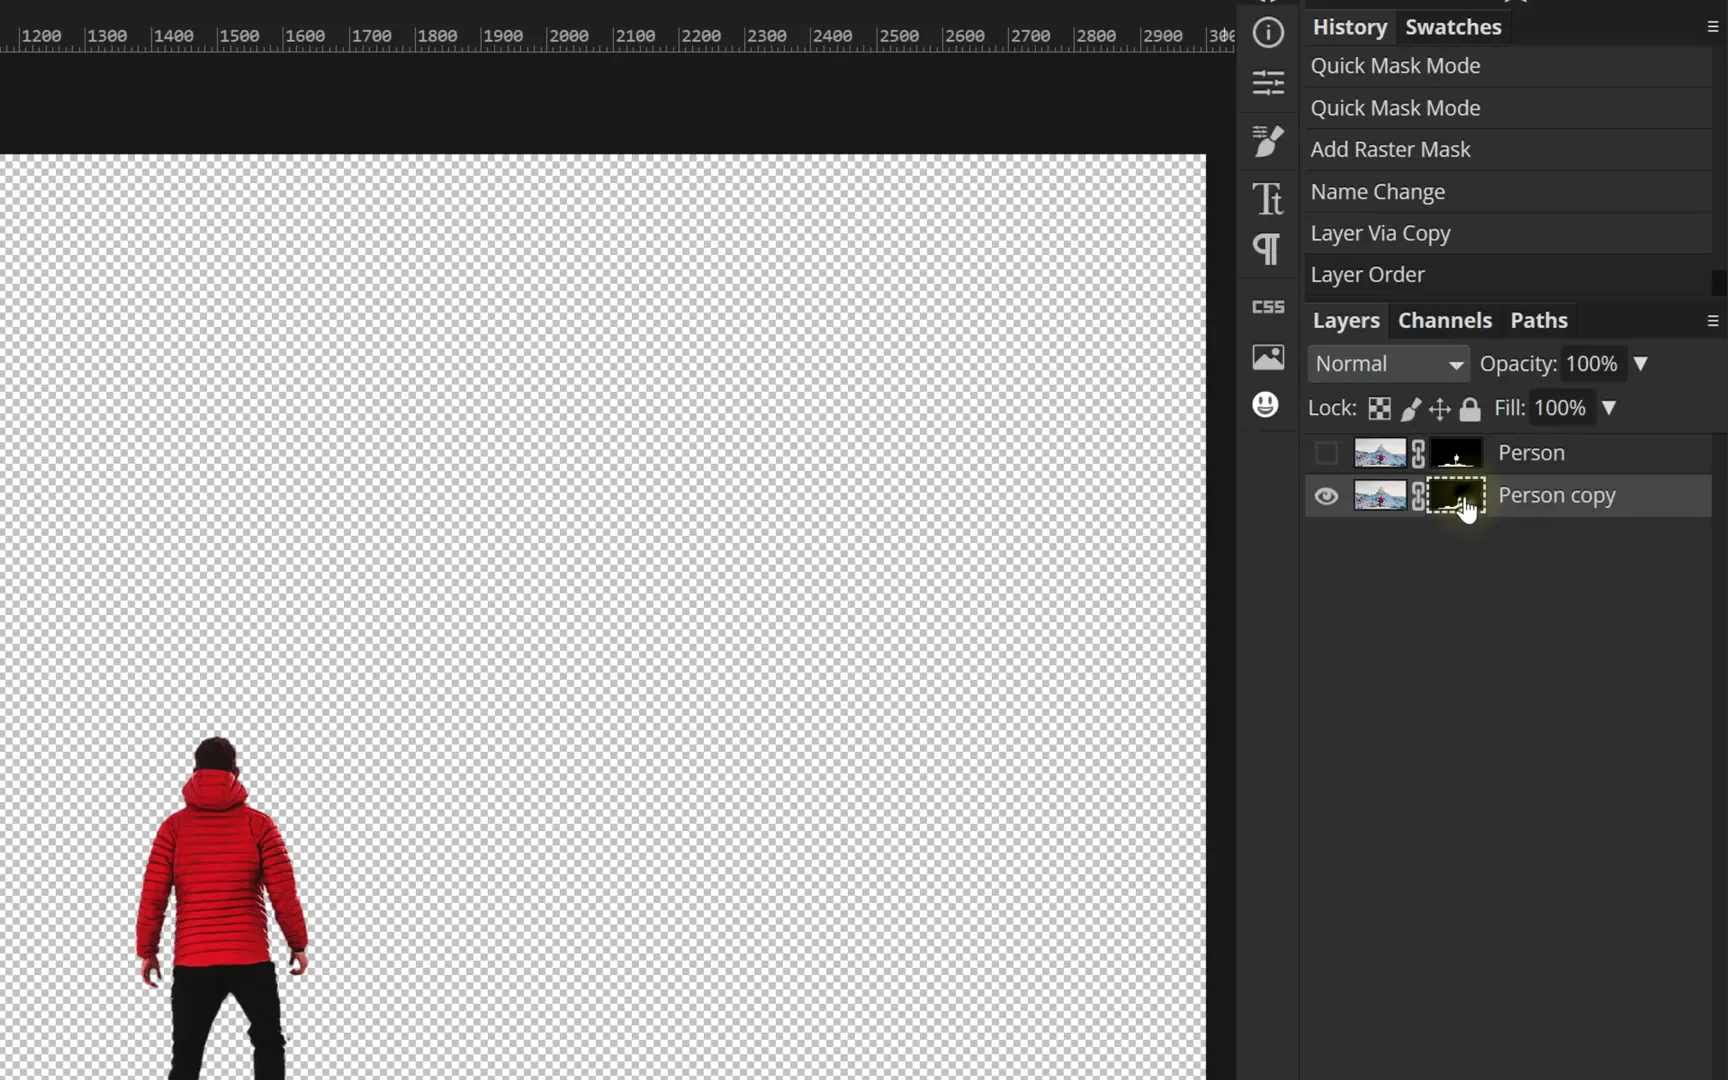
Duplicating the Foreground Layer
Duplicate this layer to keep a backup:
- Right-click the layer and select Duplicate Layer, or press Ctrl + J.
- Move the duplicate to the top and hide it for now.
- On the original, delete the mask—we’ll create new masks for other layers next.
Isolating the Middle Ground (Mountains on the Left)
To isolate the mountains on the left:
- Hide the foreground layer.
- Use the Lasso Tool to roughly select the person and snow area, then fill it using Edit > Fill with Content-Aware to remove the foreground.
This fills the area with surrounding pixels, making the foreground disappear.
Fix any imperfections with the Clone Stamp Tool (S):
- Hold Alt and click to set the source.
- Paint over unwanted areas to blend them.
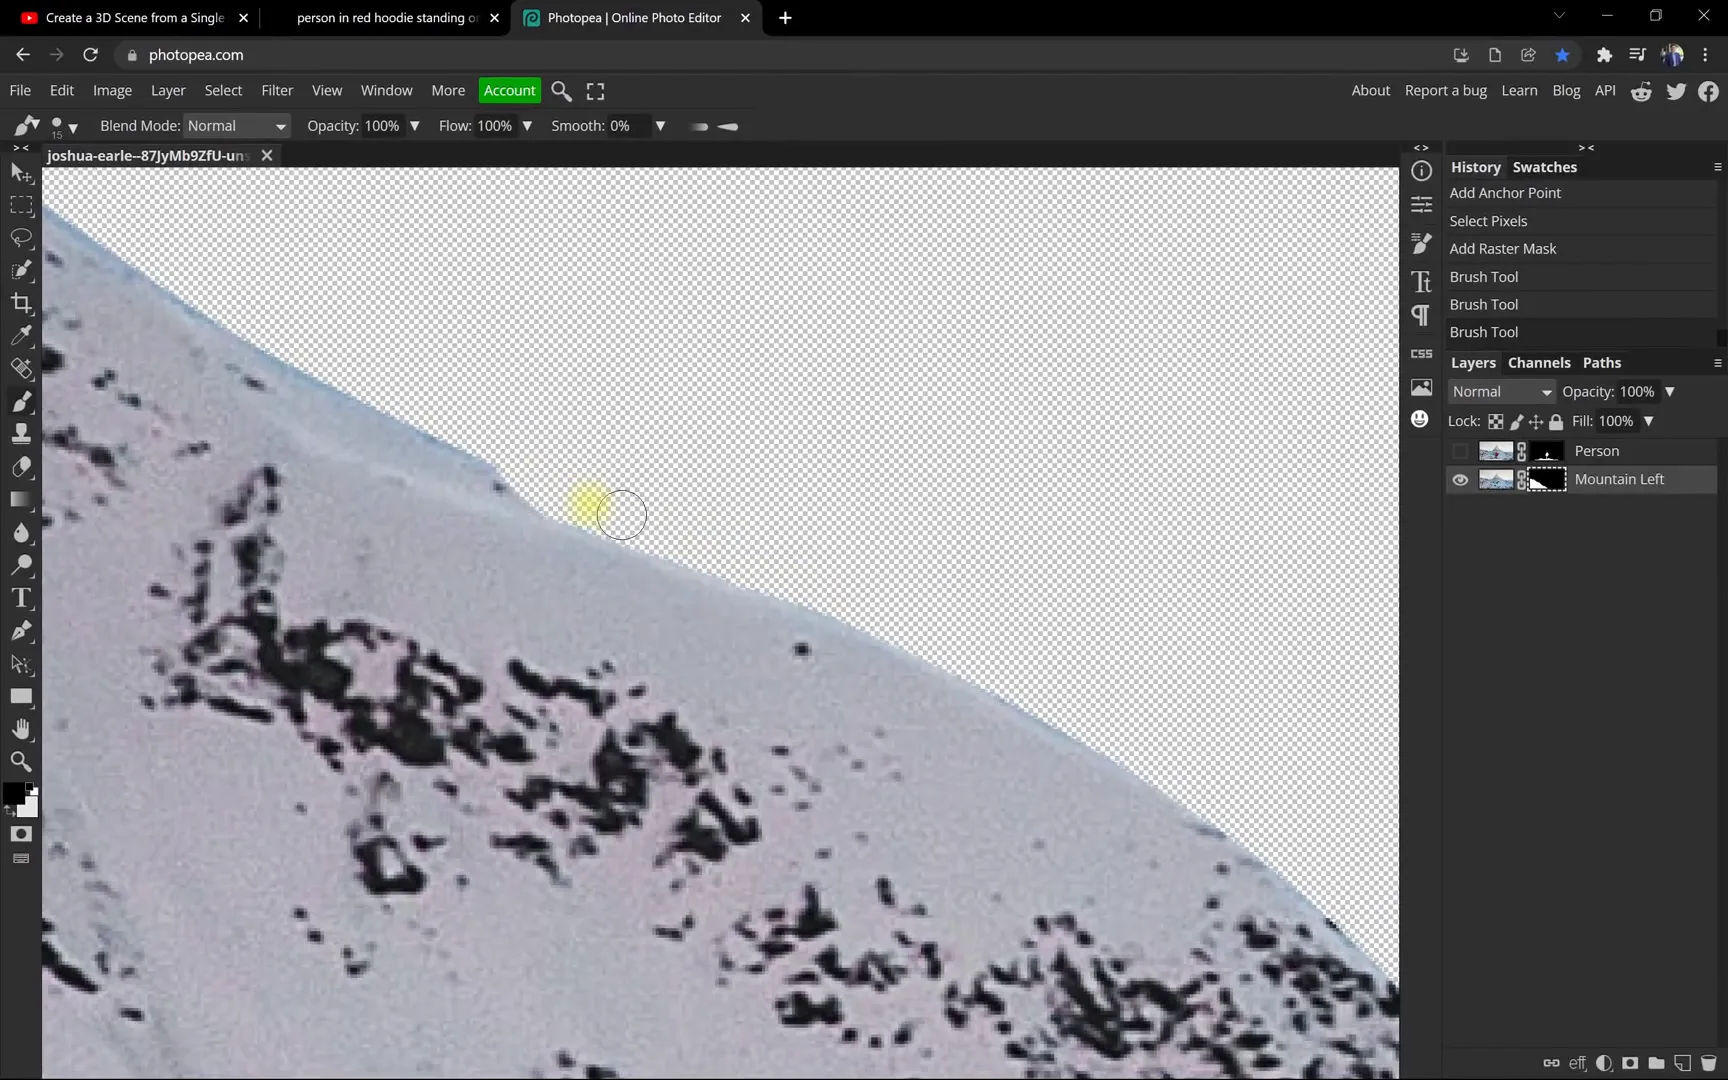
Selecting the Mountains on the Left
For a precise selection, use the Pen Tool (P) in Path mode:
- Click and drag to create anchor points outlining the mountain.
- Hold Spacebar to adjust points or move the image while drawing.
- Complete the path by connecting the end point close to the start point.
- Convert the path to a selection and add a mask.
Clean up the mask edges using the brush tool with black to hide unwanted pixels.
Isolating the Background (Matterhorn Mountain)
Duplicate the middle ground layer, hide the duplicate, and on the bottom layer:

- Delete the mask.
- Use the lasso tool to select the mountains on the left side.
- Fill with content-aware fill to remove the left mountains from the background layer.
This leaves a clean background layer with only the Matterhorn mountain.

Step 4: Exporting Layers from Photopea
To use these layers in PowerPoint, export them individually:
- Go to File > Export As > Layers.
- Uncheck any options that trim transparent areas to keep all layers the same size.
- Export as a zip file and extract it.
You’ll now have three PNG images representing your layers.
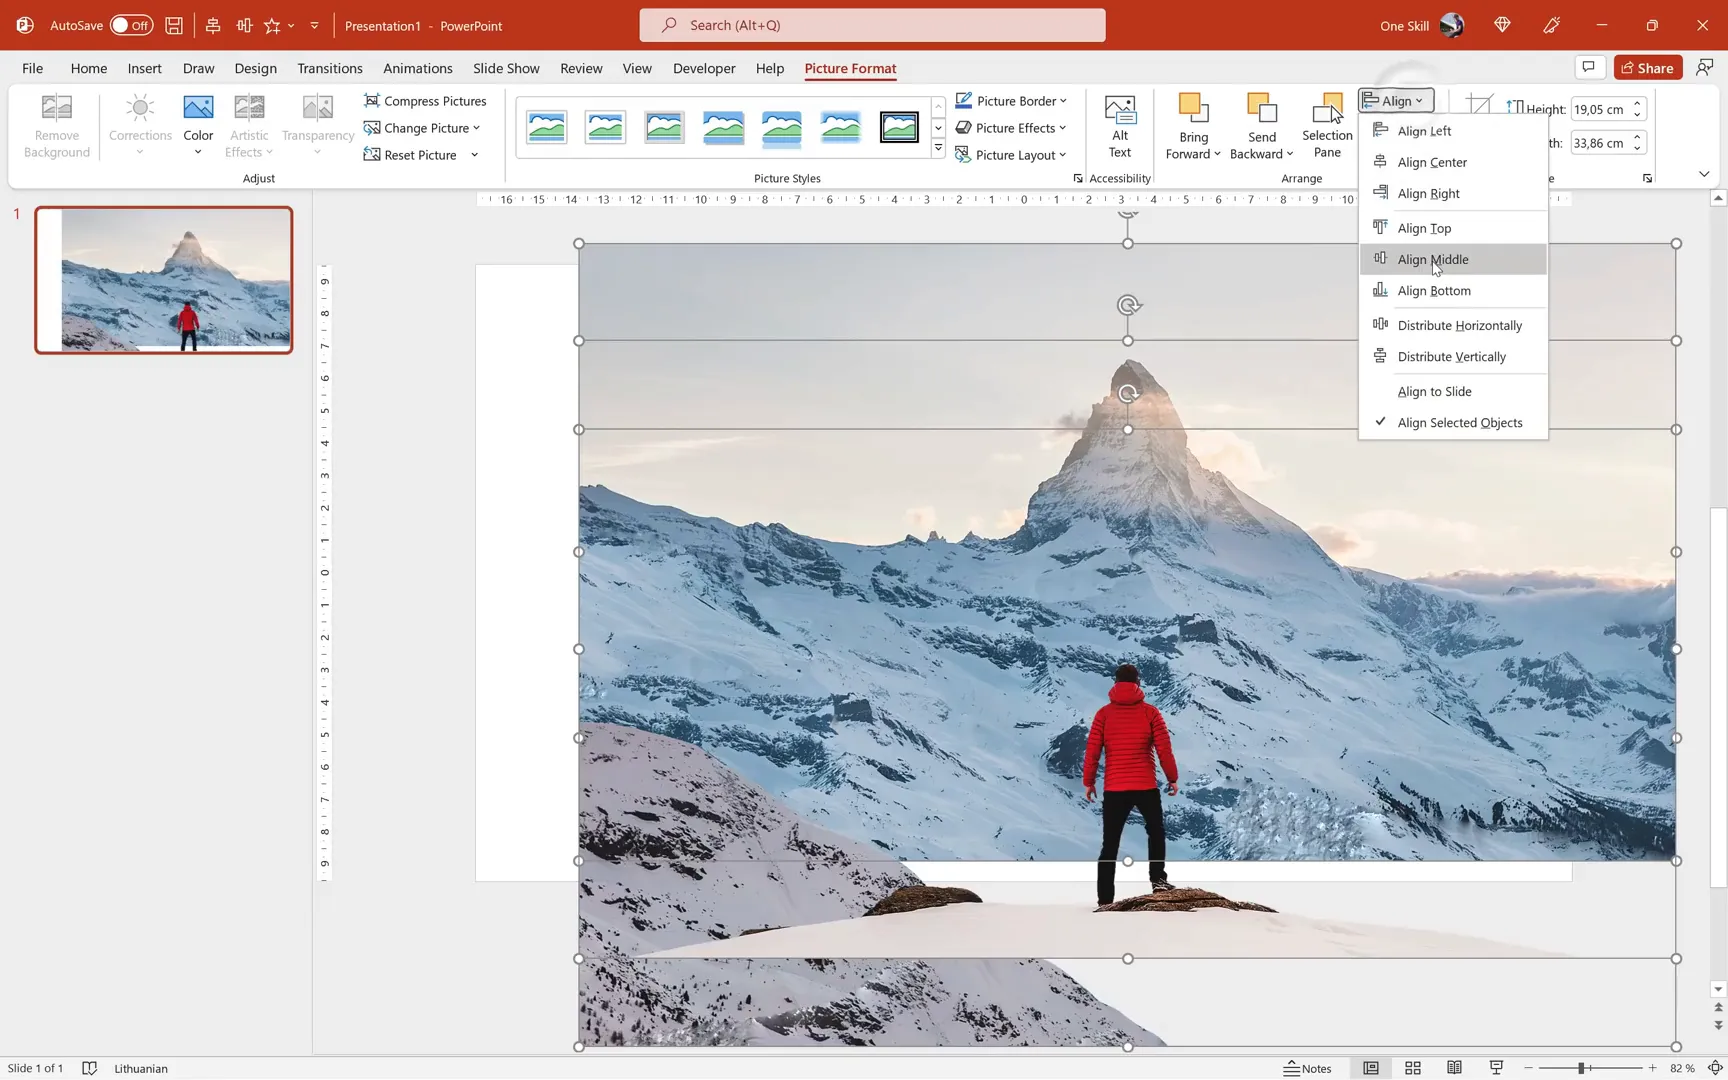
Step 5: Importing and Aligning Layers in PowerPoint
Open PowerPoint and set the slide layout to Blank for a clean workspace.
Insert the exported layers:
- Go to Insert > Pictures and select all three images.
- Align them to the center and middle of the slide.
- Group them temporarily to ensure perfect alignment, then ungroup.
- Rename each image for clarity in the Selection Pane (Person, Mountain Left, Matterhorn).
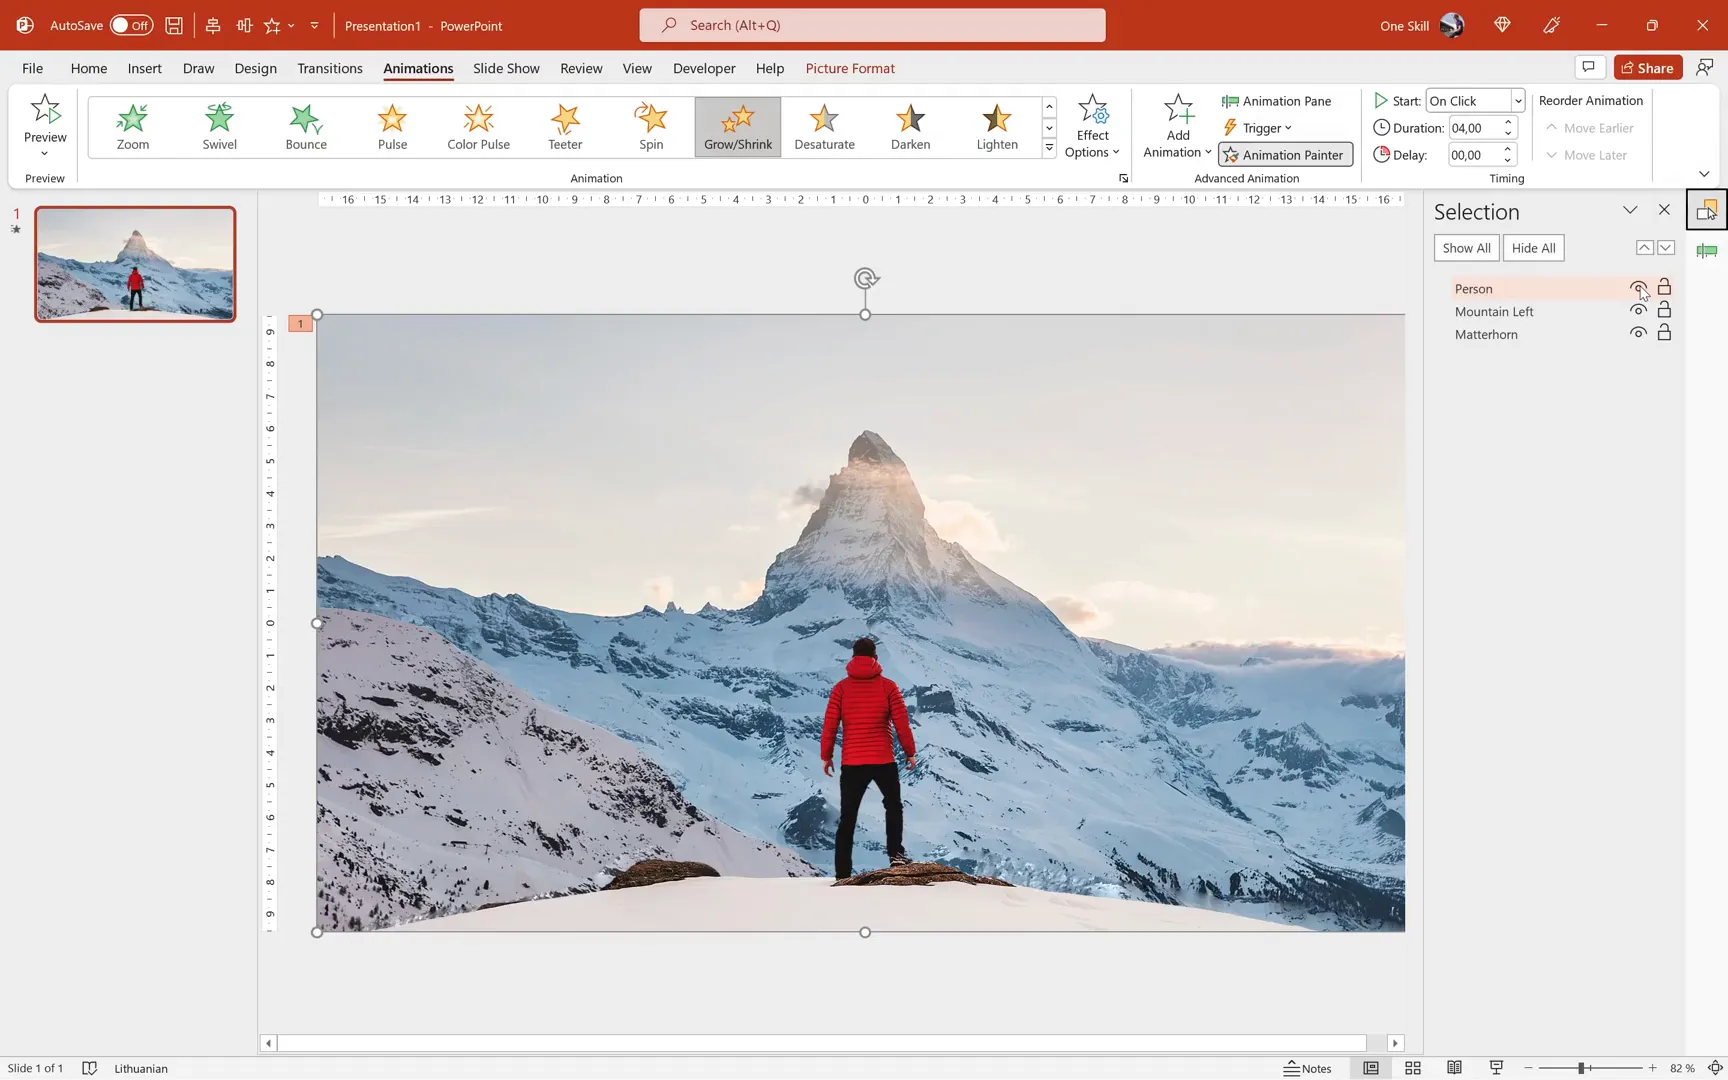
Step 6: Adding Animations for the 3D Effect
We will use the Grow/Shrink emphasis animation to simulate depth movement and create a parallax effect.
Animating the Foreground (Person)
- Select the person layer.
- Go to Animations > Emphasis > Grow/Shrink.
- Open the Animation Pane to adjust settings.
- Set the animation to start On Click.
- Set duration to 4 seconds.
- In Effect Options, set the size to 180% growth.
- Add 2 seconds for both Smooth Start and Smooth End.
- Check Auto-reverse for continuous back-and-forth animation.
- Set repetition to Until End of Slide.
This creates a zoom-in and zoom-out effect on the person.
Copying Animations to Other Layers
Use the Animation Painter tool to copy the animation from the person to the other layers:
- Double-click the Animation Painter.
- Apply the animation to the mountain left and Matterhorn layers.
Adjust the Growth Size for each layer to create varying speeds:
- Mountain Left: 120% growth (slower movement)
- Matterhorn: 110% growth (slowest movement)
Set these animations to start With Previous so they play in sync.
Step 7: Adding Flying Text Behind the Foreground
To enhance the scene, add a slide title or text that flies in from the left and moves behind the foreground person.
Steps:
- Create your text boxes or copy from a previous slide.
- Ensure the person layer is on top in the Selection Pane so text appears behind it.
- Select the text layer and apply the Fly In animation from the left.
- Set the animation to start With Previous and duration to 8 seconds.
- Add 4 seconds of smoothing for a fluid motion.
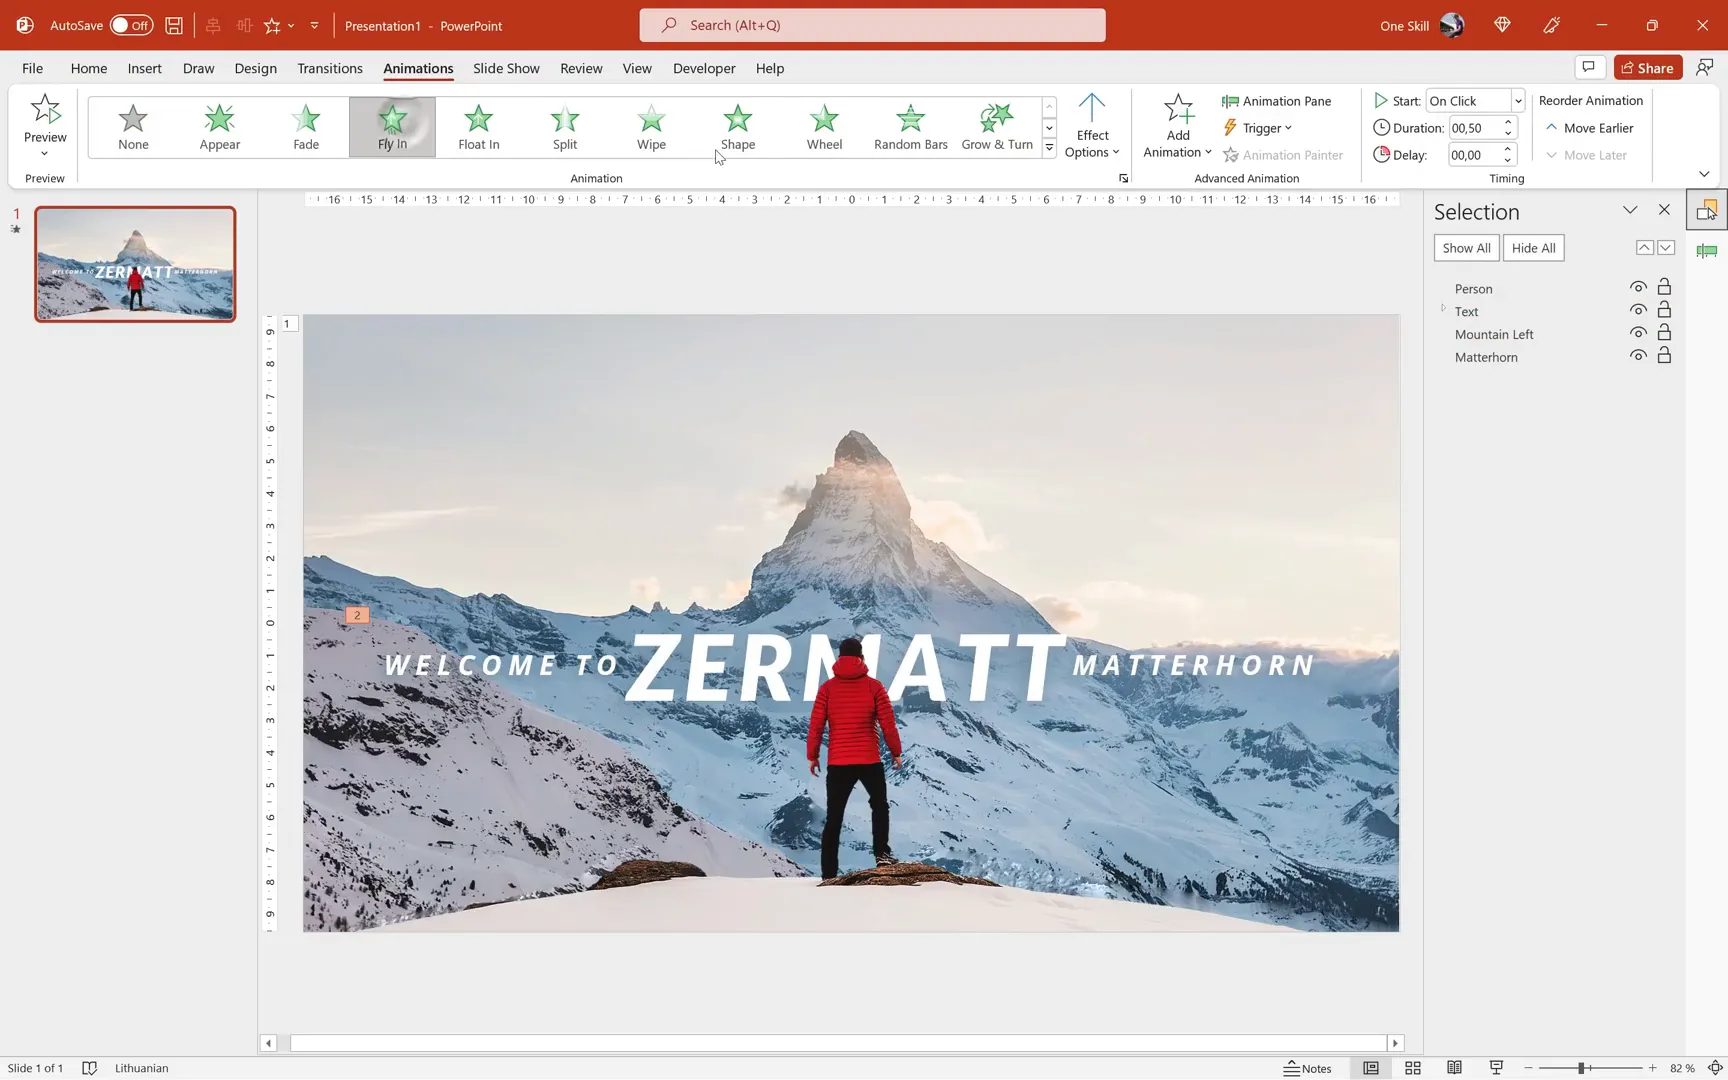
Final Result: A Stunning 3D Parallax Scene
With all layers animated at varying speeds and the text flying in behind the foreground, you now have a dynamic 3D scene created entirely within PowerPoint. This parallax effect adds depth and motion, turning a simple photo into an engaging visual experience.
Feel free to experiment with different photos, animation speeds, and effects to customize your scene. This technique opens up many creative possibilities for presentations, storytelling, and digital art.
FAQ
Can I use any photo for this 3D effect?
While you can try with any photo, the best results come from images that have clear layers: distinct foreground, middle ground, and background elements. Photos with good contrast between these layers make it easier to separate and animate them.
Do I need Photoshop to isolate photo layers?
No! You can use free tools like Photopea, which works in your browser and offers powerful selection and masking tools similar to Photoshop. Other free editors like GIMP also work well.
Is this technique possible on Mac and older versions of PowerPoint?
Yes, as long as your PowerPoint version supports Grow/Shrink animations and layering, you can follow this method. The interface might differ slightly, but the core process remains the same.
Can I add more layers for a more complex 3D effect?
Absolutely! The more layers you isolate and animate at different speeds, the richer the depth effect. Just be mindful of performance and complexity.
How can I make the edges of my selections smoother?
Use the Contract and Feather selection modifications before applying masks. Contracting shrinks the selection slightly to avoid rough edges, and feathering softens the edges for a natural blend.
Can I use this method for videos or only photos?
This tutorial focuses on photos, but you can create frame-by-frame animations or slideshows to simulate movement in videos. For actual video editing, specialized software like After Effects is recommended.
Where can I find more resources and templates for PowerPoint?
There are many online marketplaces and creators offering high-quality PowerPoint templates and tutorials. Some popular options include Envato Elements, SlideModel, and channels dedicated to PowerPoint skills.
Conclusion
Transforming a photo into a captivating 3D scene using PowerPoint is easier than you might think. With a bit of photo editing to isolate layers and clever use of animations, you can create professional-looking parallax effects that add depth and motion to your presentations.
By following this step-by-step guide, you’ve learned how to:
- Choose the right photo with clear layers
- Use Photopea to crop, adjust, and isolate layers
- Refine selections with masks, content-aware fills, and clone tools
- Export layers and import them into PowerPoint
- Apply Grow/Shrink animations to simulate 3D parallax
- Add flying text that interacts with your layers
Keep experimenting with different photos and animation settings to create your own unique 3D scenes. This technique not only enhances your presentations but also unlocks a new level of creativity within PowerPoint.
Stay inspired, keep learning, and happy designing!
Check out the full video: Turn a Photo into a 3D Scene 🔥in PowerPoint🔥


