Welcome to a comprehensive guide on creating stunning blueprint animations in PowerPoint! Crafted by One Skill PowerPoint, this tutorial dives deep into designing custom blueprint backgrounds, sourcing beautiful fonts, working with detailed illustrations, and animating your slides to bring your presentation to life. Whether you’re a beginner or an experienced PowerPoint user, this step-by-step walkthrough will empower you to create professional, eye-catching blueprint animations that captivate your audience.
Blueprint-style visuals have a unique charm—clean, technical, and modern—perfect for presentations involving engineering concepts, architecture, tech designs, or any topic that benefits from a schematic feel. Let’s explore how to build these from scratch using Microsoft 365 PowerPoint on Windows.

Table of Contents
- Creating a Custom Blueprint Background
- Choosing and Using Blueprint Fonts
- Adding and Editing Illustrations
- Animating the Blueprint Illustration
- Final Thoughts and Resources
- Frequently Asked Questions (FAQ)
Creating a Custom Blueprint Background
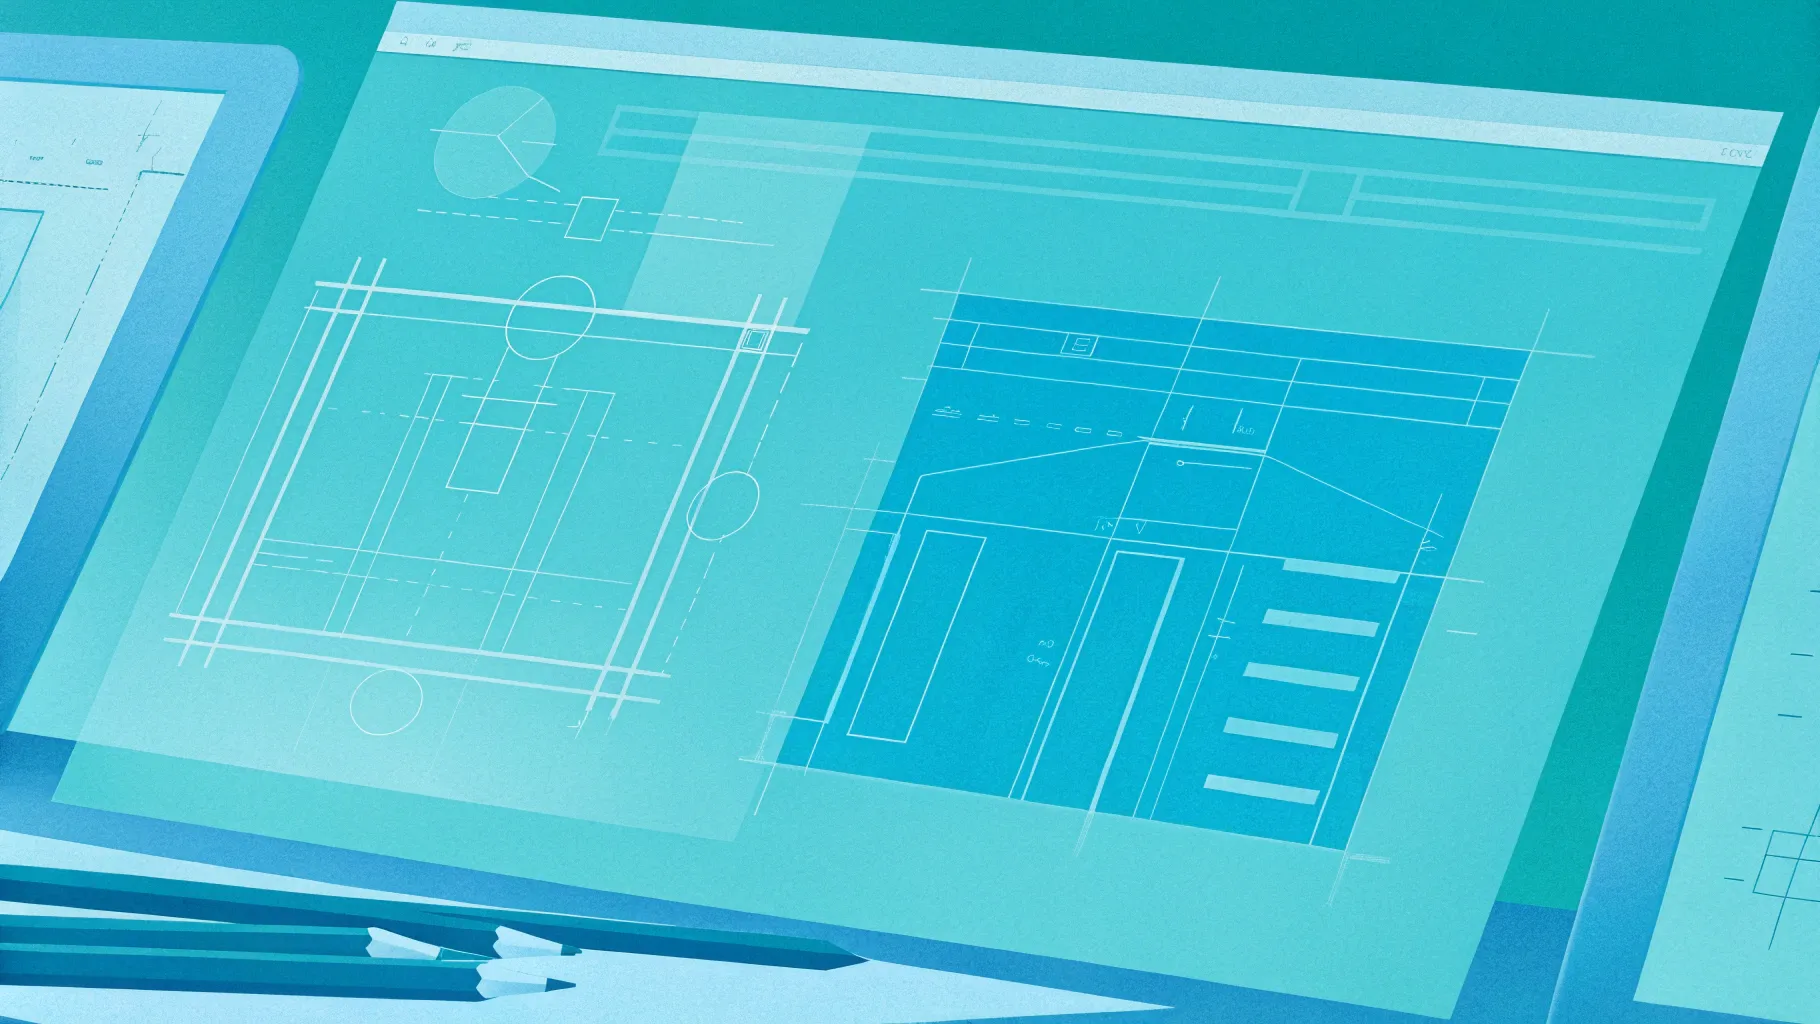
The foundation of any blueprint animation is the background that sets the tone for the entire slide. To achieve that classic blueprint look, we start with a dark, radial gradient combined with a subtle grid pattern of rectangles and lines.
Step 1: Setting Up the Gradient Background
Begin by opening a fresh, blank slide. Go to the Format Background pane and select a Gradient Fill. For a blueprint effect, a radial gradient works best, with two color stops that blend smoothly from a deep navy to a slightly lighter blue.
You can replicate the exact colors by using the following hex codes:
- Left color stop: #0d1b2a (a dark navy blue)
- Right color stop: #1b263b (a medium-dark blue)
This color combination provides a rich, professional backdrop reminiscent of traditional blueprint paper.
Step 2: Creating the Grid of Small Rectangles
Next, we add a subtle grid overlay made of small rectangles to mimic the measurement marks often seen on blueprints.
- Go to Insert > Shapes and select the rectangle tool.
- Hold down the Shift key to draw a perfect square, setting the dimensions to 0.5 cm by 0.5 cm.
- Remove the fill color by selecting No Fill.
- Set the outline color to white for crispness.
- Adjust the outline thickness to 0.25 pt and increase transparency to 80% for subtlety.
Once you have one rectangle, duplicate it five times horizontally, aligning each perfectly side by side. Then duplicate this row five times vertically to create a 5×5 grid of small rectangles. Group all these shapes together to keep them organized.
Step 3: Adding Bigger Rectangles for Depth
To add visual interest and depth, we add larger rectangles spaced out across the slide.
- Duplicate one of the small rectangles and place it aside.
- Adjust its size to 2.5 cm by 2.5 cm.
- Reduce the transparency to 50% so it stands out a bit more than the smaller rectangles.
- Create a second large rectangle of the same size and align both horizontally centered and vertically middle.
- Group these two into a single unit.
- Duplicate this group horizontally 12 times to create a row.
- Group the entire row and duplicate it vertically 7 times to form a 12×7 grid of large rectangles.
Make sure the entire grid is perfectly centered on the slide. This layered grid effect adds a technical, schematic feel to your blueprint background.
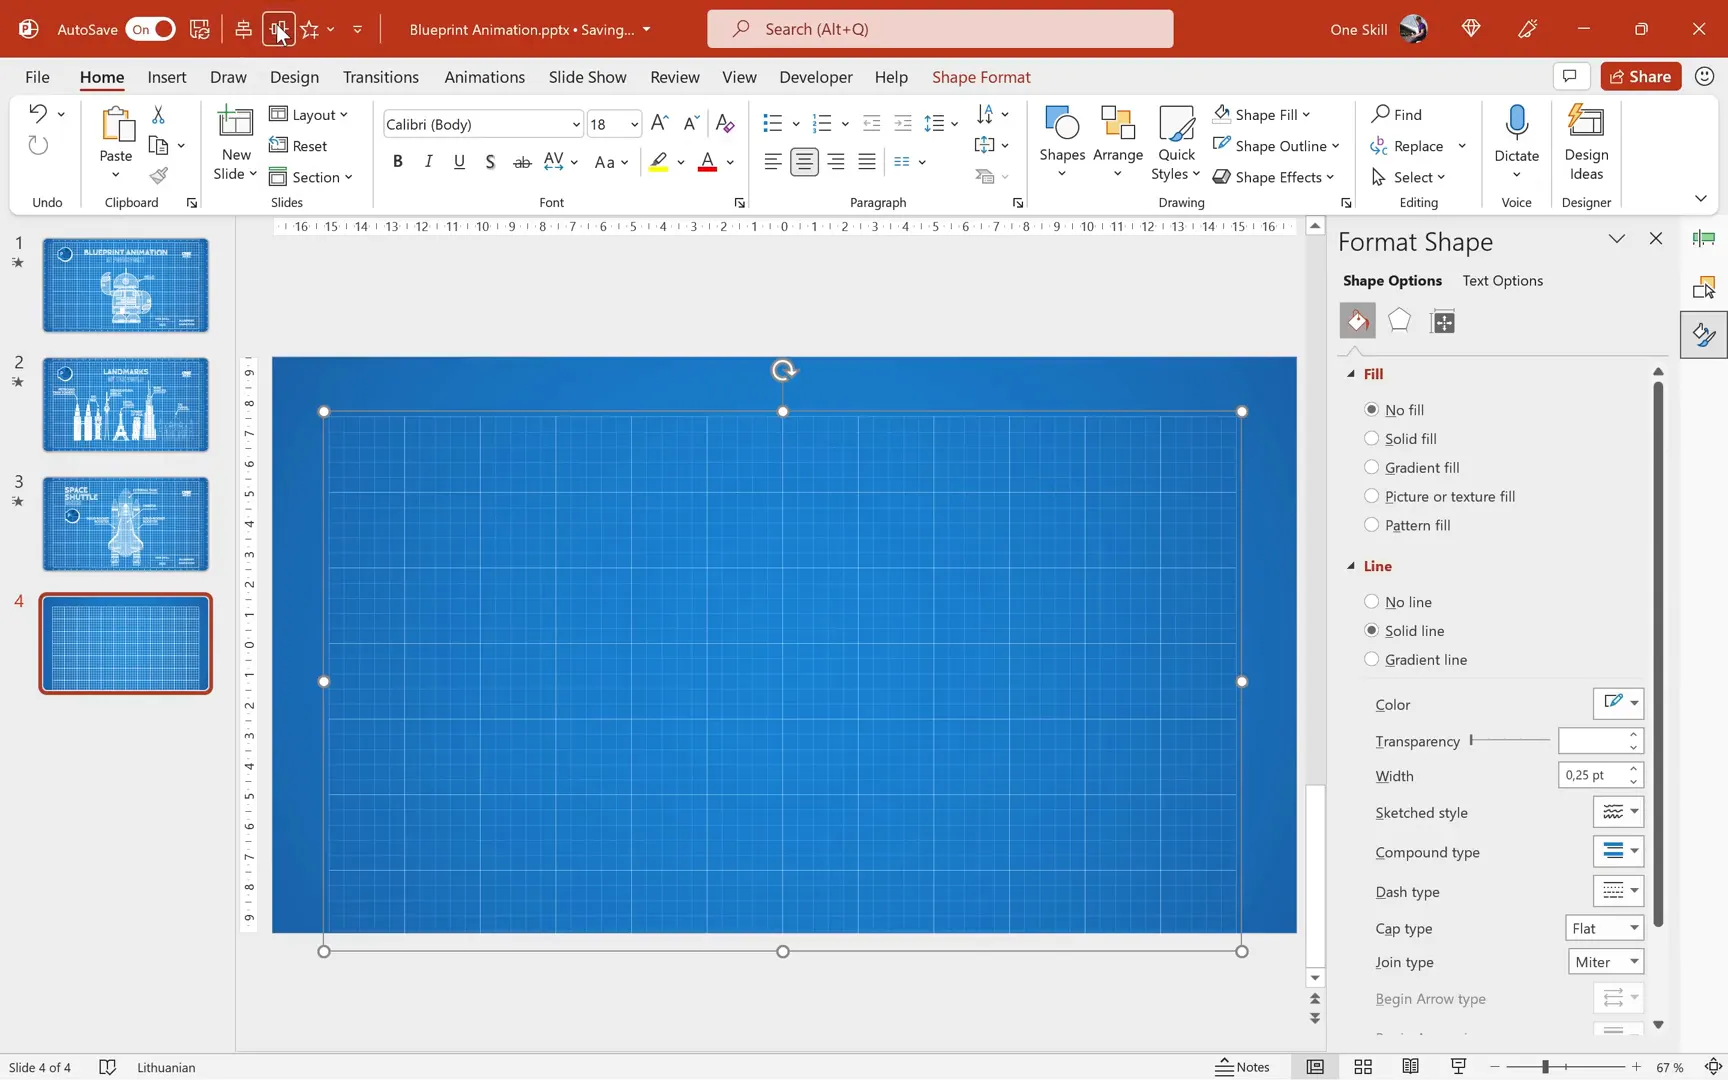
Step 4: Moving the Grid to Slide Master View
To prevent accidental modifications during your slide design, it’s best to move this grid to the Slide Master. This way, it acts as a locked background element.
Simply switch to Slide Master View, paste your grid, and add any additional elements such as rulers or frames for a polished look. You can toggle the visibility of these elements using the Selection Pane for customization.
Once done, return to normal slide view and apply your new blueprint slide layout to a fresh slide.
Choosing and Using Blueprint Fonts
Fonts are a key element to achieving the authentic blueprint aesthetic. The tutorial highlights two excellent free fonts that complement the technical style:
- Cabin Sketch: A hand-drawn, sketch-style font that adds personality and a blueprint vibe.
- Londrina Sketch: Another sketchy, informal font great for labels and annotations.
Both fonts are available for free on Google Fonts. Simply download and install them to your system to use in PowerPoint.
Using these fonts, you can create text labels for your illustrations that feel hand-drawn but professional—perfect for blueprint annotations.

Adding and Editing Illustrations
With the background and fonts ready, the next step is to add detailed illustrations that you want to animate. The tutorial uses a space shuttle as the main example, but the same principles apply to any vector illustration.
Step 1: Finding and Downloading Illustrations
Freepik.com is a great resource for high-quality vector illustrations. For the space shuttle, download the illustration in EPS format.
Note: PowerPoint does not support EPS files directly. We need to convert them into SVG format for full editing capabilities.
Step 2: Converting EPS to SVG
Use an online converter such as cloudconvert.com to convert your EPS file into SVG format. This step is crucial to unlock the ability to ungroup and manipulate individual parts of the illustration inside PowerPoint.
Step 3: Inserting and Preparing the Illustration
- Insert the SVG file into PowerPoint via Insert > Pictures > This Device.
- Resize it appropriately and then convert the illustration to shapes by right-clicking and selecting Convert to Shape.
- Ungroup the illustration multiple times until you can select individual parts.
- Remove any unwanted elements such as shadows, highlights, or labels that don’t match the blueprint style.
The goal is to simplify the illustration into white fill shapes with outlines, matching the blueprint theme.

Step 4: Stylizing the Illustration for Blueprint Effect
The tutorial emphasizes creating a white fill with transparency (around 75%) and white outlines for each element. Use the Merge Shapes tool to combine parts of the illustration into single shapes for easier handling.
Align all parts precisely to maintain the integrity of the illustration. This preparation stage is key to producing a clean, schematic look.

Animating the Blueprint Illustration
Once your blueprint-style illustration is ready, you can add animations to make your slide dynamic and engaging.

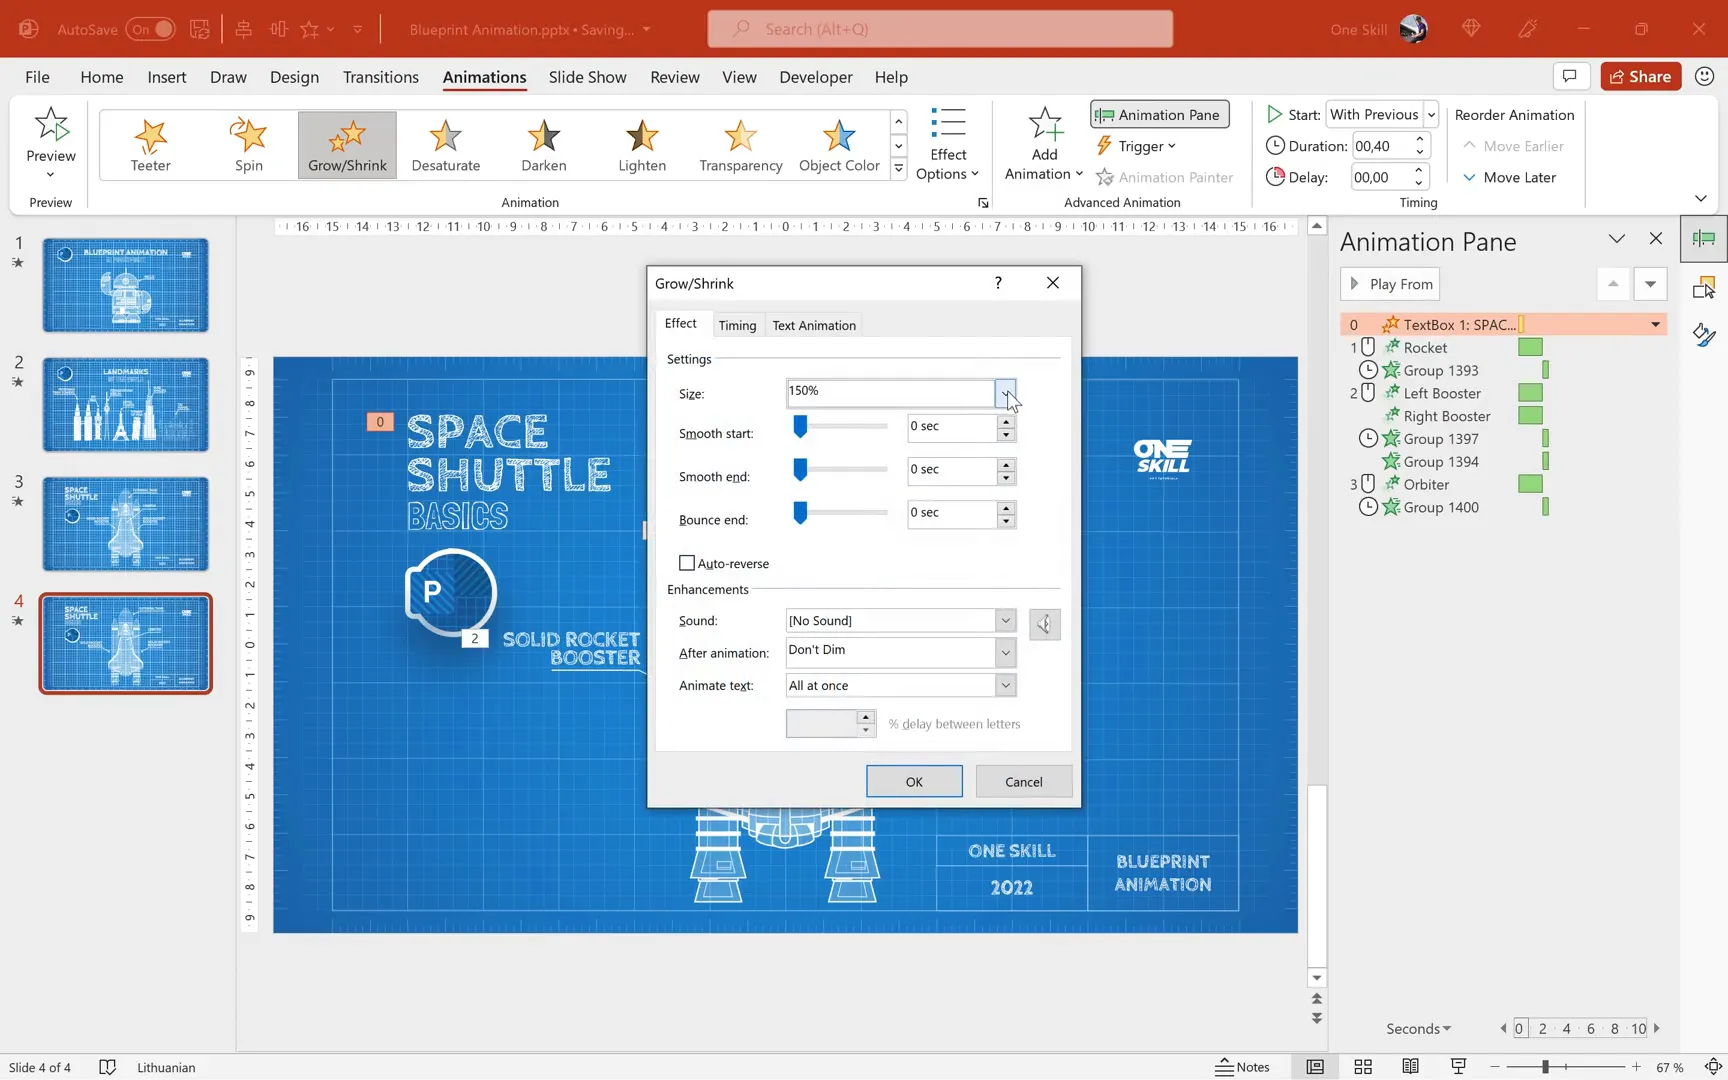
Step 1: Deciding Animation Order
Think about how you want the parts to appear on the slide. In the space shuttle example, the external tank animates in first, followed by the two solid rocket boosters simultaneously, and finally the orbiter.
Step 2: Applying Entrance Animations
- Select the first part (e.g., external tank).
- Go to the Animations tab and choose the Fly In animation.
- Set the direction (for the external tank, from the top).
- Adjust the duration to about 2 seconds for smoothness.
- Add a bounce effect at the end (around 0.5 seconds) for a playful touch.
Use the Animation Painter to quickly copy animation settings to other parts. For the two solid rocket boosters, apply the same fly-in animation but from the left and right respectively, and set them to animate with previous so they appear simultaneously.
The orbiter flies in from the bottom, completing the sequence.

Step 3: Adding Callouts and Labels
Blueprints often have labels pointing to different parts. Create these callouts with text boxes and lines ending in circular bubbles.
- Insert a text box and type the part name (e.g., “External Tank”).
- Apply the Cabin Sketch font, set it to bold, and color it white.
- Insert a freeform shape line pointing from the label to the part.
- In line options, add a circular arrowhead at the end to create the bubble effect.
- Group the text box and line so they move together.
You can duplicate and adjust these callouts for all parts of the illustration. To tweak the line shape, right-click and choose Edit Points for precision.

Step 4: Animating the Labels
Animate labels to appear right after their corresponding parts. Use the Wipe animation with direction from left for a clean, linear reveal.
Set each label animation to Start with Previous and position them just after the part’s animation in the animation pane. For parts that animate simultaneously (like the solid rocket boosters), animate their labels simultaneously as well.

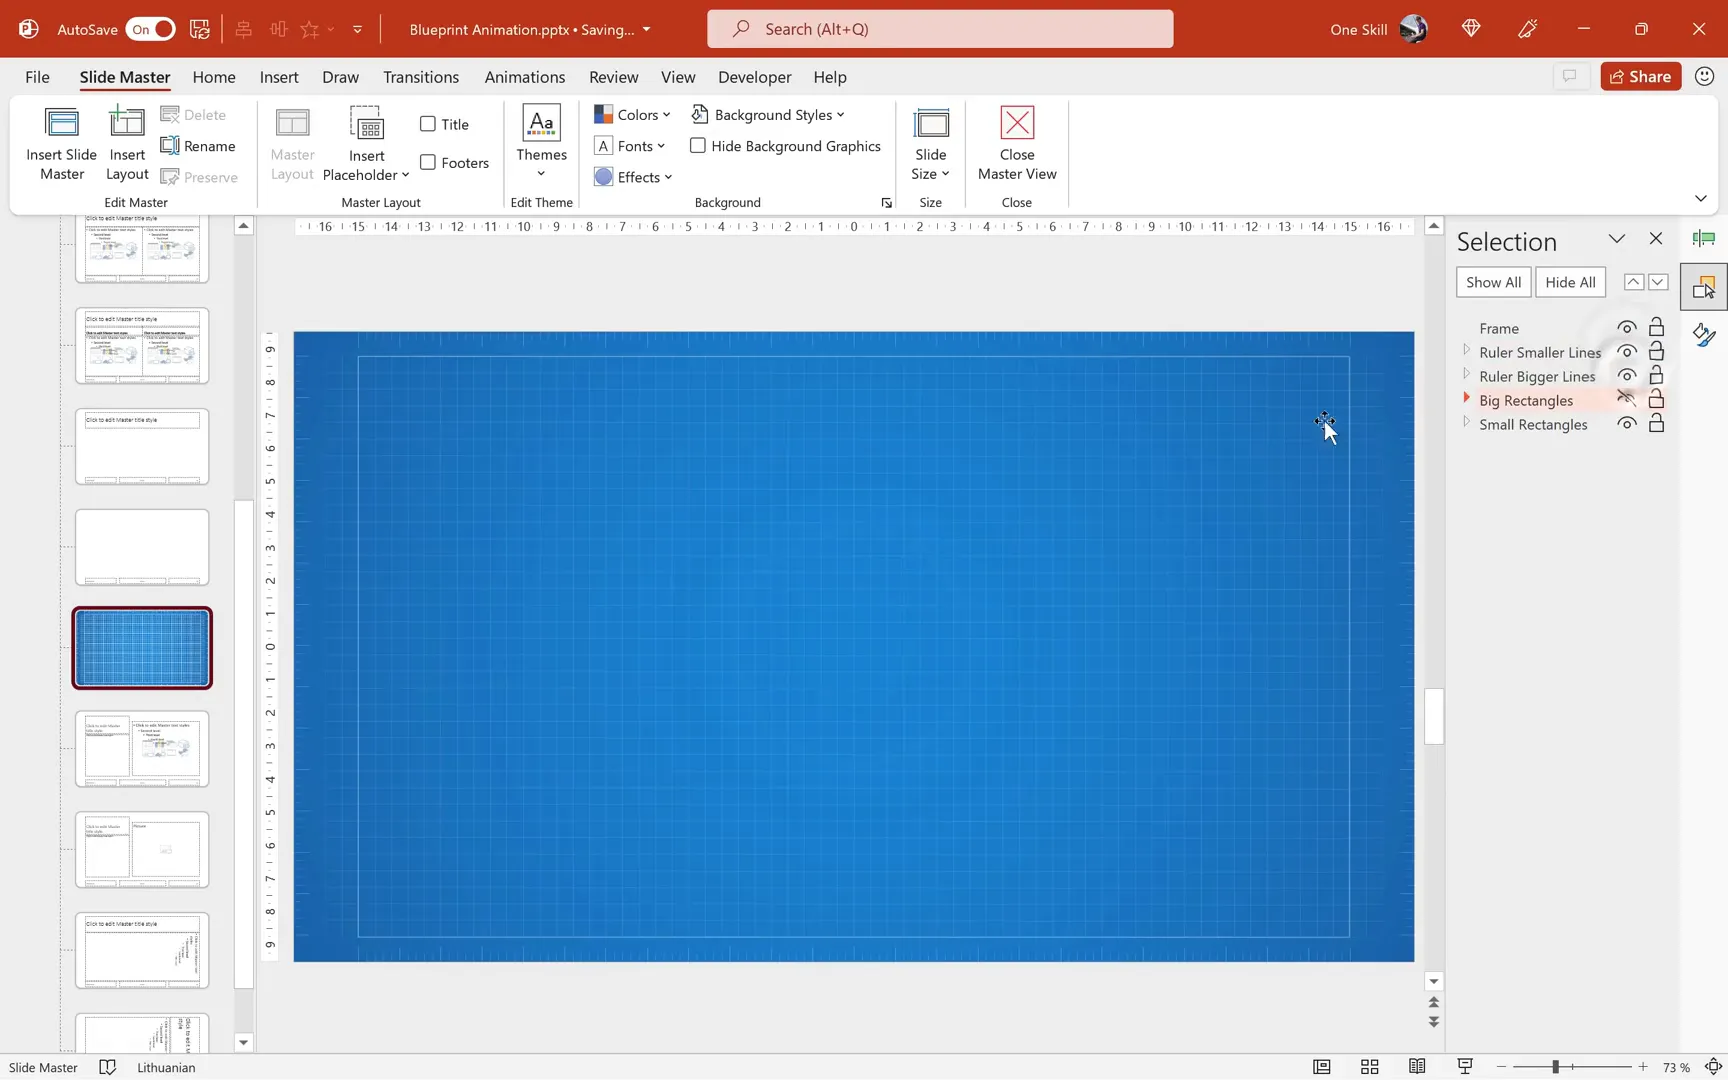
Step 5: Adding Subtle Title Animations
To add polish, animate your slide title and subtitle with a gentle grow/shrink effect:
- Select the text box for the title.
- Apply the Grow/Shrink animation.
- Set it to start With Previous and a short duration (around 0.2 seconds).
- Set the scale to about 101% with auto-reverse enabled for a subtle pulsating effect.
- Apply the same animation to the subtitle using the animation painter.
This subtle motion adds life without distracting from the main content.
Final Thoughts and Resources
Congratulations! You now have all the tools and techniques to create professional blueprint animations in PowerPoint. The combination of gradient backgrounds, grid overlays, stylish fonts, detailed illustrations, and smooth animations creates a compelling visual narrative perfect for a wide range of presentation topics.
For those interested in expanding their skills further, consider exploring whiteboard animations, which complement blueprint styles beautifully. Courses and resources are available on platforms like Skillshare, where you can access project files including blueprint and whiteboard slides.
Remember, practice is key. Experiment with different illustrations, fonts, and animation timings to develop your own unique style. With these skills, your PowerPoint presentations will stand out and engage your audience like never before.
Frequently Asked Questions (FAQ)
What version of PowerPoint is required to create blueprint animations?
This tutorial is demonstrated using Microsoft 365 PowerPoint on Windows. Some features like SVG editing and advanced animations may not be fully supported on older versions.
Where can I find blueprint-style illustrations?
Freepik.com is a great source for free and premium vector illustrations. Look for EPS or SVG files for best compatibility with PowerPoint.
How do I convert EPS files to SVG for PowerPoint?
You can use online converters like cloudconvert.com to convert EPS files to SVG format, which PowerPoint can import and edit easily.
What fonts work best for blueprint animations?
Cabin Sketch and Londrina Sketch are excellent free fonts available on Google Fonts. They offer a hand-drawn, sketchy style that complements blueprint designs perfectly.
How can I prevent accidentally moving the blueprint background while working on other slide elements?
Move the background grid to the Slide Master view. This locks it in place during normal slide editing, preventing accidental changes.
Can I reuse animations across different objects in PowerPoint?
Yes! Use the Animation Painter tool to quickly copy animations from one object to another, saving time and ensuring consistency.
How do I create callouts with lines and bubbles in PowerPoint?
Create a text box for your label, then draw a line using the Freeform Shape tool. Add a circular arrowhead at the end of the line for the bubble effect. Group the label and line to keep them together.
Is it possible to customize the animation timing and effects?
Absolutely. PowerPoint allows you to adjust duration, delay, start options, and effect properties like bounce and direction, giving you full control over your animations.
Are there any free resources to learn more about PowerPoint animations?
Yes, platforms like YouTube and Skillshare offer numerous tutorials. The One Skill PowerPoint channel provides excellent content, including a whiteboard animation class that complements blueprint animations.

Stay creative and keep exploring the possibilities of PowerPoint design. Happy presenting!
Check out the full video: How to Create a Blueprint Animation 🔥in PowerPoint🔥


