
Creating a cinematic video intro can dramatically elevate your presentations, making them more engaging and memorable. While many associate cinematic video creation with advanced software and expensive equipment, I’m here to show you how to achieve stunning results using a tool you probably already have—Microsoft PowerPoint. In this comprehensive guide, I will walk you through every step to craft an impressive cinematic video intro, complete with color grading, cinematic bars, animated titles, and immersive audio effects.
This tutorial is inspired by my own process and techniques, refined through experience and continuous learning. Whether you’re a presentation designer looking to add flair to your slides or a content creator eager to spice up your video intros, this step-by-step guide will empower you to produce professional-quality cinematic intros right inside PowerPoint.

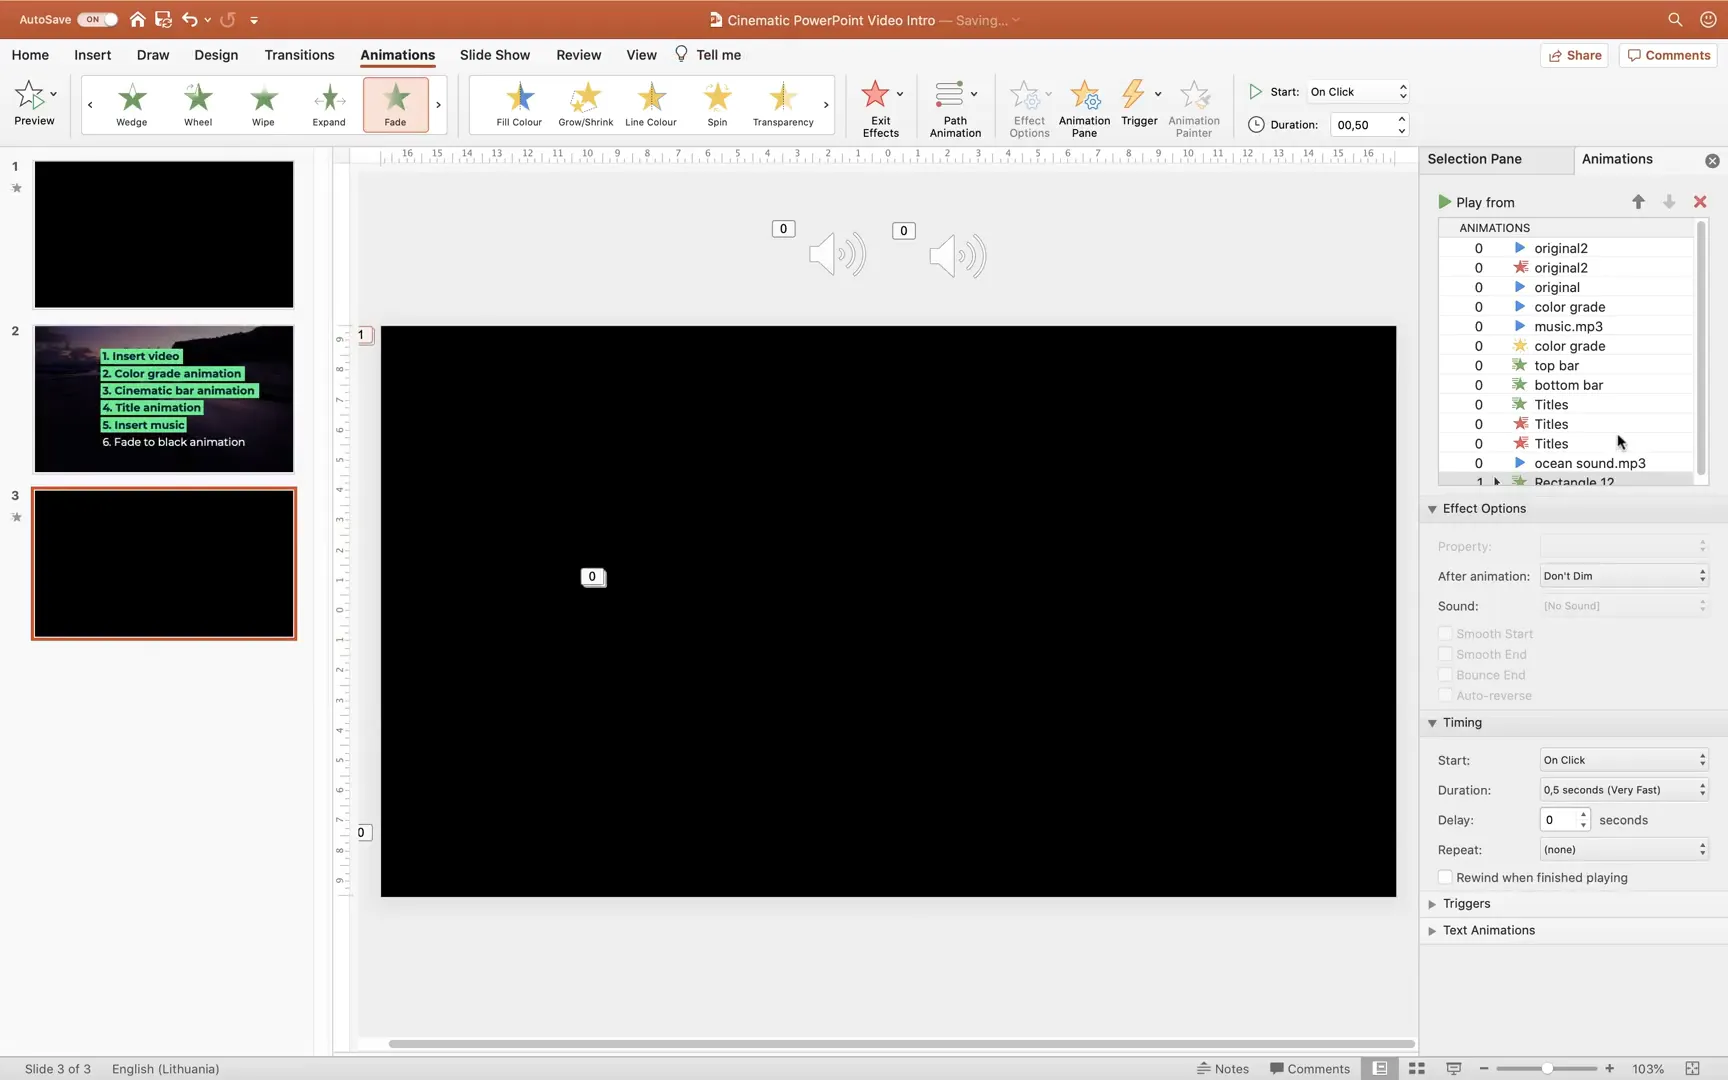
Table of Contents
- Why Create a Cinematic Video Intro in PowerPoint?
- Step 1: Insert and Prepare Your Video
- Step 2: Applying a Cinematic Color Grade
- Step 3: Creating Cinematic Black Bars
- Step 4: Adding Animated Titles
- Step 5: Incorporating Cinematic Music and Ambient Sounds
- Step 6: Adding a Fade to Black Ending
- Putting It All Together: The Final Cinematic Intro
- Additional Tips for Enhancing Your Cinematic PowerPoint Intro
- Frequently Asked Questions (FAQ)
- Final Thoughts
Why Create a Cinematic Video Intro in PowerPoint?
PowerPoint offers more than just slide layouts and bullet points—it’s a surprisingly versatile platform for multimedia creation. Unlike specialized video editing tools, PowerPoint is accessible, familiar, and integrates seamlessly with your existing workflows. Creating cinematic intros within PowerPoint allows you to:
- Save time and resources: No need to invest in expensive video editing software or learn complex interfaces.
- Enhance presentations: Engage your audience right from the start with a professionally styled intro.
- Customize easily: Modify and update your intros quickly without leaving the program.
- Incorporate multimedia: Combine videos, animations, text, and sound effects all in one place.
Before diving into the technical steps, I want to acknowledge the value of ongoing learning and skill improvement. Platforms like Skillshare have been instrumental in expanding my creative toolkit, especially their courses on mobile filmmaking. If you’re interested, check out the special offer for two free months of Skillshare Premium available through the links provided below.

Step 1: Insert and Prepare Your Video
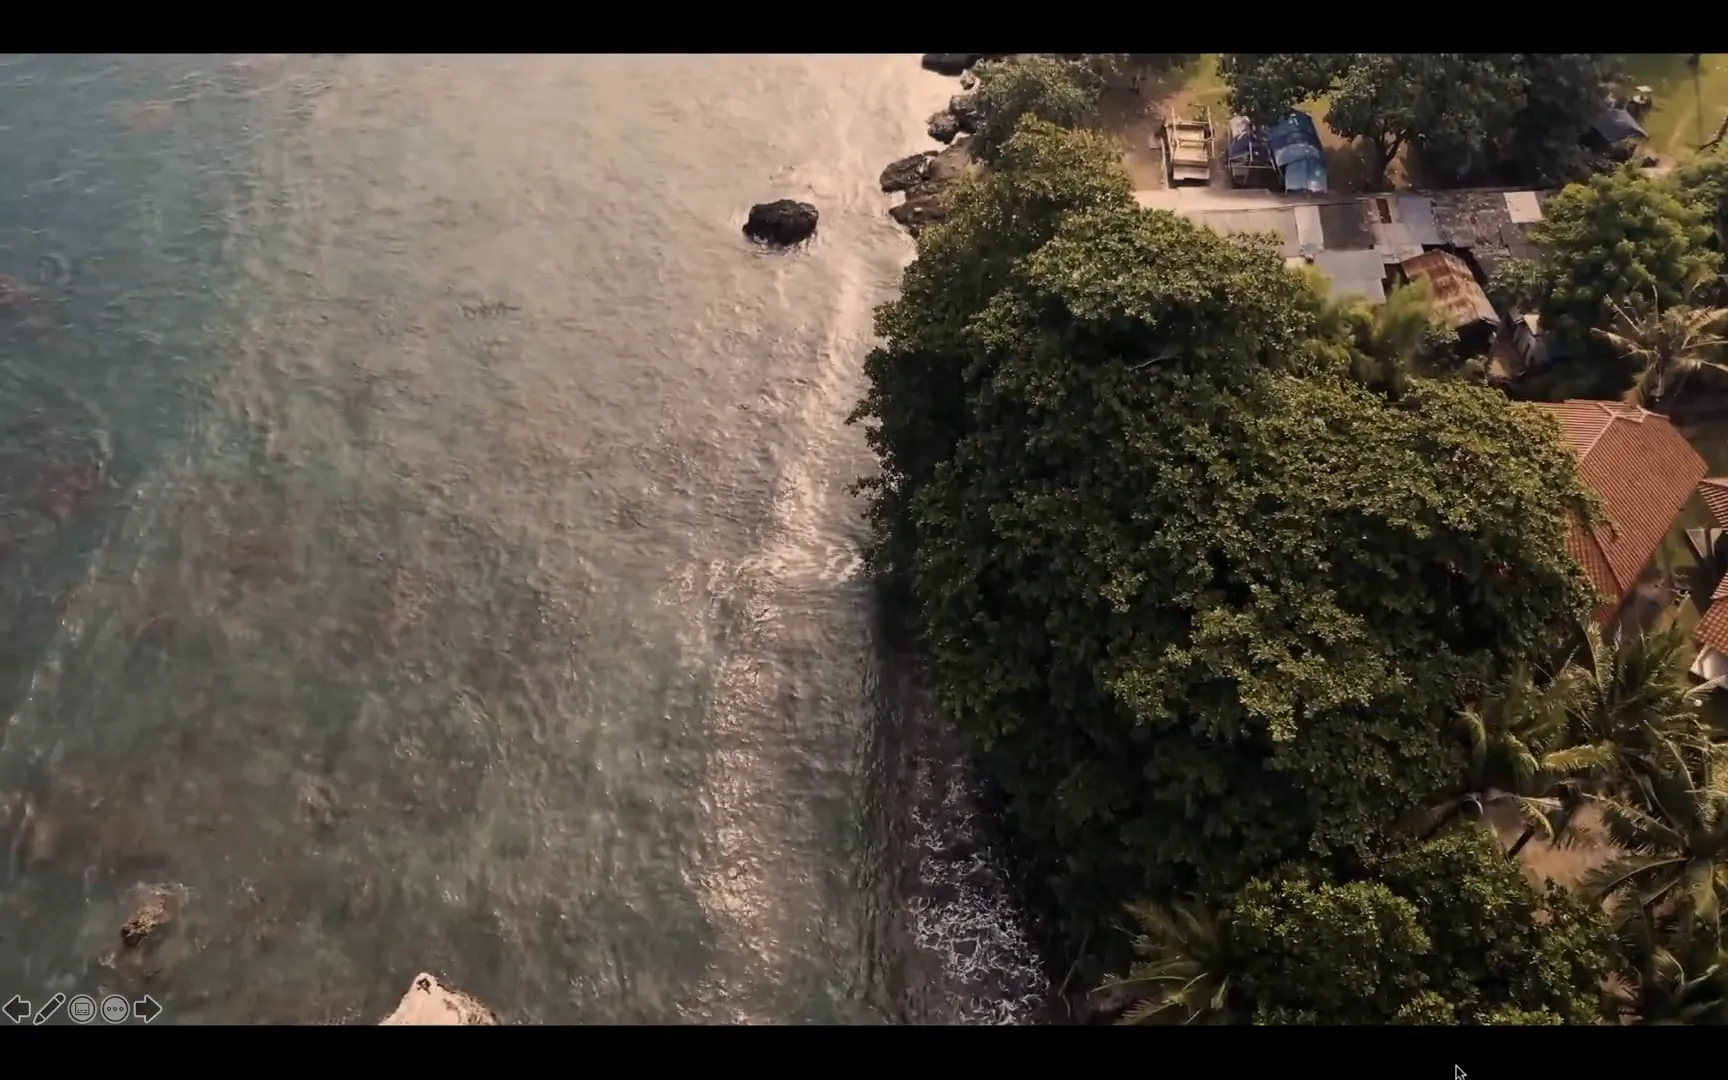
The foundation of your cinematic intro is a high-quality video clip. For this tutorial, I recommend sourcing free videos from sites like Pexels, which offers royalty-free footage perfect for presentation intros.
Once you have your chosen video downloaded, insert it into a fresh, blank PowerPoint slide. Make sure the video covers the entire slide area to create a full-screen cinematic experience.
Next, check PowerPoint’s default animations applied to the video. Typically, PowerPoint adds a play and pause animation automatically. You only need to keep the play animation and set it to start with previous, meaning the video will begin playing as soon as the slide opens.
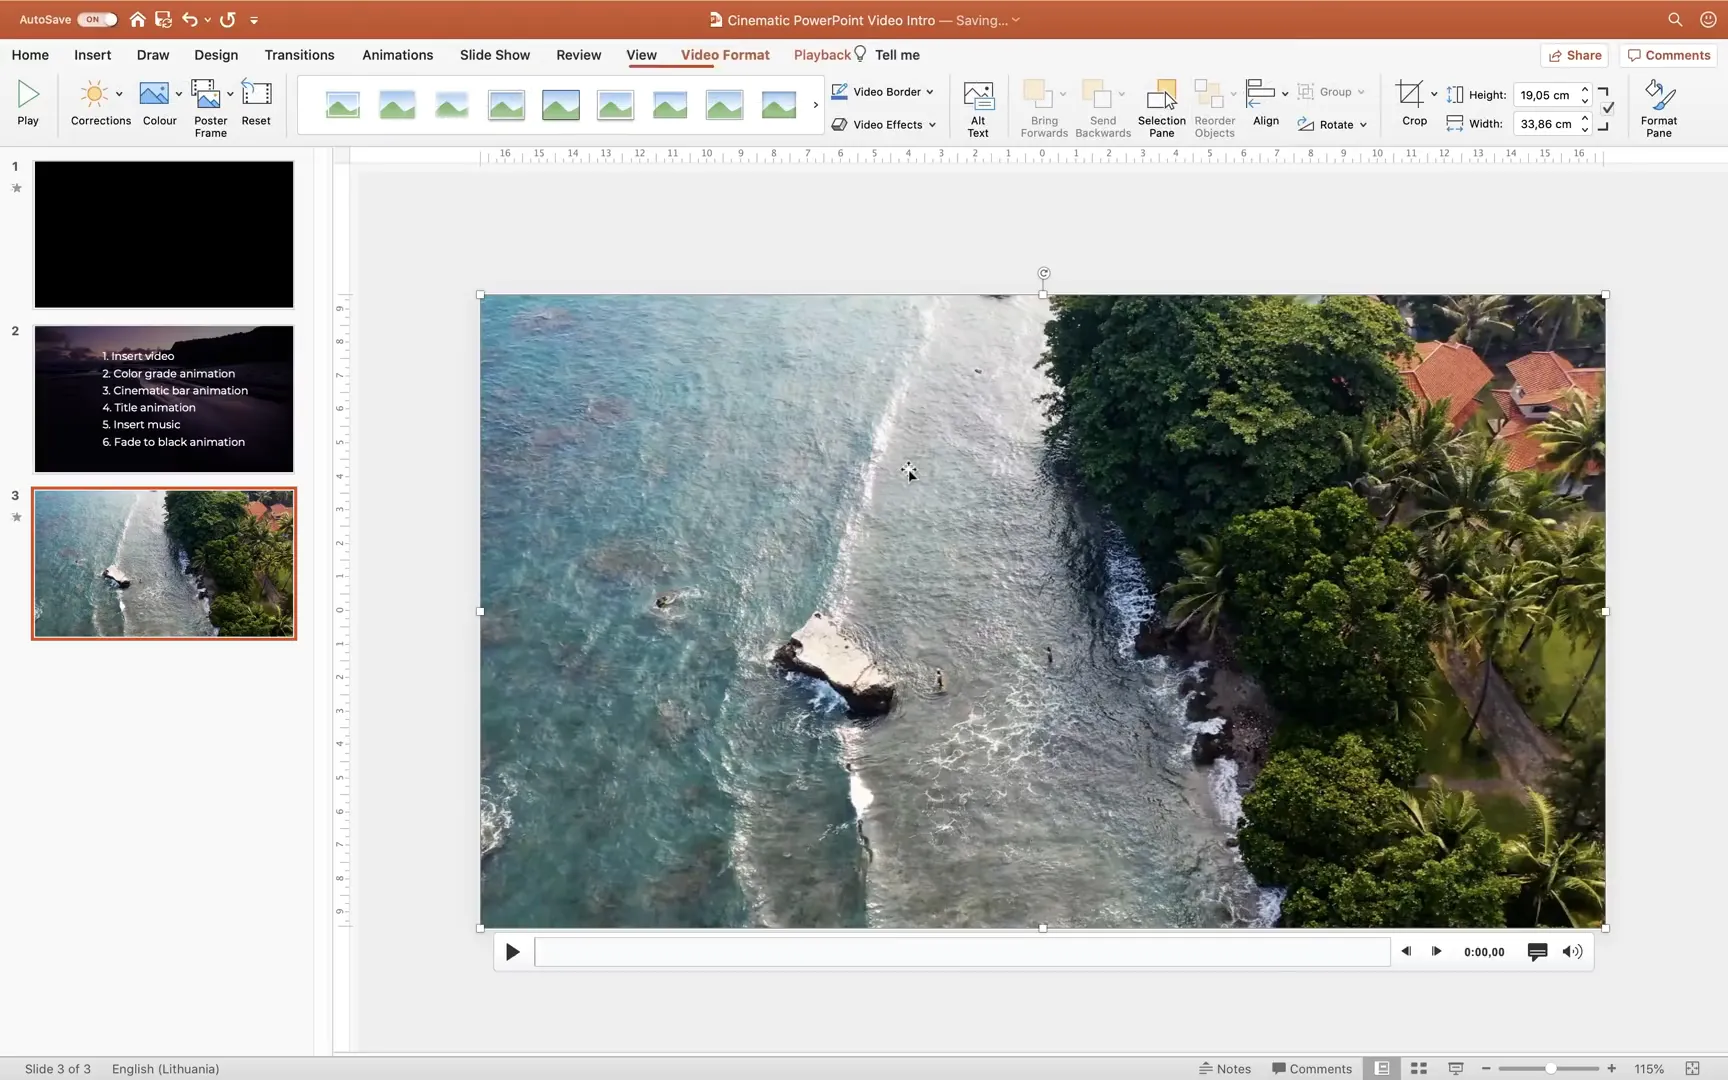
Preview your slide in full-screen mode to ensure the video plays smoothly and fits the entire slide. This is your first step complete—laying down the visual foundation for your cinematic intro.
Step 2: Applying a Cinematic Color Grade
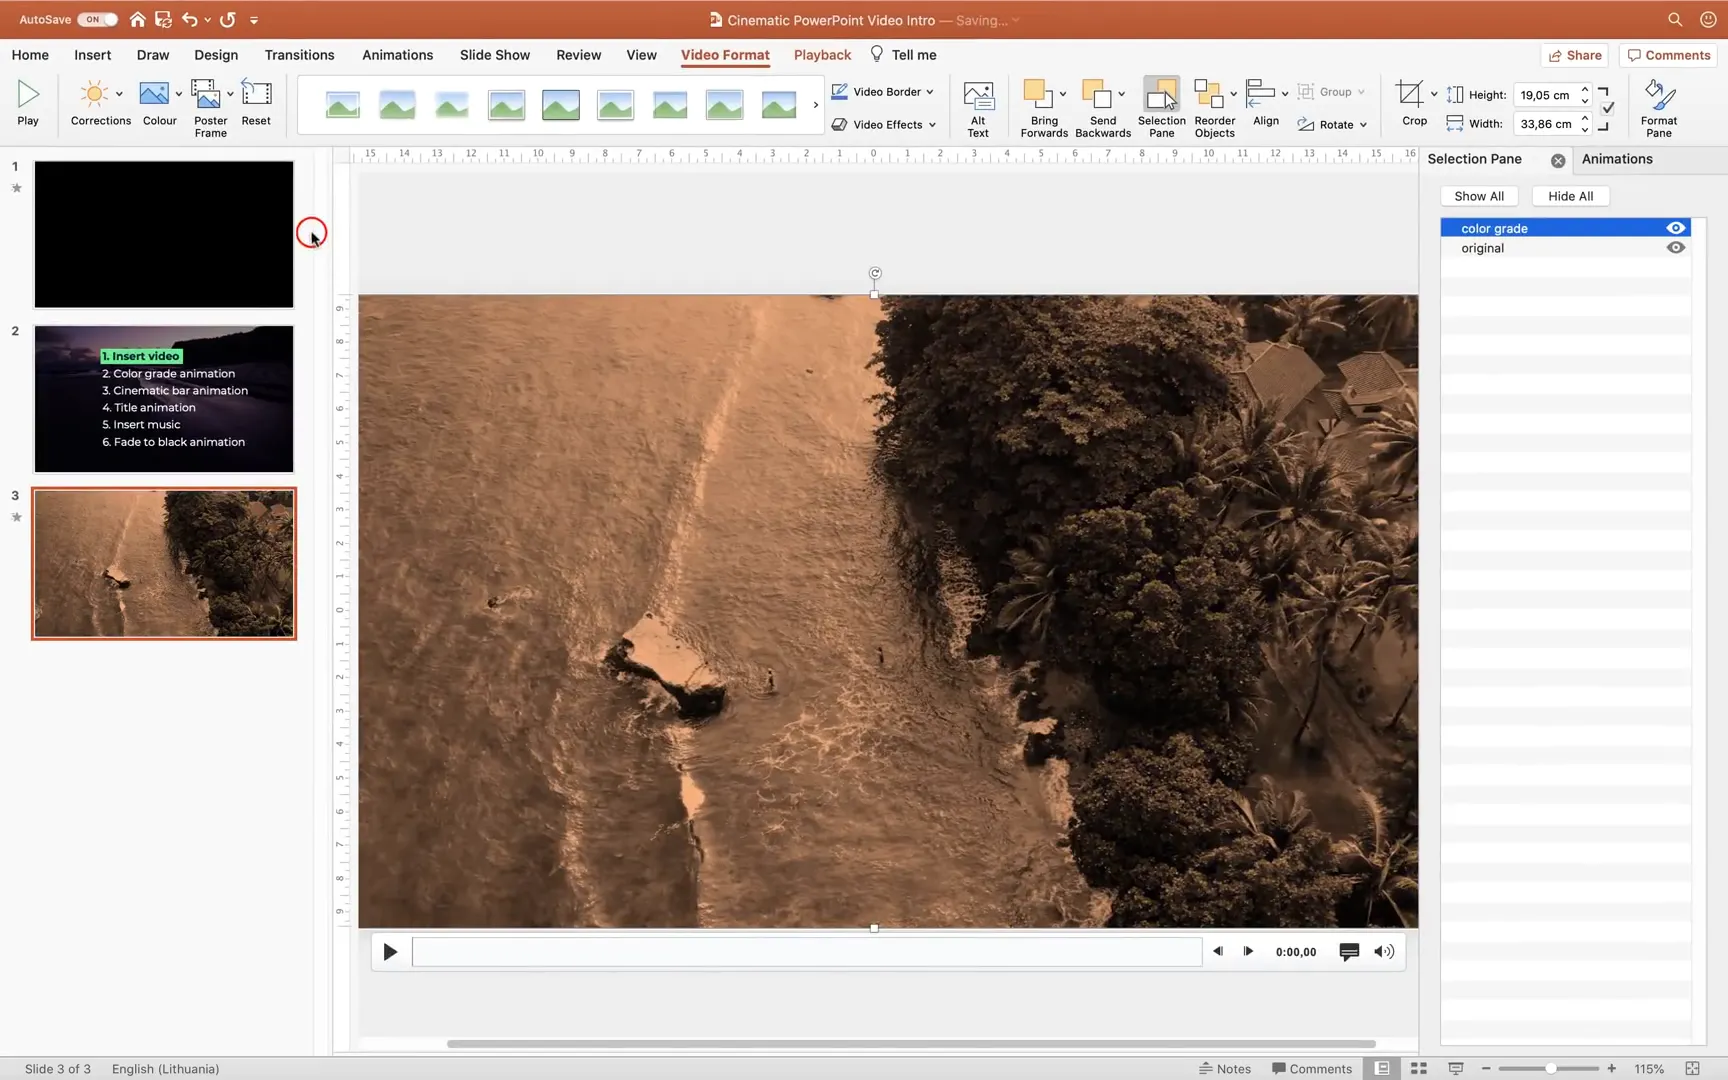
A cinematic look often includes a distinct color grade—think warm golden hues or moody blues—that enhances the mood and visual appeal of your footage. PowerPoint doesn’t have advanced color grading tools like video editors, but we can cleverly simulate this effect.
First, duplicate your original video object. Name the first video Original and the duplicated one Color Grade for easy identification in the selection pane.
Then, apply a color filter to the duplicated video. Navigate to Video Format > Color and select an orange or golden tint from the palette. This instantly transforms your video’s appearance to a warm cinematic tone.
Since the color filter can be overpowering, add a transparency animation to the color-graded video. PowerPoint doesn’t offer transparency options in video formatting directly, but this can be achieved through animations.
Apply a transparency animation set to 50% opacity, starting with previous so it activates automatically. This softens the color grade and blends it subtly with the original video.
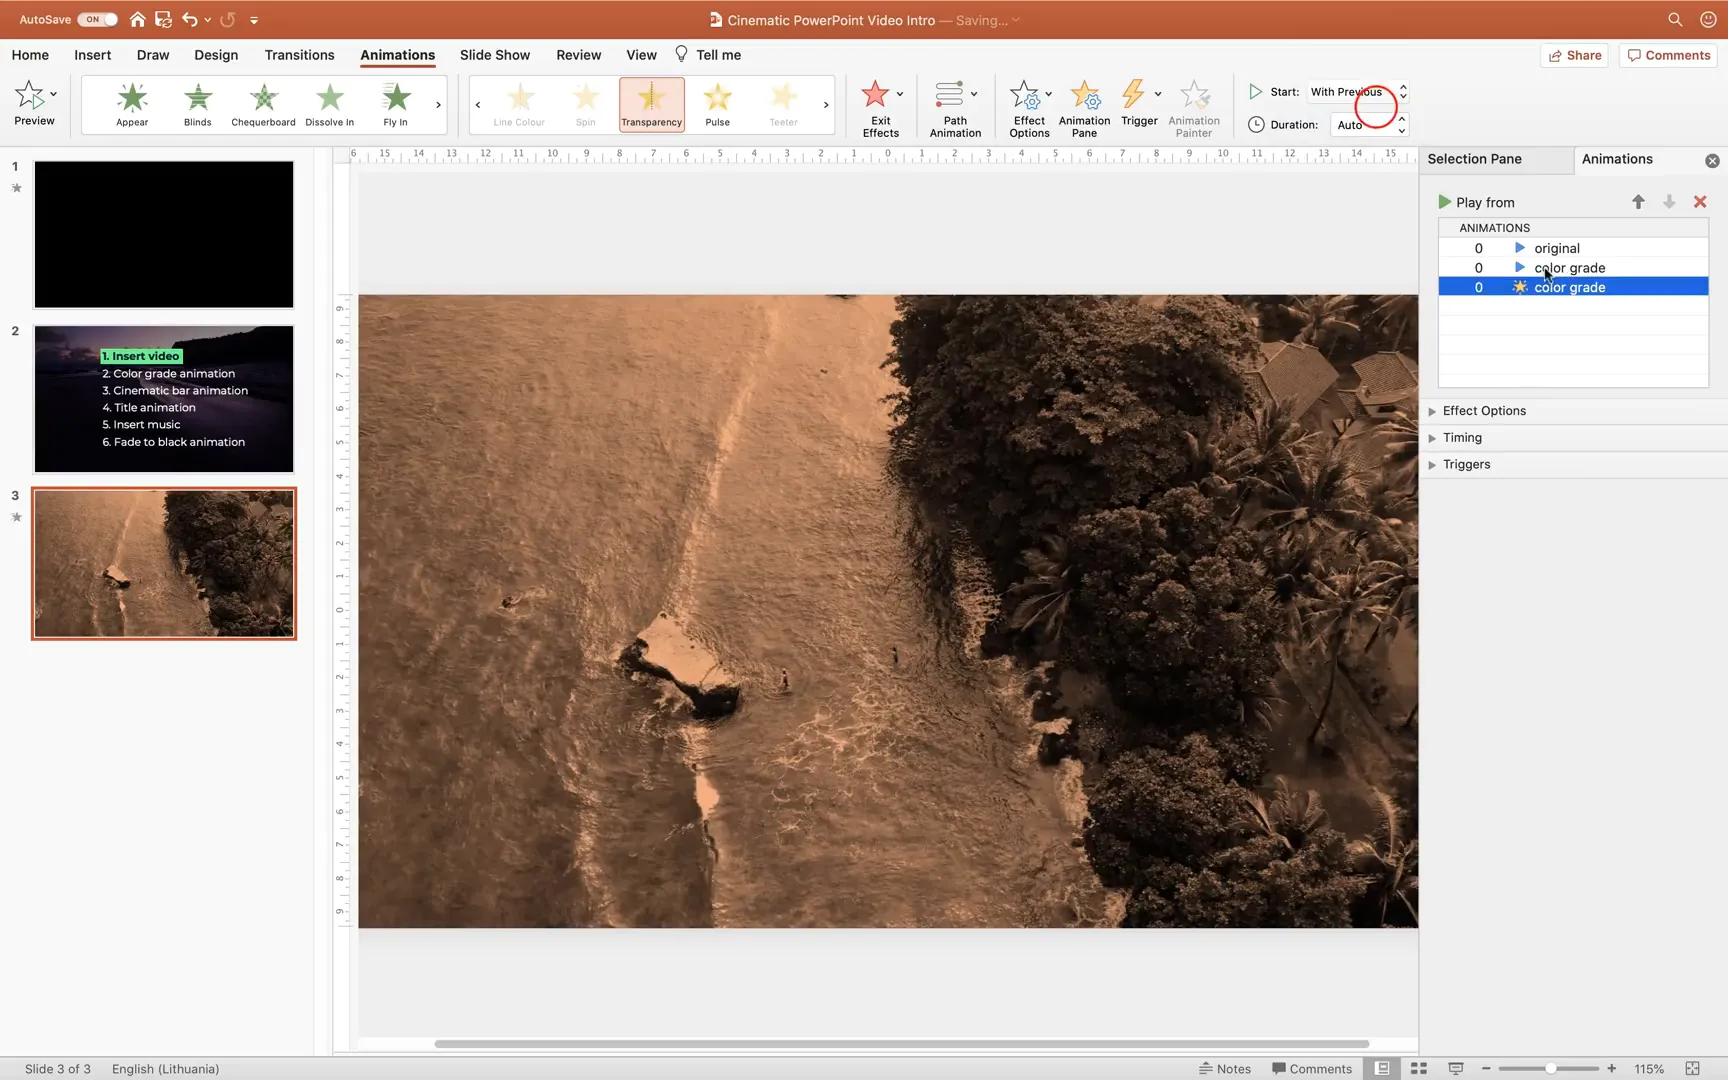
For a smooth transition from the original colors to the color-graded look, create a third video object by duplicating the original video again. Stack the videos in this order from top to bottom: the second original video, the color grade video, and the first original video.
Add an exit Fade animation to the top original video, set to start with previous, delayed by 3 seconds, and lasting 2 seconds. This causes the original colors to fade out gradually, revealing the golden color-graded video beneath.
This transition effect is key to achieving a professional cinematic feel and adds dynamic visual interest to your intro.
Step 3: Creating Cinematic Black Bars
One of the signature looks of cinema is the widescreen aspect ratio, often 2.39:1, which is wider than PowerPoint’s default 16:9. To mimic this, you’ll add black bars at the top and bottom of your slide.
Start by inserting a rectangle with a height of 1 cm (or 1 inch) and a width of 2.39 times that height to match the cinematic ratio. Align this rectangle to the middle of the slide and stretch it horizontally across the entire width.
Remove the outline and fill it with black. Duplicate this rectangle and position the copy at the opposite end of the slide to create the bottom bar.
To add more polish, animate the black bars with a Fly In effect: the top bar flies in from the top, and the bottom bar flies in from the bottom. Set both animations to start with previous, with a 3-second delay, and a duration of 2 seconds.
This animation adds a dynamic reveal to your intro, enhancing the cinematic aesthetic.
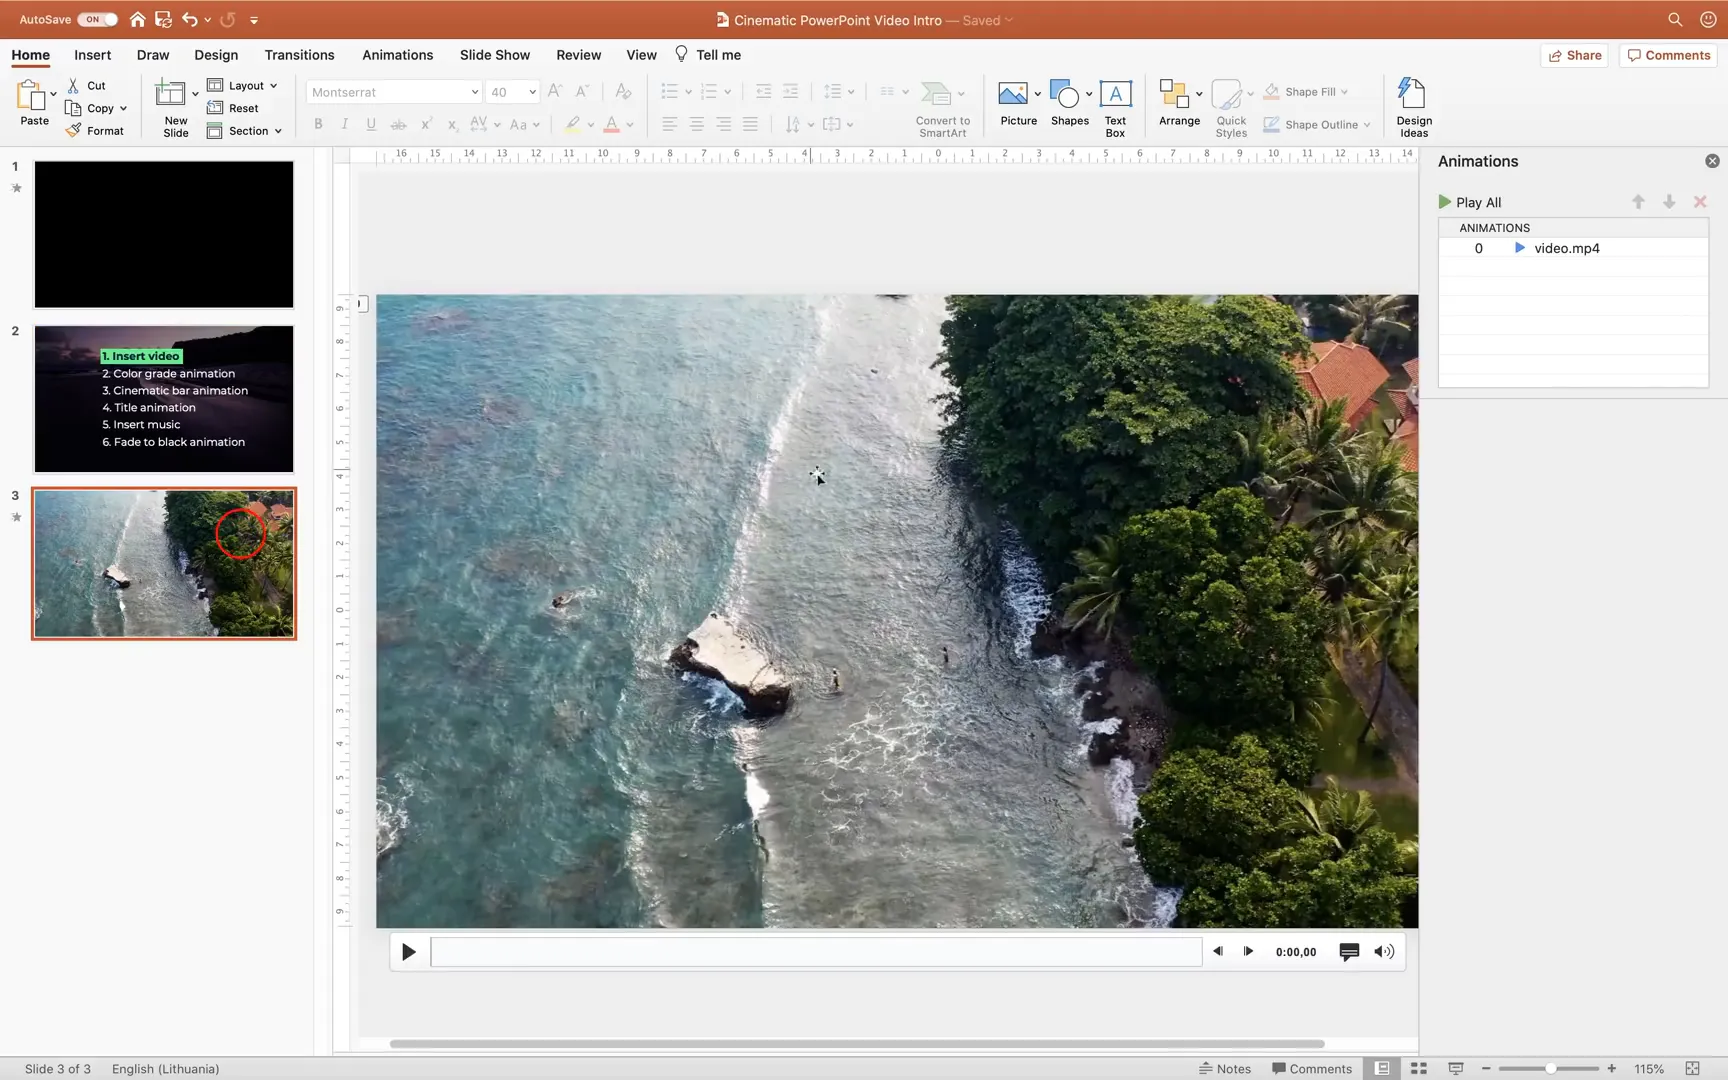
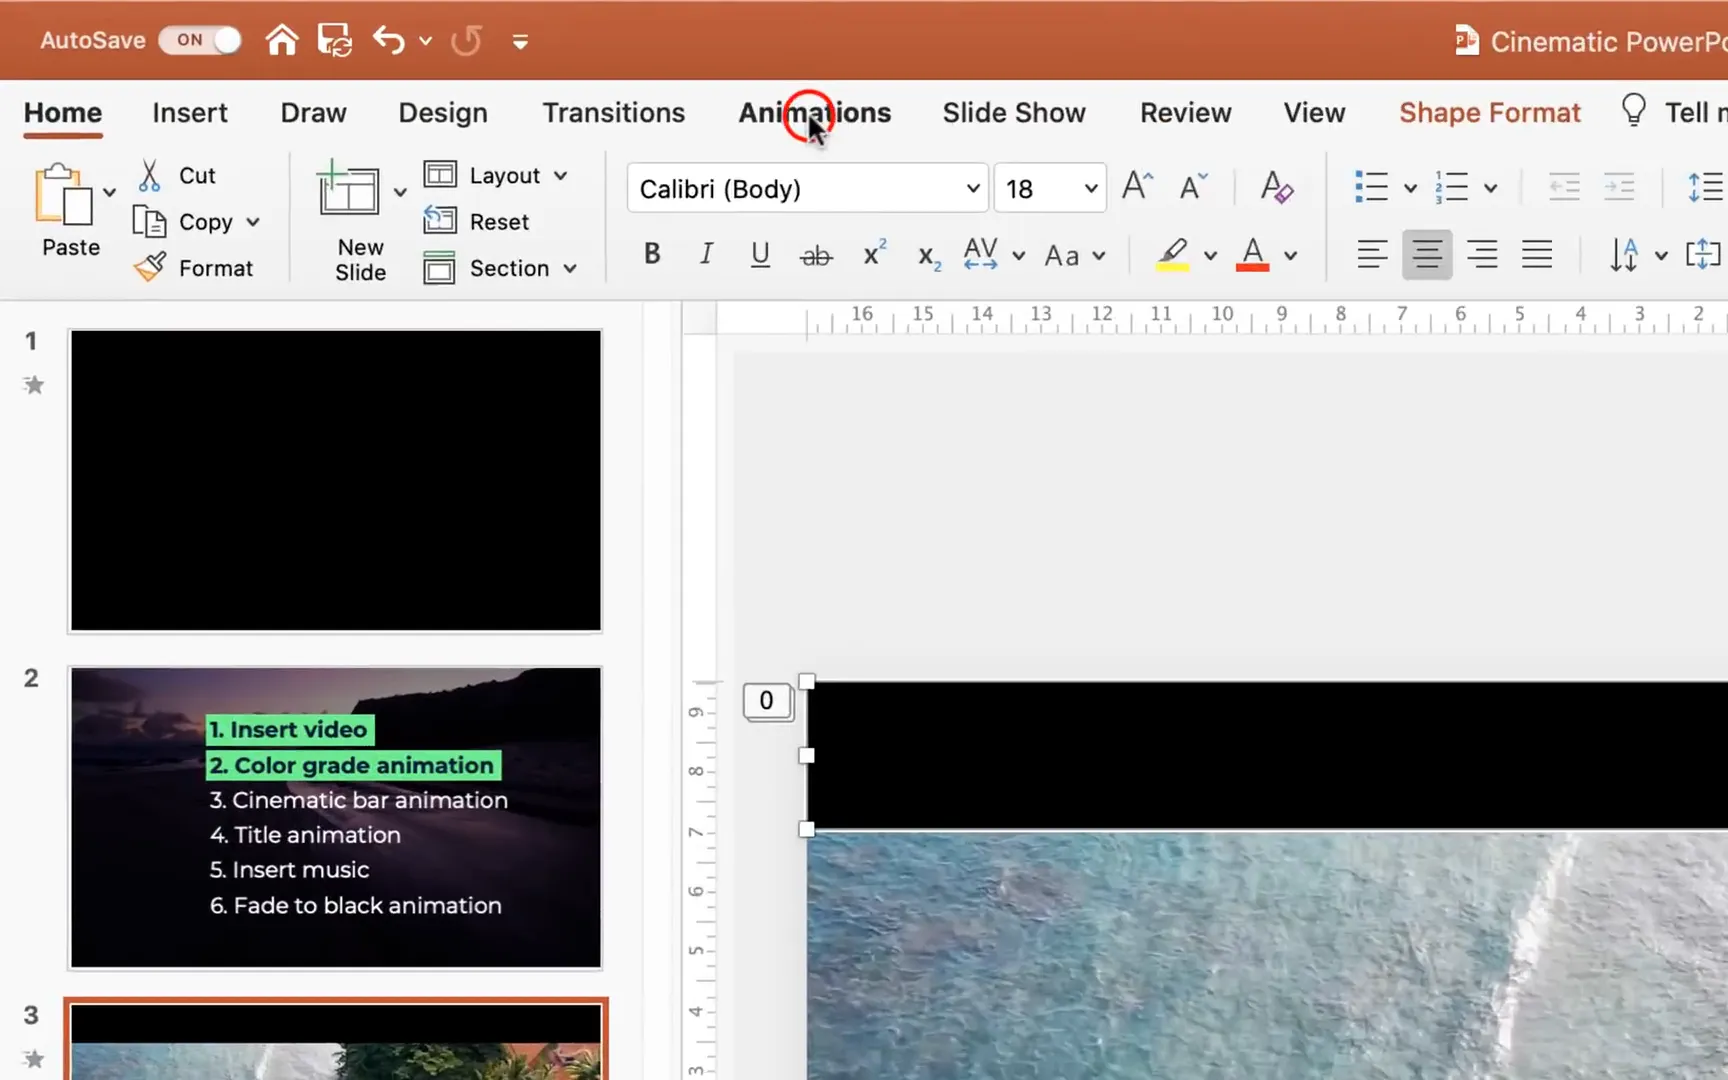
Step 4: Adding Animated Titles
No cinematic intro is complete without a compelling title. Insert two text boxes in the center of your slide for the main title and subtitle.
For the main title, use a bold, modern font like Montserrat Bold, sized around 28 points, with white text color. Set the letter spacing to very loose and center-align the text. For the subtitle, use the same font in regular weight, smaller size (13-14 points), also white and centered.

Group both text boxes to manage them as a single object.
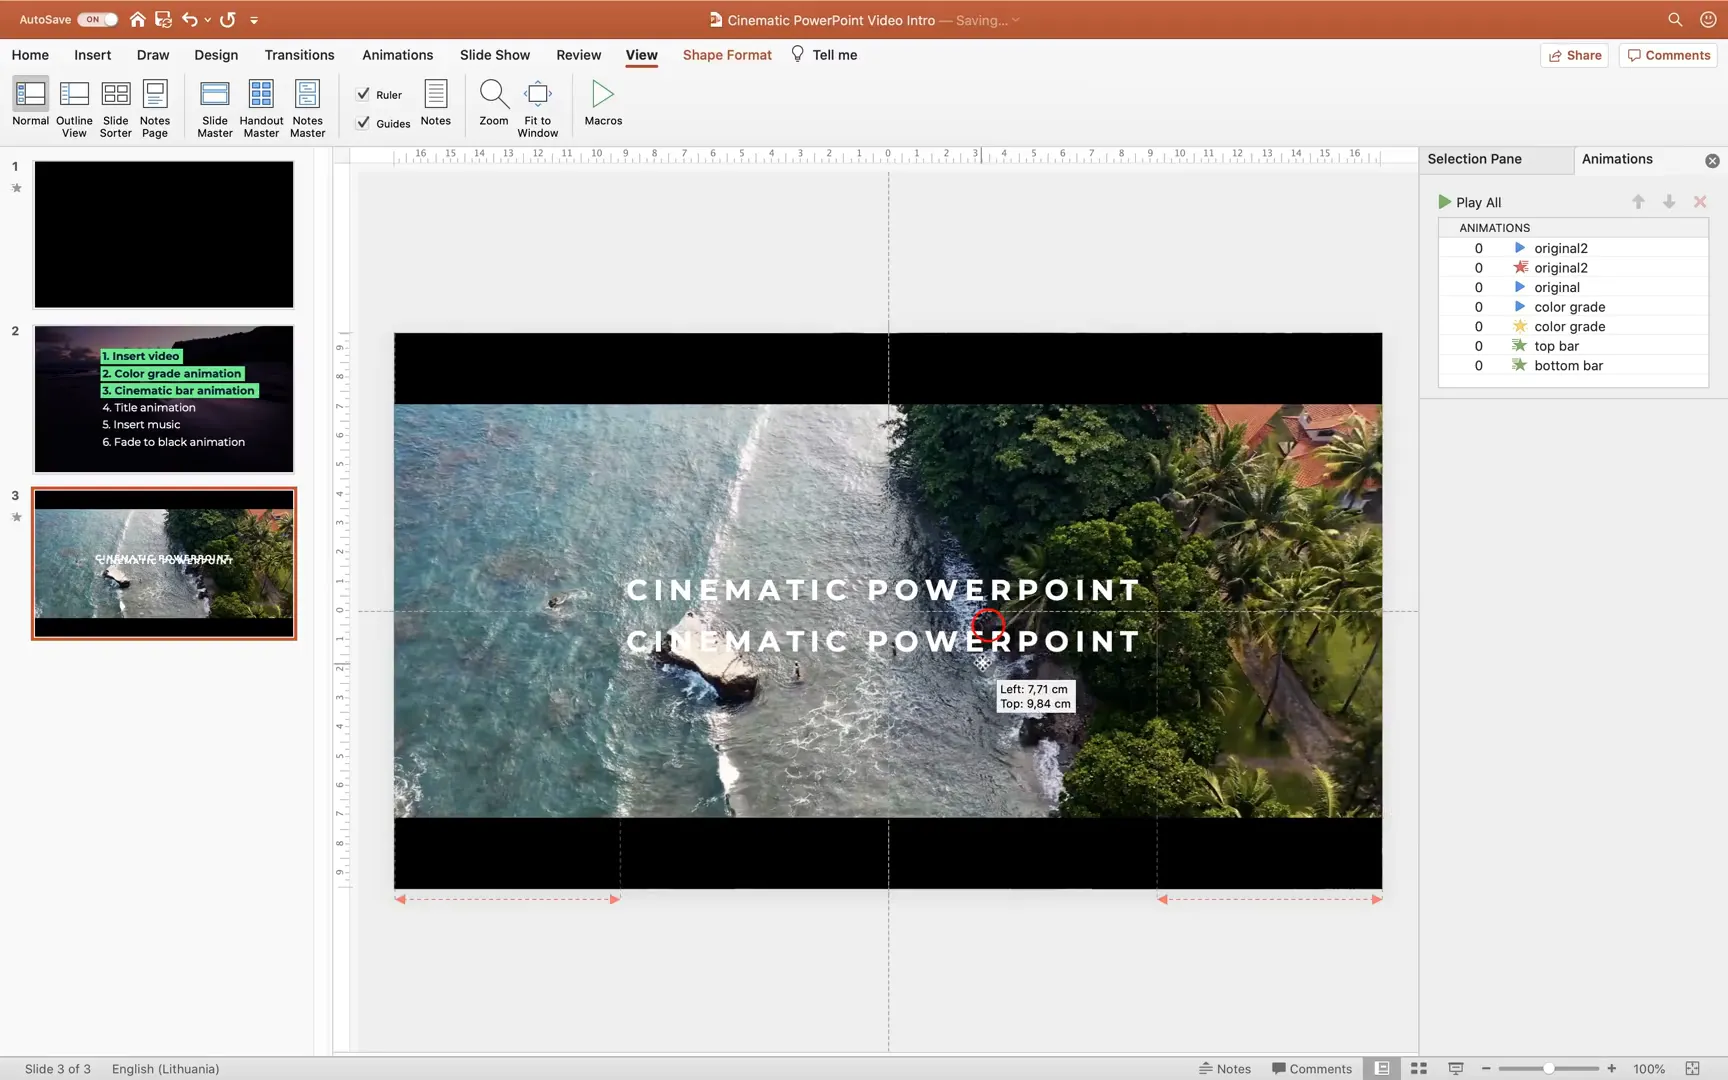
Apply a Zoom entrance animation to the group, set to start with previous, with a 3-second delay and 2-second duration. This creates a smooth zoom-in effect as the titles appear.
For the exit, add a combined Fade and Zoom animation, both starting with previous, delayed by 10 seconds, and lasting 2 seconds. The titles will fade out while growing slightly, giving a professional finishing touch.
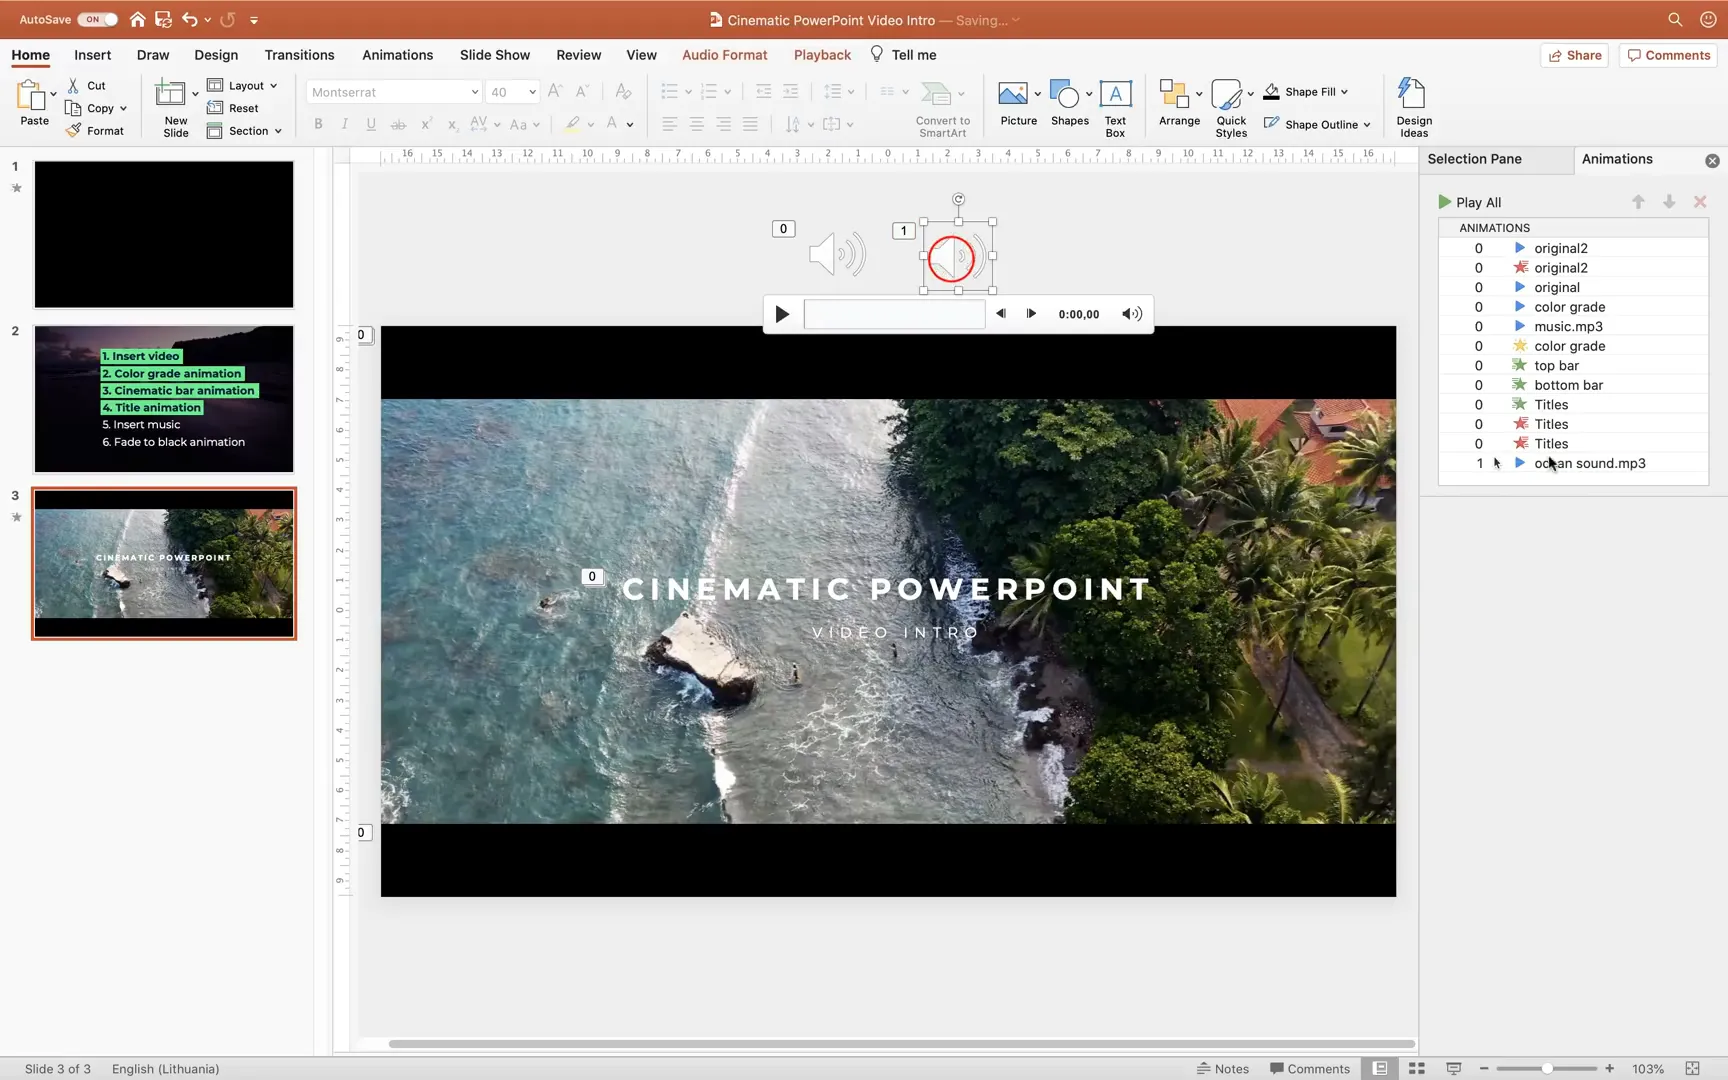
Step 5: Incorporating Cinematic Music and Ambient Sounds
Sound is essential for setting the mood. I recommend using royalty-free cinematic music tracks and ambient sounds like ocean waves to complement your visuals.
Insert your chosen music file via Insert > Audio > Audio from File. Position the audio icon out of sight on the slide. Set the audio to start with previous, and apply fade-in and fade-out effects (around 3 seconds each) for smooth audio transitions.
Trim the audio to the desired length—typically around 20 seconds for an intro—to keep it concise and impactful.

Repeat this process for ambient sounds like ocean waves, ensuring they start simultaneously with the music. Adjust volumes as necessary to balance the audio layers.
Step 6: Adding a Fade to Black Ending
To conclude your cinematic intro seamlessly, insert a full-slide black rectangle. Initially, you can fill it with a contrasting color such as blue to position and size it accurately, then switch the fill to black and remove the outline.
Apply a Fade entrance animation to this rectangle, set to start with previous, with a 17-second delay and a 3-second duration. This creates a smooth fade-to-black effect, signaling the end of your intro.
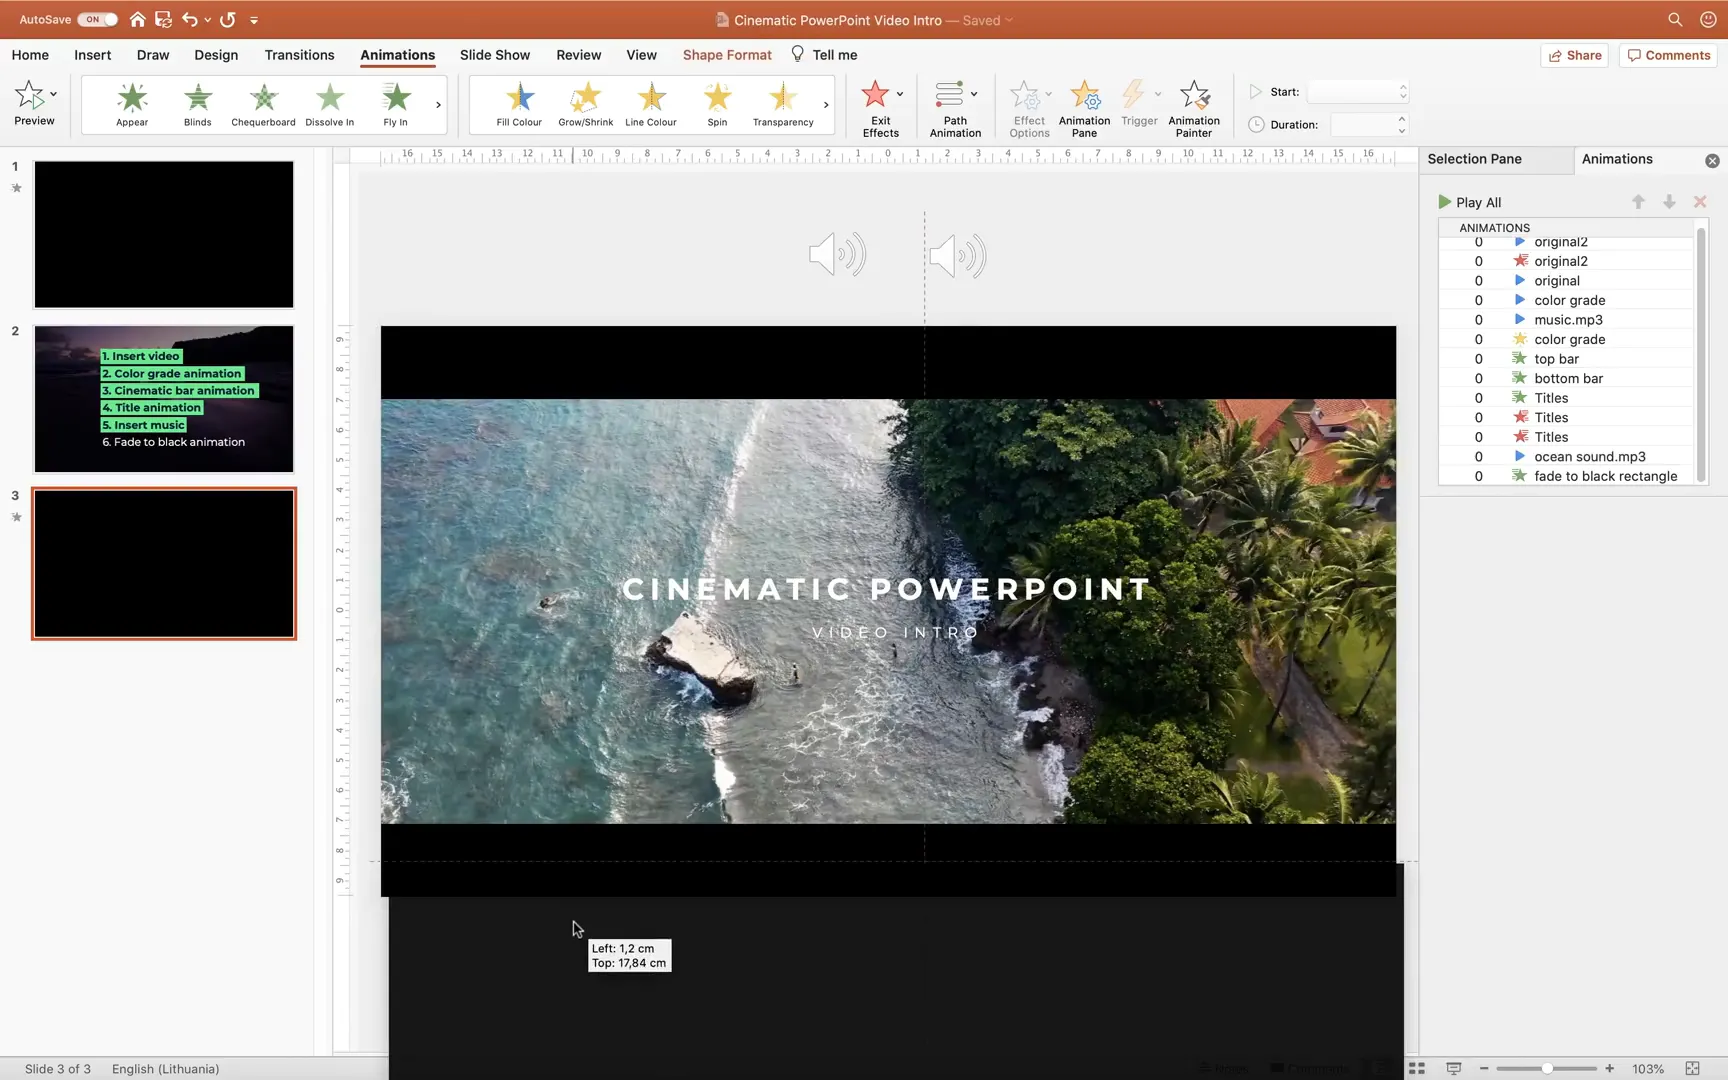
Putting It All Together: The Final Cinematic Intro
Once all elements—video, color grading, cinematic bars, titles, music, ambient sounds, and fade-to-black—are in place and animated correctly, preview your slide in full-screen mode. You’ll see the video start playing automatically, original colors gradually transition to a golden tone, cinematic black bars fly in, titles zoom in and fade out elegantly, and cinematic music with ocean waves play in the background, culminating with a fade to black.
This cinematic intro can be exported as a video or used directly within your PowerPoint presentations to impress your audience from the first moment.
Additional Tips for Enhancing Your Cinematic PowerPoint Intro
- Use high-quality video clips: The better the source video, the more professional your intro will look.
- Keep animations smooth and subtle: Avoid overly flashy or fast animations that can distract.
- Choose fonts carefully: Sans-serif fonts like Montserrat work well for modern cinematic styles.
- Balance audio levels: Ensure music and ambient sounds complement, not overpower, your visuals.
- Test on different devices: Preview your intro on multiple screens to verify quality and timing.
Frequently Asked Questions (FAQ)
Can I use any video format in PowerPoint for this cinematic intro?
PowerPoint supports common video formats such as MP4, WMV, and AVI. MP4 is recommended for best compatibility and quality.
Is it possible to export the cinematic intro as a standalone video file?
Yes, once your slide animations and media are set up, you can export the presentation or the selected slide as a video file via File > Export > Create a Video.
How do I add transparency animation to videos in PowerPoint?
PowerPoint doesn’t provide direct transparency settings for videos. Instead, use the transparency animation effect in the Animations pane and set the transparency percentage to achieve the desired fade effect.
Can I customize the cinematic bars’ size and position?
Absolutely. Adjust the height and width of the rectangles to match your preferred cinematic aspect ratio. The classic widescreen cinema ratio is approximately 2.39:1, but you can experiment to fit your style.
Are the music and sound effects royalty-free?
Always ensure you use royalty-free or properly licensed audio tracks. The tutorial recommends free-to-use tracks from YouTube’s Audio Library and other free sources, with links provided for easy access.
What fonts are best for cinematic titles?
Clean, bold sans-serif fonts like Montserrat, Bebas Neue, or Helvetica work well. The key is clarity and modern aesthetics that complement the cinematic style.
Can I add more complex color grading effects?
While PowerPoint’s color tools are limited, layering videos with color filters and transparency animations can simulate basic grading. For advanced grading, consider using dedicated video editing software.
Final Thoughts
With this detailed guide, you now have the knowledge and confidence to create stunning cinematic video intros right inside PowerPoint. By combining video insertion, color grading, cinematic bars, animated titles, and layered audio, you can craft intros that captivate and impress your audience.
Remember, the key to cinematic impact is subtlety and smooth transitions. Take your time to tweak animations and audio levels until everything feels cohesive. Don’t hesitate to explore new ideas and styles as you become more comfortable with these techniques.
Happy creating, and may your next presentations shine with cinematic flair!
Check out the full video: How to Make a Cinematic Video Intro 🔥in PowerPoint🔥


