
Creating eye-catching intro animations for your presentations can elevate the professionalism and engagement level of your slides. If you’ve ever wanted to add a sleek, modern text reveal animation in PowerPoint without relying on external software, you’re in the right place. In this comprehensive guide, I’ll walk you through the step-by-step process to craft a super cool intro text animation reveal entirely within Microsoft PowerPoint, inspired by techniques I’ve developed and refined over time.
This tutorial is designed to be easy to follow whether you’re a beginner or have some experience with PowerPoint animations. We’ll cover everything from setting up your slide and formatting your text to applying multiple animations that combine to create a dynamic reveal effect. By the end, you’ll have a powerful animation you can customize and reuse for your own presentations, videos, or other creative projects.
Let’s dive right in!
Table of Contents
- Getting Started: Setting Up Your Slide
- Adding a Gradient Fill to Your Text for Extra Flair
- Creating the Animated Line Element
- Adding a Parallelogram Mask for the Reveal Effect
- Applying Animations: Bringing Your Intro to Life
- Previewing Your Finished Intro Animation
- Advanced Tips and Next Steps
- Frequently Asked Questions (FAQ)
- Conclusion
Getting Started: Setting Up Your Slide
The first step in creating a compelling intro animation is to start with a clean slate. PowerPoint’s default slide layouts often contain placeholders and design elements that can distract or complicate your animation setup. To avoid this, begin by changing your slide layout to a blank canvas.
- In PowerPoint, select your slide.
- Go to the Home tab, click on Layout, and choose Blank.
With a blank slide, you now have full freedom to design your animation without interference.
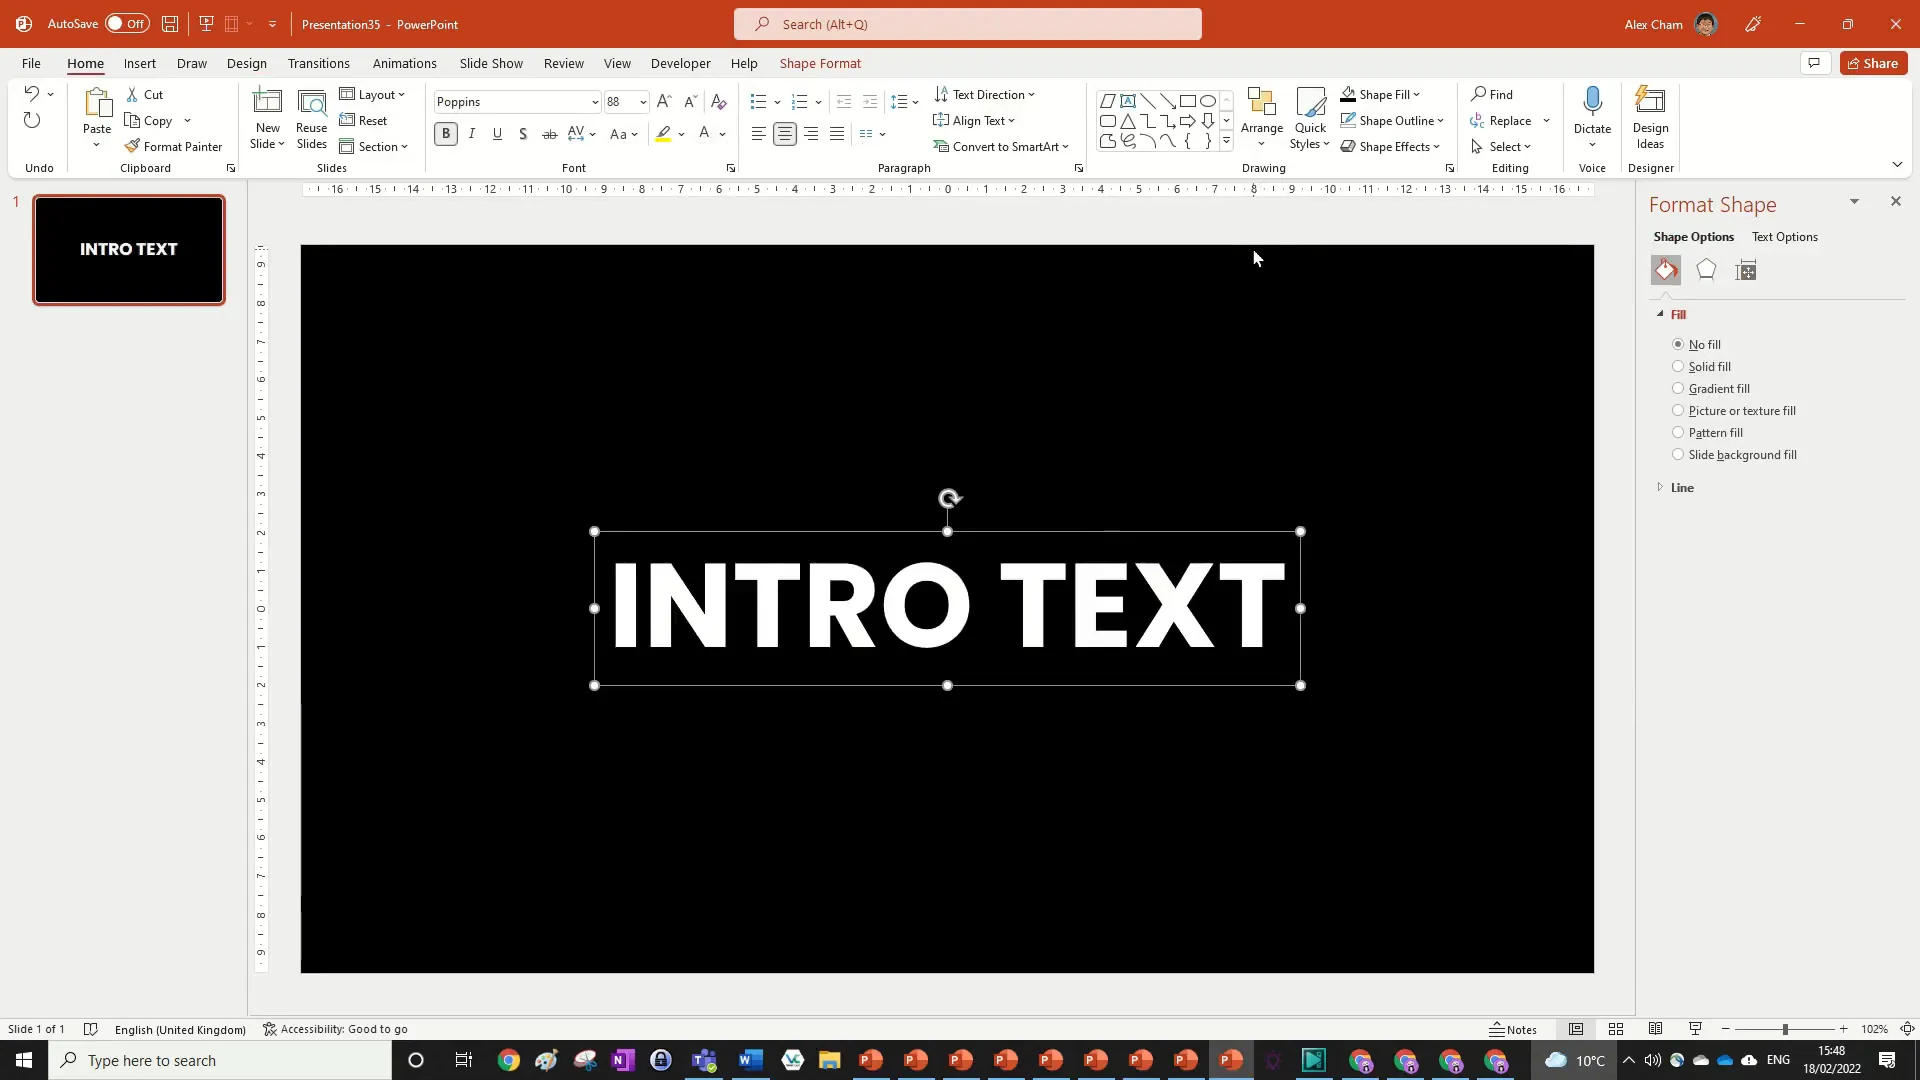
Next, add your intro text. For demonstration purposes, I’ll use the placeholder text “Intro Text”. You can replace this with your actual intro content later.
- Click Insert > Text Box, then click anywhere on the slide and type Intro Text.
Now, let’s format this text to give it a modern and clean look.
Choosing the Right Font and Size
Fonts play a crucial role in the impact of your animation. I recommend using clean, sans-serif fonts that scale well and look great on screen. My personal favorite is Poppins, but other great options include Arial Black and Impact. These fonts are bold and readable, perfect for intro animations.
Set your font size to around 80 or 88 points to ensure the text is large enough to grab attention.
- Select your text box.
- Go to the Home tab and set the font to Poppins.
- Set the font size to 88.
- Center-align the text both horizontally and vertically by going to Shape Format > Align > Align Center and Align Middle.

Setting the Background and Text Color
To make your text stand out, it’s important to have strong contrast between the text and the background. For this animation, a black background with white or gradient-filled text works beautifully.
- Go to the Design tab, select Format Background, and set the fill to Solid Fill with black color.
- Select your text box again, go to the Home tab, and change the font color to white.
Adding a Gradient Fill to Your Text for Extra Flair
Solid white text looks clean, but adding a gradient fill can give your intro a more dynamic and polished look. PowerPoint allows you to apply gradient fills directly to text, which is perfect for creating a glowing or radiant effect.
- Select your text box.
- Right-click and choose Format Text Effects, or go to the Shape Format tab and click Text Fill > Gradient > More Gradients.
- In the pane that opens, select Gradient Fill.
- Choose a gradient with blue tones—something like a dark blue transitioning to white works well.
- Set the gradient type to Radial and pick the middle gradient stop so it radiates outward from the center of the text.
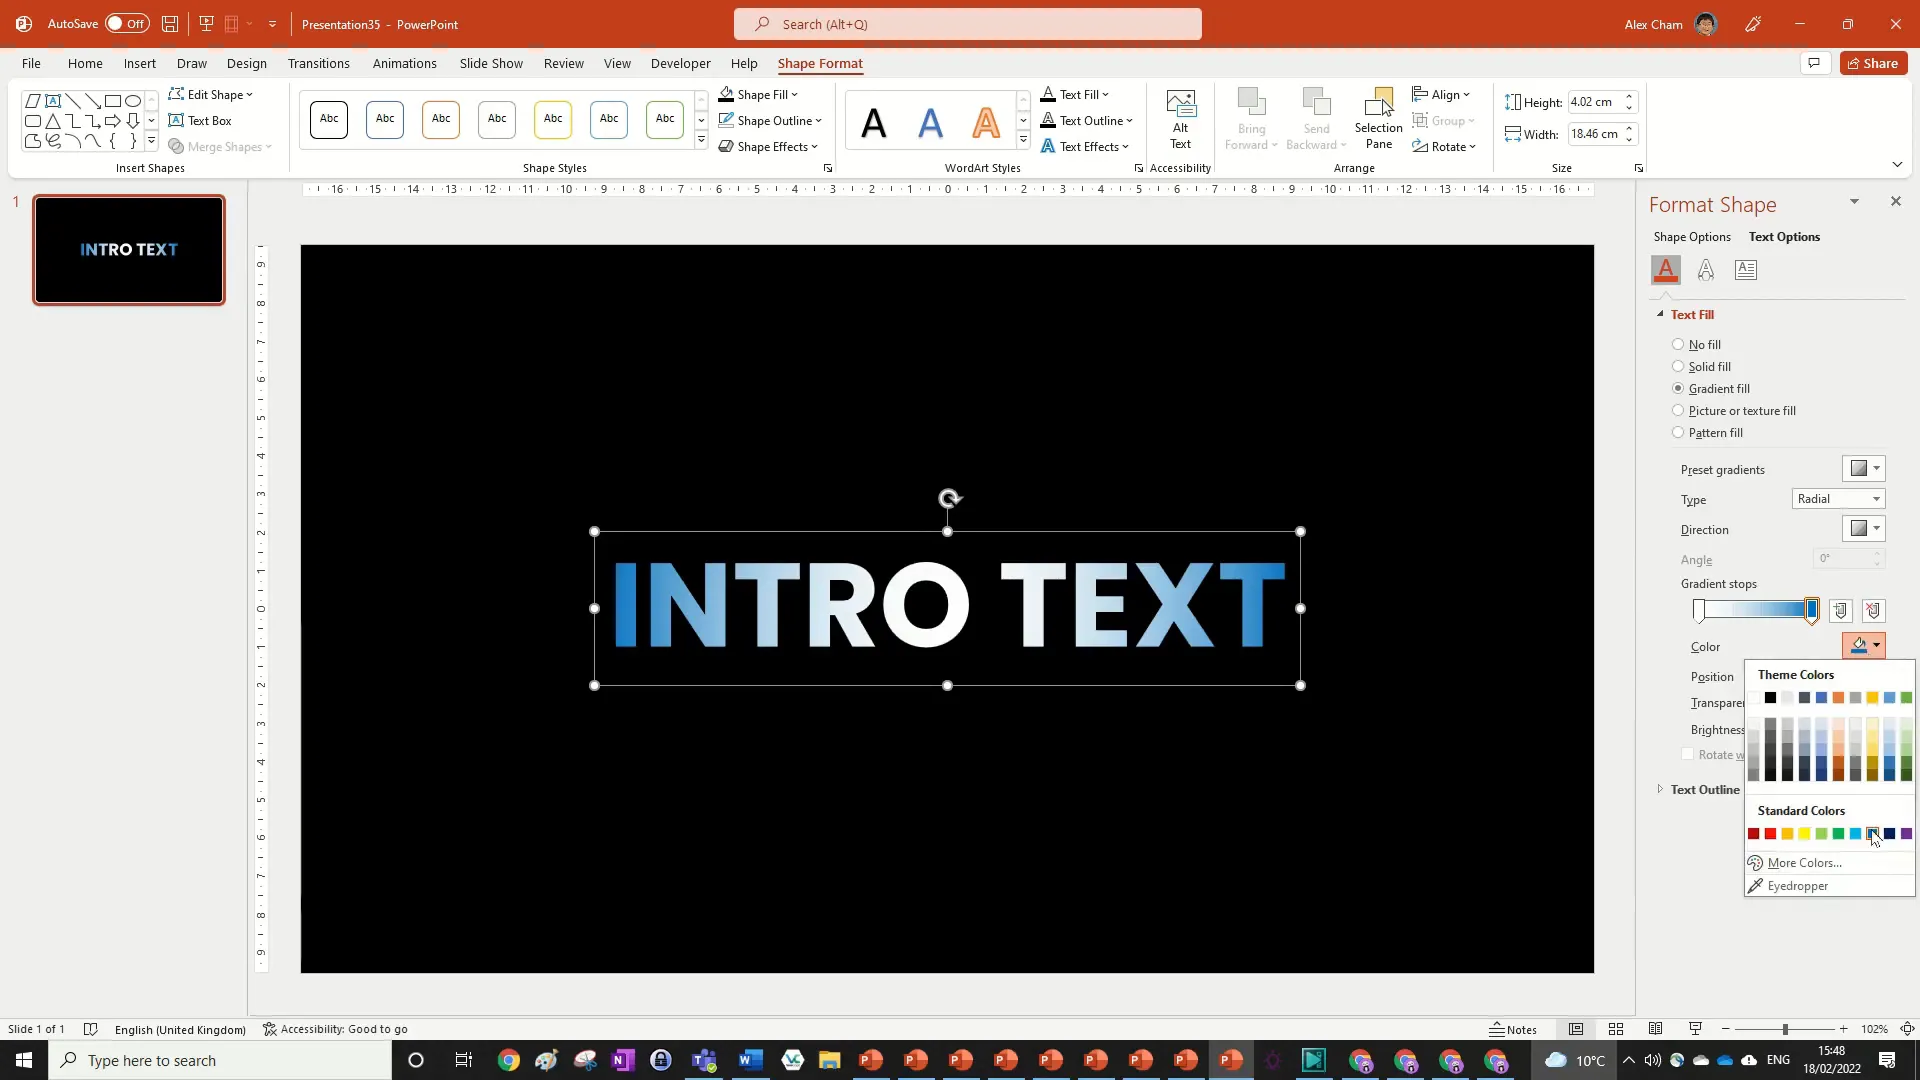
This subtle radial gradient will add depth and a modern touch to your intro text.
Creating the Animated Line Element
Next, we’ll create a sleek animated line that will underline the text during the reveal. This line will be an oval shape stretched and rotated to create a dynamic effect.
Inserting and Formatting the Oval
- Go to Insert > Shapes and select the Oval shape.
- Draw a long, thin oval on the slide.
- Adjust the shape’s height and width to make it very thin and stretched out—around 6 to 6.5 points tall works well.
- Rotate the oval to a 45-degree angle:
- Right-click the shape, select Format Shape.
- Go to the Size & Properties tab.
- Under Rotation, enter 45 degrees. If it rotates in the wrong direction, use -45 degrees instead.
- Use the Align tools to center the oval both horizontally and vertically on the slide.
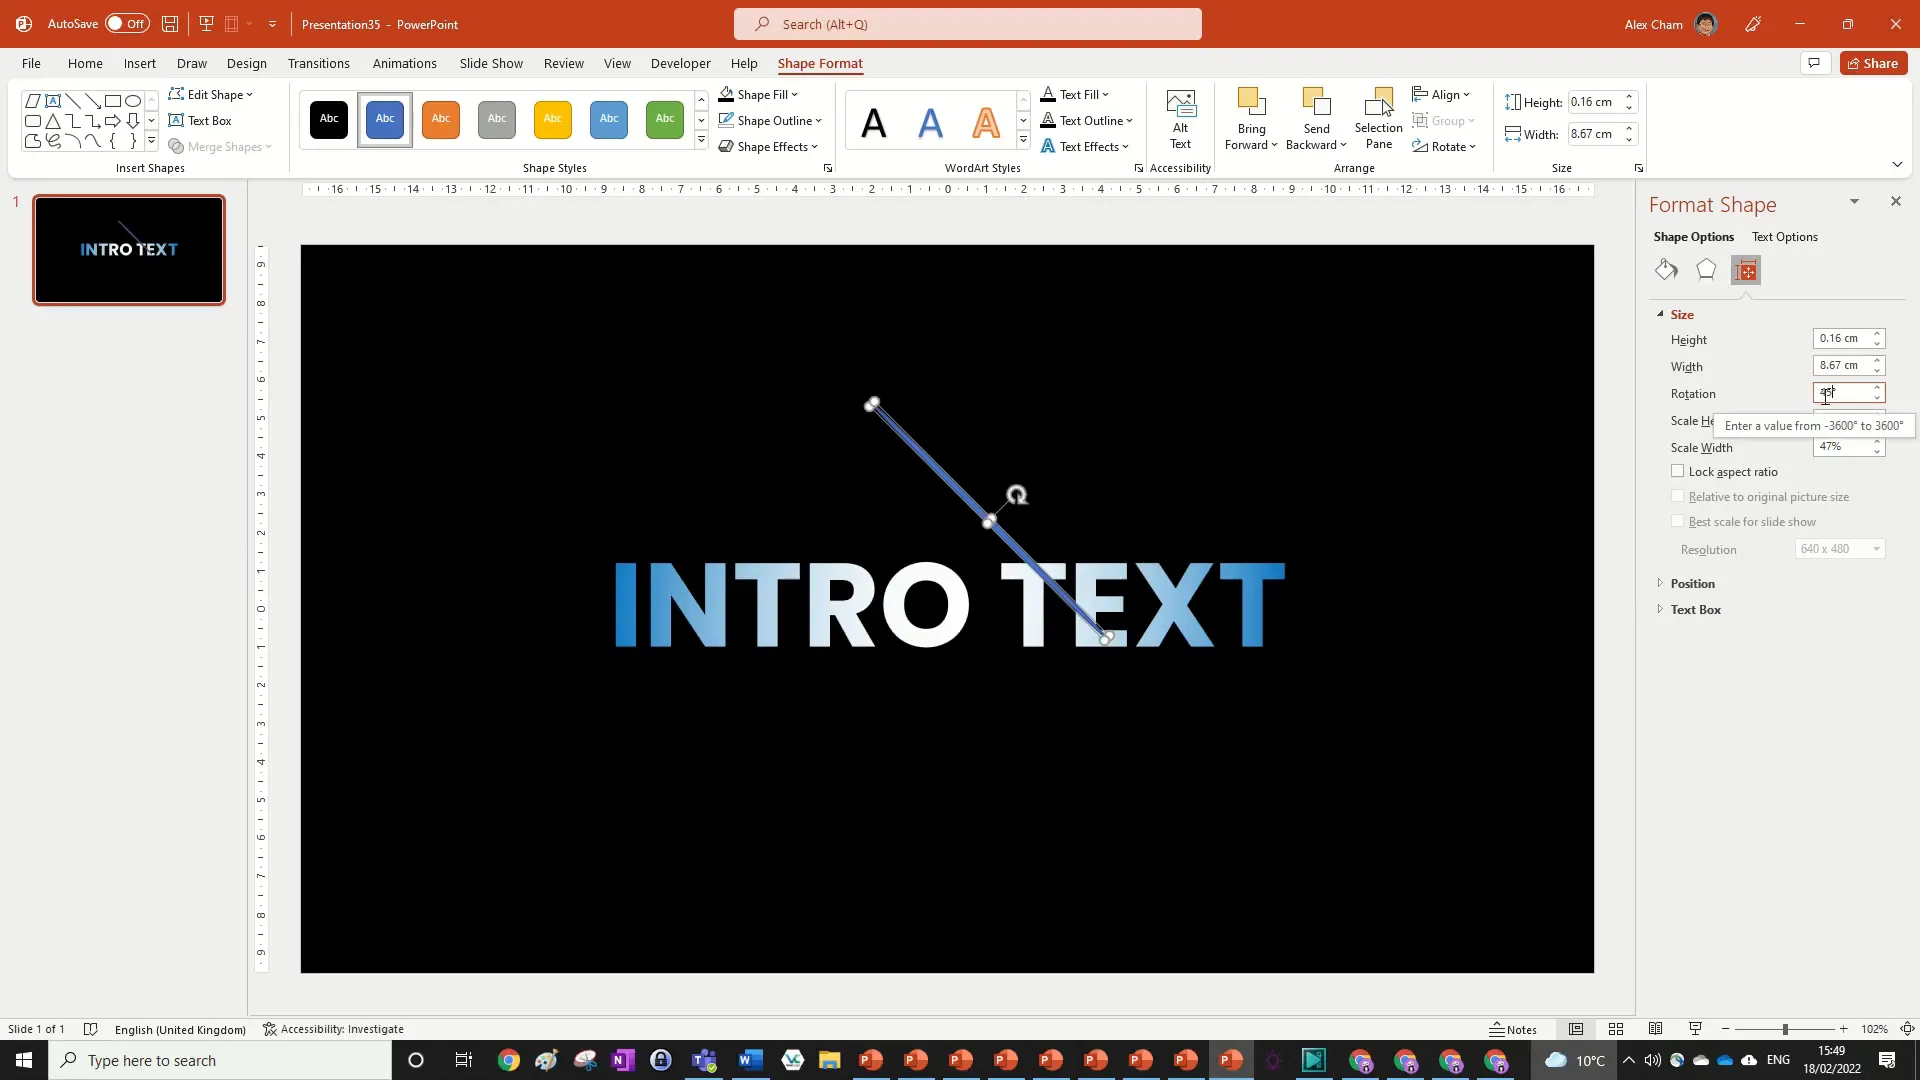
Applying Gradient Fill to the Oval
To keep the design consistent, apply the same blue gradient fill to the oval as you did for the text.
- Select the oval shape.
- Go to Format Shape pane and select Fill > Gradient Fill.
- Pick the same blue radial gradient used for the text.
- Set the outline of the oval to No Line.
Now, this oval will act as a stylish animated underline element in your intro animation.
Adding a Parallelogram Mask for the Reveal Effect
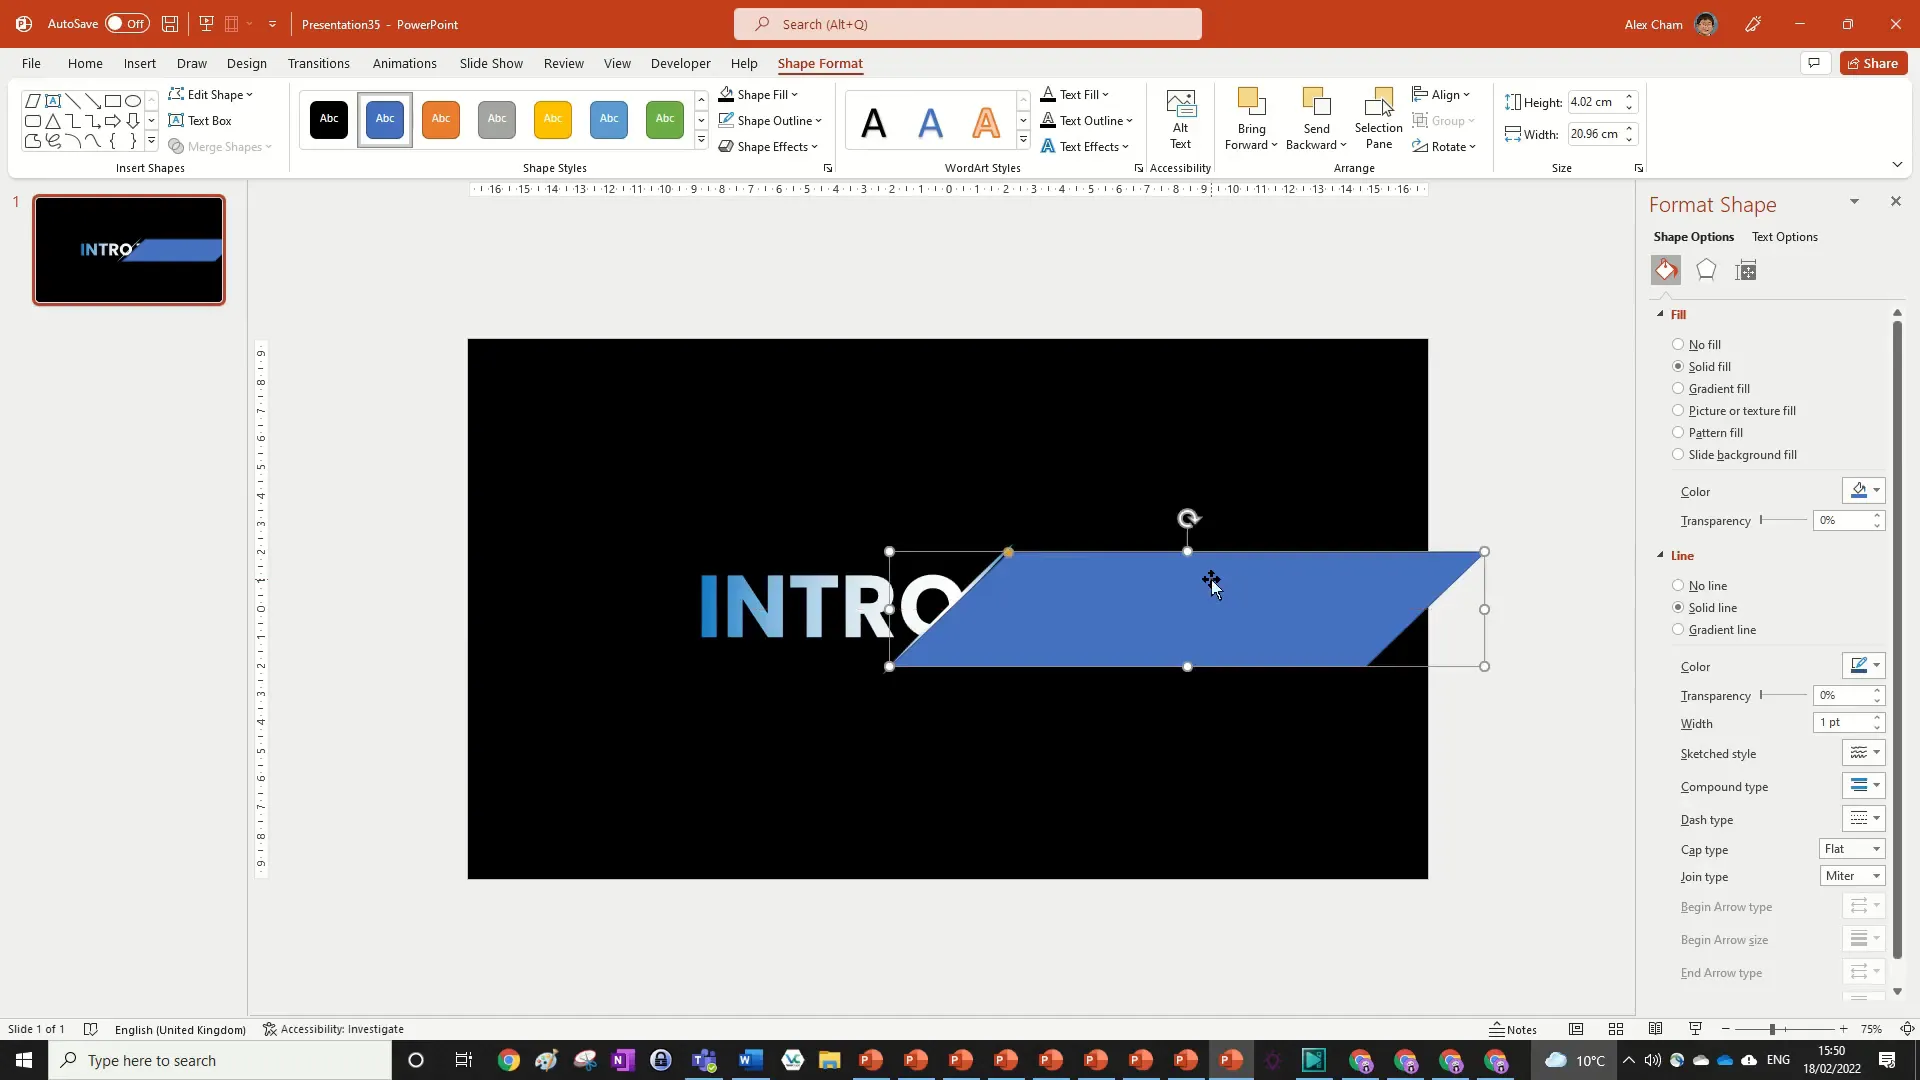
This step is crucial for creating the smooth text reveal effect. The parallelogram shape acts like a mask, hiding parts of the text as the animation plays. This technique allows you to simulate a sliding reveal without complex masking tools.
Creating and Positioning the Parallelogram
- Insert a Parallelogram shape from the shapes menu.
- Stretch the parallelogram out so that it extends beyond the edges of the slide. This ensures that when the animation plays, hidden parts of the text won’t peek out.
- Fill the parallelogram with the same color as your background (black in this case).
- Remove the outline by setting it to No Line.
- Send the parallelogram to the back by right-clicking and choosing Send to Back.
Grouping the Oval and Parallelogram
To animate the underline and mask together, group the oval and parallelogram shapes.
- Select both the oval and the parallelogram shapes by holding Shift and clicking both.
- Press Ctrl + G to group them.
This grouping allows us to apply animations to both objects simultaneously, creating a smooth and coordinated effect.
Applying Animations: Bringing Your Intro to Life
Now that our elements are set up, it’s time to add animations to create the reveal effect. The animation sequence involves multiple steps that work together to produce a stylish intro.
Step 1: Split Animation on the Group
The first animation is a split effect applied to the grouped oval and parallelogram.
- Select the grouped shapes.
- Go to the Animations tab and select the Split animation.
- In the animation options, set the split to Horizontal Out.
This creates an opening effect that looks like the underline splitting outward.
Step 2: Fly-In Animation for the Text
To complement the underline animation, the text itself will fly in from the right side.

- Select the text box.
- Add a Fly In animation from the right.
- Open the Animation Pane and double-click the fly-in animation to open its settings.
- Adjust the Smooth End to 0.5 (the fullest smooth end).
- Set the animation duration to 1 second.
- Set the animation to Start After Previous so it plays right after the split animation.

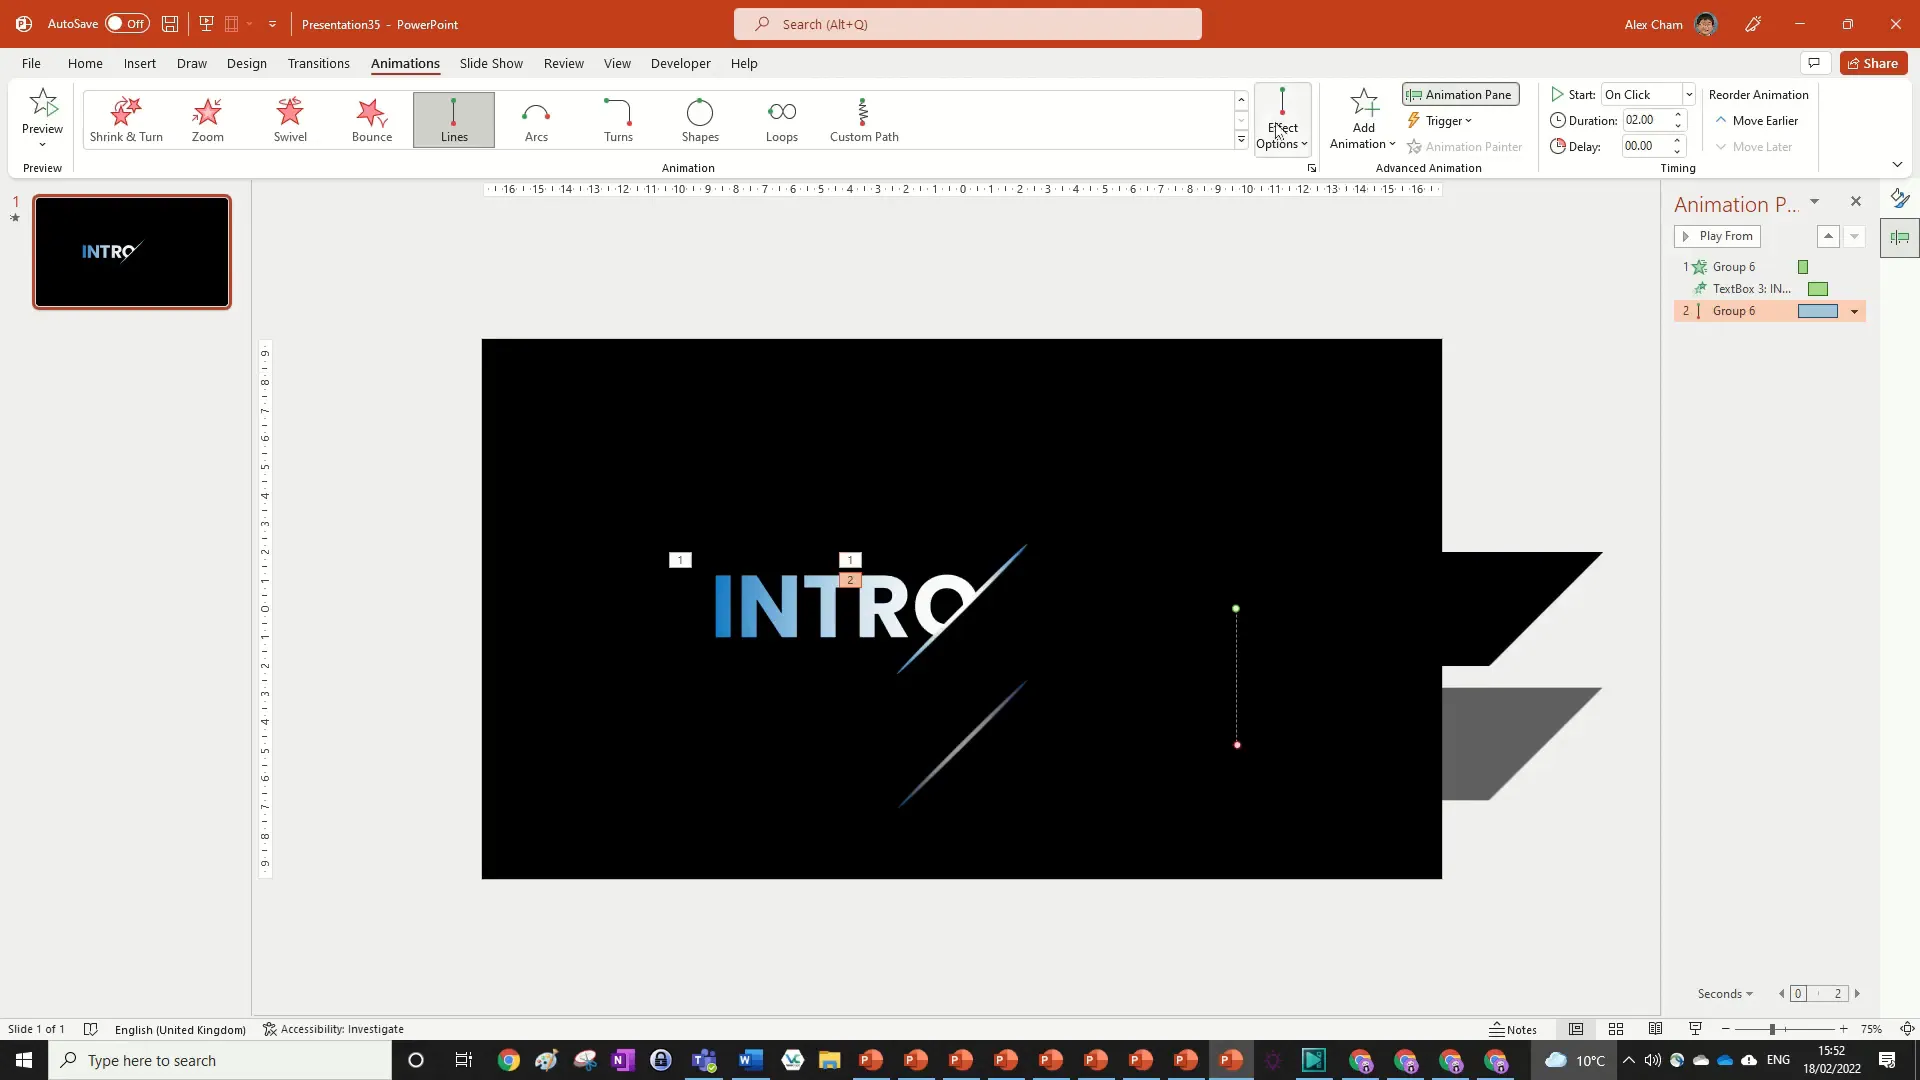
Step 3: Motion Path Animation on the Group
Next, we add a motion path animation to the grouped underline elements to slide them horizontally and then vertically, mimicking an underline effect.
- Select the grouped shapes again.
- Click Add Animation and choose Motion Path.
- Initially, the motion may be in the wrong direction. Change the effect options to make it move Right.
- In the animation pane, click on the motion path animation and drag the red endpoint to adjust how far the underline moves. Pull it out so it hits the desired position quickly.
- Set the Smooth Start to Full by double-clicking the animation and adjusting the settings.
- Reduce the duration to 0.5 seconds.
- Set the animation to Start With Previous.
Step 4: Downward Motion Animation
After sliding right, the underline will move down to position itself under the text, enhancing the reveal effect.
- With the grouped shapes selected, add another motion path animation.
- Set this motion path to move Down.
- In the animation pane, align the start of this animation by dragging its green start point to snap exactly to the red end point of the previous motion path.
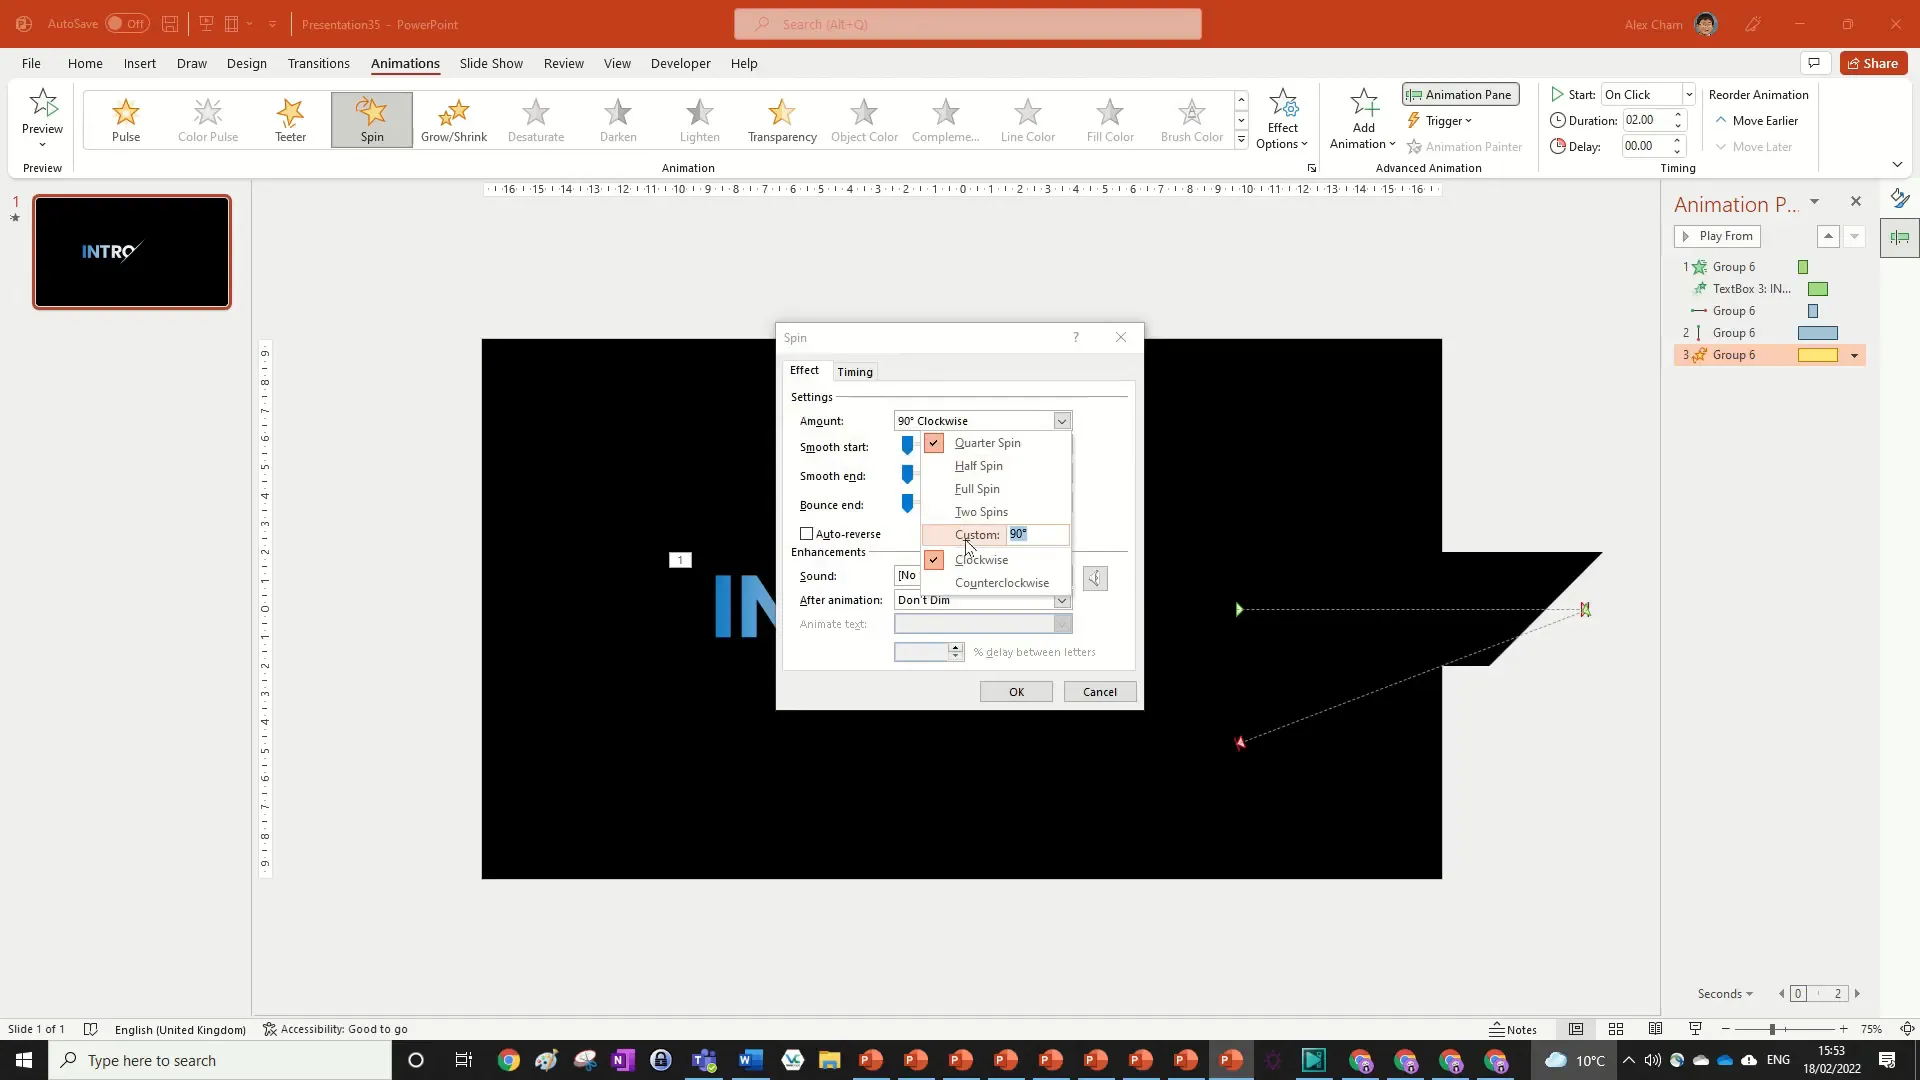
Step 5: Spin Animation for a Stylish Finish
To add a bit of flair, we’ll apply a spin animation to the underline, rotating it 45 degrees to create a dynamic underline effect.
- Add a Spin animation to the grouped shapes.
- By default, the spin might be a quarter turn (90 degrees), which is too much.
- Open the spin animation’s effect options and set the rotation to 45 degrees.
- Set this animation to Start With Previous and add a delay of 0.5 seconds.
- Adjust the duration to 0.5 seconds.
Fine-Tuning the Animations for Smoothness
Animations often require some tweaking to look natural and polished. Here are some tips for refining your intro animation:
- Adjust the Smooth Start and Smooth End settings to create gradual acceleration and deceleration.
- Play around with the timing and delays of each animation to ensure they flow seamlessly.
- If the underline moves awkwardly due to rotation around the default anchor point, try adjusting the position or grouping differently.
- Preview the animation multiple times and adjust the motion path lengths and durations as needed.
For example, setting the smooth start to 0.1 and smooth end to 0.5 on the grouped animations can create a very smooth and professional look.
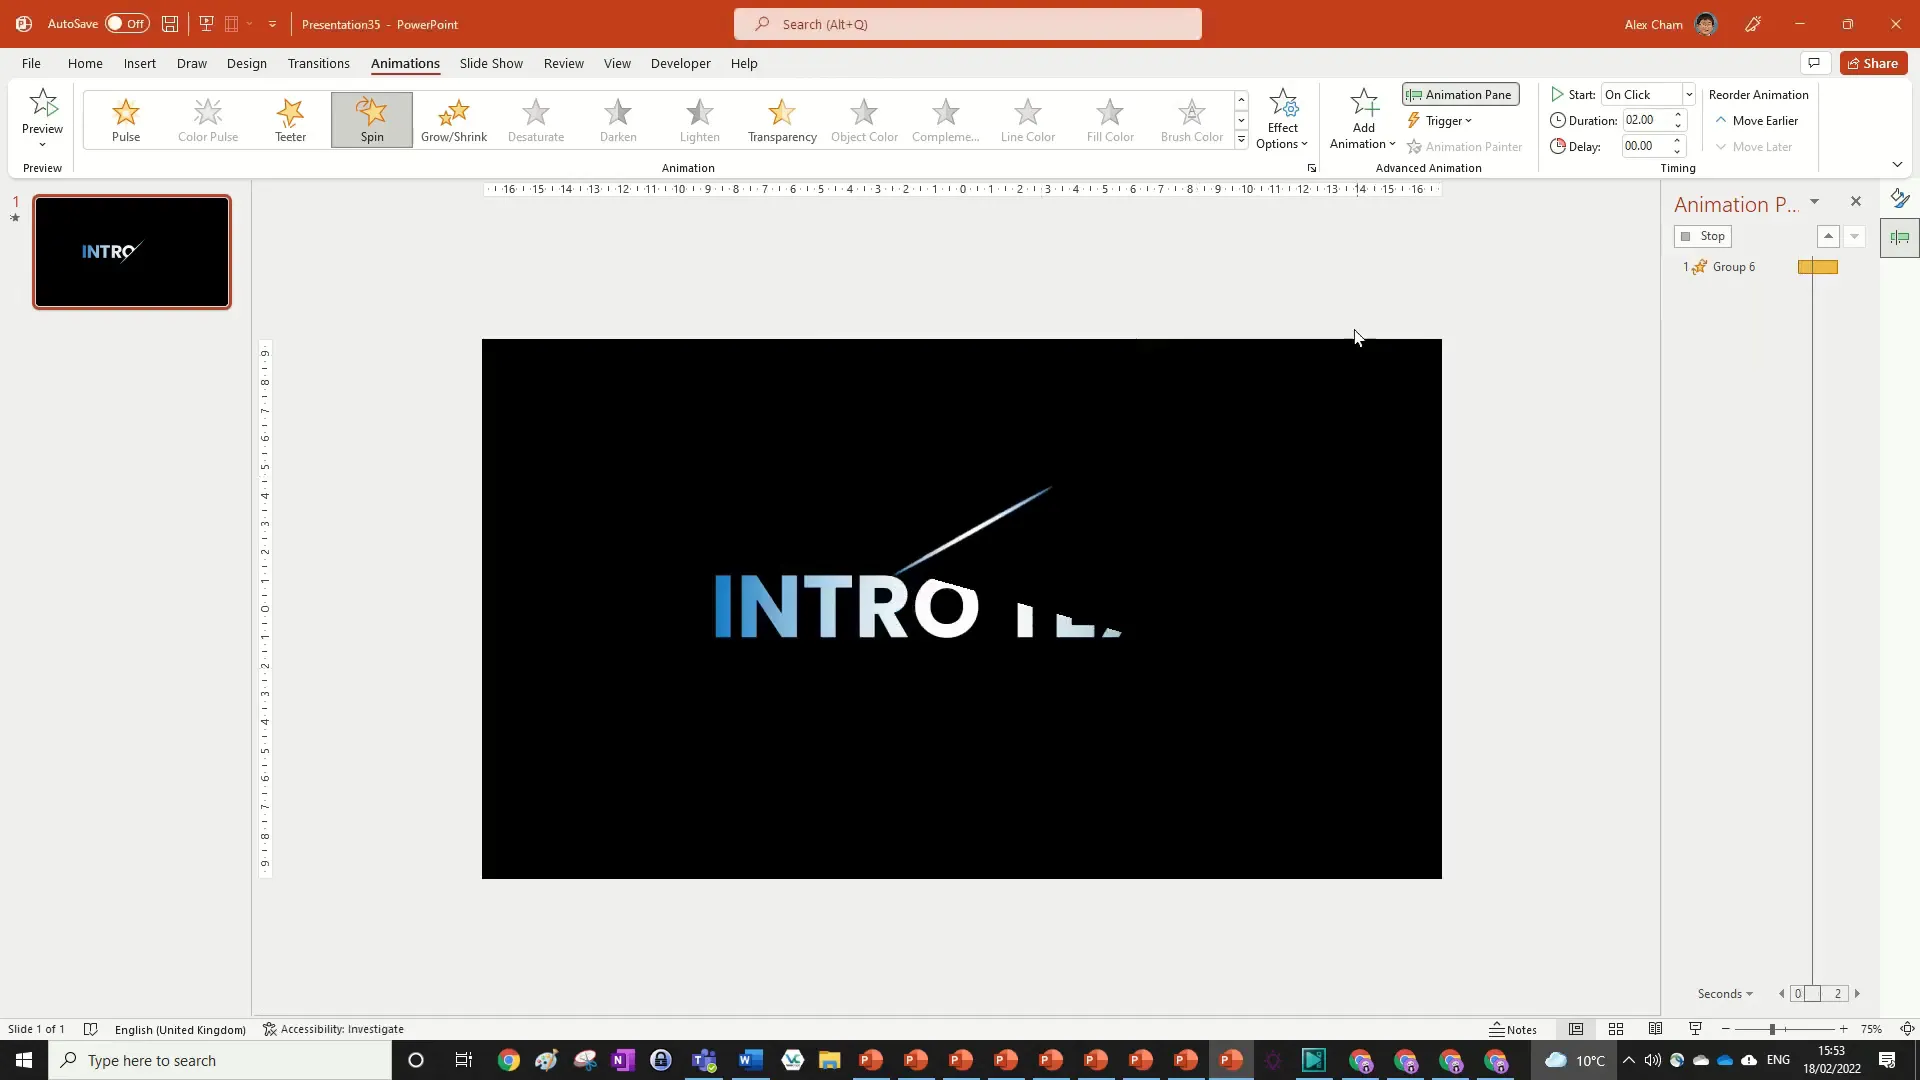
Previewing Your Finished Intro Animation
Once all animations are applied and fine-tuned, preview your slide to see the full effect:
- The underline splits outward horizontally.
- The intro text flies in from the right.
- The underline slides right and then moves down to underline the text.
- The underline spins 45 degrees for a stylish finish.
This combination creates a dynamic and modern intro animation that can be customized for various presentation styles.
Advanced Tips and Next Steps
If you enjoyed this animation technique, there are many ways to build on it and customize further:
- Try different fonts and colors: Experiment with other bold fonts like Arial Black or Impact, and customize your gradients to match your brand colors.
- Explore other shapes: Instead of an oval, try rectangles, lines, or custom shapes for the underline or mask effect.
- Combine horizontal and vertical reveals: Create more complex animations by combining horizontal and vertical split animations for layered effects.
- Use this technique for logos or other text: The masking and motion path animation technique works great for logos, titles, or any text element you want to animate creatively.
Keep experimenting with PowerPoint’s animation pane and effect options to discover unique ways to enhance your presentations.
Frequently Asked Questions (FAQ)
Can I use this animation technique in older versions of PowerPoint?
This tutorial is based on Microsoft PowerPoint Office 365, which has the most up-to-date animation features. While many animations are available in older versions, some options like advanced gradient fills or certain motion path customizations may differ. It’s recommended to use an updated version of PowerPoint for best results.
Can I customize the colors and fonts used in this animation?
Absolutely! The fonts, colors, and gradients used in this tutorial are suggestions. You can easily swap them out for your preferred branding or style. Just ensure your text remains readable against your background.
How do I make sure the animations play smoothly during my presentation?
Preview your animations multiple times in Slide Show mode and adjust the timing and smooth start/end settings as needed. Avoid overly complex animations that might slow down your presentation on older computers.
Is it possible to save this animation as a reusable template?
Yes! Once you’ve created your animation, you can save the PowerPoint slide as a template or copy the animated slide into other presentations. This makes it easy to reuse your custom intro animation.
Can I export this animation as a video?
PowerPoint allows you to export slides as videos. After finalizing your animation, go to File > Export > Create a Video. This is useful if you want to use your animated intro in video projects.
Conclusion
Creating a cool intro animation in PowerPoint is easier than you might think with the right approach. By combining basic shapes, gradient fills, and a well-planned sequence of animations, you can design a professional and engaging text reveal that will captivate your audience.
This tutorial walked you through every step—from setting up the slide and formatting text to grouping shapes and applying motion path and spin animations. The key to success is patience and experimentation with timing and effect options.
Whether you’re preparing a presentation, a video intro, or any project requiring dynamic text reveals, this method offers a powerful and flexible solution without needing external tools.
Keep practicing and exploring PowerPoint’s animation capabilities, and your presentations will stand out with polished, professional effects.
Happy animating!
Check out the full video: How to Create a COOL Intro Animation in PowerPoint


