
If you’ve ever wanted to take your PowerPoint presentations to the next level by adding interactive and visually stunning elements, you’re in the right place. In this comprehensive guide, we’ll walk you through creating a dynamic presentation featuring an epic image slider powered by PowerPoint’s Morph transition. This tutorial covers everything from slide setup and image selection to clickable buttons, blur effects, and smooth animations that will captivate your audience.
Whether you’re a beginner or an experienced user, this tutorial will help you master the art of creating engaging and professional presentations with an interactive product slider—perfect for showcasing products, portfolios, or any visual content.
Table of Contents
- Getting Started: Setting Up Your Slide and Template
- Selecting and Preparing Images for Your Slider
- Adding Shadows and Blur Effects for Depth
- Designing Interactive Clickable Buttons
- Building Multiple Slides and Applying Morph Transitions
- Linking Buttons to Slides for Interactive Navigation
- Fixing Morph Animation Issues
- Final Adjustments and Testing Your Slider
- Frequently Asked Questions (FAQs)
- Conclusion
Getting Started: Setting Up Your Slide and Template
Before diving into the image slider, it’s essential to prepare your PowerPoint environment to ensure a seamless design process.
Create a New Slide with a Clean Background
Start by inserting a new slide in your presentation. For this tutorial, a black background slide works best to enhance the visual appeal of the images and effects.
- Hit Enter to add a new slide.
- By default, you may see a footer and slide number. To hide these:
- Go to Insert > Header and Footer.
- Uncheck the options for Slide number and Footer.
- Click Apply to remove them from your current slide.
With the footer and slide number hidden, you now have a clean, completely black slide to work on—perfect for showcasing your images.
Customize Slide Dimensions for Better Resolution
To ensure your images and text appear crisp, consider increasing the slide dimensions. Doubling the default size can significantly improve resolution, especially when displaying detailed images like product photos.
- Go to Design > Slide Size > Custom Slide Size.
- Adjust the width and height to twice the default size (e.g., 20 x 11.25 inches instead of 10 x 5.625 inches).
- Click OK and choose Don’t Scale to keep your content proportions intact.
This step is particularly useful if your presentation will be viewed on large screens or exported as high-quality images or videos.
Selecting and Preparing Images for Your Slider
The centerpiece of your dynamic presentation is the set of images you want to showcase. In this tutorial, the images are of gaming controllers created using Leonardo AI, a powerful AI image generator.
Where to Find or Create Stunning Images
If you don’t have product photos ready, AI tools like Leonardo AI are fantastic for generating consistent, high-quality images in various styles. For this tutorial, three controller images were generated:
- Neon Controller
- Golden Controller
- Frosty Controller
Using AI-generated images allows you to maintain a consistent visual style, which is critical for a professional look.
Inserting and Positioning Images
Once you have your images:
- Copy and paste the first image (e.g., the Neon controller) onto your slide.
- Insert a text box above the image for the model name. For example, type “Neon” using the Virino Normal font at size 60 for clear visibility.
- Duplicate the text box style for consistency across all images.
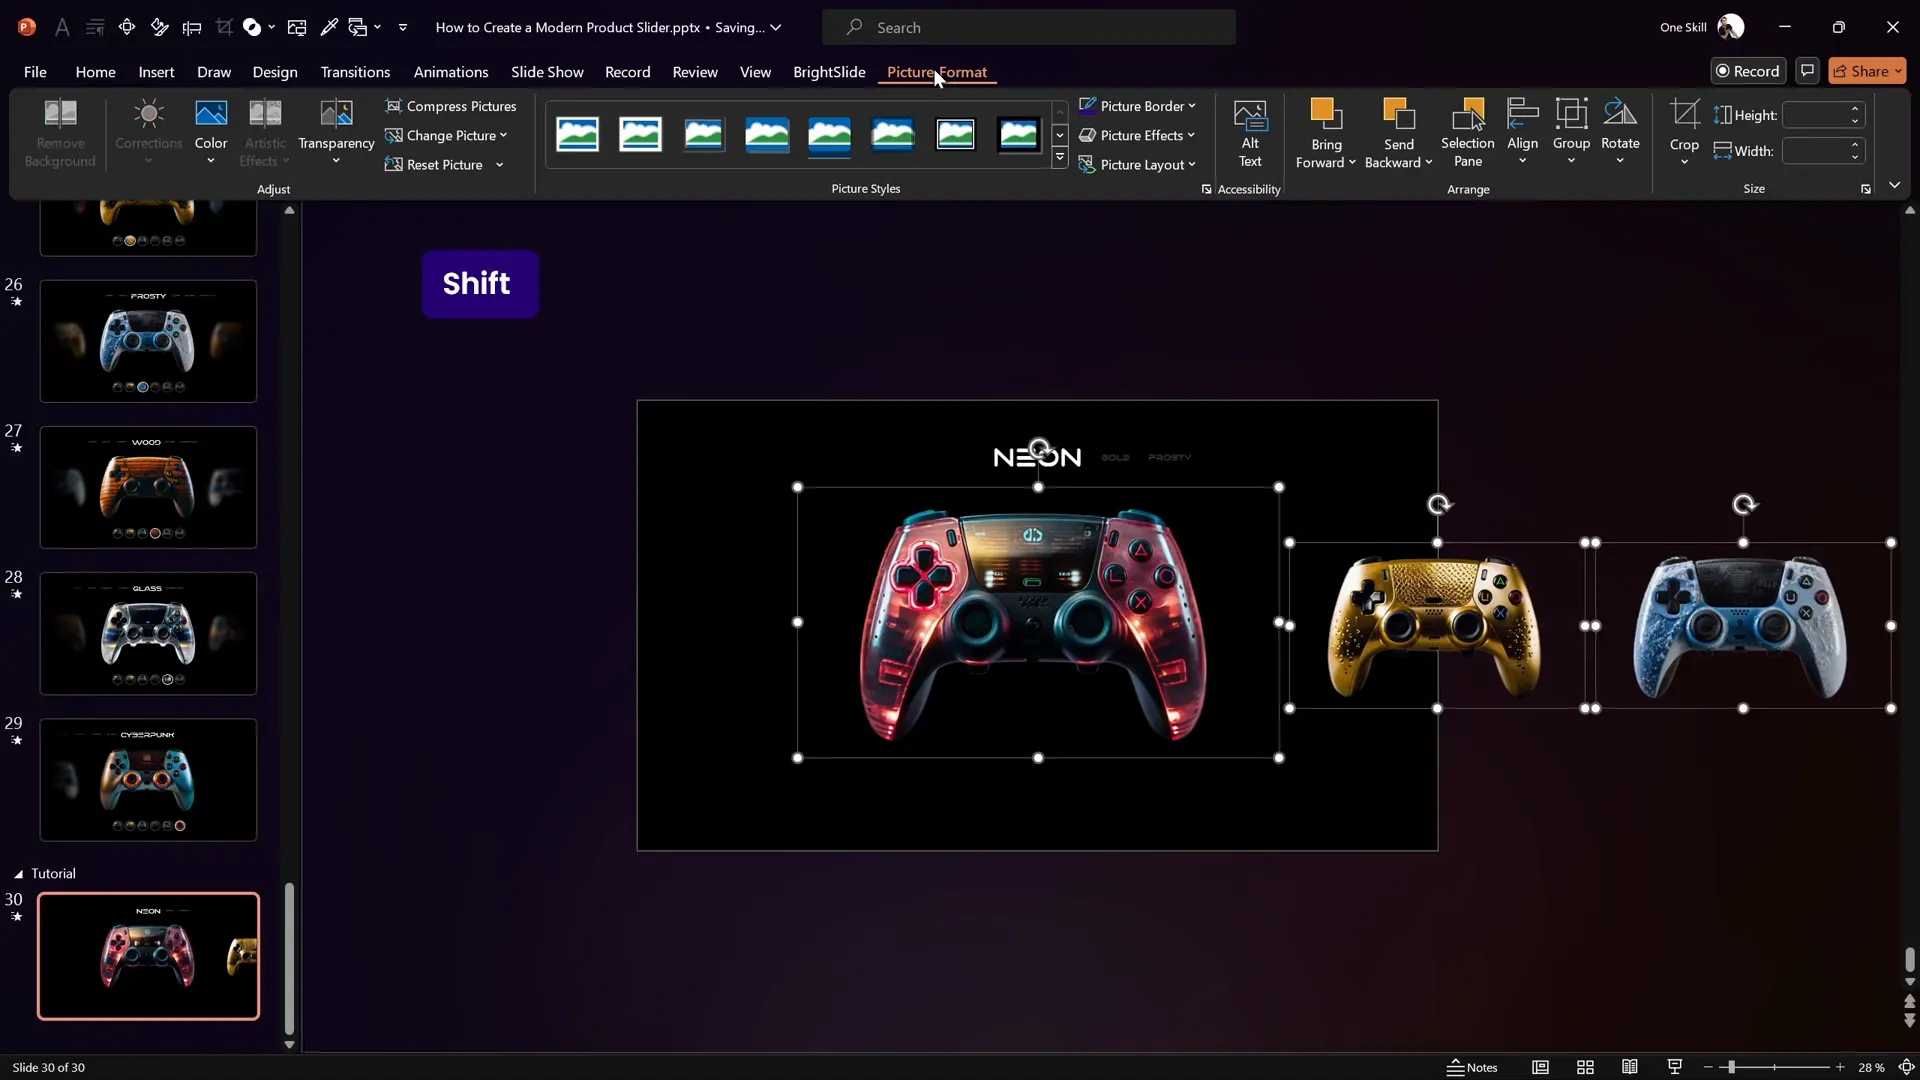
- Paste the other images (Golden and Frosty controllers) onto the slide and position them to the right side of the main image. Resize these side images to about 14 cm in height to create a sense of depth.
- Align all images along the middle to maintain a balanced, professional layout.
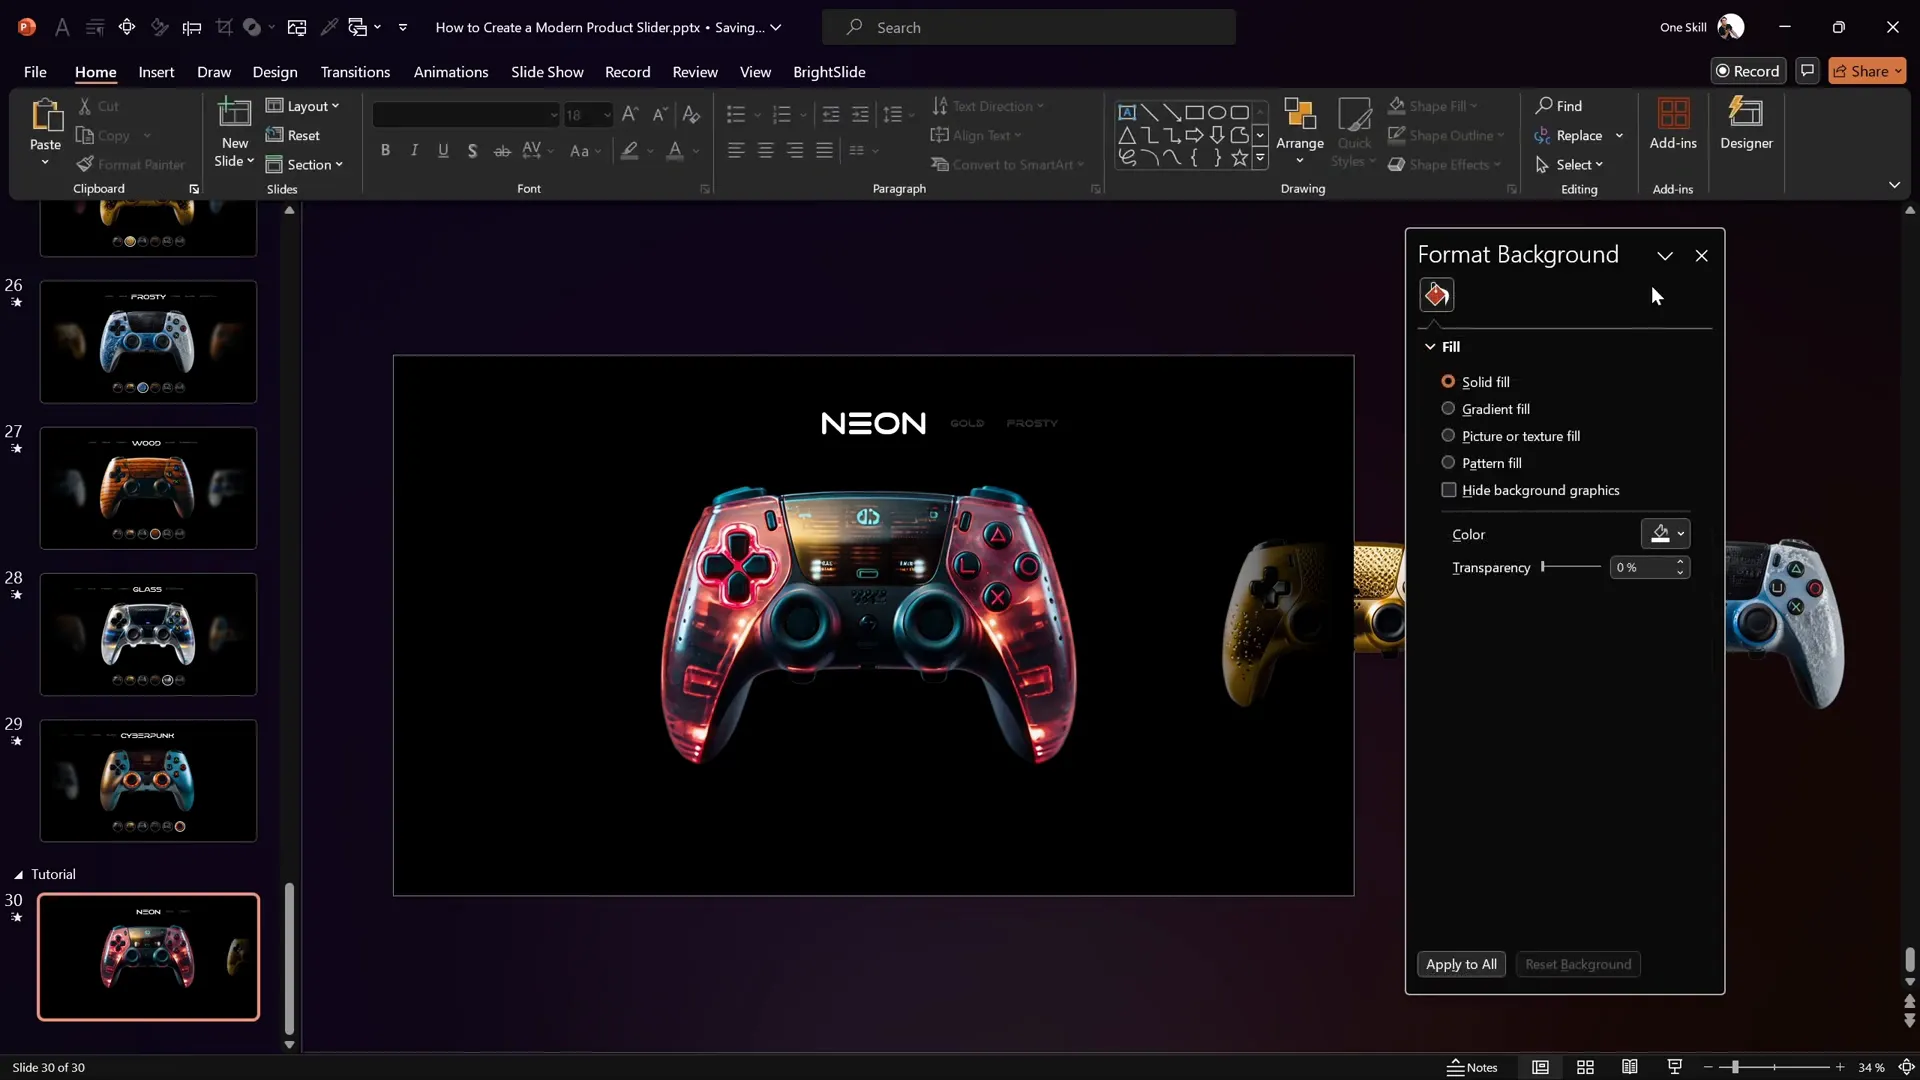
Using Transparency for Text Boxes
To direct focus to the main image and its title, apply 80% transparency to the smaller text boxes associated with the side images. This subtle effect reduces visual noise and highlights the central content.
Adding Shadows and Blur Effects for Depth
To make the slider visually dynamic and immersive, adding shadows and blur effects is essential. These effects create the illusion that images are emerging from darkness and receding into the background, enhancing depth perception.
Creating Shadows Using Gradients
PowerPoint doesn’t have a direct shadow tool for entire slide edges, but you can simulate shadows with gradient-filled rectangles:
- Insert a full-height rectangle on the right edge of the slide.
- Open the Format Shape pane and select Gradient Fill.
- Customize the gradient stops:
- Remove extra stops to keep just two: one fully transparent black and one solid black.
- Set the gradient direction from left to right.
- Adjust the position of the solid black stop to around 90% for a smooth shadow fade.
- Copy the rectangle, flip it horizontally, and place it on the left edge of the slide.
This creates soft shadow effects on both sides, framing the images dramatically.
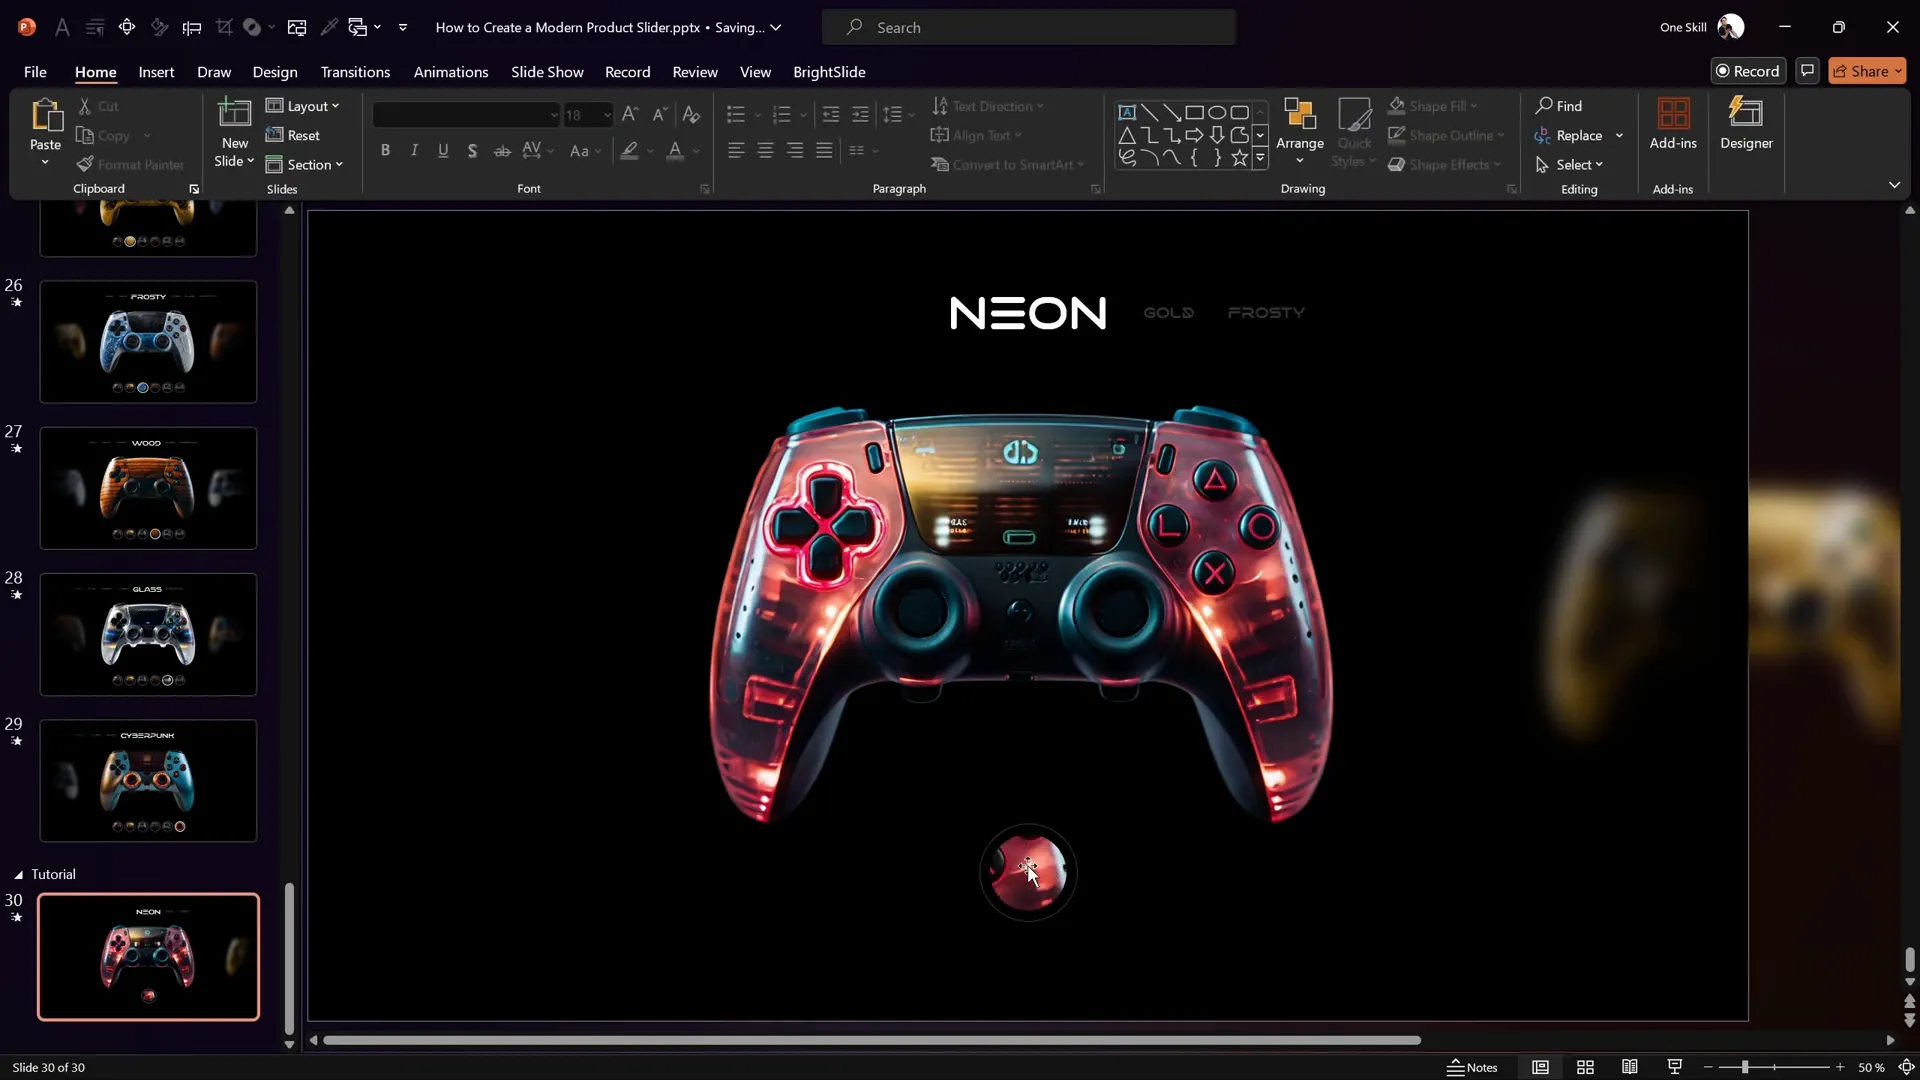
Applying Blur Effects to Side Images
Blur effects make side images appear distant, enhancing the slider’s 3D feel:
- Right-click on a side image (e.g., the Golden controller) and select Artistic Effects.
- Choose the Blur effect and adjust the intensity (60% works well).
- Repeat for other side images.
This subtle blur creates a focus on the central image, guiding the viewer’s attention effectively.

Designing Interactive Clickable Buttons
To navigate between images smoothly, create interactive buttons that users can click to switch slides.
Creating the Button Shape
- Insert a perfect circle by holding Shift while drawing.
- Format the circle with a black fill and a white outline at 1 pt thickness.
- Set the outline transparency to 75% for a subtle look.
- Duplicate the circle and reduce the size of the duplicate slightly.
- Center-align the smaller circle inside the larger one to create a ring effect.
Filling the Inner Circle with Image Thumbnails
To make buttons visually descriptive, fill the inner circle with a cropped version of the corresponding controller image:
- Duplicate the main image you want to use for the button (e.g., Neon controller).
- Bring the smaller circle to the front.
- Select the duplicated image and the smaller circle, then use Shape Format > Merge Shapes > Intersect. This crops the image into the circle shape.
- Adjust the cropped image inside the circle with the Crop tool under Picture Format to focus on the desired part.
Duplicating Buttons and Highlighting the Active Button
Create three buttons (one for each image) and align them horizontally below or above your slider. To indicate the active button visually:
- Remove transparency from the outer circle’s outline.
- Increase the outline thickness to 1.5 pt.
This makes it clear which image is currently selected.
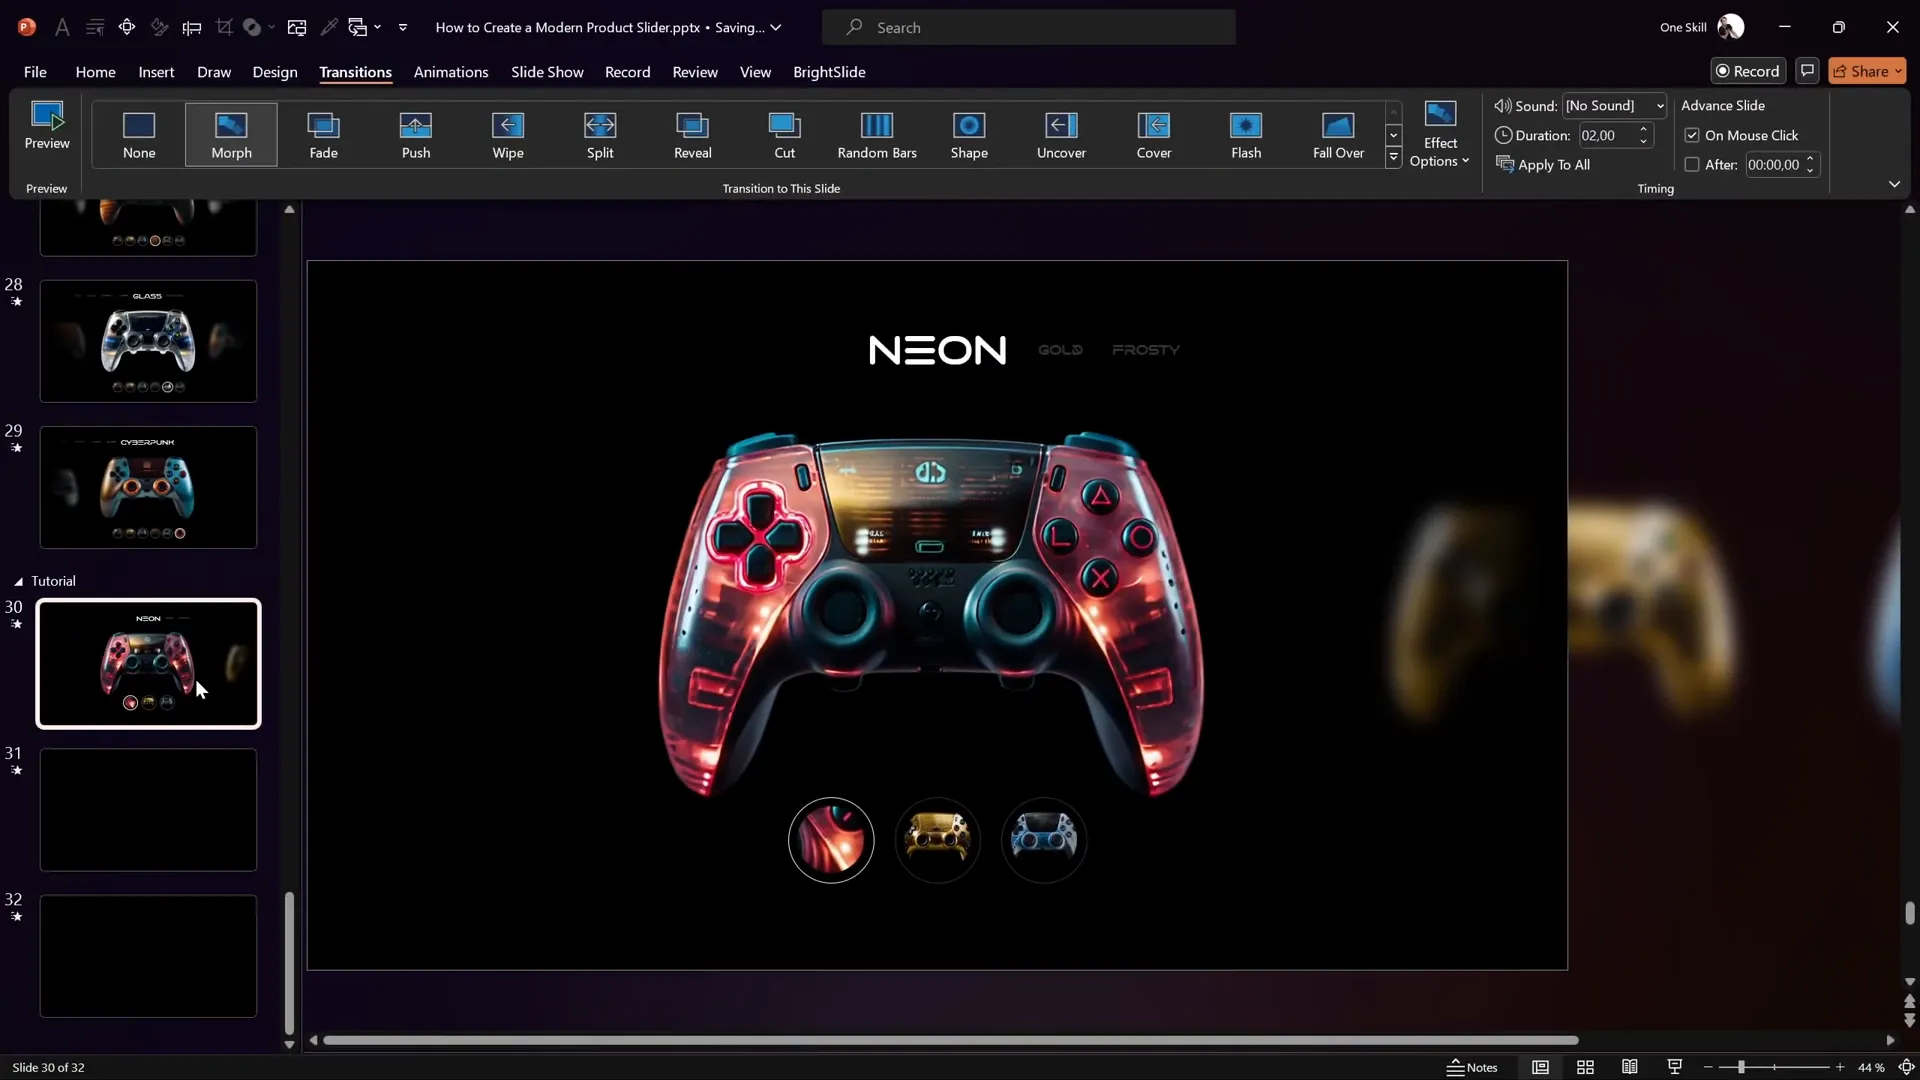
Building Multiple Slides and Applying Morph Transitions
To create the sliding animation, you need multiple slides with the images shifted accordingly and apply the Morph transition.
Duplicating and Arranging Slides
- Duplicate the initial slide twice, resulting in three slides total.
- On the second slide, move all controller images one step to the left.
- Remove the blur effect from the Golden controller (now central) and resize it to the larger size used for the Neon controller.
- Apply the blur effect to the new side image (Neon controller) and resize it smaller.
- On the third slide, repeat the process, moving images one step left again and updating the blur and size accordingly.
This shifting creates the illusion of the slider moving left or right.
Applying Morph Transition
- Select all three slides.
- Go to the Transitions tab.
- Choose Morph and set the duration to 2 seconds.
The Morph transition automatically animates the movement of objects between slides, creating smooth sliding effects without complex animation setups.
Linking Buttons to Slides for Interactive Navigation
Make your buttons functional by linking each to the corresponding slide:
- Select the first button, go to Insert > Link (or press Ctrl + K).
- Choose Place in This Document.
- Link it to slide 30 (or your first slider slide).
- Repeat this for the second and third buttons, linking to slides 31 and 32 respectively.
Now, clicking the buttons will navigate directly to the respective slides, triggering the Morph animation.
Fixing Morph Animation Issues
Sometimes, Morph transitions can cause issues, especially with objects like buttons having outlines. To fix this:
- Rename the outline circles of your buttons on the first slide with unique names starting with double exclamation marks, e.g.,
!!ring1,!!ring2,!!ring3. - This naming convention helps PowerPoint track the objects correctly during the Morph transition.
- Remove buttons from other slides and copy the properly named buttons from the first slide to the others.
- Update the active button styling on each slide to reflect the current selection.
These steps ensure button animations run smoothly alongside the slider animations.
Final Adjustments and Testing Your Slider
Before presenting, make sure to:
- Adjust the cropping of the images inside the buttons for a polished look.
- Ensure all text boxes are updated with the correct model names on each slide.
- Align all elements carefully and check for consistent spacing.
- Test the slider in full screen mode, clicking each button to verify smooth transitions.
Once everything is set, your dynamic product slider is ready to impress!

Frequently Asked Questions (FAQs)
What is a Dynamic Presentation?
A dynamic presentation is one that incorporates interactive, animated, or engaging visual elements that respond to user actions or progress smoothly to keep the audience interested. This tutorial shows how to create a dynamic product slider using PowerPoint’s Morph transition and clickable buttons.
Why Use Morph Transition for Image Sliders?
The Morph transition automatically animates the movement, resizing, and appearance of objects between slides without complex animation timelines. It creates smooth and professional-looking transitions ideal for image sliders.
Can I Use My Own Images for This Slider?
Absolutely! You can use any images you like. The key is to keep consistent sizing and styling for a polished look. AI tools like Leonardo AI can help generate images if you don’t have your own.
How Do I Make Buttons Clickable in PowerPoint?
Use the Insert > Link feature to hyperlink shapes or images to specific slides within your presentation. This allows easy navigation between slides.
Is This Technique Compatible with All Versions of PowerPoint?
The Morph transition is available in PowerPoint 2019, Microsoft 365, and later versions. Users with older versions may not have access to Morph and will need alternative methods.
Can I Download the Slide Template Used in This Tutorial?
Yes! The creator offers free downloadable slide templates via Skillshare. You can sign up for a one-month free trial using the link in the video description to access all resources.
Conclusion
Creating a dynamic presentation with an interactive image slider in PowerPoint is easier than you might think. By leveraging the Morph transition, carefully designed images, blur and shadow effects, and clickable buttons, you can produce a professional and engaging product showcase that stands out.
This tutorial from One Skill PPT not only teaches you the technical steps but also encourages you to explore creativity with AI-generated images and thoughtful design choices.
Ready to take your presentations to the next level? Start building your own dynamic product slider today and captivate your audience with smooth animations and interactivity.
For more detailed tutorials and free templates, check out One Skill PPT’s YouTube channel and Skillshare classes.


