
Welcome to this comprehensive guide on creating an engaging animated slide design in PowerPoint. Whether you’re looking to spice up your presentation intros or add dynamic section covers, this tutorial will walk you through every step to craft eye-catching slides with smooth, professional animations. Inspired by the work of One Skill PowerPoint, this article breaks down the process in detail, making it easy for anyone to follow along and replicate the effects using Microsoft 365‘s PowerPoint.
By the end of this article, you will have mastered how to use simple shapes, text masks, and the powerful Morph transition to create dynamic text animations that captivate your audience. Plus, you’ll learn how to customize colors, set up looping slideshows, and create seamless text transitions that look like typing or replacing text in real-time.

Table of Contents
- Introduction to the Slide Design
- Step 1: Preparing Your Slide
- Step 2: Creating a Text Mask
- Step 3: Adding the Morph Transition
- Step 4: Creating a Jump Slide
- Step 5: Changing Slide Colors and Layouts
- Step 6: Setting Up Auto Slide Transition & Looping
- Additional Tips and Variations
- Conclusion
- Frequently Asked Questions (FAQ)
Introduction to the Slide Design
The animated slide design we will build features dynamic text animations where certain words are uncovered or covered by a sliding mask. This creates a visually appealing effect that draws attention to key phrases such as “Create your awesome slides.” The design uses minimal elements but achieves a professional, modern look through thoughtful typography, color, and animation.
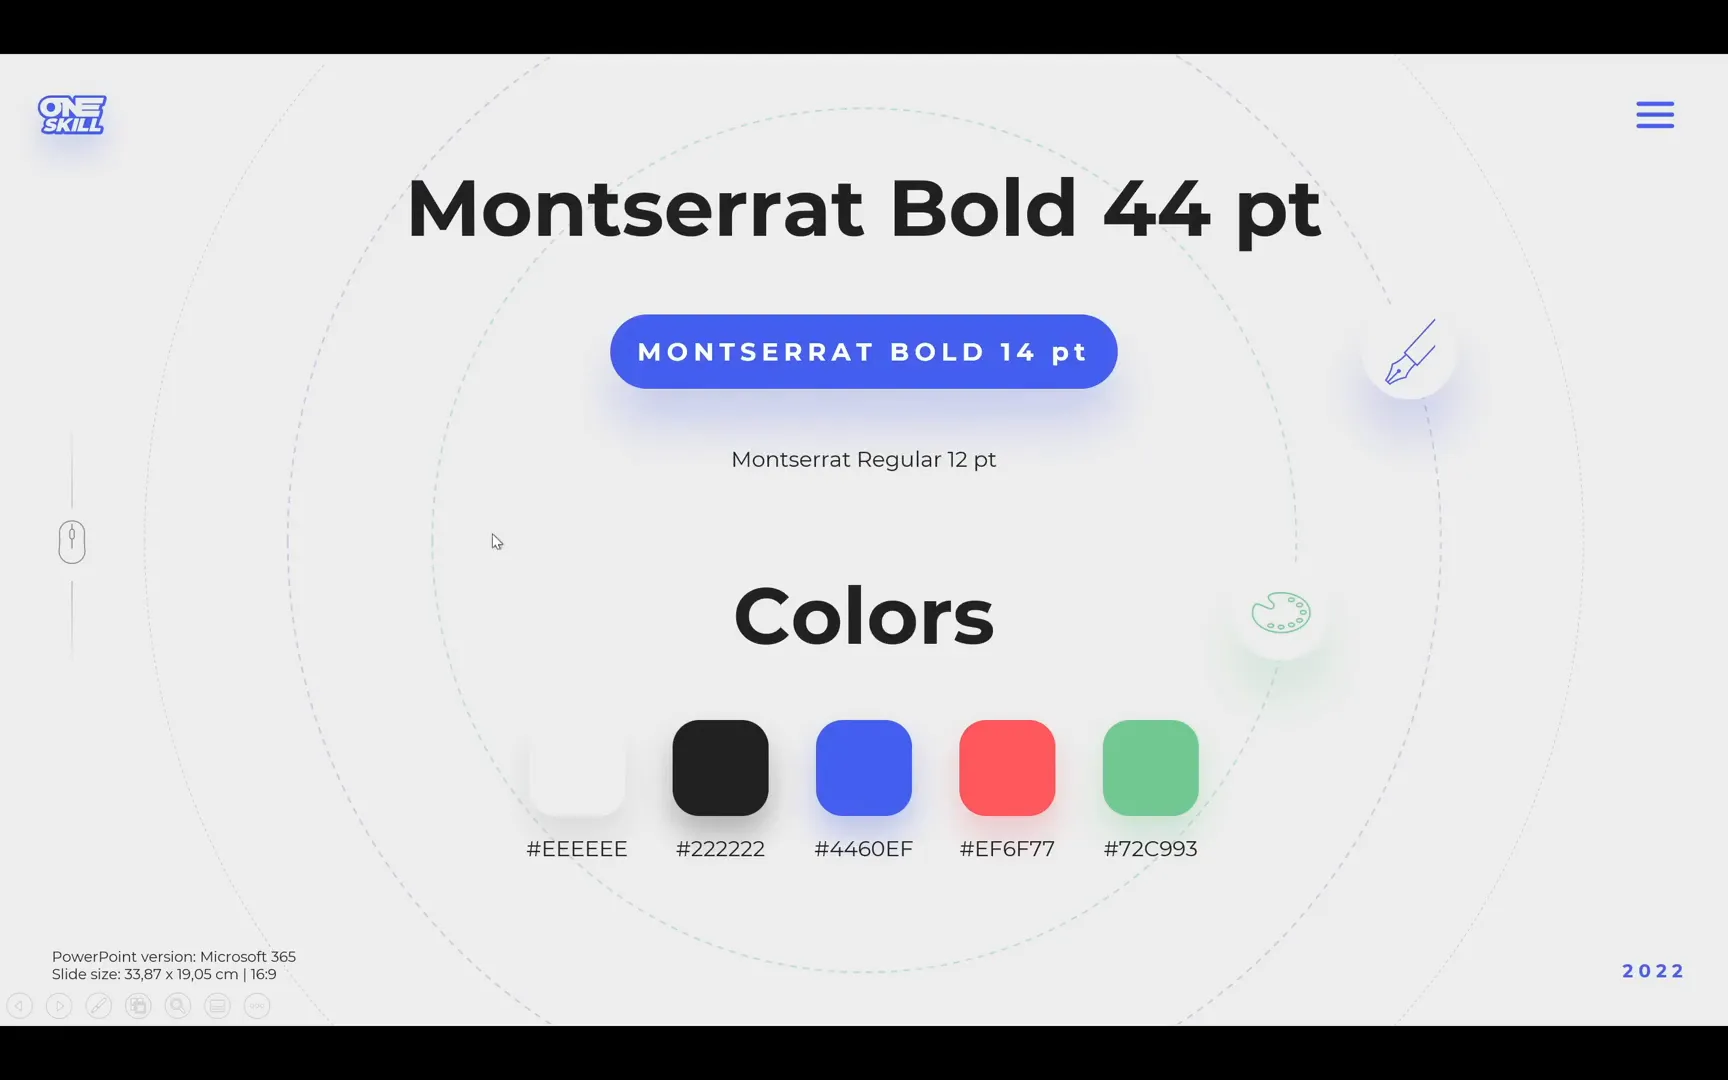
We will use the Montserrat font family for its clean and versatile aesthetic. Some text will be bold for emphasis, and other parts will be regular weight, creating a nice contrast. Color plays a crucial role in this design, with a palette of six beautiful, harmonious colors selected to enhance the slide’s visual appeal.
The slides are created in the standard widescreen aspect ratio of 16:9, which fits most screens and projectors perfectly. The PowerPoint version used here is Microsoft 365, which supports the Morph transition—a key feature for the animations in this tutorial.
Fonts and Colors
- Font: Montserrat (bold and regular)
- Colors: A palette of six vibrant colors including blues, reds, and greens
- Slide Size: 16:9 Aspect Ratio
- PowerPoint Version: Microsoft 365
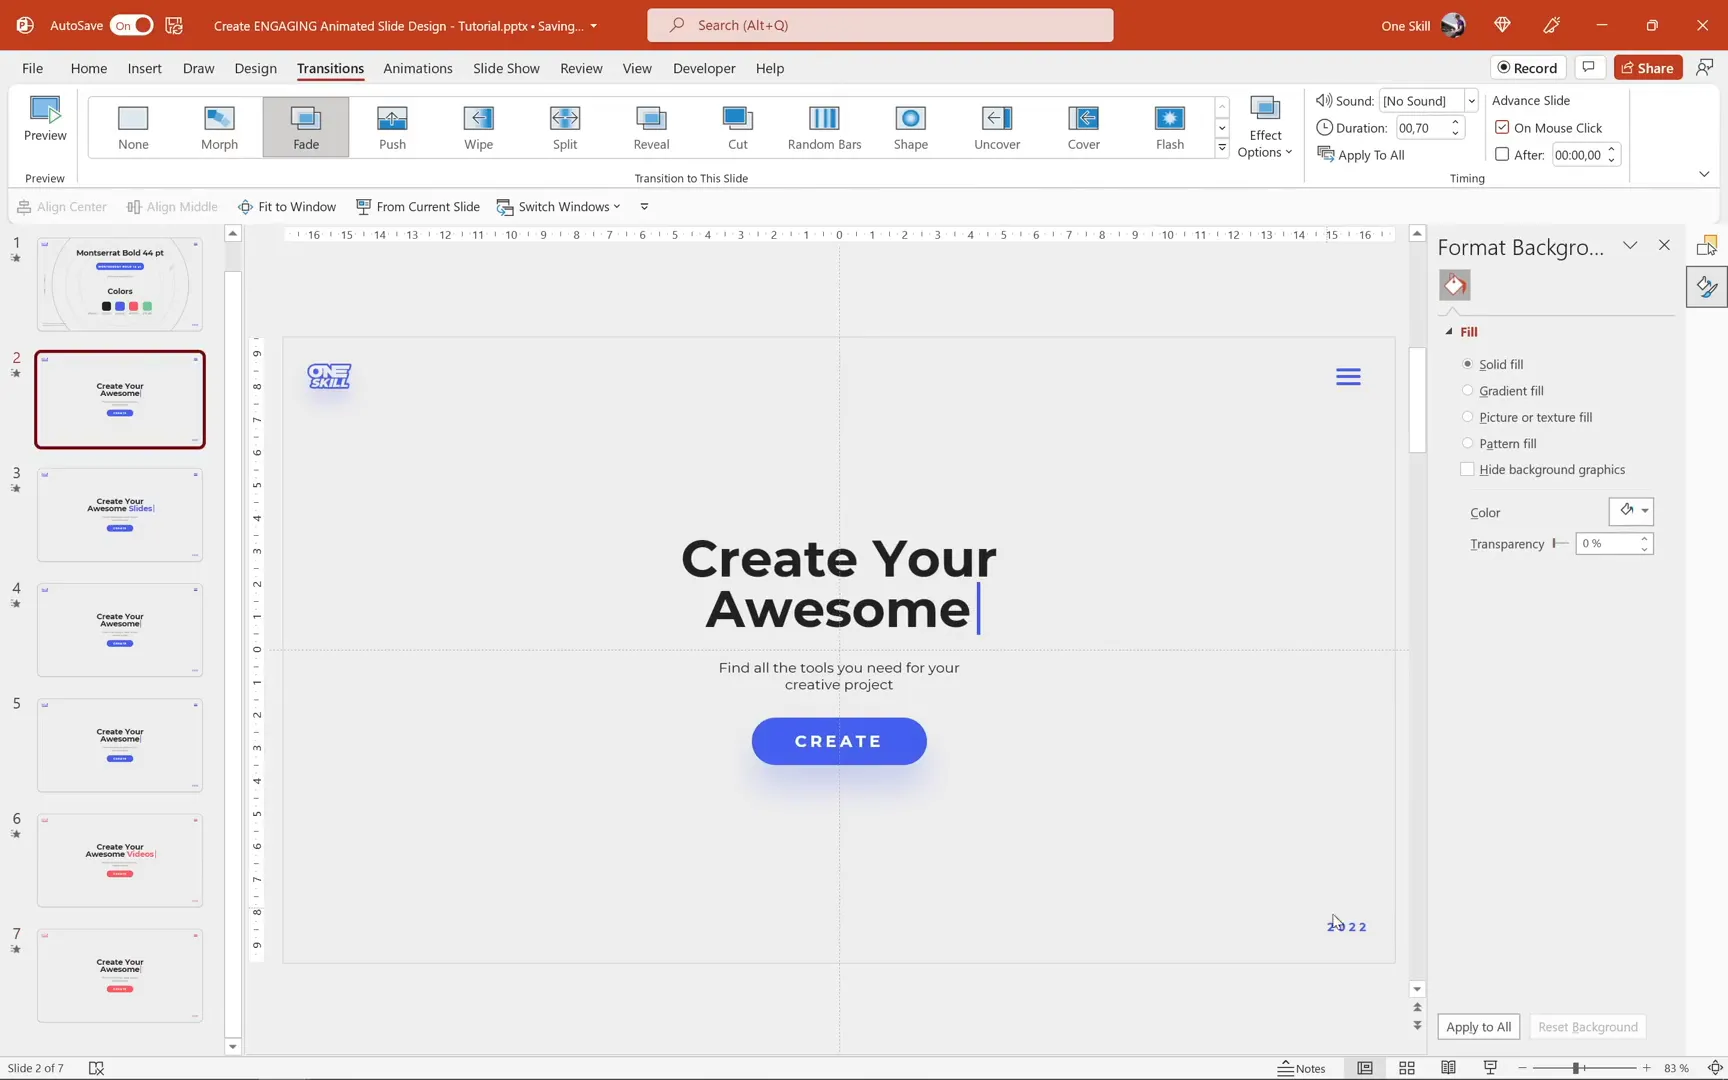
Step 1: Preparing Your Slide
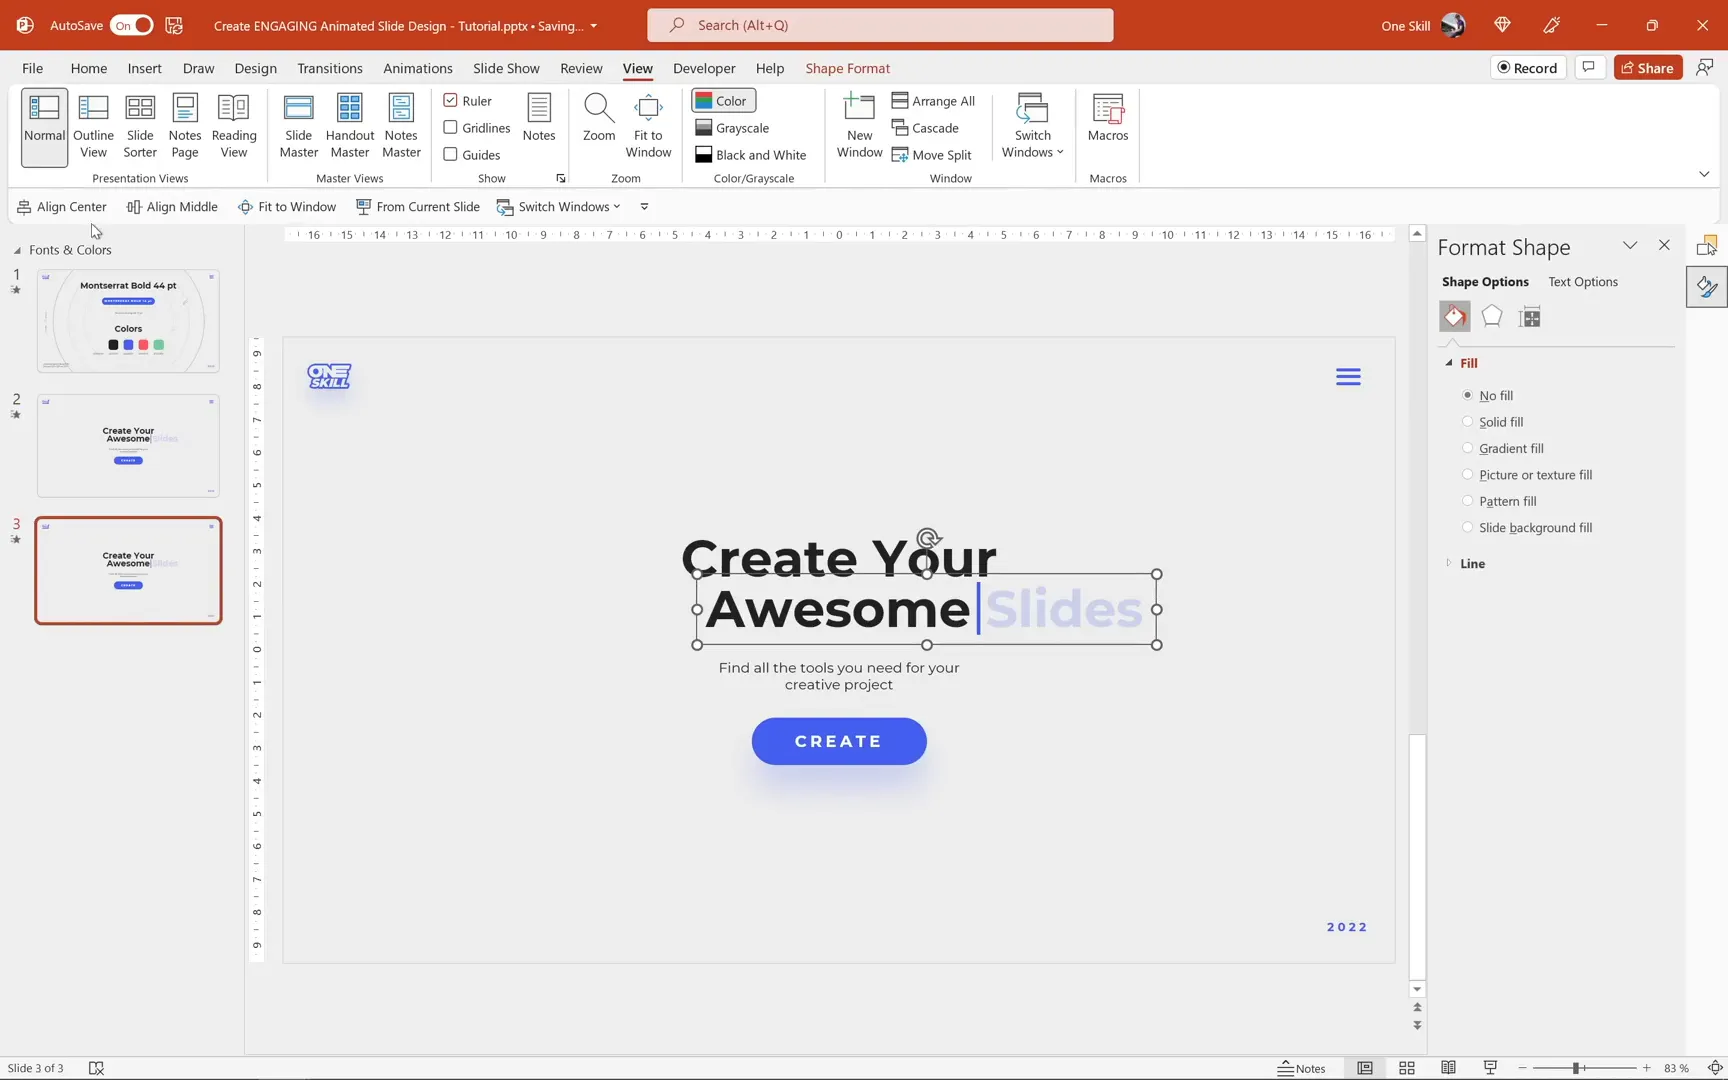
The foundation of this animated slide design is surprisingly simple. All you need initially are two text boxes:
- First text box: Contains the text “Create your”, center-aligned.
- Second text box: Contains the text “awesome slides”, left-aligned, with the word “slides” colored in a beautiful blue.
This alignment setup—center for the first box and left for the second—makes it easier to animate and position the text later. Alongside these, there are a few additional elements like another text box and a rounded rectangle shape to complement the design.
In the background, subtle elements such as a logo, a menu icon, and the year add a professional touch. These are inserted in the Slide Master view, ensuring consistency across your presentation. Additionally, variations of the slide with red and green color themes are created in the master for variety.
Step 2: Creating a Text Mask
This step introduces the core mechanic behind the animation: the text mask. The mask is a shape that slides over the text to hide or reveal it, simulating a typing or text replacement effect.
To create the mask:
- Insert a rectangle shape and draw it to cover the word “slides.”
- Color this rectangle with the same gray as the slide background to blend seamlessly.
- Apply about 20% transparency initially so you can see the text beneath while adjusting.
- Duplicate this rectangle while holding the Control key.
- For the duplicate, remove transparency and color it blue (matching the word “slides”).
- Make this blue rectangle narrow (width about 0.12 cm) and position it aligned to the left and bottom of the gray rectangle.
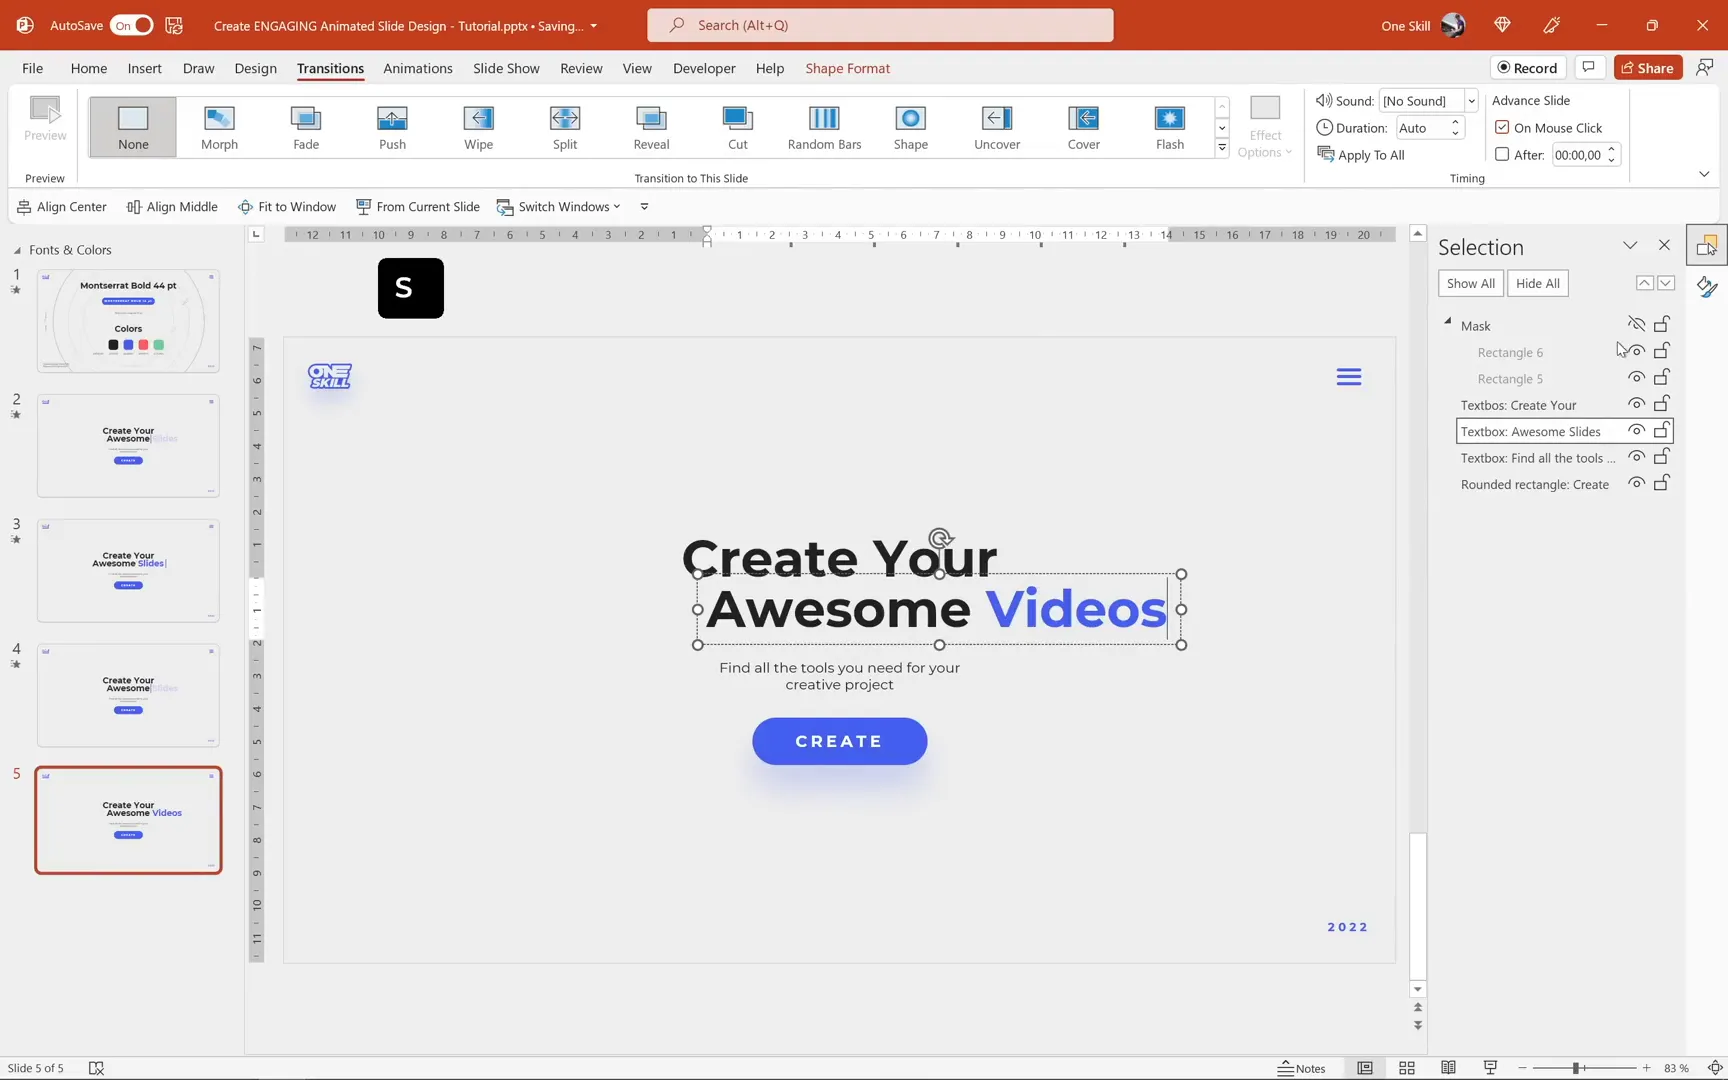
- Group both rectangles and name the group “mask.”
The narrow blue rectangle acts like a text cursor, enhancing the typing effect. When you drag this mask group over the text, it hides the word “slides.” Moving it away reveals the word again, creating the animation’s visual core.
Finally, adjust the position of the second text box (“awesome slides”) slightly to the right so that the word “awesome” appears centered on the slide. You can use slide guides to help with precise alignment. Position the mask to the left, covering “slides” at the start.

Step 3: Adding the Morph Transition
The Morph transition in PowerPoint is a powerful feature that creates smooth animations between slides based on object positions and appearances. Here, it is used to animate the mask sliding over and away from the text, giving the effect of text being typed or uncovered.
To apply:
- Duplicate the slide with the prepared text and mask.
- On the duplicate, move the second text box (“awesome slides”) to the center of the slide.
- Move the mask group to the right side so the full text is visible.
- Go to the Transitions tab and select the Morph transition.
- Set the transition duration to 0.5 seconds for a snappy animation.
Test the animation in slideshow mode. The mask should slide away smoothly, revealing the text. To complete the cycle, duplicate the slide again, move the mask back over the word “slides,” and apply the Morph transition again with the same duration.
This sequence creates a loop where the word “slides” is hidden, revealed, and hidden again, producing an engaging dynamic effect.
Step 4: Creating a Jump Slide
Jump slides are slides that transition instantly without animation, creating a sudden “jump” effect between slides. This is useful for replacing text or changing slide content abruptly without the Morph animation.
To create a jump slide:
- Duplicate the last slide.
- Change the slide transition to None to disable any animation.
- Hide the mask temporarily to access and edit the text.
- Change the word “slides” to a new word, for example, “videos.”
- Reactivate the mask.
When moving from the previous slide to this jump slide, the transition is instant, giving the impression of switching words or content abruptly.
Step 5: Changing Slide Colors and Layouts
Customization is key to making your slides align with your branding or presentation theme. Changing colors not only refreshes the design but also helps create visual groupings or denote different sections.

To change the slide color:
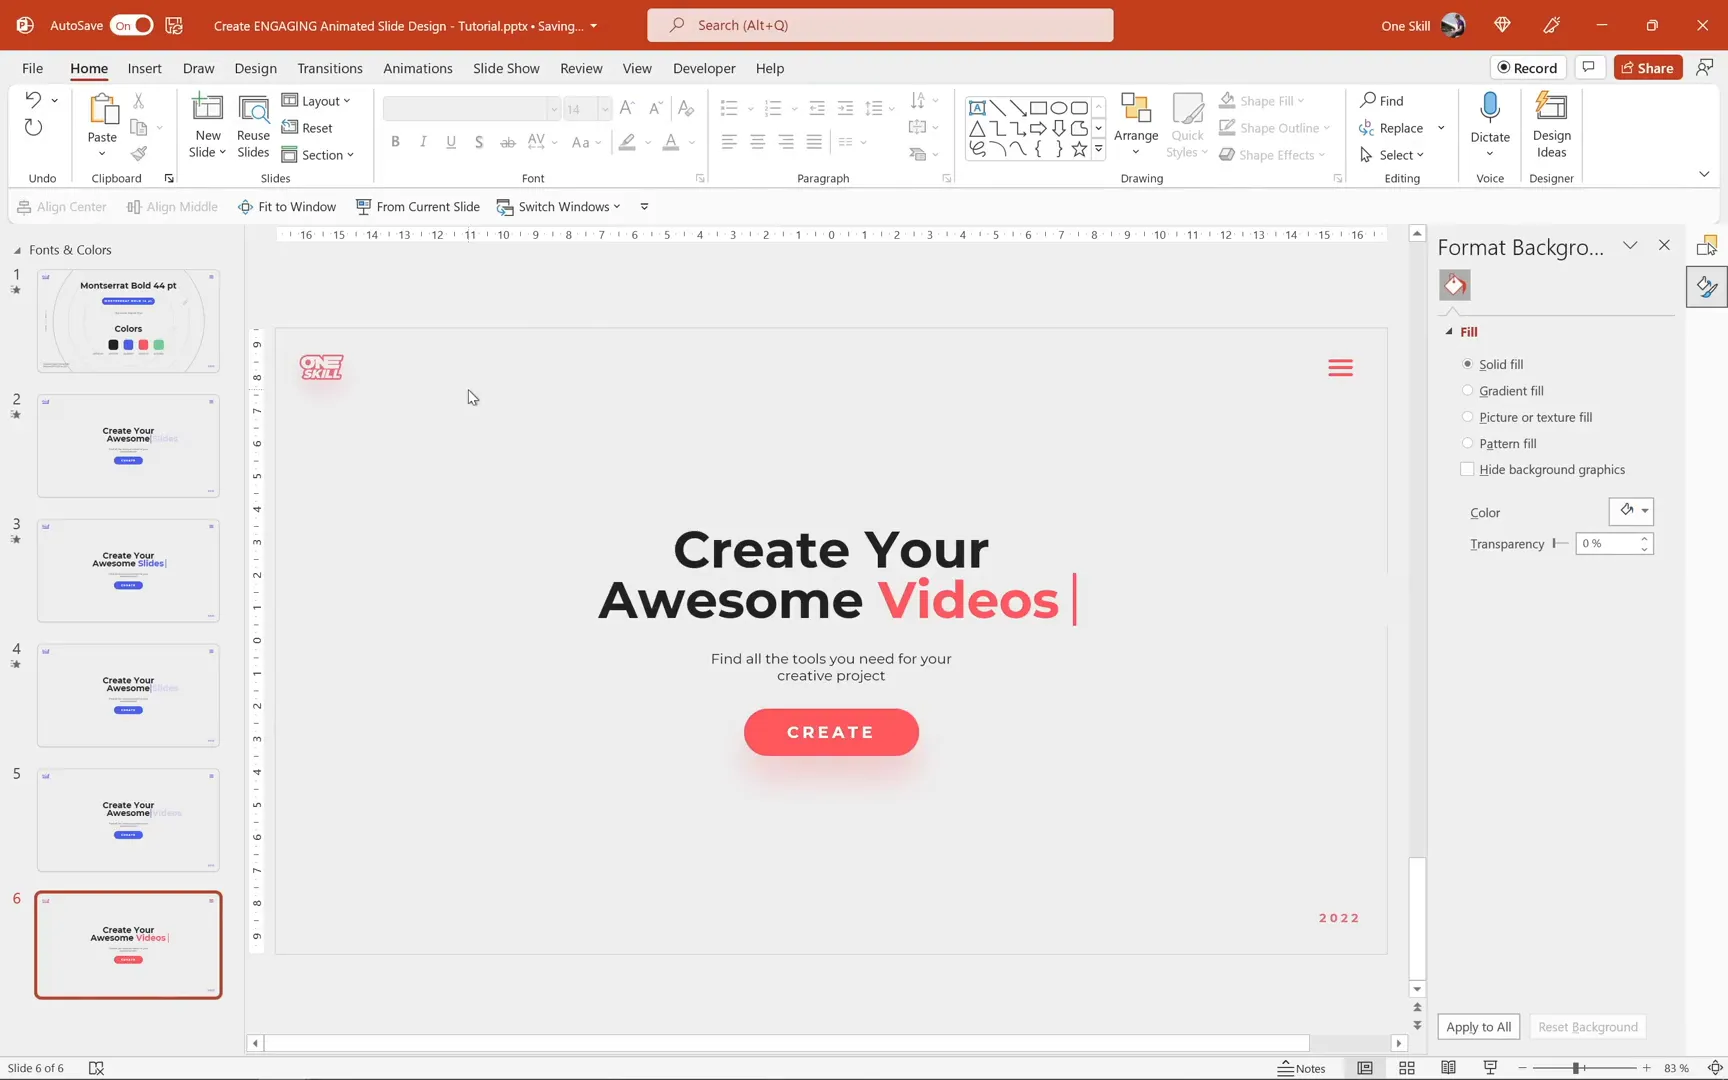
- Duplicate the jump slide.
- Center-align the second text box (“awesome videos” in this case).
- Move the mask to the right side, revealing the full text.
- Change the color of the highlighted word (e.g., “videos”) to a coral red or any other color from your palette.
- Switch the slide layout background color to match the new text color for uniformity.
- Duplicate this slide and apply the Morph transition again with a 0.5-second duration.
- Reposition the text box and mask accordingly to maintain the animation flow.
By mixing and matching colors and layouts, you can create multiple variations of the animated slide that keep your presentation fresh and engaging.
Step 6: Setting Up Auto Slide Transition & Looping
To make the animated slides play automatically and loop continuously, set the slides to advance after zero seconds. This automation allows your presentation to run hands-free, perfect for kiosks, booths, or background visuals during events.
Steps to set up auto transition and loop:
- Go to the Transitions tab.
- Set the Advance Slide option to automatically after 0 seconds for all slides.
- Open the Slide Show tab.
- Select Set Up Slide Show.
- Check the option Loop continuously until ‘Esc’.
This setup ensures that your animated slides will play in an endless loop, cycling through the text animations smoothly and continuously until you manually stop the slideshow.
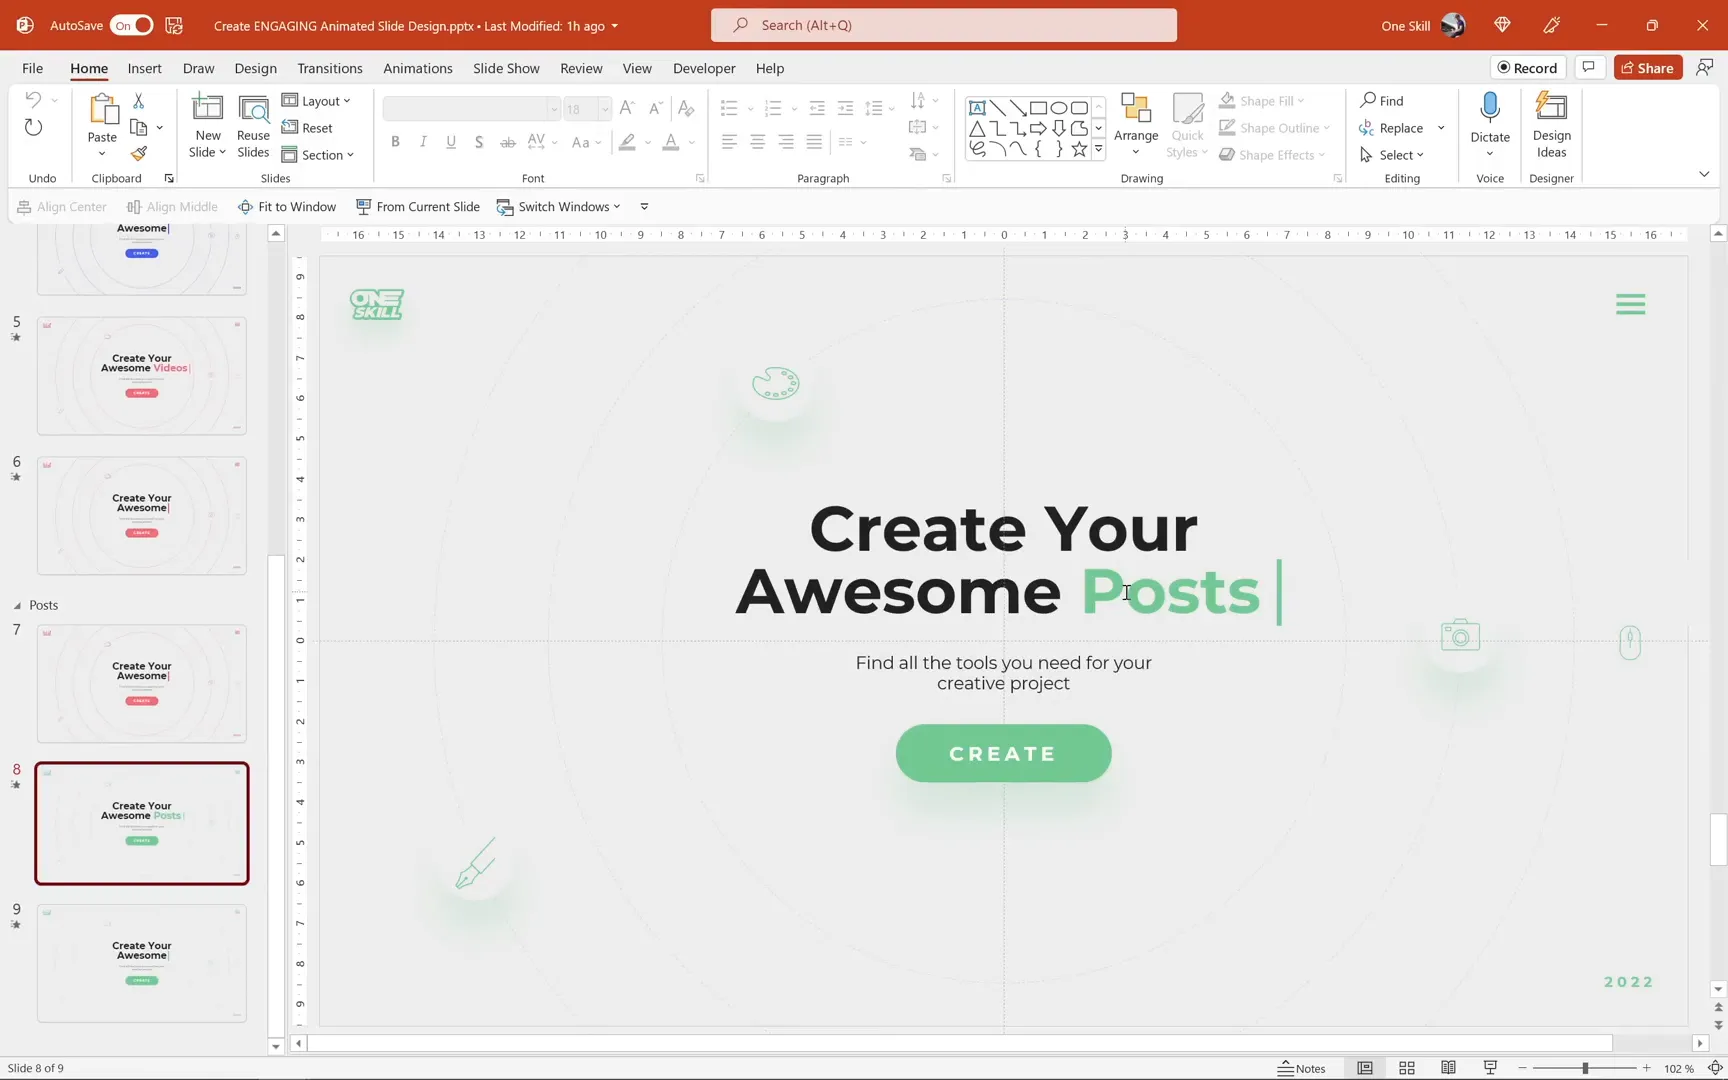
Additional Tips and Variations
In the original design, additional slides with a green color scheme were created featuring different words like “posts.” This shows how versatile the animated slide design can be by simply swapping out text and adjusting colors.
Some other tips to elevate your animated slides:
- Use Slide Master: Add consistent background elements such as logos, icons, or dates in the Slide Master to maintain uniformity across your presentation.
- Play with Font Weights: Combine bold and regular Montserrat font styles to emphasize key words and create hierarchy in your text.
- Keep Animations Short: A 0.5-second Morph transition feels smooth and engaging without dragging on.
- Use Slide Guides: Enable slide guides to help align your text boxes precisely for a balanced layout.
- Remove Transparency for Realism: Initially, use some transparency on your mask shapes to visualize positioning, but remove it for the final effect to make the animation look clean and professional.
Conclusion
Congratulations! You now know how to create an engaging animated slide design in PowerPoint using simple text boxes, masks, and the Morph transition. This technique is perfect for adding dynamic intros or section covers to your presentations, making them more lively and captivating.
By mastering these steps, you can customize the slides with your own text, colors, and branding to suit any project. The automation and looping setup allow your slides to play continuously, ideal for unattended presentations or displays.
Remember, the key to this animation lies in the clever use of the text mask and Morph transition, which together create a smooth typing and text replacement effect that looks professional but is easy to build.
Keep experimenting with different words, colors, and layouts to create your unique animated slide deck that will impress your audience every time.
Frequently Asked Questions (FAQ)
What version of PowerPoint do I need to create these animations?
You need Microsoft PowerPoint 365 or any version that supports the Morph transition feature. Morph is essential for the smooth sliding animations demonstrated.
Can I use fonts other than Montserrat?
Absolutely! Montserrat was chosen for its clean look, but you can use any font that fits your presentation style. Just ensure to maintain contrast by using bold and regular weights.
How do I make sure the mask hides and reveals the text perfectly?
Use slide guides to align your text boxes and mask precisely. Start with some transparency on the mask to visualize coverage, then remove transparency for the final animation.
Can I add more words or change the text during the animation?
Yes, by creating jump slides (slides with no transition) you can instantly switch text without animation. Combine jump slides with Morph transition slides for dynamic text changes.
How do I make the slides loop automatically?
Set the slides to advance automatically after zero seconds via the Transitions tab, then enable “Loop continuously until ‘Esc'” in the Slide Show setup.
Is this animation suitable for all presentation topics?
Yes, this animation style is versatile and can be adapted for various topics by changing the text, colors, and background elements to match your presentation’s theme.
Can I download the tutorial slides?
The tutorial slides are often made available by creators like One Skill PowerPoint on platforms like Patreon. Check their official page for access to these resources.
Check out the full video: Create ENGAGING Animated Slide Design in 🔥 PowerPoint 🔥


