
Welcome to this comprehensive guide on creating a dynamic, clickable Prezi style presentation right inside PowerPoint! If you’ve ever admired the smooth zoom-in and zoom-out effects of Prezi but prefer to work within PowerPoint, you’re in the right place. This tutorial is inspired by techniques shared by One Skill PowerPoint, who expertly demonstrates how to leverage PowerPoint’s Slide Zoom feature (available in PowerPoint 2019 and Microsoft 365) to build engaging presentations that captivate your audience with seamless navigation and stunning animations.
In this article, I will walk you through the entire process—from setting up a blank presentation to adding interactive section zooms and morph transitions that create a highly polished, Prezi-like experience. Along the way, I’ll share valuable tips on sourcing beautiful visuals, enhancing slides with video backgrounds, crafting clickable bubbles, and fine-tuning animations for smooth transitions.
Table of Contents
- Why Use PowerPoint for Prezi Style Presentations?
- Step 1: Setting Up Your PowerPoint Presentation
- Step 2: Create a Stunning Background with Video and Image
- Step 3: Understanding Section Zooms and Creating Your First Section
- Step 4: Applying the Morph Transition for Fluid Animation
- Step 5: Inserting Section Zooms on the Home Slide
- Step 6: Ensuring Proper Zoom Window Fit
- Step 7: Adding Additional Zoom Bubbles and Sections
- Step 8: Testing and Navigating Your Presentation
- Additional Tips and Resources
- Frequently Asked Questions (FAQ)
- Conclusion
Why Use PowerPoint for Prezi Style Presentations?
Prezi is well-known for its unique ability to zoom in and out of different content areas, creating a visually dynamic storytelling flow that is hard to replicate with traditional slide-by-slide presentations. However, if you prefer PowerPoint for its familiar interface and powerful features, you don’t have to miss out on that dynamic effect.
With the introduction of the Slide Zoom and Section Zoom features, PowerPoint now offers a way to mimic Prezi’s zooming effects. These tools allow you to create clickable navigation elements that zoom into particular sections or slides, enhancing interactivity without leaving the PowerPoint environment.
Moreover, PowerPoint’s Morph Transition lets you animate smooth movement of objects from one slide to another, adding fluidity to your presentation flow. By combining these features, you can create an immersive, non-linear presentation experience that feels just like Prezi but with the power and flexibility of PowerPoint.
Step 1: Setting Up Your PowerPoint Presentation
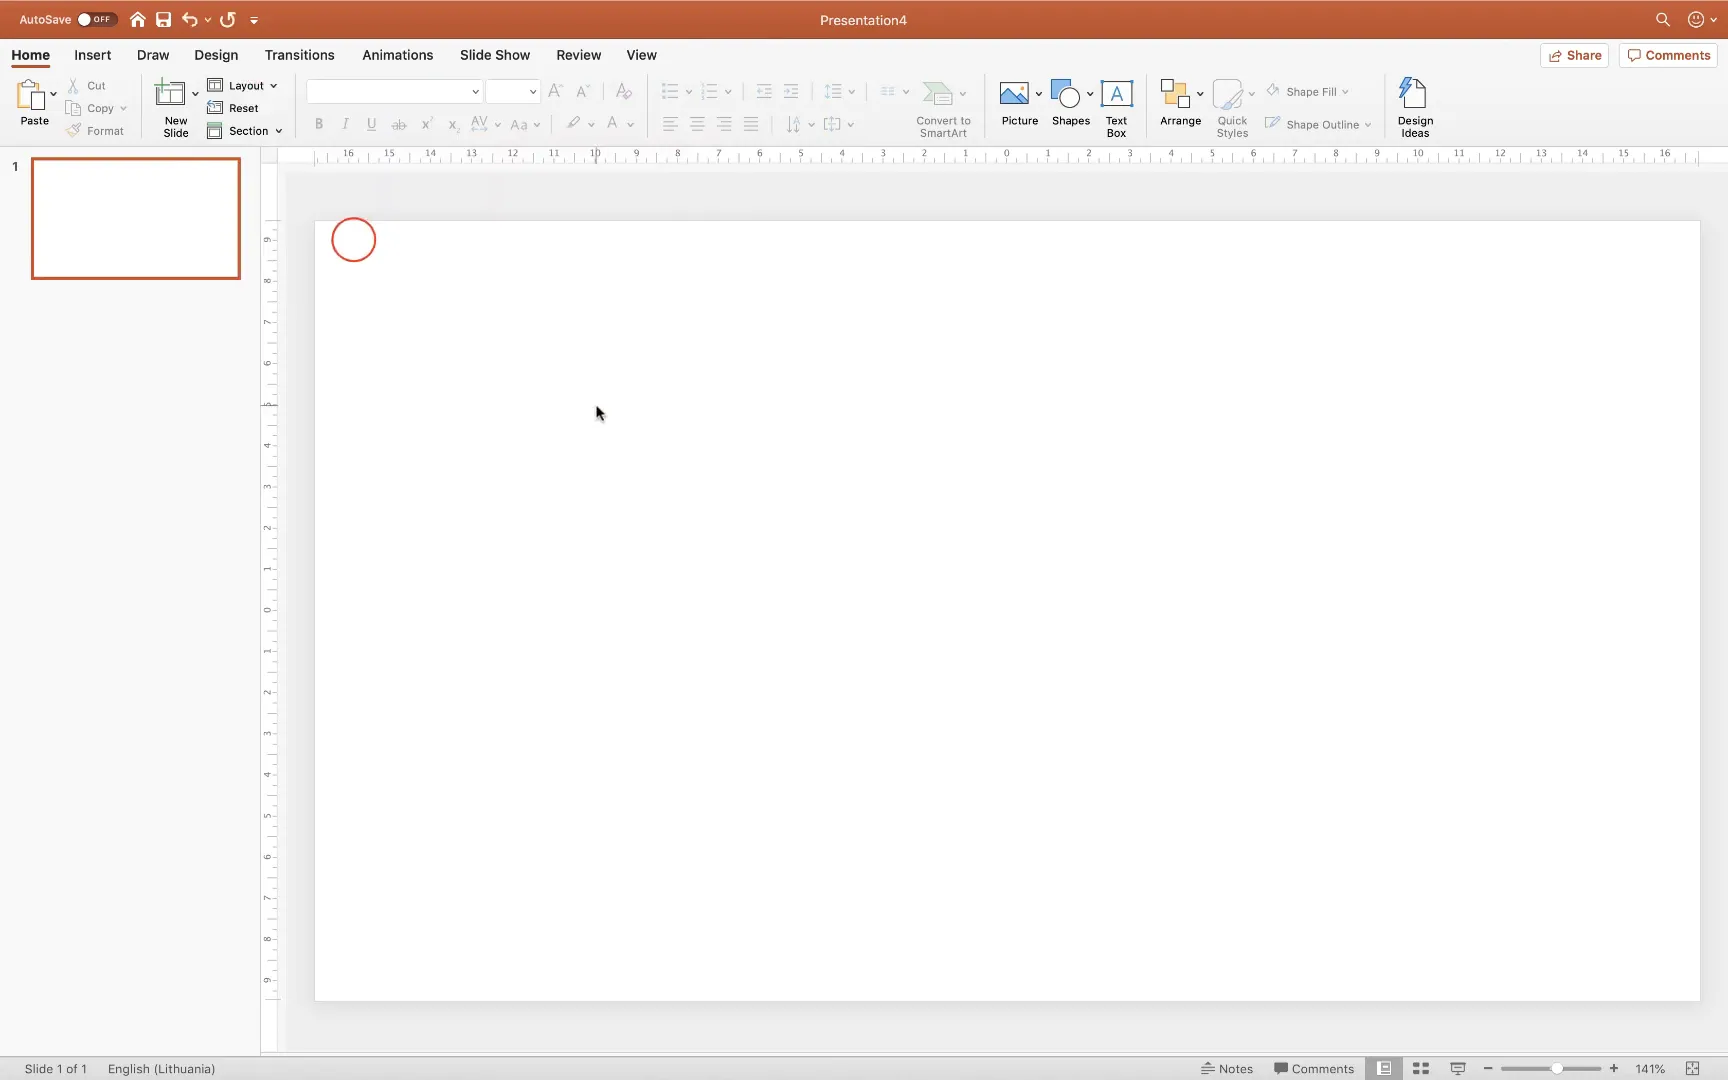
The first step is to start fresh with a blank PowerPoint presentation. Here’s how to begin:
- Open PowerPoint and create a new blank presentation.
- Set the slide layout to Blank to give yourself a clean canvas without placeholders or default text boxes.
- Note: I’m using PowerPoint for Mac, but Windows users will find the process very similar.
This clean slate will allow you to build your presentation from the ground up, focusing on design and interactivity.
Step 2: Create a Stunning Background with Video and Image
One of the most eye-catching aspects of a Prezi style presentation is a vibrant background that sets the scene. In this example, I’ve used a video of misty mountains playing in the background with a cropped photo of mountains layered on top. This combination creates depth and visual interest.
Adding the Background Video
- Visit Pexels.com to find high-quality free videos. In this case, I used a beautiful mountain video by Tobias.
- In PowerPoint, go to Insert > Video > Video from File and select your downloaded video.
- Resize the video to cover the entire slide, ensuring no white spaces around the edges.
- Set the video playback options to Start Automatically and Loop until Stopped so it plays continuously during your presentation.

Adding the Foreground Mountain Image with Background Removal
- Go to Unsplash.com and find a beautiful mountain photo (in this example, a photo by Ben).
- Copy the image and paste it onto the first slide in PowerPoint.
- Crop the photo to a 16:9 aspect ratio to match your slide size.
- Adjust the photo position by dragging it slightly upwards to frame the mountains.
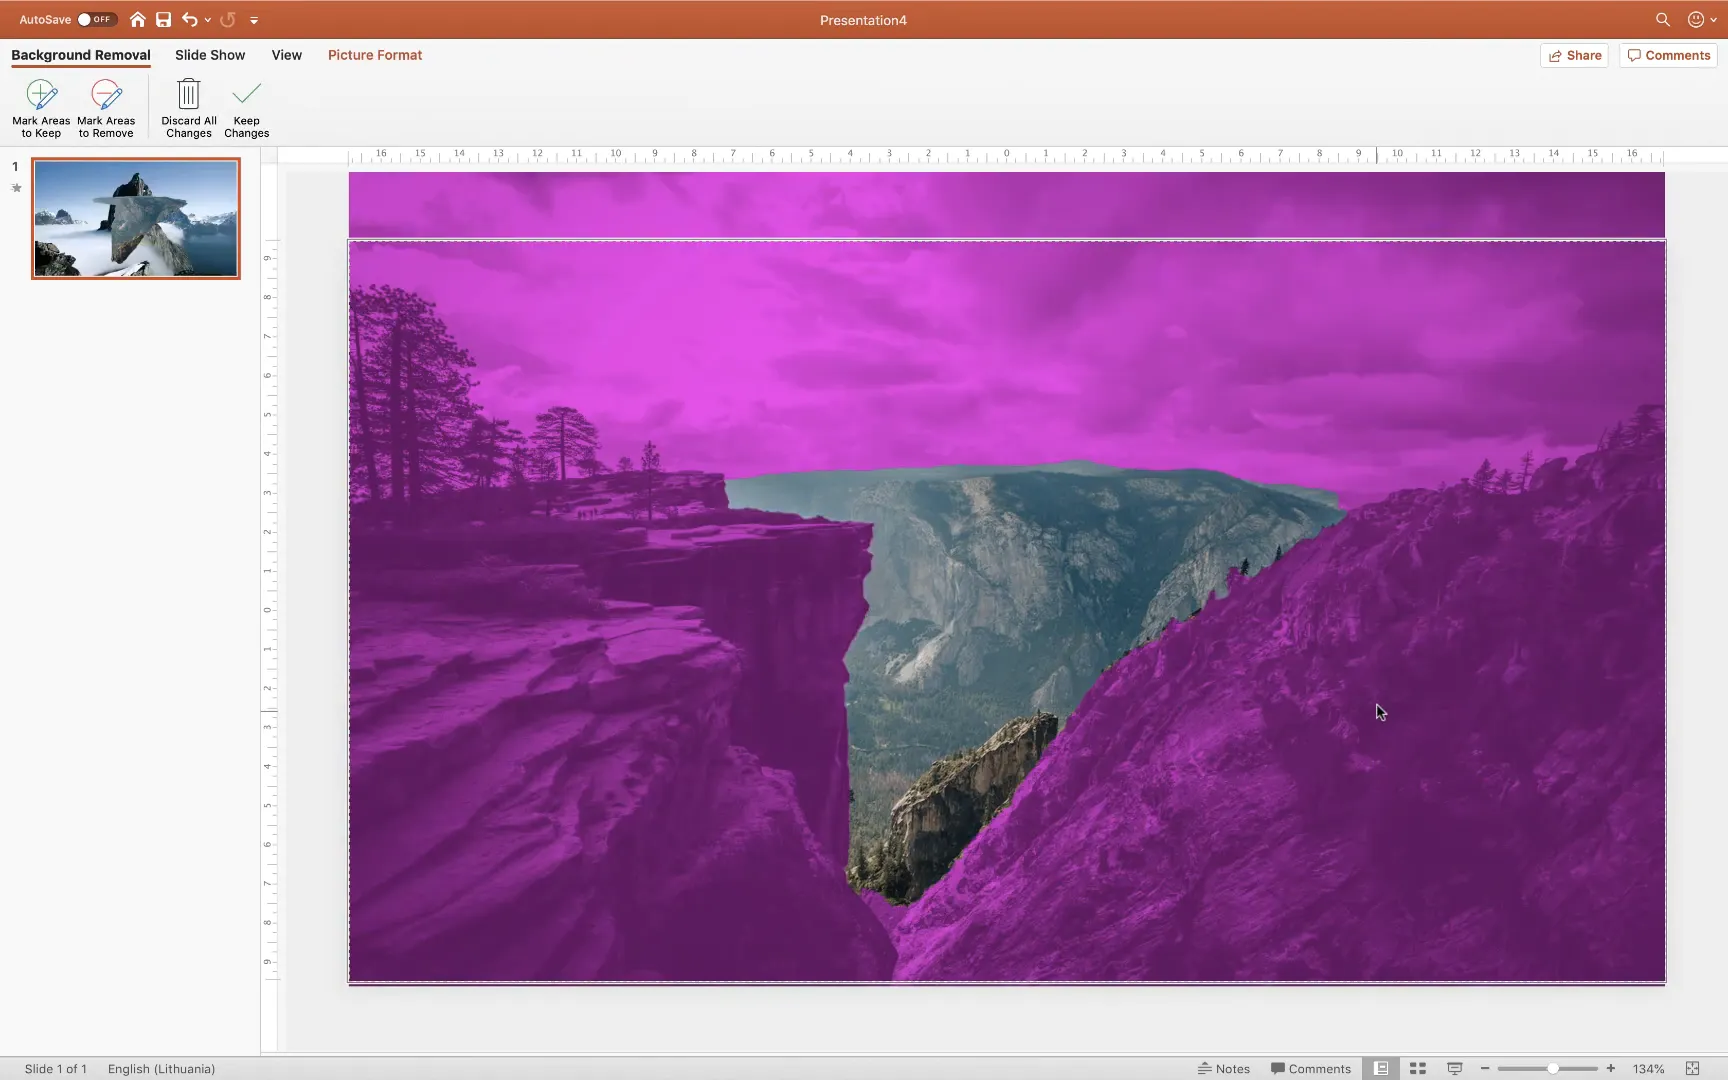
- Use PowerPoint’s Remove Background tool to isolate the mountains and remove the sky and other unwanted areas:
- Mark areas to keep (green pencil) on the mountains and trees.
- Mark areas to remove (red pencil) where necessary.
- Click Keep Changes when done.
- Finally, crop the bottom of the photo to fit the slide perfectly and create a layered look over the video background.
This technique creates a captivating layered effect where the video plays behind the static mountains, adding motion without distracting from your clickable content.
Step 3: Understanding Section Zooms and Creating Your First Section
Now that you have a visually stunning first slide, it’s time to add interactive elements that allow viewers to zoom into different sections of your presentation, just like Prezi.
In PowerPoint, this is done using Section Zooms. These clickable bubbles or buttons act as navigation hotspots on your slide that zoom into specific sections.
Creating a New Section
- On the left slide pane, right-click and select Add Section.
- Name the new section (e.g., “Hiking Trails”).
- Insert a new slide within this section to serve as the destination slide for your zoom.
Designing Your Zoom Slide
- Set a dark background color for contrast (e.g., dark gray or blue) since you’ll be using white text and icons.
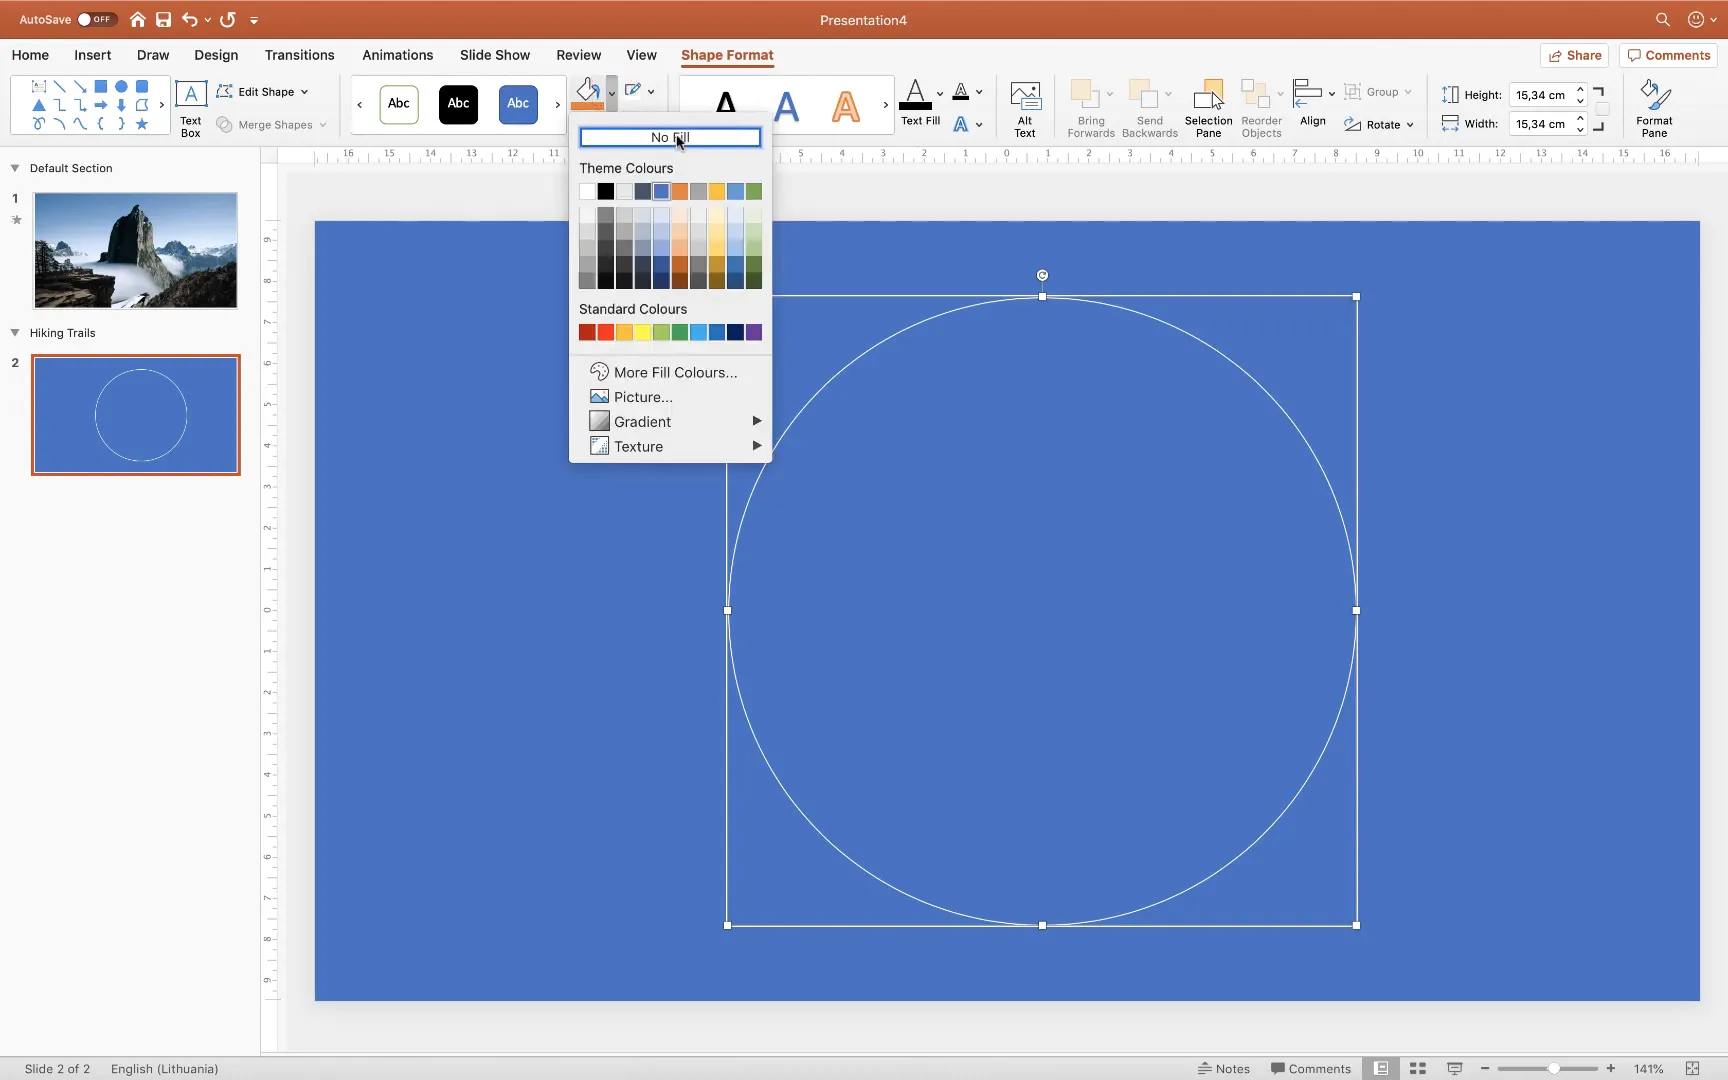
- Insert a white circle shape in the center of the slide to serve as a clickable button outline. Hold the Shift key while drawing to create a perfect circle.
- Remove the fill color of the circle and keep a white outline for visibility.
- Add text inside or near the circle using a clean font like Montserrat, size 54 for clarity.
- Insert an icon representing the section topic (for example, a hiking boot for Hiking Trails). If you have PowerPoint 365, use the built-in Insert > Icons feature. Alternatively, download free icons from Flaticon.com.
- Change the icon color to white for contrast.
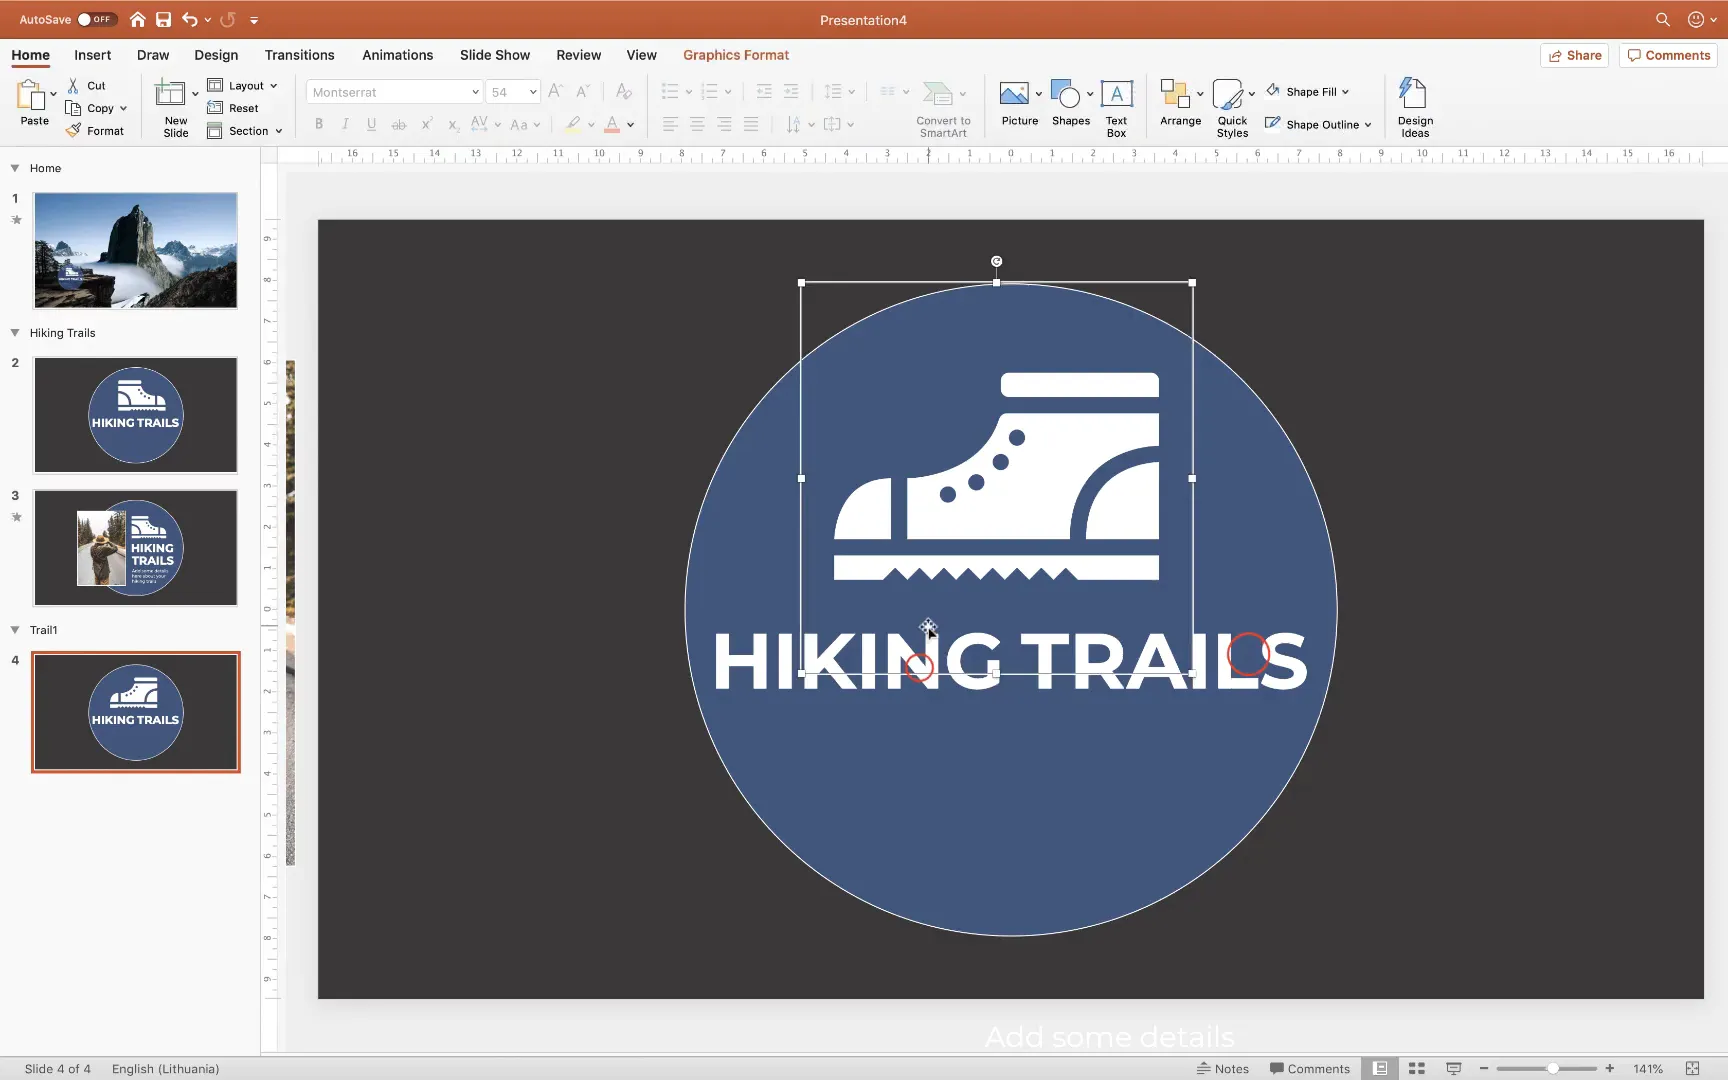
Duplicating and Enhancing the Zoom Slide
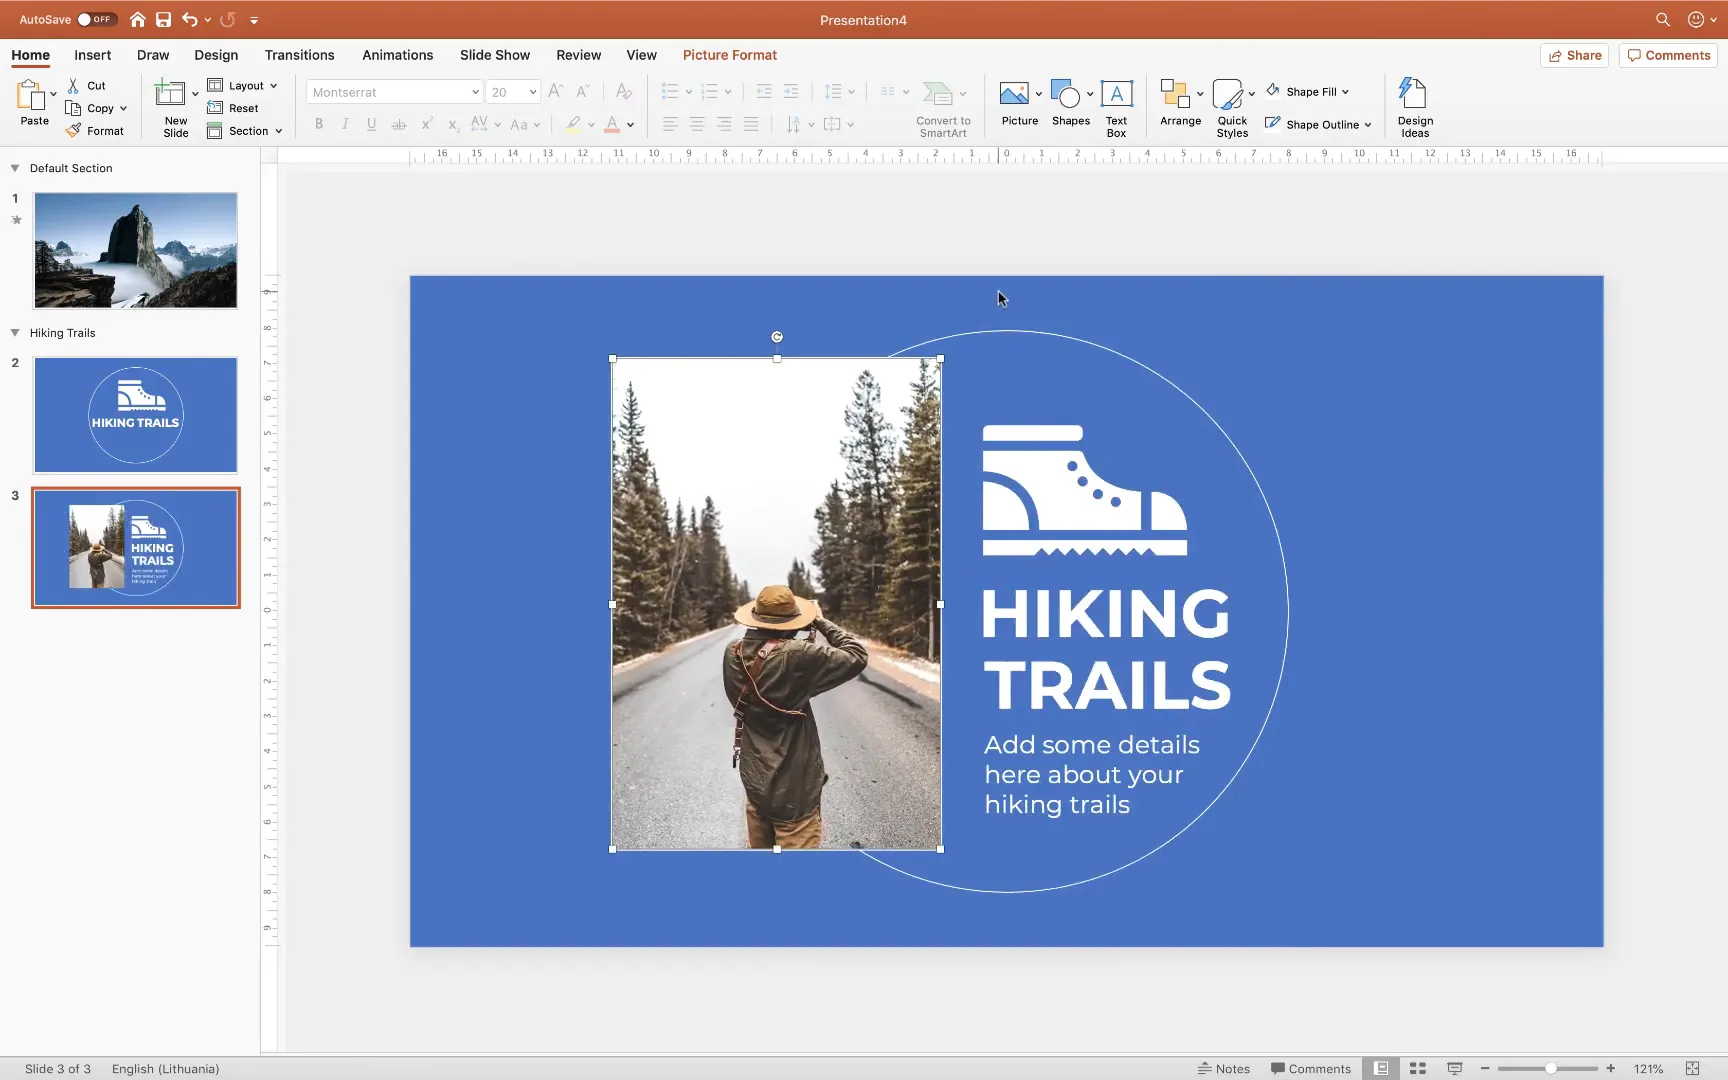
To create a smooth transition effect, duplicate the zoom slide and add content such as descriptive text and images. This second slide will be the zoomed-in view.
- Resize and reposition icons and text to create a sense of motion when transitioning.
- Add a photo related to the section (e.g., a person hiking from Unsplash).
- Crop and add a white border to the photo for style and emphasis.
Step 4: Applying the Morph Transition for Fluid Animation
The Morph Transition is key to replicating Prezi’s smooth zooming animation. It animates the movement and resizing of objects between slides.
Here’s how to apply it:
- Ensure the objects you want to animate exist on both slides (e.g., the photo should be copied from the first zoom slide to the second zoom slide).
- Adjust the position and size of objects on the second slide to create the desired animation effect.
- Select the second slide, go to the Transitions tab, and choose Morph.
- Test the animation by previewing the slide show; you should see the image smoothly move and resize, and text reposition.

This transition adds polish and professional flair to your presentation, making it feel dynamic and engaging.
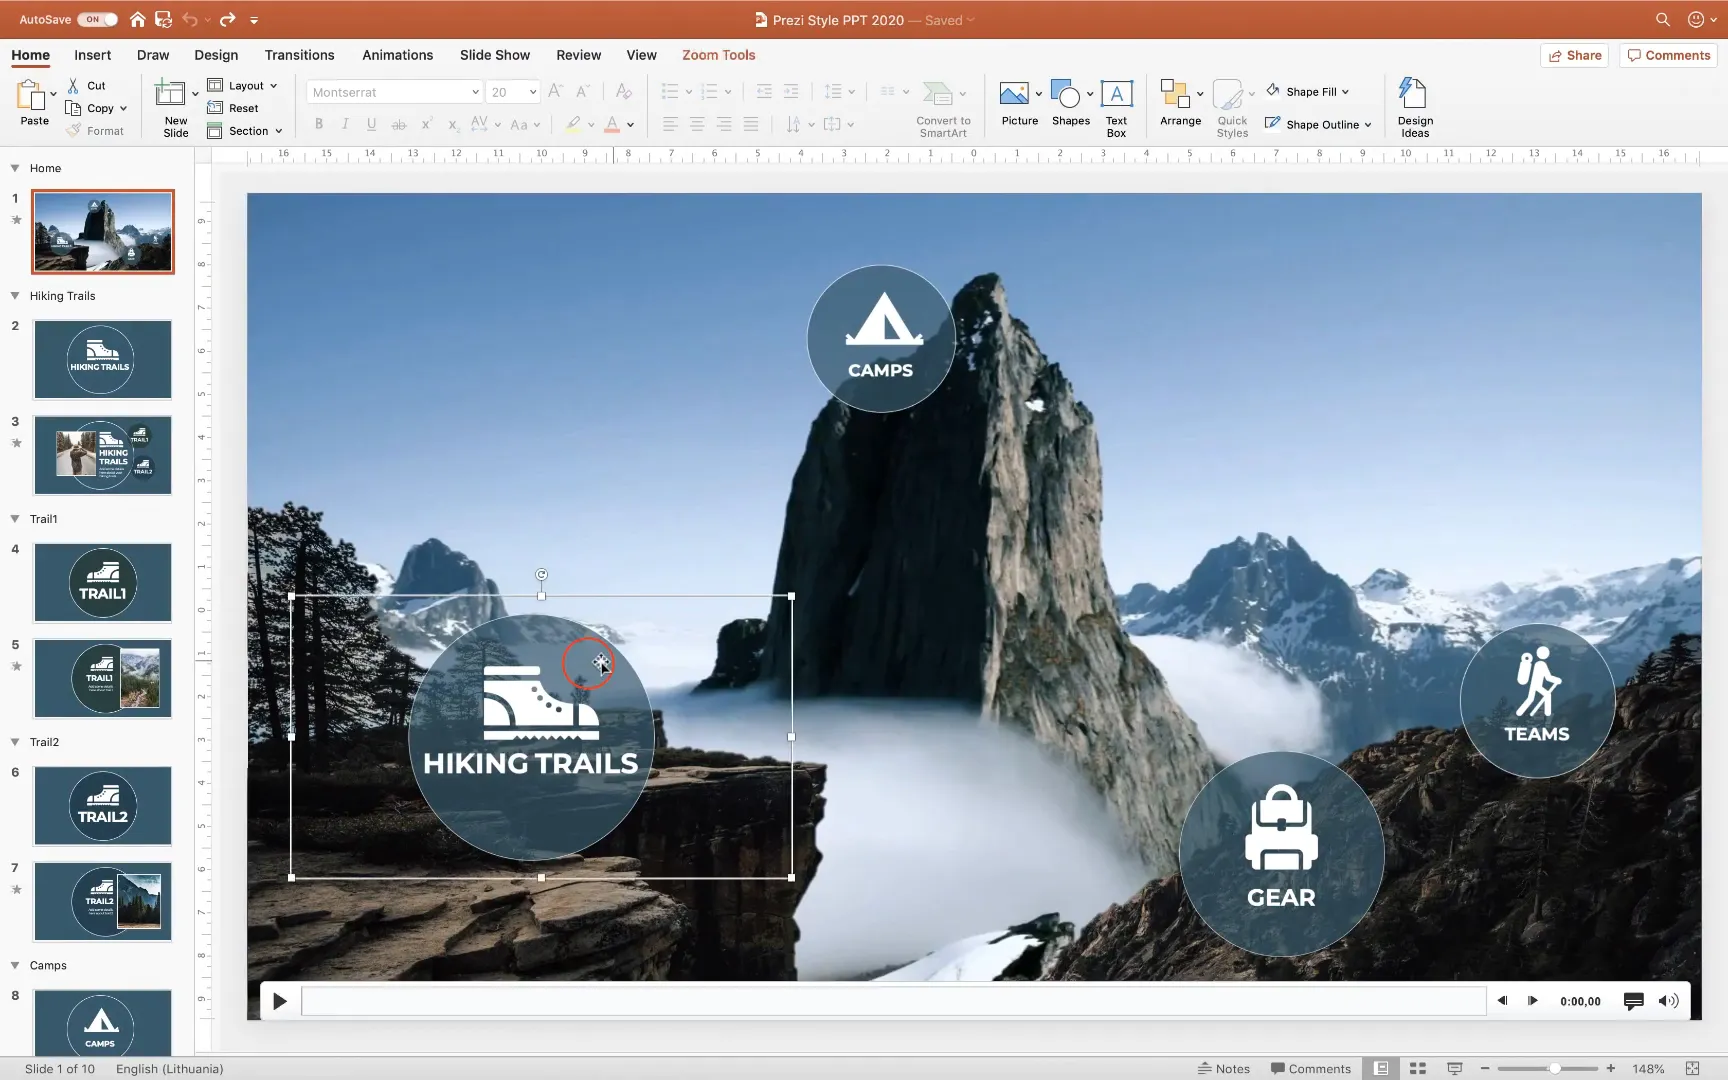
Step 5: Inserting Section Zooms on the Home Slide
Now, it’s time to link everything together by inserting Section Zooms on your home slide (the first slide with the mountains and video background). These will serve as clickable bubbles that zoom into your sections.
- Go to Insert > Zoom > Section Zoom.
- Select the sections you created (e.g., Hiking Trails) and insert them.
- Rename the default section to “Home” for clarity.
- Click on the inserted zoom thumbnails and choose Zoom Background under Zoom Tools to make their backgrounds transparent.
- Position and resize the zoom bubbles over your mountains where you want the clickable hotspots.
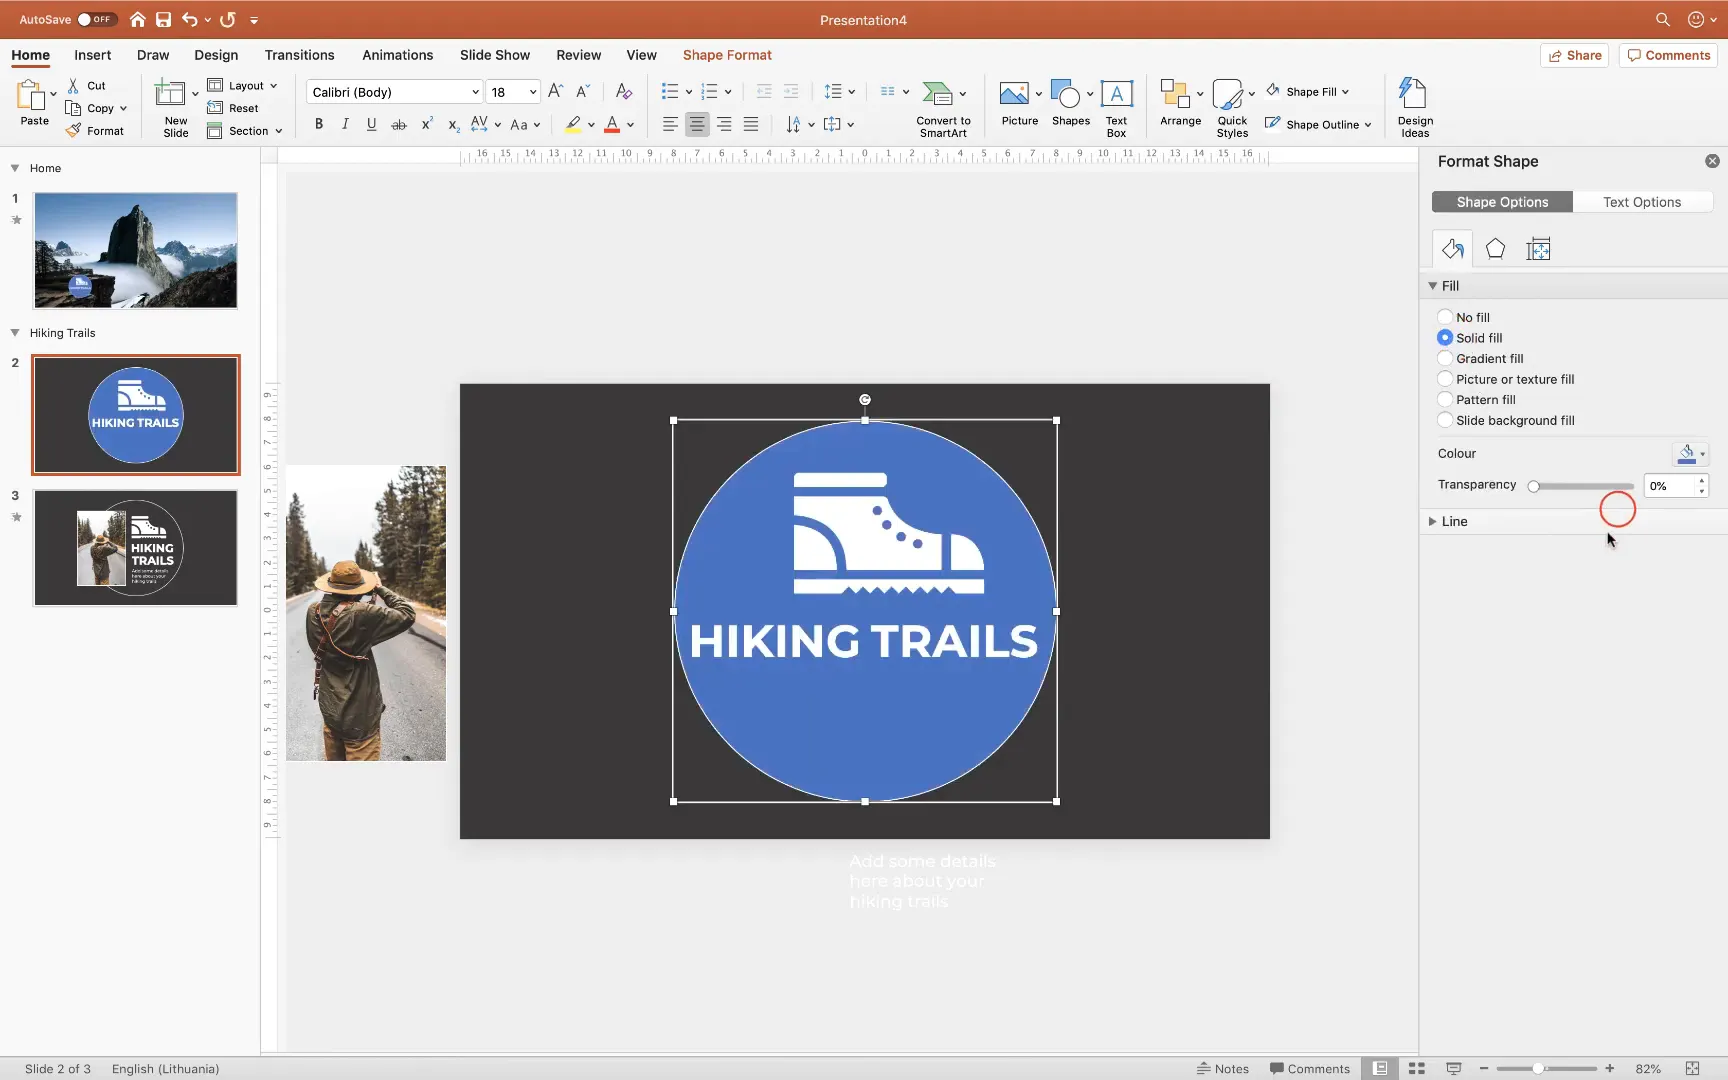
Adding Semi-Transparent Fill to Zoom Bubbles
To enhance the look of your clickable bubbles, add a semi-transparent fill to the circle shapes on your zoom slides:

- Change the background of the zoom slide to a dark gray for contrast.
- Select the circle shape and apply a solid fill with a color of your choice (e.g., blue) and set transparency to 50%.
- The section zoom on your home slide will automatically update to reflect this semi-transparent style.
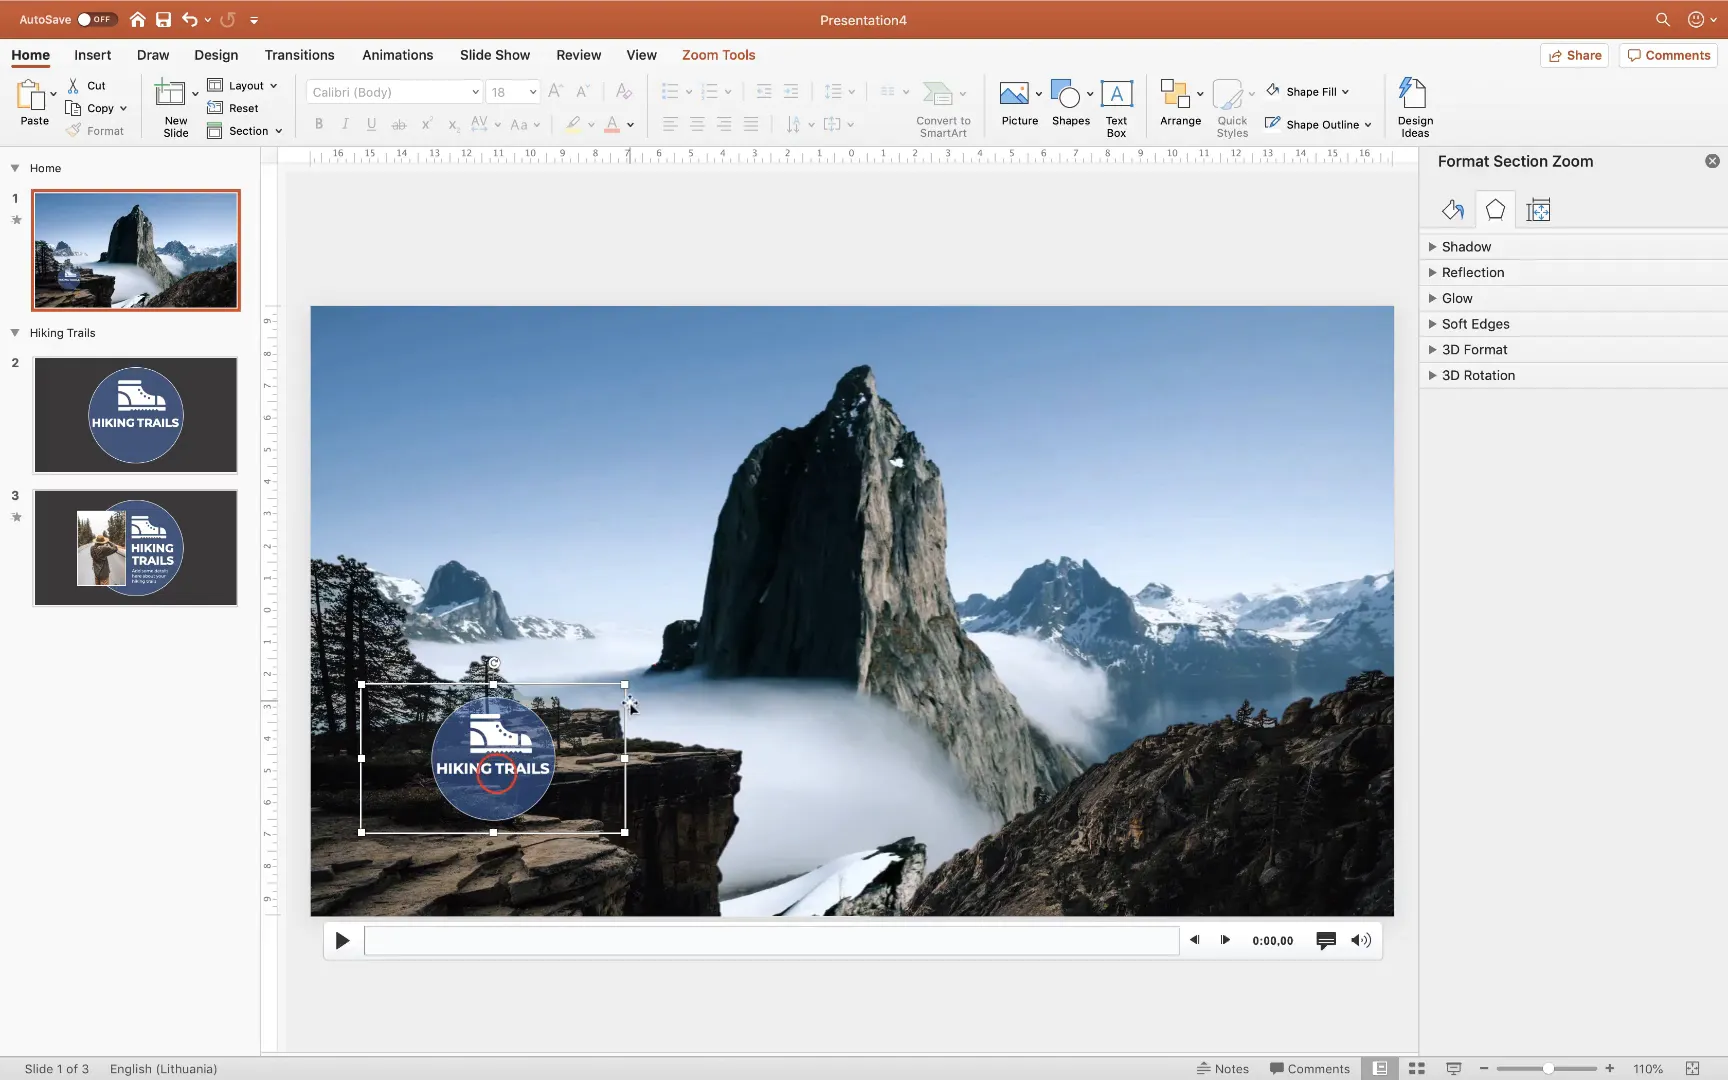
Step 6: Ensuring Proper Zoom Window Fit
One important detail is to make sure your section zoom bubbles fit entirely within the slide window. If the zoom extends beyond the slide boundaries, you may see unwanted black edges during zoom animations.
- Resize and reposition your zoom bubbles on the home slide to fit neatly within the slide edges.
- Test the zoom by clicking the bubbles during the slide show to ensure smooth transitions without black edges.
Step 7: Adding Additional Zoom Bubbles and Sections
To create a fully interactive presentation, you can add multiple clickable bubbles that link to different sections. For example, you might add “Trail Number One” and “Trail Number Two” bubbles alongside “Hiking Trails.”
- Add new sections named “Trail One” and “Trail Two.”
- Duplicate existing zoom slides and customize them for each new section:
- Flip icons horizontally for variety.
- Adjust text and photo placements.
- Use different colored semi-transparent fills to differentiate bubbles.
- Apply Morph transitions between slides within these sections for smooth animations.
- Insert section zooms for these new sections on your existing zoom slides to allow seamless navigation.
Step 8: Testing and Navigating Your Presentation
Once everything is set up, preview your presentation to experience the interactive zooming and smooth animations:
- Click a zoom bubble on the home slide to zoom into that section.
- Within the section, click another bubble to zoom deeper or click to return.
- Use arrow keys to navigate back and forth within sections.
- Enjoy the fluid morph animations that bring your presentation to life.

This seamless navigation and eye-catching animation style will impress your audience and make your message memorable.
Additional Tips and Resources
- Use high-quality visuals: Websites like Unsplash and Pexels offer free, beautiful photos and videos to enhance your slides.
- Customize icons: PowerPoint 365’s built-in icons are great, but sites like Flaticon provide additional options.
- Consistent styling: Use consistent fonts (e.g., Montserrat), colors, and transparency levels for a cohesive look.
- Practice navigation: Familiarize yourself with the Slide Zoom and Morph features to troubleshoot and perfect your animations.
Frequently Asked Questions (FAQ)
What versions of PowerPoint support Slide Zoom and Morph transitions?
Slide Zoom and Morph transitions are available in PowerPoint 2019 and Microsoft 365 versions. If you are using an older version, these features may not be available.
Can I use this Prezi style technique on Windows and Mac?
Yes, the process is very similar on both platforms. Some interface elements might look slightly different, but the core features and steps remain the same.
How do I find free videos and images for my presentation?
Free high-quality videos can be found on Pexels, and images are available on Unsplash. Both sites offer royalty-free content suitable for commercial and educational use.
What if I don’t have the Insert Icon option in PowerPoint?
If your version of PowerPoint does not support built-in icons, you can download free icons from websites like Flaticon and insert them as images.
How do I avoid black edges when zooming in with Section Zoom?
Make sure that your section zoom thumbnails are fully within the slide boundaries and not overlapping the edges. Resize and reposition them if needed to prevent black edges during zoom animations.
Can I add more interactive bubbles and sections?
Absolutely! You can create as many sections and clickable bubbles as you want to build a rich, interactive presentation. Just remember to maintain consistent styling and use Morph transitions for smooth animations.
Conclusion
Creating a Prezi style presentation in PowerPoint might seem challenging at first, but with the power of Section Zooms and the Morph Transition, it’s easier than ever to build a visually stunning, interactive slideshow that engages your audience. By combining video backgrounds, carefully cropped images, clickable bubbles, and smooth animations, you can deliver your message in a dynamic and memorable way.
This method is perfect for educators, marketers, business professionals, and anyone looking to elevate their presentations beyond the traditional slide-by-slide format. Plus, with resources like Unsplash and Pexels at your fingertips, you can always find beautiful content to enhance your slides.
Remember, practice makes perfect. Experiment with different layouts, colors, and animations to find a style that suits your content and audience. And don’t hesitate to explore additional tutorials or courses to deepen your PowerPoint skills.
Happy presenting!
Check out the full video: How to Create 🔥Prezi Presentation in PowerPoint🔥2020


