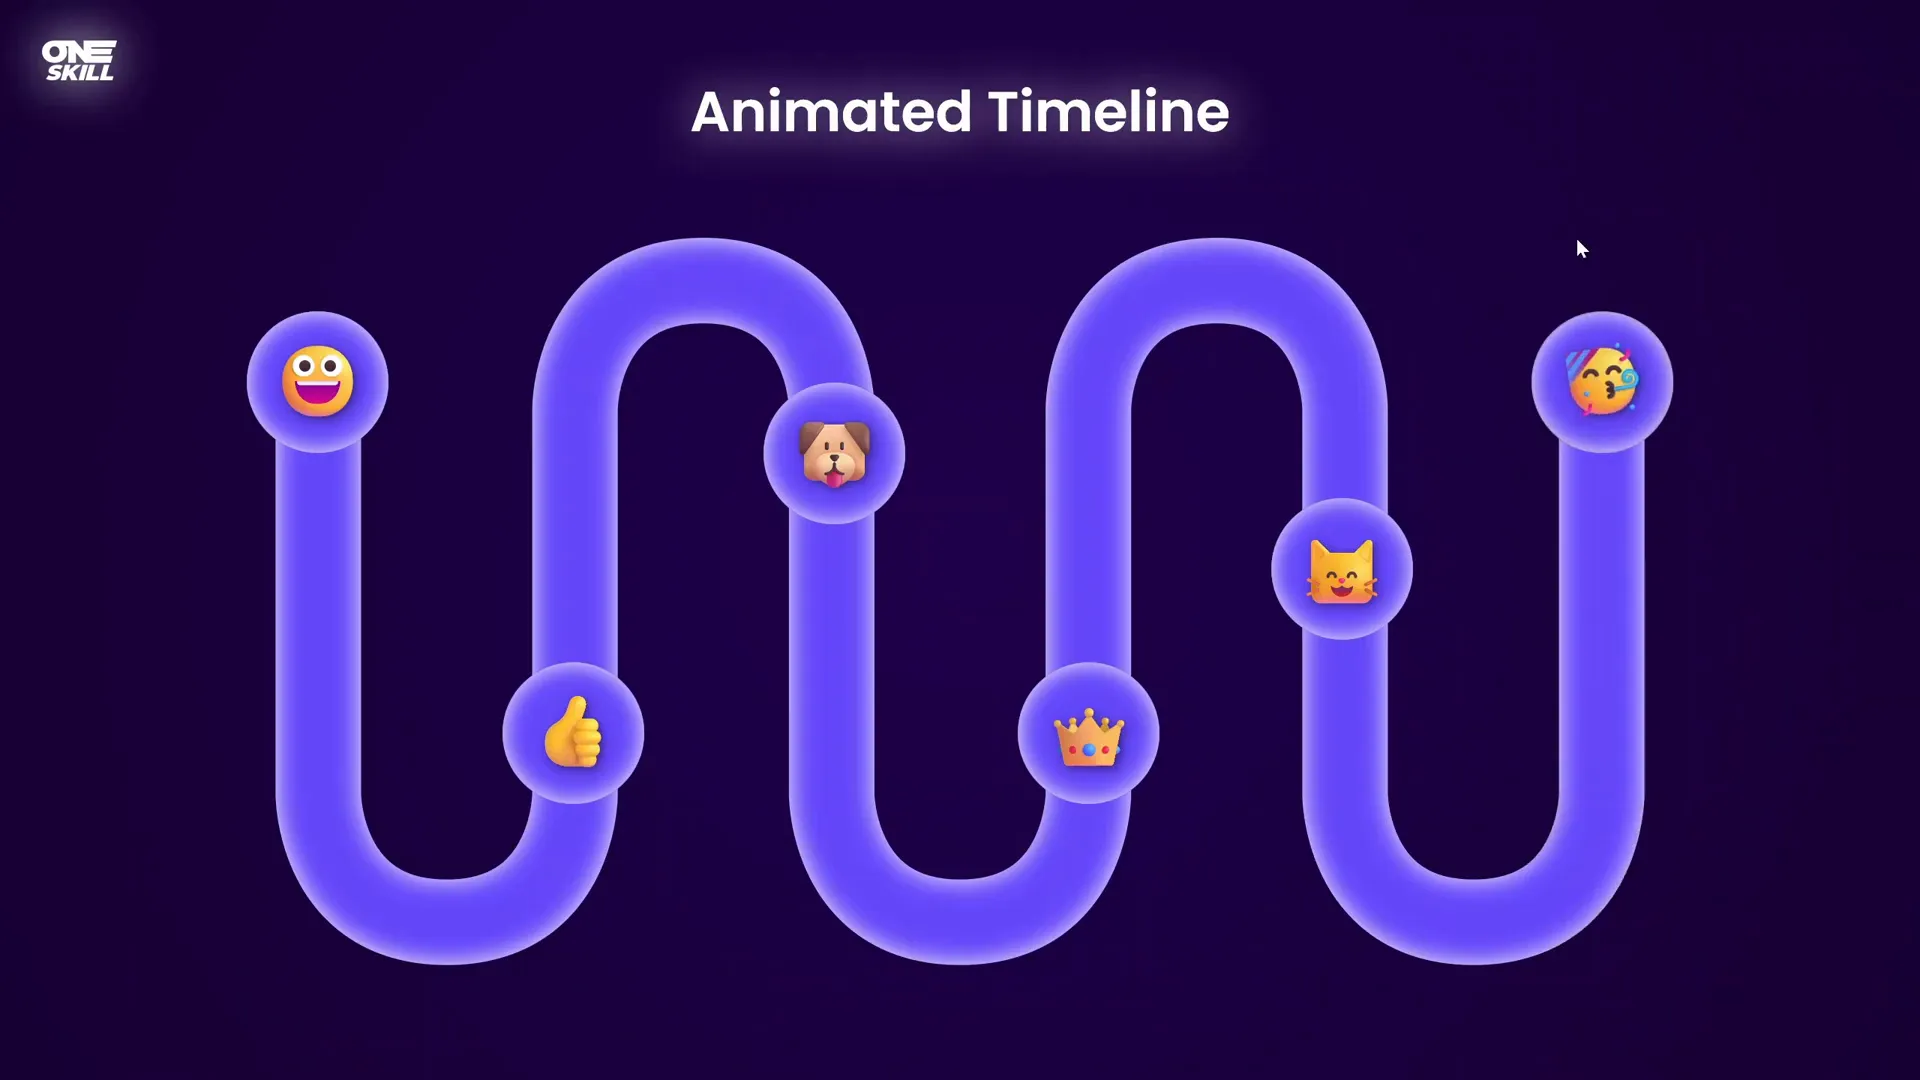
Are you looking to elevate your PowerPoint presentations with dynamic and visually engaging elements? An animated timeline is a fantastic way to showcase events, milestones, or project phases in a clear, interactive, and appealing manner. In this comprehensive tutorial, you’ll learn how to create a Stunning Animated Timeline in PowerPoint using a combination of clever masking techniques and draw replay animations. Whether you’re a beginner or an intermediate PowerPoint user, this step-by-step guide will empower you to build professional timelines that captivate your audience.
Table of Contents
- Getting Started: Setting Up Your Slide
- Creating the Wavy Timeline Shape Using Figma
- Importing and Editing the Timeline Shape in PowerPoint
- Creating a Mask with the Timeline Shape
- Adding Glow and Gradient Effects to the Mask
- Designing Interactive Bubbles with Emojis
- Drawing and Animating the Timeline Fill
- Animating the Emoji Bubbles
- Final Touches and Pro Tips
- Frequently Asked Questions
- Conclusion
Getting Started: Setting Up Your Slide
Before diving into the timeline creation, let’s prepare your PowerPoint slide to ensure a solid foundation for your animated timeline.
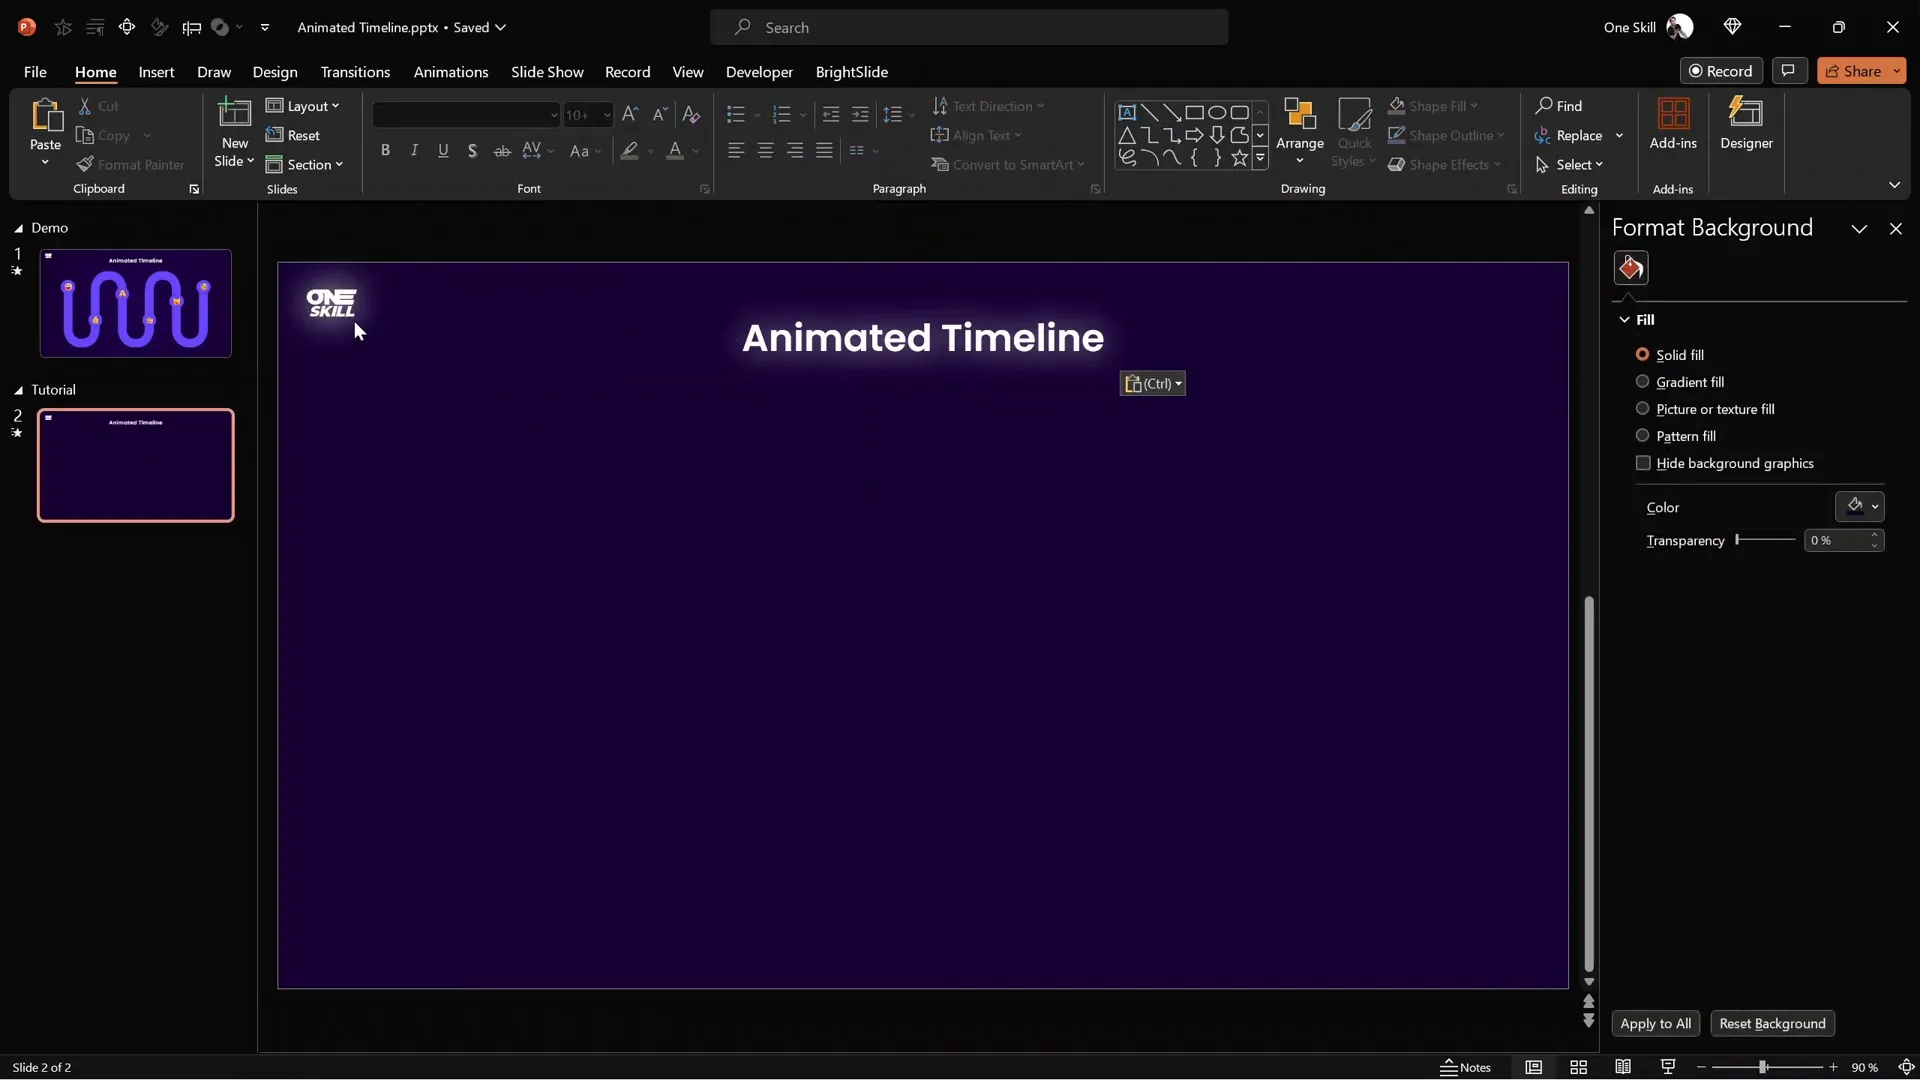
1. Open PowerPoint and Start with a Blank Slide
Open PowerPoint 365 (or your preferred version) and start with a blank slide. This clean slate will help you focus on building your timeline without distractions.
2. Set a Beautiful Background Color
To make your timeline visually appealing, apply a dark purple background color to your slide:
- Go to Format Background > Fill > Solid Fill.
- Choose a dark purple shade or enter the hex code
#3B0A45for the exact color used in this tutorial.
This background will provide a rich canvas that makes your timeline elements pop.
3. Add Branding Elements
If you have a logo or slide title from a previous slide, copy and paste them onto your new slide to maintain consistency and save time.
Creating the Wavy Timeline Shape Using Figma
While PowerPoint has many powerful tools, creating complex smooth wavy shapes can be challenging. For this reason, we’ll use a free online design tool called Figma to craft the timeline shape.
Why Use Figma?
- Free and accessible online design platform.
- Precision control over curves and points.
- Easy export options compatible with PowerPoint.
Step-by-Step to Create the Timeline Shape in Figma
- Visit figma.com and log in with your Google account for free access.
- Click on the Design File button to open a new canvas.
- Enable the pixel grid for alignment:
- Press Ctrl and scroll the mouse wheel until the pixel grid appears.
- Ensure “Pixel Grid” and “Snap to Grid” are activated in the View options.
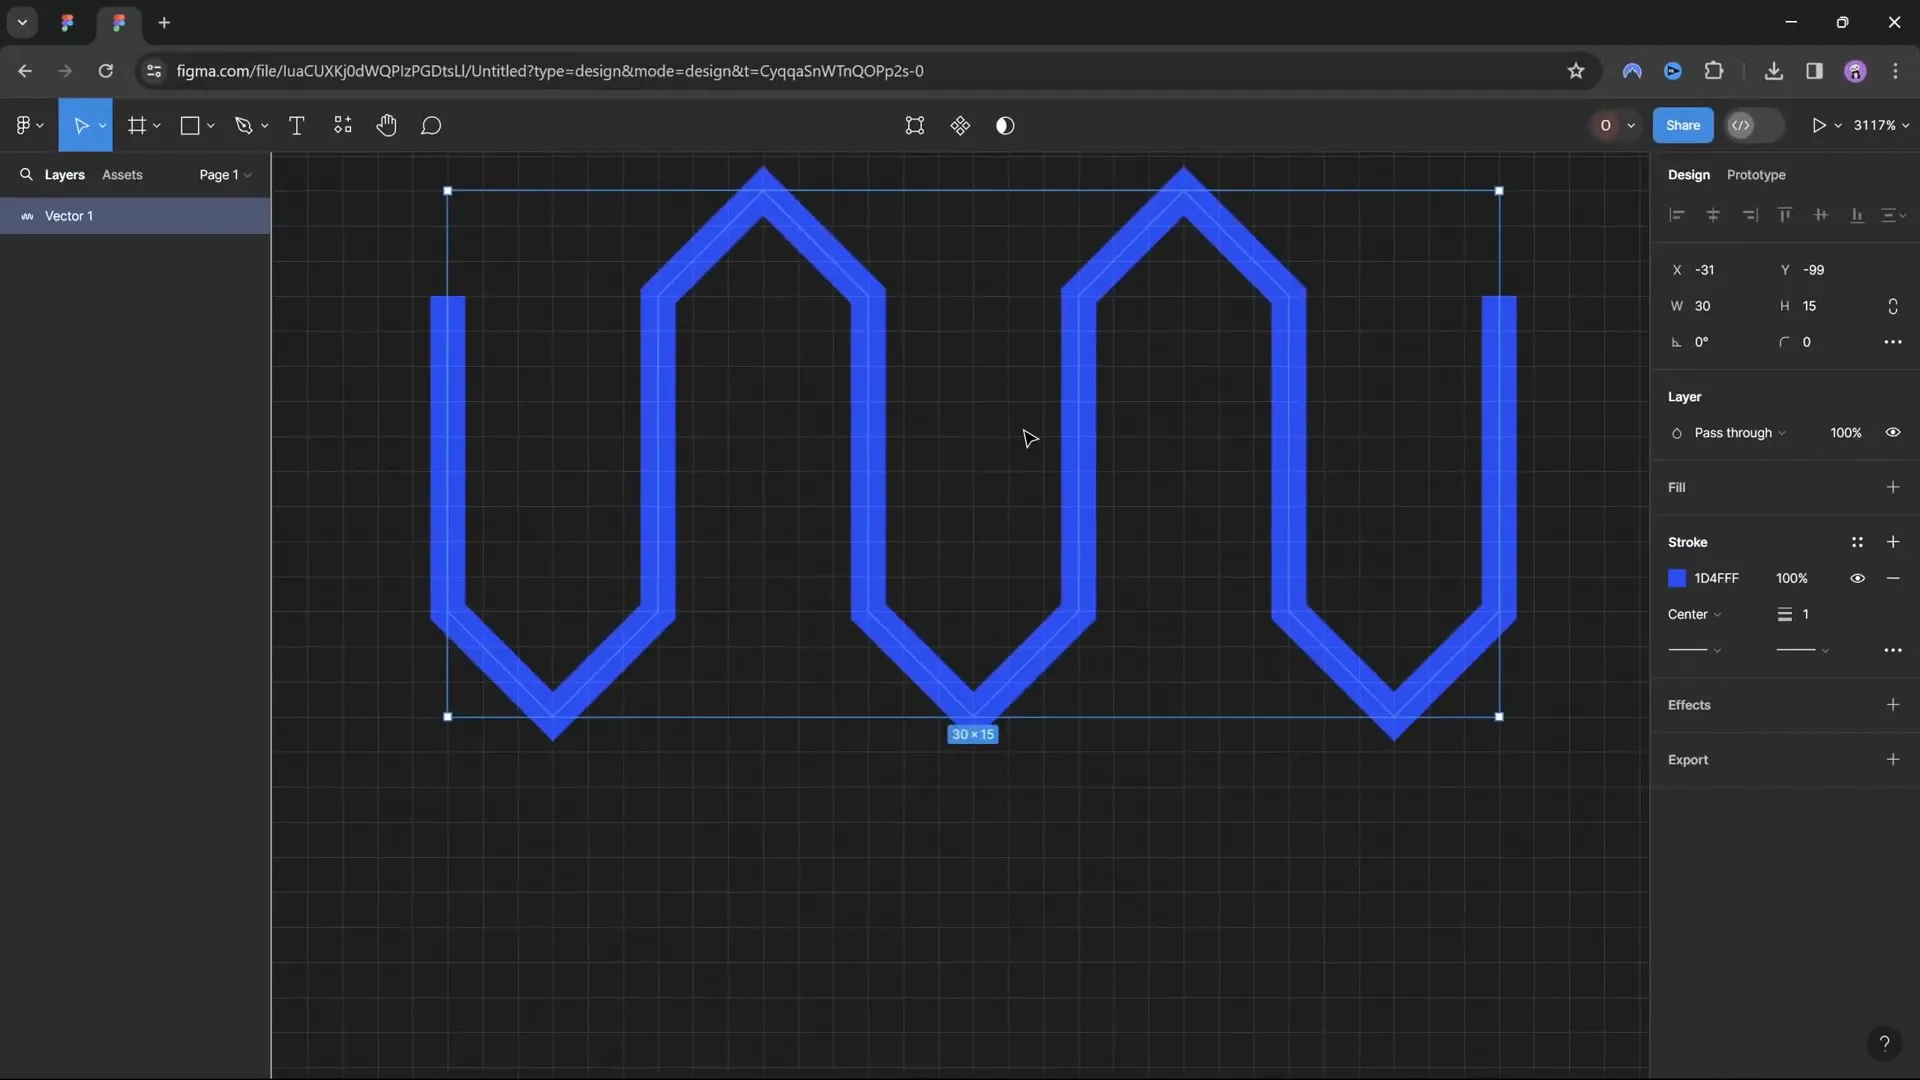
- Select the Pen Tool to start drawing your timeline shape.
- Follow a series of clicks on the grid to create the wavy path:
- Start by clicking once.
- Move 9 squares down and click again.
- Move 3 squares right and 3 down, click.
- Move 3 squares right and 3 up, click.
- Repeat this zigzag pattern to form the timeline waves.
- End by moving 9 squares up to close the shape.
- Click the blue Done button to finish the shape.
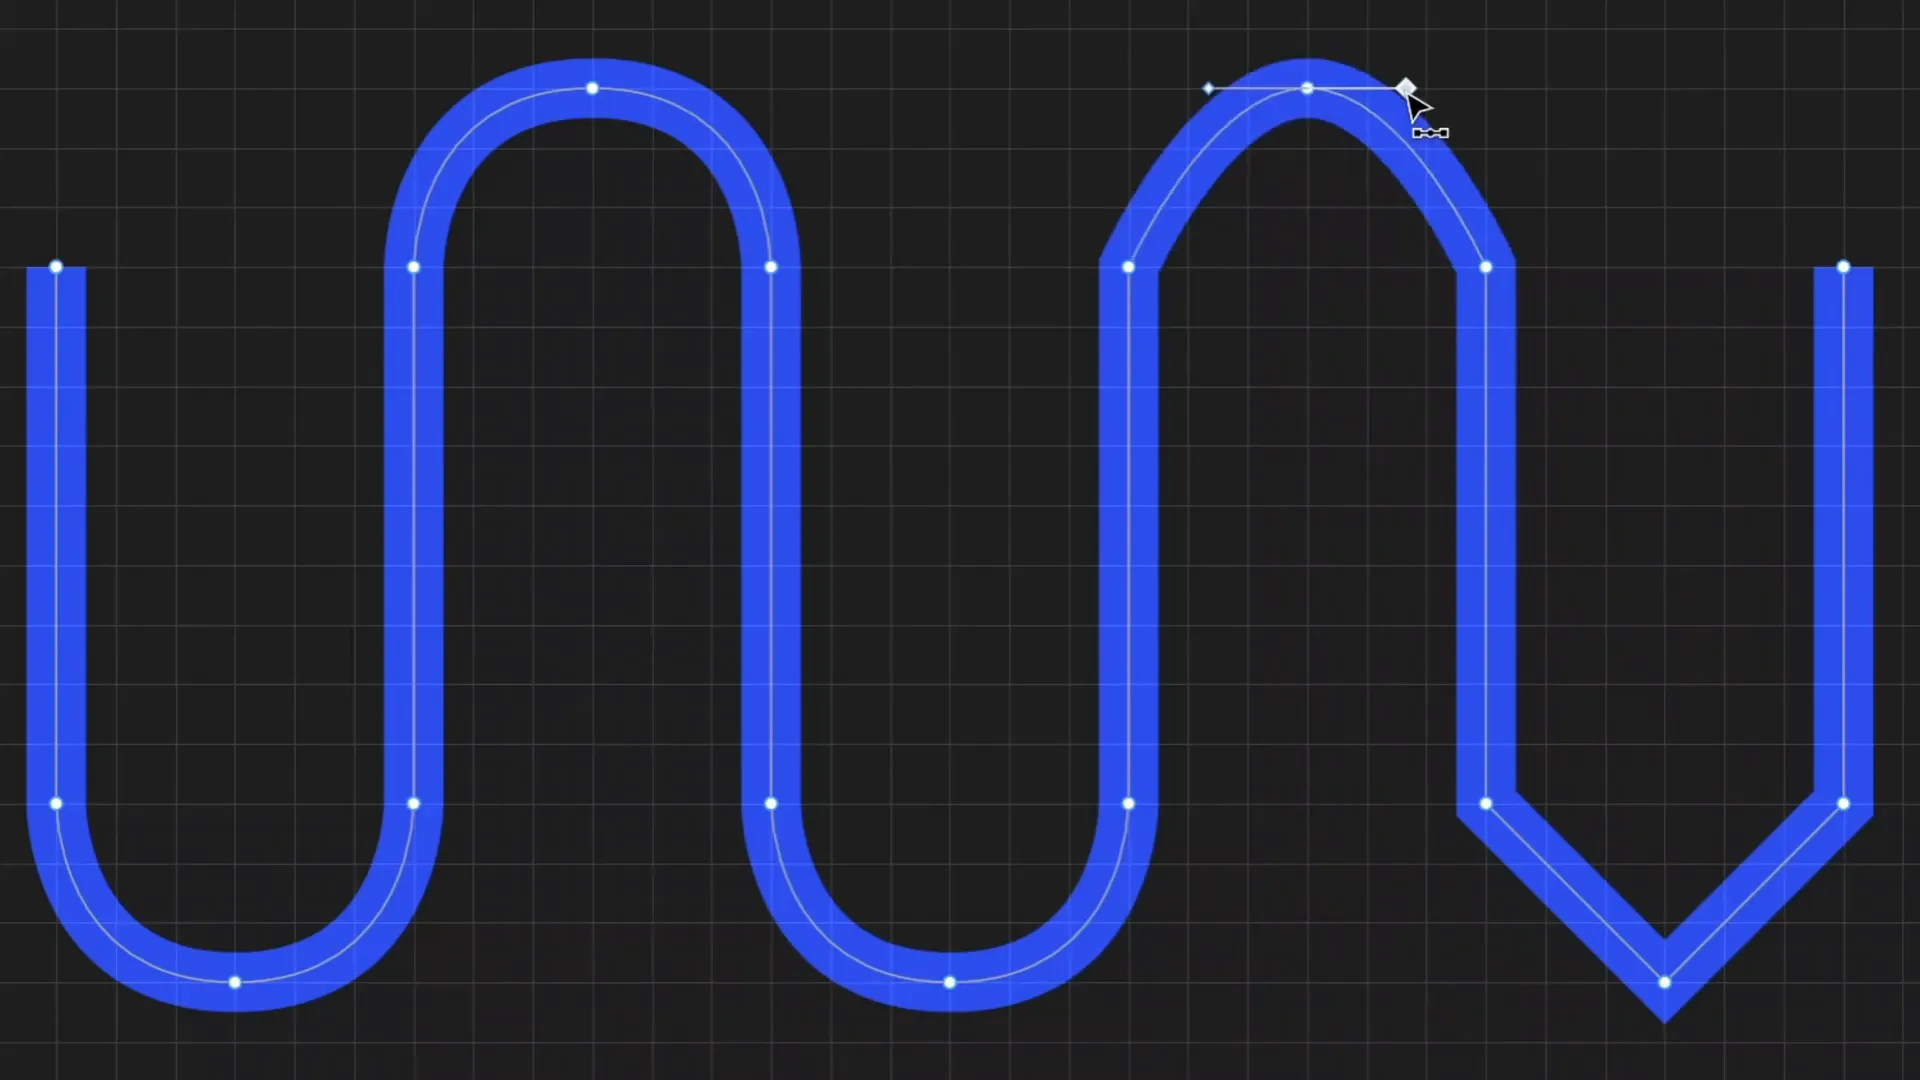
Smoothing the Sharp Points
To transform the sharp zigzag edges into smooth waves:
- Select the Bend Tool in Figma.
- Click on each sharp corner point to activate smoothing handles.
- Drag handles horizontally (approx. 3 squares) to smooth the curves.
- Repeat for all points to achieve a fluid wavy timeline shape.
Adjusting Line Thickness and Tips
- Set the line width to 2 points for better visibility.
- Choose round tips for both the start and end of the line for a polished look.
Importing and Editing the Timeline Shape in PowerPoint
Once your timeline shape is ready in Figma, it’s time to bring it into PowerPoint for further customization and animation.
Exporting the Shape from Figma
- Right-click the timeline line and select Outline Stroke to convert the line to a shape.
- Double-click the shape to view the anchor points.
- Select the shape and go to Export.
- Choose SVG format and export the file.
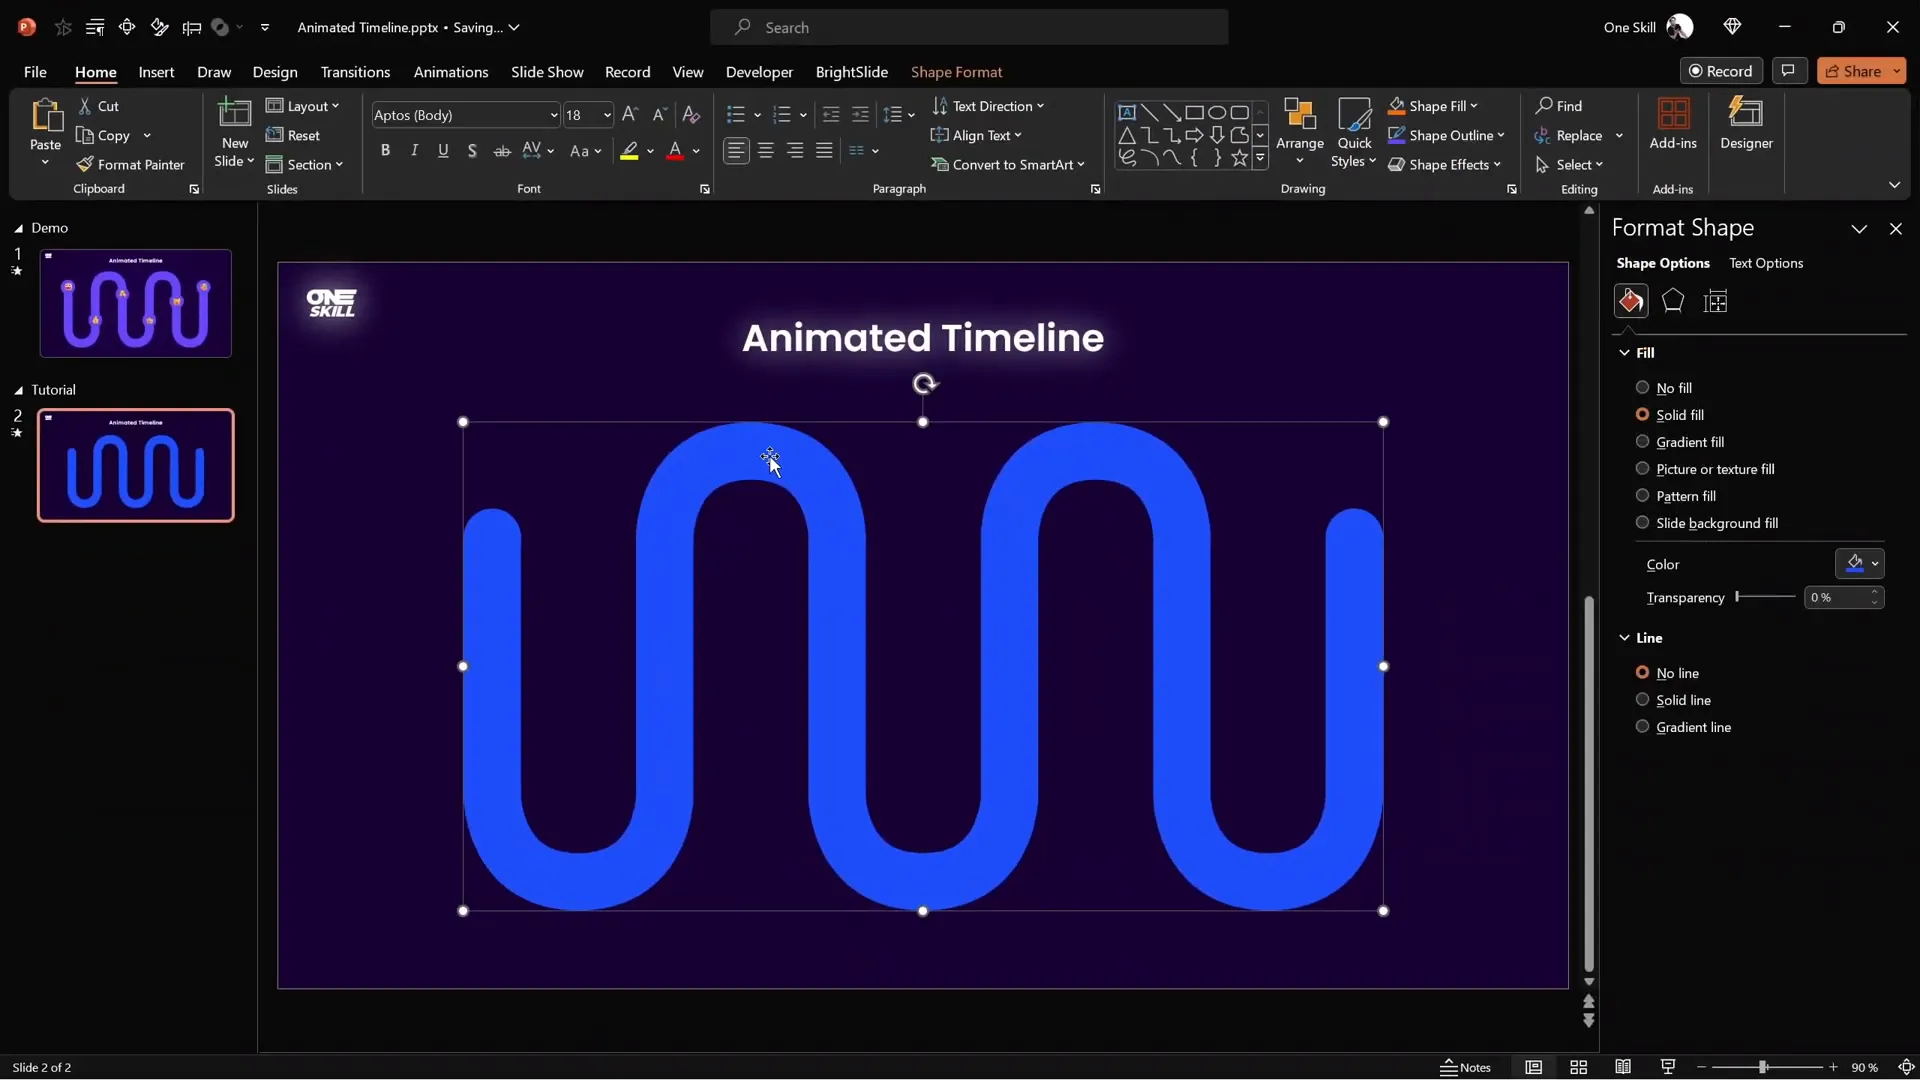
Inserting and Converting in PowerPoint
- In PowerPoint, go to Insert > Pictures and select the exported SVG file.
- Resize the SVG by dragging the corner while holding Ctrl + Shift to scale from the center.
- Position the shape just below your slide title.
- Right-click the SVG and select Convert to Shape to make it editable.
- Right-click again and choose Edit Points to verify the shape’s points.
Creating a Mask with the Timeline Shape
To create the fill animation effect, we need to make a mask that reveals the timeline fill only within the timeline shape.
Steps to Create the Mask
- Insert a full-screen rectangle shape that covers the entire slide.
- Send this rectangle to the back (Right-click > Send to Back).
- Select the rectangle first, hold Shift, then select the timeline shape.
- Go to Shape Format > Merge Shapes > Subtract.
- This punches a hole in the rectangle in the shape of your timeline.
- Center the resulting mask on your slide.
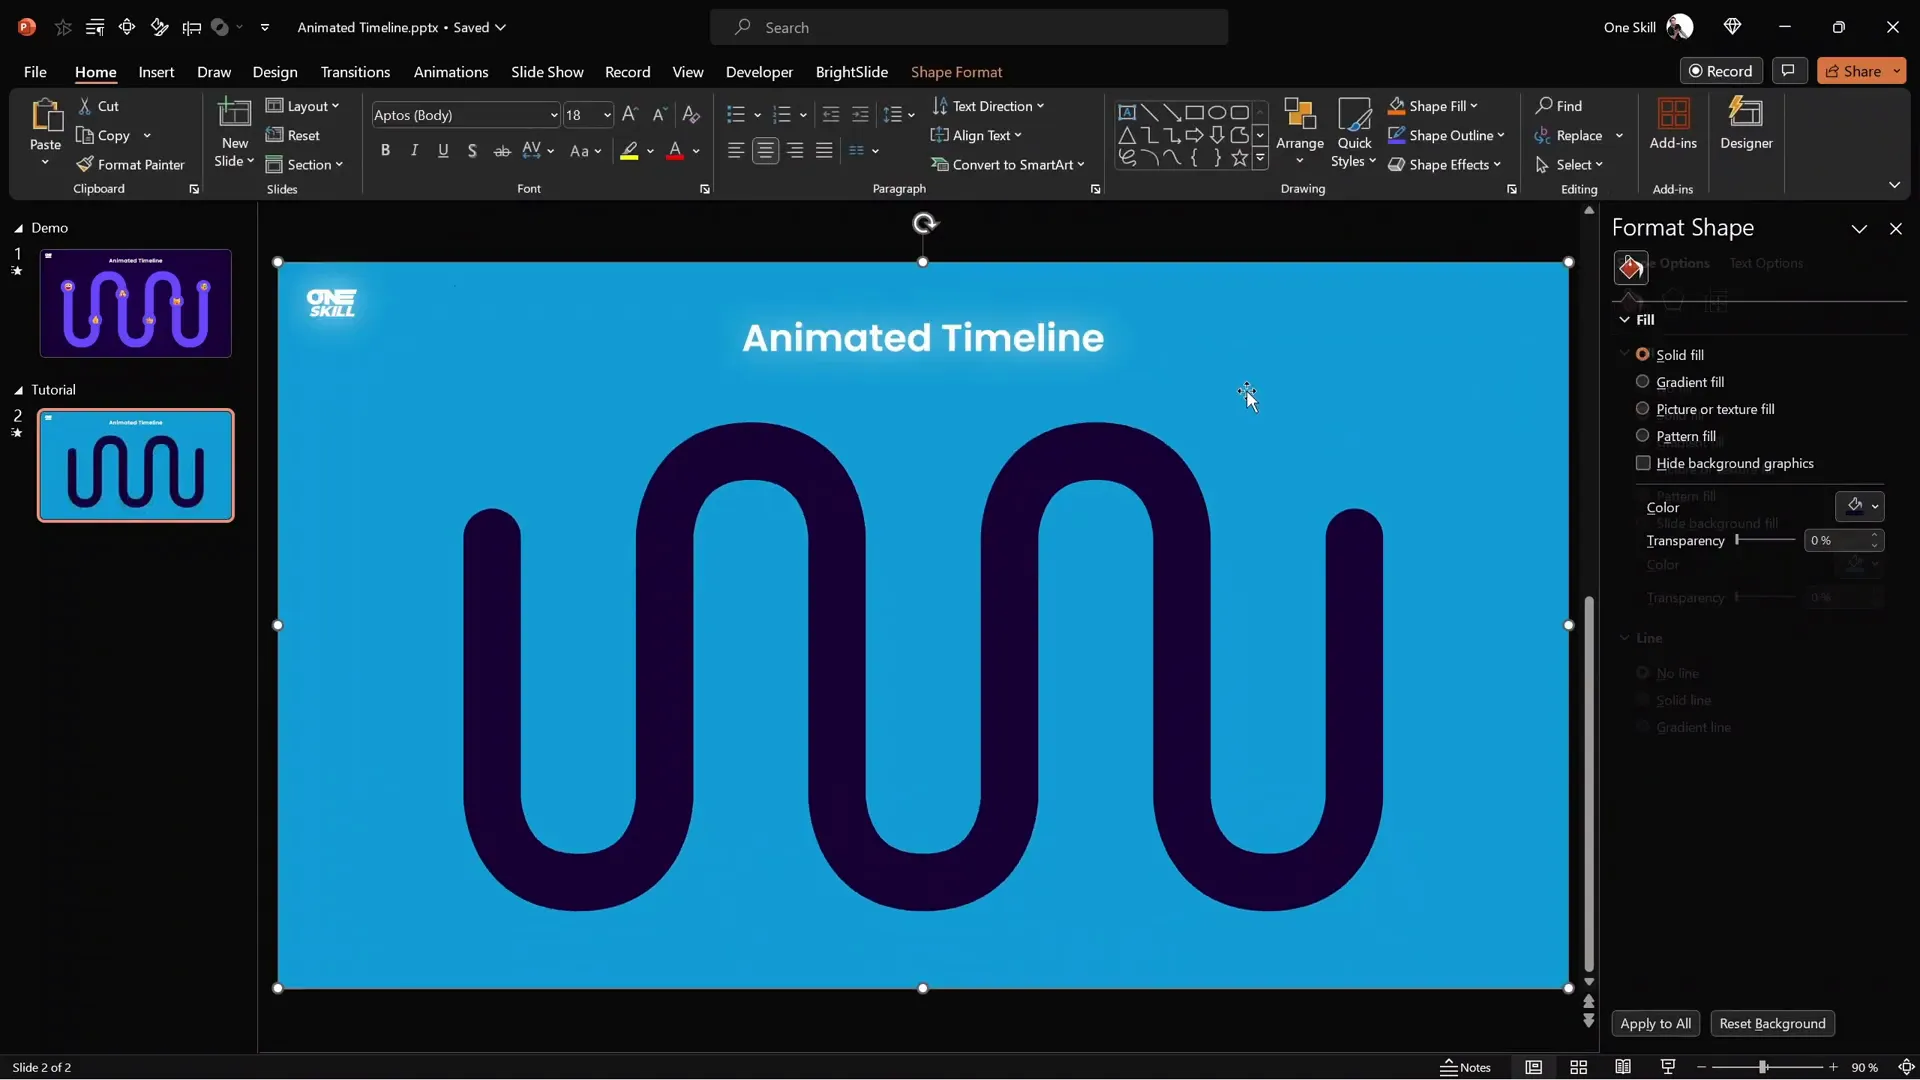
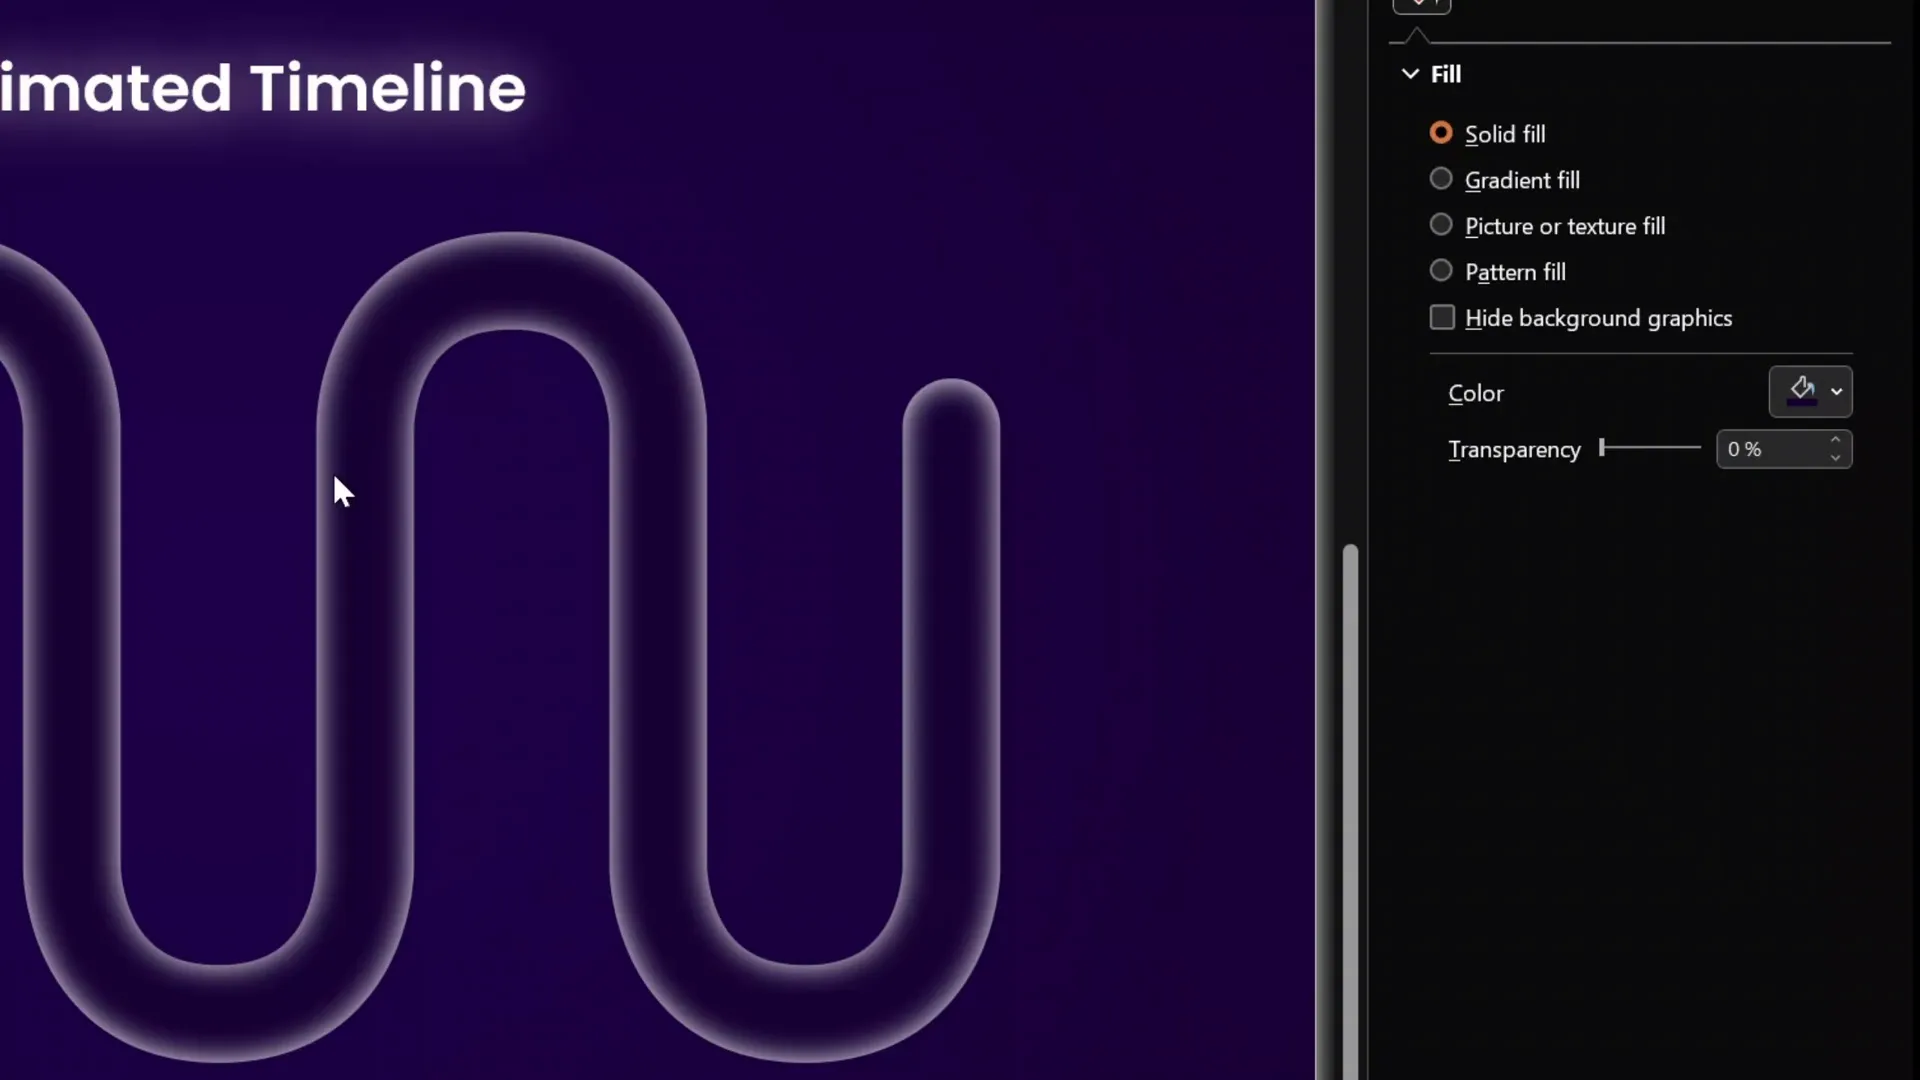
Adding Glow and Gradient Effects to the Mask
To enhance the visual appeal of the timeline mask, subtle glow and gradient effects are added.
Adding a White Glow
- Select the mask rectangle.
- Go to Shape Format > Shadow Settings.
- Choose the preset shadow centered behind the shape.
- Set transparency to 0%, color to white, size to 100, and blur to 15 points.
Applying a Gradient Fill
- Switch the fill type to Gradient Fill.
- Choose a radial gradient preset with color in the center.
- Delete extra color stops to leave two main stops.
- Set the left color stop to a dark purple shade (
#3B0A45). - Set the right color stop to a similar purple shade (
#4E0F5D).
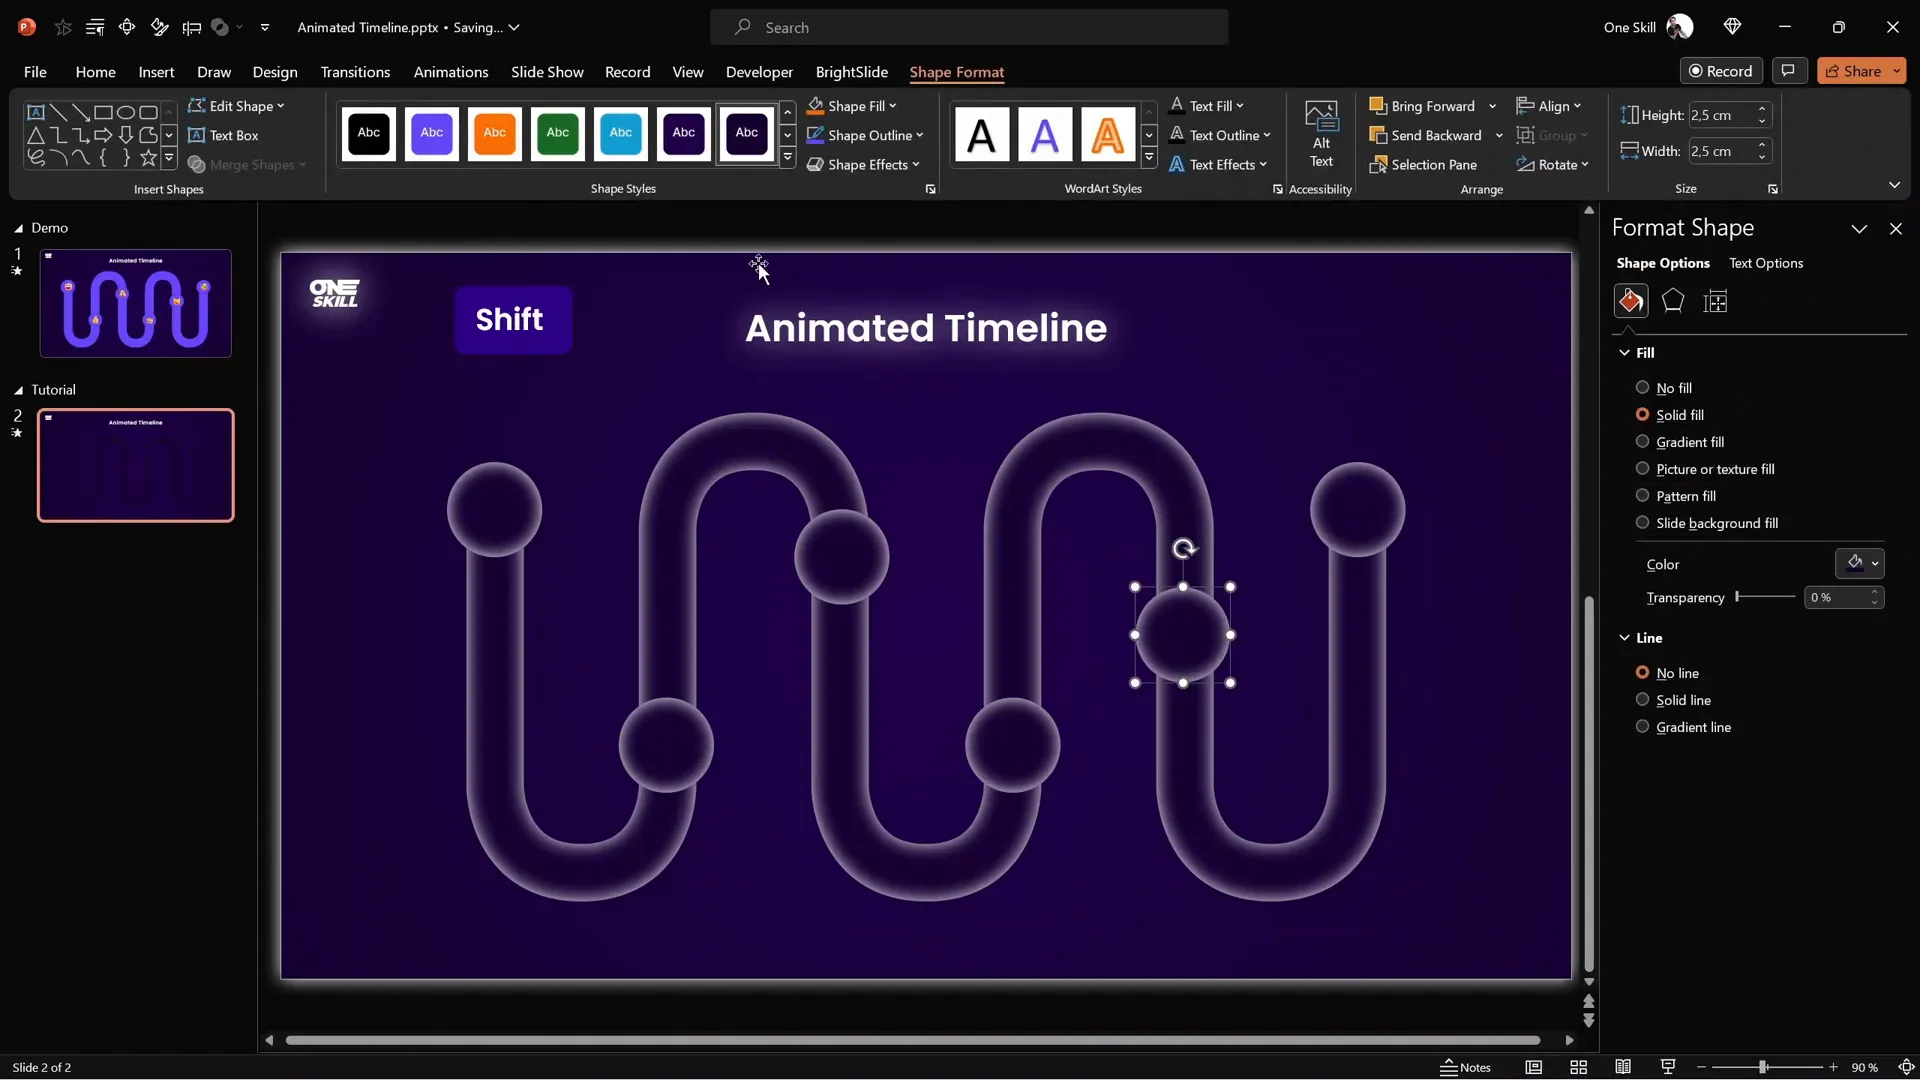
Designing Interactive Bubbles with Emojis
The timeline will feature circular bubbles that highlight milestones using emojis for an engaging effect.
Creating the Bubble Shapes
- Insert a perfect circle by holding Shift while drawing.
- Set the size to 2.5 cm by 2.5 cm and lock the aspect ratio.
- Fill the circle with the dark purple background color to create an inactive state.
- Add a white inside shadow with no transparency and 15 points blur to give it depth.
- Duplicate this bubble to create multiple inactive bubbles along the timeline.
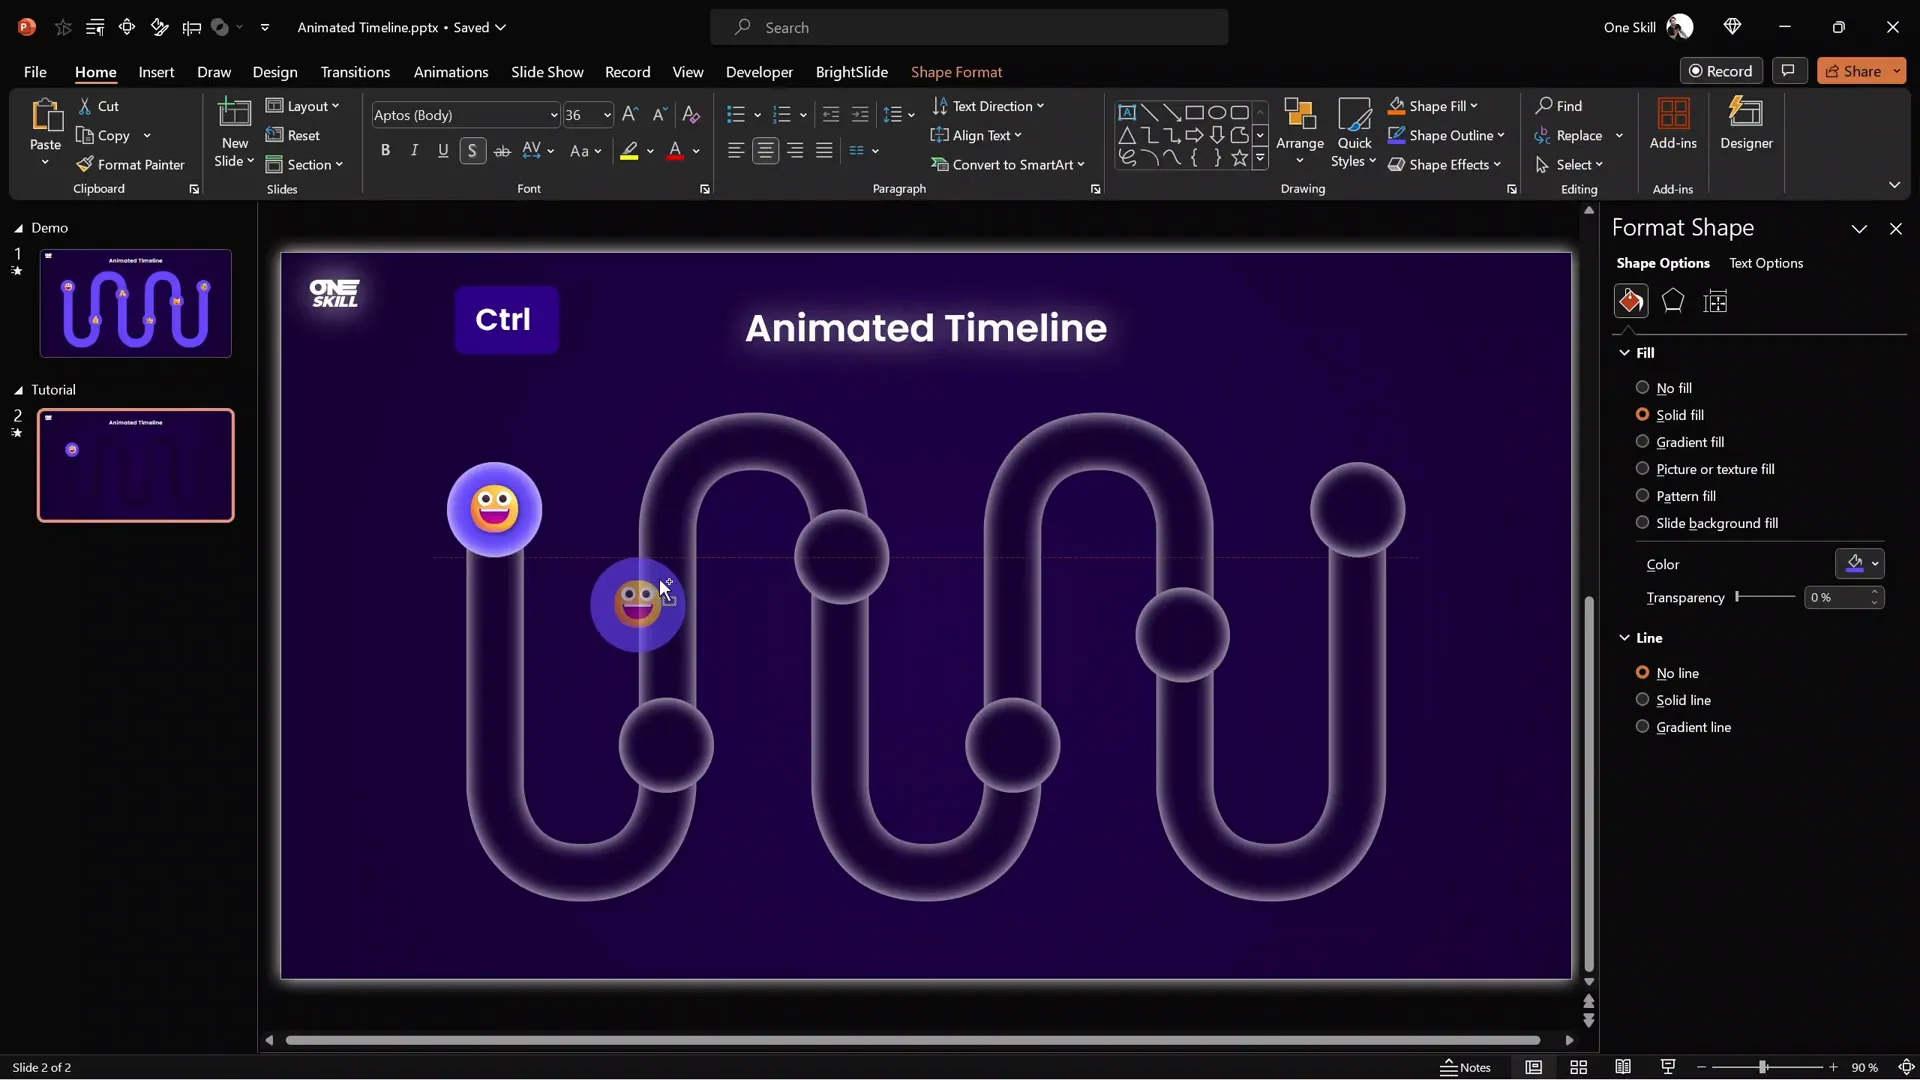
Creating the Active Bubble State
- Duplicate the inactive bubble and change the fill color to a bright purple (
#A64DFF). - Insert emojis inside the bright bubbles by typing text emojis (Windows key + period on Windows).
- Increase the emoji size and center-align the text inside the bubble.
- Add a subtle shadow to the emoji (50% transparency, 10 points blur) for better visibility.
- Stack the bright bubble exactly on top of the inactive bubble.
- Duplicate these pairs for each timeline milestone.
Tips for Efficient Bubble Alignment
Use productivity shortcuts and tools such as the BrightSlide PowerPoint add-in for quick alignment and duplication. This add-in offers handy shortcuts that speed up your workflow significantly.
Drawing and Animating the Timeline Fill
Next, you will create the animated fill effect that visually progresses through the timeline.
Drawing the Fill Path
- Select the Draw tool and pick a pen.
- Set the pen color to the bright purple used in the active bubbles (
#A64DFF). - Draw a path following the timeline shape from one bubble to the next.
- If the line isn’t perfect, use Ctrl + Z to undo and retry.
Adjusting Path Thickness and Position
- Select the drawn path and increase the width to 45 points for full coverage.
- Send the path behind the bubbles (Send to Back).
Adding Draw Replay Animation
- With the scribble selected, go to Animations and add the Replay animation.
- Set the animation duration to 2 seconds for smooth fill.
- Preview the animation to see the fill effect in action.
Duplicating and Styling Remaining Segments
- Draw similar paths for each timeline segment.
- Copy formatting from the first scribble (Ctrl + Shift + C) and paste it on the others (Ctrl + Shift + V).
- Use the animation painter to copy the replay animation to all scribbles.
- Arrange all six segments in the animation pane for proper sequencing.
Animating the Emoji Bubbles
Animating the bubbles adds interactivity and polish to your timeline.
Applying Spinner Entrance Animation
- Select all the bright emoji bubbles.
- Go to Add Animation > More Entrance Animations.
- Choose the Spinner animation for a fun, dynamic effect.
- Set the duration to 0.4 seconds for a quick spin.
Sequencing Animations
- Place the first spinner animation at the top of the animation pane.
- Set the rest to start With Previous.
- Arrange spinner animations to occur between replay animations for smooth flow.
- Adjust the timing so spinner animations align with the end of the corresponding fill animations.

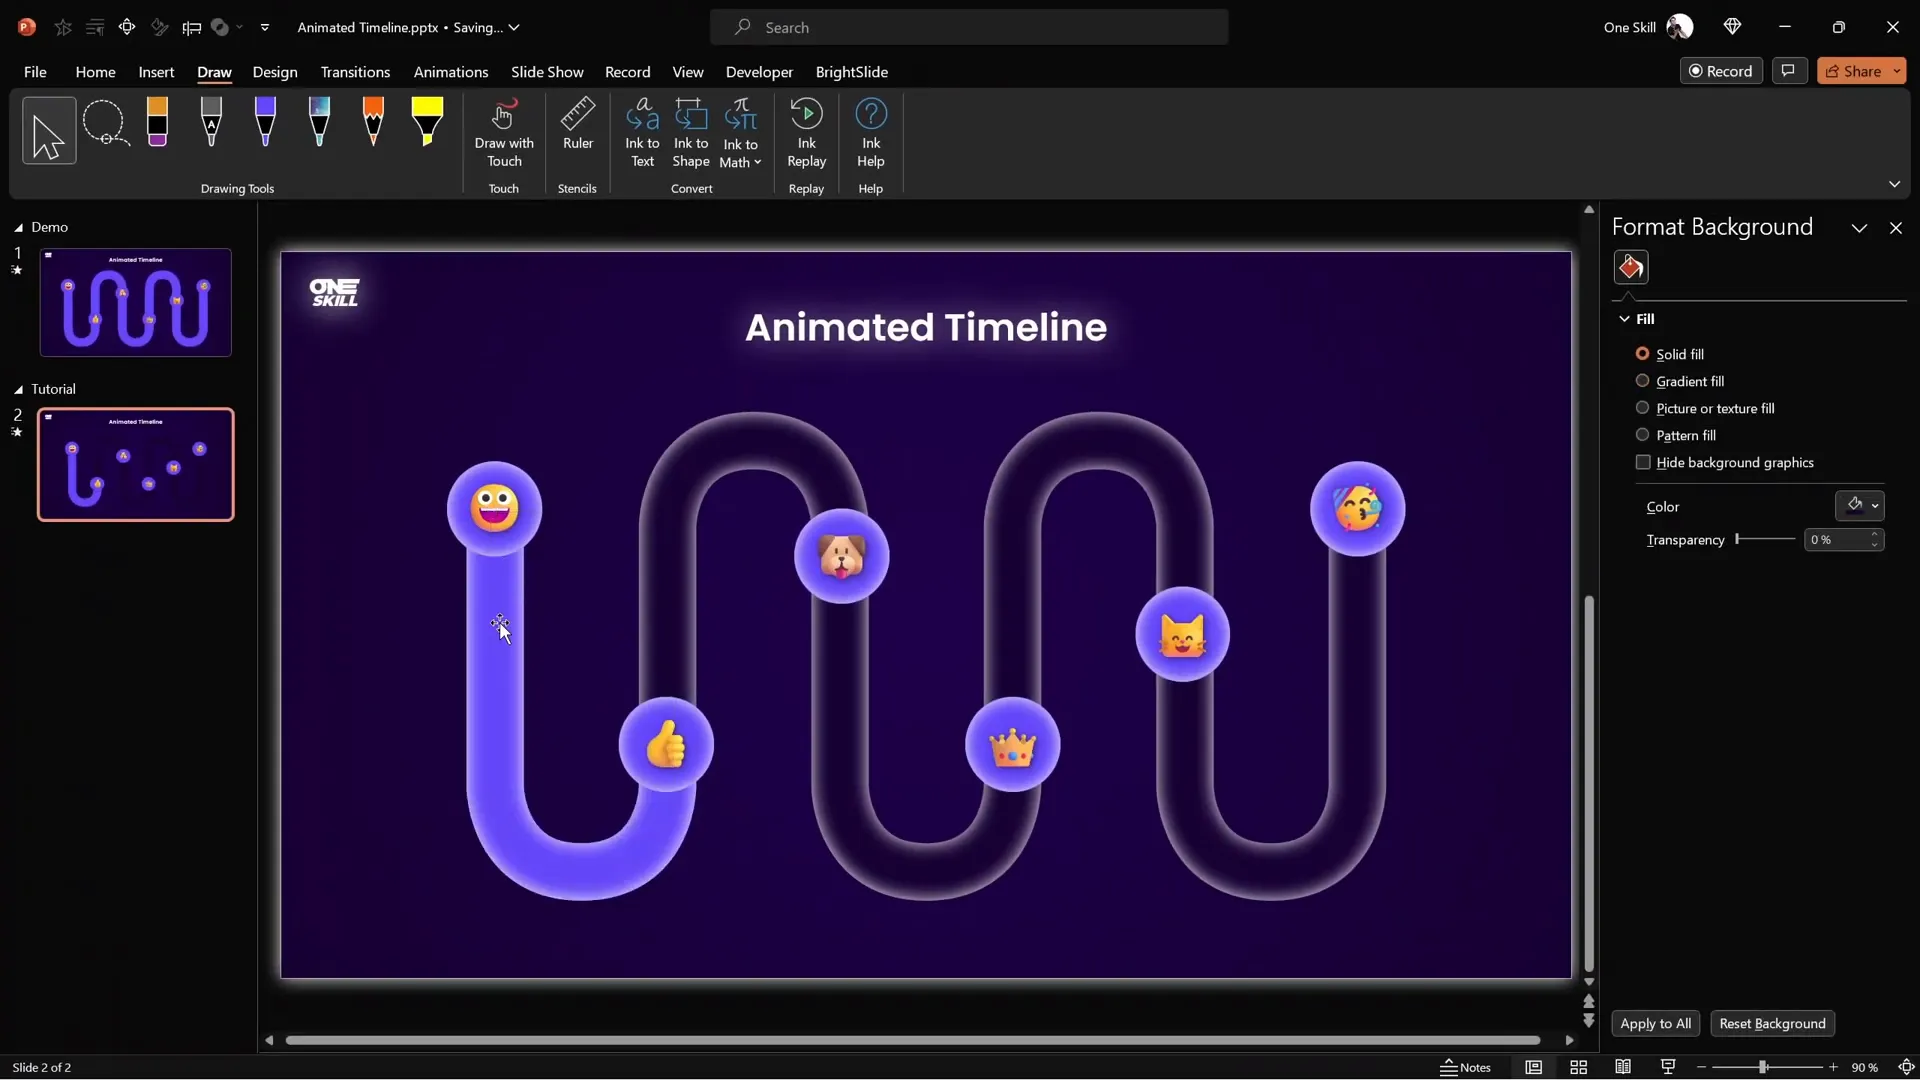
Final Touches and Pro Tips
Preview Your Animated Timeline
Run the slideshow and test the animation sequence with mouse clicks:
- First click shows the first emoji bubble.
- Second click fills the first timeline segment and shows the second bubble.
- Subsequent clicks continue this pattern.
This step ensures your timeline flows exactly as intended.
Making Your Timeline Interactive (Advanced)
For an even more engaging presentation, consider adding animation triggers so timeline segments fill when you click specific bubbles. This requires more advanced PowerPoint animation skills but can greatly enhance user interaction.
If you want to master animation triggers and other advanced techniques, consider taking specialized courses like the Parpone Animation Mastery course, which offers step-by-step guidance to become a PowerPoint animation pro. Use coupon oneskill100 to save $100.
Frequently Asked Questions
1. Can I create this animated timeline using only PowerPoint?
Yes, but creating smooth wavy shapes directly in PowerPoint is challenging. Using Figma or similar tools simplifies the process and allows you to import editable SVG shapes into PowerPoint for greater control.
2. What version of PowerPoint do I need?
This tutorial uses PowerPoint 365, which supports SVG import and advanced animation features like draw replay animations. Earlier versions may have limited support.
3. Can I use numbers instead of emojis in bubbles?
Absolutely! You can customize the bubbles with numbers, icons, or any symbols that fit your presentation style.
4. How do I align objects precisely in PowerPoint?
Use the BrightSlide add-in for enhanced alignment shortcuts, or use PowerPoint’s built-in Align and Distribute tools found under the Format tab.
5. How can I speed up my workflow when creating timelines?
Utilize copy-paste formatting shortcuts (Ctrl + Shift + C and Ctrl + Shift + V) and PowerPoint add-ins like BrightSlide to quickly duplicate and style timeline elements.
6. Can I export my animated timeline as a video?
Yes, PowerPoint allows you to export presentations as videos, preserving animations. Go to File > Export > Create a Video and choose your desired settings.
Conclusion
Creating a Stunning Animated Timeline in PowerPoint is easier than you might think when you combine the power of external design tools like Figma with PowerPoint’s animation capabilities. This tutorial walked you through every step—from designing smooth timeline shapes, building masks, creating animated fills, to adding interactive emoji bubbles.
By mastering these techniques, you’ll be able to produce professional, engaging timelines that keep your audience’s attention and convey your message effectively. Don’t forget to experiment with colors, icons, and animation timings to make the timeline uniquely yours.
For those ready to take their PowerPoint skills to the next level, exploring advanced animation triggers and enrolling in specialized courses can unlock even more creative possibilities.
Happy presenting, and may your timelines always be stunning!