
Welcome to an in-depth guide on how to elevate your PowerPoint presentations by creatively using videos. This tutorial is inspired by the expert techniques shared by the One Skill PowerPoint channel, which specializes in innovative PowerPoint tutorials for users of all levels. Whether you want to captivate your audience with a full-screen video background, enhance your infographics with video circles, or showcase dynamic content inside device mockups, this guide will walk you through each step with clear instructions and helpful tips.
By the end of this article, you will have mastered how to:
- Insert and customize full-screen video backgrounds
- Integrate videos into infographic circles to make data more engaging
- Embed videos inside phone mockups or other device frames for realistic presentations
Let’s dive into the magical world of PowerPoint and explore creative video techniques that will transform your slide design.
Why Use Videos in PowerPoint Presentations?
Videos are a powerful storytelling tool that can add motion, context, and emotion to your slides. Unlike static images or plain text, videos can capture attention, convey complex ideas faster, and make your presentation memorable. However, many users shy away from using videos in PowerPoint because they fear it might be complicated or disrupt the flow of their slides. Fortunately, with the right know-how, adding and customizing videos in PowerPoint is straightforward and highly effective.
Integrating videos creatively allows you to:
- Enhance visual appeal and professionalism
- Make infographics and data visualizations more dynamic
- Simulate real-world scenarios by embedding videos inside device mockups
- Engage audiences with background motion without overwhelming the content
Getting Started: Tools and Resources
For this guide, we will use Microsoft PowerPoint Microsoft 365 for Mac, but most of the techniques are applicable across platforms with slight variations. Before starting, I highly recommend downloading the tutorial slides that accompany this guide. These slides provide a practical starting point and allow you to follow along easily. You can find these tutorial slides for free on my Patreon page.
Additionally, we will explore using stock videos provided by PowerPoint and free resources such as Freepik for phone mockups and Pexels for free video clips. These resources are invaluable for creating high-quality, professional presentations without extra cost.
1. Creating a Full-Screen Video Background
One of the most striking ways to use video in PowerPoint is by setting a full-screen video background. This technique adds dynamic movement behind your slide content, making your presentation visually stunning without distracting from your core message.
Step-by-Step Guide:
- Duplicate Your Slide: Start by duplicating the slide where you want to add the video background. This allows you to compare the original and the enhanced version side-by-side.
- Insert the Video: Go to the Insert tab and select Video. You can choose a video file from your computer or explore PowerPoint‘s built-in stock videos.
- Choose a Suitable Video: For a background effect, select a video that complements your slide content without overpowering it. For example, a dark space-themed video creates a sleek, futuristic ambiance.
- Send the Video to the Back: After inserting, the video will likely cover your slide content. Send it to the back by right-clicking the video and selecting Send to Back, or use the shortcut Shift + Command + B on Mac.
- Adjust Text Colors: To ensure readability over the video, select all text elements and change the font color to white or another contrasting color.
- Add Missing Elements: If your slide has elements like logos, buttons, or slide numbers set in the Slide Master, you might need to copy and paste them onto your new slide to ensure they appear over the video.
- Set Video Playback Options: Go to the Playback tab and select Loop until Stopped and Start Automatically to keep the video playing seamlessly during your presentation.
To enhance the visibility of key elements, you can add subtle shadows or effects. For example, adding a soft black shadow to a person or object in the foreground helps it stand out against the moving background.

Benefits of Full-Screen Video Backgrounds
- Creates an immersive atmosphere for your presentation
- Draws attention without overwhelming the content
- Works well for keynote presentations, marketing pitches, and creative portfolios
Compare your original plain slide with the new video background version to see the dramatic enhancement in visual appeal.
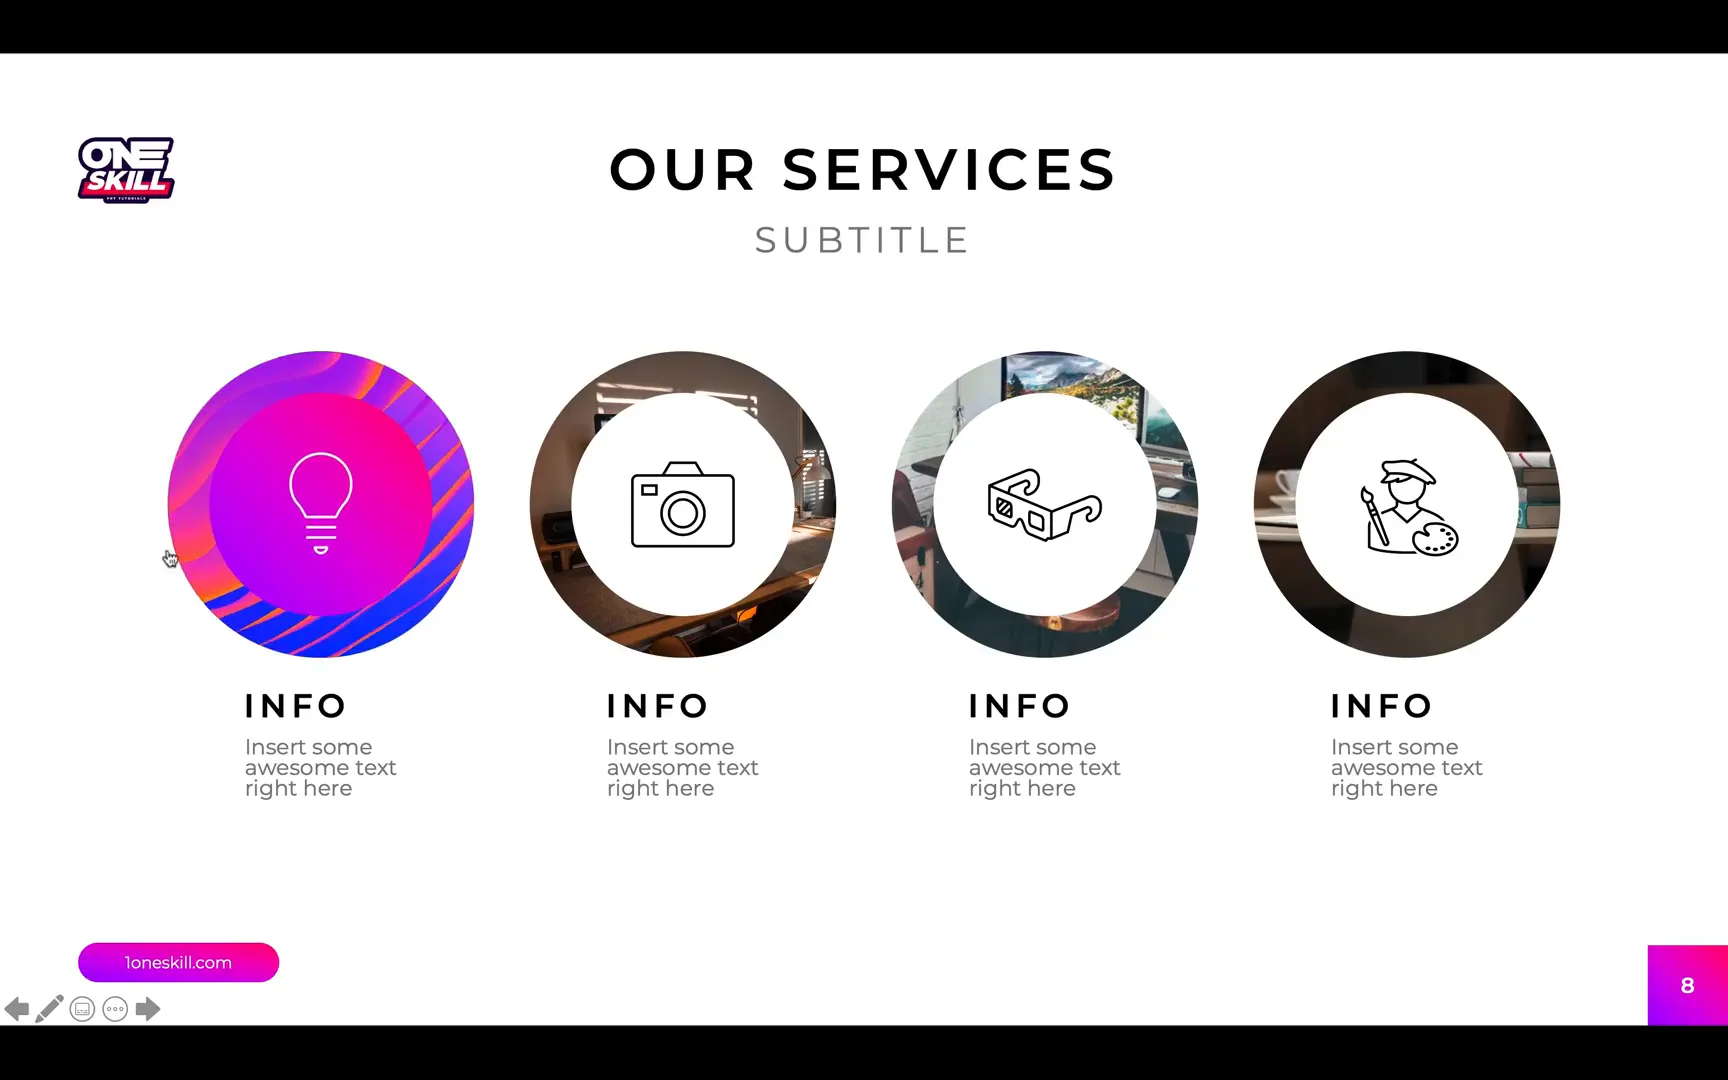
2. Adding Video Circles to Infographics
Infographics are a popular way to display data and concepts visually. But static infographics can sometimes feel flat or uninspired. By embedding videos inside infographic elements such as circles, you breathe life into your data and create a more engaging narrative.
Understanding the Concept
Imagine a circular infographic element that instead of a plain color or static image, plays a looping video clip aligned with your presentation’s theme. This technique can emphasize key points and provide subtle motion that keeps viewers interested.
Step-by-Step Guide:
- Duplicate Infographic Slides: Start by copying your existing infographic slides to preserve the originals.
- Ungroup Elements: Ungroup the infographic circles and text boxes to access individual elements.
- Insert a Video: Insert a stock video that matches the infographic’s color scheme or theme. For example, a purple-themed video for purple infographic circles.
- Resize and Position the Video: Adjust the video size so it fits the infographic circle area.
- Add a Semi-Transparent Circle Overlay: Place a semi-transparent circle shape on top of the video to maintain design consistency and add a subtle effect.
- Crop Video to Circle Shape: Select both the video and the circle shape, then use PowerPoint’s shape functions (found in the Quick Access Toolbar) to intersect them, effectively cropping the video to the circle shape.
- Playback Settings: Set the video to start automatically and loop continuously for a smooth visual effect.
- Layering: Bring important icons or smaller circles to the front to keep them visible above the video circle.
- Replicate Across Slides: Copy and paste the video circles onto other infographic slides, adjusting positioning as needed.

Animating Icons for Added Dynamism
To make your infographic even more engaging, you can animate icons within or near the video circles. For example, making light bulb icons float subtly up and down adds a playful, professional touch.
How to Animate Floating Icons:
- Select the icon you want to animate.
- Go to Animations and select a motion path animation, such as a straight line going up.
- Adjust the path length to a short distance for subtle movement.
- Set the animation duration to around 1.5 seconds.
- Enable Auto-reverse and set the animation to repeat until the end of the slide.
- Set the animation to start With Previous for seamless playback.
- Use the animation painter to copy the animation onto other icons for consistency.
Why Use Video Circles in Infographics?
- Enhances visual storytelling by adding motion
- Draws attention to key data points
- Helps maintain audience engagement
- Creates a modern, professional look
By combining video circles and animated icons, your infographics will no longer feel static or dull but will instead tell a dynamic story that resonates with your audience.
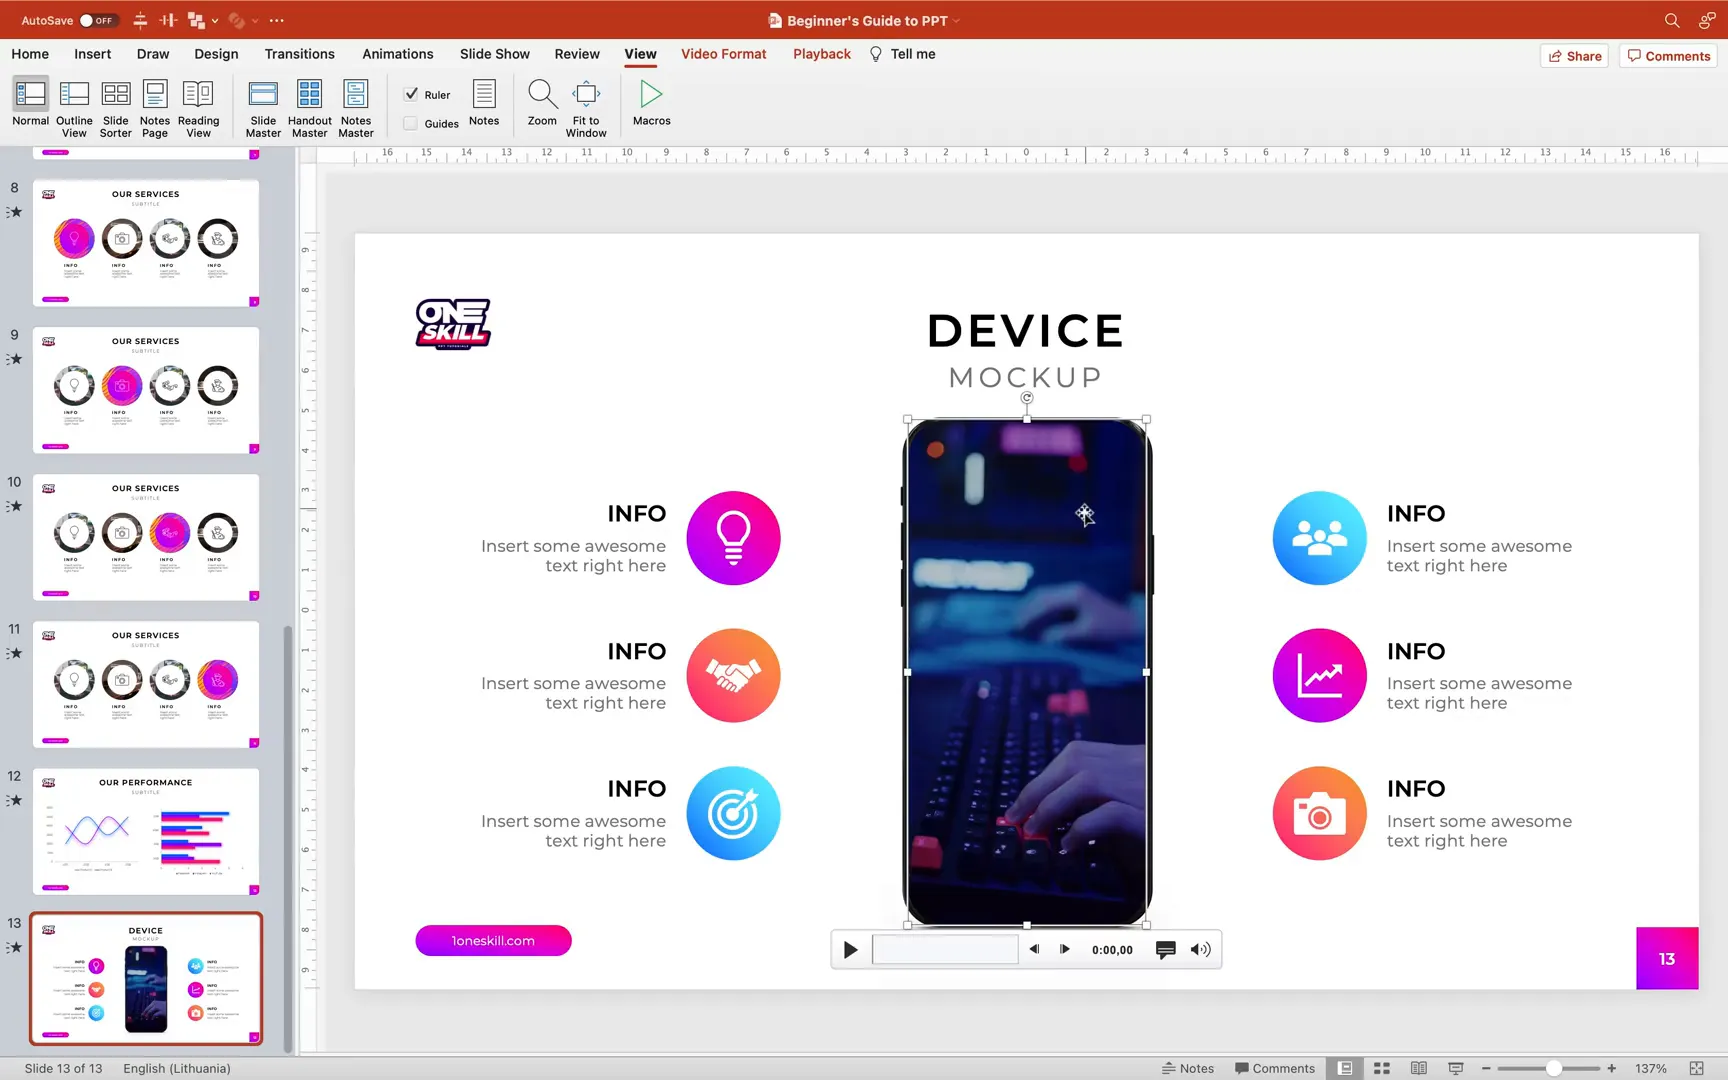
3. Inserting a Video into a Phone Mockup
Device mockups, such as phones, tablets, or laptops, are excellent for showcasing app demos, websites, or video content in a realistic context. Embedding videos inside these frames enhances professionalism and helps your audience visualize the content as it would appear on a real device.
Step-by-Step Guide:
- Obtain a Device Frame: Download a high-quality phone mockup image from resources like Freepik.
- Insert the Phone Frame: Add the phone frame image to your PowerPoint slide and position it appropriately.
- Choose Your Video: Select a video that fits the theme of your presentation. For example, a clip of a person typing on a keyboard for a tech-related presentation.
- Insert the Video: Go to Insert > Video and choose the video file from your computer.
- Resize and Align: Adjust the video’s height and width to match the phone frame’s screen size. Position them side by side to align properly.
- Create a Rounded Rectangle Shape: Insert a rounded rectangle shape that covers the phone’s screen area exactly. This will be used to crop the video.
- Crop Video to Shape: Select the video and the rounded rectangle together, then use the Intersect shape function to crop the video to the phone screen shape.
- Layering: Send the cropped video behind the phone frame image so the frame is visible on top.
- Set Playback Options: Set the video to loop and start automatically.
- Manage Animations: Ensure the video animation starts with previous and is at the top of the animation pane for smooth playback.
- Rename Objects: Use the selection pane to rename the video object for easier management.
Benefits of Using Device Mockups with Videos
- Presents content in a realistic and relatable format
- Helps clients or audiences visualize apps or websites in context
- Elevates the professionalism of your presentation
- Works well for product demos, portfolios, and pitches
Tips for Working with Videos in PowerPoint
- Use High-Quality Videos: Opt for HD or 4K videos to maintain clarity when resizing.
- Keep File Size Manageable: Compress videos if needed to avoid lag during presentations.
- Test Playback: Always preview your slides in full screen to check video playback and animations.
- Use Looping Wisely: Loop videos for backgrounds or infographic elements but avoid looping in distracting ways.
- Coordinate Colors: Choose videos that match or complement your slide color scheme for cohesive design.
- Layer Thoughtfully: Manage the layering order carefully to ensure all elements are visible and properly arranged.
- Use Keyboard Shortcuts: Familiarize yourself with shortcuts like Shift + Command + B for sending objects to back to speed up your workflow.
Frequently Asked Questions (FAQ)
Q1: Can I use videos from any source in PowerPoint?
A1: Yes, you can insert videos from your computer or online sources, but ensure you have the rights to use them. PowerPoint also offers a library of stock videos you can explore.
Q2: Will videos increase the size of my PowerPoint file?
A2: Yes, embedding videos will increase the file size. To manage this, use compressed videos or link videos instead of embedding, though linking requires keeping the video files alongside your presentation.
Q3: Can I loop videos automatically during the presentation?
A3: Absolutely. In the video playback settings, you can set videos to start automatically and loop continuously until you stop the slide or move on.
Q4: How do I crop videos into shapes like circles or device screens?
A4: Select the video and the shape you want to crop to, then use the Intersect function in PowerPoint’s shape tools to crop the video into the desired shape.
Q5: Are these video techniques compatible with all versions of PowerPoint?
A5: Most features are available in Microsoft 365 and recent versions of PowerPoint. Some older versions may lack advanced shape functions or stock video libraries.
Q6: Can I add animations to videos and icons simultaneously?
A6: Yes, you can animate videos and icons separately. For example, you can loop a video while animating an icon to float up and down using motion paths.
Conclusion: Elevate Your Presentations with Creative Video Use
Incorporating videos into your PowerPoint presentations unlocks a new level of engagement and professionalism. Whether you’re using full-screen video backgrounds to set the tone, animating infographic circles with vibrant video loops, or embedding videos inside device mockups to showcase apps or products, these techniques will make your slides stand out.
Remember, the key to success is balancing motion with clarity. Use videos to enhance your message, not overshadow it. With the step-by-step methods outlined above, you can confidently add creative video elements to your slides and captivate your audience like never before.
Stay inspired, keep experimenting, and enjoy the process of bringing your presentations to life with video!


