Creating visually stunning presentations is an essential skill for professionals, educators, and creatives alike. One of the most powerful tools to elevate your slides is the use of custom image placeholders, also known as custom photo masks. These allow you to insert images that automatically conform to unique shapes and designs, saving time and enhancing the aesthetic appeal of your presentations. In this comprehensive tutorial, I will guide you through the process of creating these awesome custom image placeholders across three major platforms: Microsoft PowerPoint, Apple Keynote, and Google Slides. Whether you want elegant rectangles, playful bubbles, skewed shapes, or even intricate animal and letter shapes, this guide has you covered.
Throughout this article, you’ll learn step-by-step methods to build custom layouts that make your images seamlessly fit into your slide designs. I’ll also share tips on how to reuse shapes across platforms and how to overcome limitations, especially in Google Slides. Let’s dive in!
Table of Contents
- Understanding Image Placeholders and Their Power
- Creating Custom Image Placeholders in PowerPoint
- Creating Custom Image Placeholders in Keynote
- Creating Custom Image Placeholders in Google Slides
- Tips and Resources for Your Slide Design Journey
- Frequently Asked Questions (FAQ)
- Conclusion
Understanding Image Placeholders and Their Power
Before we jump into the creation process, it’s important to understand what an image placeholder is and why it’s so useful. An image placeholder is essentially a predefined area on a slide where images can be inserted. The magic happens because any image you place inside this placeholder automatically adopts the shape and size defined by the placeholder. This means you don’t have to manually crop, resize, or align every photo you add to your slides.
Imagine having a rectangular photo area on the left side of your slide. When you insert a photo into that placeholder, the image perfectly fits inside that rectangle without any extra effort. Want to change the photo? Just replace it, and the new image will automatically adapt to the same shape and size. This functionality dramatically speeds up your workflow and ensures consistent design throughout your presentation.
Creating Custom Image Placeholders in PowerPoint
PowerPoint offers robust tools for creating custom image placeholders through Slide Master View. These placeholders are saved within slide layouts, allowing you to reuse them across your presentation easily. Here’s how you can create various custom image placeholders in PowerPoint:
Step 1: Setting Up the Base Slide
Start by opening PowerPoint and preparing a slide that contains your desired text boxes, logos, footers, and any other elements you want to include. Some elements, like logos and footer slide numbers, can be inserted in Slide Master View to keep them consistent across slides.
Focus on the image placeholder area where you want your custom photo mask to appear.
Step 2: Creating a Simple Rectangular Photo Placeholder
Let’s begin with a straightforward rectangular photo placeholder aligned to the left side of the slide.
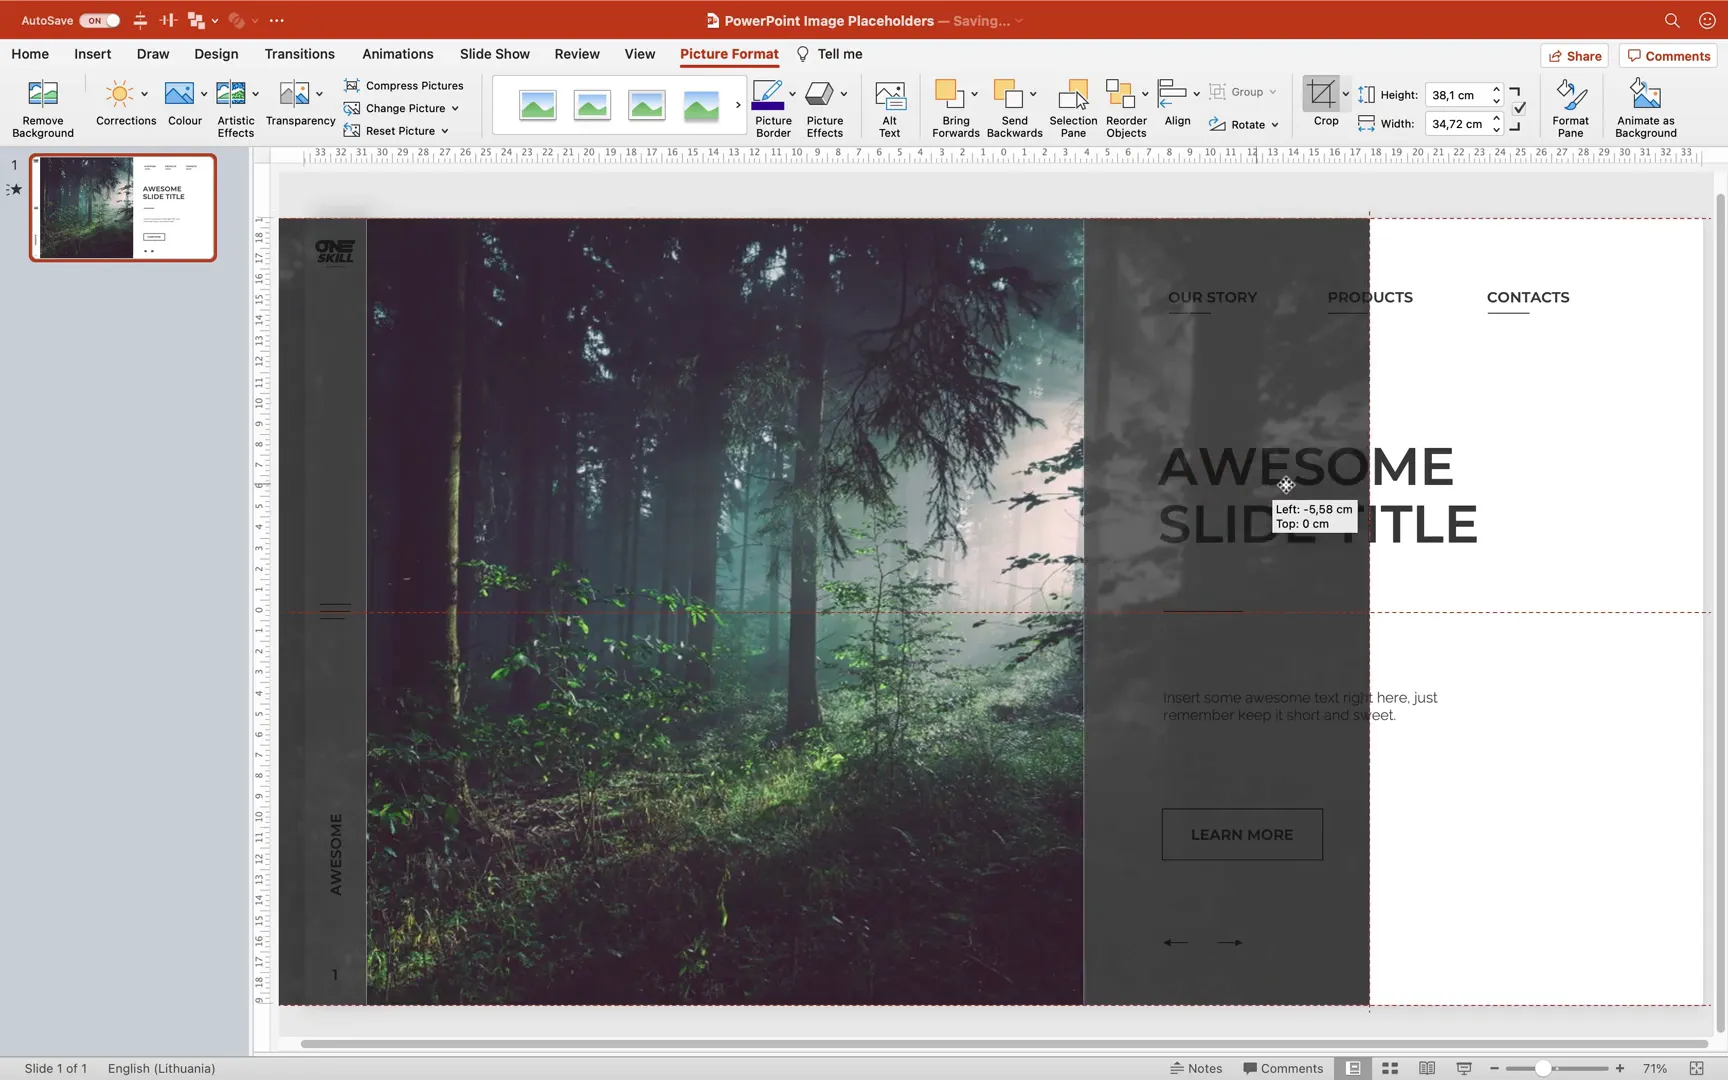
- Insert any photo the traditional way by going to Insert > Pictures and selecting your desired image.
- Drag and crop the photo to fit the intended area.
- Notice that if you want to change the photo later, you’d have to delete it and repeat the insertion and cropping process, which is inefficient.
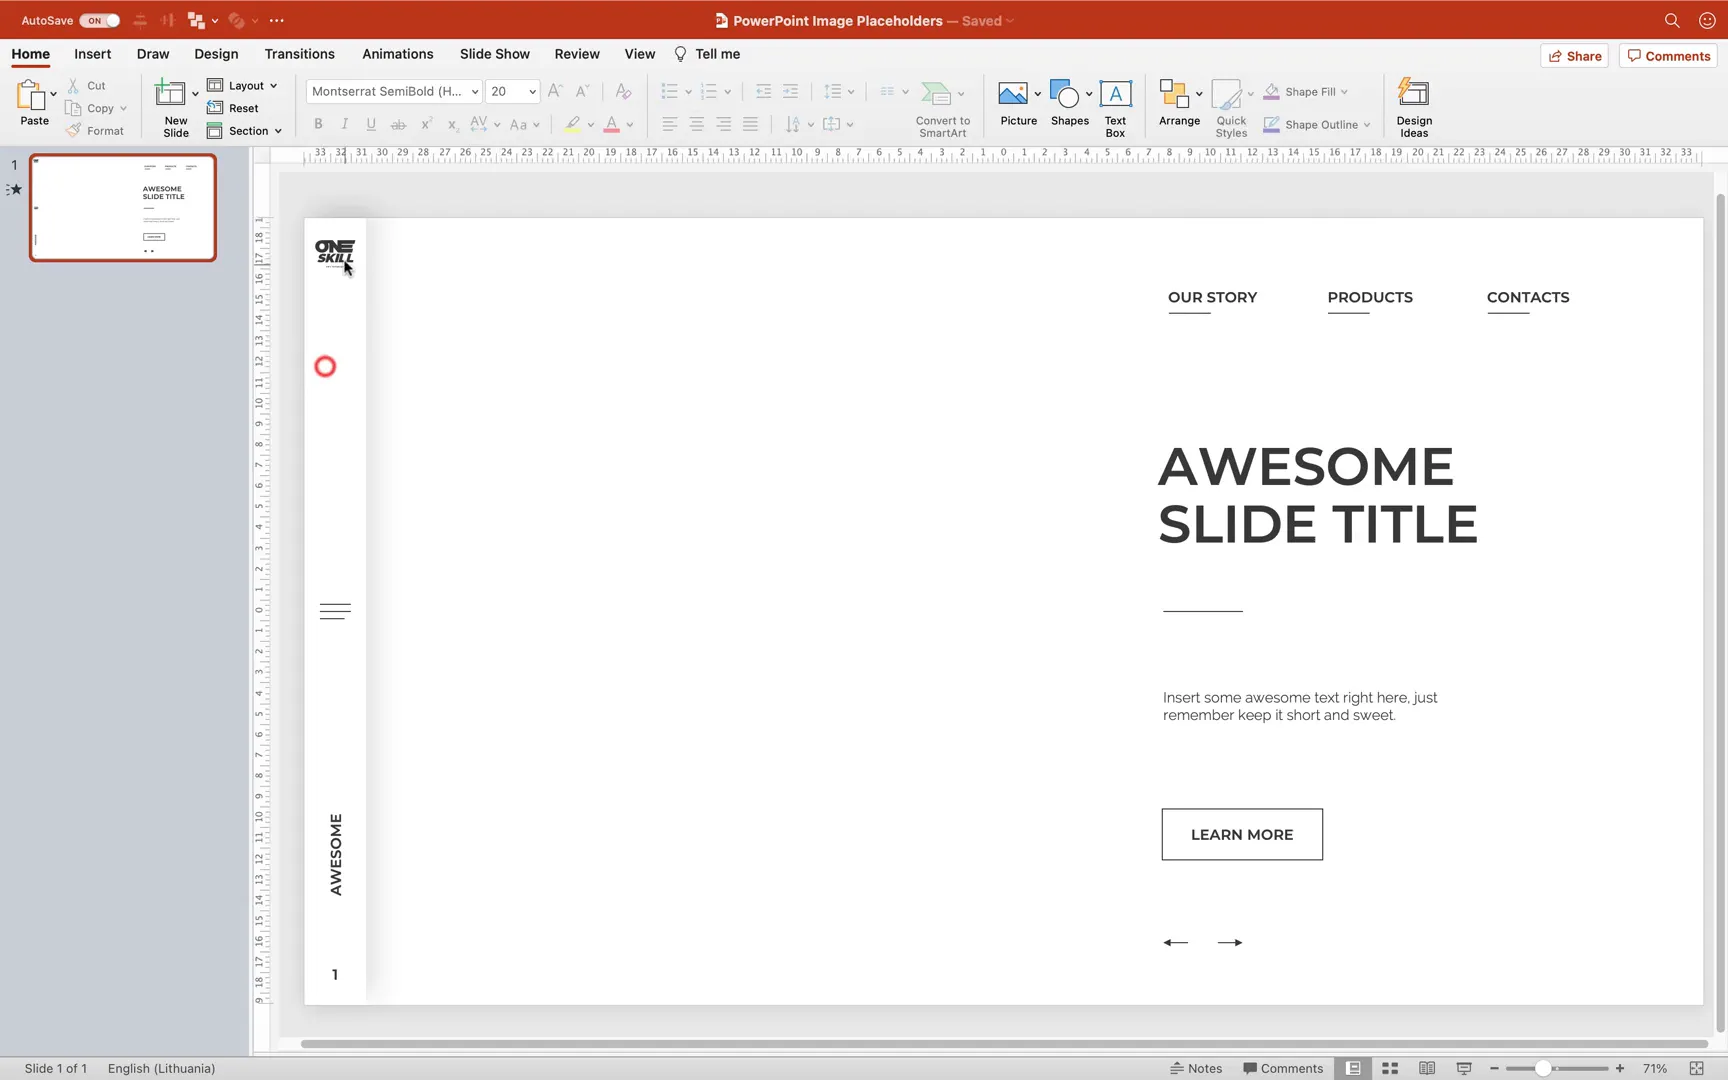
- To solve this, switch to Slide Master View (View > Slide Master).
- Duplicate the Blank slide layout and rename it, for example, “Photo Left.”
- Click Insert Placeholder > Picture Placeholder and draw a rectangular placeholder where you want the image.
- Resize and align the placeholder using guides or a grid for precision. You can activate guides via the View menu or use the BrightSlide add-in for advanced grid setups (link provided in resources).
- Exit Slide Master View to return to the normal slide editing mode.
- Apply the new “Photo Left” layout to your slide via the Layout menu.
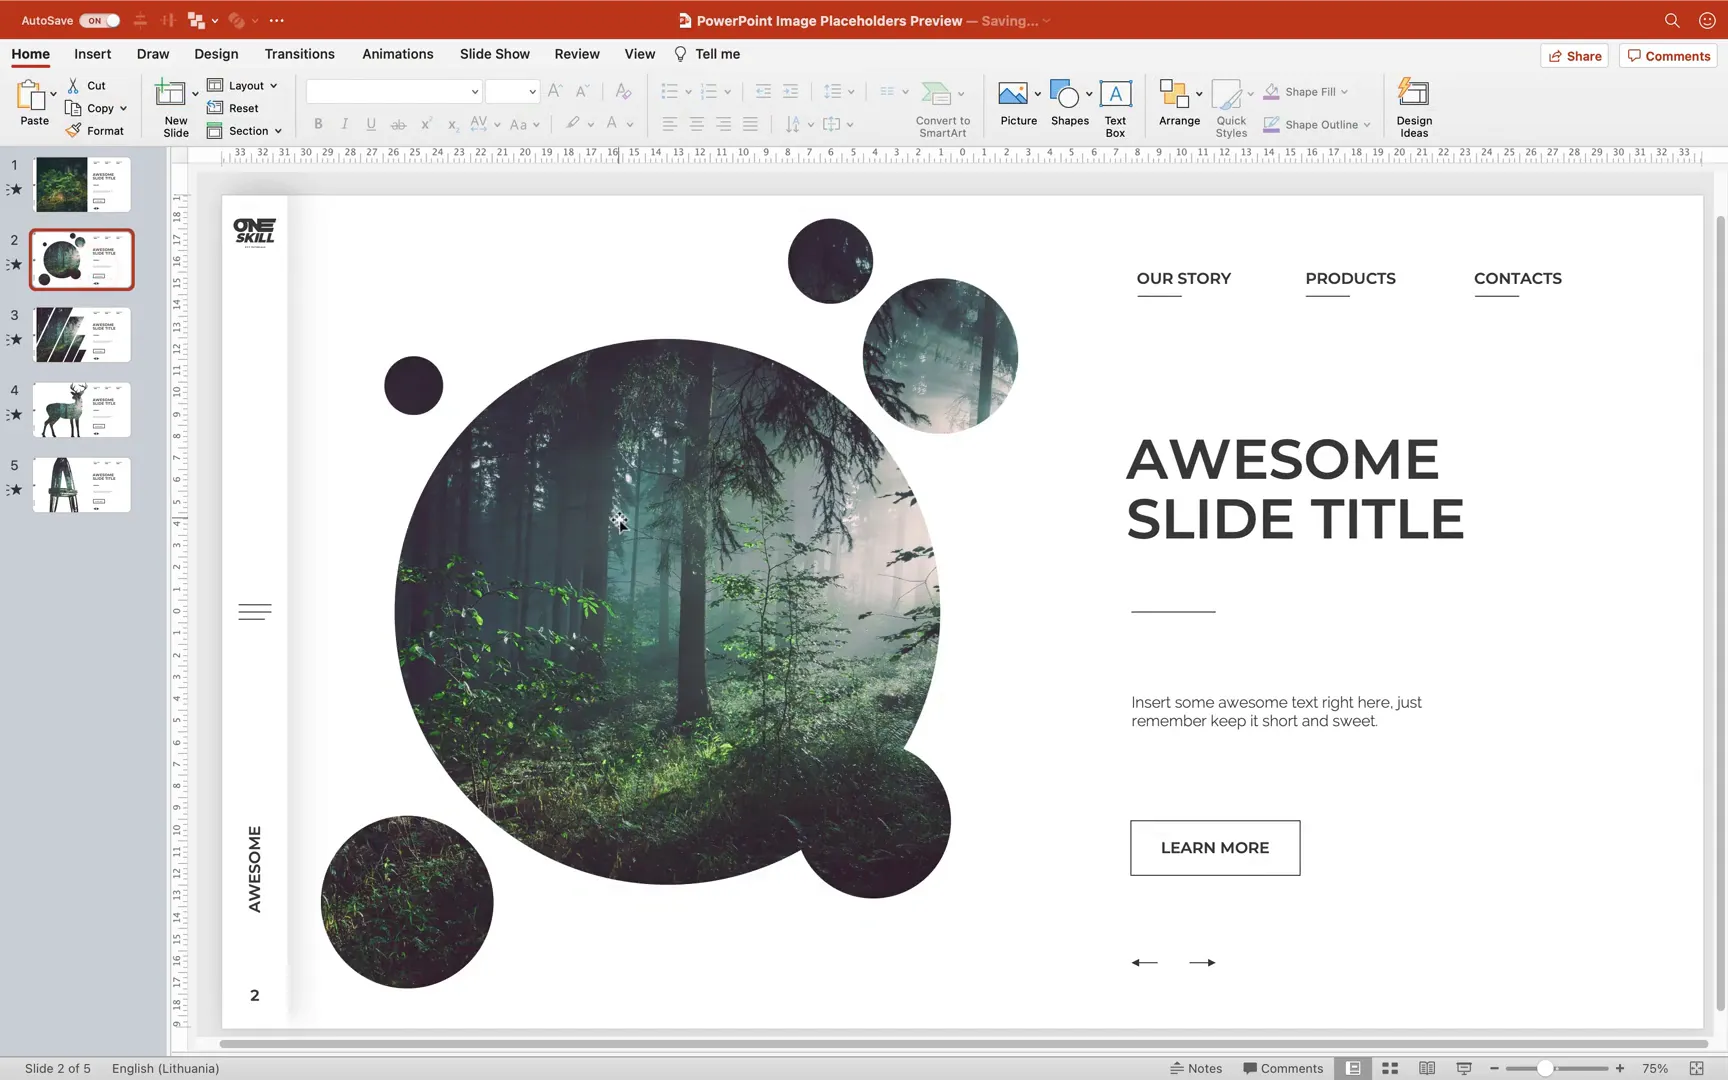
- Click the image button inside the placeholder to insert or replace photos. The images will automatically conform to the rectangular shape.
This approach saves time and ensures uniform photo placement throughout your presentation.
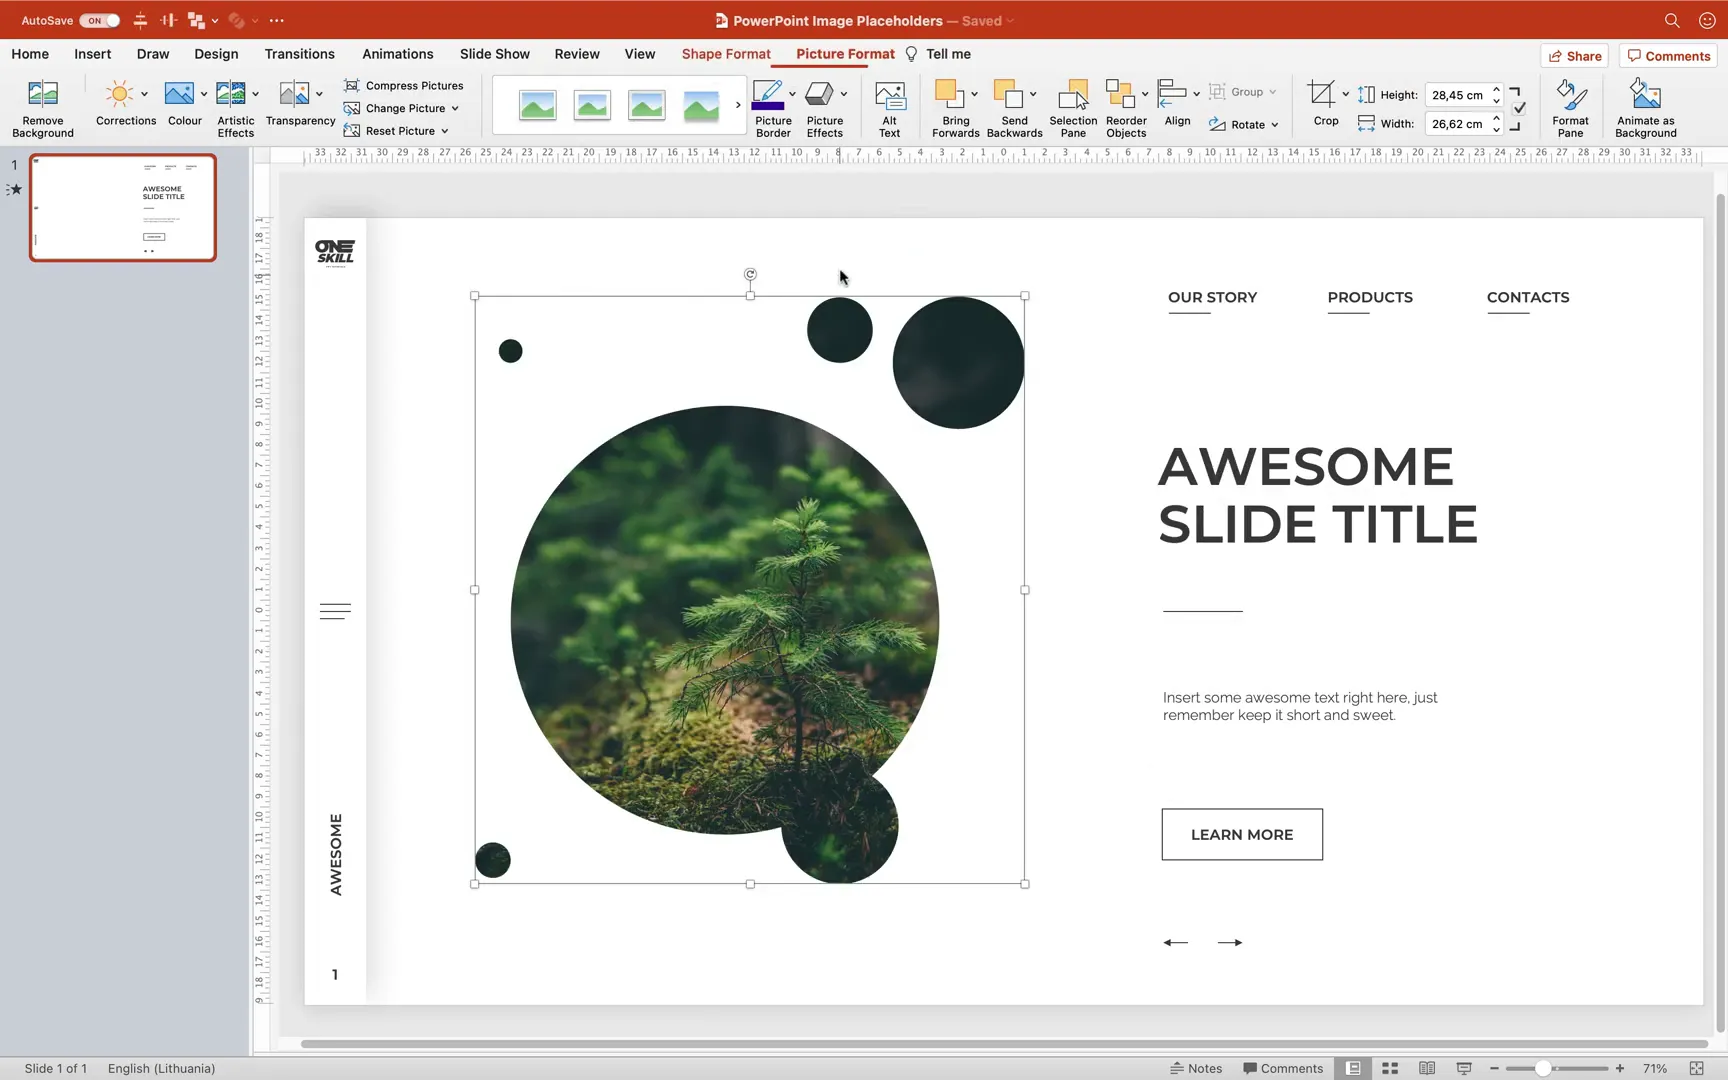
Step 3: Creating a Bubble-Shaped Image Placeholder
For a more creative look, you can design a bubble-shaped image placeholder composed of multiple circles merged into a single shape.
- In normal slide view, insert multiple circle shapes (Insert > Shapes > Oval) by holding the Shift key to make perfect circles.
- Remove transparency to better see the circles.
- Duplicate and scatter the circles across the desired area, resizing as needed.
- Select all circles by holding Shift and clicking each one.
- Use the Merge Shapes > Union function to combine all circles into one large shape.
- Cut or copy the resulting bubble shape.
- Go back to Slide Master View, duplicate a slide layout, and paste the bubble shape.
- Select both the picture placeholder and the bubble shape, then use Merge Shapes > Intersect to create the bubble-shaped image placeholder.
- Rename the slide layout “Bubbles” and exit Slide Master View.
- Apply the new layout and insert images into the bubble placeholder. You can crop and zoom images inside the bubble as usual.
This technique creates playful and unique photo areas perfect for informal or creative presentations.
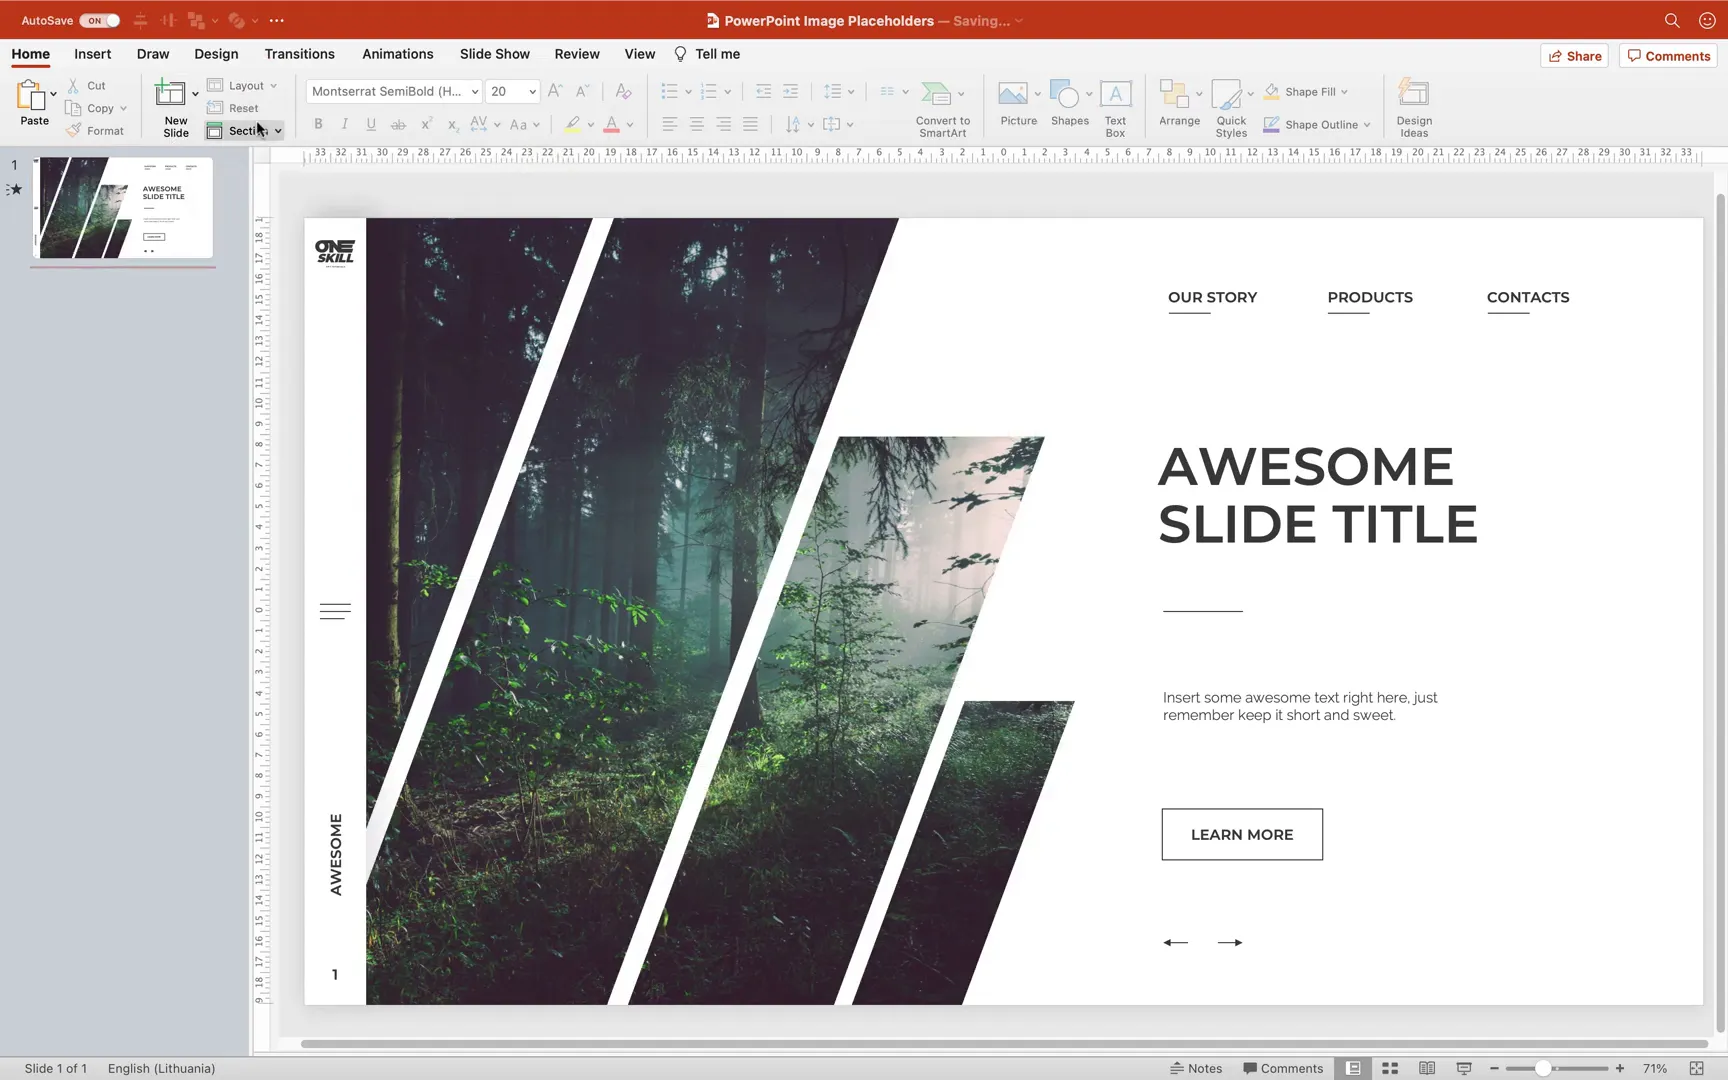
Step 4: Designing Skewed Rectangular Placeholders
Skewed rectangles add a dynamic and modern feel to your slides. Here’s how to create them:
- Insert the parallelogram or skewed rectangle shape (Insert > Shapes).
- Resize it so it touches the top and bottom of the slide.
- Use the yellow adjustment handle to skew the rectangle horizontally.
- Position it where you want the image placeholder.
- Duplicate the shape multiple times (Ctrl + drag) to create additional skewed rectangles, varying sizes as you see fit.
- Select all rectangles and merge them using Merge Shapes > Union.
- Adjust transparency to see overlapping areas better.
- Create a large rectangle to cut off unwanted parts of the skewed shape.
- Select both the skewed union shape and the large rectangle, then use Merge Shapes > Subtract to trim the shape.
- Reset transparency to normal.
- Go to Slide Master View, duplicate a slide layout, and paste the skewed shape.
- Select the picture placeholder and skewed shape, then Merge Shapes > Intersect to create the custom placeholder.
- Rename the layout “Rectangles” and apply it in normal view.
These skewed placeholders are perfect for presentations needing a sleek, contemporary style.
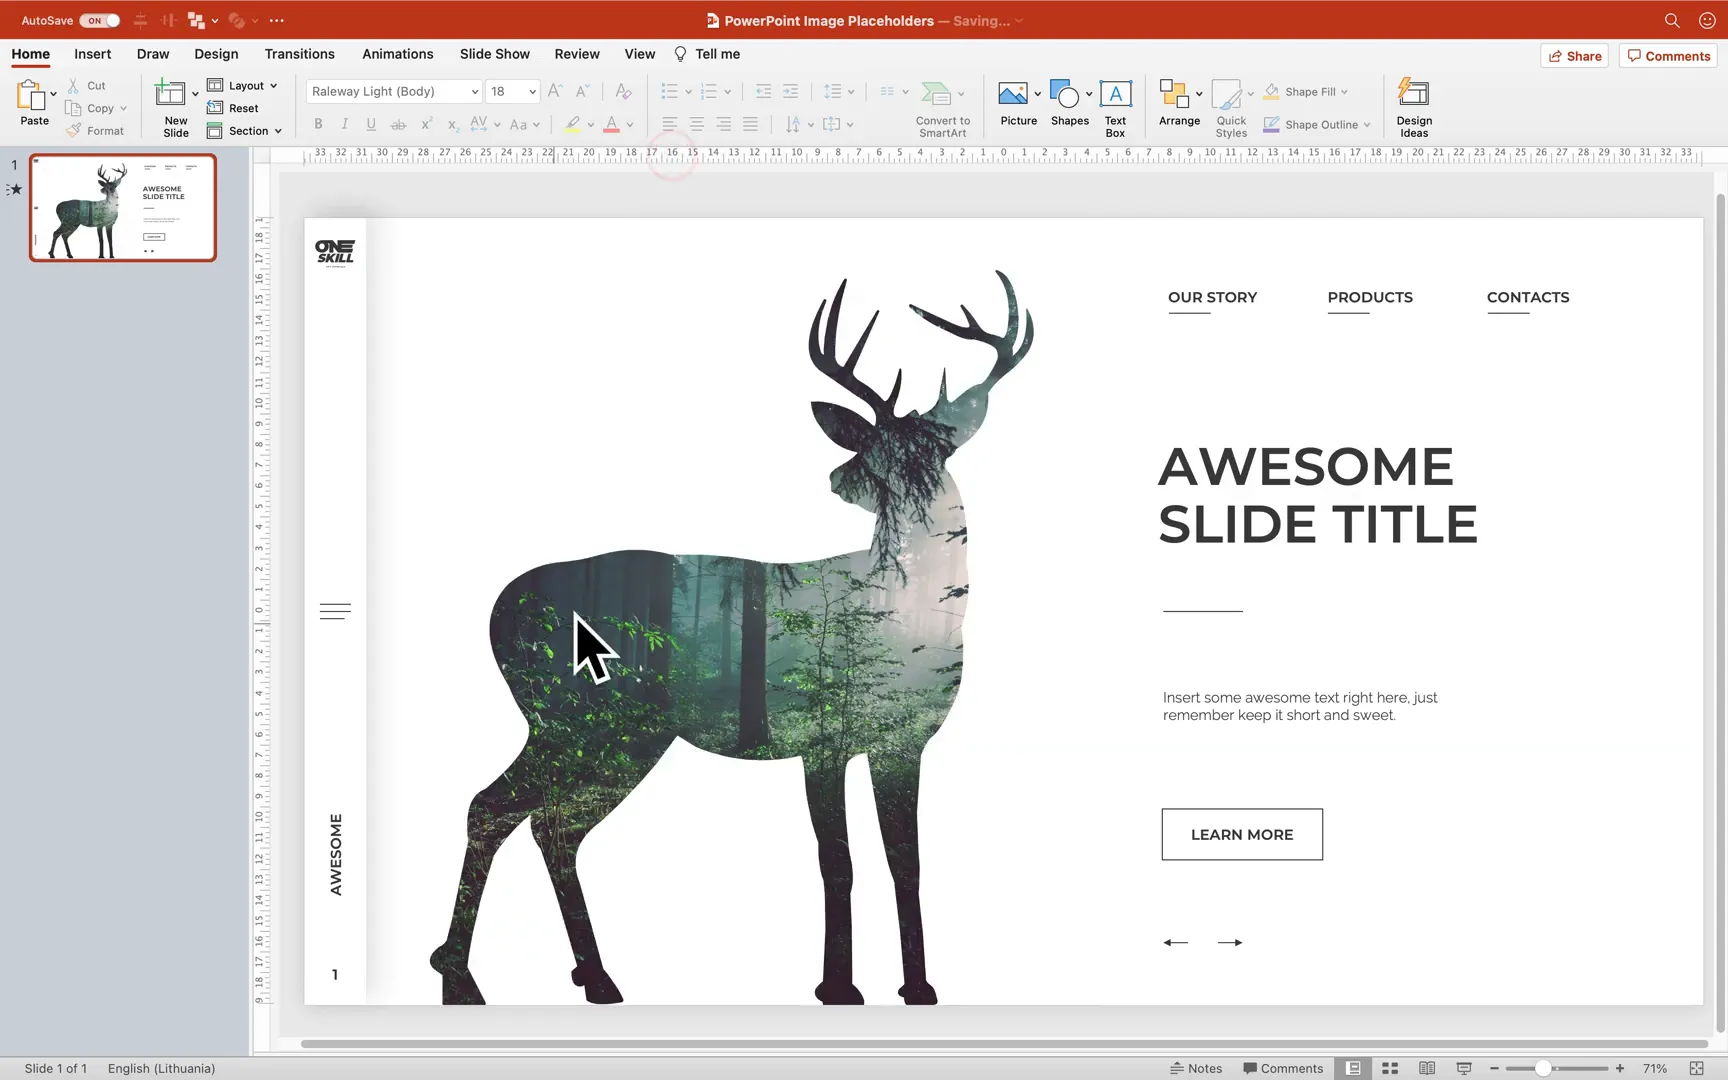
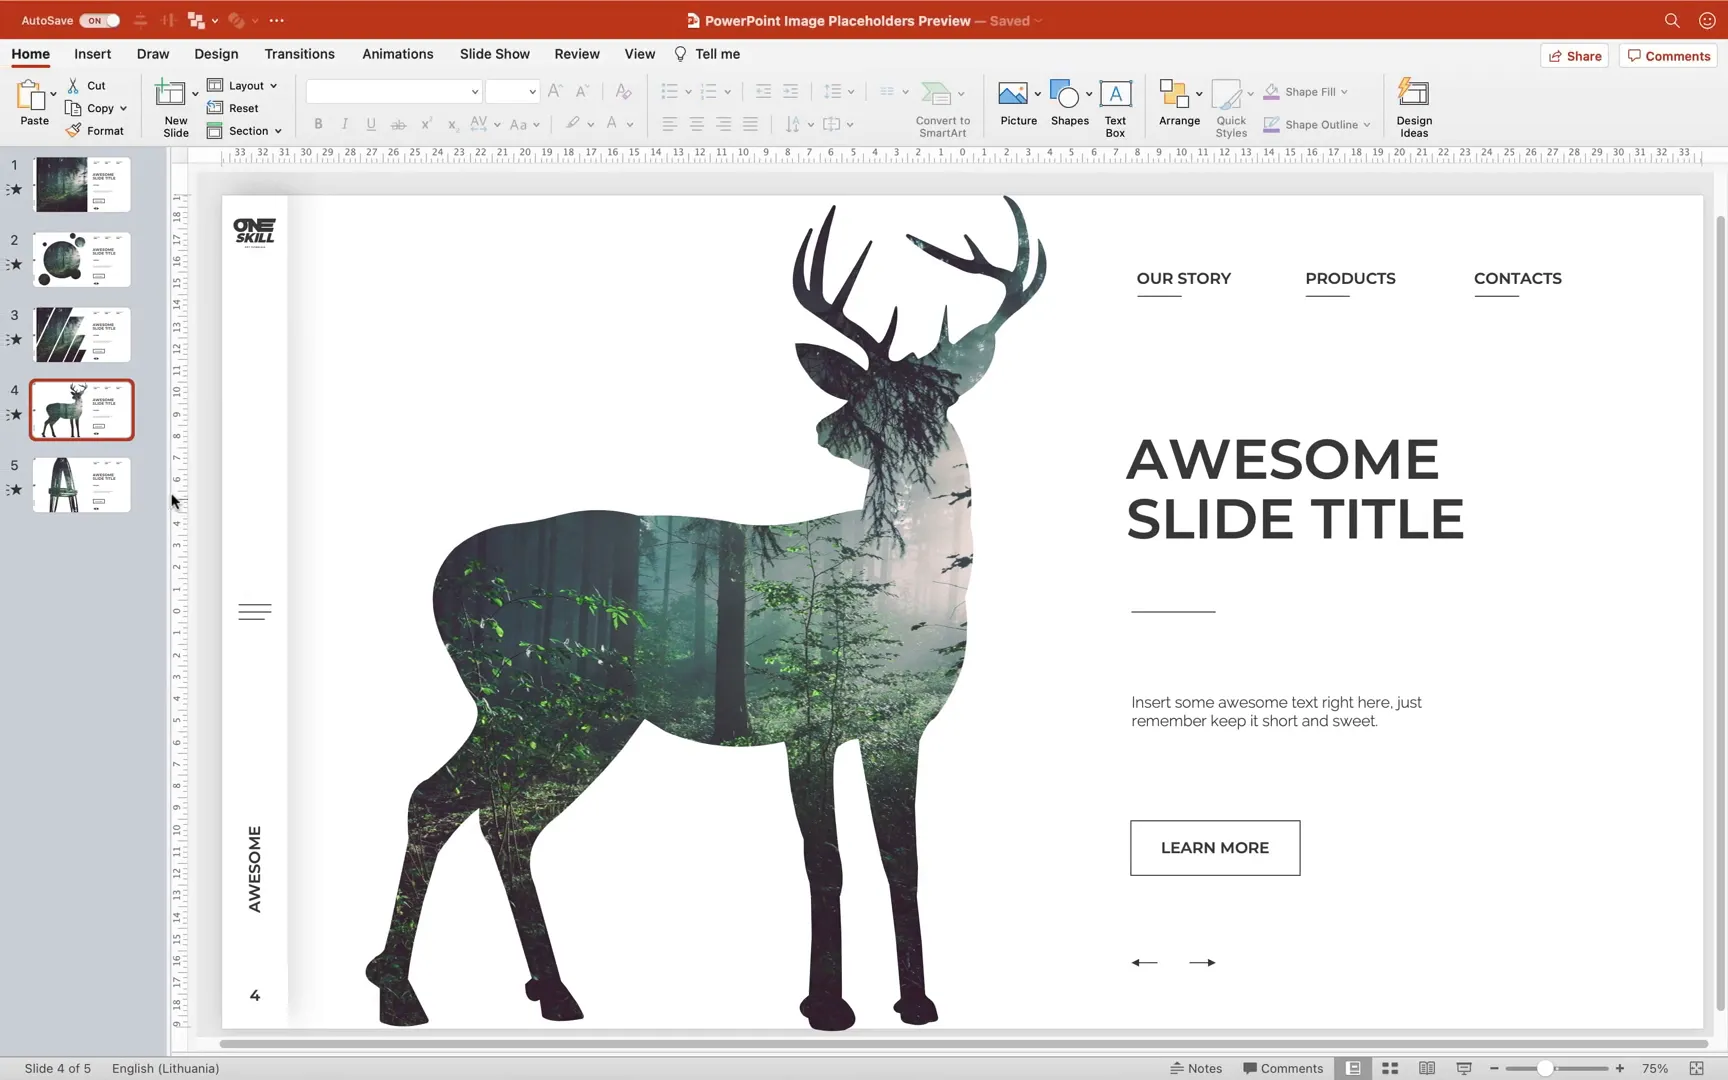
Step 5: Creating a Custom Animal-Shaped Placeholder (Deer)
For a truly unique touch, you can create image placeholders in the shape of animals or other vector illustrations.
- Obtain an SVG vector illustration of the desired shape (e.g., a deer). A link to the deer SVG is provided in the resources.
- Import the vector into PowerPoint and convert it to an editable shape by ungrouping and converting to shape.
- Resize the shape as needed.
- Cut the shape to clipboard.
- In Slide Master View, duplicate a slide layout and paste the animal shape.
- Select the picture placeholder and the animal shape, then merge shapes with Intersect.
- Rename the layout “Animals” and apply it in normal view.
- Insert images into the animal-shaped placeholder to see your photos take the form of the deer or other shapes.
This method is ideal for themed presentations or to add a personal, creative flair.
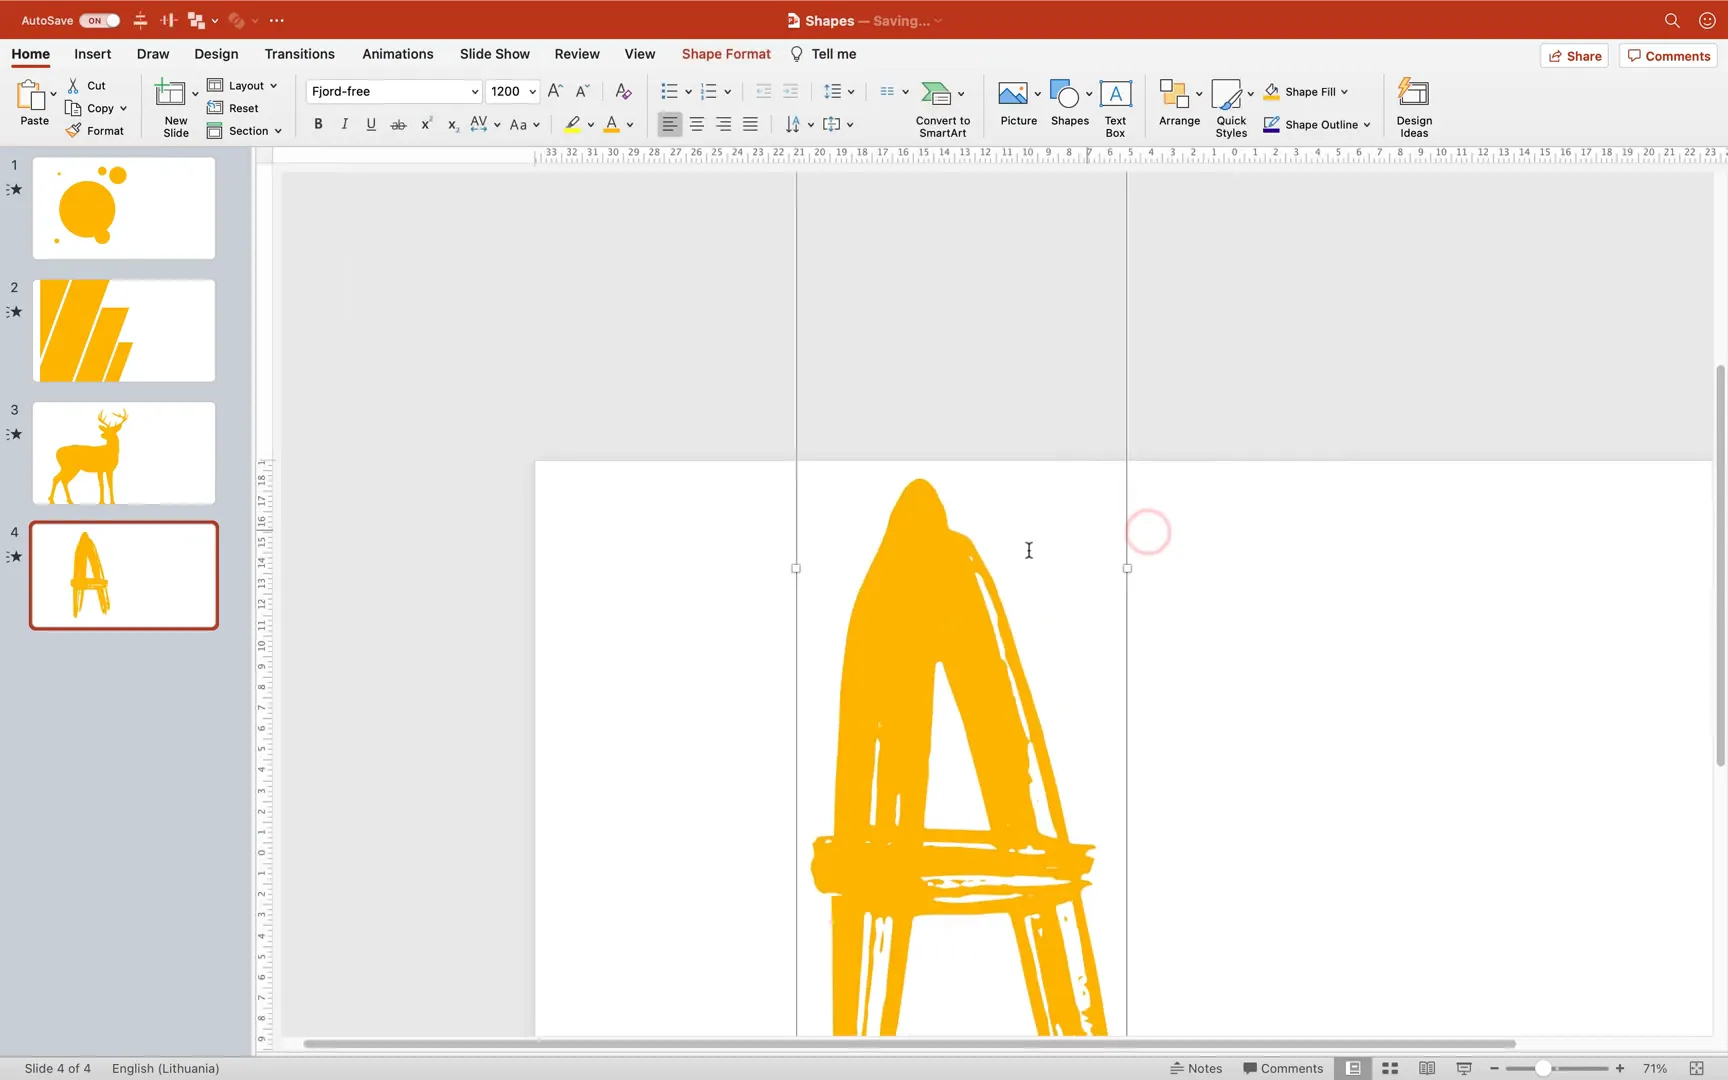
Step 6: Crafting a Brushed Letter Image Placeholder
Letters as image placeholders can be an artistic way to highlight initials or titles. Here’s how to create a custom letter-shaped placeholder:
- Insert a text box and type the desired letter (e.g., “A”).
- Set the font size very large (around 1200 pt for HD slides). Adjust if your slide size differs.
- Choose a brush-style font like Fjord (free font link in resources) and set a bright color matching your design.
- Cut the text box.
- In Slide Master View, duplicate a slide layout and paste the letter.
- Select the picture placeholder and the letter, then merge shapes with Intersect.
- Rotate or resize the letter shape as needed.
- If the letter is still a text box (editable text), convert it to a shape by:
- Inserting a large rectangle covering the letter.
- Sending the rectangle to back.
- Selecting both the rectangle and letter, then merging shapes with Intersect.
- This converts the letter into an editable shape suitable as an image placeholder.
- Fix any parts of the letter sticking outside the slide by subtracting small rectangles from the edges.
- Rename the layout “Letters” and apply it in normal view.
This technique enables you to create striking typographic image placeholders perfect for branding or creative presentations.
Creating Custom Image Placeholders in Keynote
Apple’s Keynote also supports custom image placeholders, though with some differences in workflow and capabilities compared to PowerPoint. Here’s how to create similar placeholders in Keynote:
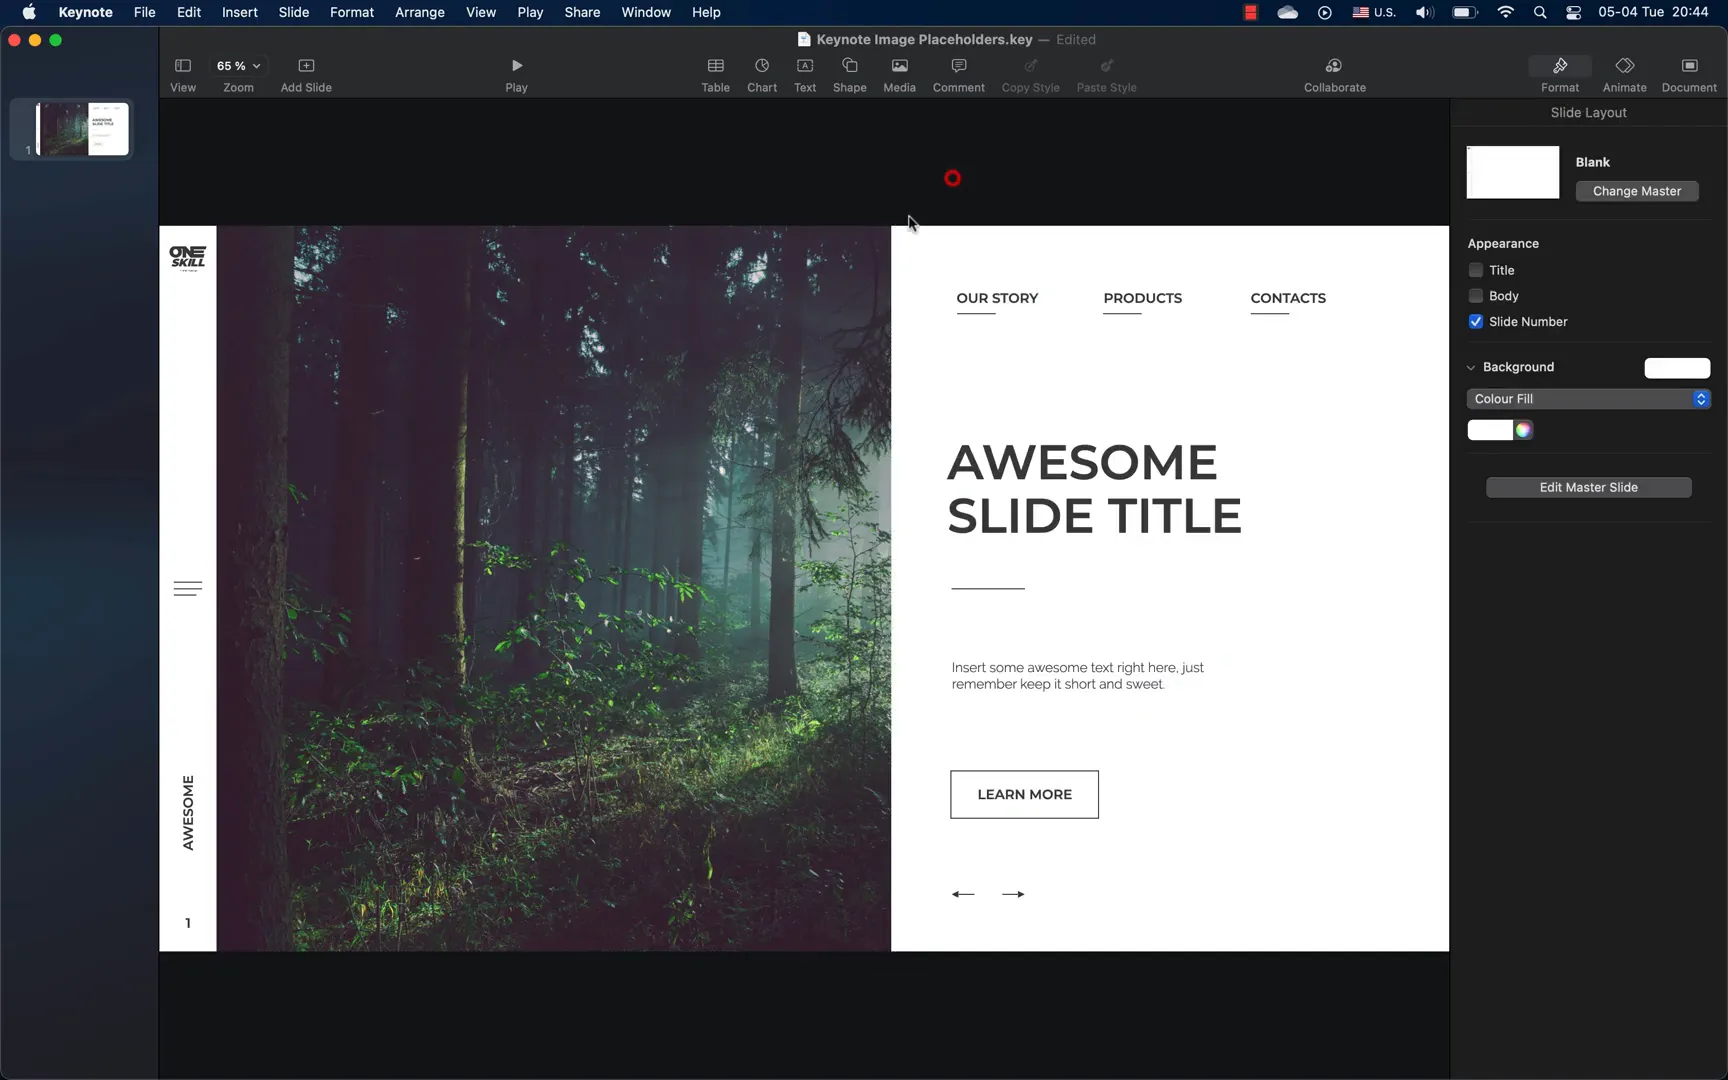
Step 1: Inserting and Cropping Photos
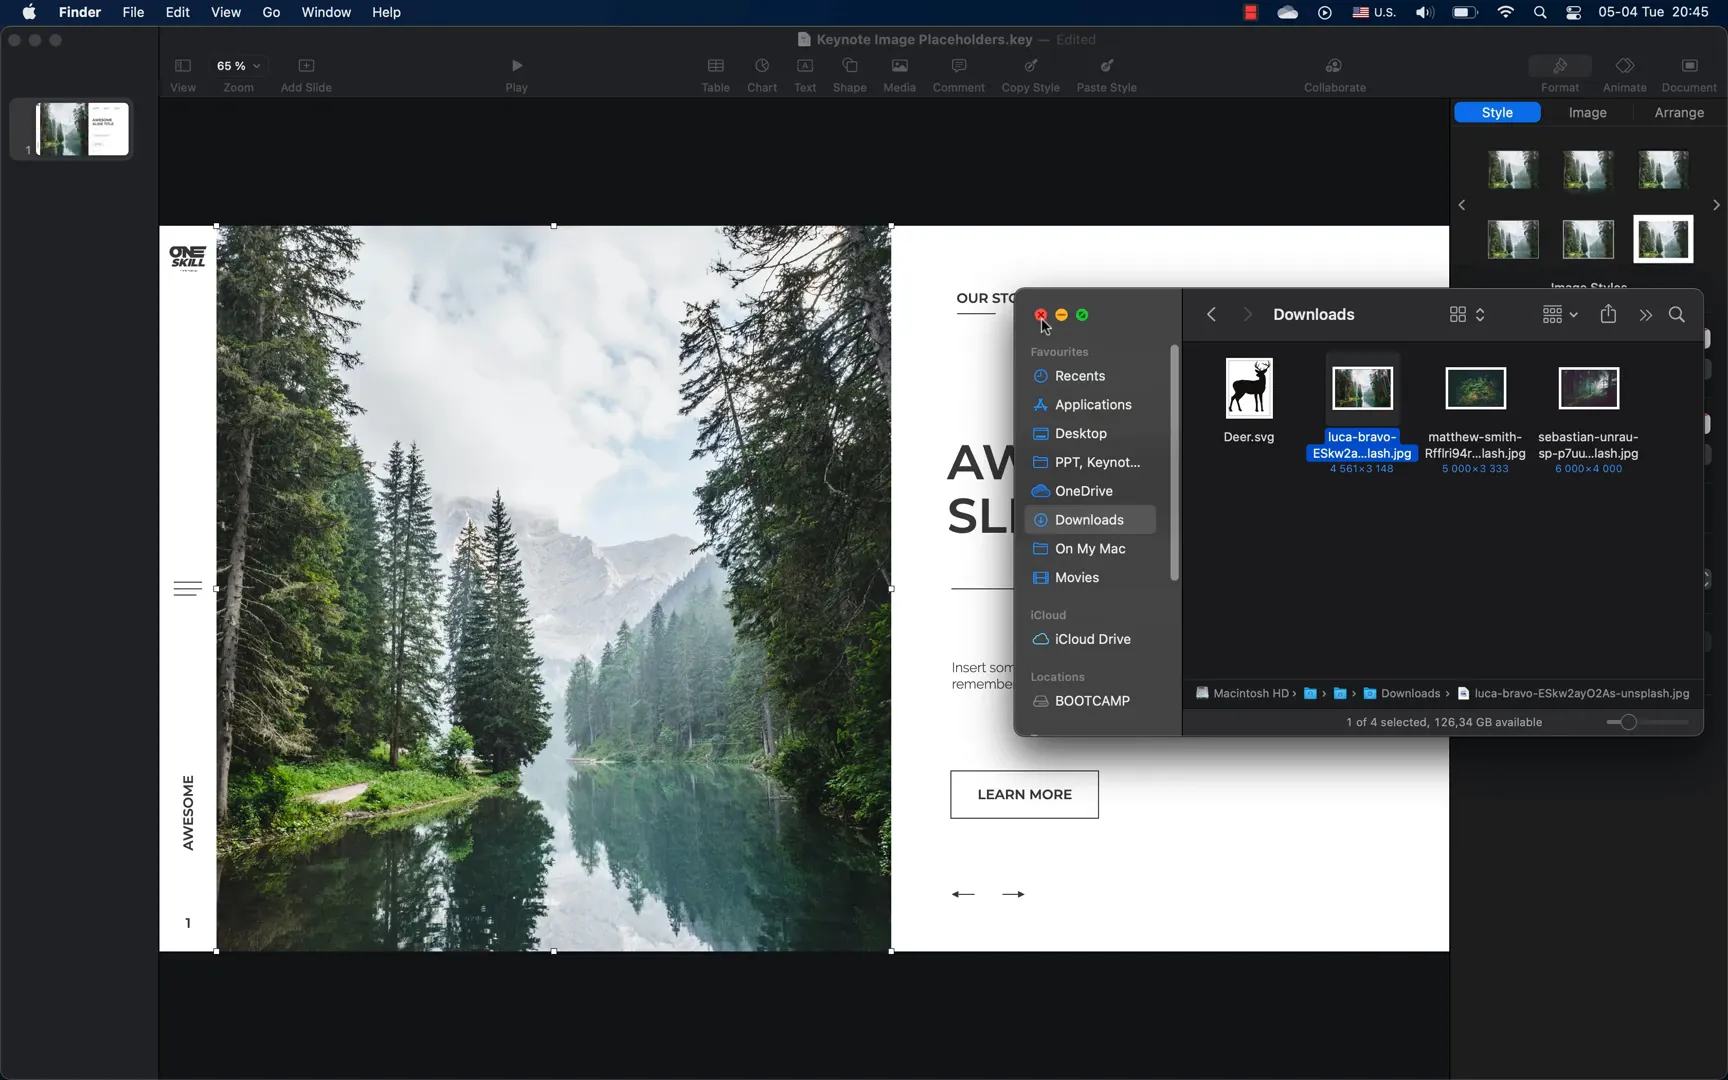
Start with your base slide containing text boxes and other elements. Insert a photo via Media > Choose.
To crop the photo, right-click and select “Edit Mask.” Adjust the cropping area using the black handles and click “Done” when satisfied.
Keynote’s image options include a “Replace” button, allowing you to quickly swap photos inside an image placeholder, mimicking placeholder behavior.
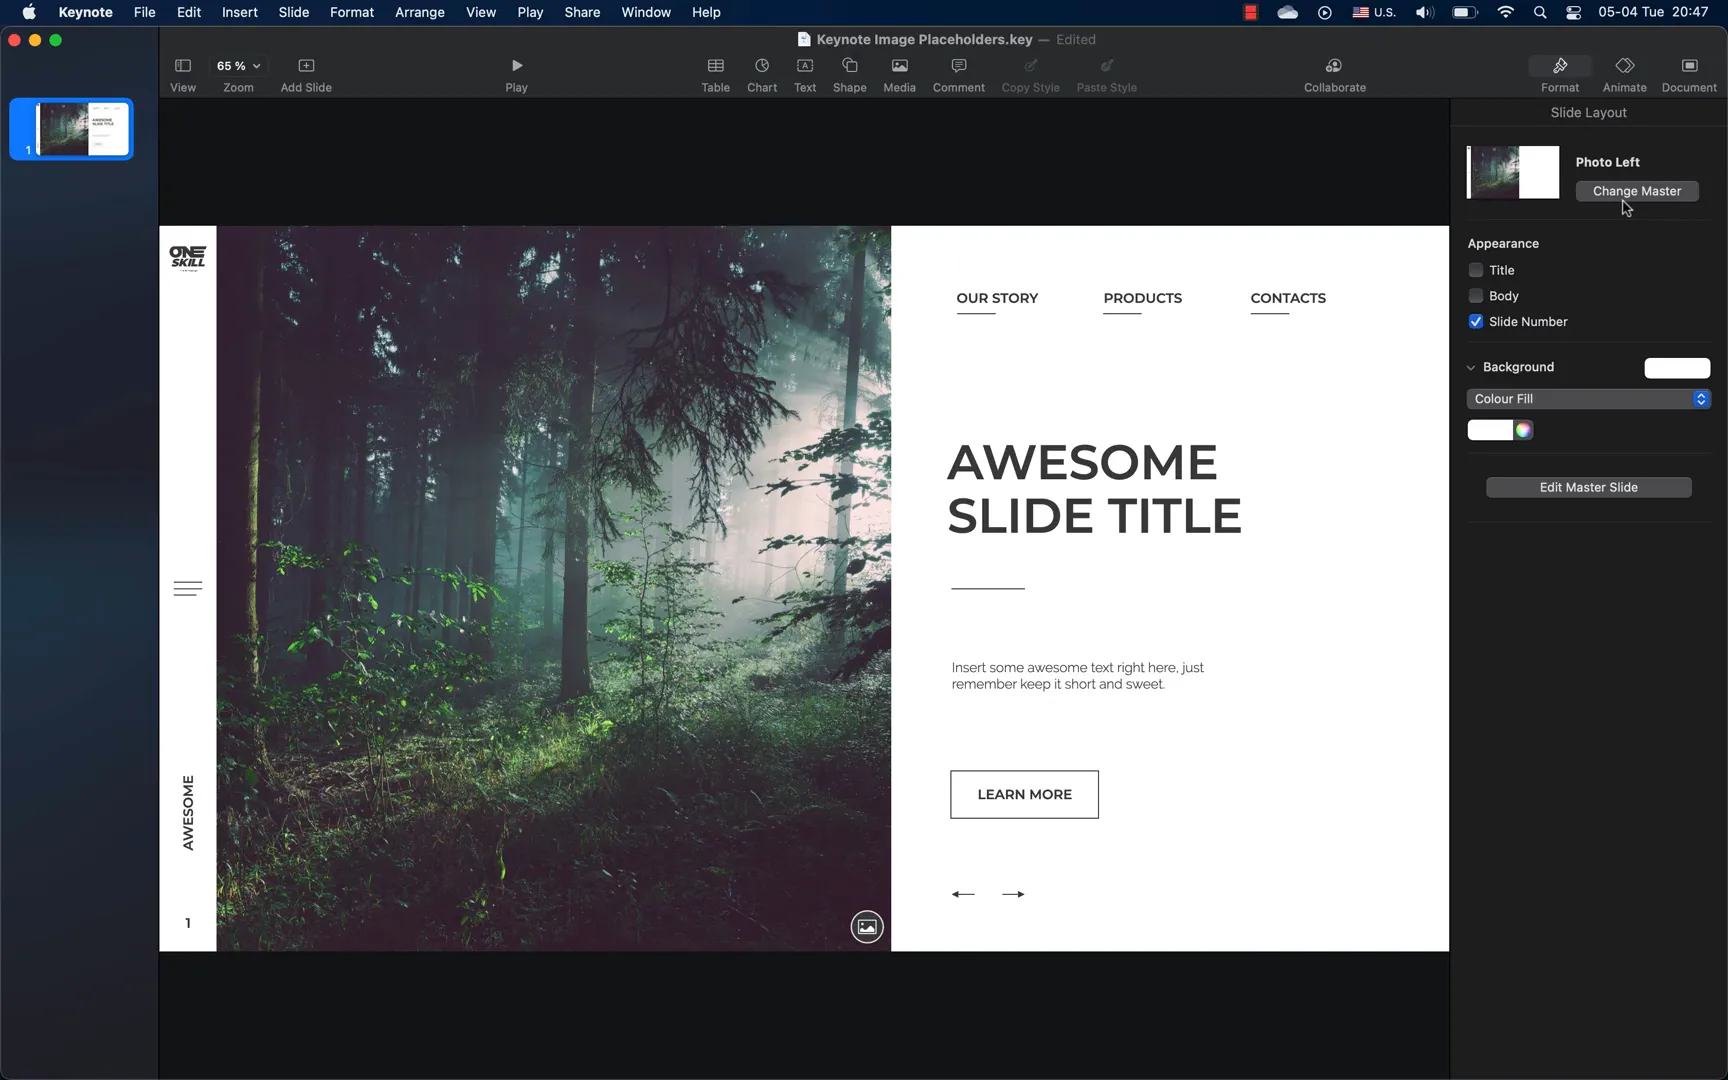
Step 2: Defining Media Placeholders in Slide Master
- Enter Slide Master View (Edit Master Slides).
- Duplicate the blank slide layout and rename it “Photo Left.”
- Paste the photo and select it.
- In the Style tab, define the photo as a Media Placeholder.
- Exit Slide Master View and apply the new layout.
- Drag and drop new photos onto the placeholder to replace images seamlessly.
This approach mirrors PowerPoint’s placeholders but with Keynote’s unique interface.
Step 3: Creating Bubble-Shaped Placeholders in Keynote
To create bubble shapes:
- Enter Slide Master View and duplicate the “Photo Left” layout, renaming it “Bubbles.”
- Insert multiple circles (Shapes > Circle), color them brightly for visibility.
- Duplicate and arrange circles to form a bubble cluster.
- Select all circles and choose Shapes > Unite Shapes to merge into one shape.
- Select the photo and the bubble shape, then go to Image > Mask with Selection.
- Adjust zoom and position as needed, then click “Done.”
- Exit Slide Master and apply the “Bubbles” layout.
- Replace images by dragging new photos onto the placeholder.
Keynote’s masking tools make this process intuitive and fun.

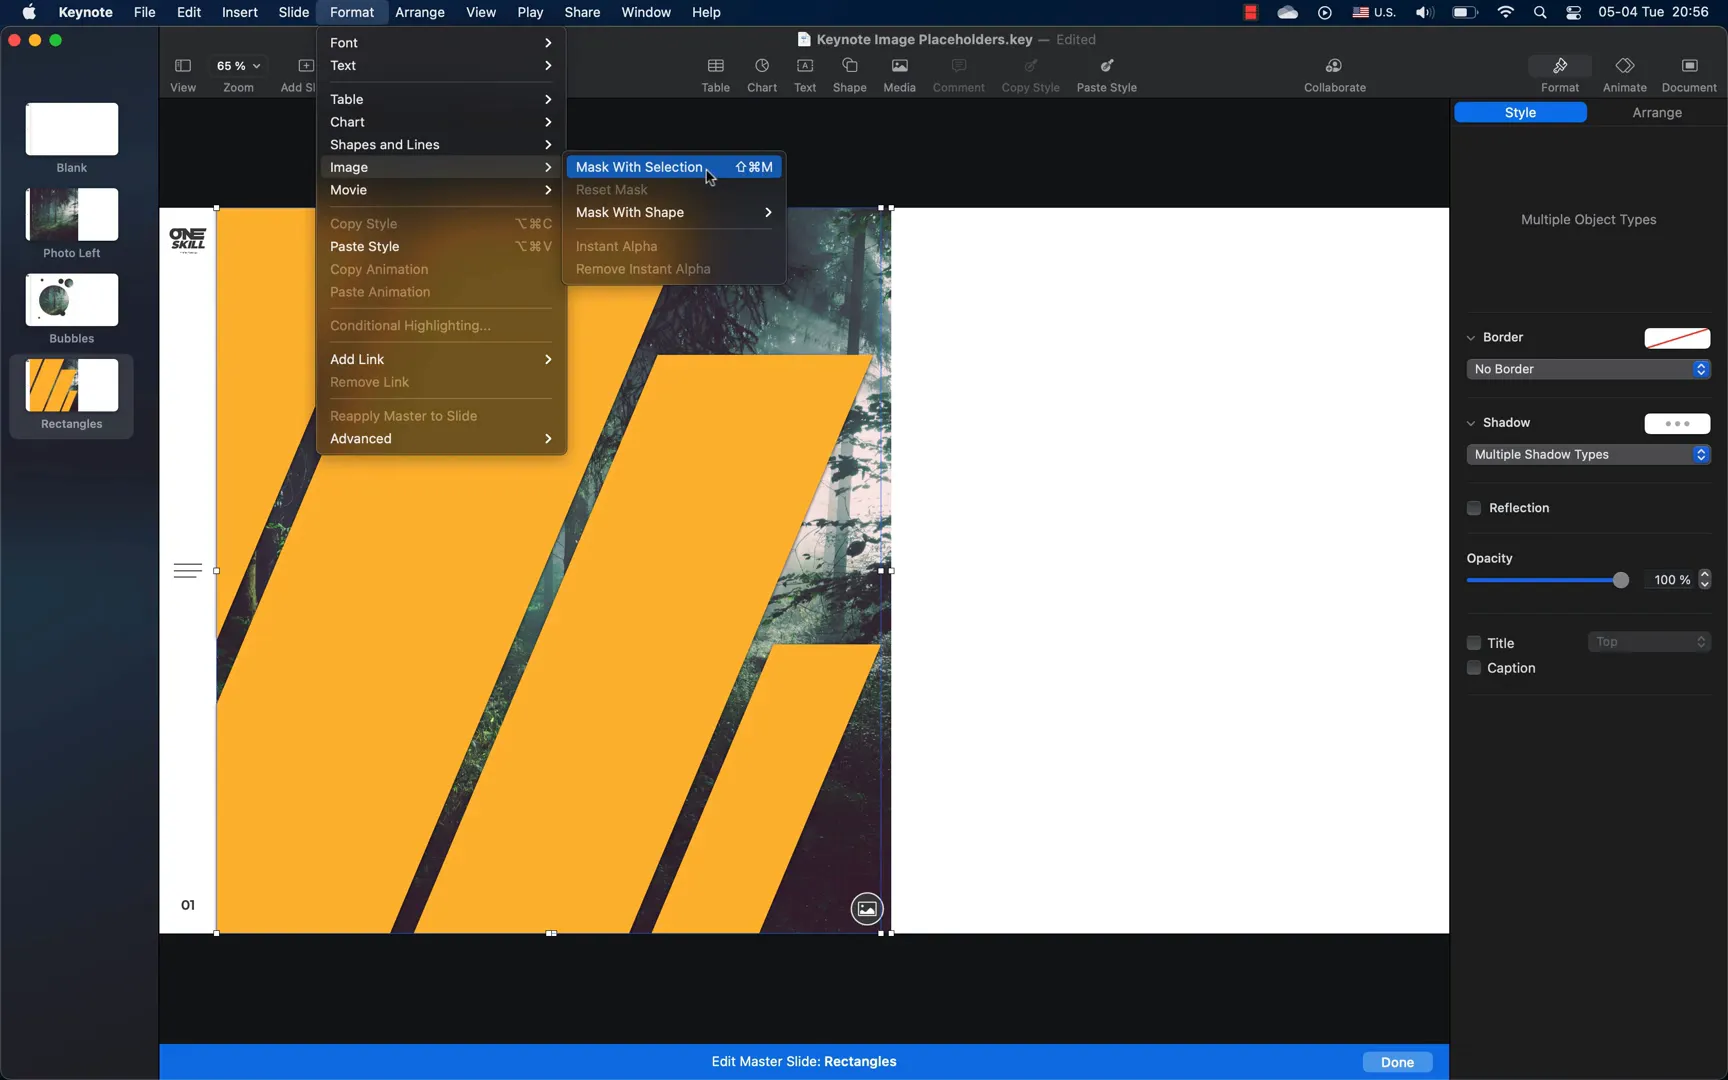
Step 4: Designing Skewed Rectangular Placeholders in Keynote
Keynote doesn’t have a direct skew handle like PowerPoint, but you can create skewed rectangles by editing shape points:
- Duplicate the “Photo Left” slide layout in Slide Master View and rename it “Rectangles.”
- Insert a parallelogram shape and make it orange for visibility.
- Go to Arrange and uncheck “Constrain Proportions” to resize the shape vertically to touch the slide edges.
- Make the shape editable by selecting it and choosing “Make Editable.”
- Select the top two points, hold Shift, and drag them horizontally to skew the shape.
- Duplicate and arrange multiple skewed rectangles across the slide.
- Select all rectangles and use Shapes > Unite to merge them.
- Add transparency to see overlaps and insert a large rectangle to cut off unwanted parts on the left.
- Select both the merged shape and rectangle, then use Shapes > Subtract.
- Select the photo and the merged shape, then Image > Mask with Selection.
- Exit Slide Master and apply the “Rectangles” layout.
- Replace images by dragging new photos onto the placeholder.
This method requires a few more manual steps than PowerPoint but achieves the same dynamic effect.
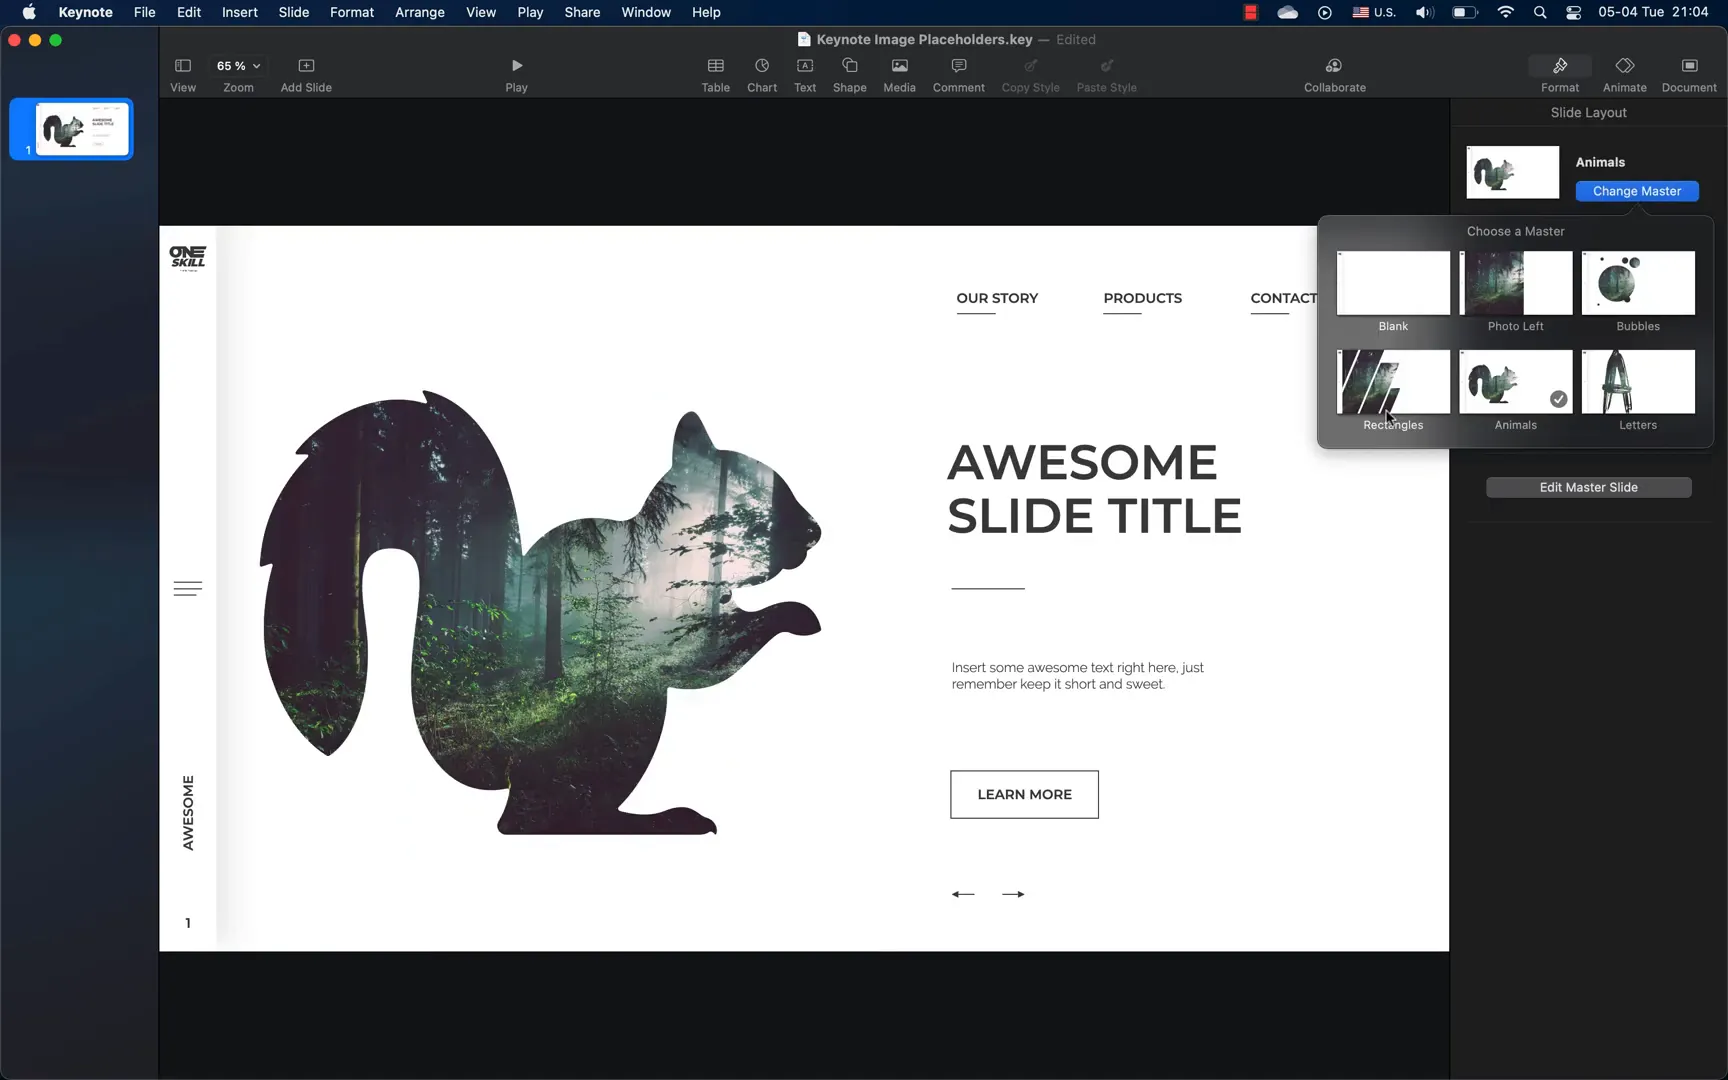
Step 5: Animal-Shaped Placeholders Using Built-in Shapes
Keynote doesn’t support importing vector SVGs as editable shapes, but you can use built-in animal shapes:
- Duplicate the “Photo Left” layout and rename it “Animals.”
- Go to Shapes > Animals and select an animal shape (e.g., squirrel).
- Color it orange and resize.
- Select the photo and animal shape, then press Shift + Command + M to mask with selection.
- Exit Slide Master and apply the “Animals” layout.
- Replace images by dragging new photos onto the placeholder.
This workaround allows for creative animal-shaped photo placeholders without needing external vector files.
Step 6: Creating Letter-Shaped Placeholders Using PowerPoint Shapes
Keynote cannot intersect text and images directly, but you can import editable shapes created in PowerPoint:
- Create large letter shapes as editable vector shapes in PowerPoint (as explained earlier).
- Open the PowerPoint file in Keynote.
- Copy and paste the editable letter shape into your Keynote slide.
- Select the photo and letter shape, then mask with selection (Shift + Command + M).
- Exit Slide Master and apply the layout.
- Replace images by dragging new photos onto the placeholder.
This technique leverages PowerPoint’s superior shape editing to overcome Keynote’s limitations.
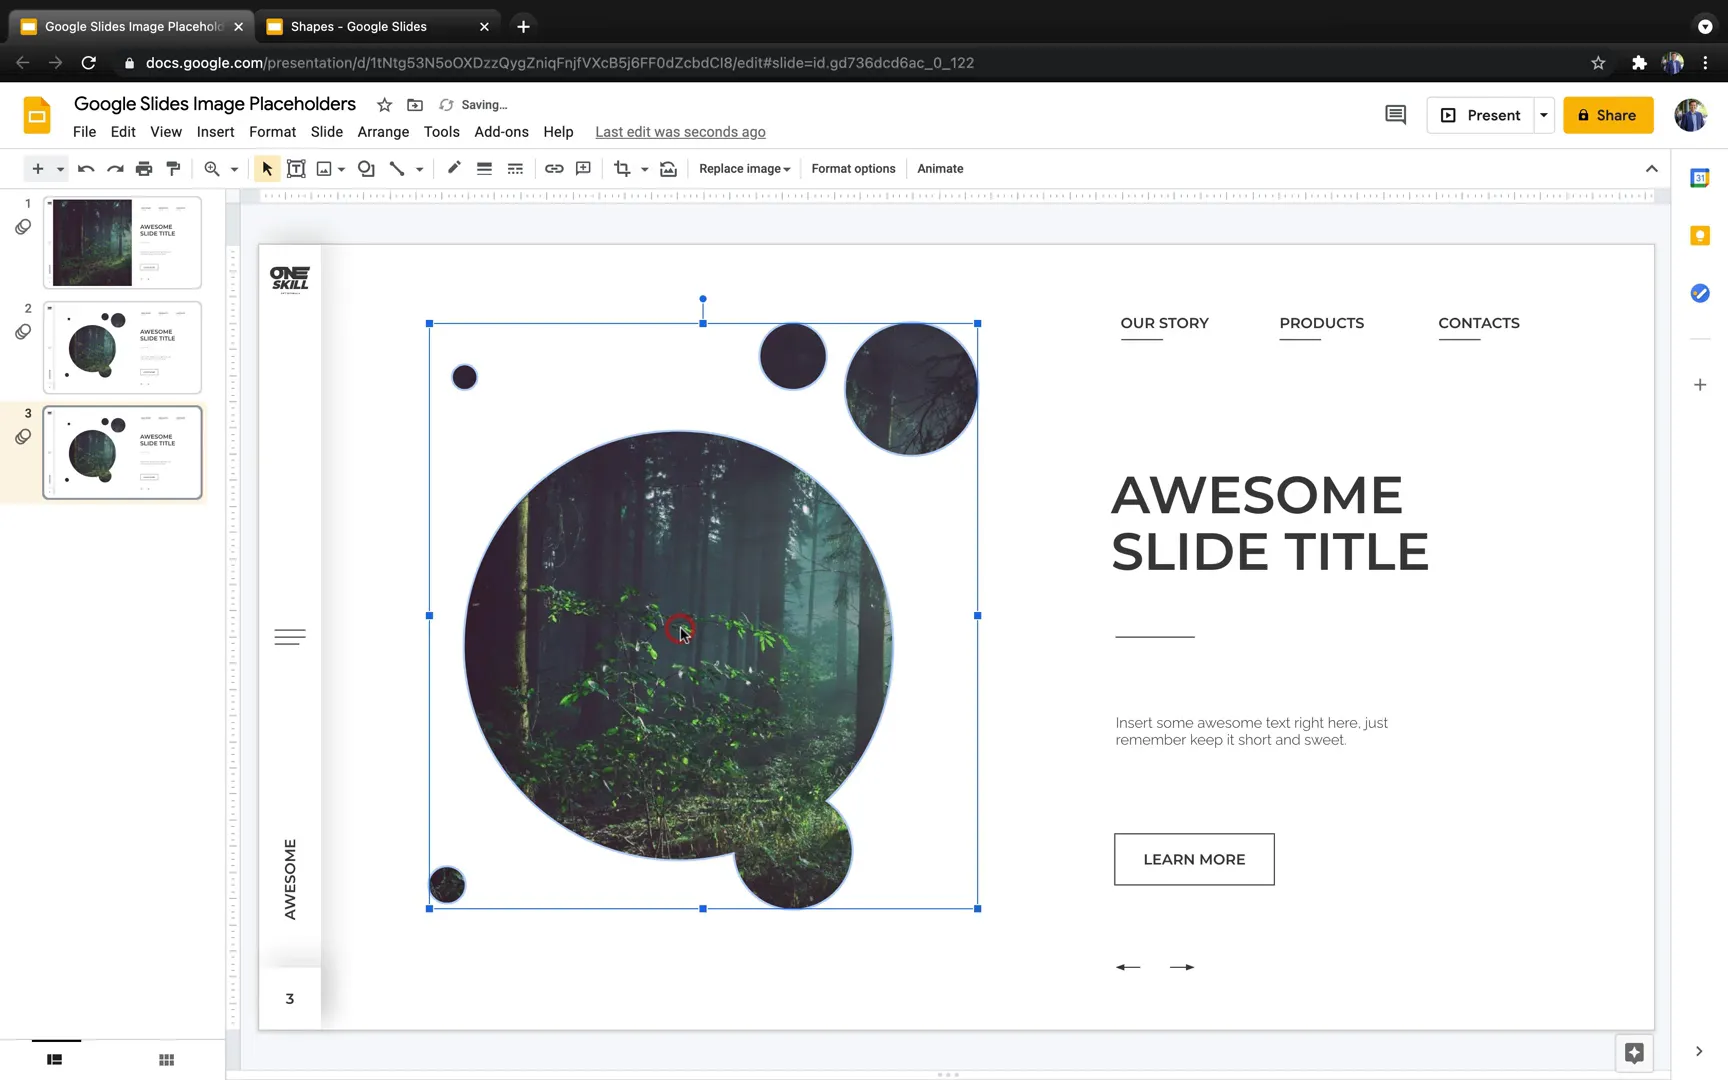
Creating Custom Image Placeholders in Google Slides
Google Slides has fewer native options for creating image placeholders compared to PowerPoint and Keynote, but with some clever workarounds, you can still achieve great results.
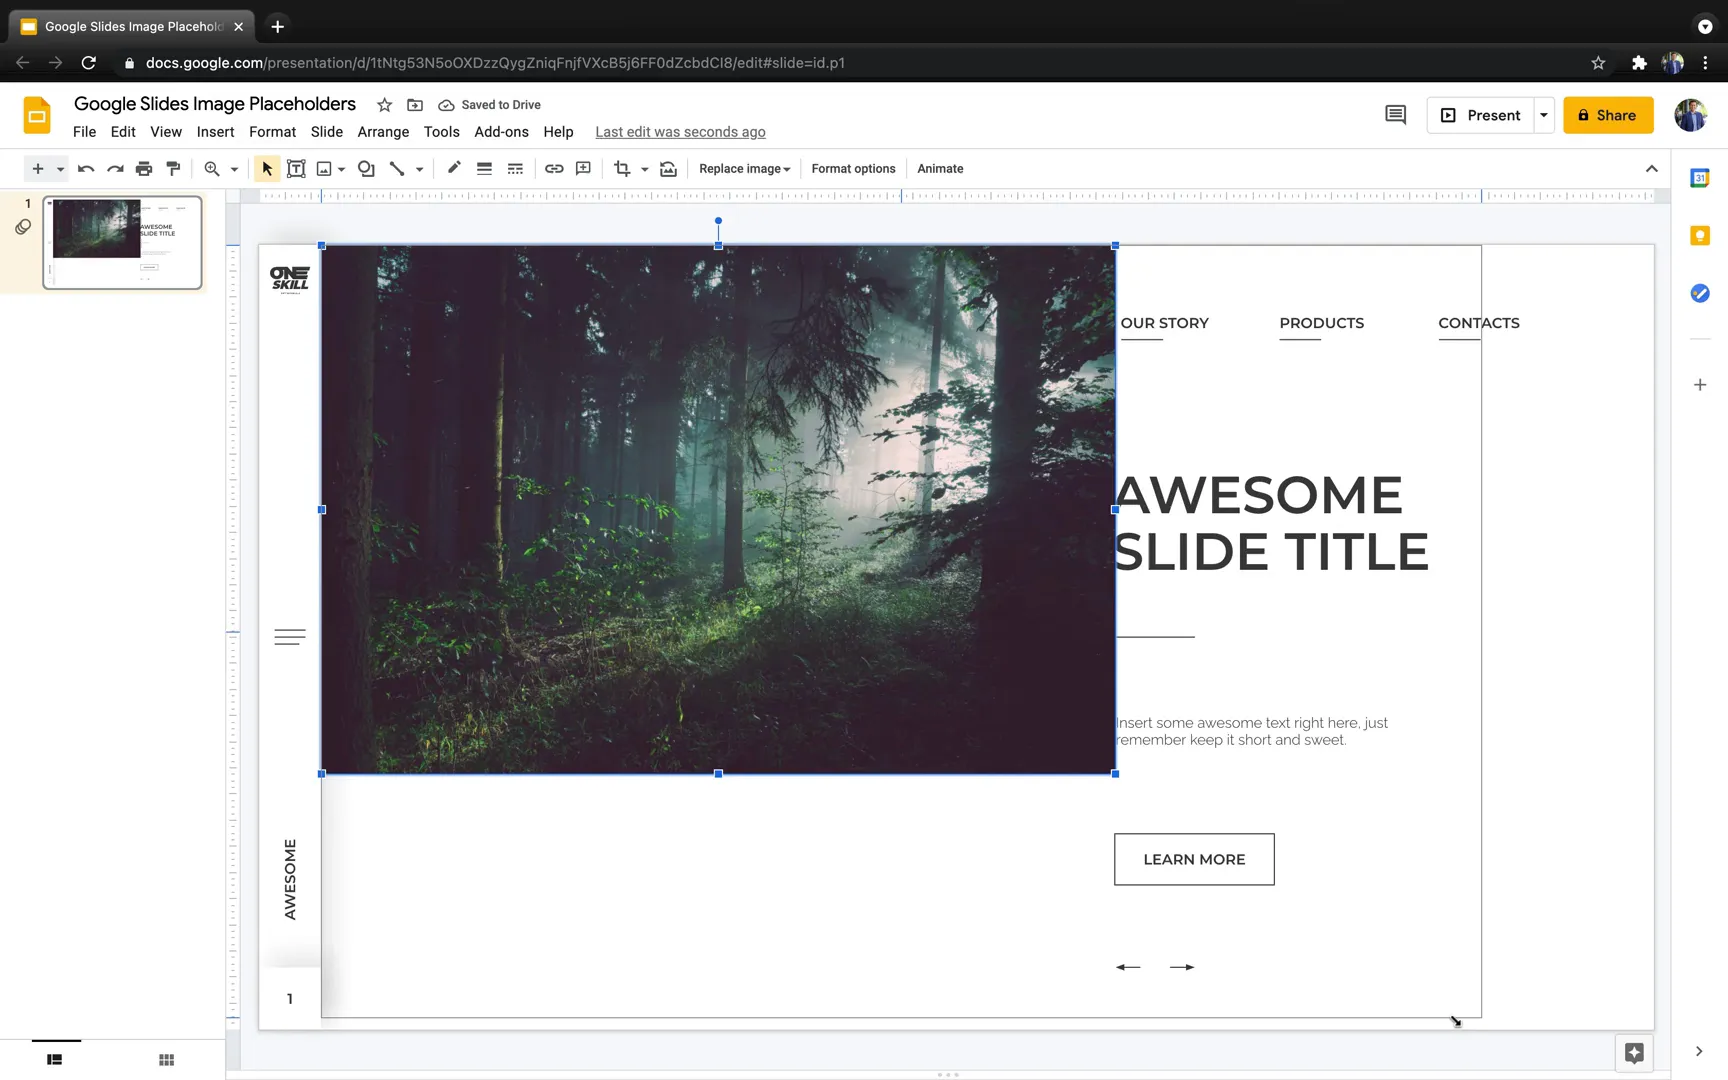
Step 1: Inserting and Cropping Photos
Insert a photo via Insert > Image > Upload from Computer.
Resize and crop the photo using the crop tool to fit your slide design.
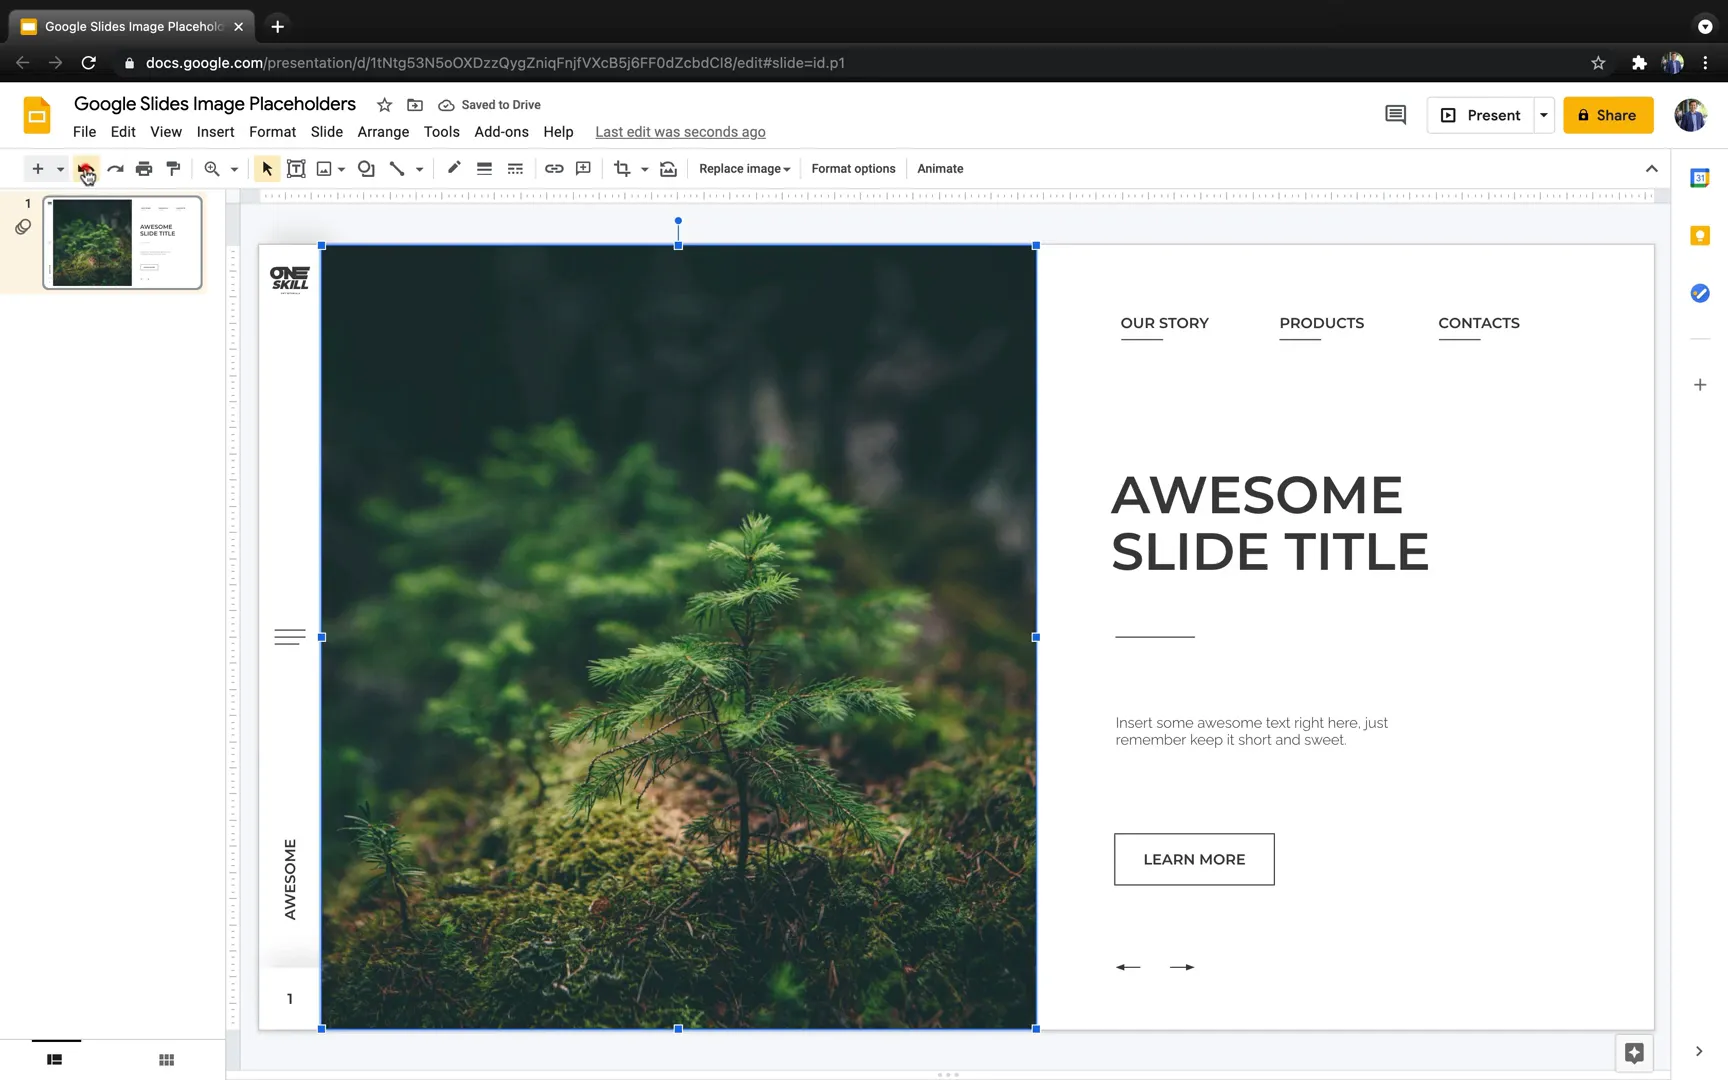
Step 2: Understanding Google Slides’ Limitations
Google Slides does not have a Slide Master with image placeholders like PowerPoint or media placeholders like Keynote. The placeholder menu does not include image placeholders. However, when you select a photo, you can use the “Replace Image” button to swap the photo quickly, which mimics placeholder behavior.
You can also crop photos to basic shapes such as skewed rectangles or half circles using the mask tool, but complex shapes made from merged or intersected shapes are not possible natively.
Step 3: Using PowerPoint to Create Complex Placeholders for Google Slides
To overcome these limitations, you can create complex placeholder shapes and masks in PowerPoint and then import them into Google Slides as images with replaceable photos:
- Create your complex shapes and intersected photos in PowerPoint as described in the earlier sections.
- Insert your photos behind these shapes and use the Merge Shapes > Intersect function to clip images into custom shapes.
- Save the PowerPoint file and open it in Google Slides.
- Copy the intersected photos from PowerPoint and paste them into your Google Slides presentation as images.
- These images will retain the “Replace Image” functionality, allowing you to swap photos inside the custom shapes.
- Add these images to your slides as custom image placeholders.
This process allows you to have beautiful, custom-shaped image placeholders in Google Slides, despite its native limitations.
Tips and Resources for Your Slide Design Journey
- BrightSlide PowerPoint Add-in: A free add-in to help you create grids and guides in PowerPoint for precise alignment. Link in resources.
- Fjord Font: A beautiful brush font used for letter placeholders. Available for free online.
- Deer Vector Illustration: Free SVG vector for creating custom animal placeholders.
- Photo Resources: Use free high-quality photos from Unsplash to populate your placeholders.
Using these resources will help you create professional-grade presentations with ease.
Frequently Asked Questions (FAQ)
What is the main advantage of using custom image placeholders?
Custom image placeholders allow you to insert and replace images that automatically fit predefined shapes and layouts. This saves time, ensures consistency, and enhances the overall design of your presentation.
Can I create the same custom image placeholders in PowerPoint, Keynote, and Google Slides?
Yes, but the process and capabilities differ. PowerPoint offers the most robust tools for creating editable placeholders with merged shapes. Keynote supports media placeholders and masking but lacks some vector editing features. Google Slides lacks native placeholders but can use images created in PowerPoint as placeholders.
Is it possible to create complex shapes like merged bubbles or skewed rectangles in Google Slides?
Not natively. Google Slides cannot merge or intersect shapes like PowerPoint. However, you can create these shapes in PowerPoint and import them as images into Google Slides, maintaining the ability to replace photos within these shapes.
How can I convert text letters into editable shapes for image placeholders?
In PowerPoint, you can convert text to shapes by overlaying it with a rectangle and using the Merge Shapes > Intersect function. This creates an editable vector shape from the text, which can then be used as an image placeholder.
Are there any free tools or add-ins recommended for slide design?
Yes, the BrightSlide add-in for PowerPoint is highly recommended for creating guides and grids. Additionally, free fonts like Fjord and free photo resources like Unsplash can enhance your designs.
Conclusion
Mastering custom image placeholders is a game-changer for anyone looking to create polished, professional, and visually engaging presentations. By learning how to use Slide Master View in PowerPoint, media placeholders and masking in Keynote, and smart workarounds involving PowerPoint shapes for Google Slides, you can elevate your slide designs to new heights.
Remember, the key is to create reusable slide layouts with custom-shaped placeholders that fit your brand and style. This not only improves your productivity but also ensures your presentations look consistent and eye-catching every time.
Happy designing, and may your slides always captivate your audience!
Check out the full video: Awesome Slide Design Tutorial 🔥 PowerPoint, Keynote, Google Slides 🔥


