PowerPoint is an incredibly versatile tool that allows you to create visually compelling presentations, even when working with simple shapes and effects. If you’re looking to add a striking and dynamic design element to your slides, this tutorial on how to create an animated conic gradient effect in PowerPoint is exactly what you need. In this comprehensive guide, we will walk you through the entire process—from creating a conic gradient in a free design tool, importing it into PowerPoint, animating it, and customizing it with colors and content. Whether you’re using Office 365 or an older version of PowerPoint, this technique will elevate your presentations with a trendy design idea that’s sure to impress your audience.
In this article, you’ll learn:
- What a conic gradient is and why it enhances your slide design
- How to create a conic gradient using the free design tool Figma
- Step-by-step instructions to import and animate the gradient in PowerPoint
- Tips to customize your gradient’s colors and background for different moods
- How to add content and fun elements like animations to your slides
- Best practices to make your presentations stand out with minimal effort
Let’s dive into this exciting design idea on PowerPoint that combines creativity with practical skills!
Table of Contents
- What Is a Conic Gradient?
- Creating a Conic Gradient in Figma
- Importing the Conic Gradient into PowerPoint
- Animating the Gradient: Spin Effect
- Customizing Background and Colors
- Adding Content and Fun Animations
- Tips for Effective PowerPoint Design
- Frequently Asked Questions
- Conclusion
What Is a Conic Gradient?
Before we jump into the creation process, it’s essential to understand what a conic gradient is and why it’s a powerful design element.
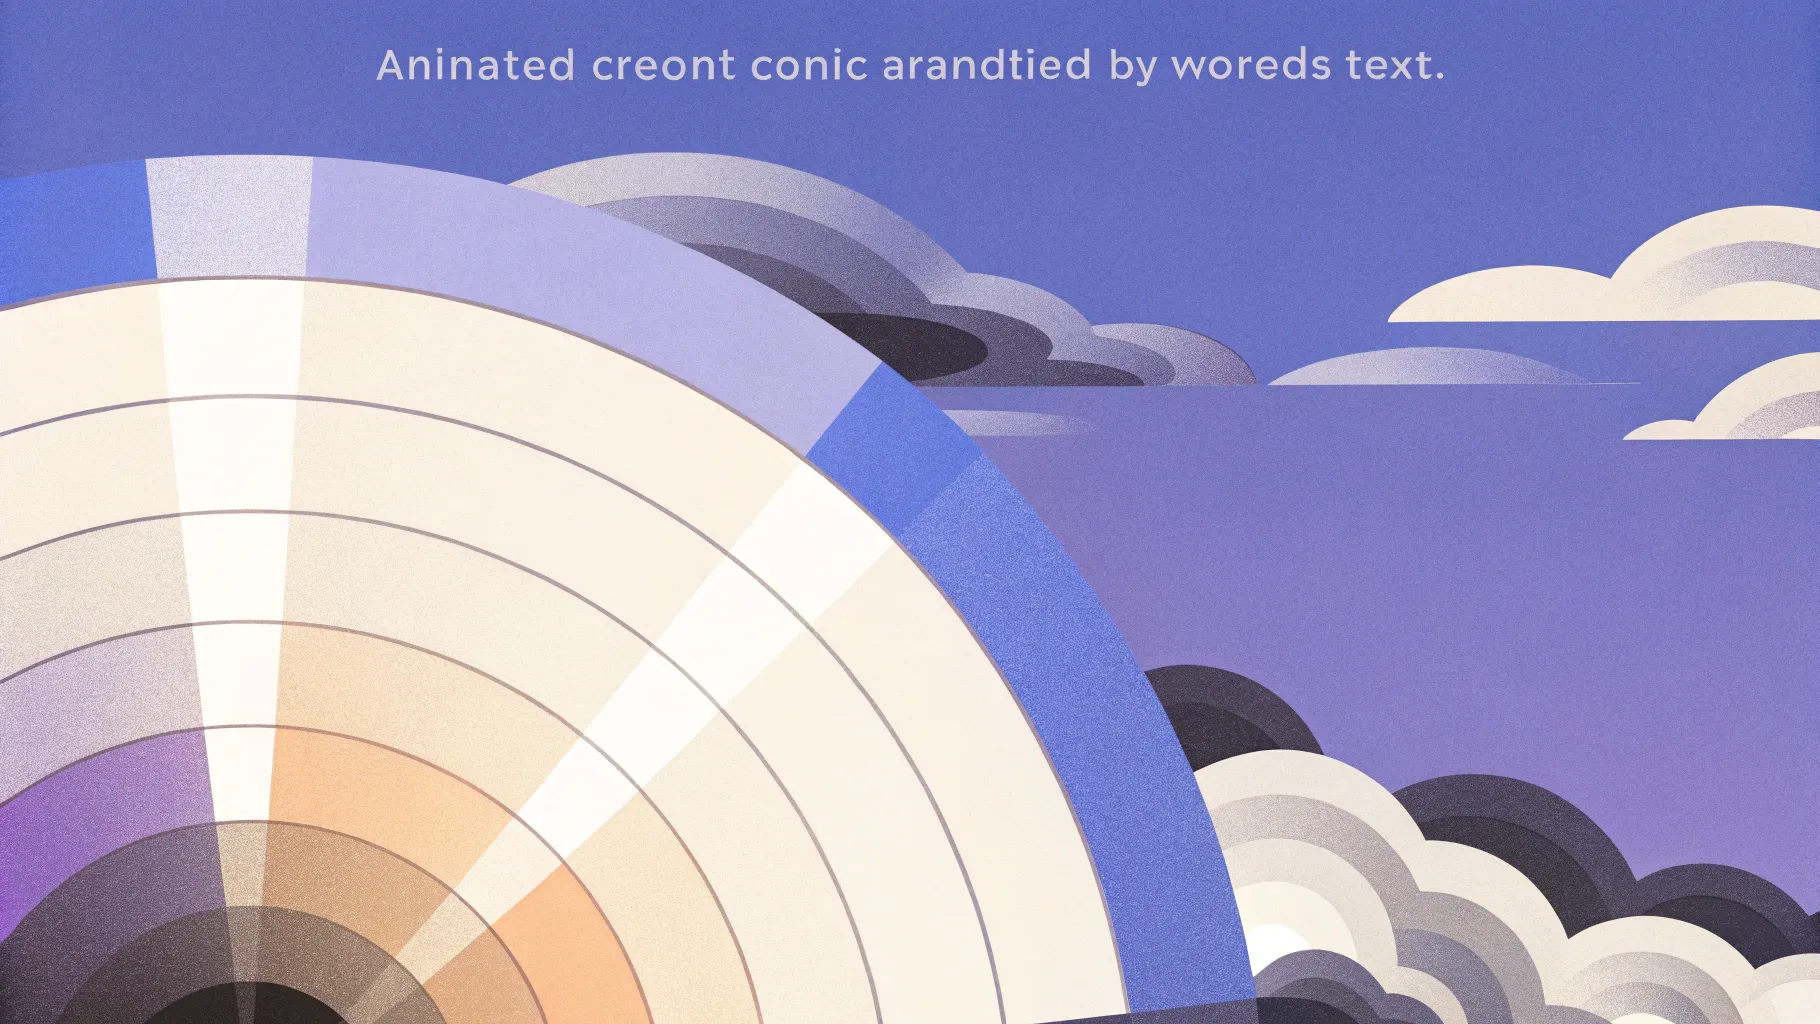
Definition: A conic gradient (also called an angular gradient) is a type of gradient that radiates around a central point, creating a smooth transition of colors in a circular, pie-slice-like fashion. Unlike linear or radial gradients, which transition colors along a line or outward from a point, the conic gradient rotates colors around the center, producing a dynamic and visually engaging effect.
This gradient style is becoming increasingly popular in UI and graphic design for its vibrant and modern look. It adds depth and movement to backgrounds and shapes, making your slides appear more professional and eye-catching.
In PowerPoint, however, creating a true conic gradient directly is not straightforward because the built-in gradient options are limited to linear, radial, rectangular, and path gradients. This limitation requires us to use a workaround involving external tools to design the gradient and then import it into PowerPoint.
Creating a Conic Gradient in Figma
To create the conic gradient, we’ll use Figma, a free and user-friendly web-based design tool widely used by UI designers. Figma supports the angular gradient feature natively, which makes it perfect for this task.
Step 1: Set Up Your Figma Canvas
- Go to Figma’s website and log in using your Google account or create a free account.
- Click on New design file to open a blank canvas.
- Insert a frame (which acts like a slide or canvas) by clicking the frame tool or pressing the “F” key.
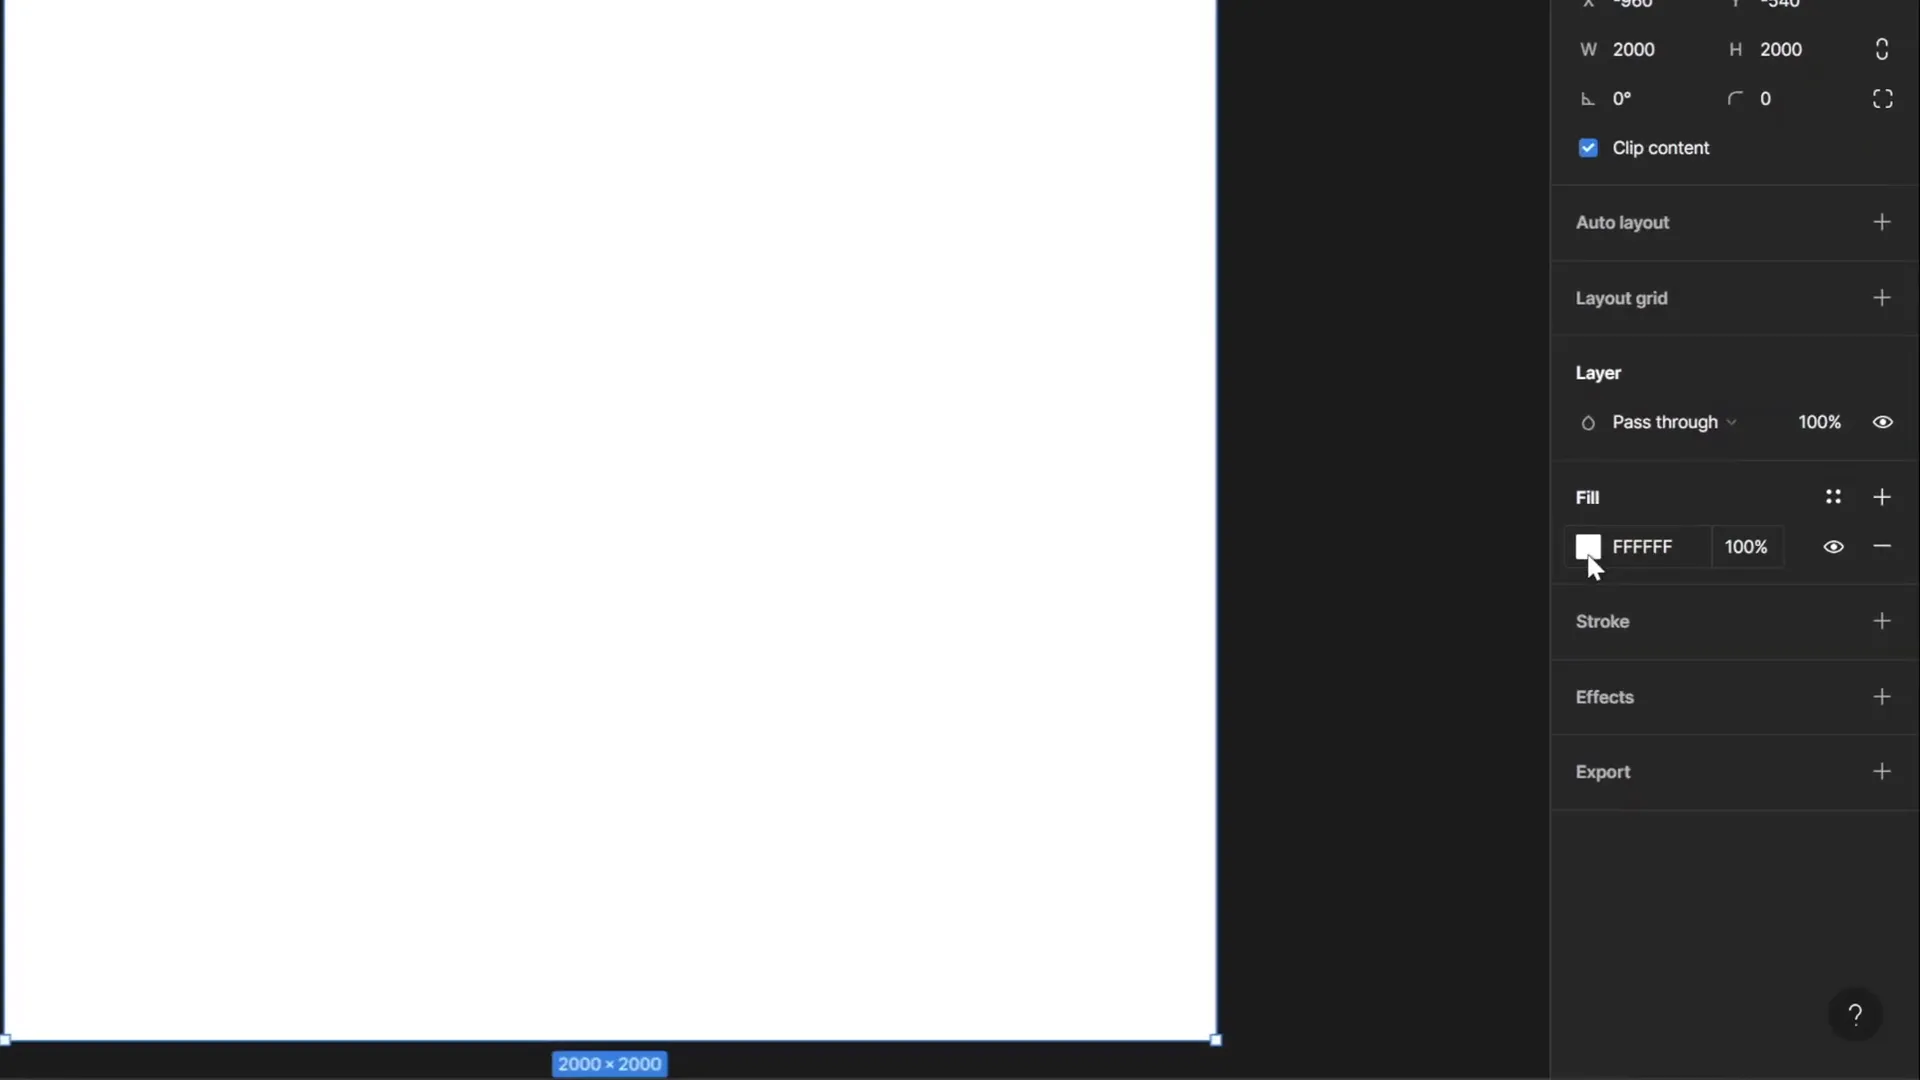
- On the right side, select a frame size. Instead of using the default 1920×1080, set the width and height to 2000 pixels each to create a large square canvas. This size will make it easier to scale the gradient in PowerPoint later.
Step 2: Apply the Angular (Conic) Gradient
- With the frame selected, find the Fill option in the right-hand panel and click on the color box.
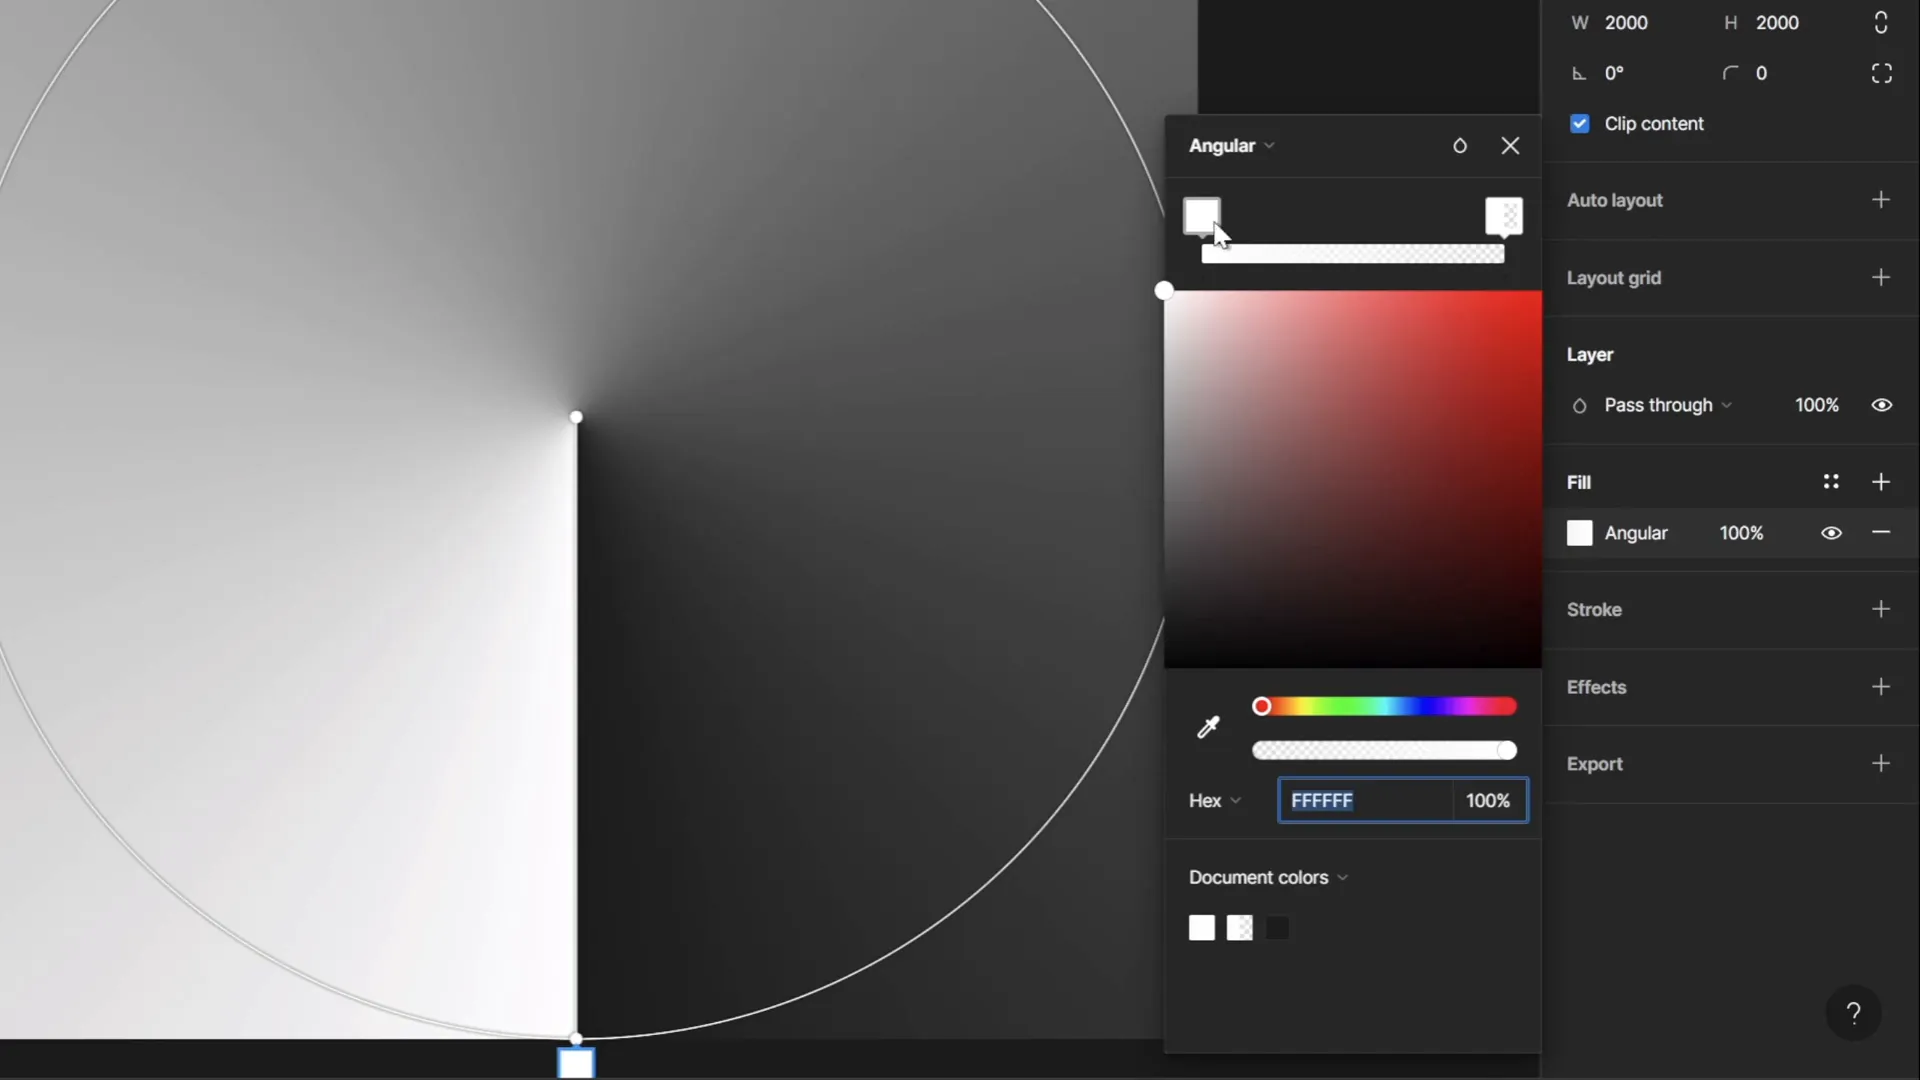
- Change the fill type from solid to Angular Gradient (sometimes labeled as conic or angular).
- Customize the gradient stops. By default, the gradient will have white on one side and fully transparent white on the other. This combination is recommended because it allows flexibility when you change the slide background color later in PowerPoint.
- If desired, adjust the colors to any hue you want, but for best results, keep one stop white and the other stop fully transparent white.
Step 3: Export the Gradient as a PNG
- Rename the frame to something memorable, like Conic Gradient.
- Select the frame and click the Export button at the bottom right.
- Choose PNG as the export format and export the file to your computer.
Now you have a beautiful conic gradient image ready to be imported into PowerPoint.
Importing the Conic Gradient into PowerPoint
With your gradient PNG ready, it’s time to bring it into PowerPoint and prepare it for animation.
Step 1: Insert the Gradient Image
- Open PowerPoint and create a new blank slide or open your existing presentation.
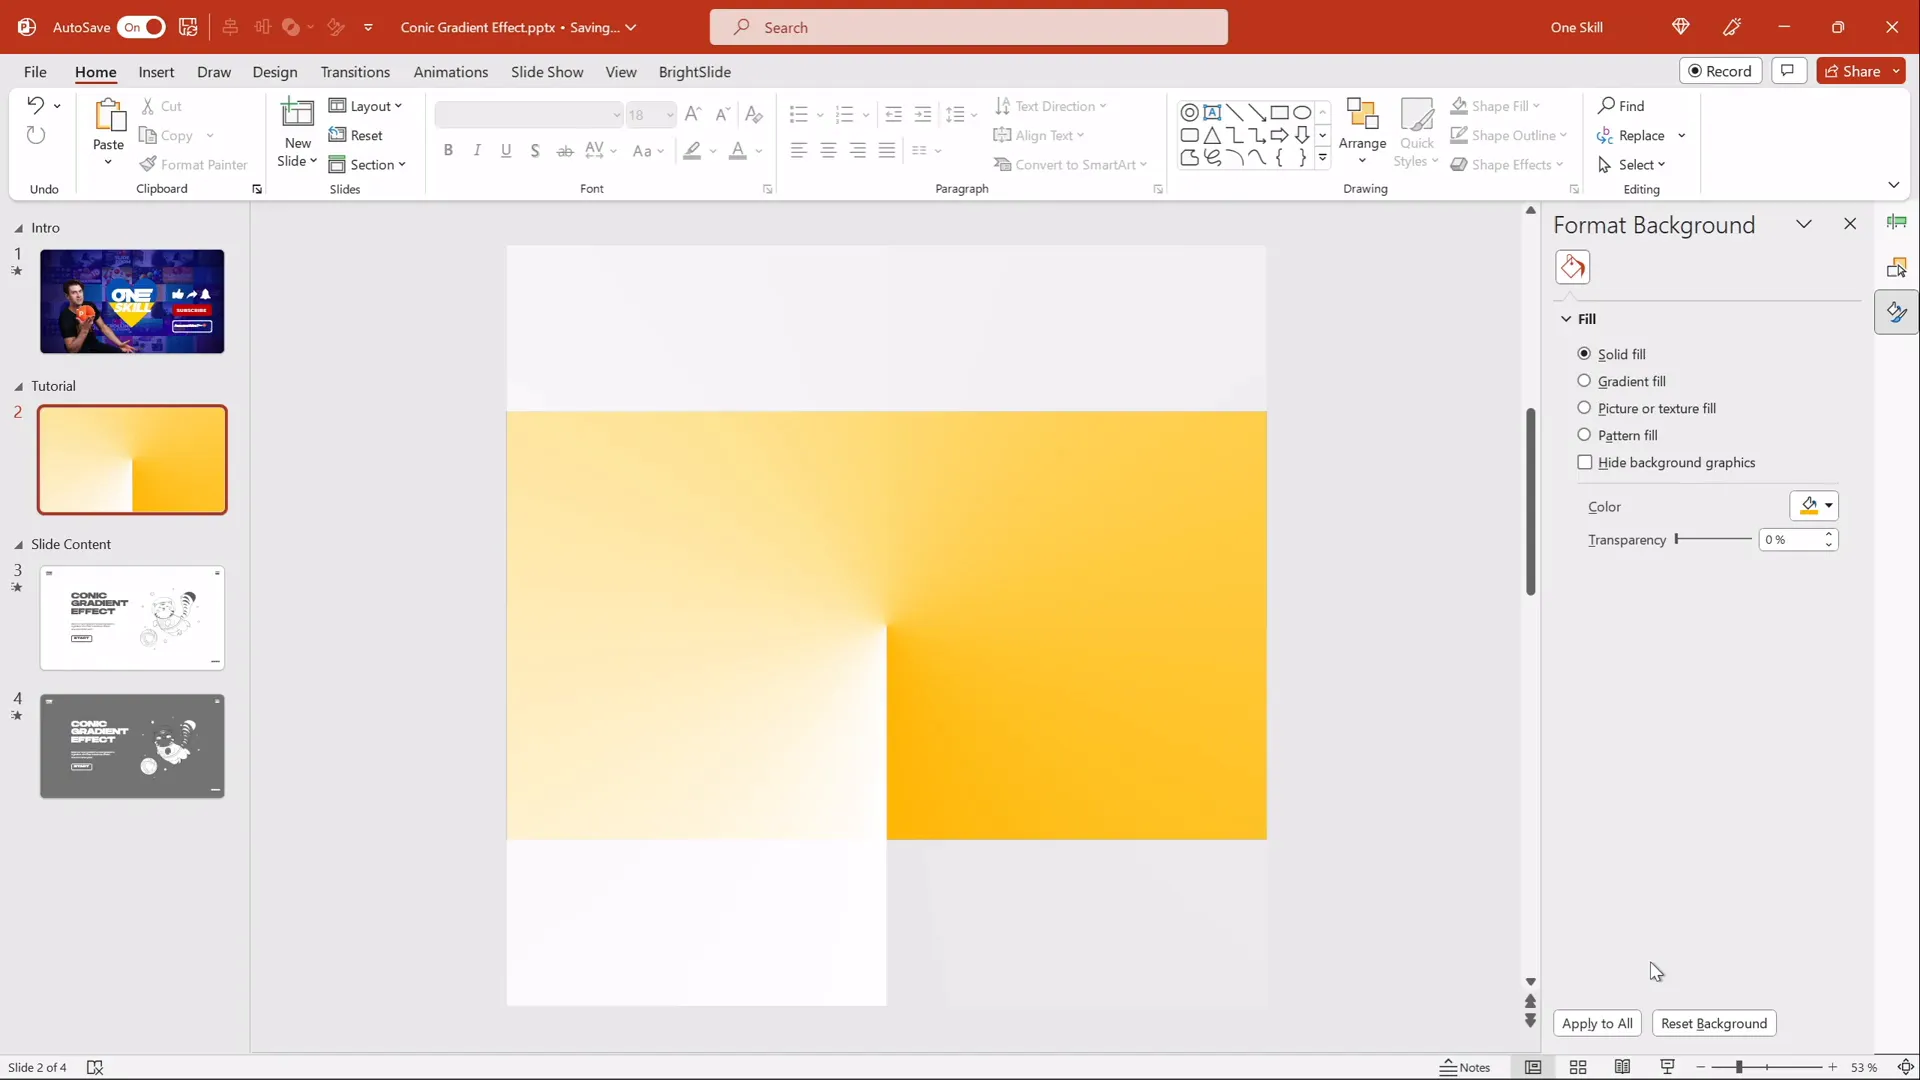
- Change the background color of the slide to something other than white (e.g., a light gray or any color). This helps the transparent parts of the gradient become visible.
- Go to Insert > Pictures and choose the conic gradient PNG you exported from Figma.
- Resize the image by holding
Ctrl + Shiftand dragging the corner handles to cover the entire slide.
Step 2: Fix Gradient Coverage with a Circle Crop
You might notice that when you animate the gradient to spin, some corners of the slide are not fully covered by the gradient. To fix this, we’ll crop the gradient to a perfect circle slightly larger than the slide.
- Insert a circle by going to Insert > Shapes > Oval. Hold down the
Shiftkey while drawing to keep it perfectly circular. - Align the circle to the center and middle of the slide using the Align tools.
- Make the circle’s fill fully transparent so you can see the gradient behind it.
- Resize the circle to be just slightly larger than the slide dimensions.
- Resize the gradient image to be slightly larger than the circle.
- Select both the gradient image and the circle (hold
Shiftand click both). - Go to the Shape Format tab, click Merge Shapes, and select Intersect. This crops the gradient image to the circular shape.
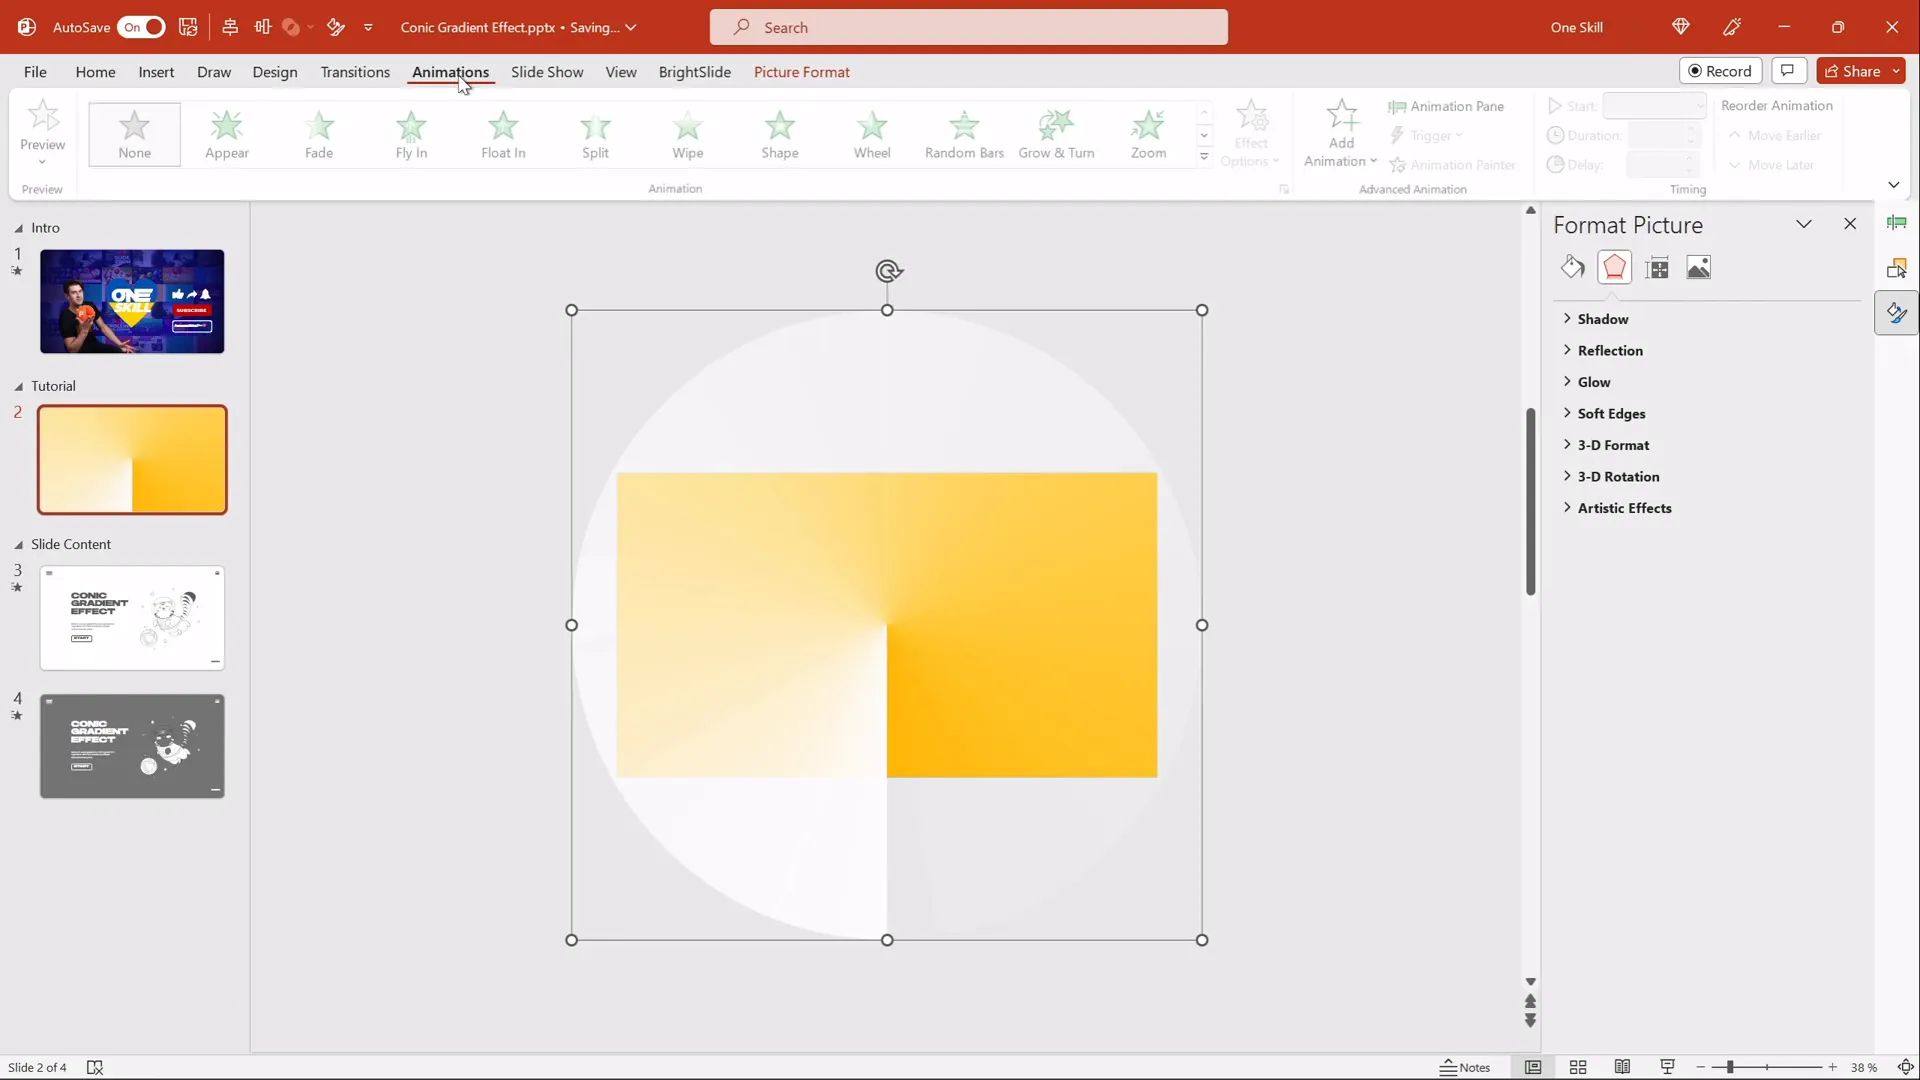
This ensures that when the gradient spins, it fully covers the slide without any uncovered corners.
Animating the Gradient: Spin Effect
Now that your gradient is cropped and fits perfectly, it’s time to add the animation that will bring your slide to life.
Step 1: Add Spin Animation
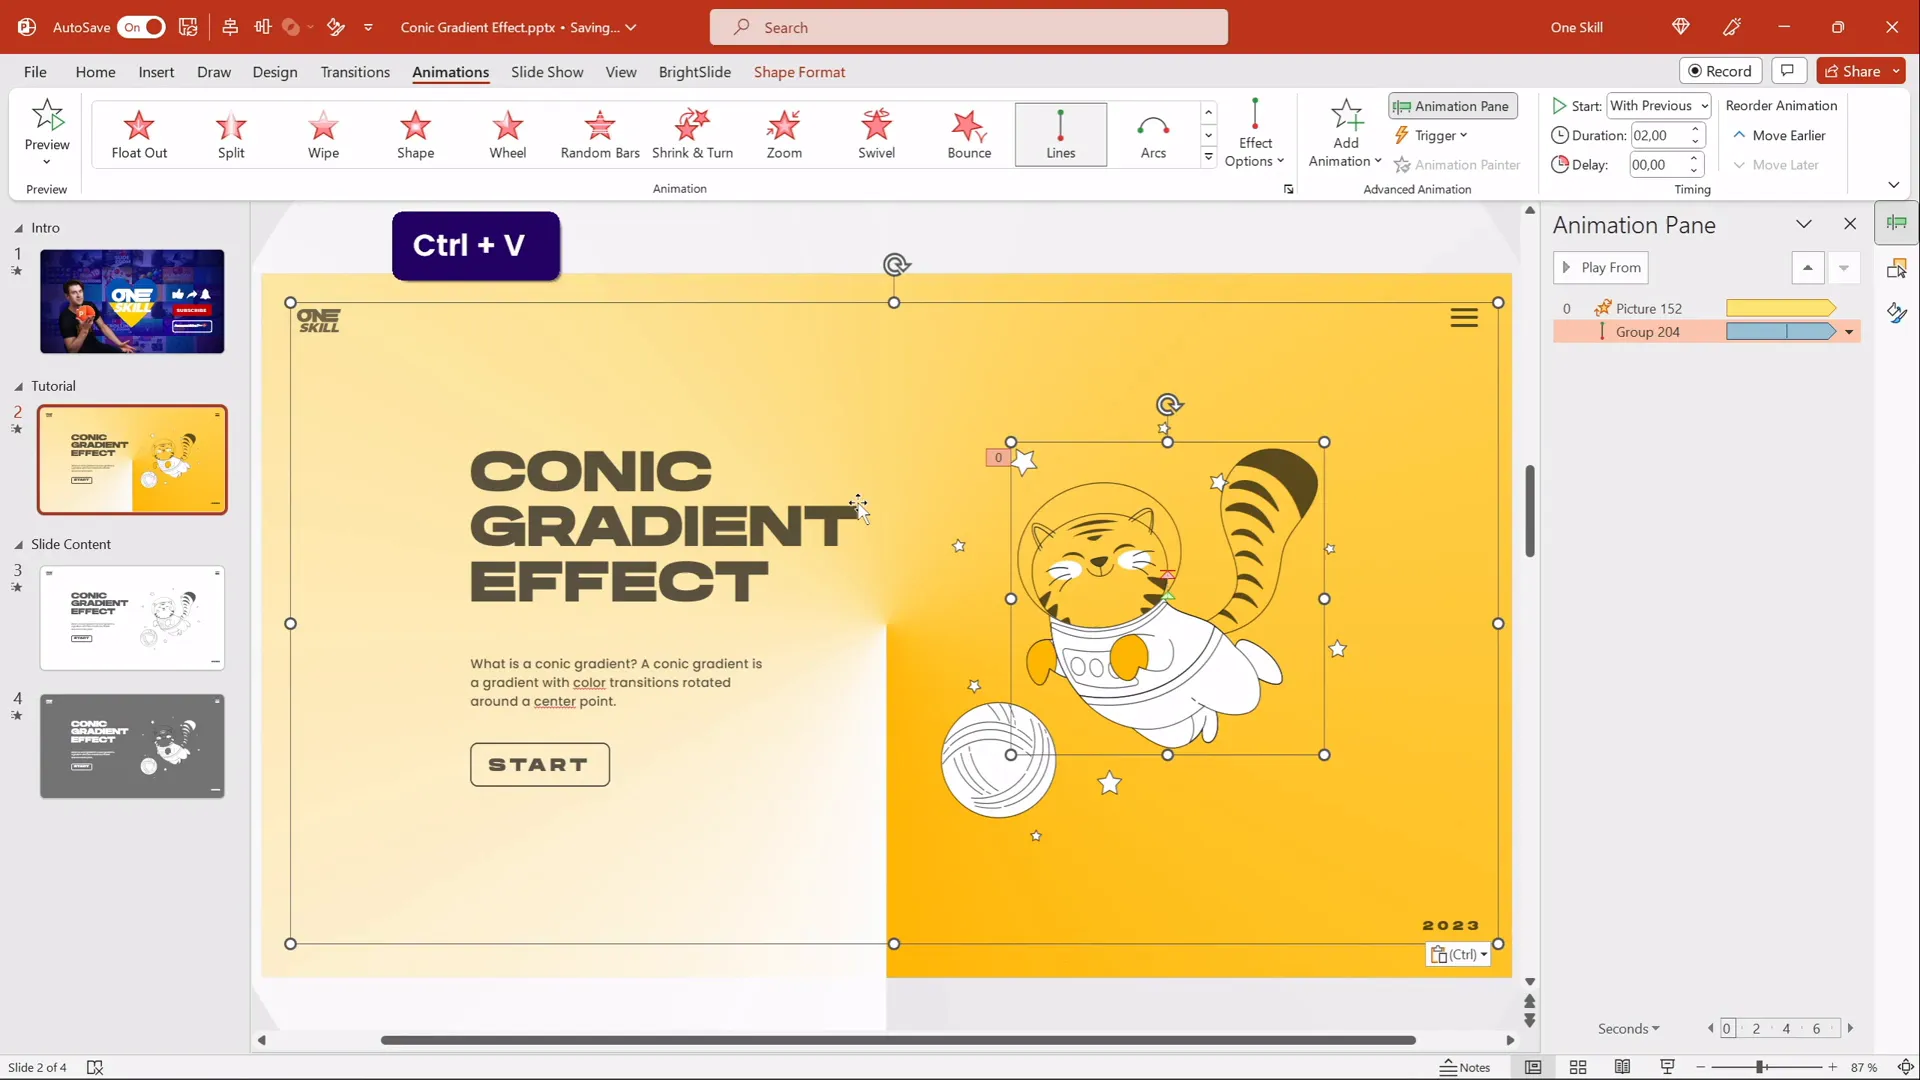
- Select the circular gradient image.
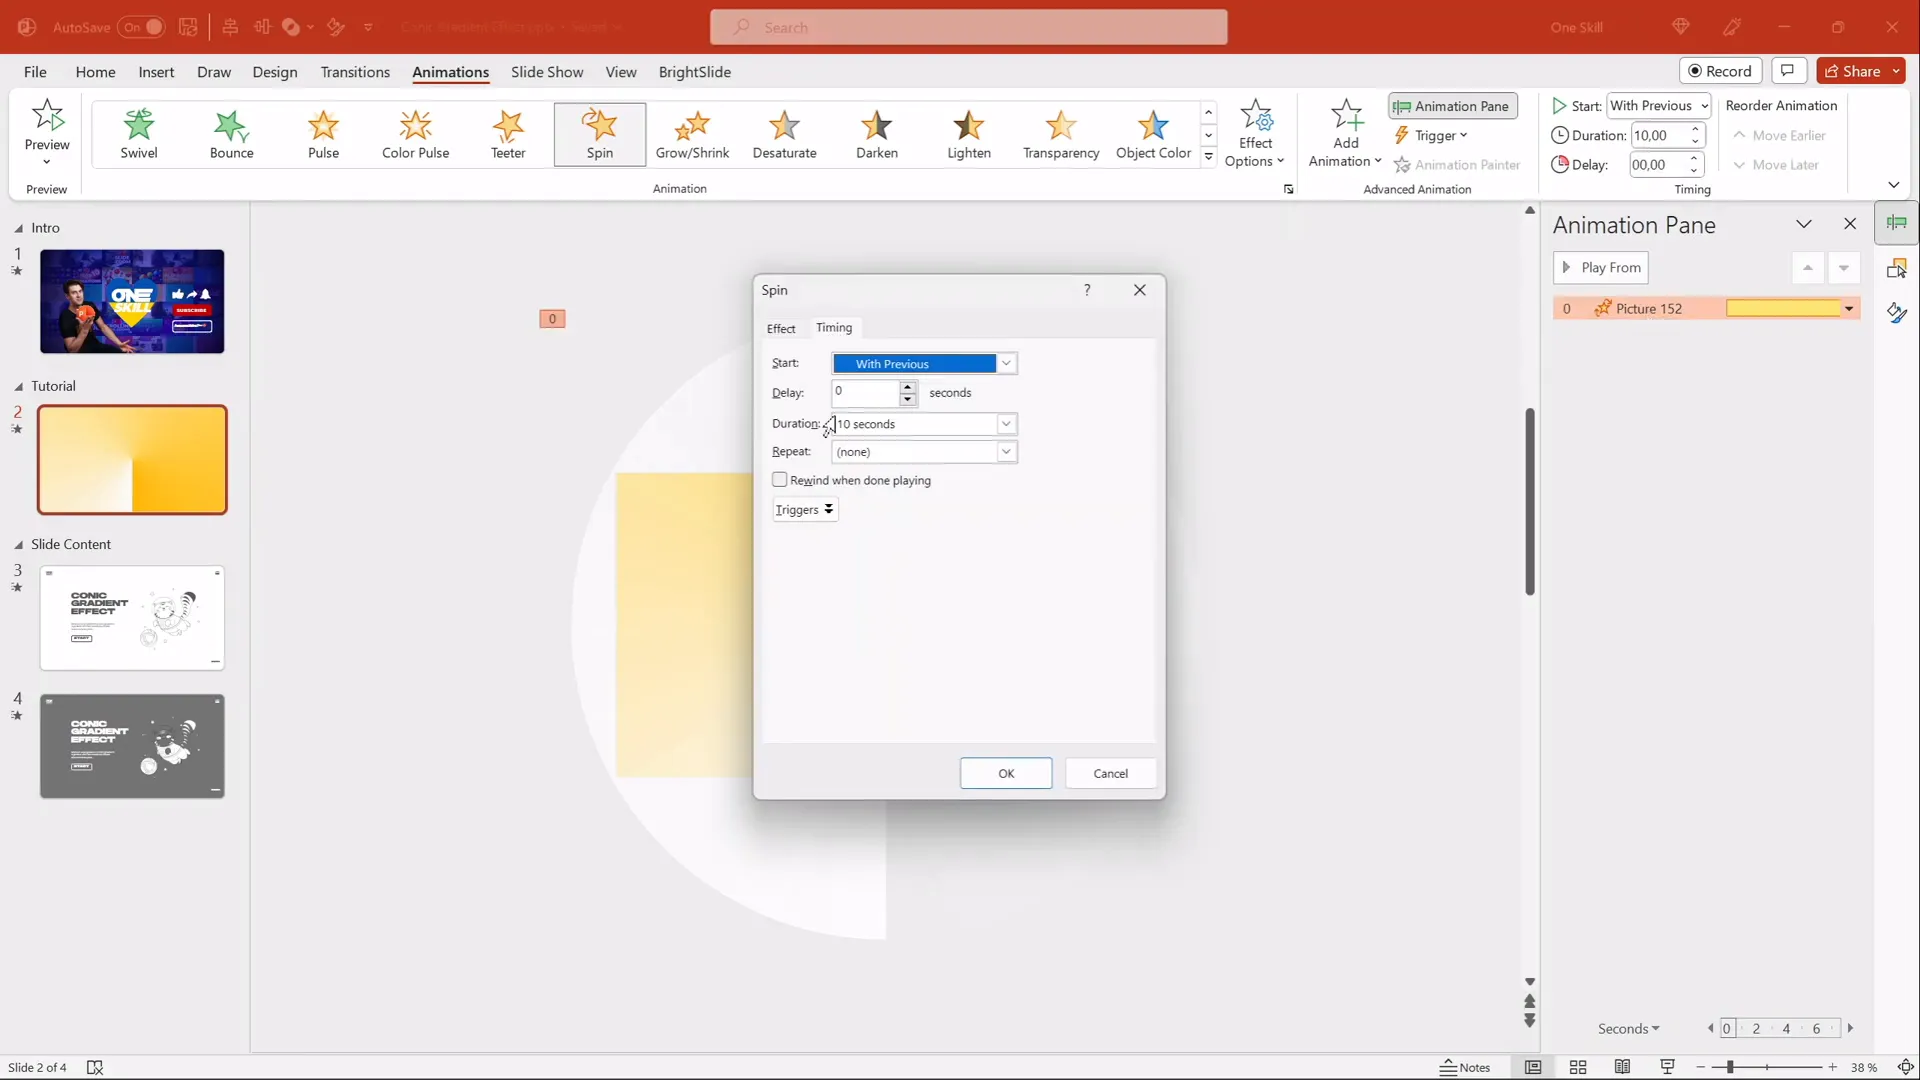
- Go to the Animations tab and select the Spin animation from the list.
- Open the Effect Options and set the direction to Clockwise.
- Choose Full Spin (360 degrees).
- Set the animation to start With Previous so it begins automatically.
- Set the duration to 10 seconds for a smooth, slow rotation.
- In the timing options, set the animation to Repeat until the end of the slide to keep it spinning continuously.
- Disable Smooth Start and Smooth End for a consistent speed.
Step 2: Preview the Animation
Run the slide show to see the gradient spinning smoothly, creating a dynamic and modern background effect for your presentation.

Customizing Background and Colors
One of the most exciting aspects of this technique is the flexibility it offers for customization. Because the gradient PNG was created with white and transparent colors, you can easily change the slide background color in PowerPoint to create different moods and styles.
Step 1: Duplicate the Slide
Start by duplicating your slide with the conic gradient so you can experiment without losing your original design.
- In the slide sorter view, right-click the slide thumbnail and select Duplicate Slide.
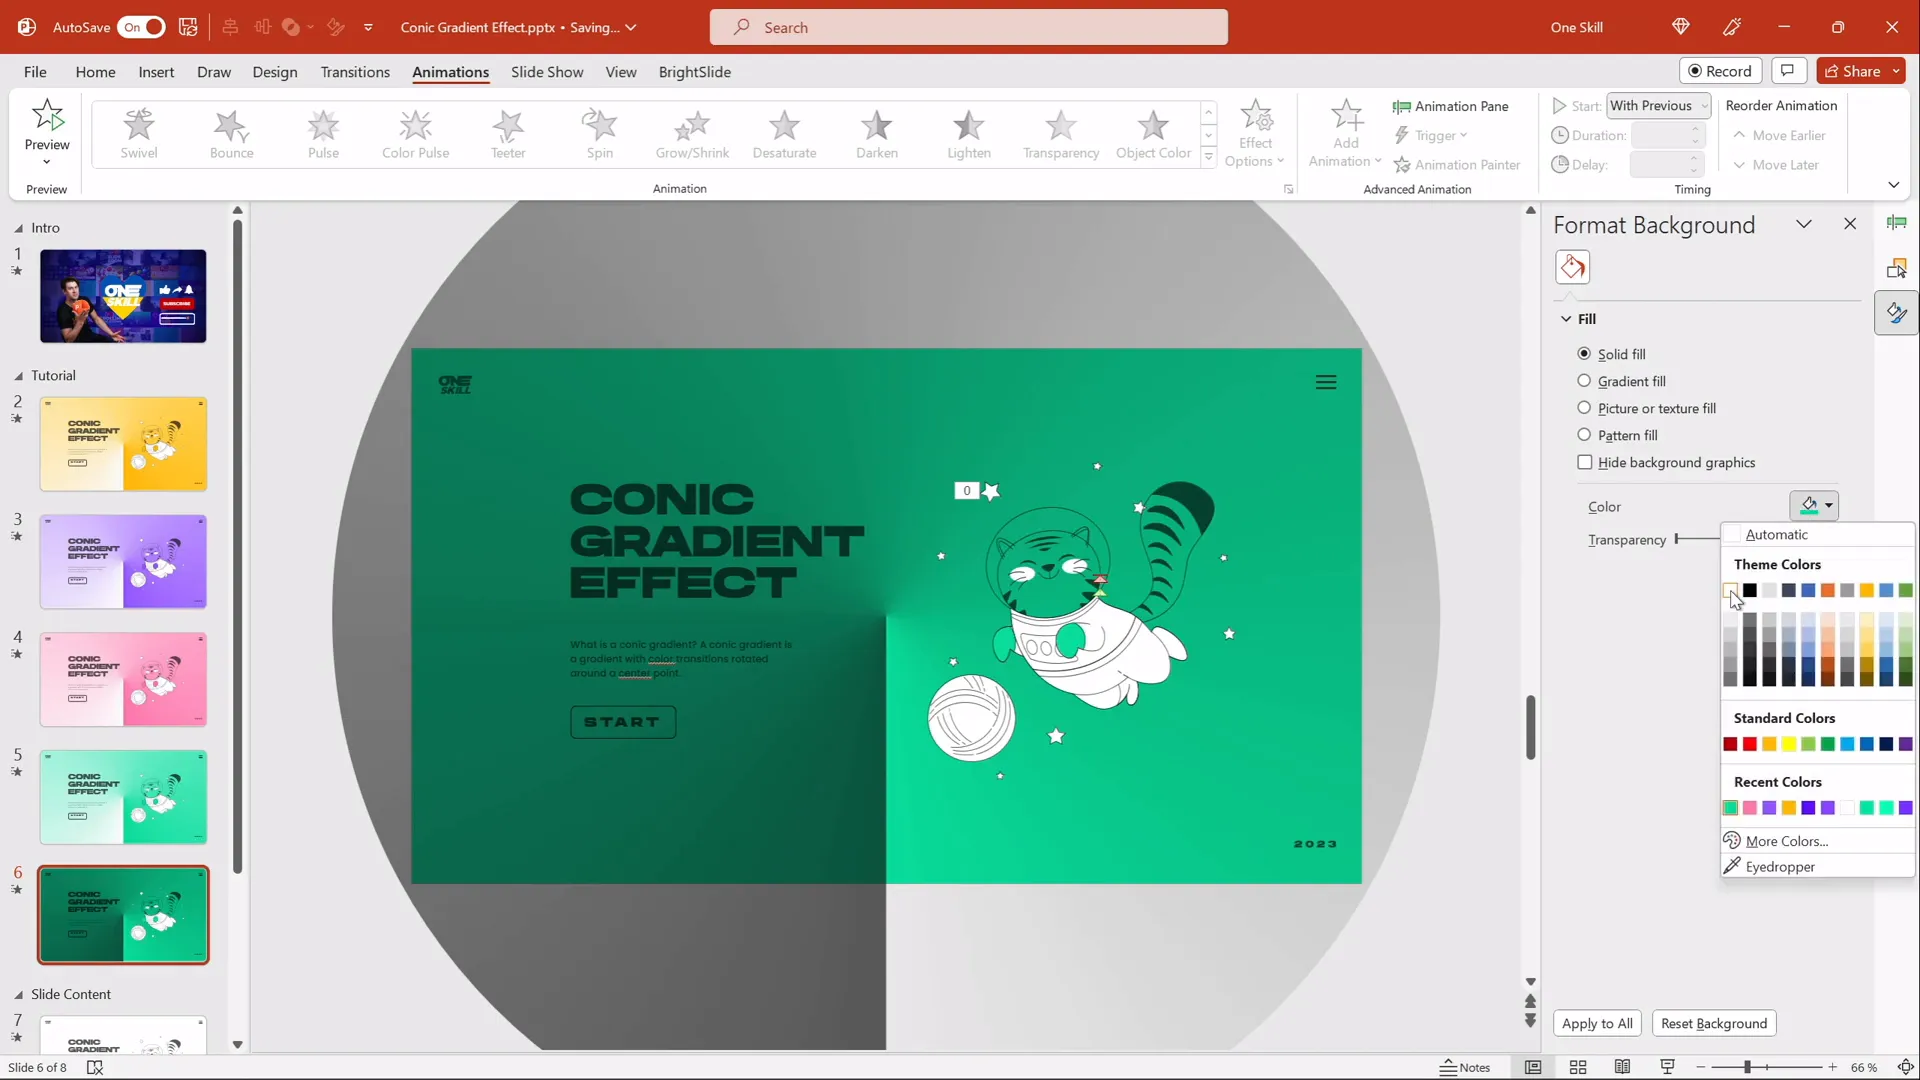
Step 2: Change Slide Background Color
- On the duplicate slide, right-click on the slide background and select Format Background.
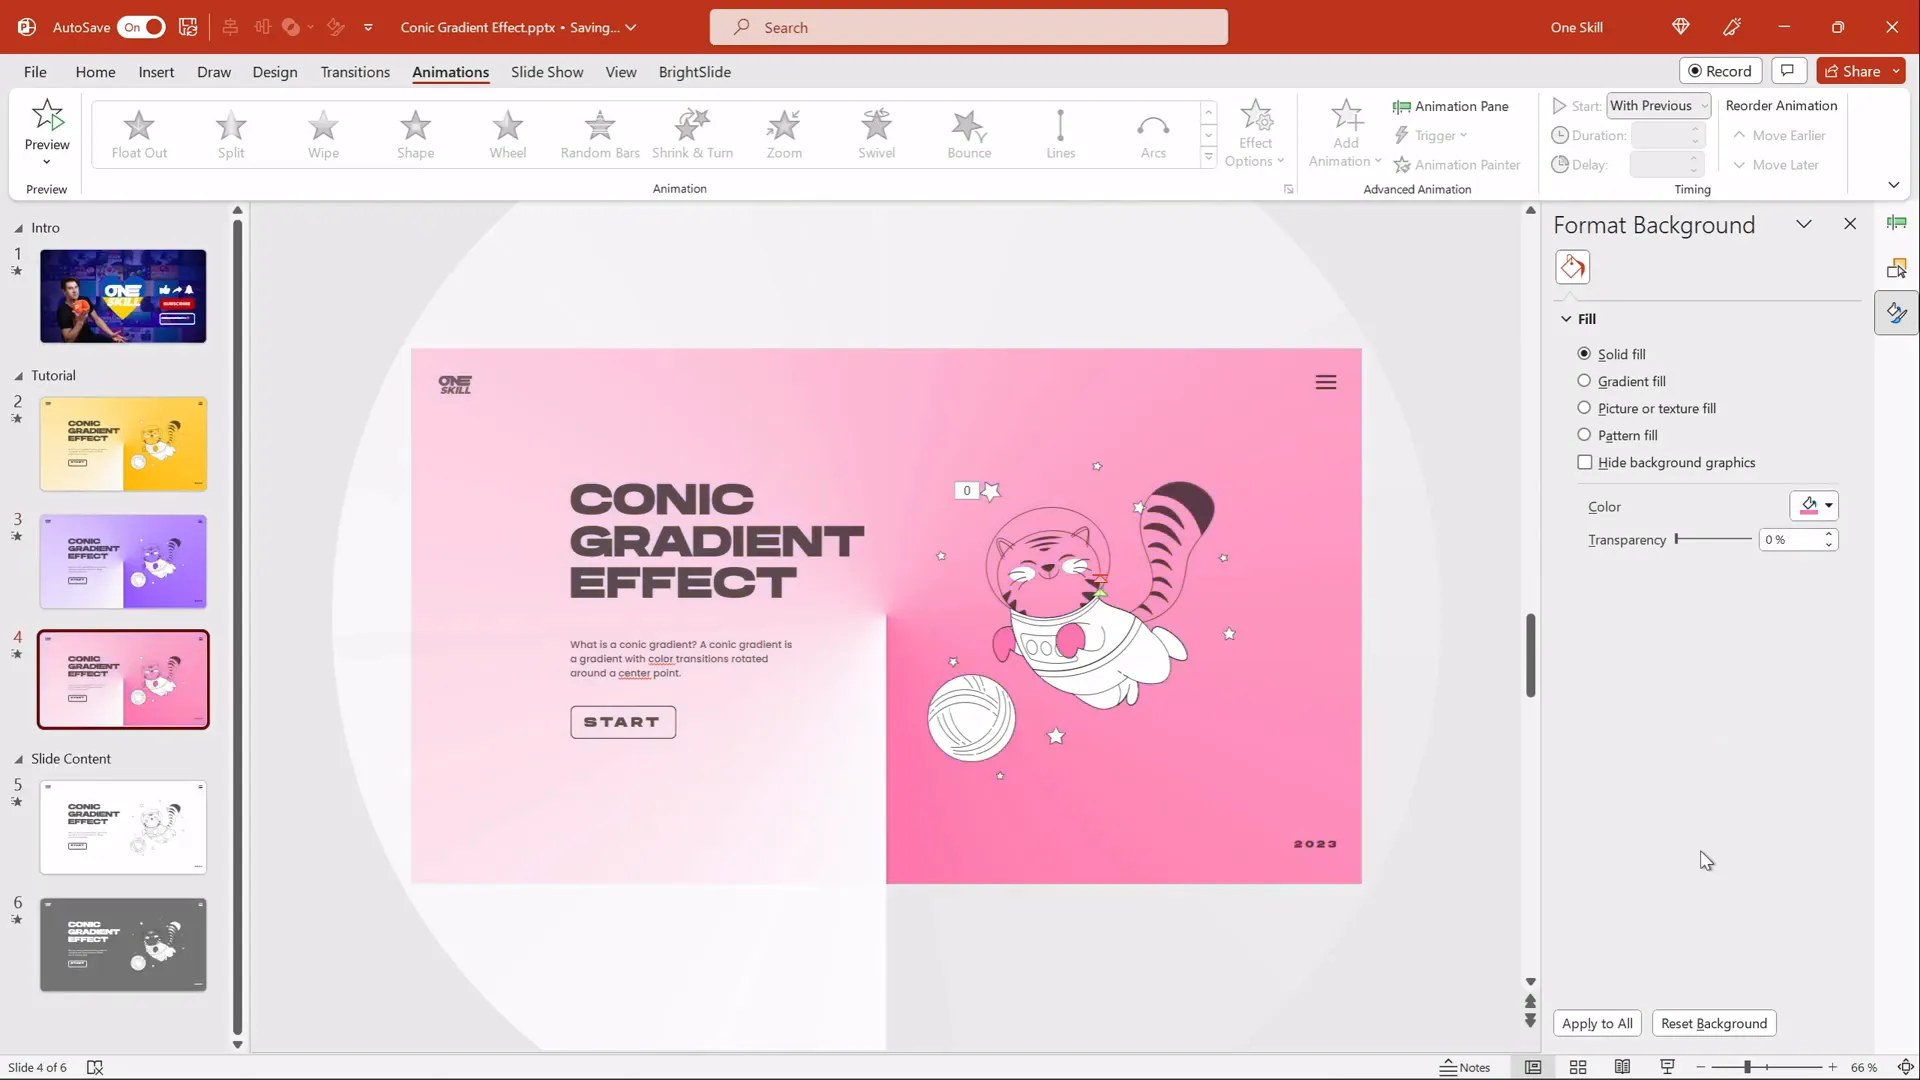
- Choose a new Solid Fill color, such as light purple, dark blue, or any color that fits your presentation theme.
- Because the gradient’s transparent areas reveal the slide background color, changing the background will instantly alter the gradient’s appearance.
Step 3: Create Dark Gradient Effects
You can also turn the light gradient into a dark one by adjusting the brightness and transparency of the gradient image itself.
- Select the gradient image.
- Go to Picture Format > Corrections.
- Use the Brightness slider to decrease brightness, making the gradient darker.
- If the effect is too strong, adjust the Transparency slider to soften it.
- Experiment with different slide background colors combined with brightness adjustments to create unique looks.
For example, pairing a dark gradient with a black or dark background and white text can create a sleek, professional look that stands out.
Adding Content and Fun Animations
To make your presentation more engaging, you can add text, images, and even animated illustrations on top of your spinning gradient background.
Step 1: Insert Text Boxes and Images
- Create text boxes with your content, such as titles, bullet points, or quotes.
- Choose a stylish font that complements your design. In this tutorial, the font Hands On is used for a playful yet professional look.
- Add images or illustrations to enhance your message. For example, animated flying cats from Storyset add a fun and whimsical touch.
Step 2: Animate Slide Content
Use PowerPoint’s animation features to bring your text and illustrations to life. For example, you can add flying or fade-in animations to images and text boxes to complement the spinning background.
For more ideas on animating illustrations in PowerPoint, check out tutorials on creating animated illustrations that captivate your audience.
Tips for Effective PowerPoint Design Using Conic Gradients
To make the most out of this conic gradient design idea on PowerPoint, consider these best practices:
- Keep it balanced: Use the spinning gradient as a background or accent, not the main focus, so your content remains clear.
- Choose readable fonts: When using dark backgrounds, opt for light-colored fonts and vice versa.
- Limit animation overload: While the spinning gradient is dynamic, avoid adding too many other animations that compete for attention.
- Maintain consistent branding: Customize colors to align with your brand palette for a professional finish.
- Test across devices: Ensure animations and visuals render well on different versions of PowerPoint and devices.
| Design Aspect | Best Practice | Why It Matters |
|---|---|---|
| Gradient Colors | Use white and transparent for flexibility | Allows background color changes to affect gradient look |
| Animation Speed | Set spin duration to ~10 seconds | Ensures smooth, non-distracting rotation |
| Text Readability | Use contrasting colors for text | Improves audience comprehension |
| Slide Background | Change color to customize mood | Creates varied visual themes easily |
Frequently Asked Questions
Can I create a conic gradient directly in PowerPoint?
Currently, PowerPoint does not support creating conic (angular) gradients natively. You need to create the gradient in an external tool like Figma and then import it as an image.
Is Figma free to use for this purpose?
Yes, Figma offers a free plan that is fully sufficient for creating and exporting conic gradients for PowerPoint use.
Will this technique work on all versions of PowerPoint?
This method works best on PowerPoint versions that support image animations, such as Office 365 and recent desktop versions. Older versions might have limited animation options.
How can I change the gradient colors after importing into PowerPoint?
By designing the gradient with white and transparent stops, you can change the slide background color in PowerPoint to alter the visible gradient colors dynamically.
Can I use other illustrations or animations with this gradient?
Absolutely! The gradient works as a background, allowing you to add any text, images, or animated illustrations on top to enhance your presentation.
Is there a way to make the gradient spin slower or faster?
Yes, you can adjust the spin animation duration in PowerPoint’s animation pane to control the speed of rotation.
Conclusion
Design ideas on PowerPoint don’t have to be complicated or require advanced software. By combining the power of free design tools like Figma with PowerPoint’s animation capabilities, you can create stunning effects like the animated conic gradient that captivate your audience and elevate your presentations.
This tutorial demonstrated how to:
- Create a conic gradient in Figma
- Import and crop it in PowerPoint for perfect coverage
- Add smooth spinning animation
- Customize background colors for different looks
- Enhance slides with text and fun animations
With these skills, you can experiment with colors, speeds, and content to produce unique slides that stand out in any setting—from business pitches to creative showcases.
Don’t forget to download the free tutorial slides available on the creator’s Patreon page to practice and adapt this technique for your own projects.
Happy designing, and may your next PowerPoint presentation be your best yet!