
Creating an engaging and interactive PowerPoint presentation can dramatically elevate your delivery and captivate your audience. Whether you’re a student preparing a research thesis, a professional pitching an idea, or a teacher designing a lesson, adding interactive elements, smooth animations, and a clickable menu can make your slides stand out.
In this comprehensive guide, inspired by One Skill PPT’s tutorial, you’ll learn how to design a modern, minimal, and interactive PowerPoint presentation from scratch. You’ll discover how to create a clickable animated menu, zoomable sections, glowing design elements, and subtle animations that bring your content to life.
Table of Contents
- Getting Started: Setting Up Your Presentation
- Design Elements: Backgrounds, Glowing Circles & Fonts
- Animating Your PowerPoint: Wipe & Motion Path Effects
- Building a Clickable Interactive Menu
- Fixing Common PowerPoint Issues with Icons and Text Boxes
- Adding Zoomable Sections with Section Zooms
- Final Touches: Grouping, Animations & Transitions
- Frequently Asked Questions
- Conclusion
Getting Started: Setting Up Your Presentation
Before diving into complex interactive features, it’s important to start with a clean slate. Here’s how to set up your PowerPoint for success:
- Open a Blank Presentation: Start PowerPoint and open a fresh, blank presentation. To maximize your workspace, close the notes pane by clicking the notes button at the bottom.
- Select a Blank Slide Layout: Remove any default placeholders by selecting the blank slide layout. This gives you a clean canvas to work on.
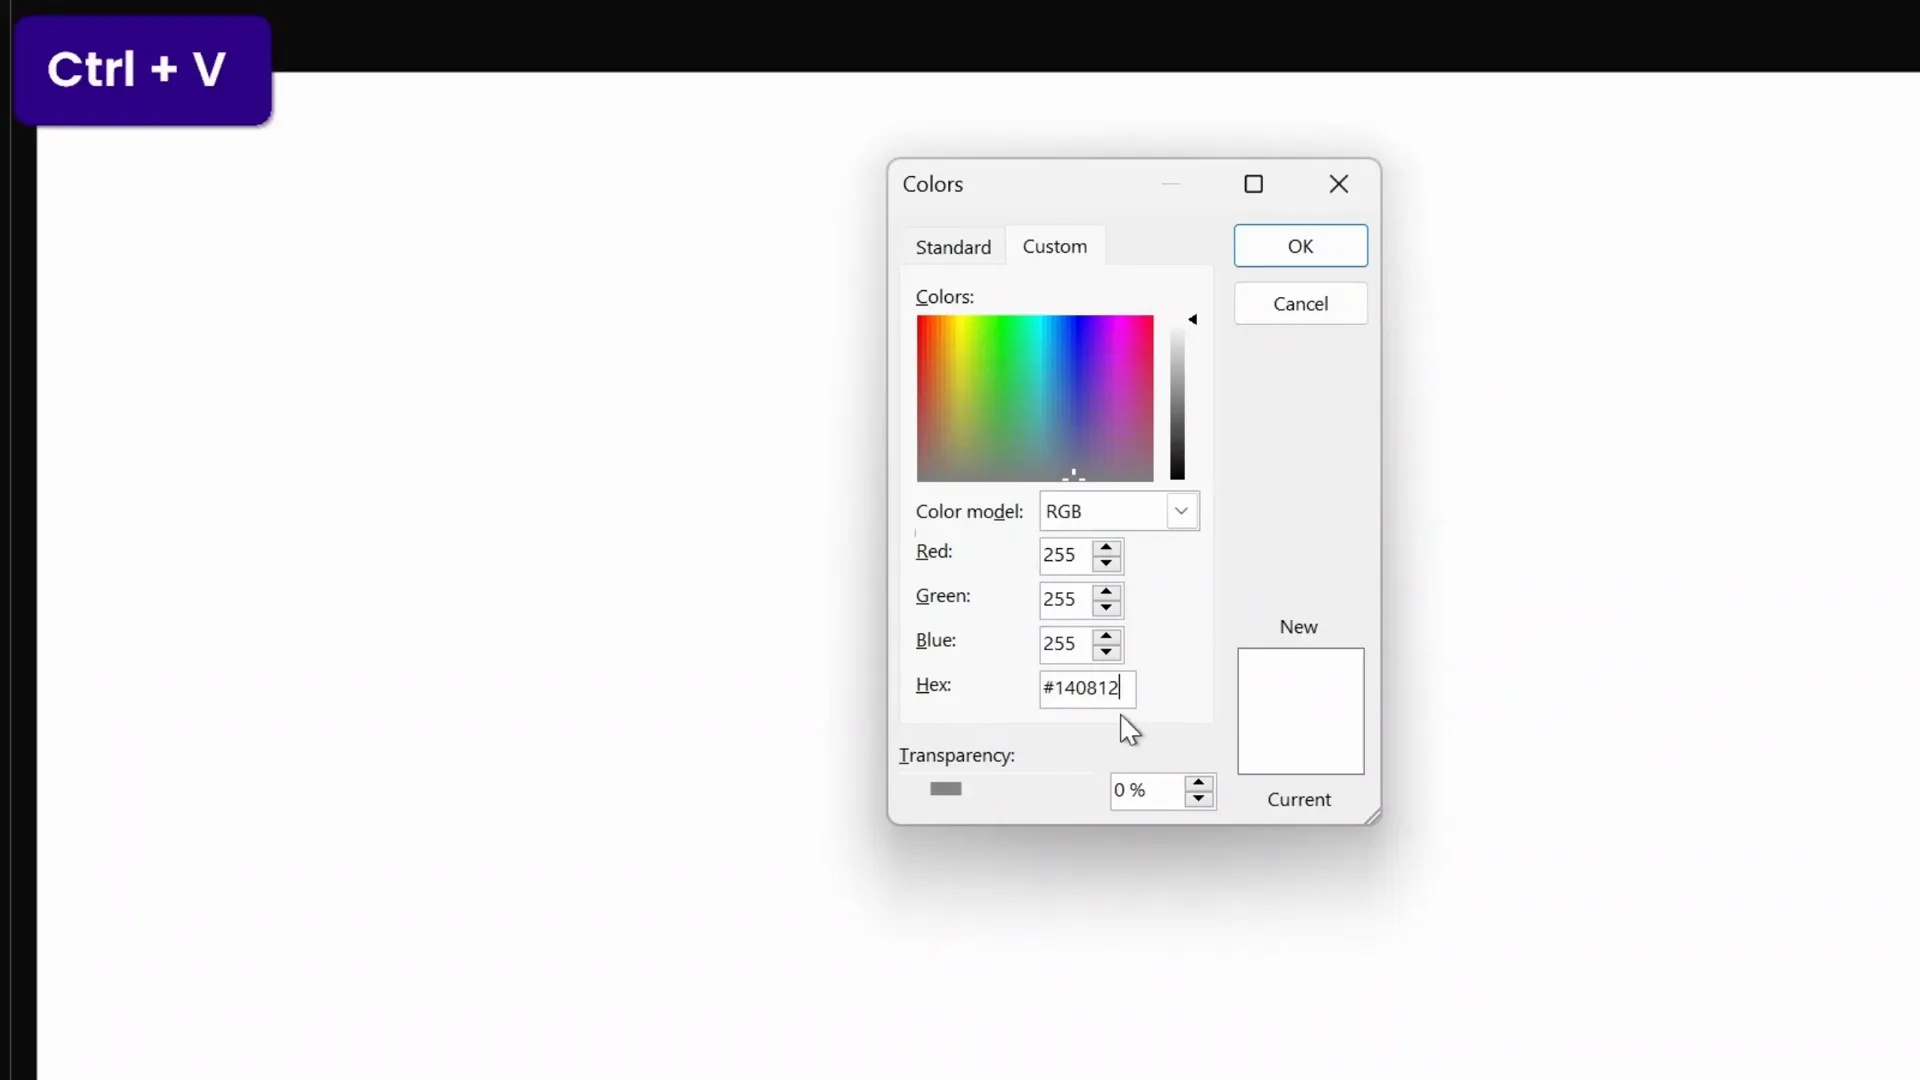
- Set a Custom Background Color: To create a modern and cohesive look, use a custom color for your slide background. You can pick a hex color code from a previous design or choose your own.
- Apply the Background Color to All Slides: After setting the background on one slide, apply it to all slides to maintain consistency throughout your presentation.
Example of setting the background color:
- Right-click the slide background → Format Background → Solid Fill → More Colors → Custom → Paste your hex code → Click OK.
- Click “Apply to All” to fill all slides with the chosen color.
Design Elements: Backgrounds, Glowing Circles & Fonts
Now that your slide background is set, it’s time to add design elements that give your presentation a polished and modern aesthetic.
Creating Soft Glowing Circles
Glowing circles add a subtle visual interest without overwhelming your content. Here’s how to create them:
- Insert a perfect circle:
- Go to Insert → Shapes → Oval.
- Hold Ctrl + Shift and drag from the center to create a perfect circle.
- Remove outline for a clean look.
- Fill the circle with a Radial Gradient Fill:
- Choose Gradient Fill → Radial.
- Set three color stops with the same blue hex color.
- Adjust transparency for each stop (e.g., 0%, 65%, 100%) to create a fading glow effect.
- Position the stops to control the size and softness of the glow.
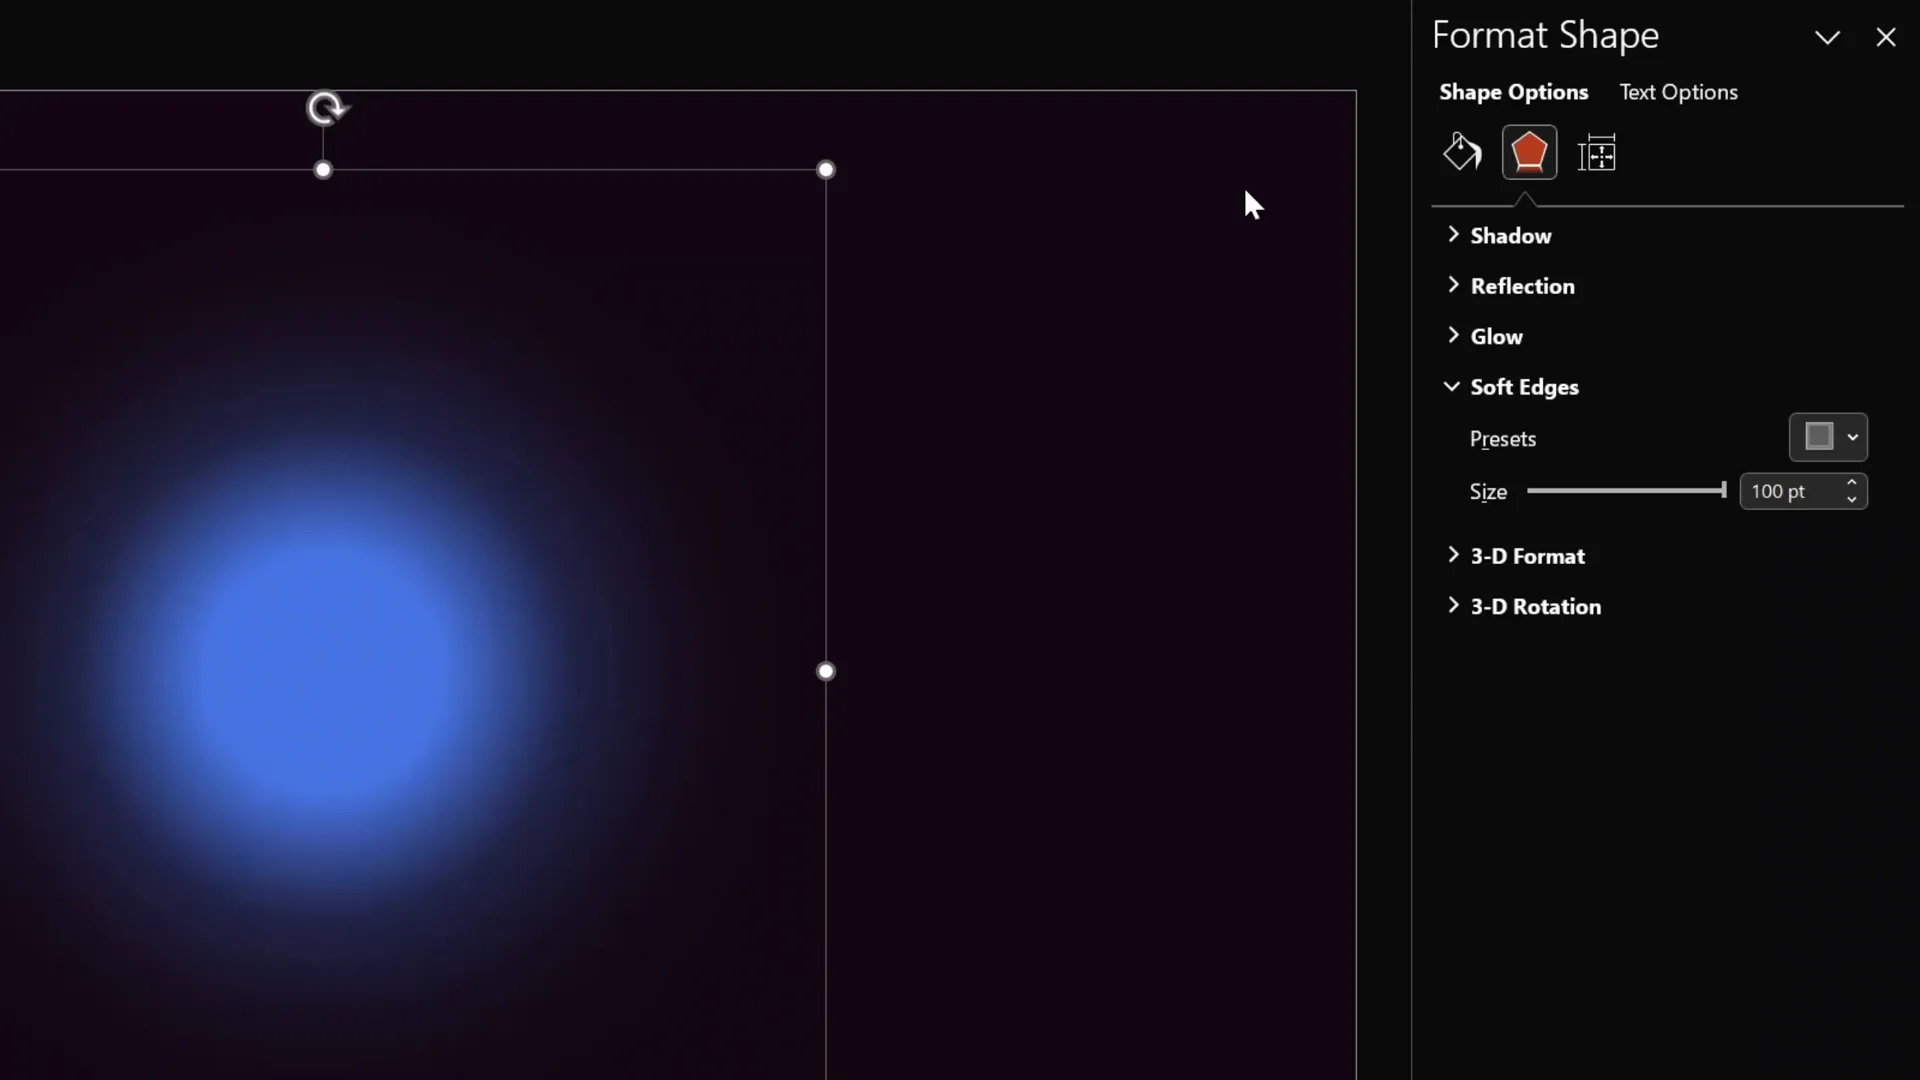
- Add Soft Edges effect to blur the edges and enhance the glow.
Choosing Fonts and Colors
Typography plays a crucial role in your presentation’s professionalism. The tutorial uses the following:
- Font: Darker Grotesque (Semi Bold) — a clean, modern sans-serif font.
- Colors: Custom hex codes for backgrounds and accents ensure consistency and a sleek minimal look.
For icons, the tutorial uses Phosphor Icons for clean, versatile visuals that complement the design.
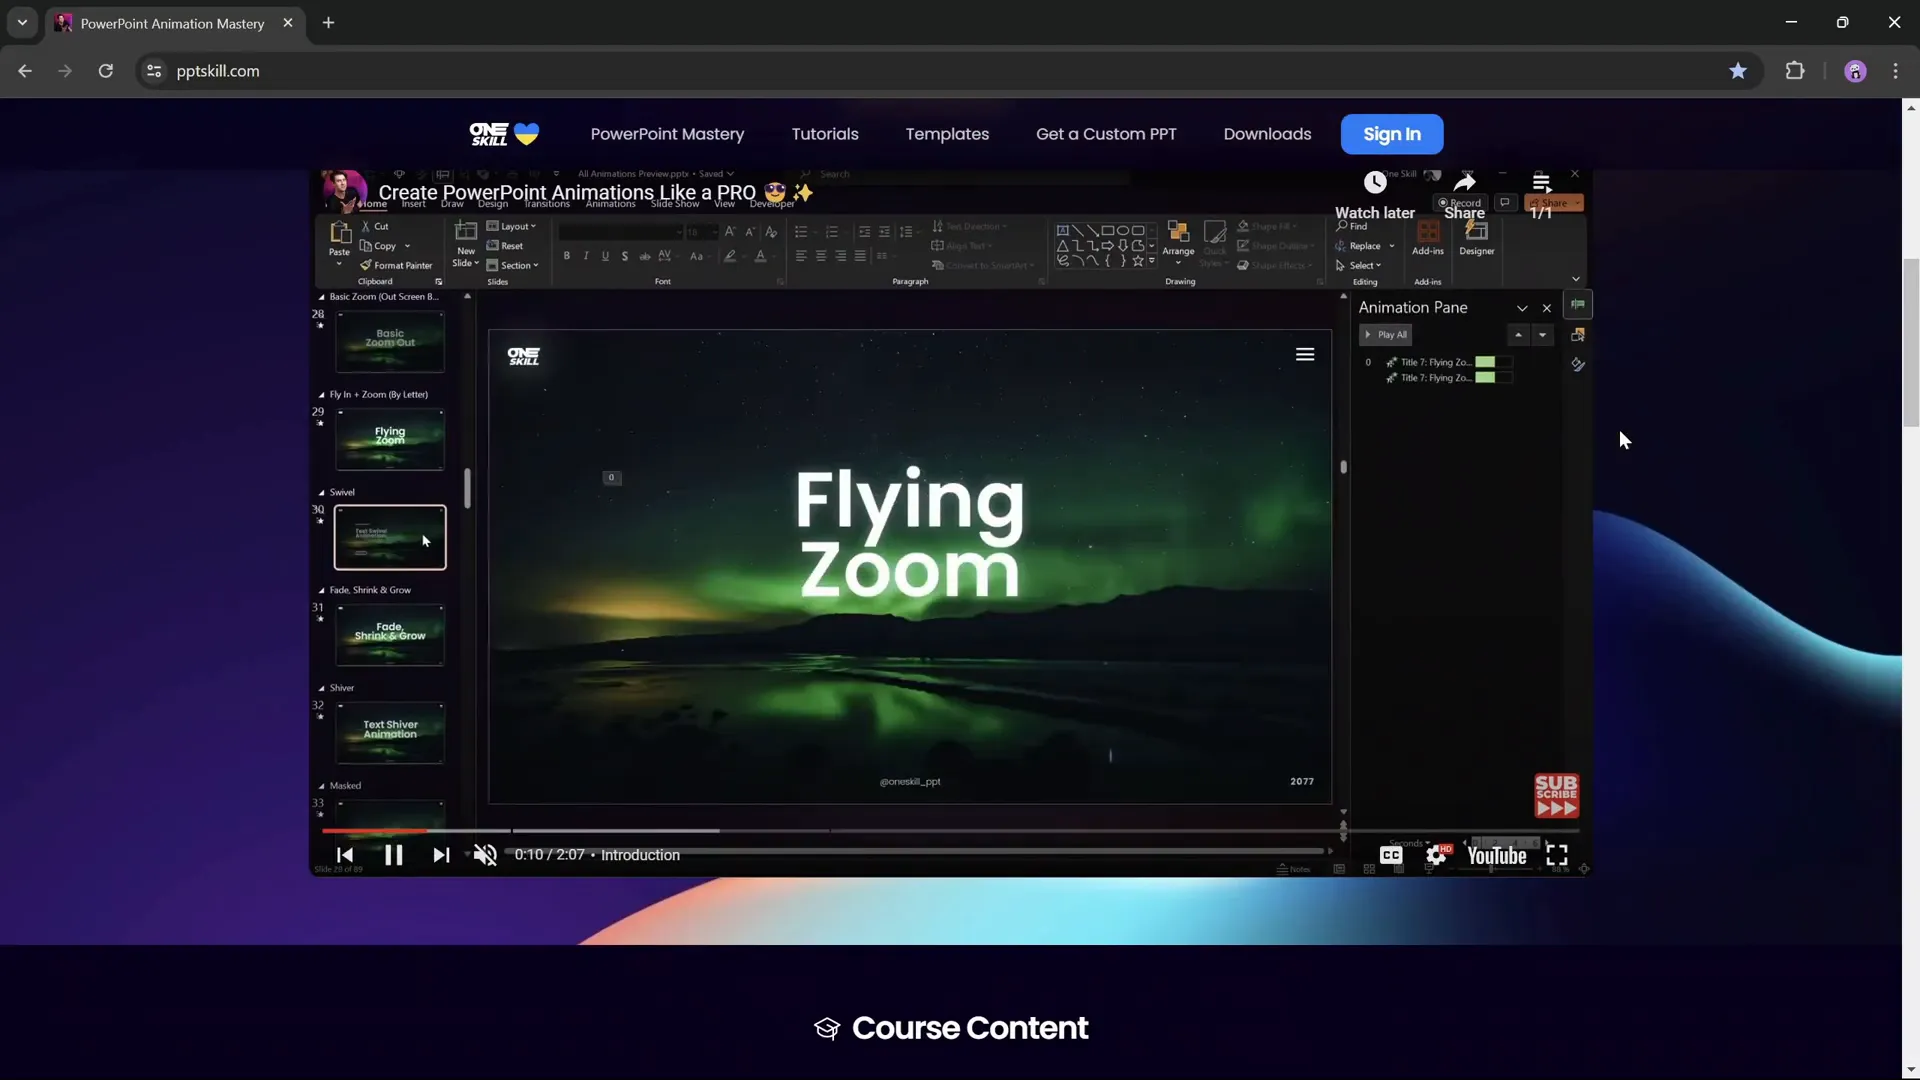
Animating Your PowerPoint: Wipe & Motion Path Effects
Animations can breathe life into your slides, making transitions smooth and engaging. Here’s how to recreate the subtle wipe and motion path animations shown in the tutorial:
- Apply a Wipe Animation:
- Select the text box.
- Go to Animations → Add Animation → Wipe.
- Set the direction to “From Top.”
- Adjust the duration to around 0.8 seconds.
- Add a Motion Path Animation:
- Select the same text box.
- Animations → Add Animation → Motion Path → Line.
- Adjust the endpoint of the motion path to create a smooth upward movement.
- Right-click the motion path and choose “Reverse Path Direction” if needed.
- Set the motion path to start “With Previous” and duration to approximately 1.25 seconds.
- Enable a “Smooth Start/End” for butter-smooth animation flow.
- Duplicate Animations:
- Use the Animation Painter to copy these animations to other text boxes for consistent effects.
- Set all animations to start “With Previous” except the first, which starts on mouse click.
- Slide Transition: Use a simple Fade transition for smooth slide changes.
This combination creates engaging but subtle animations that enhance readability and flow.
Building a Clickable Interactive Menu
One of the standout features of this presentation style is the interactive clickable menu at the top of slides. This menu allows users to jump between sections seamlessly. Here’s how to create it:
Steps to Build the Menu
- Create the Menu Background:
- Insert a rounded rectangle shape.
- Fill it with white and set transparency around 95% for subtlety.
- Set the outline line transparency to about 90%.
- Add Icons:
- Insert 3 or more icons from Phosphor Icons or your preferred icon library.
- Place the icons evenly spaced on the rounded rectangle.
- Set default icon transparency to about 75% to indicate inactive state.
- Set the active icon’s transparency to 0% (fully white) to highlight the current section.
- Label the Active Icon:
- Add a small text box below the active icon with the section title (e.g., “Introduction,” “Objectives,” etc.).
- Position the active icon slightly higher than inactive icons to create visual separation.
- Duplicate Slides for Each Menu State:
- Create one slide for each menu state with the corresponding active icon and label.
- Add two more slides for the other active icons if you have three icons.
- Add Hyperlinks for Navigation:
- Select each icon and insert a hyperlink to the corresponding slide.
- This makes the menu clickable and interactive during the presentation.
- Apply Morph Transition:
- Select all menu slides and apply the Morph transition with a duration of 0.5 seconds.
- This creates smooth animated transitions between menu states.
Tips for Menu Polish
- Use consistent colors for your glowing circles behind icons to indicate active states.
- Adjust icon transparency carefully to differentiate active vs. inactive states.
- Use the Selection Pane to name icons explicitly with prefixes (e.g., “!!logo”) to prevent morph transitions from morphing unrelated icons.
Fixing Common PowerPoint Issues with Icons and Text Boxes
When working with morph transitions and interactive elements, you may encounter issues where icons or text boxes unexpectedly morph or flicker. Here’s how to fix these:
Prevent Icon Morphing
- Open the Selection Pane (Home → Arrange → Selection Pane).
- Rename icons you want to keep separate by prefixing names with special characters, e.g., “!!logo.”
- This tells PowerPoint to treat these icons as distinct objects, avoiding unwanted morph effects.
Make Text Boxes Follow Active Icons
- Rename all text boxes that label active icons with the same unique name (e.g., “!!text”) in the Selection Pane.
- This causes PowerPoint to treat these text boxes as one object moving between slides, creating the illusion that the label follows the active icon.

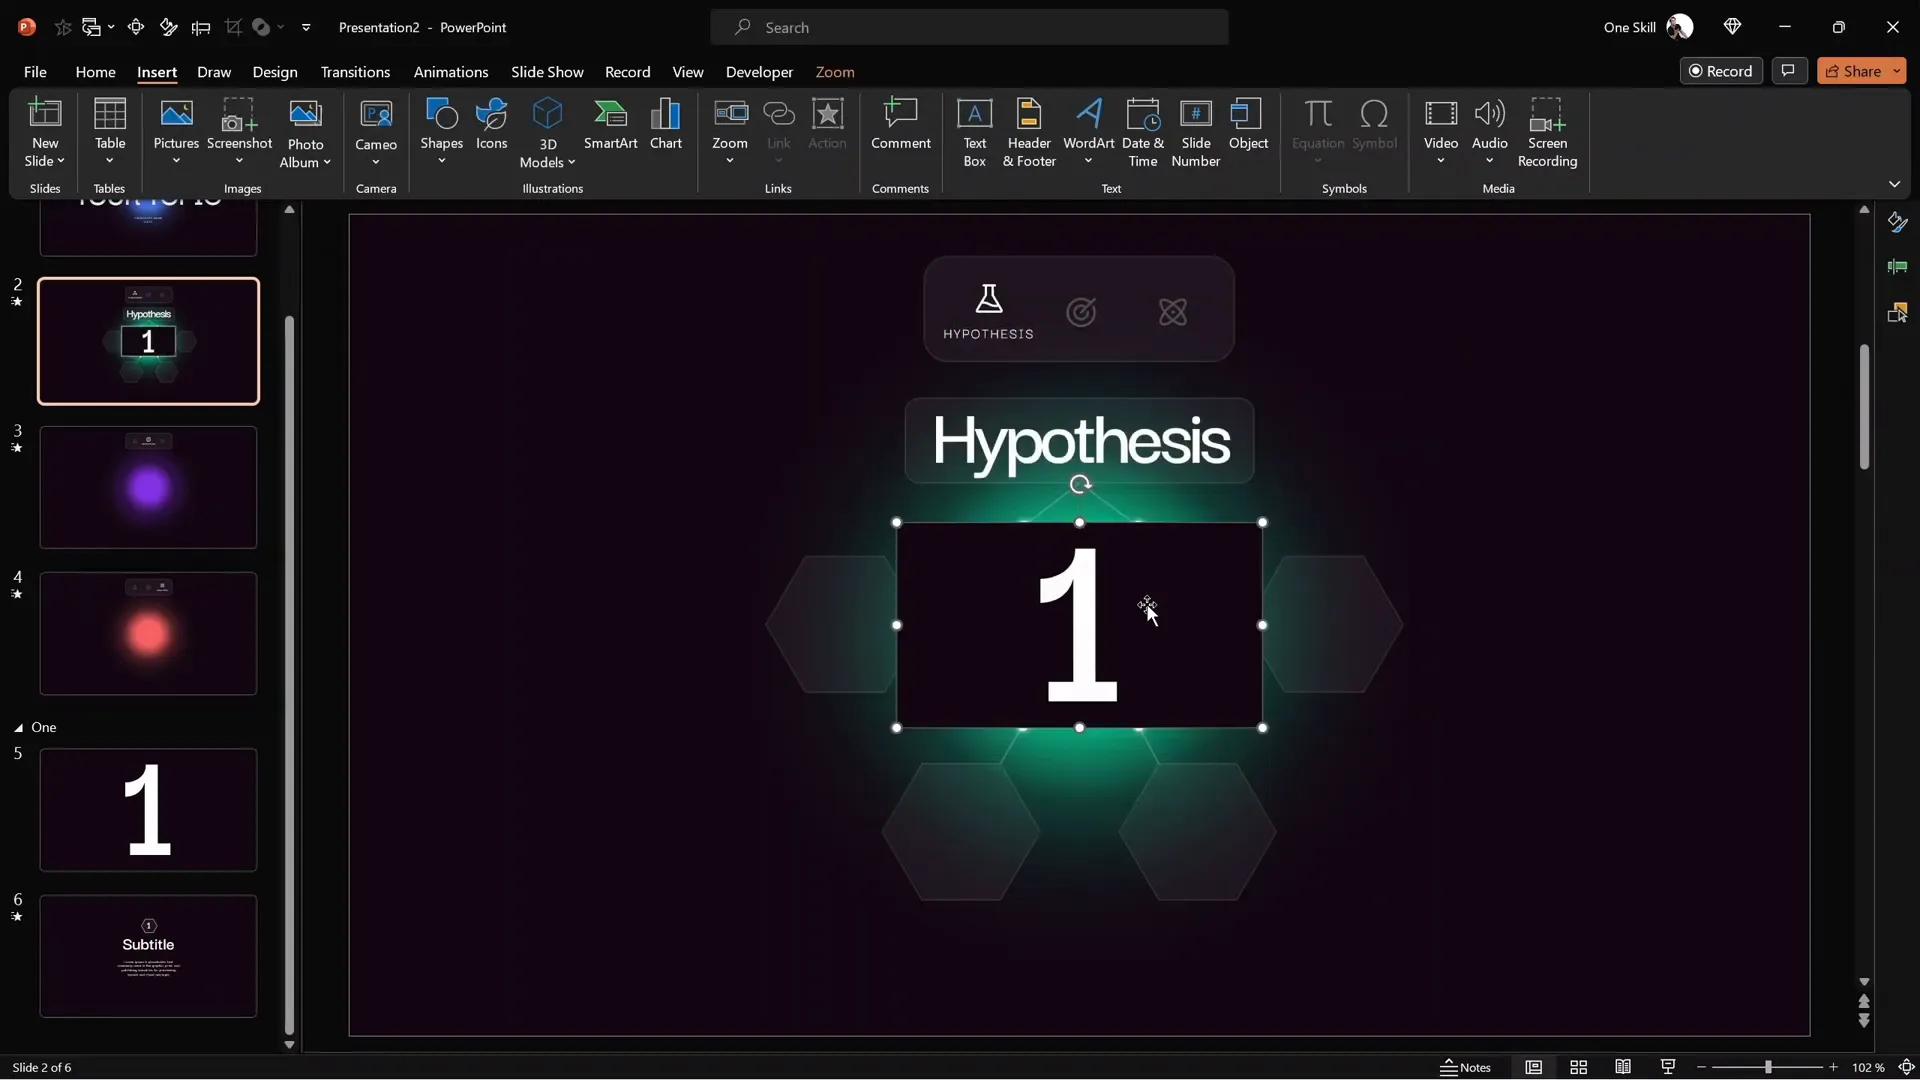
Adding Zoomable Sections with Section Zooms
One of the most powerful features of PowerPoint for interactive presentations is the Section Zoom feature. It allows you to create clickable areas that zoom into specific content sections and then return to the main slide.
How to Create Section Zooms
- Create Sections:
- In the slide sorter view, create named sections in your presentation (e.g., “1”, “2”, etc.).
- Each section groups relevant slides.
- Design Section Slides:
- Create a numbered slide for each section (e.g., a big number “1” in the center).
- Add detailed content slides below each numbered slide.
- Apply Morph transitions between these slides for smooth zoom effects.
- Insert Section Zoom:
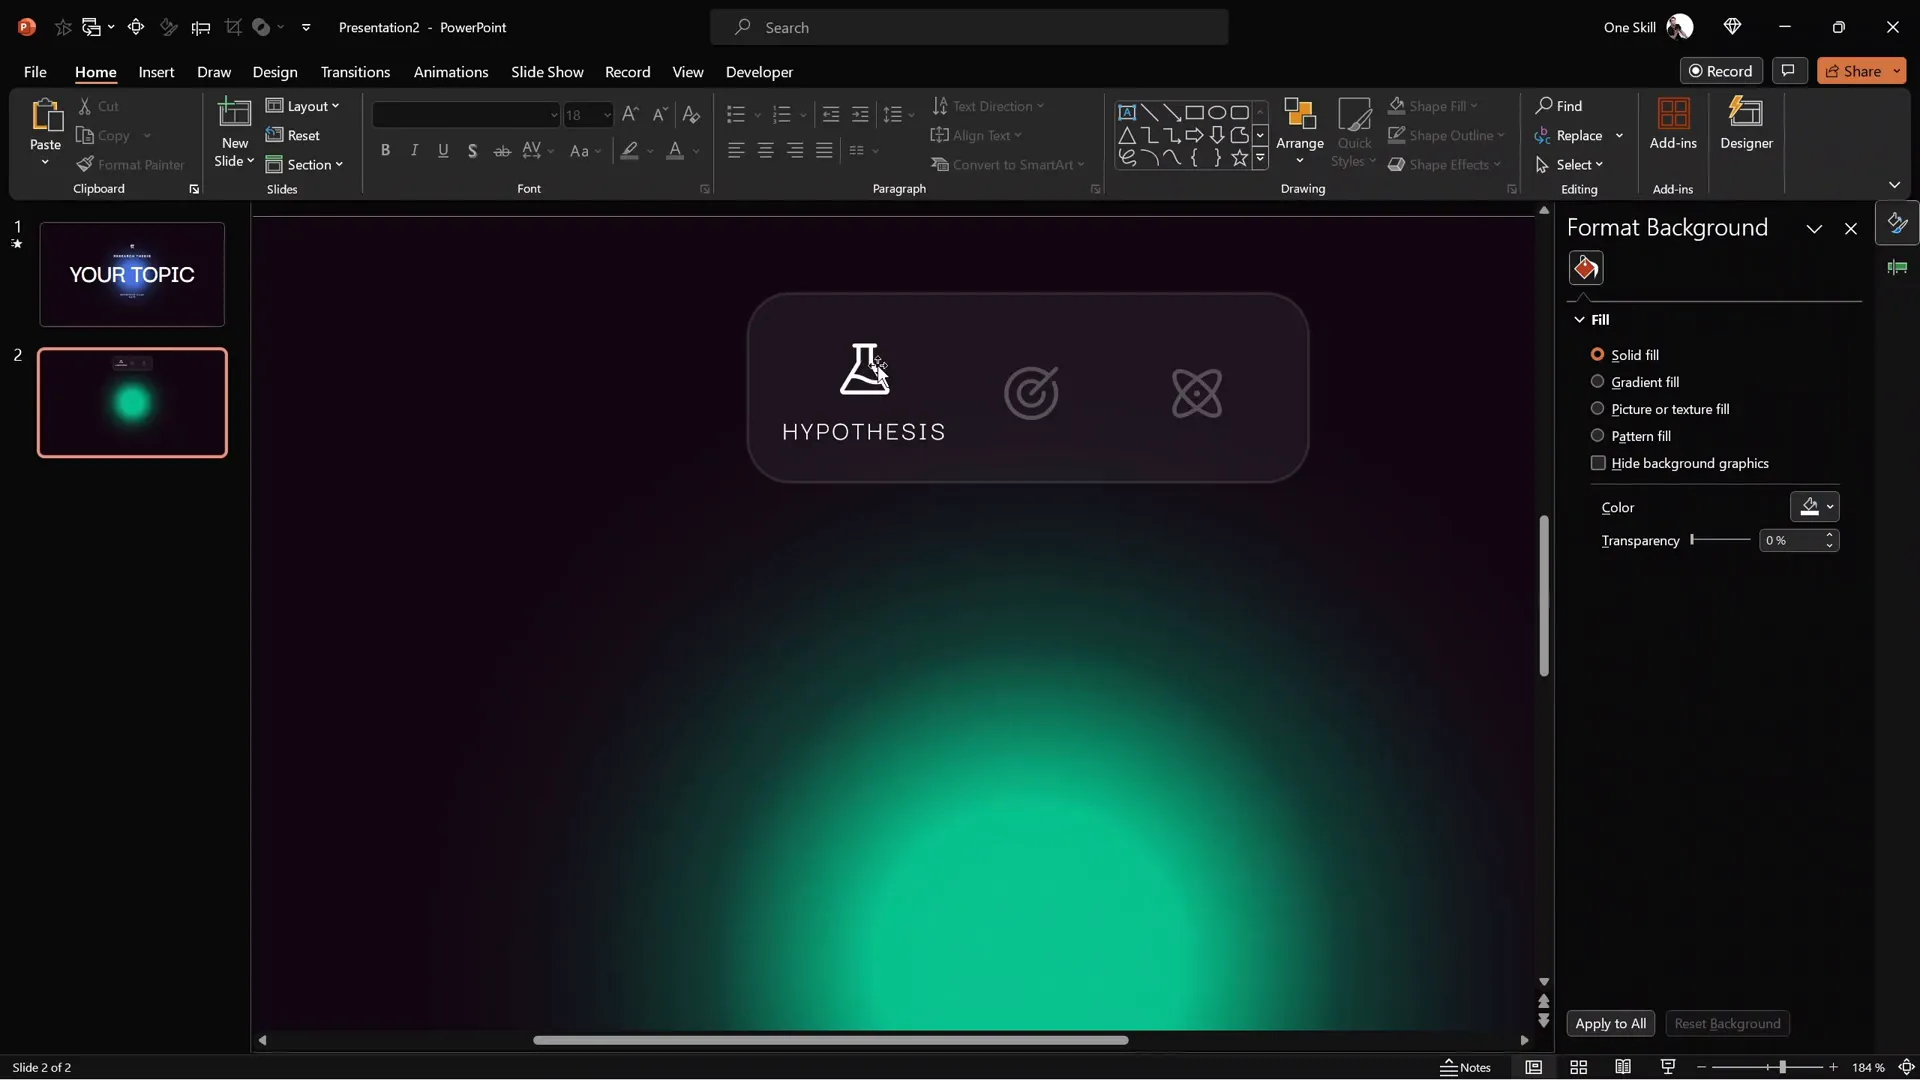
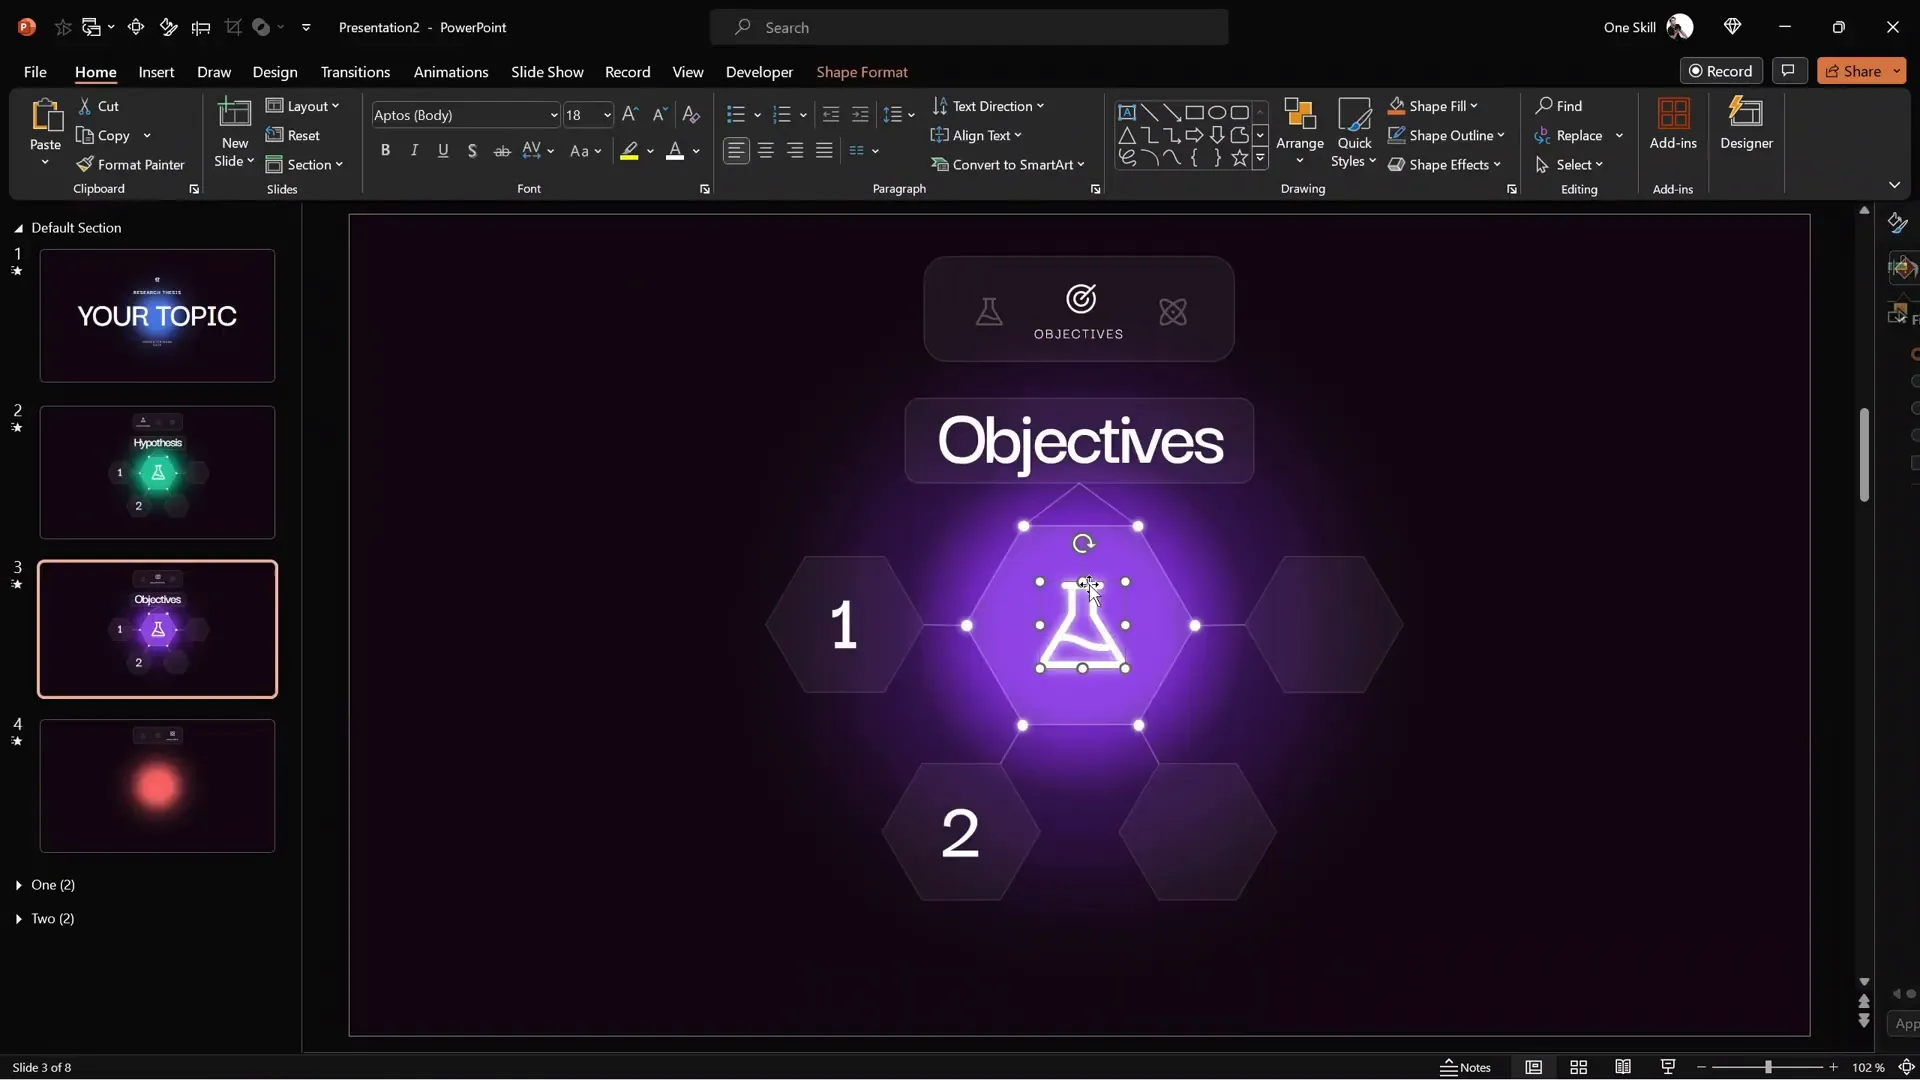
- Go back to your main “hub” slide with the hexagon infographic.
- Insert → Zoom → Section Zoom.
- Select the section you want to link to and insert the zoom object.
- Resize and position the zoom to fit inside a hexagon or any shape.
- Make the zoom background transparent via Zoom Tools → Zoom Background.
- Test the Zoom:
- In Slide Show mode, click the zoom to jump to the section start.
- Navigate through the section slides.
- After the last slide, PowerPoint automatically returns to the hub slide.
- Optional: Set Automatic Slide Transitions:
- Set intermediate slides to auto-transition after zero seconds to reduce clicks and enhance flow.
Expand with Multiple Sections
Repeat these steps for as many sections as you need. Each section can have multiple slides and its own zoomable area on the hub slide. This modular structure lets you deeply nest content while keeping navigation intuitive.
Customize Section Icons and Titles
To match your theme, swap icons for each section and adjust titles accordingly. For example, use a flask icon for hypotheses and a target icon for objectives.
Final Touches: Grouping, Animations & Transitions
Once your slides and interactive elements are in place, adding animations and grouping objects can polish your presentation:
- Group Infographic Elements: Select all parts of your infographic and group them to animate as one unit.
- Add Animations to Groups: Apply wipe and motion path animations to grouped elements for a smooth reveal effect.
- Set Animations to Start Automatically: Make animations start “With Previous” to avoid extra clicks.
- Use Morph Transitions for Menu and Zoom Effects: Morph transitions create seamless movement between slides and interactive states.
Preview your presentation in full-screen mode to ensure all animations, transitions, and hyperlinks work as expected.

Frequently Asked Questions
What version of PowerPoint do I need to create interactive presentations?
The tutorial uses Microsoft 365, which supports advanced features like Morph transitions and Section Zoom. PowerPoint 2019 and later also support these features, but some older versions may lack them.
Where can I find the fonts and icons used?
The primary font used is Darker Grotesque, available for free on Google Fonts. Icons are from Phosphor Icons, which offers a free, versatile icon library.
Can I customize the colors and fonts?
Absolutely. The hex codes for colors and the font names are shared in the tutorial description. Feel free to adjust them to match your brand or personal style.
How do Section Zooms differ from Slide Zooms and Summary Zooms?
Section Zooms link to a named section containing multiple slides, Slide Zooms link to individual slides, and Summary Zooms create a navigation slide that summarizes multiple sections or slides. Each offers different navigation options for interactivity.
Is this template free to use?
Yes! The PowerPoint template used in the tutorial is free and downloadable from the video description.
Can I create more sections and menu items?
Yes, you can add as many sections and menu icons as you need. Just replicate the steps for creating slides, hyperlinks, and zooms.
Conclusion
Congratulations! You now know how to create a next-level interactive PowerPoint presentation with a modern minimal design, clickable animated menu, zoomable sections, and subtle animations. This approach not only makes your presentation visually appealing but also enhances navigation and audience engagement.
By leveraging PowerPoint’s advanced features like Morph transitions and Section Zooms, you can build dynamic presentations tailored to your content, whether it’s a research thesis, business pitch, or educational module.
Remember to:
- Start with a clean, consistent background and color palette.
- Create glowing design elements to add depth and visual interest.
- Use animations thoughtfully to guide attention without distracting.
- Build an interactive menu with clickable icons for easy navigation.
- Implement Section Zooms to dive deep into content while maintaining context.
- Test thoroughly to ensure smooth transitions and clickable elements.
For further learning, consider exploring slide zooms and summary zooms to expand your interactive presentation toolkit. You can also check out One Skill PPT’s other tutorials to master PowerPoint animations and design.
Feel free to download the free template from the tutorial and customize it to your needs. Happy presenting!


