Welcome to an exciting journey into the magical world of PowerPoint design! In this comprehensive guide, you will learn how to create a stunning, interactive slide zoom template in PowerPoint featuring clickable section zooms and eye-catching animations. Whether you’re a beginner or an experienced presenter, this tutorial will walk you through the process step by step, enabling you to build a dynamic presentation that captivates your audience and stands out from the crowd.
This tutorial is inspired by the innovative techniques shared by One Skill PowerPoint, a creator renowned for empowering users to elevate their PowerPoint skills. By the end of this article, you will have the know-how to create your own slide zoom template, complete with morph transitions, creative shapes, and a beautiful glass morphic effect to add that extra touch of professionalism.
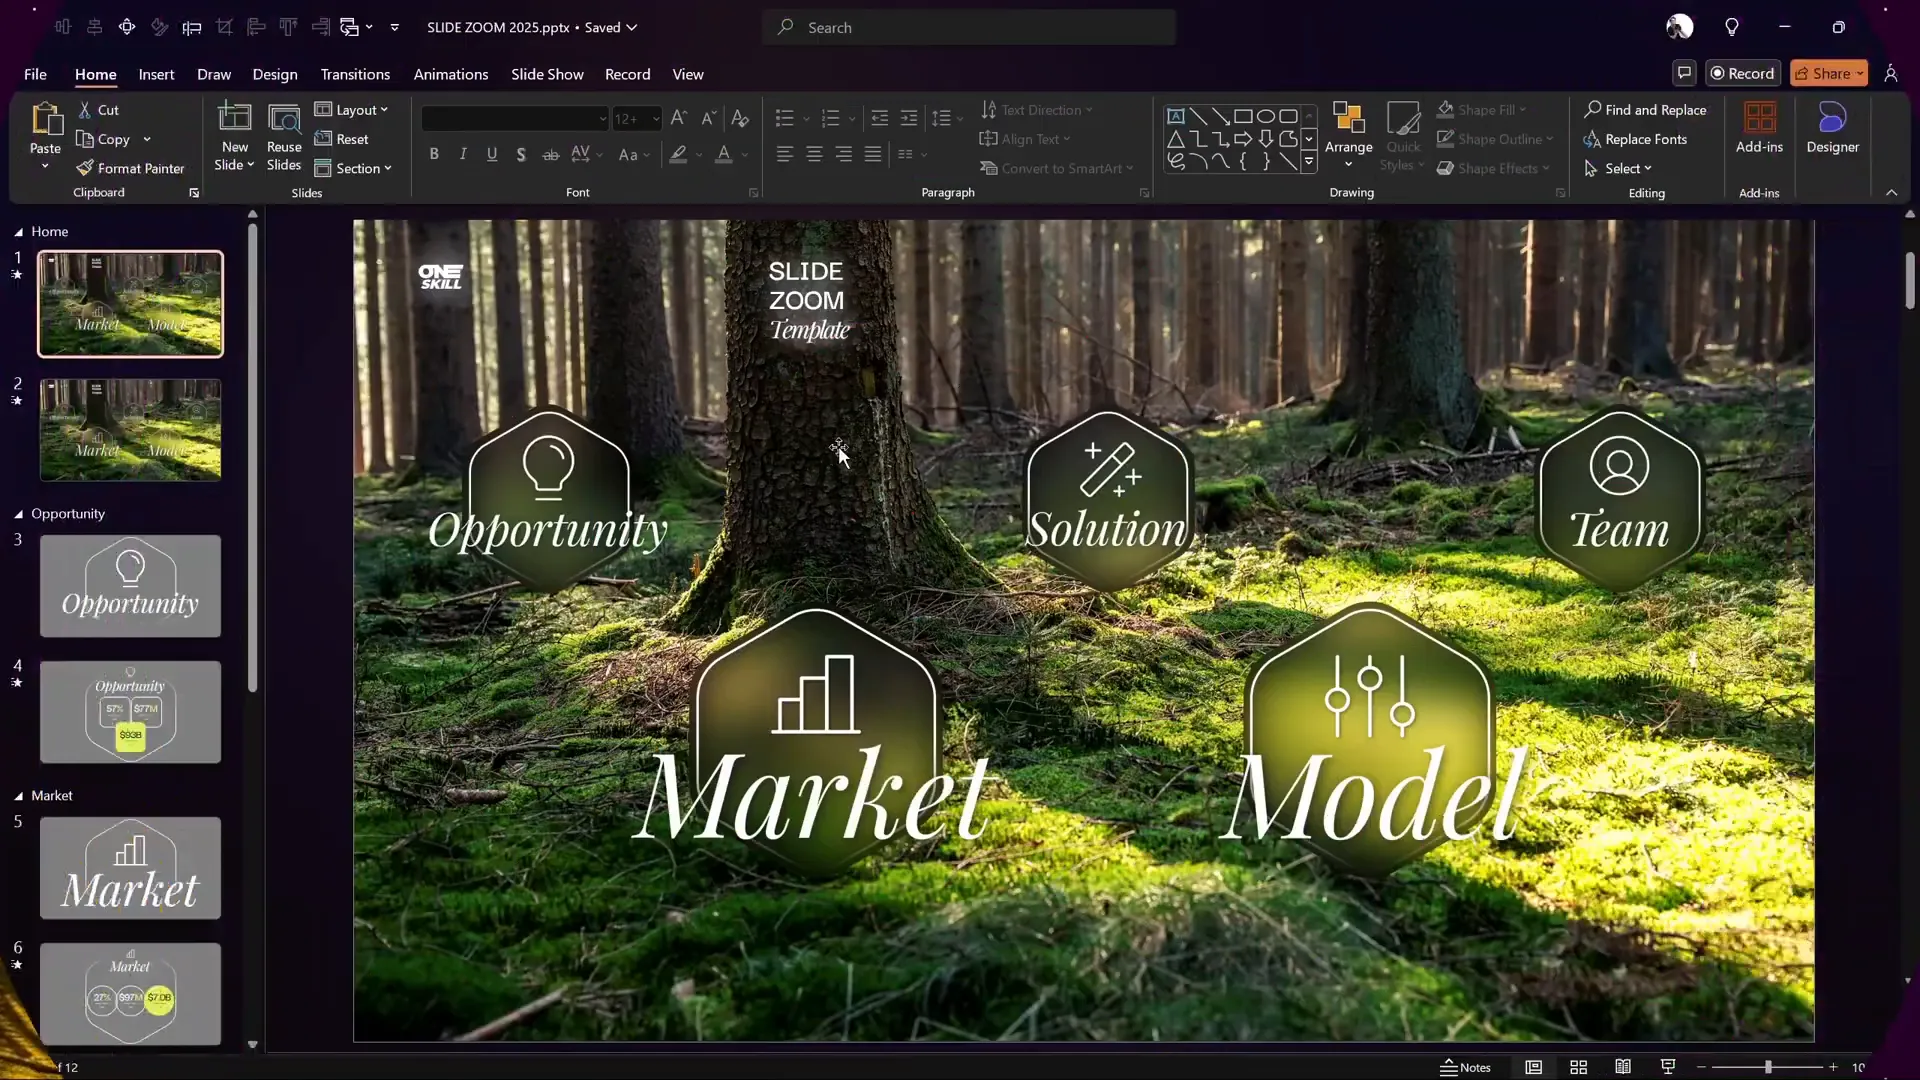
Table of Contents
- Getting Started: Setting Up Your PowerPoint Environment
- Choosing and Customizing Your Background Image
- Organizing Your Presentation with Slide Sections
- Designing the Rounded Hexagon Shape
- Customizing the Hexagon with Gradient Borders
- Adding Icons with Phosphor Icons
- Creating Stylish Text Boxes
- Building Multiple Slides within the Opportunity Section
- Automating Slide Transitions and Using Morph Effects
- Inserting and Customizing Section Zooms
- Enhancing Section Zooms with Glass Morphism Effect
- Animating Section Zooms for Impact
- Controlling Animation Repetition with Slide Duplication
- Expanding Your Template with Multiple Section Zooms
- Frequently Asked Questions (FAQ)
- Conclusion
Getting Started: Setting Up Your PowerPoint Environment
Before diving into the design, it’s important to clarify the PowerPoint version requirements. The tutorial uses Microsoft 365, but the techniques also work well with PowerPoint 2019 and 2021. A key feature we’ll leverage is the morph transition, which adds smooth animations like flipping hexagons. However, if your version doesn’t support morph, don’t worry—you can still create the entire template with other transitions, albeit with slightly less dynamic effects.
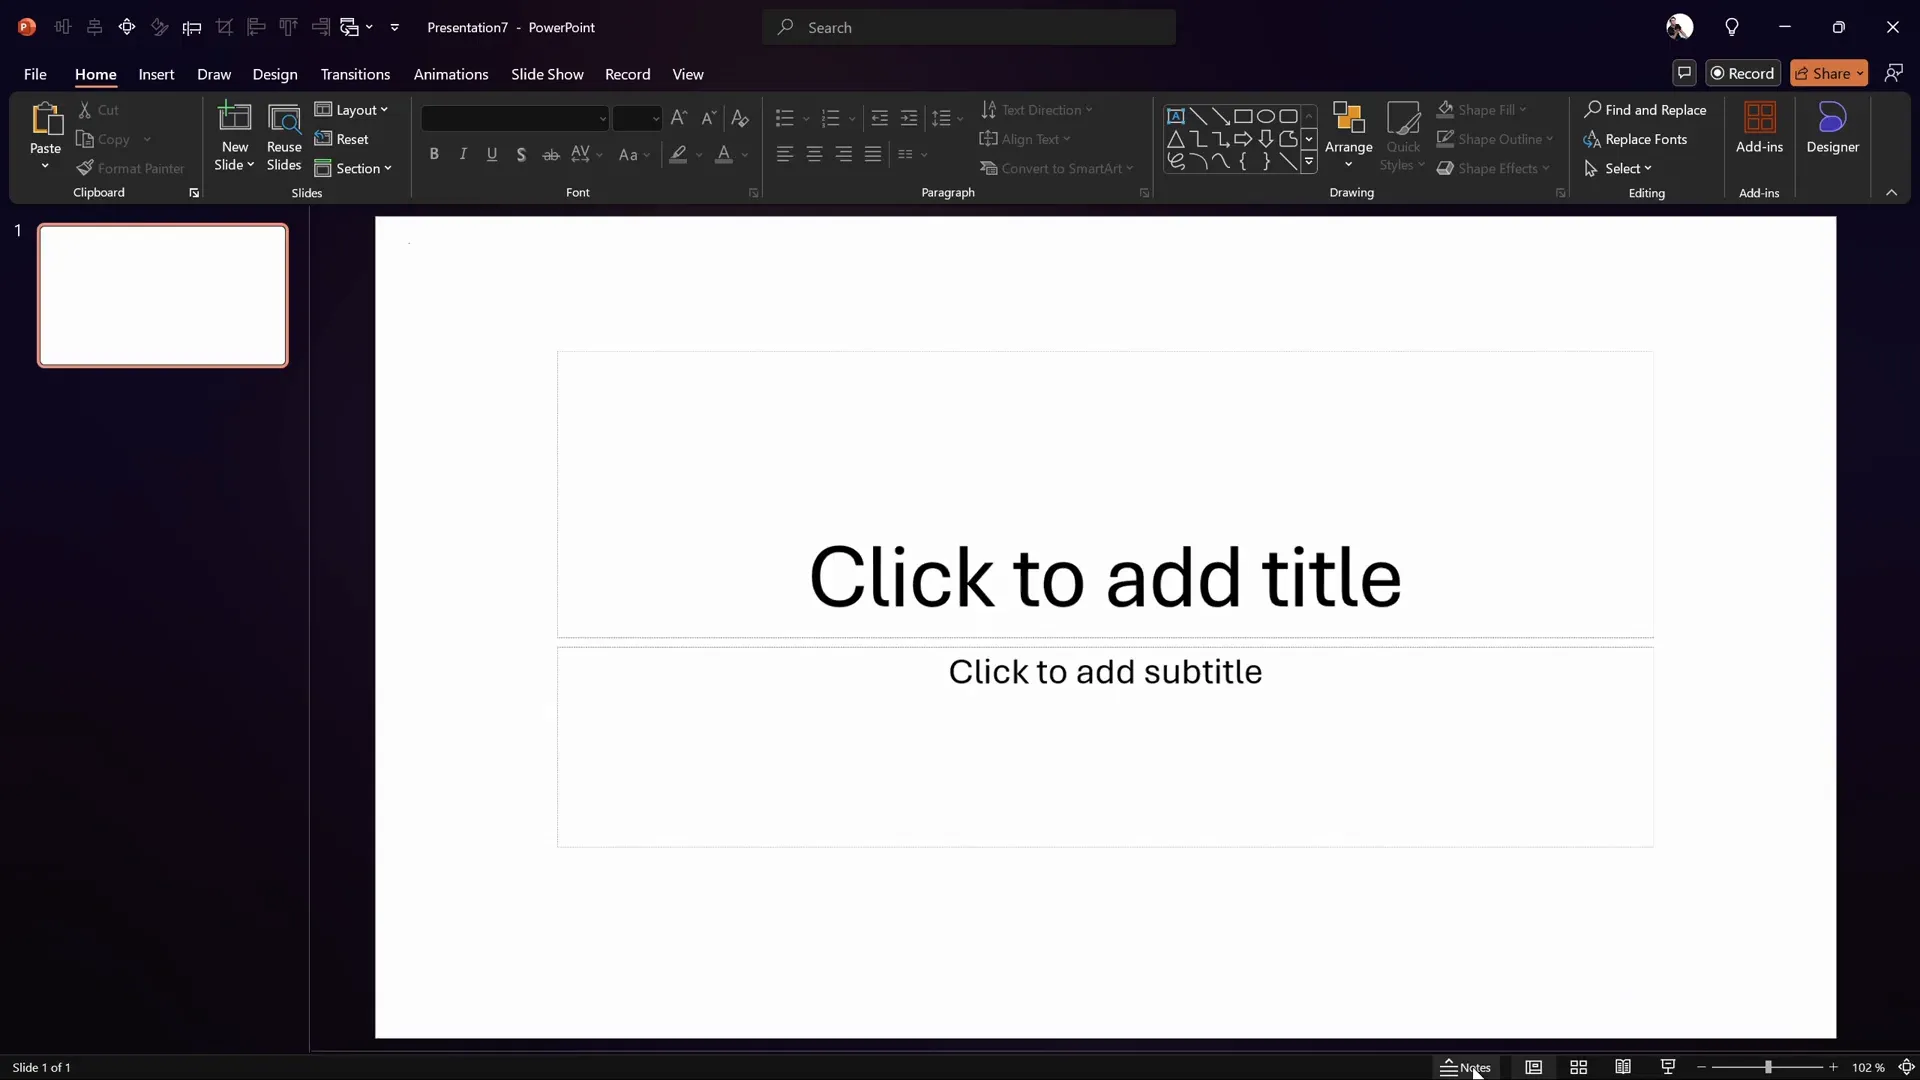
Start by opening a fresh, blank presentation. To maximize your workspace, close the notes section at the bottom and switch your slide layout to Blank—this removes the default text placeholders, giving you a clean canvas to work on.
Choosing and Customizing Your Background Image
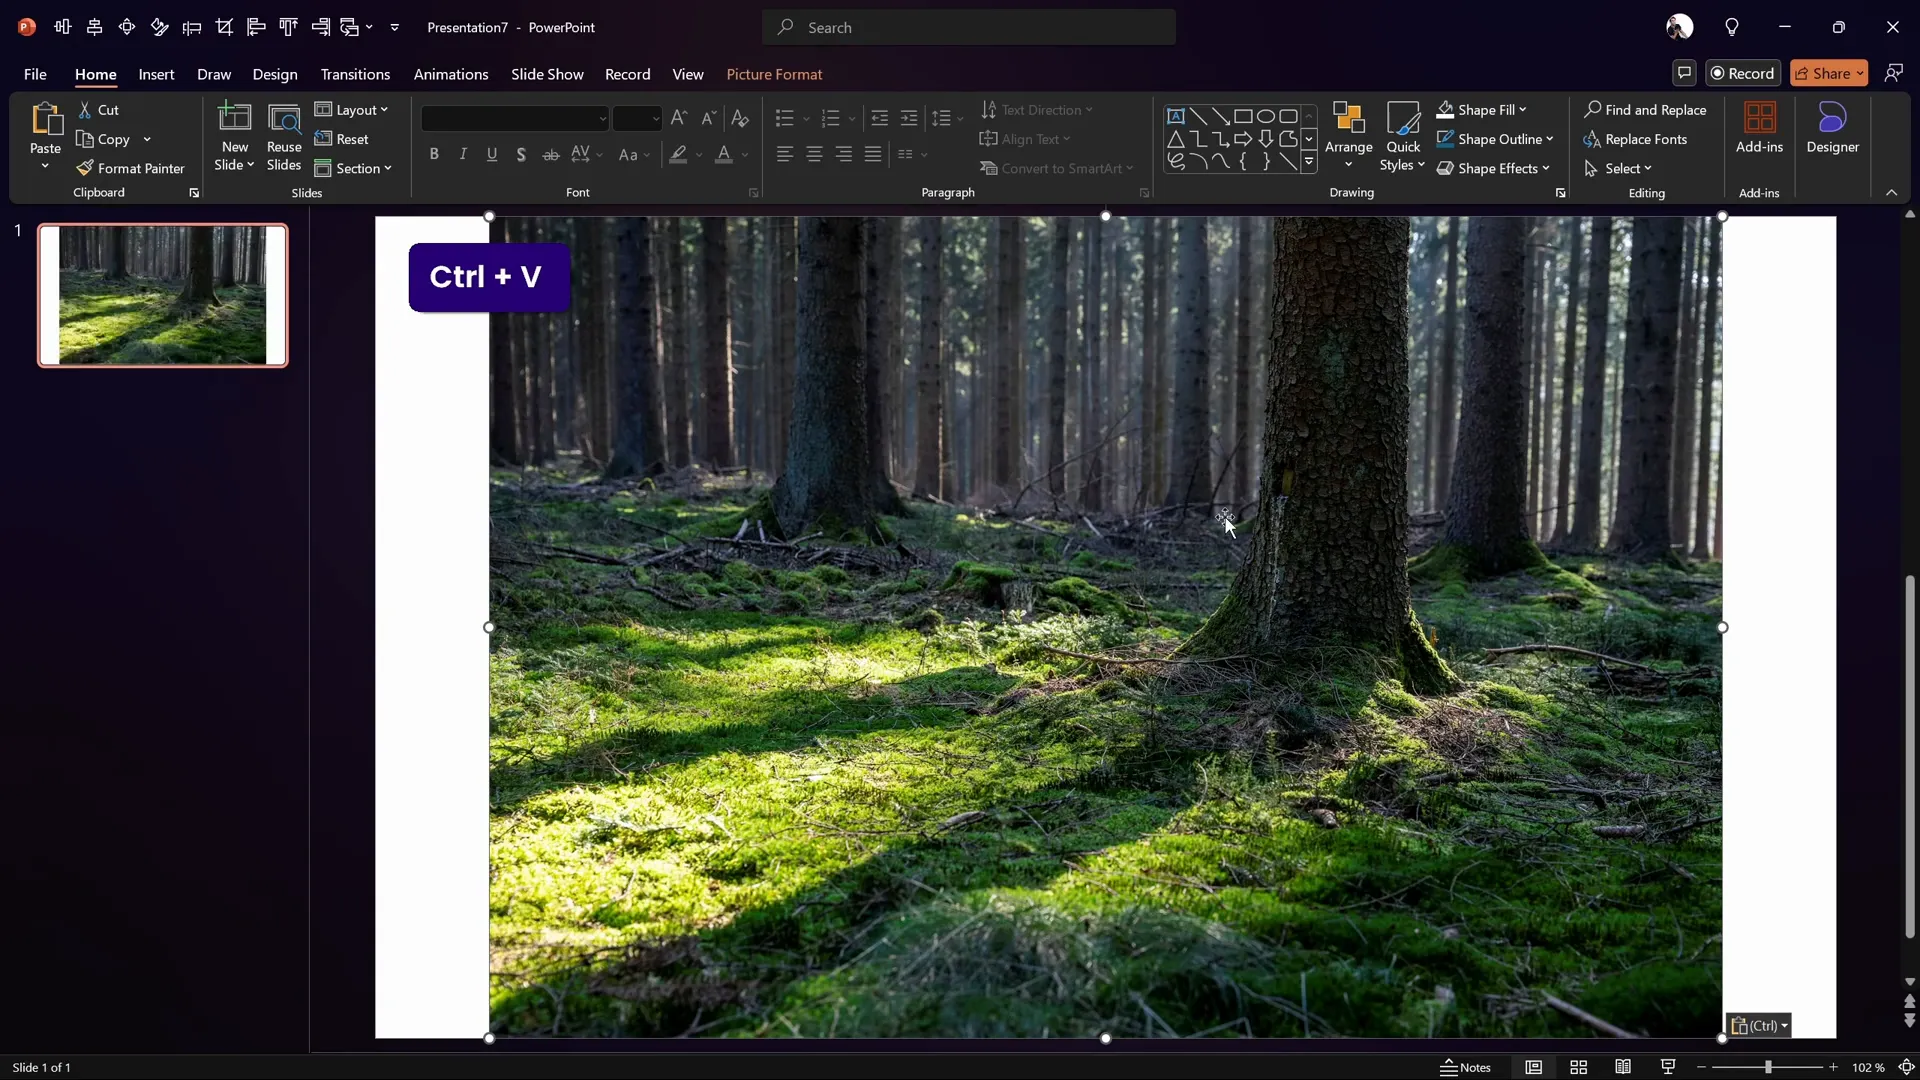
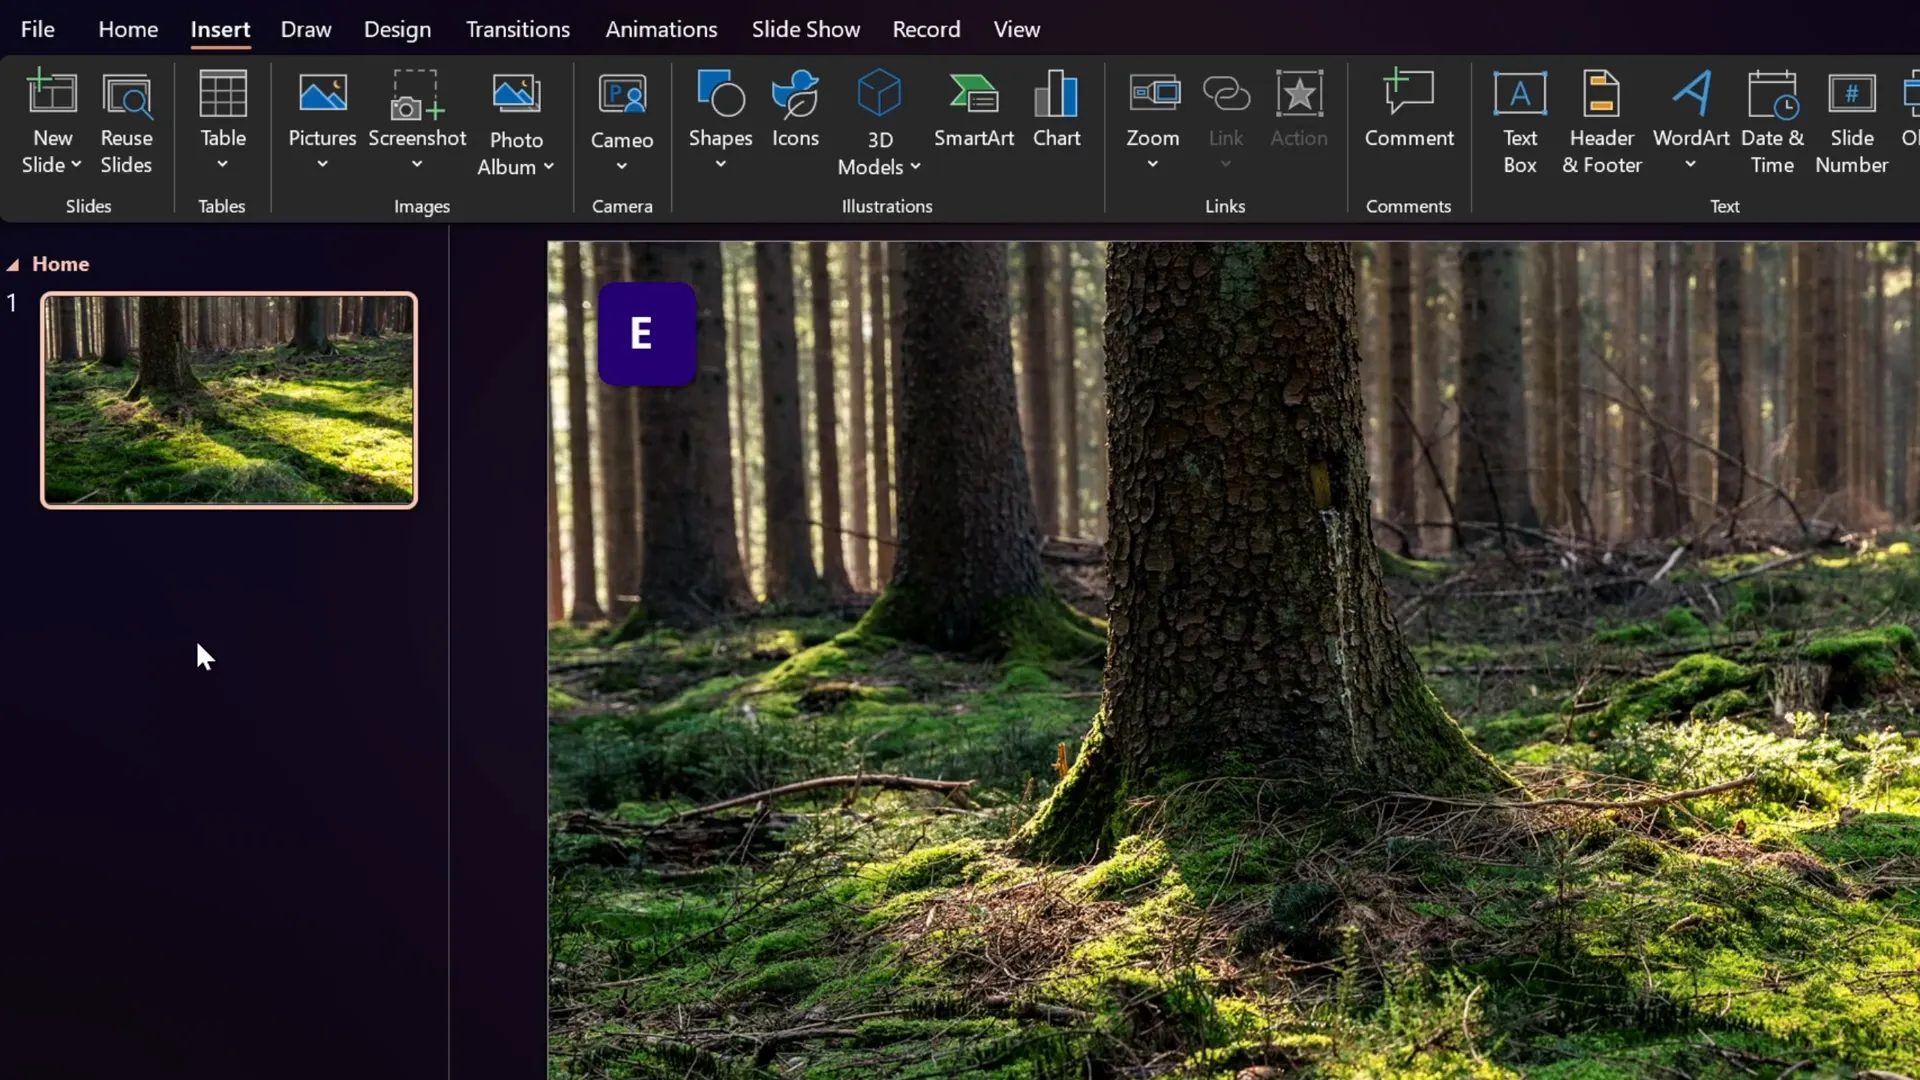
A captivating background sets the tone of your presentation. In this case, a serene forest photo is used to evoke a calm, natural atmosphere. The image is sourced from Unsplash, a fantastic resource for high-quality, free photos.
After copying the image from the website, paste it into your slide. You might notice the photo doesn’t fully cover the slide initially. To fix this, select the image, hold down the Shift key to maintain proportions, and drag the corner handles to stretch it until it covers the entire slide.
Next, crop the photo’s top edge slightly to fit the slide perfectly. You can do this by selecting the image, navigating to the Picture Format tab, and using the crop tool.
To match the warm, golden hour look from the original design, flip the image horizontally. This simple step mirrors the photo and changes the lighting perception.
Then, adjust the photo’s brightness (+10%) and contrast slightly to enhance its vibrancy. Additionally, modify the temperature settings to warm the image further. In PowerPoint, you can do this by going to Picture Color and selecting a higher temperature preset (around 11,200K). These tweaks make your slide background glow with a subtle warmth, creating an inviting visual foundation.

Organizing Your Presentation with Slide Sections
To utilize the powerful section zoom feature, you need to divide your presentation into meaningful sections. Unlike slide zooms that target individual slides, section zooms navigate entire slide groups, allowing for a more structured and interactive experience.
To create sections:
- Right-click above the first slide and select Add Section. Name this section Home.
- Add a second section and name it Opportunity.
- Within the Opportunity section, add two slides by pressing Enter.
These sections will serve as the navigation points for your zoom links later on.
Designing the Rounded Hexagon Shape
One of the standout visual elements in this template is the beautifully rounded hexagon shape. However, PowerPoint’s native hexagon shape has sharp corners and is oriented differently, which doesn’t fit the desired aesthetic.
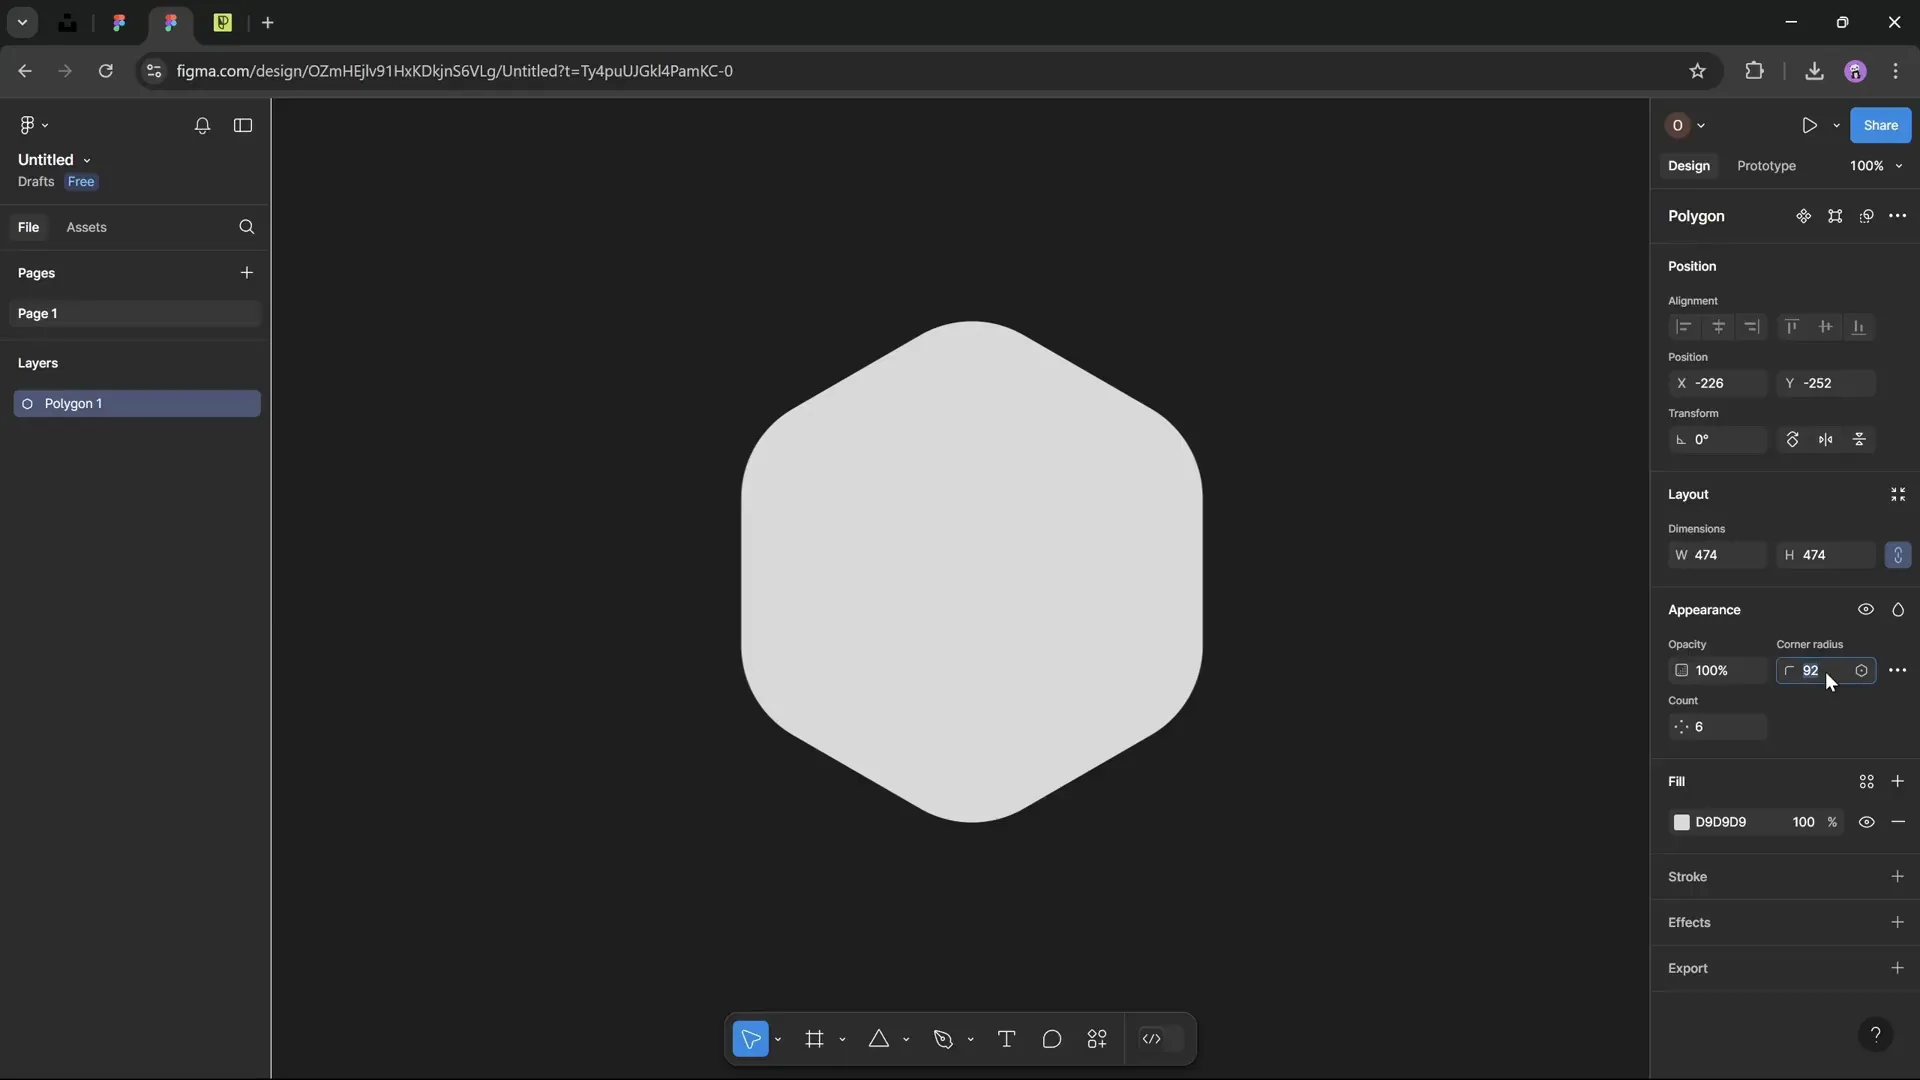
To create a perfect rounded hexagon, we’ll use Figma, a free online design tool:
- Log in with your Gmail account and create a new design file.
- Choose the polygon tool and hold Shift while drawing to keep it symmetrical.
- Set the polygon to have six sides (hexagon).
- Adjust the corner radius to 50 to achieve smooth rounded edges.
- Fill the shape with any color for visibility.
- Name the layer Hexagon for easy identification.
- Export the shape as an SVG file.
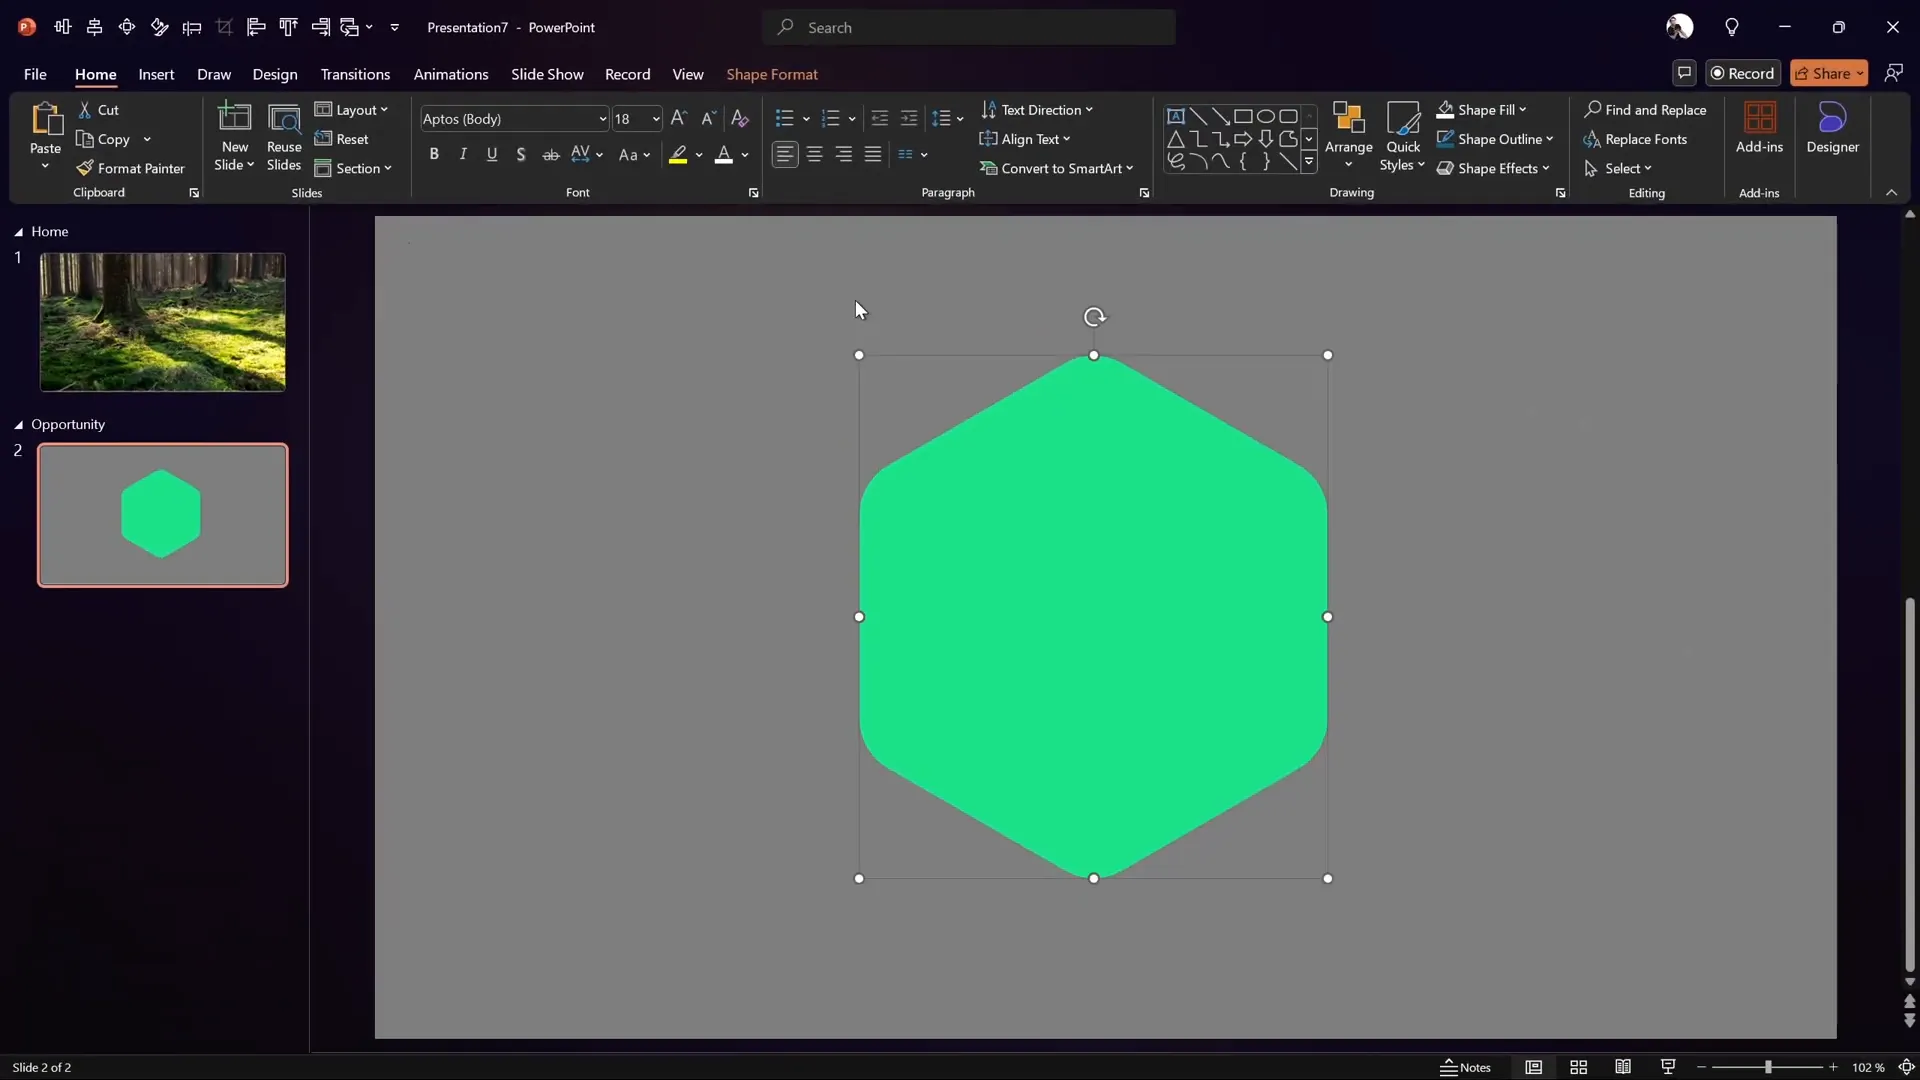
Back in PowerPoint:
- Insert the exported SVG hexagon file.
- Optionally convert the SVG to a shape for easier editing.
- Center the hexagon on the slide using the alignment tools.
- Resize the hexagon to match the desired size (approximately the height of the slide’s light effect).
Customizing the Hexagon with Gradient Borders
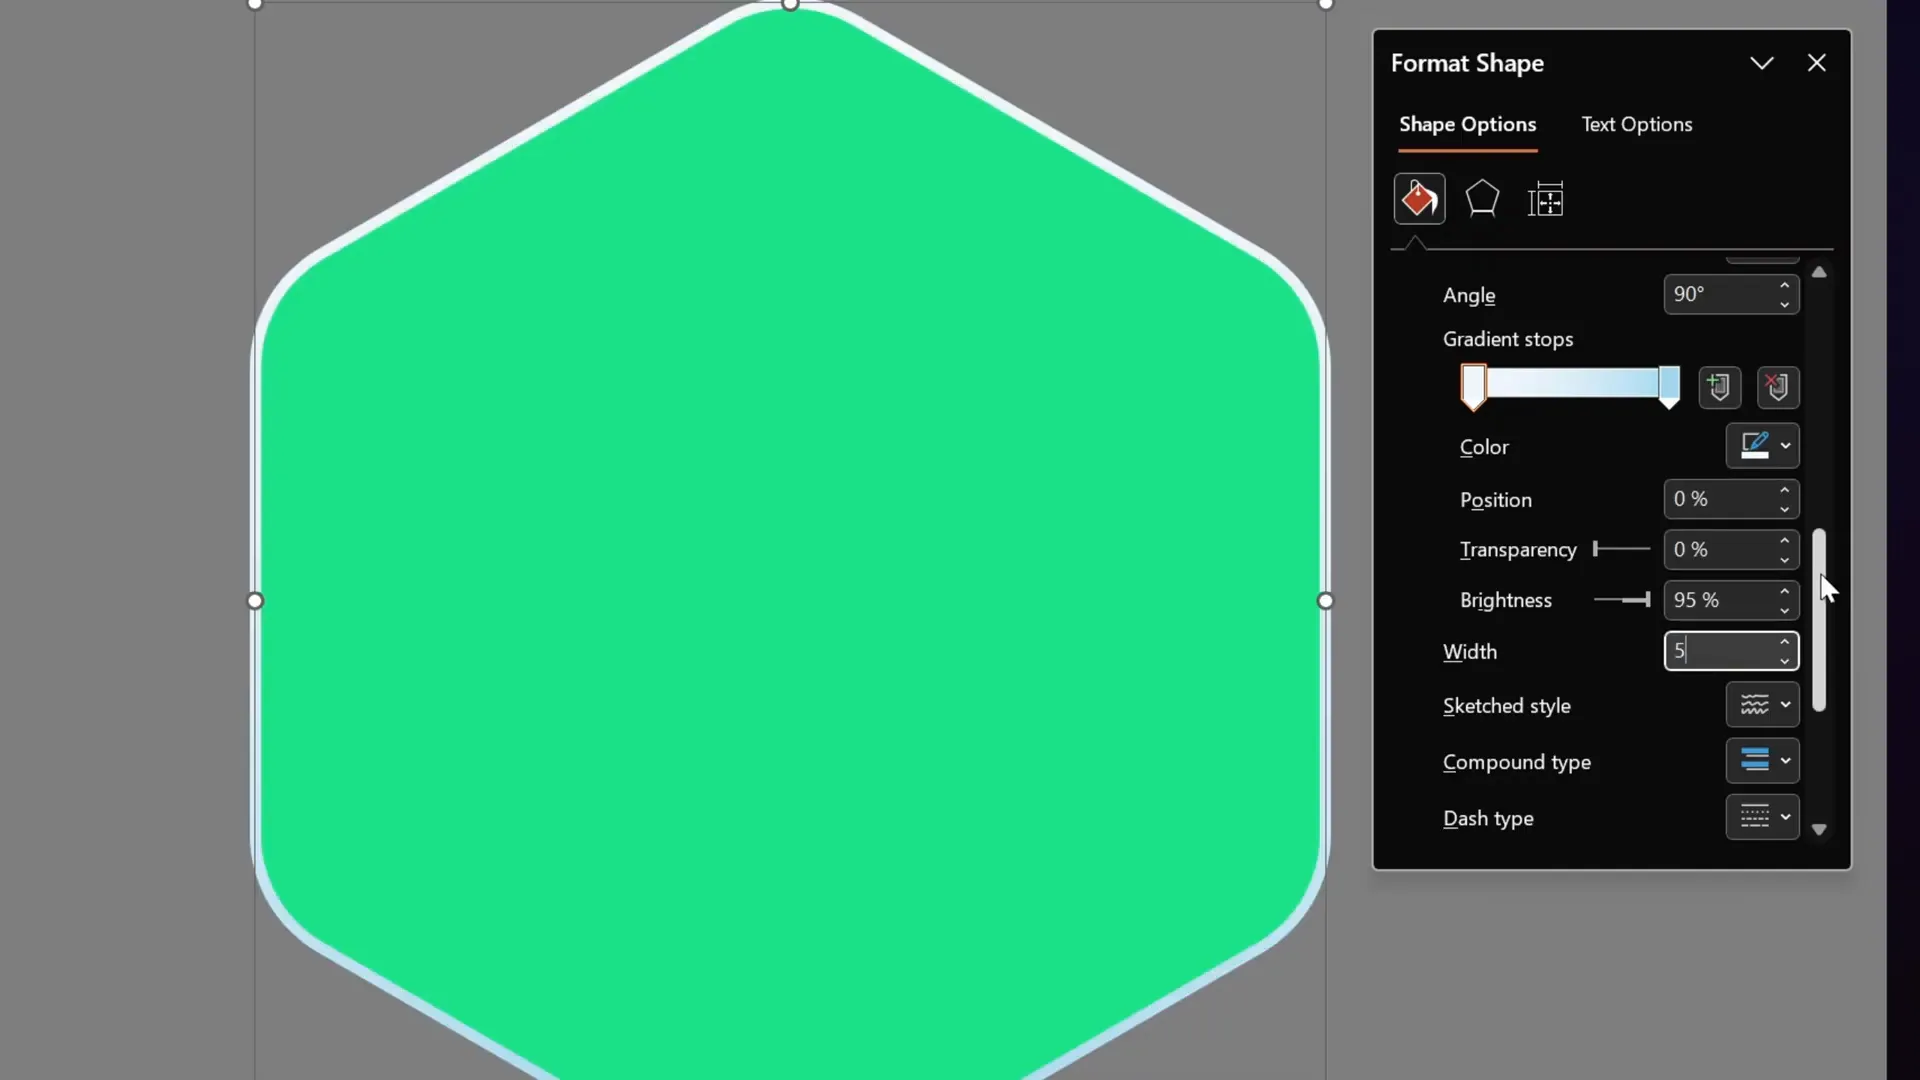
To give the hexagon a subtle, elegant outline, remove its fill and add a gradient line:
- Open the Format Shape pane (shortcut Alt + 4).
- Set the line width to 5 points.
- Use a two-color gradient line, both stops white, but make the second stop fully transparent.
- Adjust the gradient stop positions so that the white is most intense at 50%, fading outwards.
This creates a fading border effect that adds depth to the hexagon without overpowering the slide.
Adding Icons with Phosphor Icons
Icons are essential for visual storytelling. Instead of relying solely on PowerPoint’s built-in icons, this tutorial uses Phosphor Icons, a free and versatile icon library.
Steps to add an icon:
- Search for the desired icon (e.g., “bulb”).
- Choose the style (thin, bold, etc.) and download the SVG file.
- Insert the SVG into PowerPoint.
- Convert the SVG to a shape for easier manipulation.
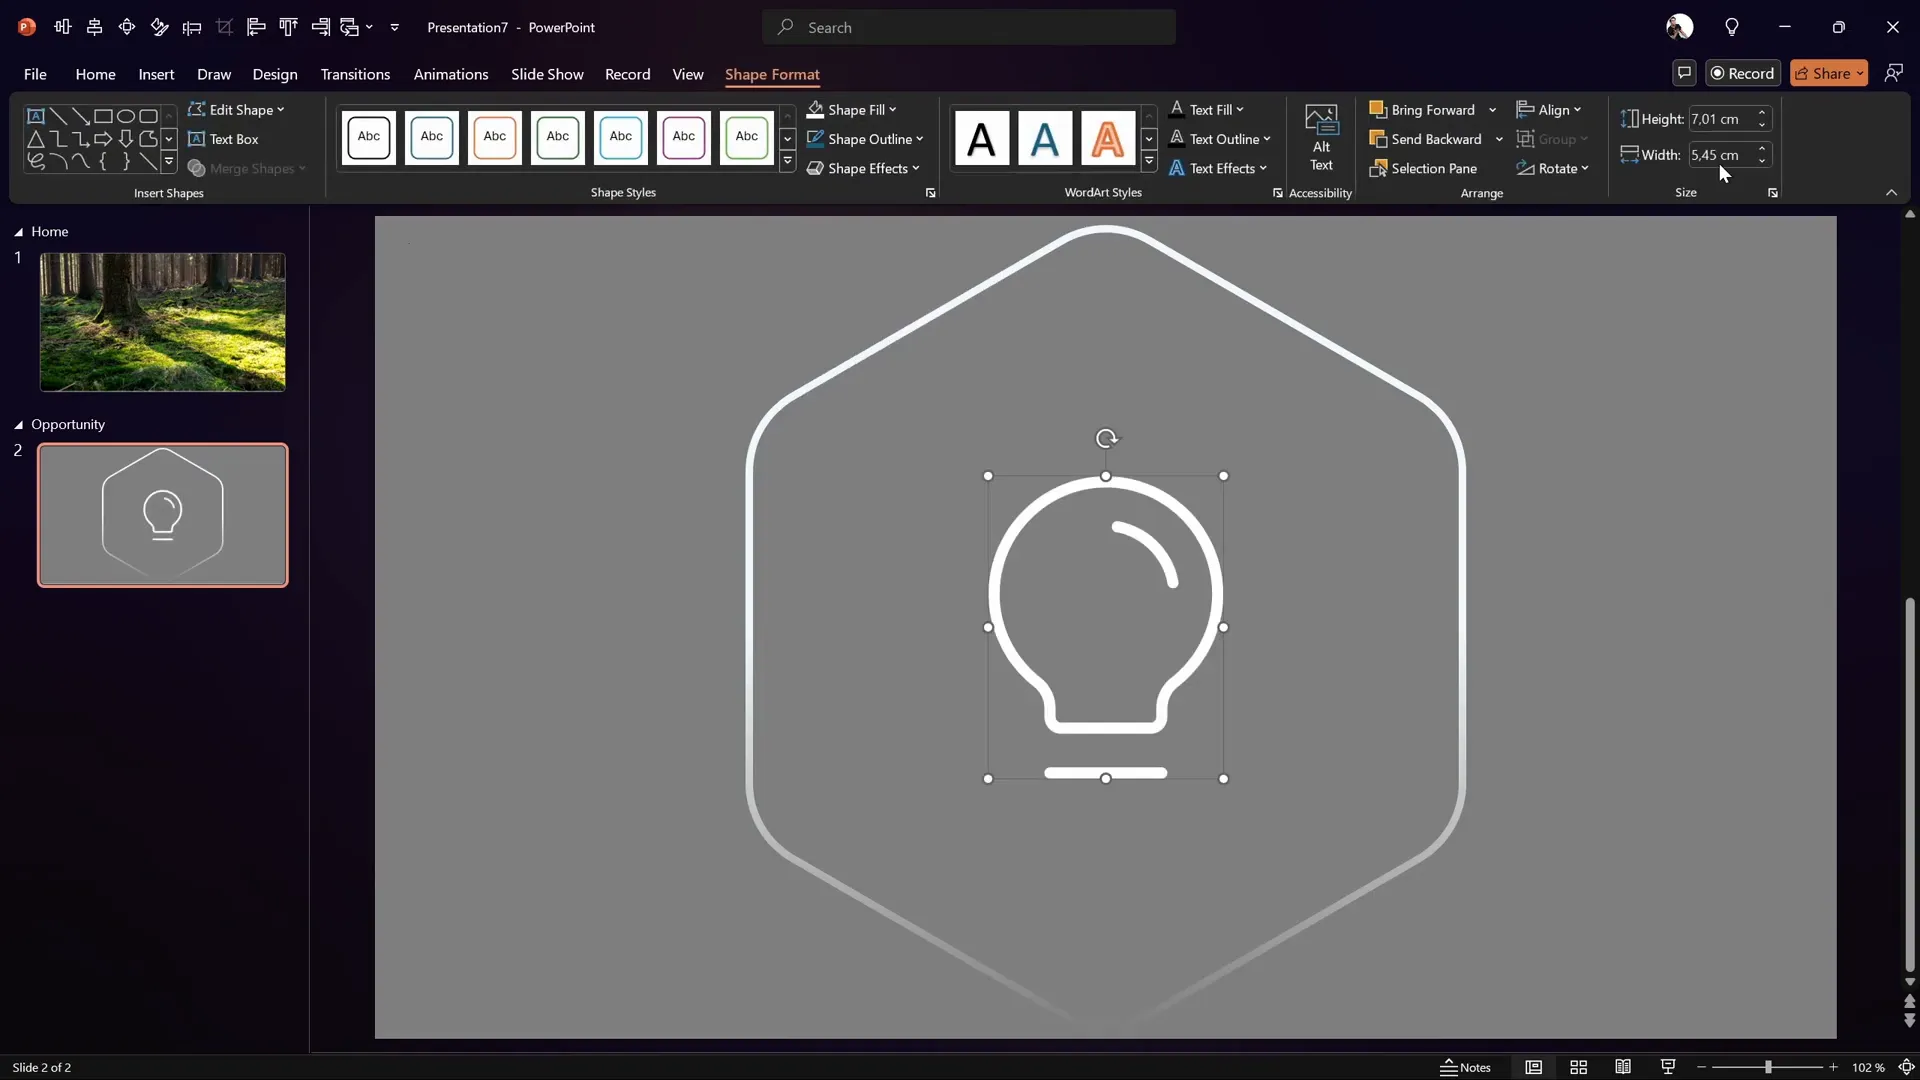
- Resize the icon to fit your design (e.g., height of 7 cm).
- Fill the icon with white for contrast.
- Add a subtle shadow for depth: use the Offset Bottom Right preset with 50% transparency, 10 pt blur, and 3 pt distance.
Creating Stylish Text Boxes
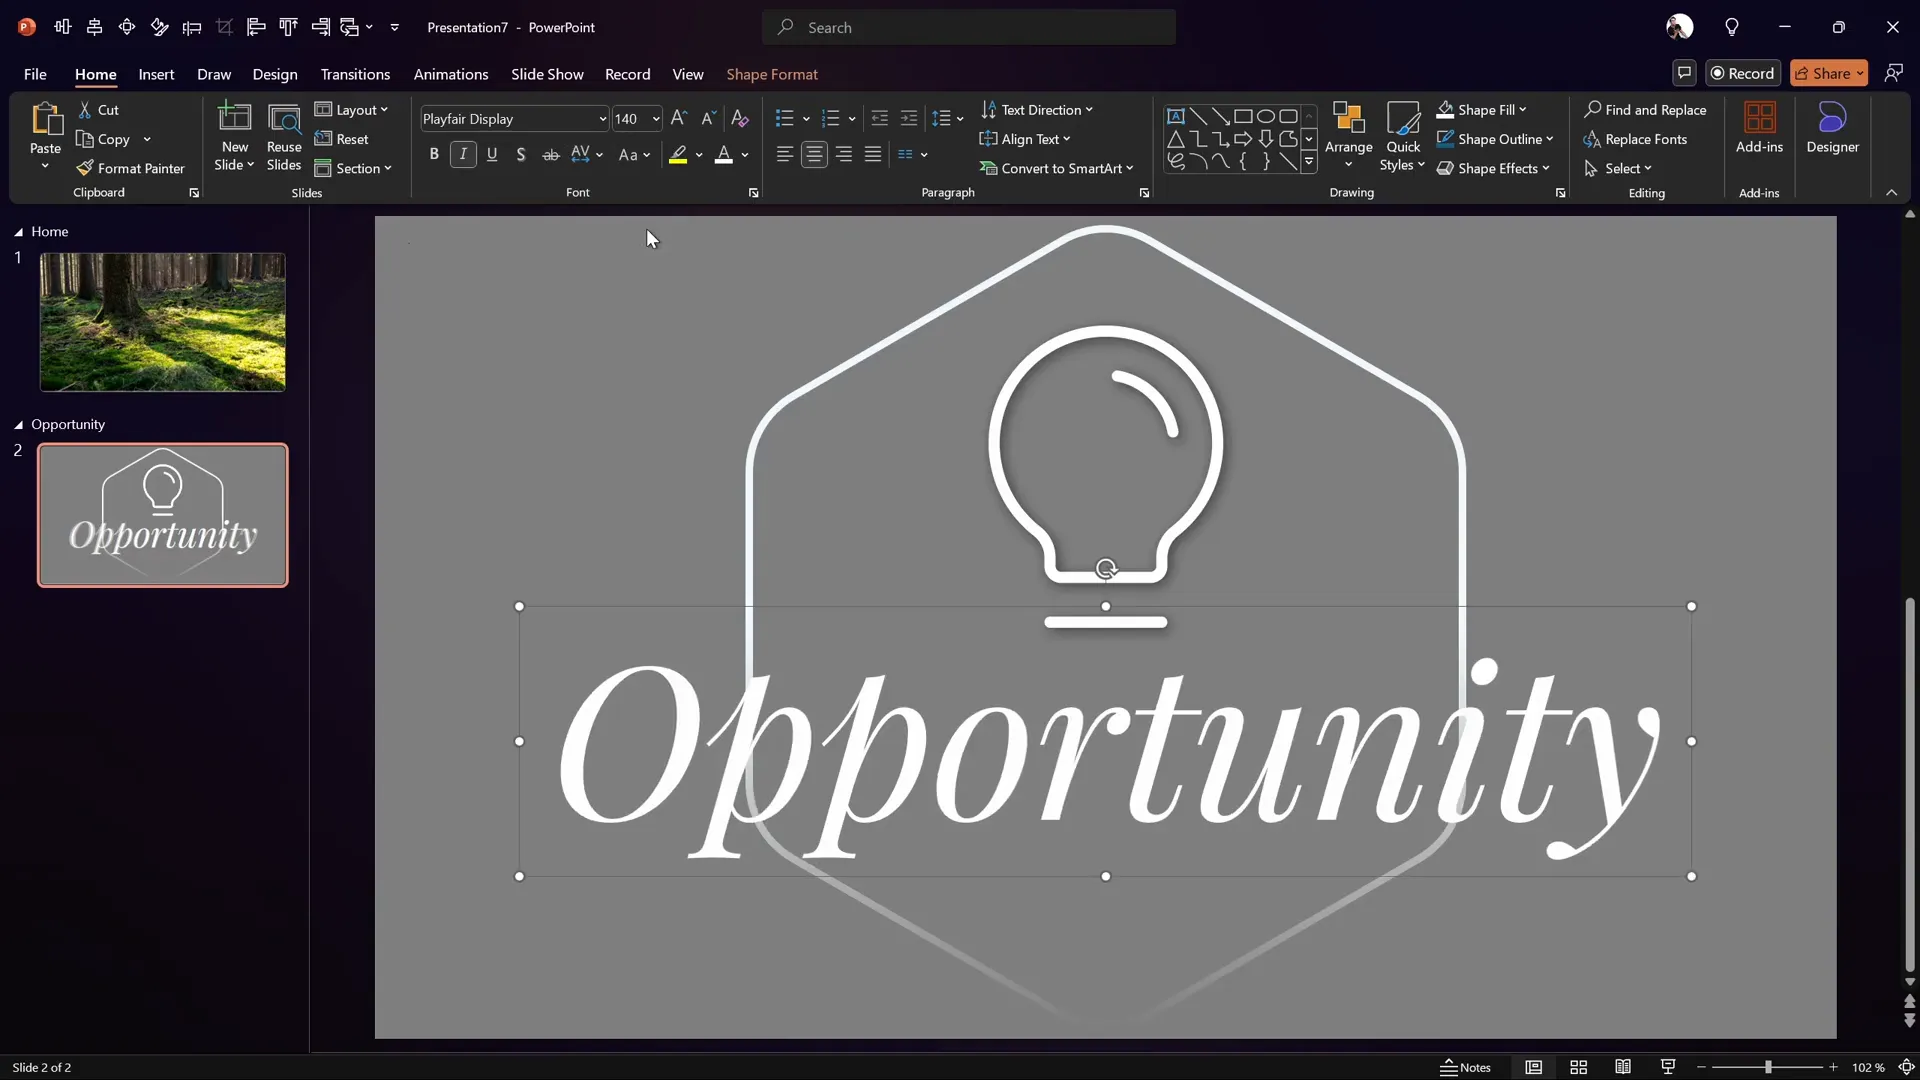
Text is critical for conveying your message clearly and stylishly. For the headline “Opportunity,” the tutorial uses the elegant Playfair Display font in italic style, which adds a classic and refined touch.
To create the text box:
- Insert a text box and type “Opportunity.”
- Center-align the text and the text box itself.
- Set the font to Playfair Display, italic, size 140 pt.
- Add a shadow effect similar to the icon for cohesion: Offset Bottom Right preset, 50% transparency, 10 pt blur.
- Adjust letter spacing to “tight” for a compact look.
Building Multiple Slides within the Opportunity Section
To add depth to the presentation, create a second slide inside the Opportunity section with slightly different content and animations:
- Duplicate the first Opportunity slide for consistency.
- Resize the bulb icon to a smaller height (e.g., 2 cm).
- Reduce the text box font size to 72 pt.
- Add supporting content like numbered rounded rectangles with shadow effects to convey key points.
- Use shadow instead of glow effects for a softer, more professional appearance.

Automating Slide Transitions and Using Morph Effects
To create a seamless flow between slides:
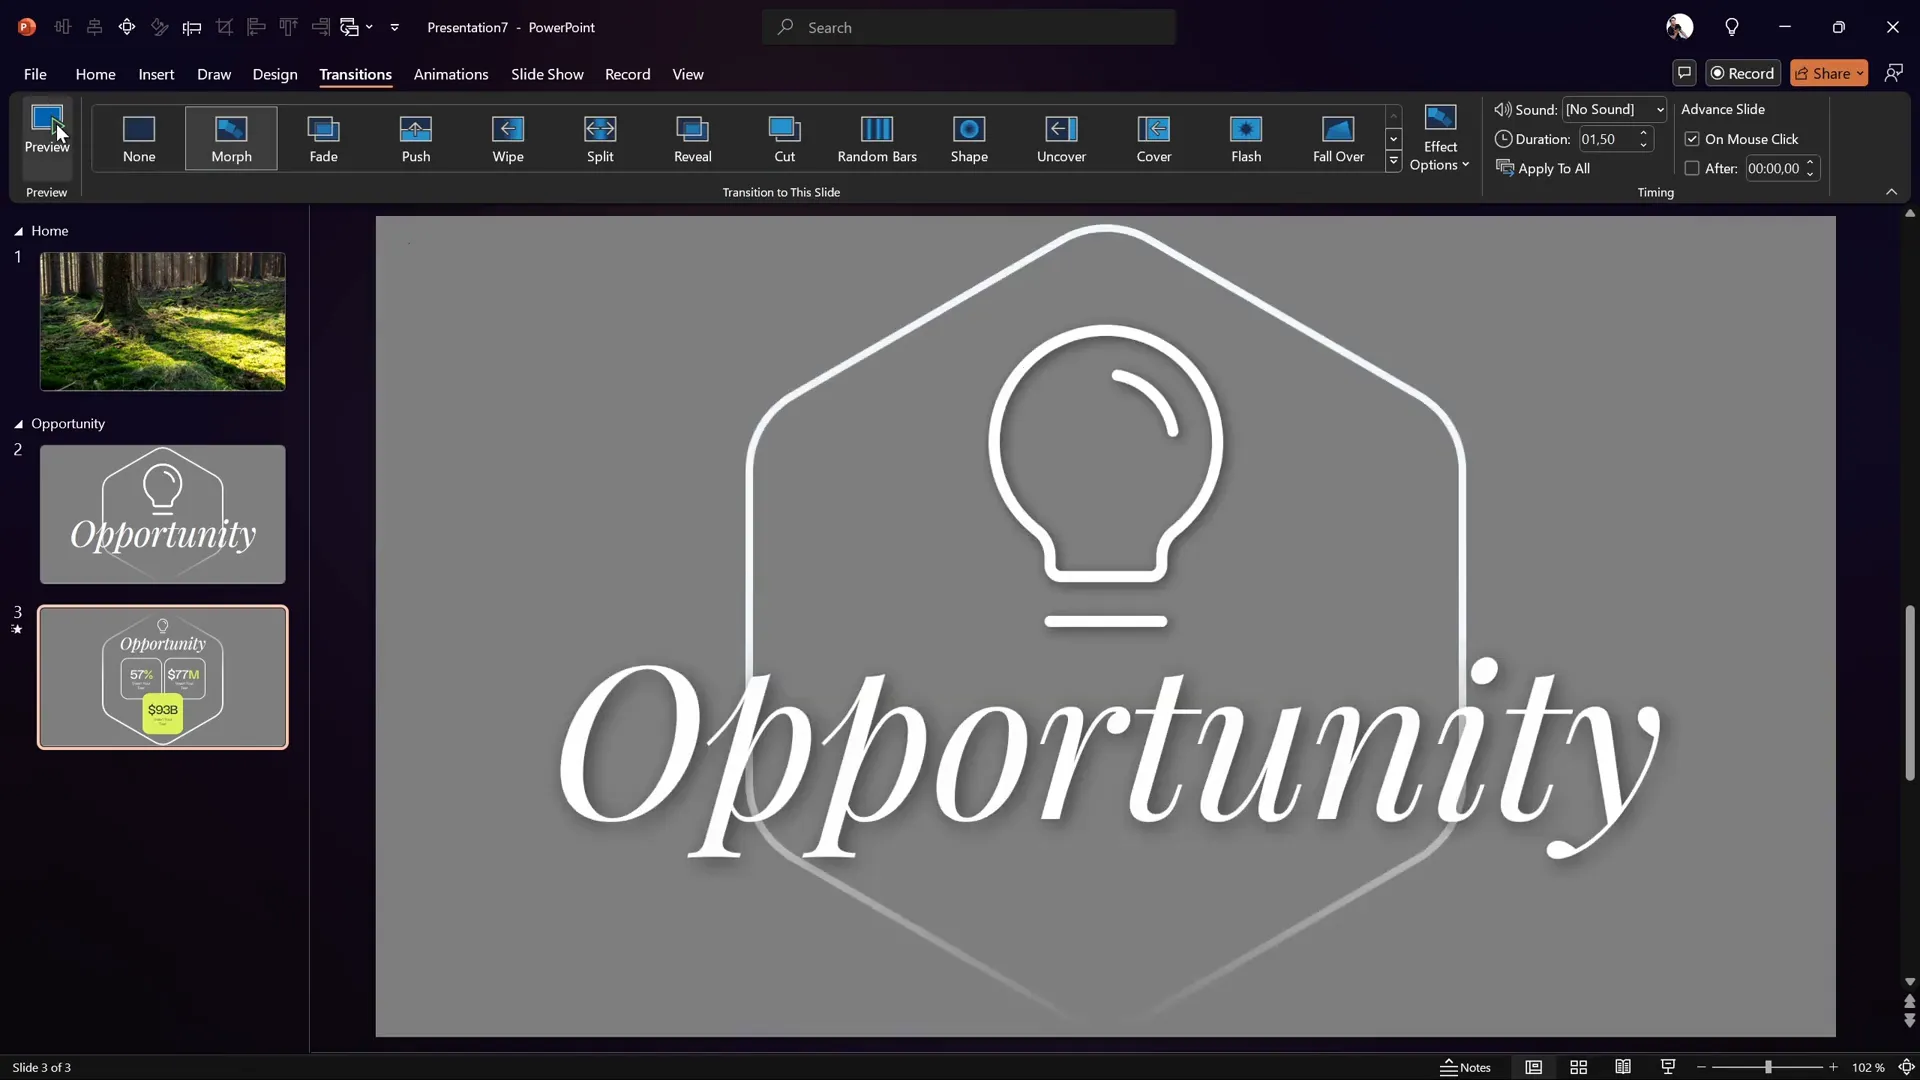
- Set the first Opportunity slide to auto-transition after zero seconds.
- Apply the morph transition to the second slide with a duration of 1.5 seconds.
- Flip the hexagon vertically on the second slide to create a dynamic flipping effect during the morph transition.
- This causes the hexagon’s faded gradient line to move from bottom to top, creating an engaging visual flip.
If your PowerPoint version lacks morph, you can use other transitions, although the animation won’t be as fluid.

Inserting and Customizing Section Zooms
Section zooms allow you to create clickable navigation elements that zoom into entire slide sections. To insert a section zoom:
- Return to your Home slide.
- Go to the Insert tab and click Zoom > Section Zoom.
- Select the Opportunity section and insert the zoom.
By default, the section zoom may have a gray background. To make it transparent:
- Select the section zoom.
- Under the Zoom tab, click Zoom Background to toggle transparency.
Ensure that Return to Zoom is enabled, so after navigating through the Opportunity slides, the presentation zooms back to the Home slide. This setup creates a smooth interactive experience for your audience.

Enhancing Section Zooms with Glass Morphism Effect
To elevate the visual appeal, you can add a glass morphic blurry background to your section zoom, creating a modern and stylish look:
- Duplicate the rounded hexagon shape and place it behind the section zoom.
- Fill the duplicated hexagon with a solid color (e.g., dark green) and remove outlines.
- Duplicate your background photo and apply the maximum blur effect (radius 100) via Artistic Effects.
- Copy the blurred photo and set it as the slide background using the clipboard option.
- Set the hexagon fill to Slide Background Fill, which now shows the blurred image through the shape.
- Add an inside shadow to the hexagon for edge definition (black color, 40 pt blur).
This technique creates a translucent effect that looks like frosted glass, adding depth and sophistication to your interactive zoom buttons.
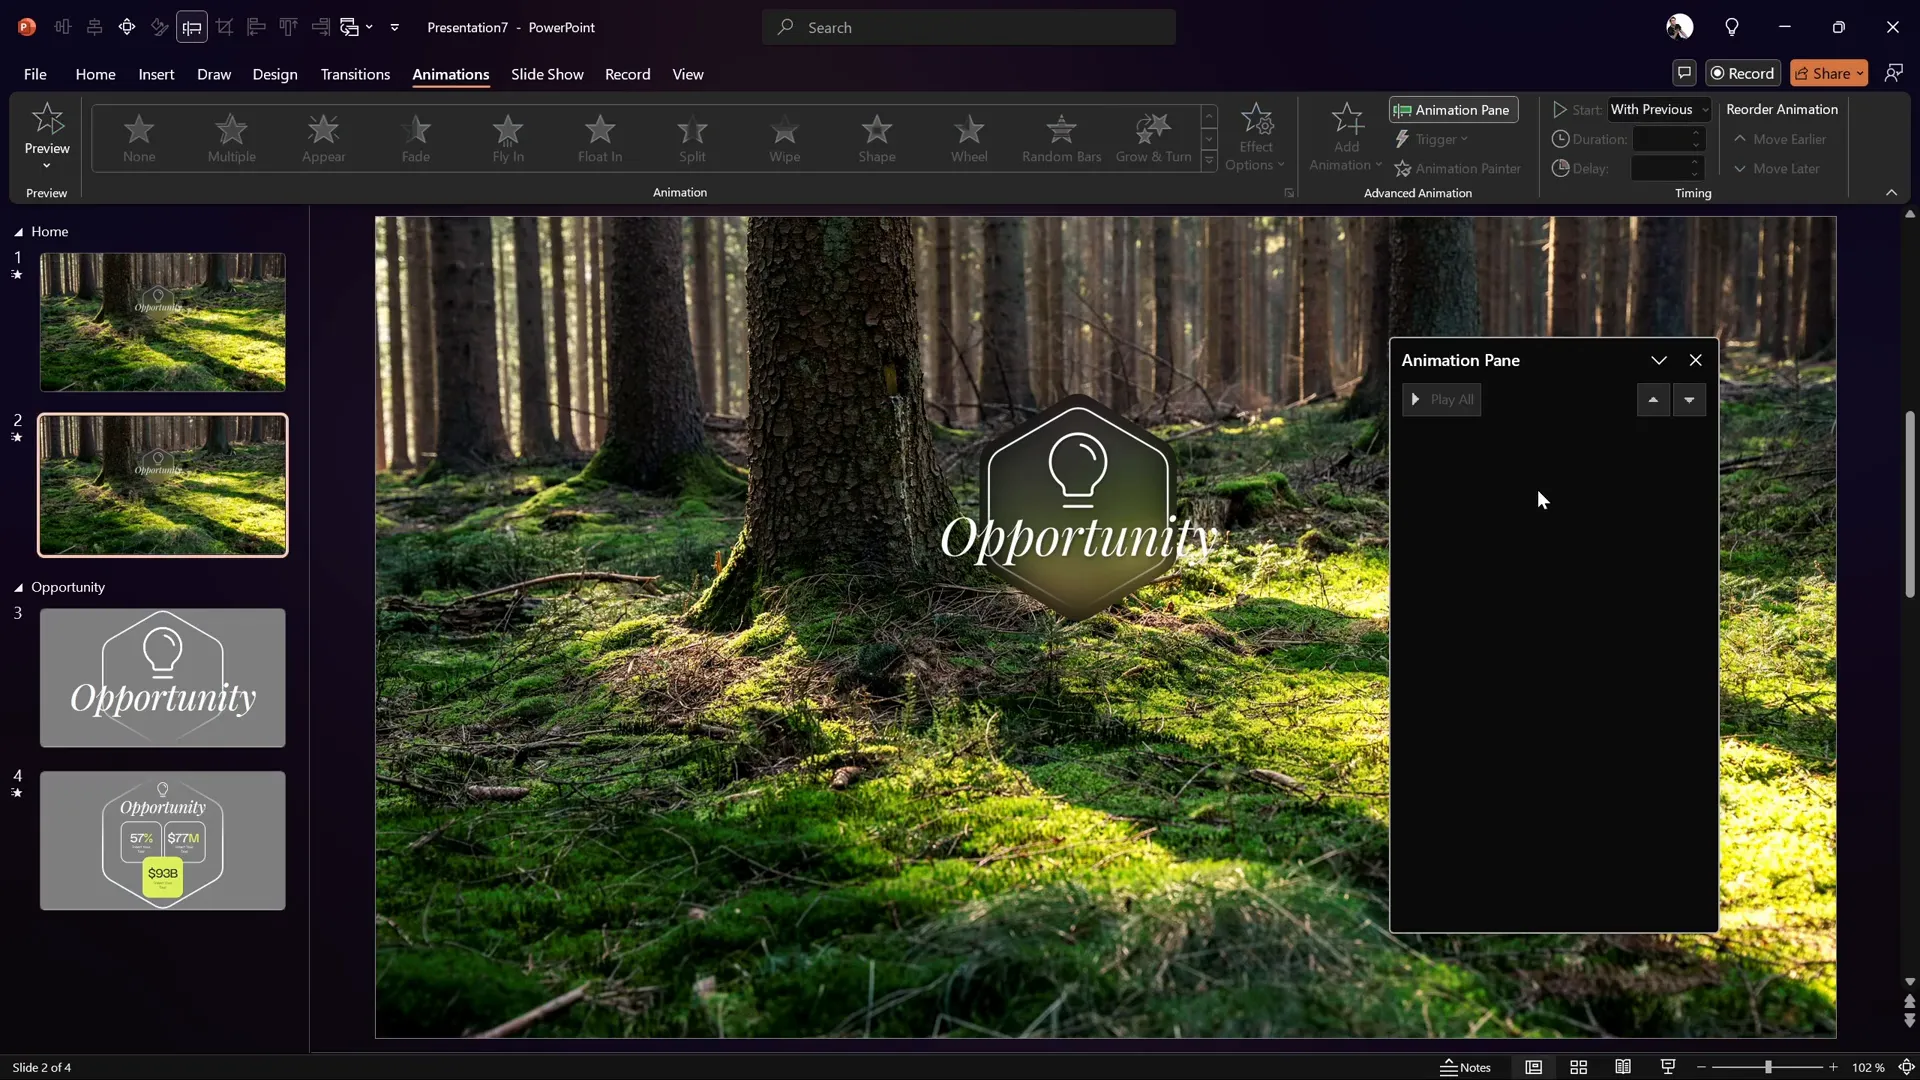
Animating Section Zooms for Impact
Animations draw attention and make your presentation lively. To animate your section zoom and its background:
- Select the section zoom and add a Zoom animation with a one-second duration, starting With Previous.
- Select the blurry hexagon behind the zoom and add a Spinner entrance animation, also one second and With Previous.
When played, the hexagon spins in as the zoom animates, creating a smooth, professional entrance effect.

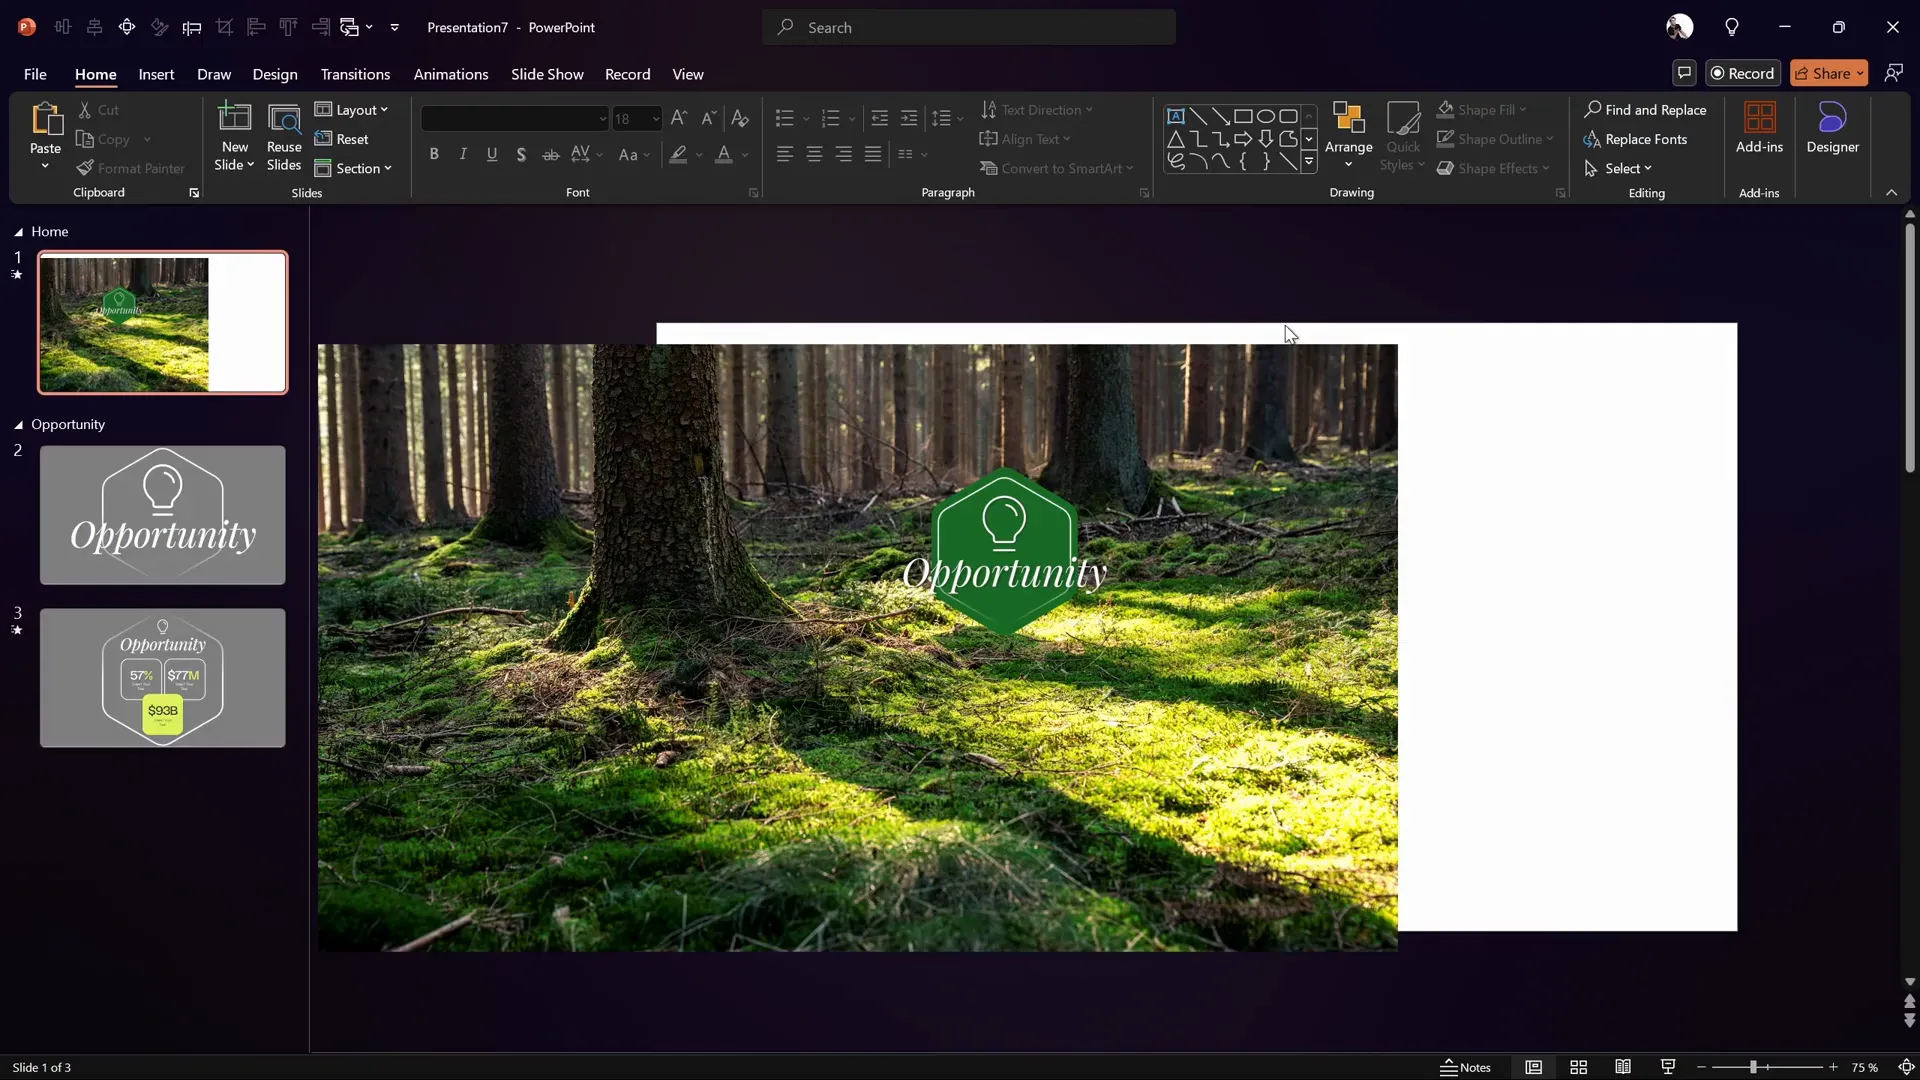
Controlling Animation Repetition with Slide Duplication
If you prefer animations to play only once rather than repeating every time you return to the Home slide, use this workaround:
- Duplicate the Home slide.
- On the duplicate, remove all animations.
- Set the original Home slide to auto-transition after zero seconds to the duplicate.
This way, animations play once on the first Home slide. Subsequent visits use the duplicate slide without animations, providing a smoother user experience without repetitive effects.
Expanding Your Template with Multiple Section Zooms
The beauty of this technique is its scalability. You can create as many section zooms as you need, such as:
- Opportunity
- Market
- Solution
- Model
- Team
Each section can feature its own slides and animations, making your presentation highly interactive and easy to navigate.
Best of all, all the slides and templates used here are 100% free, and you can access them through the links provided in the description section of the original tutorial.
Frequently Asked Questions (FAQ)
What versions of PowerPoint are needed for this slide zoom template?
The tutorial uses Microsoft 365 and also works with PowerPoint 2019 and 2021. The morph transition is recommended but optional; other transitions can substitute if morph is unavailable.
Can I create the rounded hexagon shape directly in PowerPoint?
PowerPoint’s default hexagon doesn’t support rounded corners or the desired orientation. For best results, use Figma, a free online tool, to create and export a rounded hexagon as an SVG, then import it into PowerPoint.
How do section zooms differ from slide zooms?
Section zooms navigate entire slide sections (groups of slides), while slide zooms focus on individual slides. Section zooms offer more structured navigation and are ideal for complex presentations.
Is the glass morphism effect difficult to create?
Not at all! It involves duplicating and blurring the background image, then applying it as a slide background fill to a shape. Adding a shadow effect completes the frosted glass look.
Can animations be disabled or controlled so they don’t repeat?
Yes! By duplicating the Home slide and removing animations from the duplicate, you can ensure animations play only once initially and don’t repeat on subsequent visits.
Are the resources like photos, icons, and fonts free to use?
Yes. The tutorial uses free resources such as Unsplash for photos, Phosphor Icons for icons, and Google Fonts like Playfair Display and Darker Grotesque for typography. These are free for personal and commercial use.
Conclusion
Creating an interactive, visually stunning slide zoom presentation in PowerPoint is easier than you might think. With just a few tools—PowerPoint, Figma, and free online resources—you can design clickable section zooms enhanced with beautiful animations and modern design effects like glass morphism.
This tutorial empowers you to:
- Set up clean, professional slide backgrounds.
- Create custom rounded hexagons for unique design elements.
- Use free icon libraries to enrich your slides.
- Leverage morph transitions for smooth animations.
- Organize content using slide sections and section zooms.
- Implement glass morphic effects for a contemporary aesthetic.
- Control animations for the best user experience.
Whether you’re creating a business pitch, educational content, or a creative portfolio, these techniques will help you engage your audience and present your ideas with flair. Dive in, experiment, and enjoy the process of mastering PowerPoint’s powerful features!
Stay happy, stay healthy, and keep creating amazing presentations!
Check out the full video: PowerPoint SLIDE ZOOM Template ✅ 100% FREE!


