Welcome to a comprehensive guide on mastering the art of frosted glass effects in slides.com” target=”_blank”>PowerPoint, inspired by the creative expertise of Dream Liu. This tutorial will walk you through two innovative methods to create captivating glass effects that elevate your presentation visuals with elegance and sophistication. Whether you are designing a sleek credit card display or a serene glass door animation, these techniques will help you craft stunning, professional-grade slides that impress and engage your audience.
Using simple tools available in PowerPoint, you can achieve realistic glass textures and effects that mimic frosted glass, adding depth and a modern aesthetic to your designs. This article breaks down the process step-by-step, providing detailed explanations, practical tips, and creative ideas to maximize your design potential.
Table of Contents
- Introduction to Frosted Glass Effects in PowerPoint
- The Background Fill Method: Creating a Glassy Credit Card Display
- The Shape Intersection Method: Crafting a Glass Door Opening Effect
- Why Use Frosted Glass Effects in Your Presentations?
- Practical Tips for Perfecting Your Glass Effect Designs
- Frequently Asked Questions (FAQ)
- Conclusion
Introduction to Frosted Glass Effects in PowerPoint
Glass effects are a popular design trend widely used in digital interfaces and presentations to convey clarity, sophistication, and subtlety. The frosted glass effect, in particular, creates a beautiful hazy overlay that softens the background while maintaining visual interest. It can transform simple images into stunning focal points by introducing translucency and blur.
In this tutorial, we explore two primary methods to create frosted glass effects within PowerPoint:
- The Background Fill Method
- The Shape Intersection Method
Both techniques leverage PowerPoint’s built-in artistic effects and shape tools to simulate the appearance of frosted glass, allowing you to add a touch of elegance to your slides without external software.
The Background Fill Method: Creating a Glassy Credit Card Display
The first method, known as the background fill method, involves blurring an image and using it as the slide background. A clear, sharp image is then overlaid on top, with shapes that reveal the blurred background through transparency and fill settings, producing a frosted glass effect.
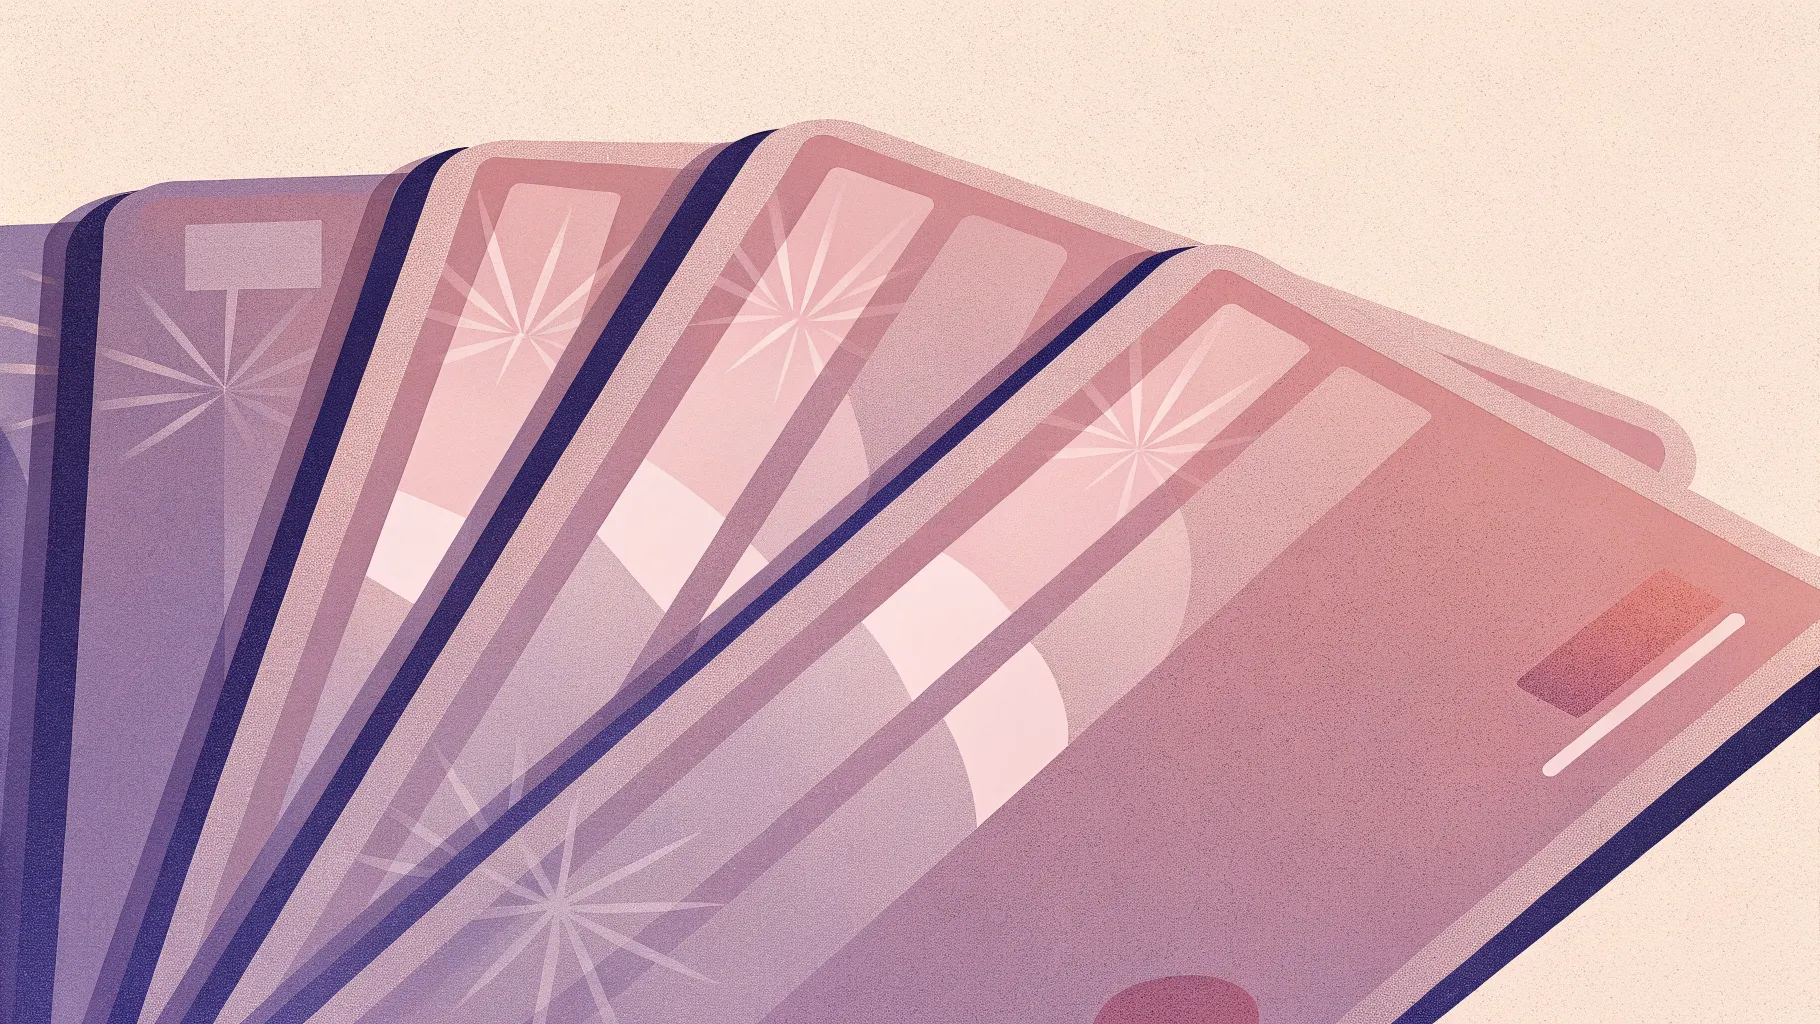
This technique is perfect for designing a credit card display where you want to showcase a stack of cards with a glossy, translucent look. Here’s how to do it step-by-step:
Step 1: Prepare Your Image
Begin by inserting the image you want to use and filling the entire slide background with it. This image will serve as the base for the frosted glass effect.
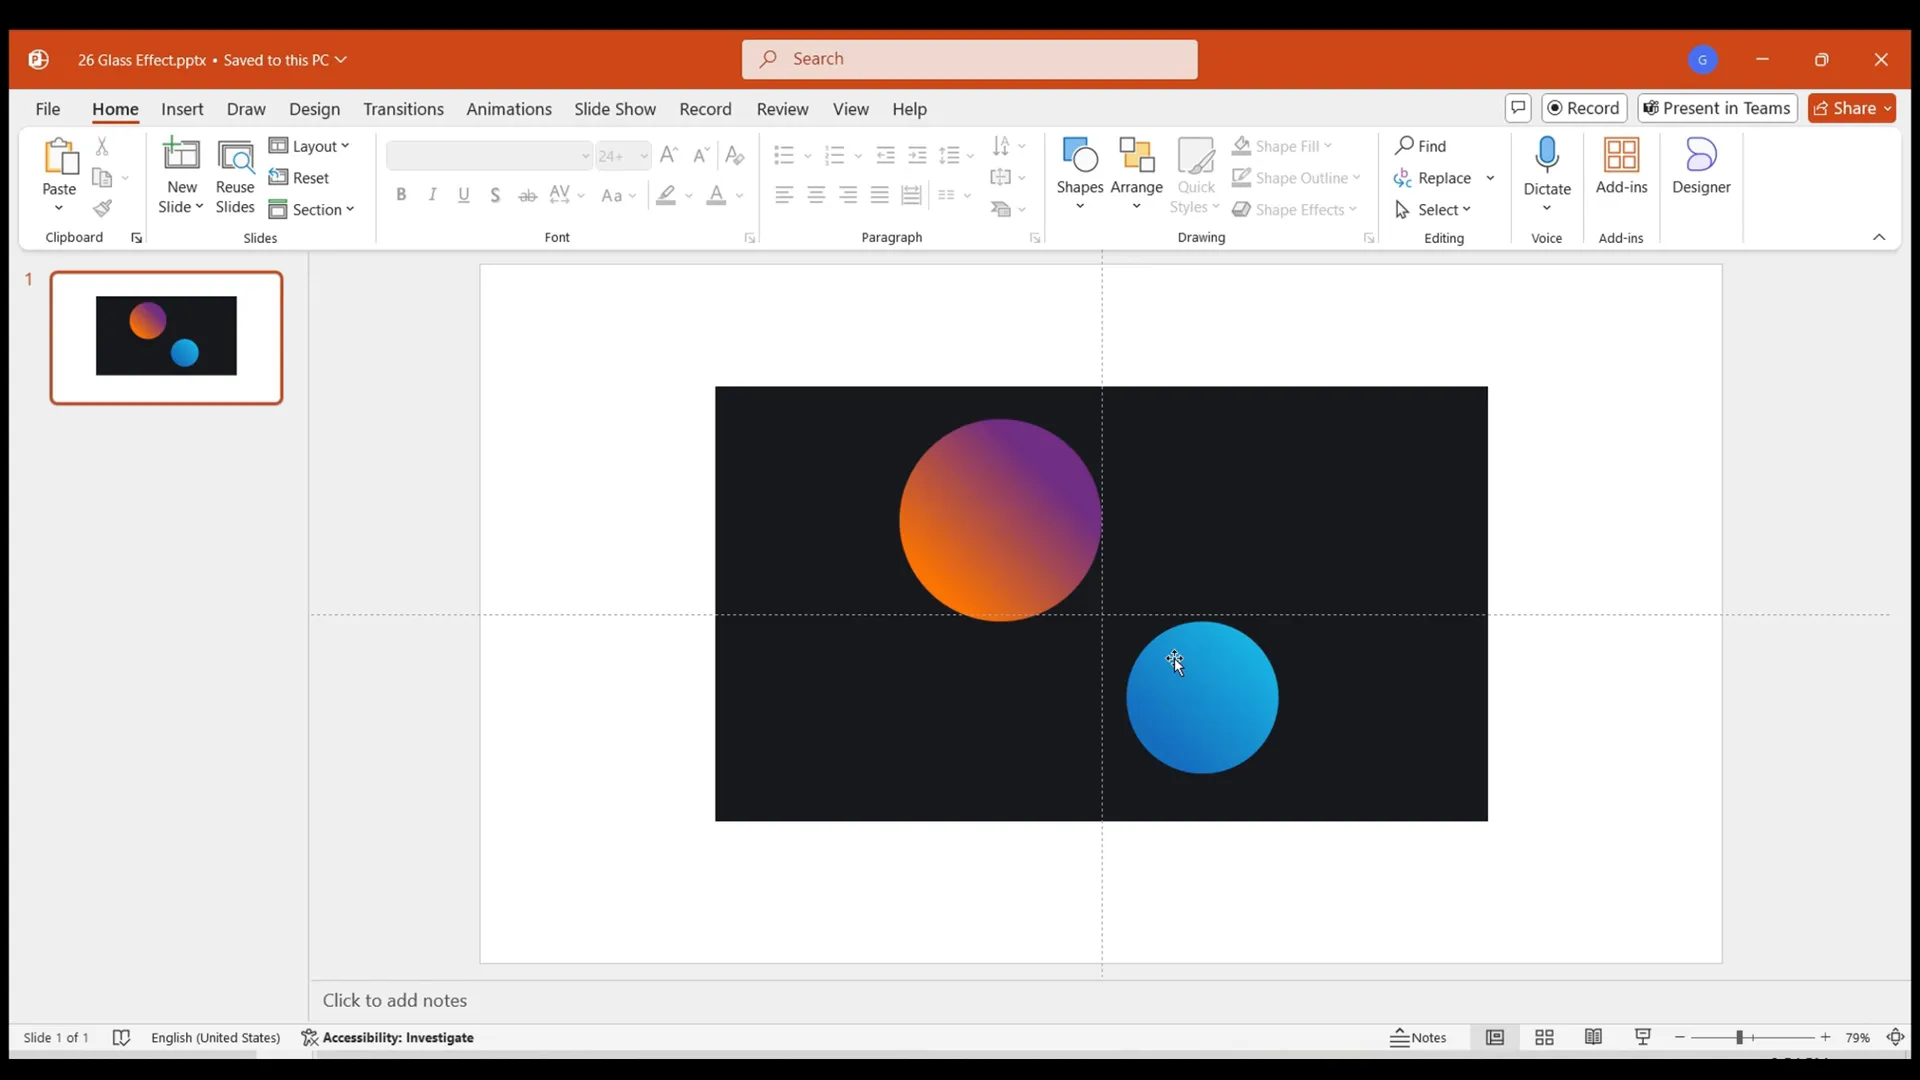
Step 2: Duplicate and Blur the Image
Duplicate the slide and apply a blur effect to the image on the second slide. To do this, select the image, right-click, and open the Format Picture pane. Navigate to Artistic Effects and select the Blur effect. Set the blur radius to 50 for a pronounced blur.
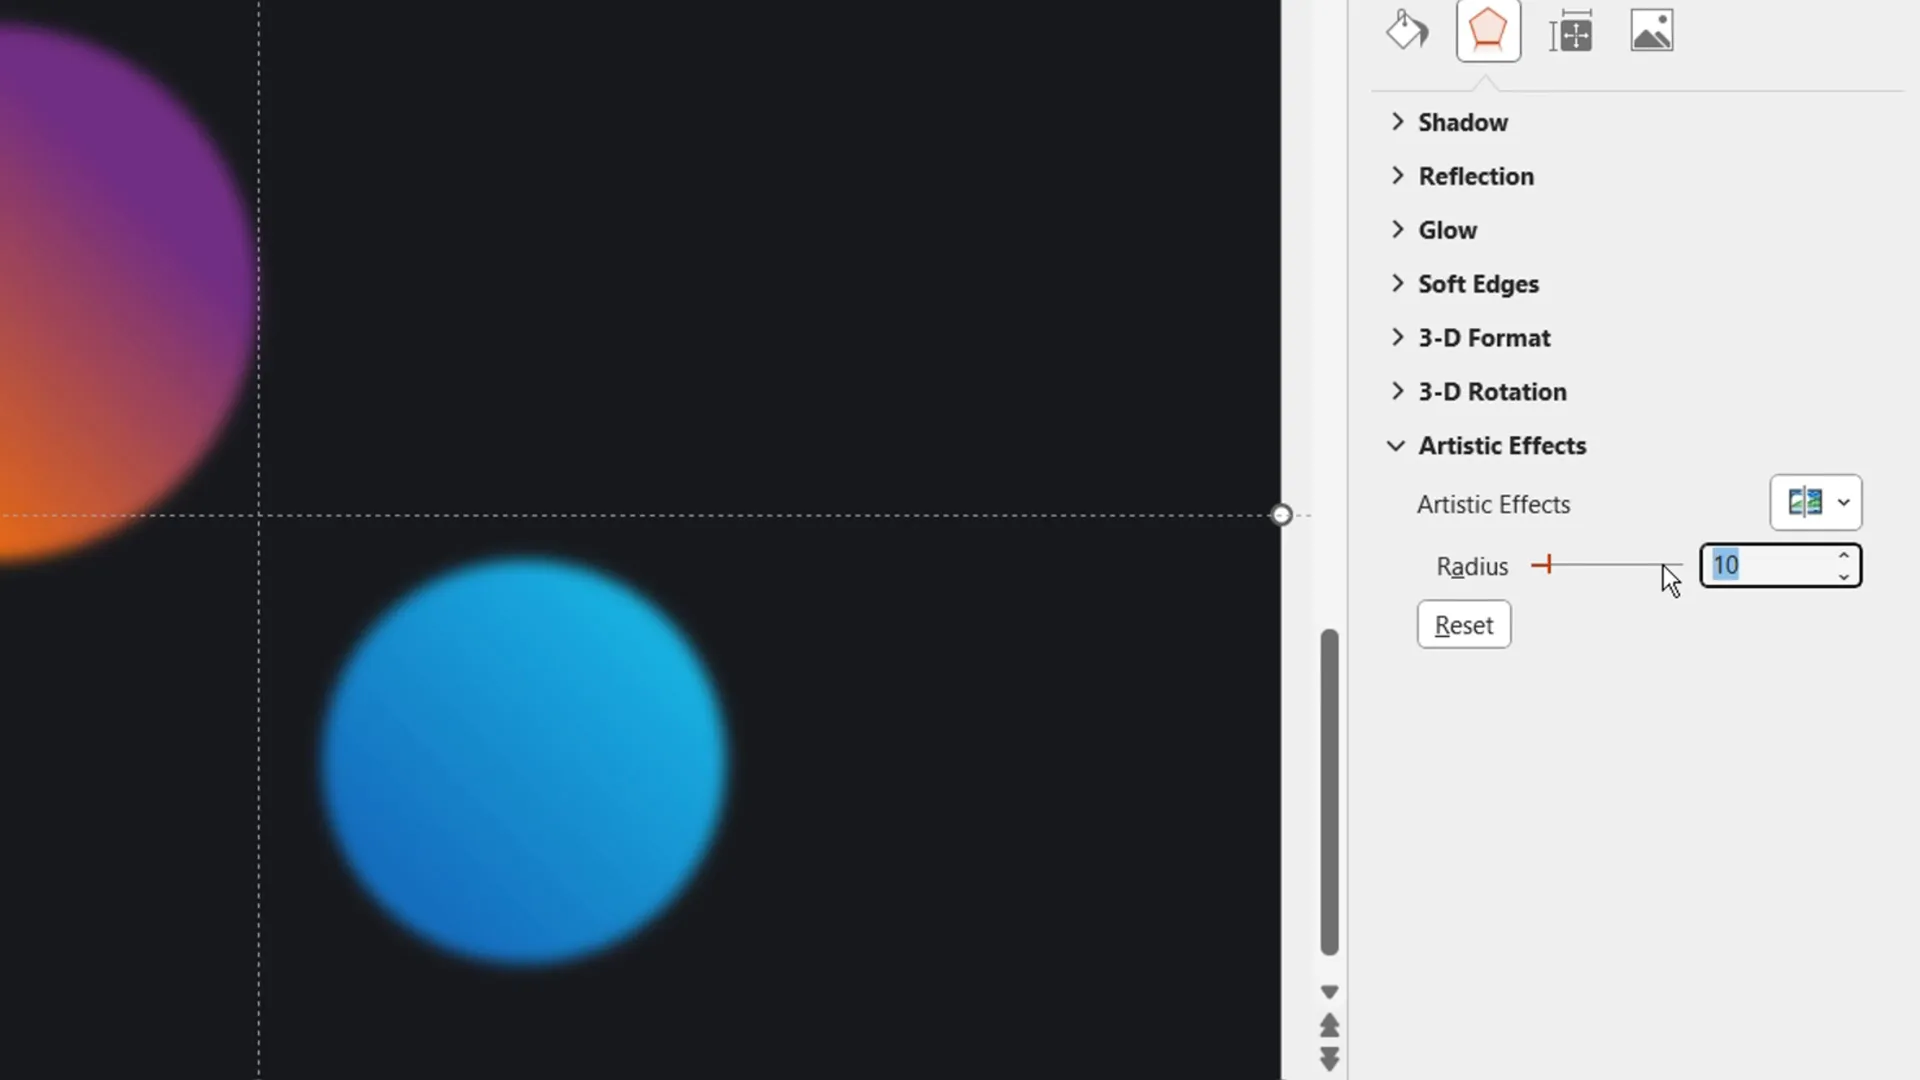
Step 3: Add Glass Effect
Since you cannot apply two artistic effects directly to the same image, cut the blurred image and paste it as a picture. This allows you to add a second effect. Then apply the Glass effect with 70% transparency and scale it by 2. This layering creates a realistic glass texture.

Step 4: Set the Blurred Image as Background
Cut the glass-effect image and set it as the background for the first slide by selecting “Picture or texture fill” in the background format options and choosing the clipboard image. This makes the blurred, glassy image the slide’s backdrop.

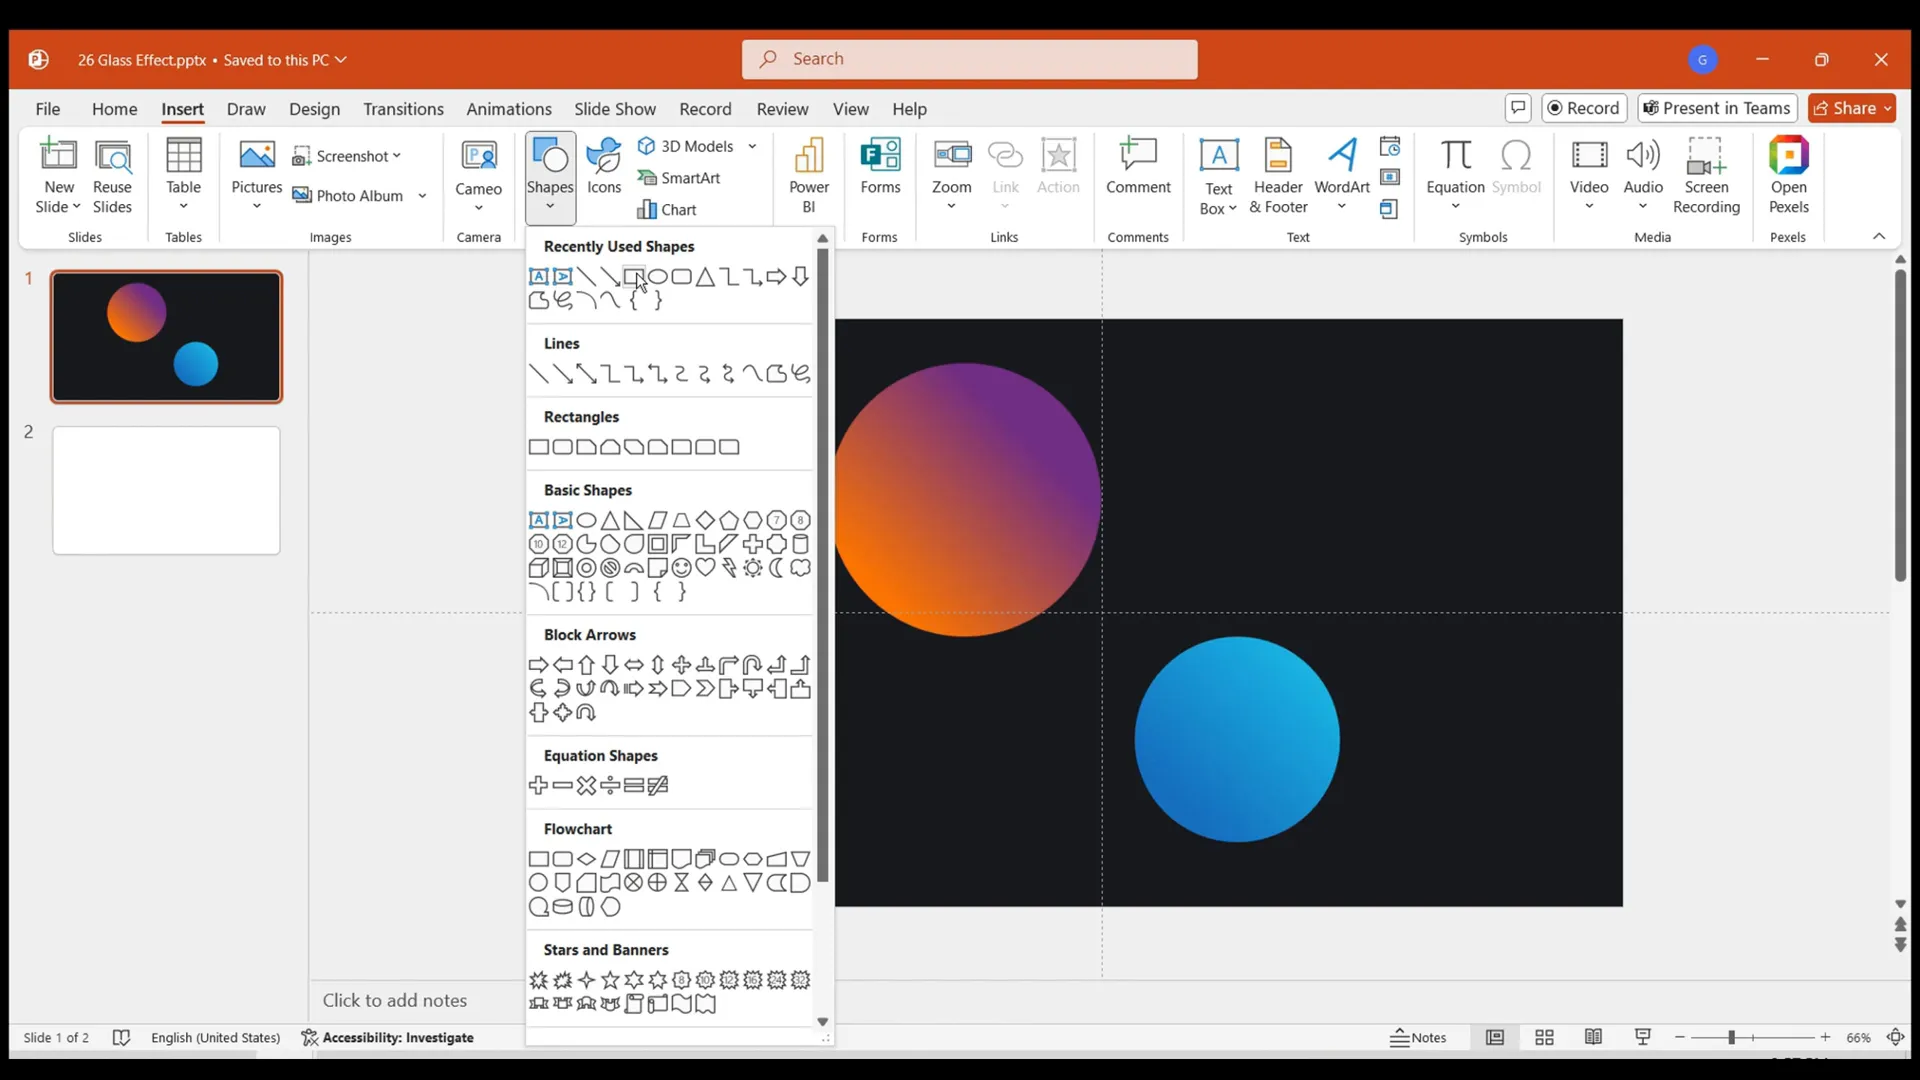
Step 5: Create the Credit Card Shape
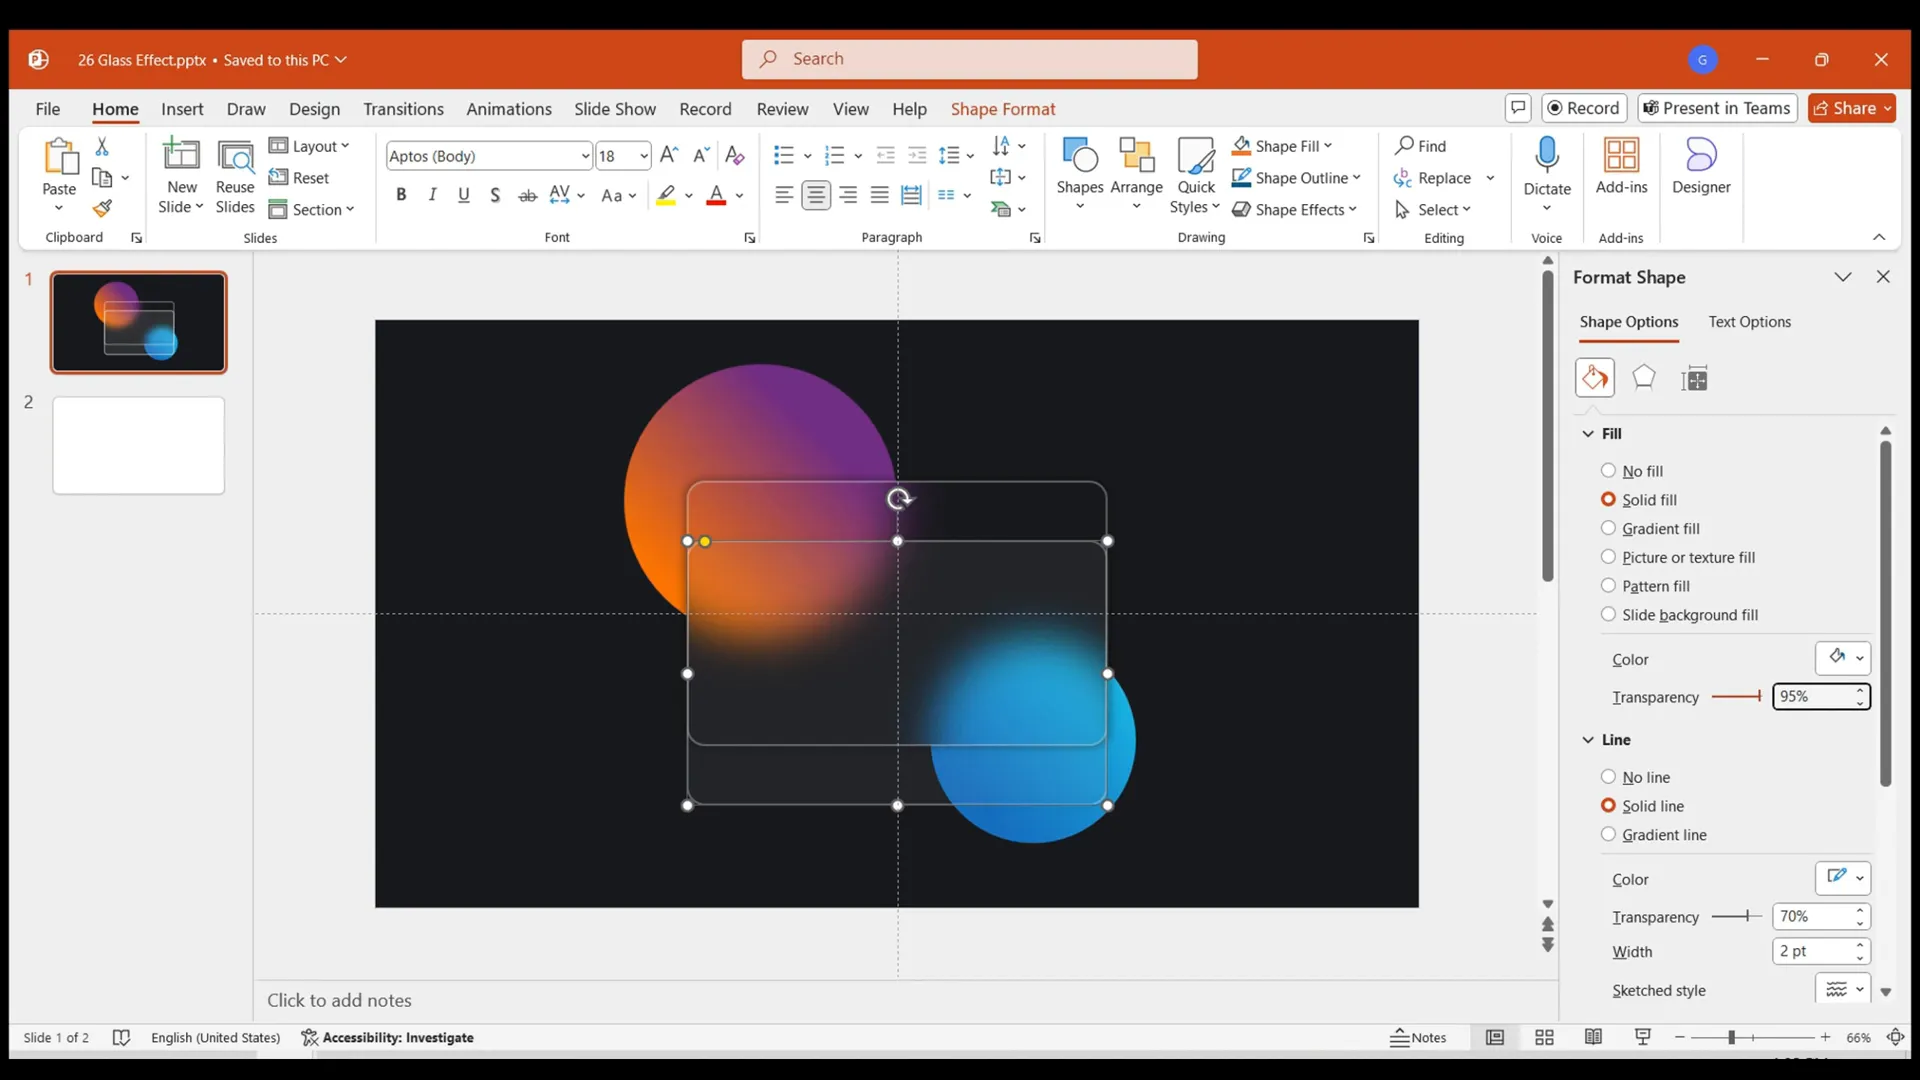
Insert a rounded rectangle and resize it to the dimensions of a credit card. Set the fill to “Slide Background Fill” so the shape reveals the blurred background beneath. Add a white border with a thickness of 2 pixels and set the shape’s transparency to 70%. Apply a subtle shadow effect to lend the shape perspective and depth.
Step 6: Enhance the Frosted Texture
Duplicate the rounded rectangle. Change the fill of the duplicate to white with 95% transparency and remove the border. Overlay this shape on the original to create a layered frosted glass texture that mimics a translucent card surface.
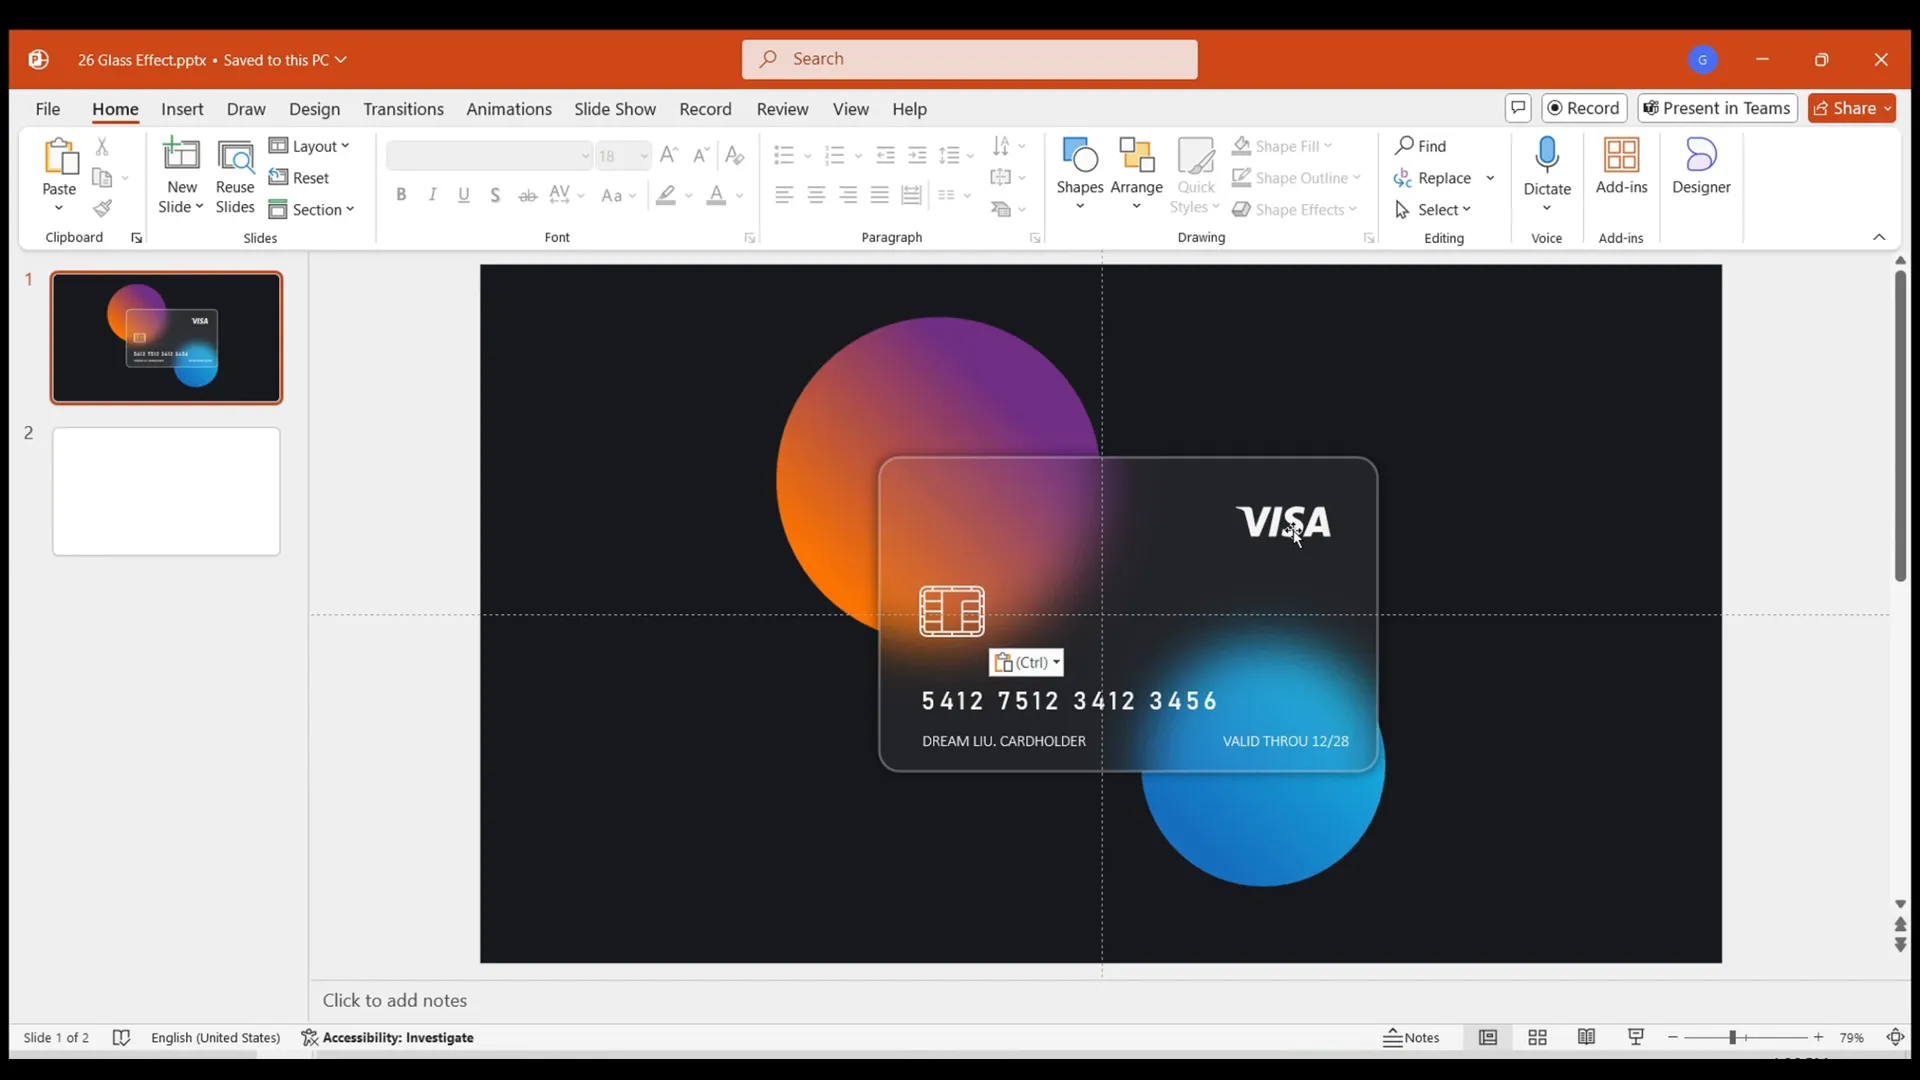
Step 7: Add Text and Details
Insert a text box and type in details such as the credit card number, name, and other information. Customize the font style and size to resemble a real credit card’s typography. Adding material files for logos like Visa and chip logos completes the authentic look.
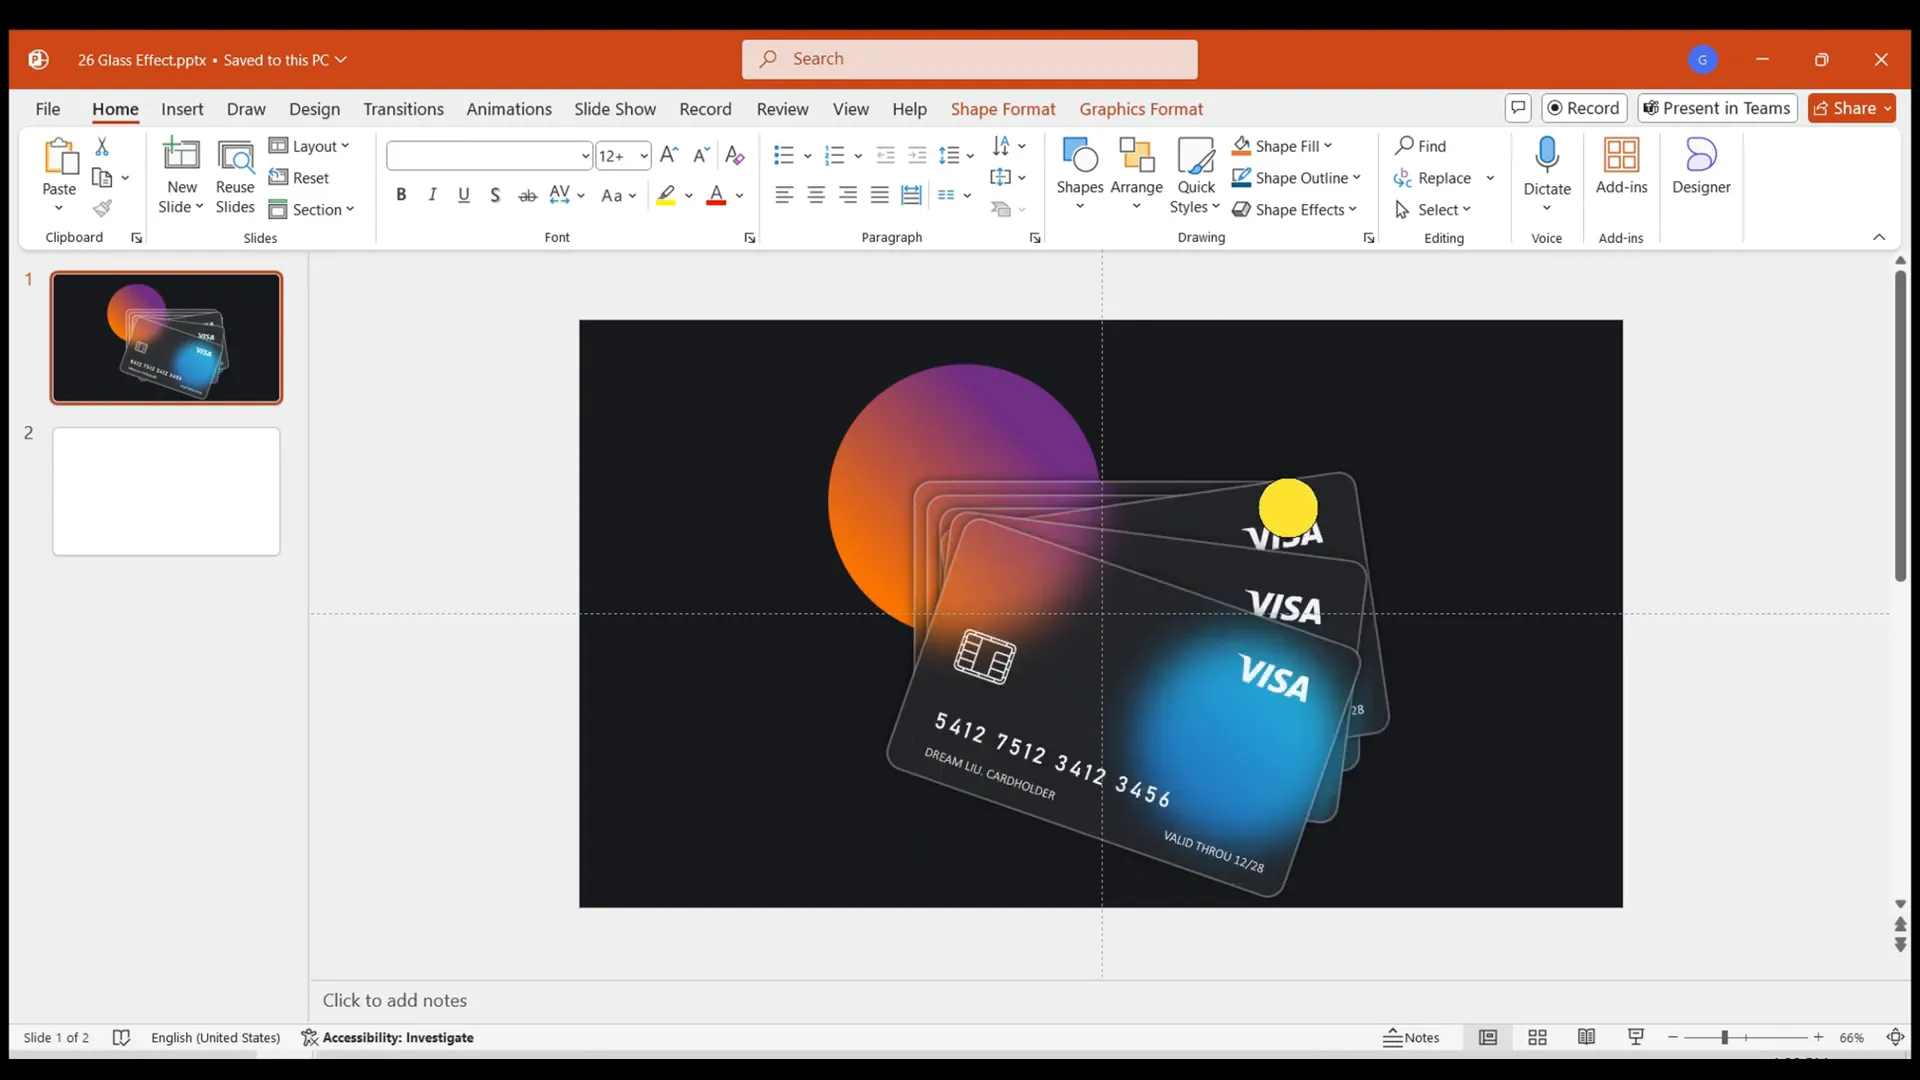
Step 8: Group and Duplicate
Select all elements—the shapes, text, and logos—and group them. Now you have a complete credit card shape that can be duplicated multiple times. Adjust the position and rotation of each duplicated card to create a dynamic stacked card effect. This step requires patience to fine-tune the angles and layering for the best visual impact.
Step 9: Align and Animate
Duplicate the slide with the stacked cards. On the first slide, select all credit cards and reset their rotation to zero degrees. Align them horizontally and vertically so they overlap perfectly, forming a single card. Center this arrangement on the slide. Then apply a Morph transition between the two slides to create an unfolding card animation that impressively reveals the stack.

By modifying the logos on different cards, you can customize the display for various brand effects, adding versatility to your presentation.
The Shape Intersection Method: Crafting a Glass Door Opening Effect
The second method uses shape intersection to create a frosted glass effect, ideal for animating objects like a glass door opening. This approach overlays a blurred image atop a clear background and uses shapes to “cut out” the frosted sections, producing a sophisticated glass look.

Step 1: Insert and Blur the Image
Start by inserting your chosen image and filling the slide background. Duplicate the slide and apply a blur effect to the second slide’s image with a radius of 30 for a subtler blur than the first method.
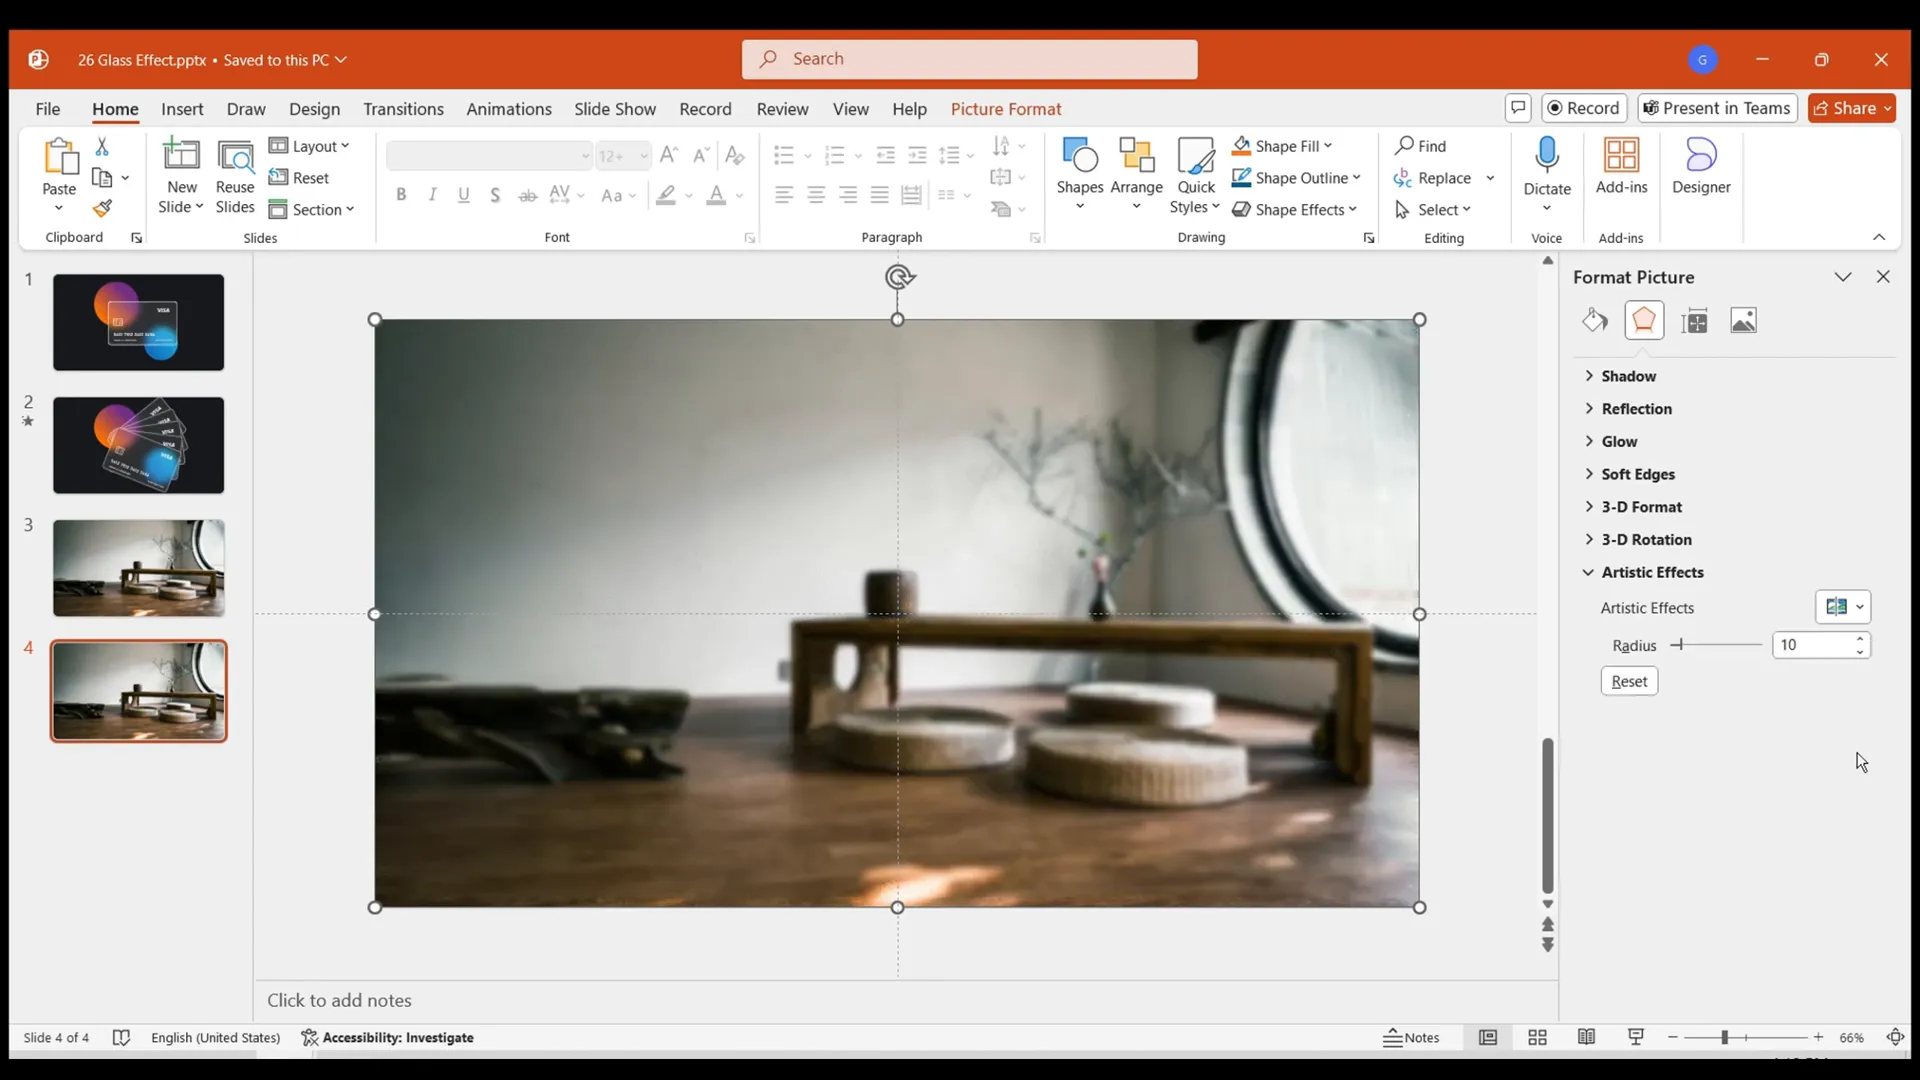
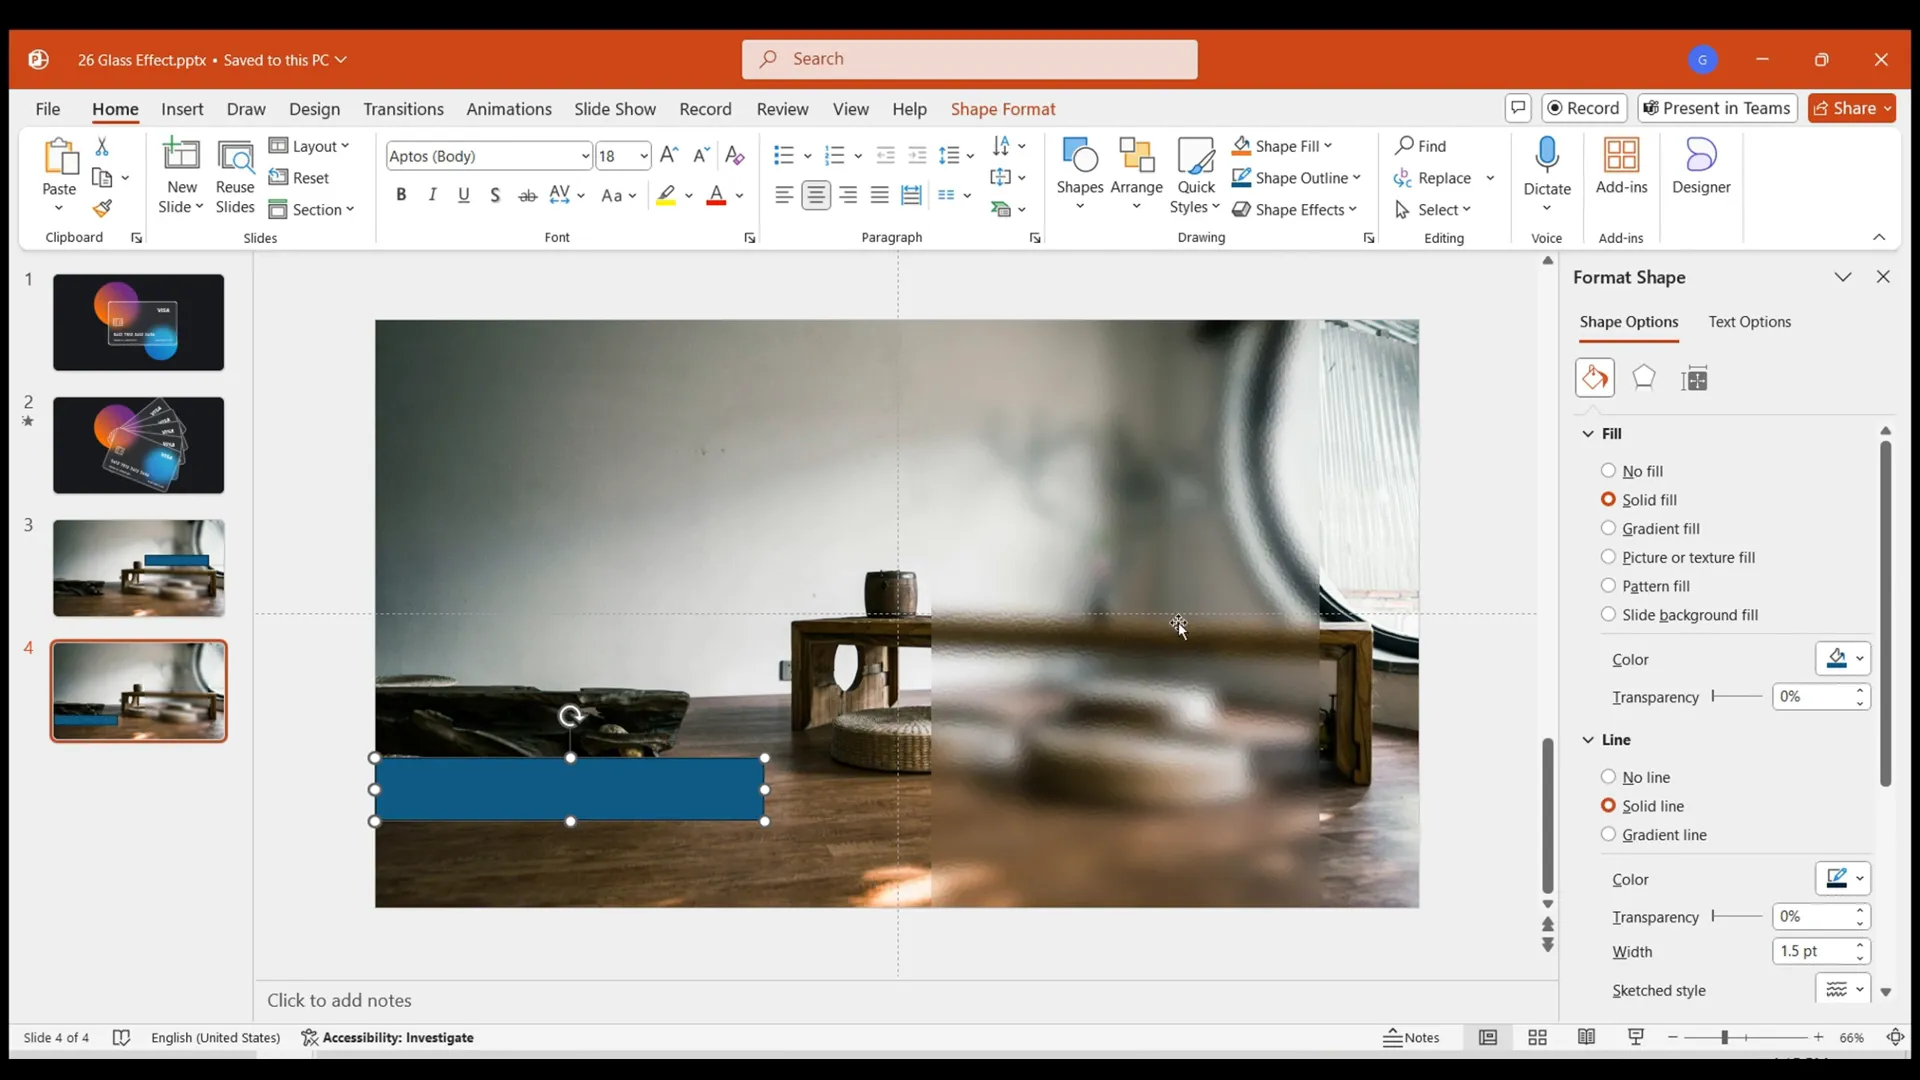
Step 2: Apply Glass Effect
Cut the blurred image and paste it as a picture to enable adding a second artistic effect. Apply the Glass effect with 50% transparency and scale it by 2. This combination yields a soft glass texture on the blurred image.
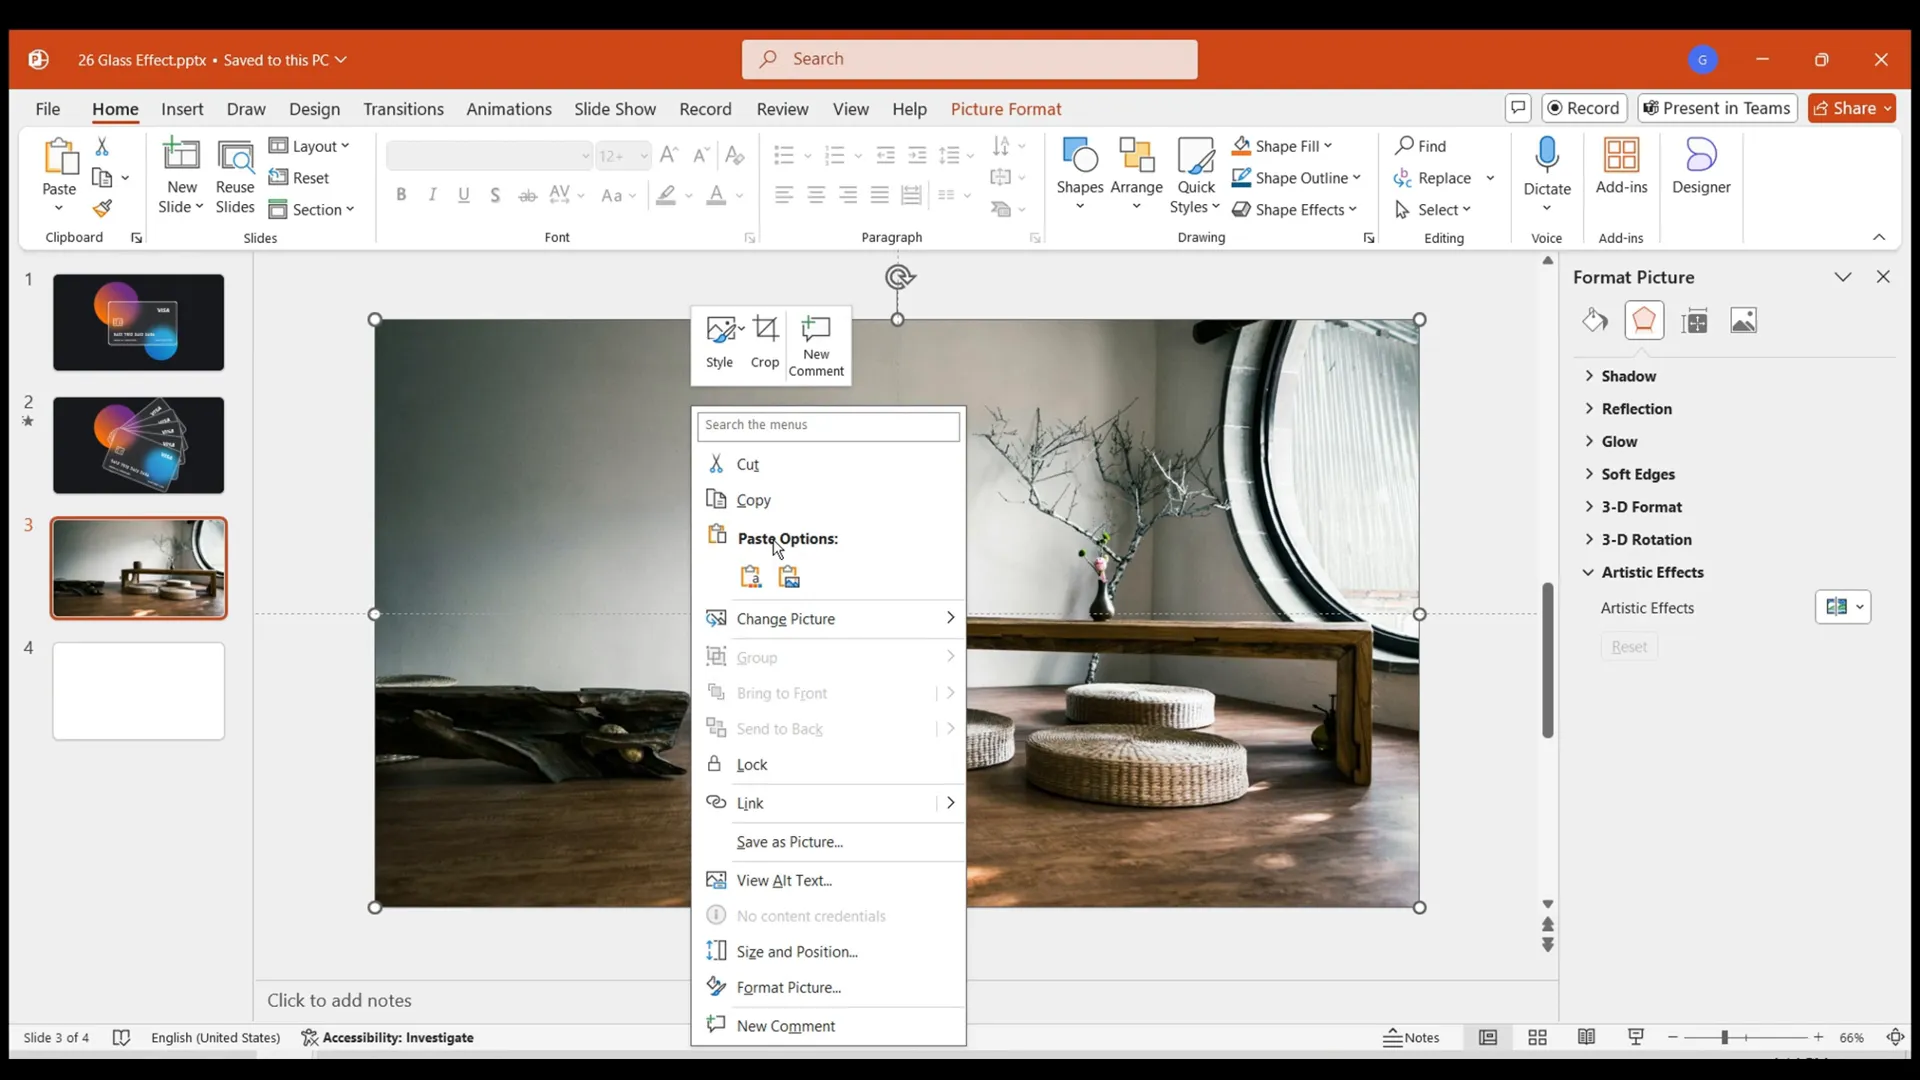
Step 3: Trim and Crop for Door Effect
Cut the glass-effect image and paste it onto the original slide. Insert a rectangle shape and adjust its width to match the cropped area of the image you want to appear as the glass door. Use this rectangle as a cropping guide to isolate the door section from the blurred image.
Step 4: Align and Re-crop
Copy the PowerPoint slide. Align the rectangle’s left edge with the slide edge. Re-crop the blurred image so the crop area matches the rectangle’s width exactly. This precision cropping is essential to create the illusion of a glass door panel.

Step 5: Add Morph Transition for Animation
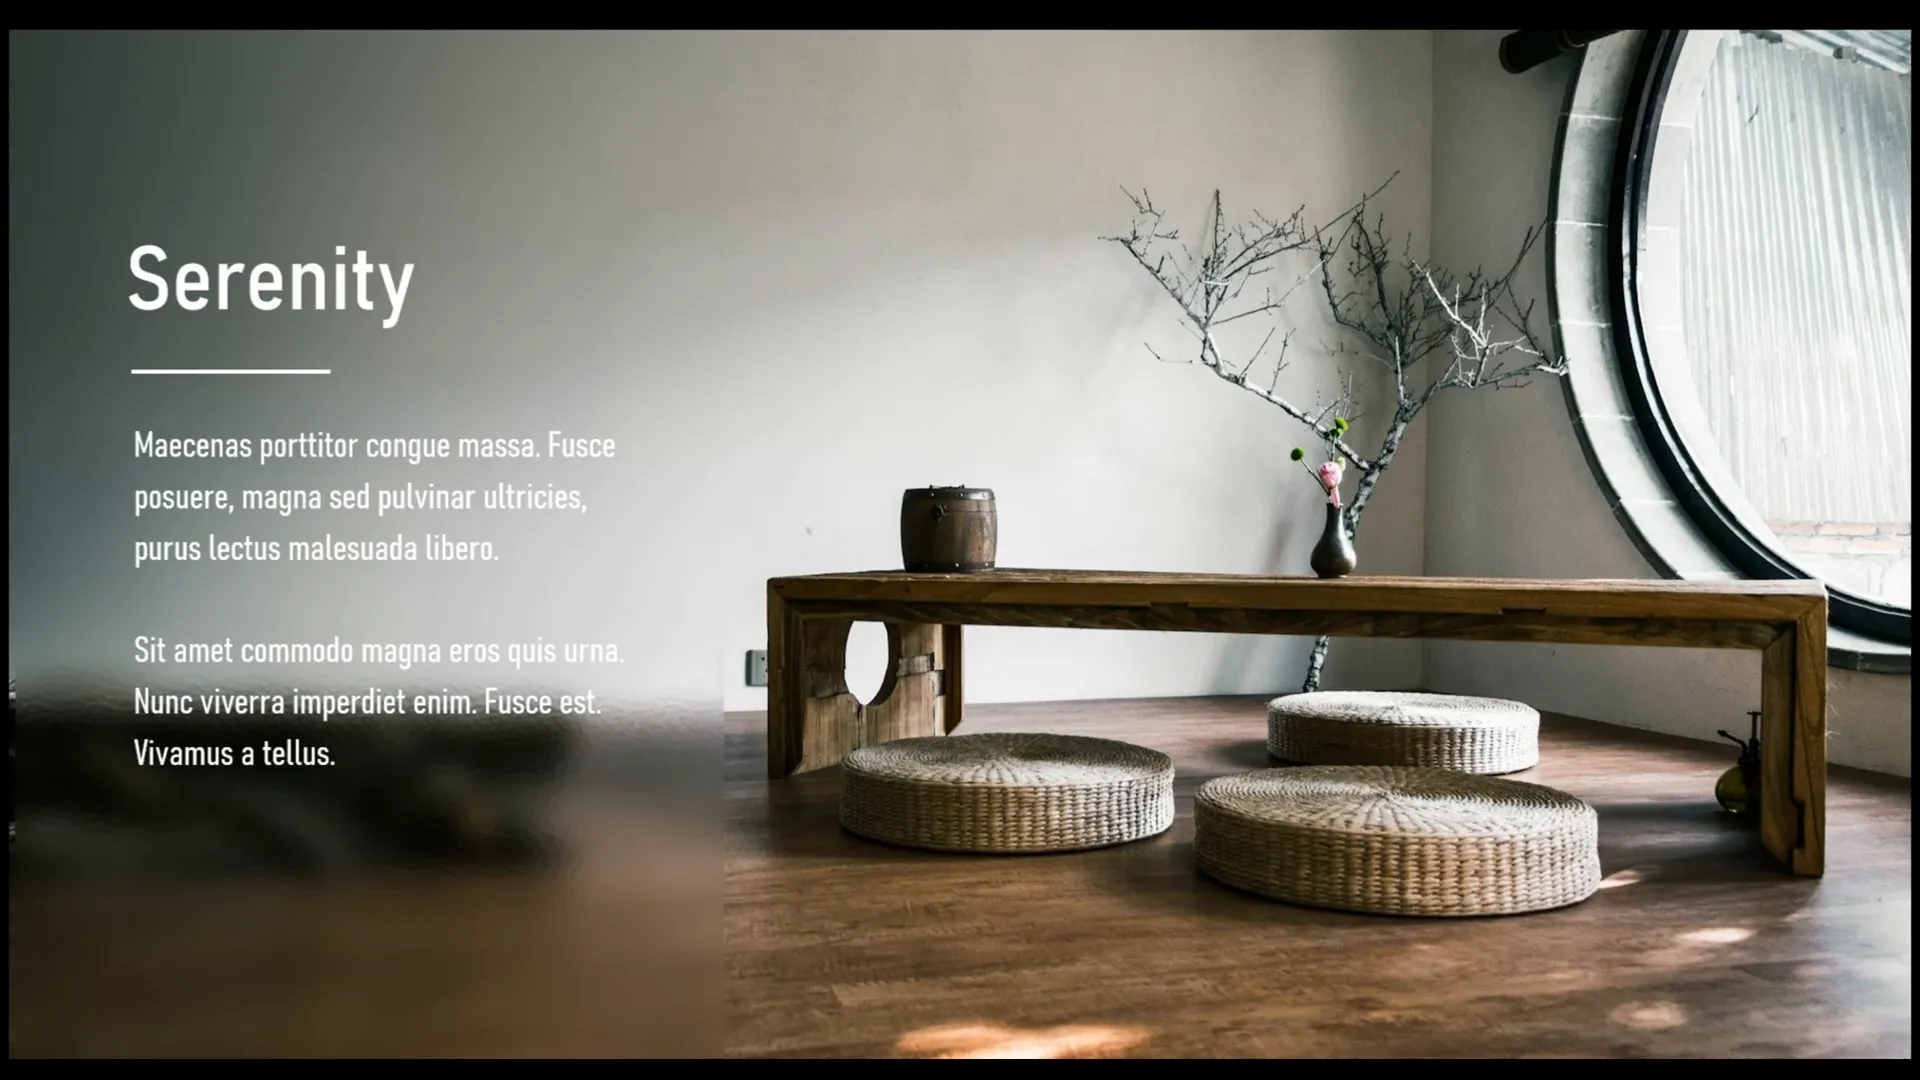
Apply a Morph transition effect to the second slide. This creates a smooth animation that looks like the glass door is opening. By copying the prepared text template onto each slide and previewing, you can see the full door opening effect in action.
Why Use Frosted Glass Effects in Your Presentations?
Incorporating frosted glass effects into your PowerPoint slides is more than just a trendy design choice. It serves multiple purposes:
- Enhances Visual Appeal: Adds a modern, sleek look that captures attention.
- Creates Depth: The blur and translucency introduce layers, making slides more dynamic.
- Focuses Audience Attention: Softens backgrounds while highlighting key foreground elements.
- Improves Readability: Frosted overlays can make text and icons stand out against busy backgrounds.
Whether you are designing corporate presentations, marketing decks, or creative portfolios, mastering these glass effects can significantly boost the professionalism and engagement level of your slides.
Practical Tips for Perfecting Your Glass Effect Designs
- Use High-Quality Images: Starting with sharp, high-resolution images ensures your effects look clean and polished.
- Adjust Blur Radius Carefully: Too much blur can obscure details, while too little may not produce the desired glassy feel.
- Play with Transparency: Experiment with different transparency levels to find the balance between clarity and haze.
- Layer Shapes Thoughtfully: Combining multiple shapes with varying fills and borders can simulate realistic glass textures.
- Leverage Morph Transitions: Morph effects add smooth animations that bring your glass effects to life.
Frequently Asked Questions (FAQ)
What is the frosted glass effect in PowerPoint?
The frosted glass effect is a design technique that uses blur and transparency to simulate the look of frosted or translucent glass. It softens the background while maintaining visibility of shapes or text layered above it.
Can I create these glass effects without external software?
Yes! PowerPoint’s built-in artistic effects, shape fills, and transitions allow you to create impressive frosted glass effects directly within the application, no additional software needed.
Which method is better: background fill or shape intersection?
Both methods have their strengths. The background fill method is great for layered effects like credit card stacks, while the shape intersection method excels in animation scenarios like glass doors. Choose based on your project needs.
How do I use Morph transition for glass effect animations?
After setting up your slides with layered shapes and images, apply the Morph transition between slides. Morph smoothly animates changes in shape, size, and position, creating dynamic unfolding or opening effects.
Can I customize the glass effect colors?
While the glass effect primarily relies on blur and transparency, you can adjust the color overlays by modifying shape fills and transparency to create tinted glass effects like frosted blue or green glass.
Conclusion
Mastering frosted glass effects in PowerPoint opens up a world of design possibilities, allowing you to create visually stunning and professional presentations with ease. By using the background fill and shape intersection methods, you can simulate realistic glass textures and animations that captivate your audience.
This tutorial demonstrated how to build a dynamic stacked credit card display and a smooth glass door opening animation by leveraging PowerPoint’s artistic effects, shape tools, and Morph transitions. With patience and creativity, you can apply these techniques to a wide range of projects, enhancing your digital storytelling and presentation impact.
Remember, the key to success is experimentation—don’t hesitate to adjust blur levels, transparency, and layering until you achieve the perfect glass effect for your design.
Happy designing!
Check out the full video: 3-Minute Tutorial: Create A Stack of Credit Cards in PowerPoint via Stunning Glass Effect


