
If you are looking to elevate your presentations and make your PowerPoint slides more engaging, interactive animations are a fantastic way to achieve that. In this comprehensive tutorial, we will explore how to create a clickable button animation that not only animates a button press but also reveals a photo and spins some decorative stars, all within a single slide. This step-by-step guide will walk you through the process of designing an interactive PowerPoint slide with smooth animations and triggers, transforming your presentations from static to dynamic.
Whether you’re a beginner or an intermediate PowerPoint user, this tutorial will provide you with the essential skills to create captivating interactive slides. Plus, you’ll discover tips on adding shadows, motion paths, animation triggers, and more—all designed to impress your audience and keep their attention focused on your message.
Keyphrase: Throughout this article, we will maintain a focus on the PowerPoint animation slide techniques that bring your slides to life.
Table of Contents
- Getting Started: Setting Up Your Slide
- Adding a Realistic Shadow to Your Button
- Creating the Button Press Animation
- Making the Button Clickable with Animation Triggers
- Launching a Photo with Animation
- Enhancing Photo Entrance with Motion Path
- Adding Fun: Spinning Stars Animation
- Testing Your Interactive Slide
- Frequently Asked Questions (FAQ)
- Conclusion
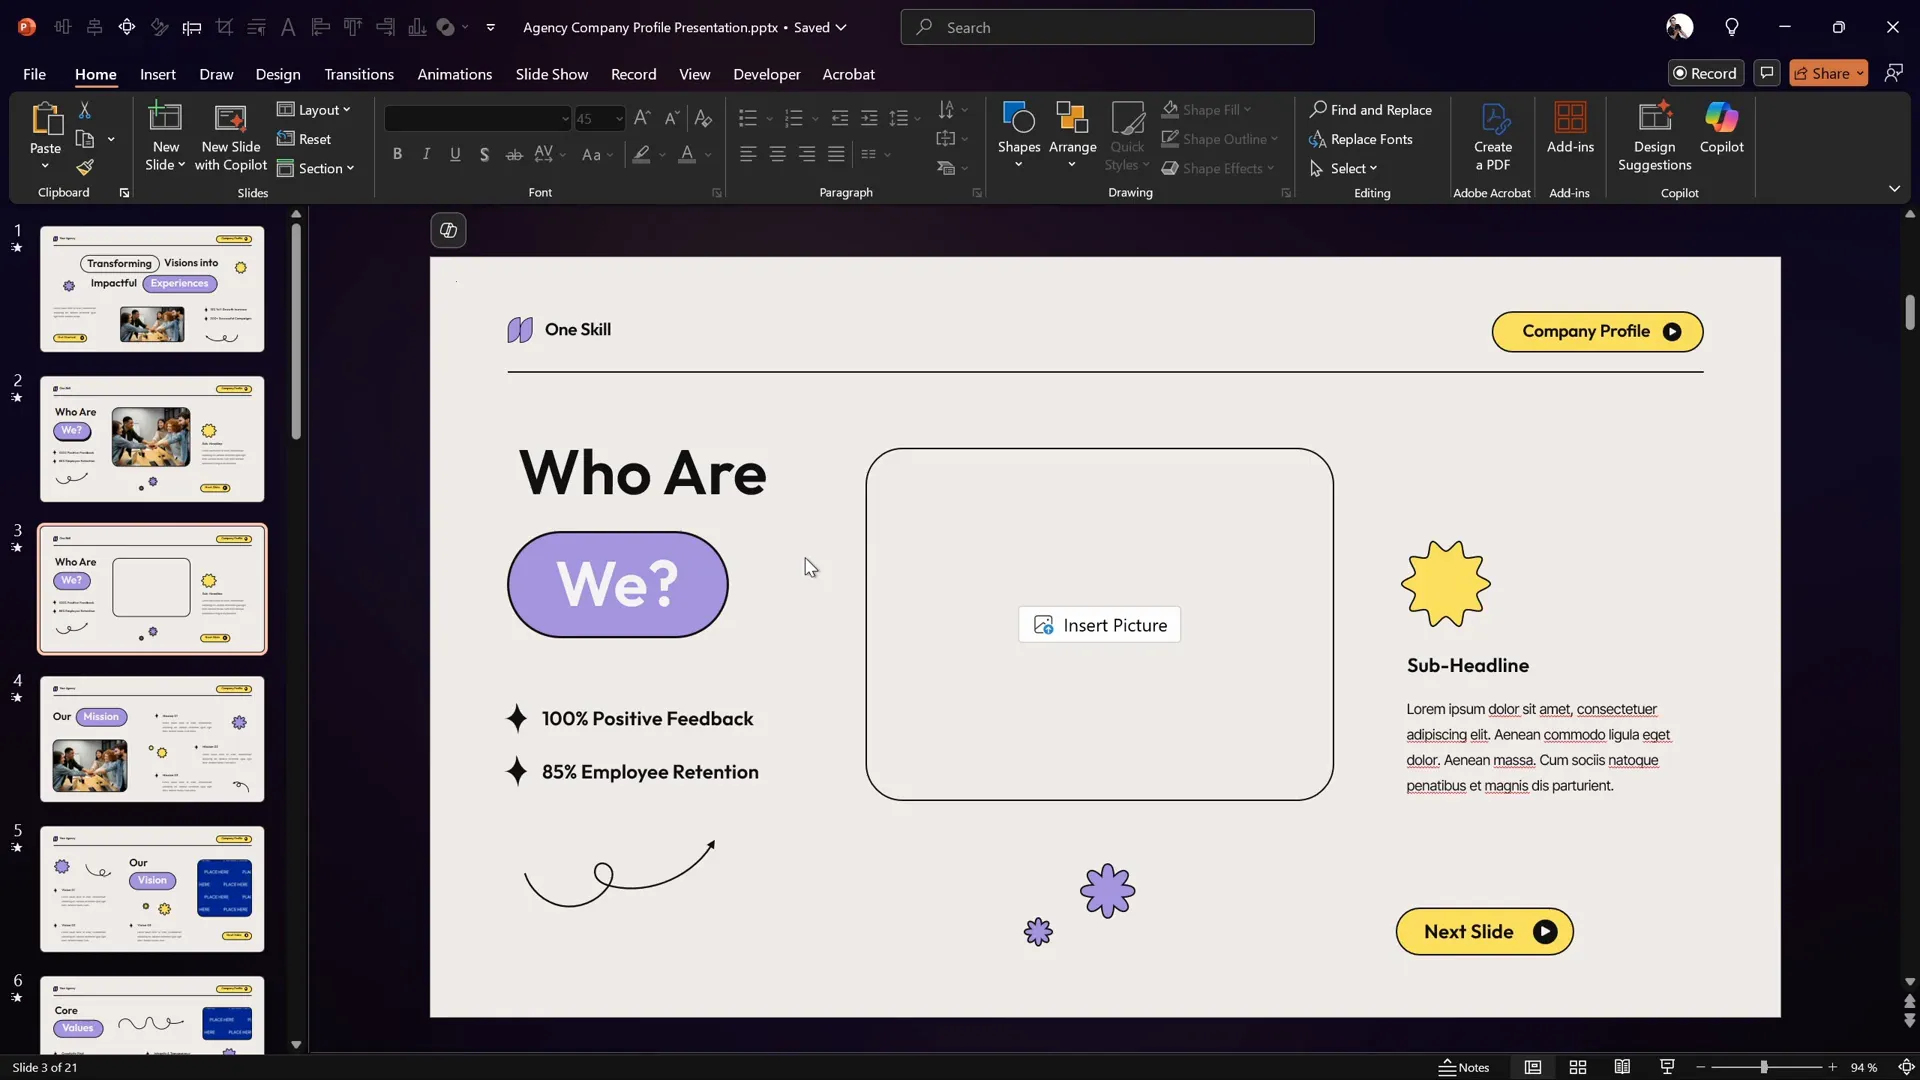
Getting Started: Setting Up Your Slide
To begin, we’ll use a pre-made PowerPoint template to save time and focus on the animation techniques. The template used in this tutorial is a beautiful design created by Graphiccook, available on Envato. Using templates can speed up your workflow and provide a professional aesthetic to your slides.
On your slide, you should have the following elements ready:
- A rounded rectangle shape that will act as your clickable button, with some text inside it.
- An image placeholder where the photo will be displayed.
- A few decorative elements such as small star shapes that will be animated.
Once these elements are in place, you are ready to start crafting your interactive animations.
Adding a Realistic Shadow to Your Button
Adding shadows to your button can give it depth and a more tactile feel, enhancing the overall visual appeal of your slide. Instead of using PowerPoint’s built-in shadow effects, this tutorial shows a clever trick: duplicating the button itself to create a custom shadow.
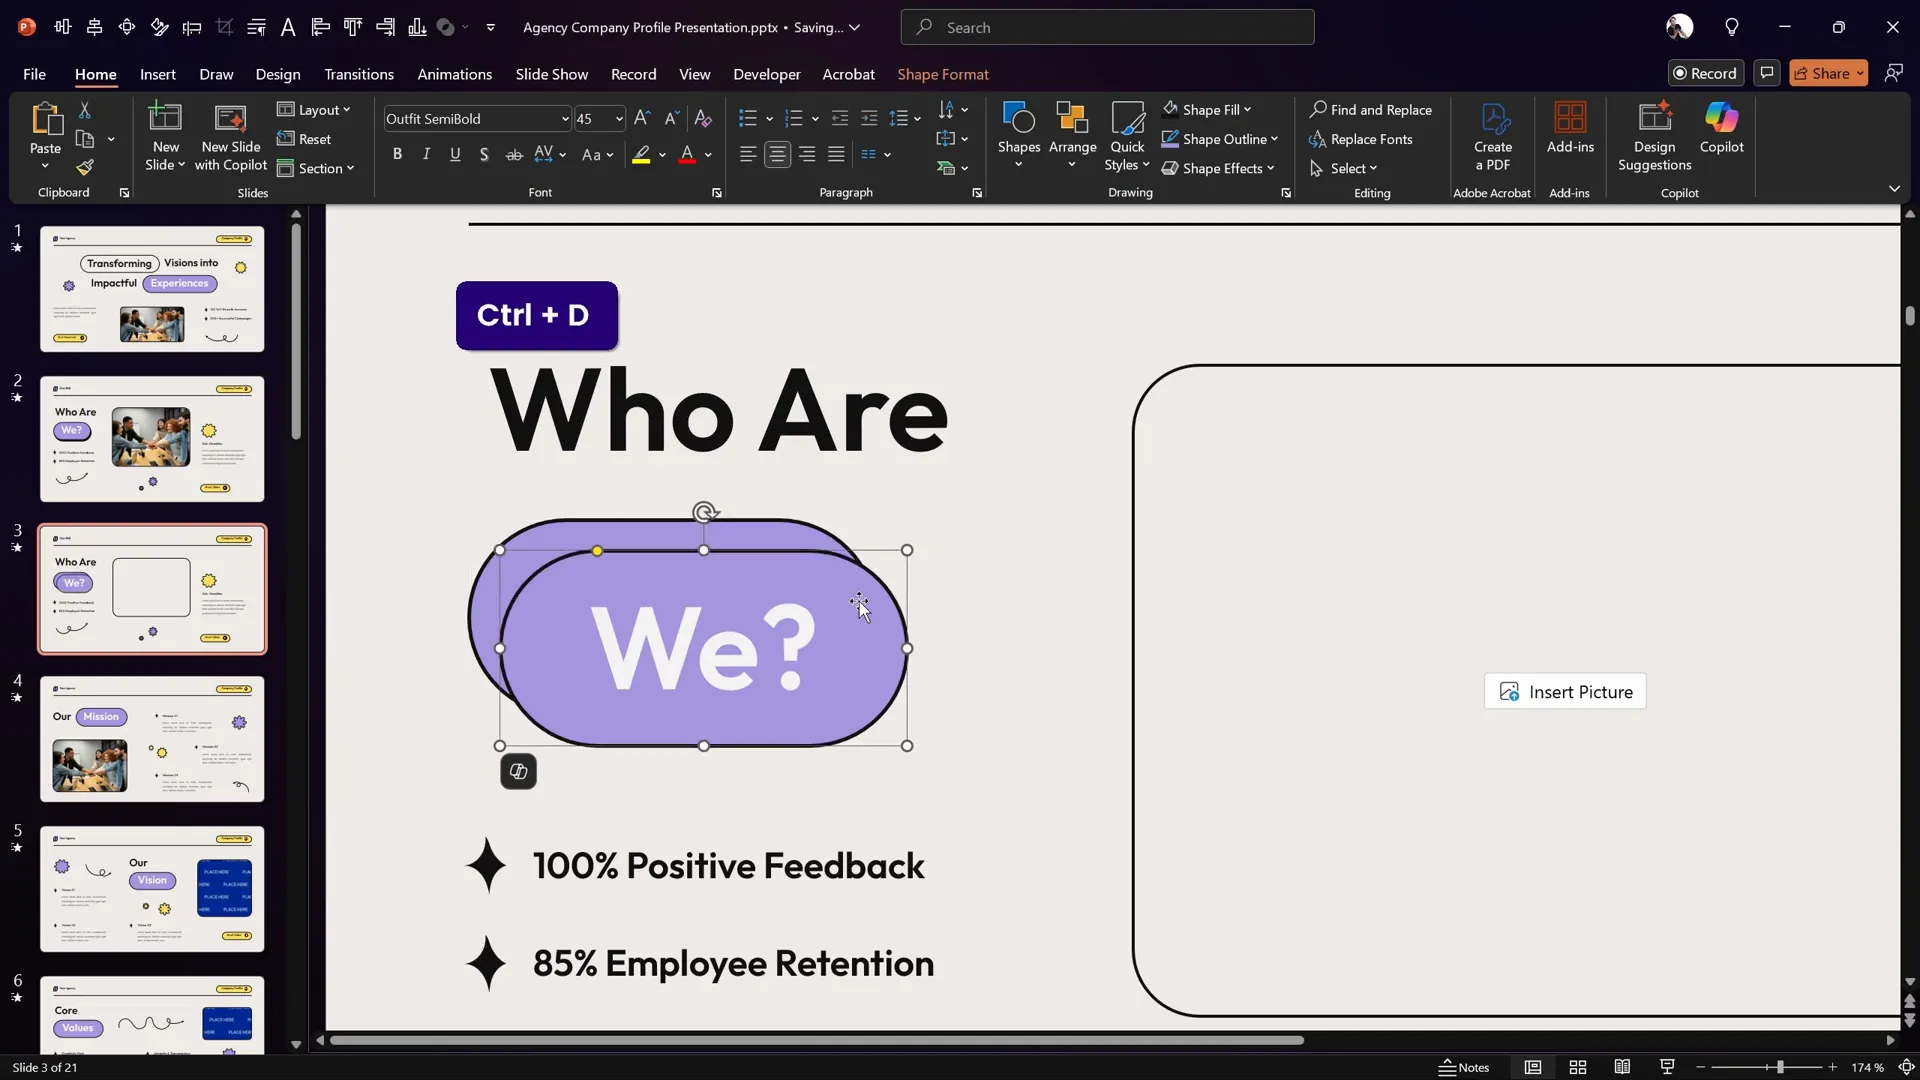
Step-by-Step Shadow Creation:
- Select your rounded rectangle button.
- Zoom in for better precision.
- Duplicate the button by pressing Ctrl + D.
- Remove the text inside the duplicate button shape since it’s not needed for the shadow.
- Fill the duplicated shape with a solid black color to simulate the shadow.
- Send the shadow shape to the back so it sits behind the original button.
- Adjust the position of the shadow shape to offset it slightly, creating a realistic shadow effect.
This technique allows you to control the shadow’s appearance fully and makes it easier to coordinate the shadow with button animations later.
Creating the Button Press Animation
Now that you have a button with a shadow, it’s time to add an animation that simulates a button press. This animation will move the button slightly to give the impression of pressing down and then releasing.
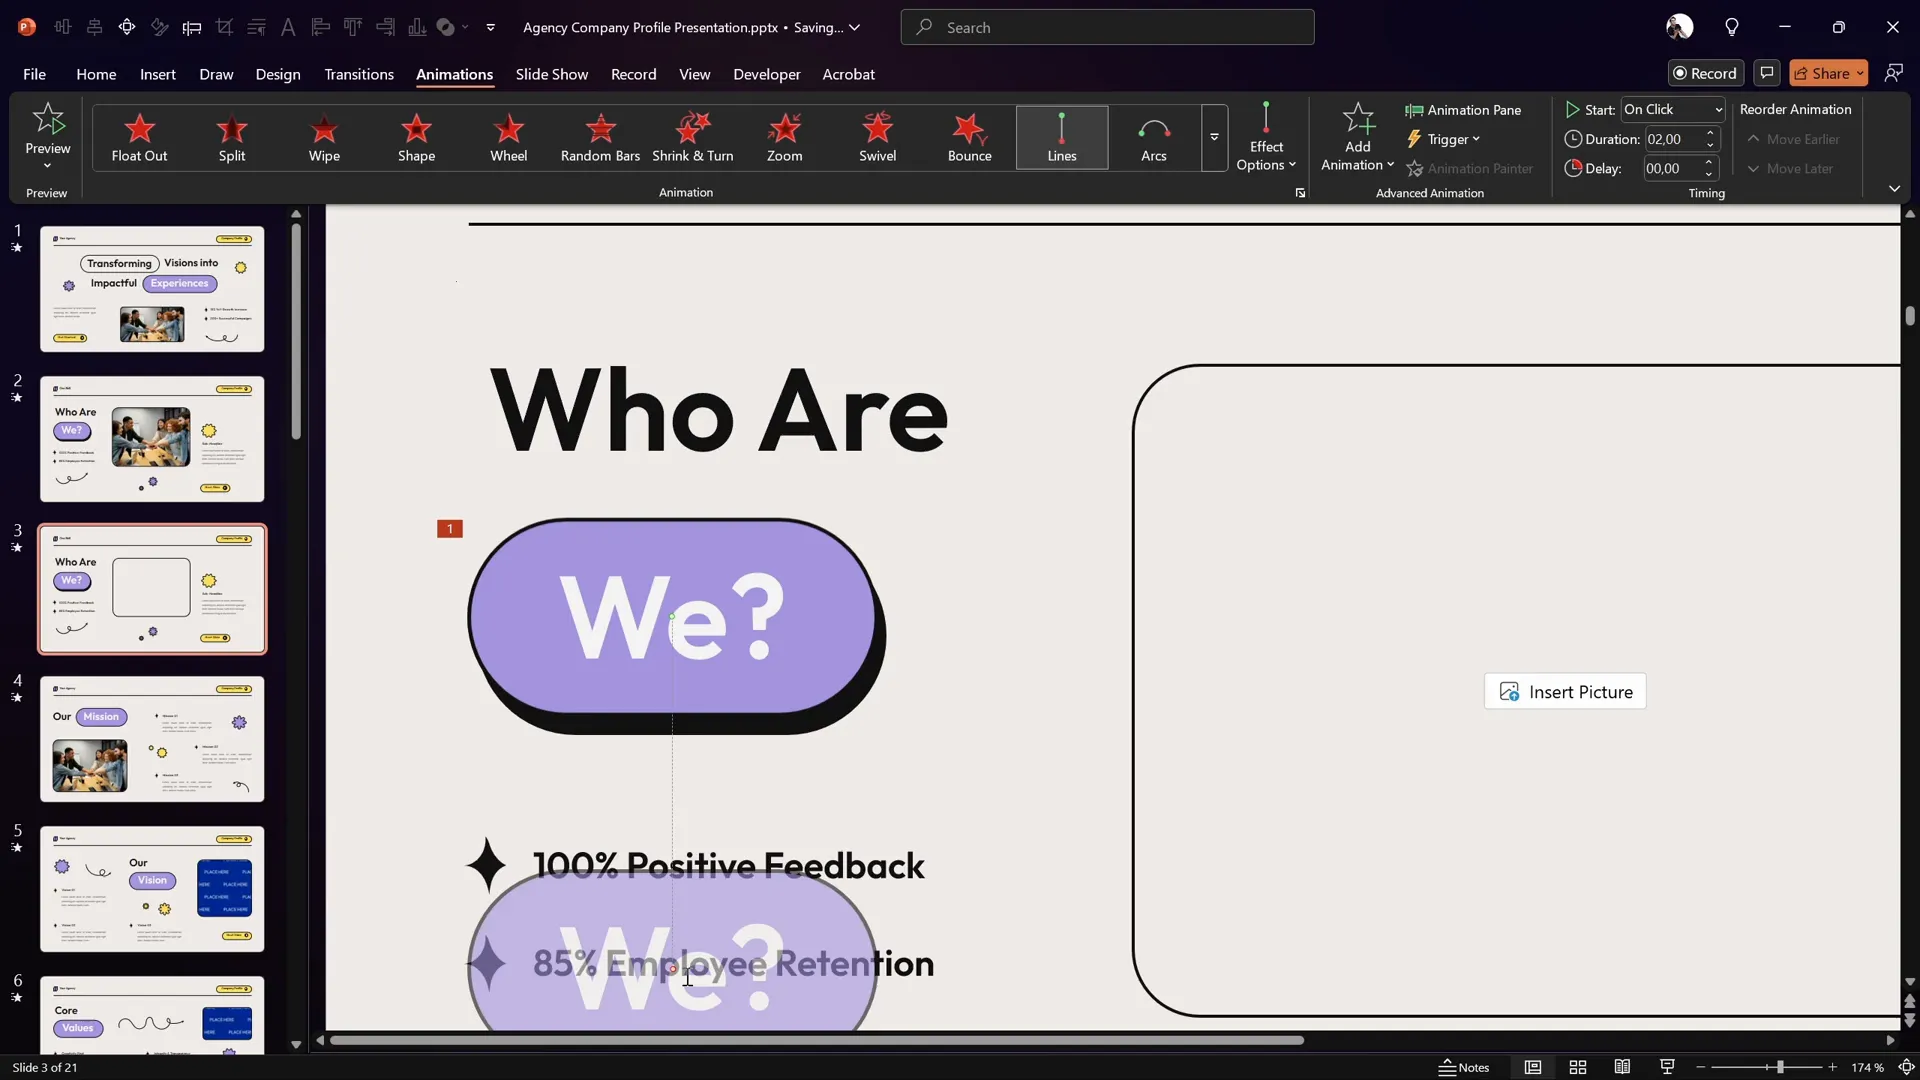
How to Create the Button Press Animation:
- Select the rounded rectangle button.
- Go to the Animations tab and select Add Animation.
- Choose a Motion Path animation, specifically the Line path.
- Adjust the red endpoint bubble of the motion path so that the button moves directly over the shadow shape, simulating a downward press.
- If the motion path is very short and PowerPoint merges the start and end points, delete and reapply the animation until it works correctly.
- Open the Animation Pane and set the animation to start With Previous.
- Set the duration to a quick 0.2 seconds for a snappy button press effect.
- Double-click the animation in the pane to open the Effect Options, and enable Auto Reverse so the button moves back to its original position after pressing.
- Ensure Smooth Start and Smooth End are enabled for a polished motion.
This sequence creates a smooth, realistic button press animation that enhances interactivity.
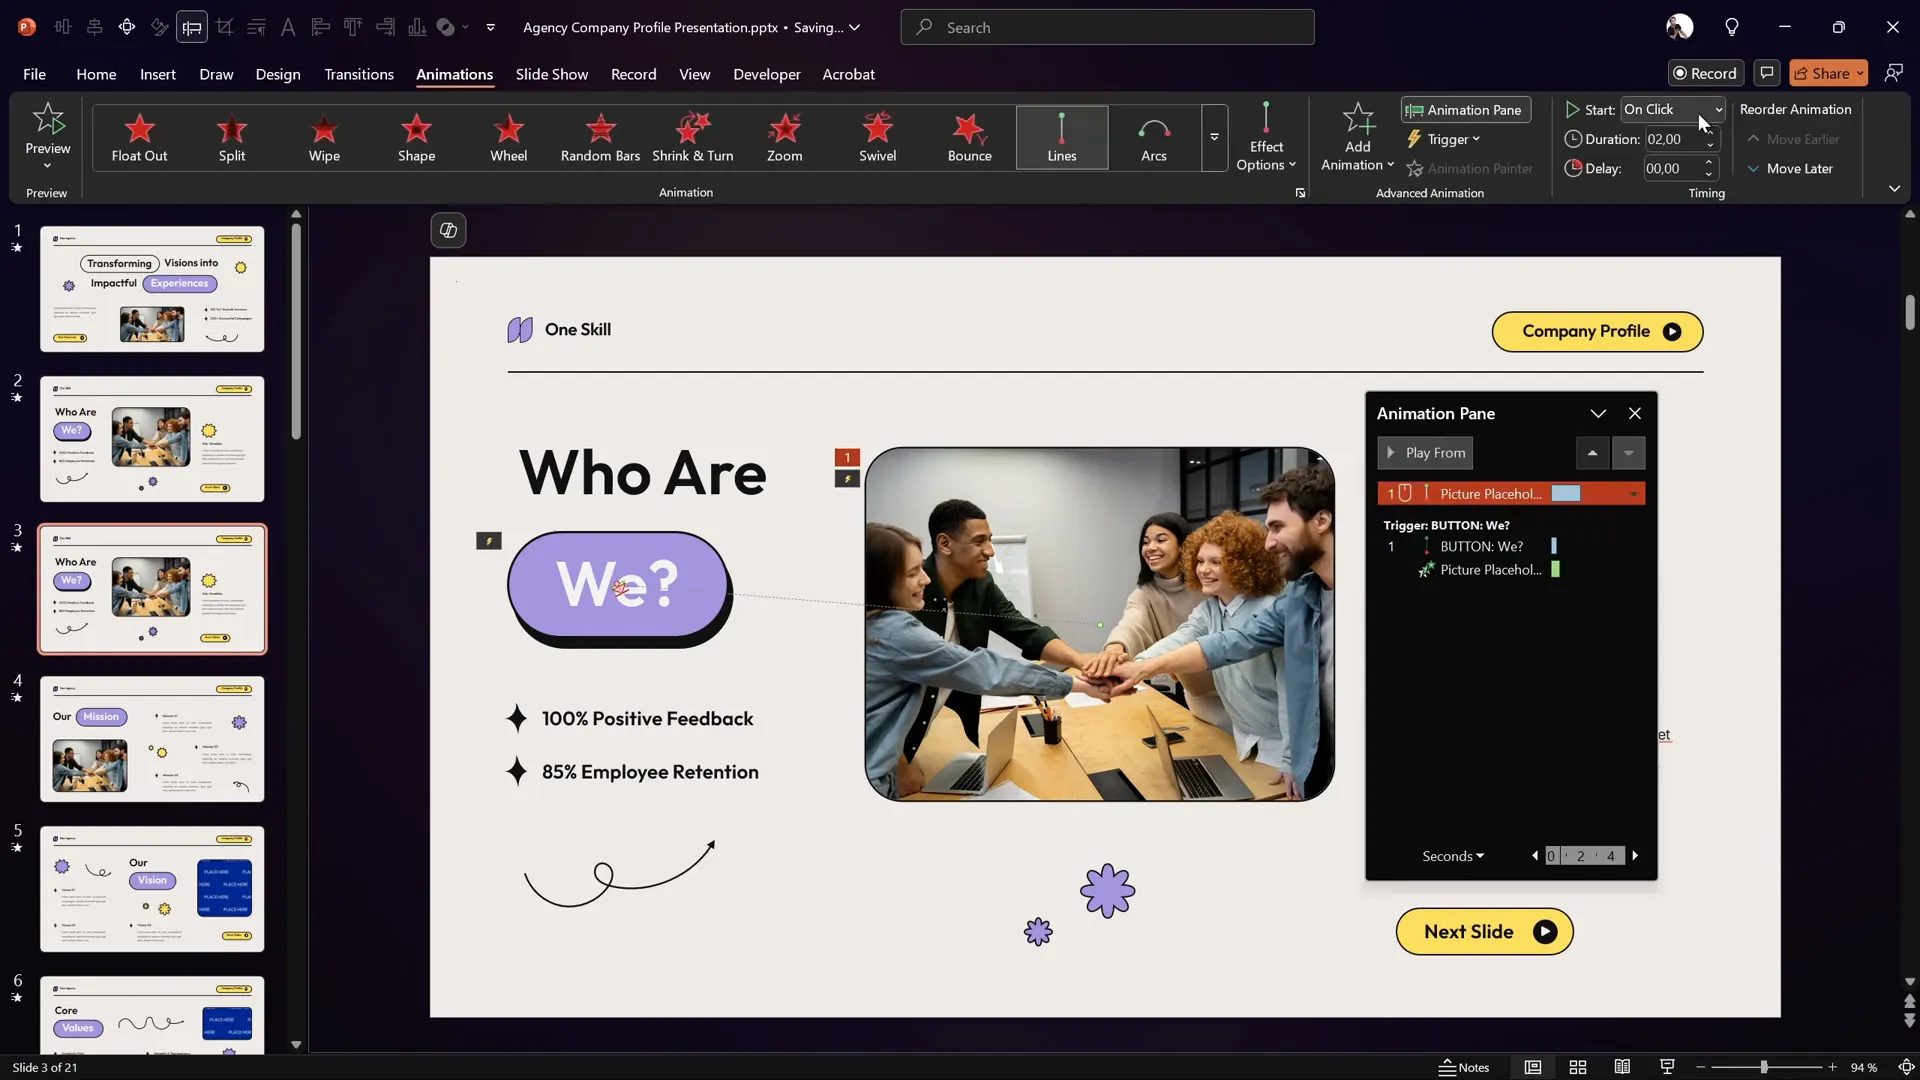
Making the Button Clickable with Animation Triggers
By default, animations in PowerPoint play automatically or in sequence. To make your button truly interactive, you want the animation to play only when the button is clicked. This is where animation triggers come in.
Steps to Set Animation Trigger:
- Open the Selection Pane to see all objects on your slide.
- Rename your rounded rectangle button to a simple, memorable name such as Button.
- Go back to the Animations tab and select the motion path animation you created.
- Click on Trigger and choose On Click of, then select your button from the list.
- Verify that the animation starts With Previous and now has the trigger applied.
Now, the button press animation will only play when you click on the button itself, turning your slide into an interactive experience.

Launching a Photo with Animation
To add more impact to your interactive slide, let’s make the button launch a photo that appears with a zoom effect. This adds visual interest and can be used to reveal important images or data during your presentation.
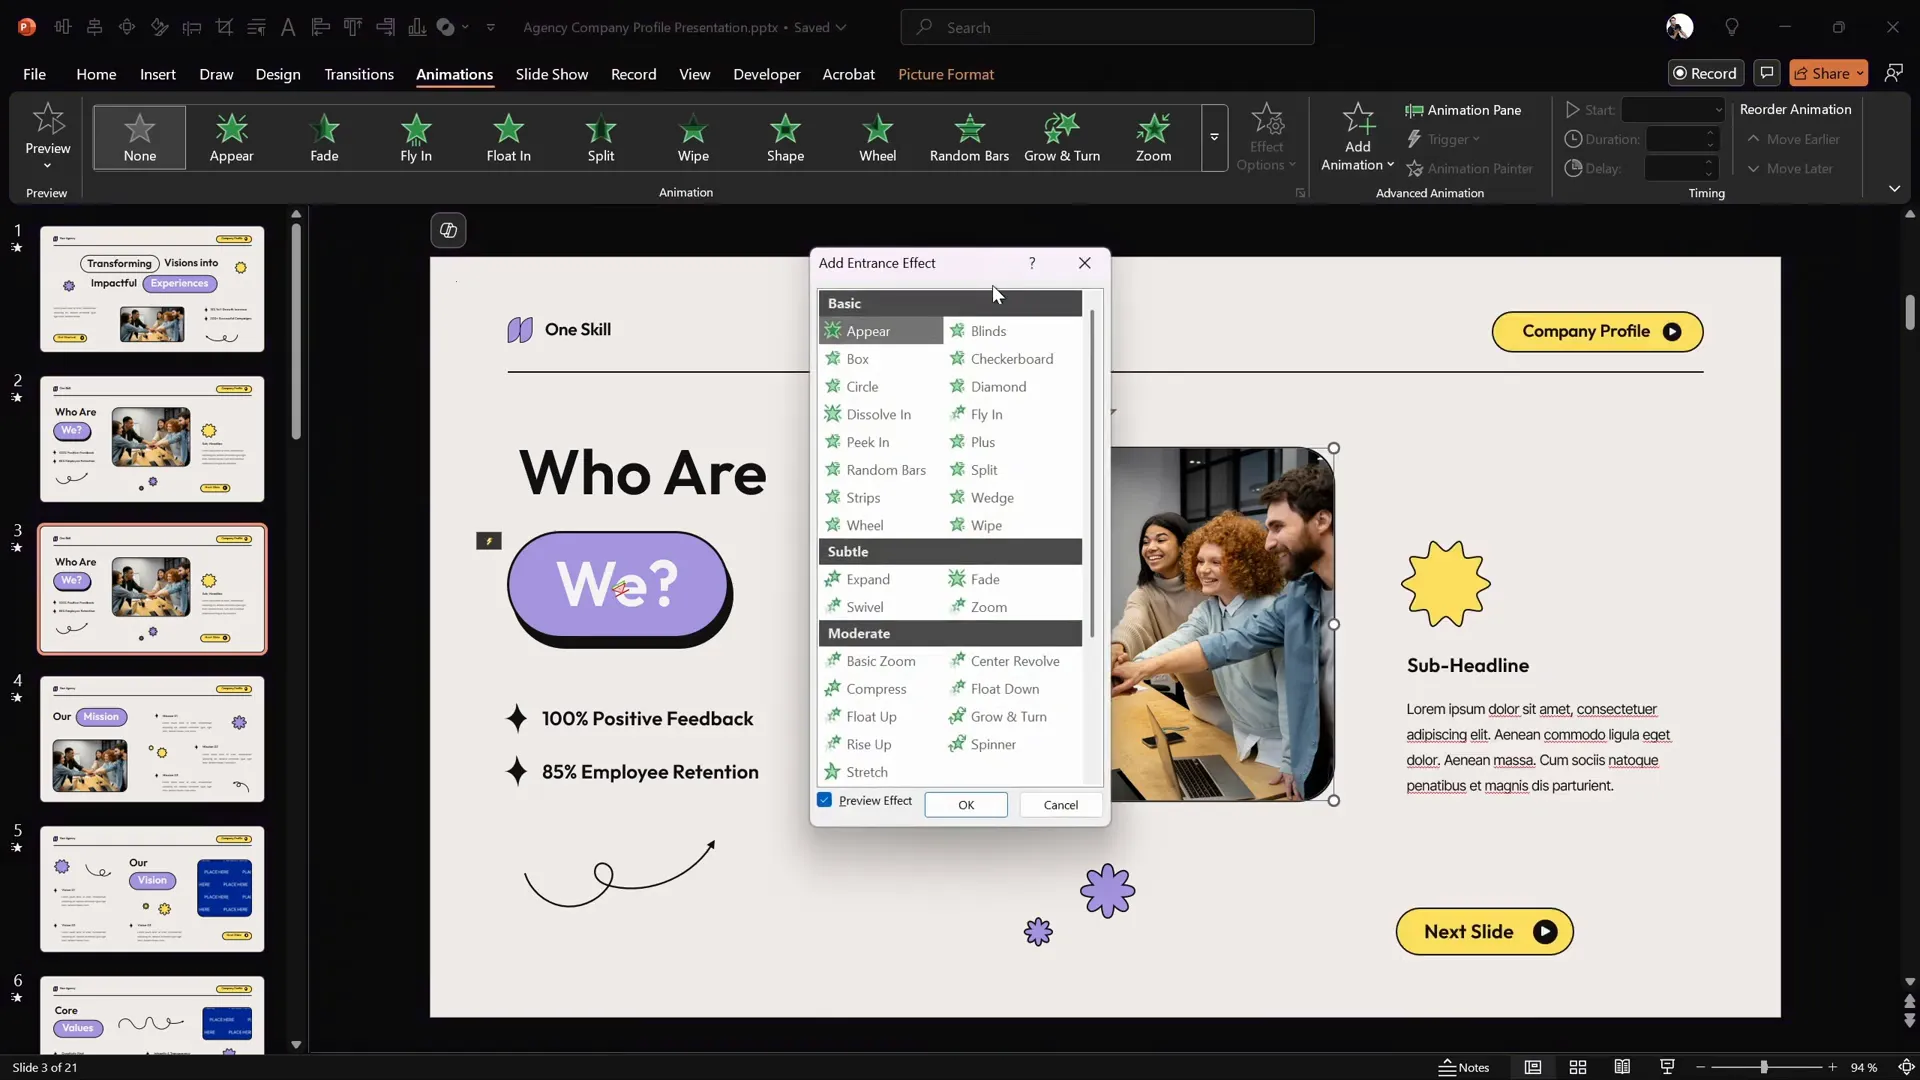
How to Animate the Photo Launch:
- Insert or select the image placeholder on your slide.
- Fill the placeholder with a photo of your choice. (The tutorial uses a photo from Freepik.)
- Go to the Animations tab and select More Entrance Animations.
- Choose the Basic Zoom animation and apply it to the photo.
- Open the Animation Pane and set the animation to start With Previous.
- Set the duration to around 0.6 seconds for a smooth zoom effect.
- Drag the photo animation into the same trigger group as your button press animation, so both animations play on button click.
Right now, the photo zooms in from the center of the slide, which may not look natural compared to the button location. Next, we’ll fix that.
Enhancing Photo Entrance with Motion Path
To make the photo appear as if it’s popping out from the button itself, add a motion path animation that moves the photo from the button’s position to its final location on the slide.
Steps to Add Photo Motion Path:
- Select the photo image placeholder.
- Add a Motion Path Line animation.
- Drag the red endpoint of the motion path to align exactly with the button’s position.
- Reverse the path direction so the animation starts at the button and ends at the photo’s current position.
- Set the animation to start With Previous and set the duration to 1 second.
- Drag this motion path animation into the same trigger group as the button and photo zoom animations.
- Double-click the motion path animation and increase the Smooth End slider to maximum for a soft landing effect.
- Send the photo behind other shapes on the slide to enhance realism, making it look like the photo emerges from the button.
This technique creates a polished and professional effect that visually links the button press to the photo reveal.
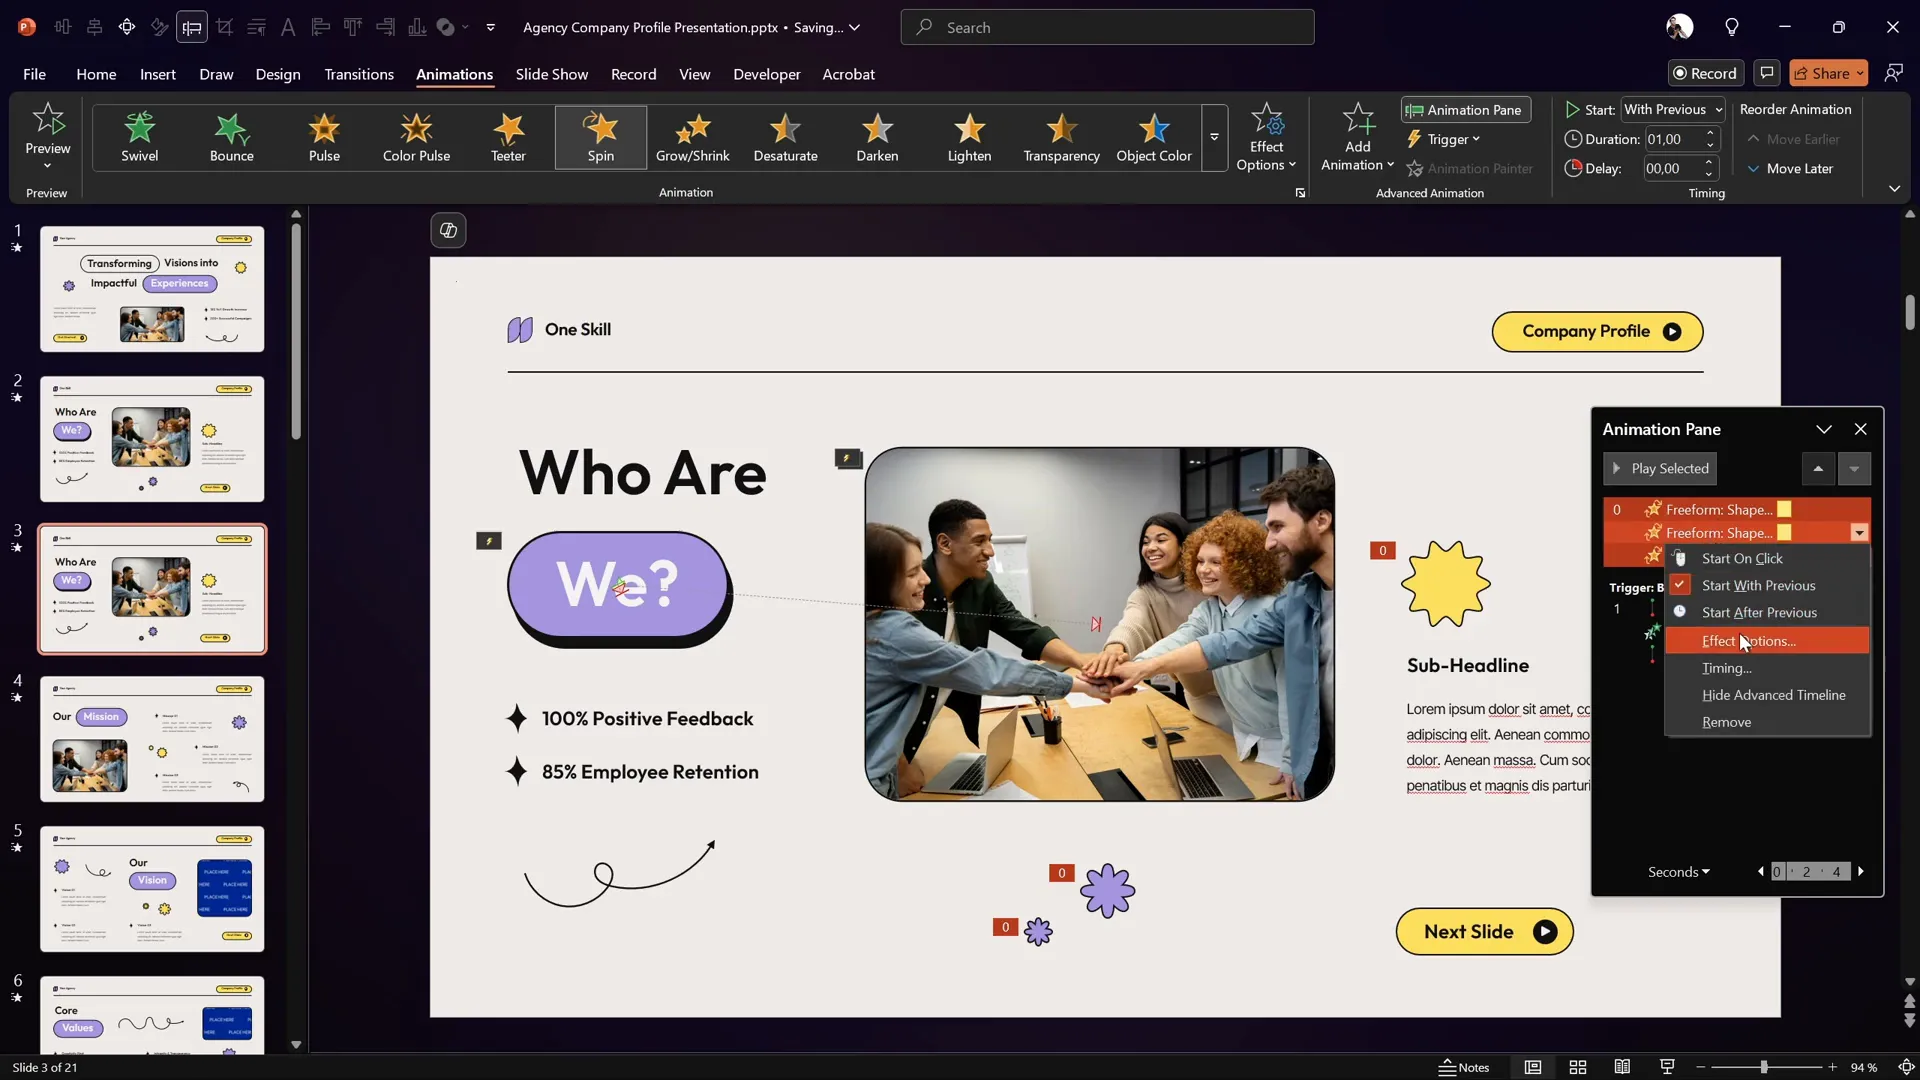
Adding Fun: Spinning Stars Animation
For an extra touch of flair, animate the decorative stars around your button to spin when the button is clicked. This adds a playful element and draws attention to your interactive slide.
How to Animate the Stars:
- Select all the star shapes by holding down the Shift key and clicking each star.
- Go to the Animations tab and choose the Spin animation.
- Set the spin animation to start With Previous.
- Set the duration to 1 second.
- Open the animation settings and add smooth start and smooth end effects, splitting the duration evenly (0.5 seconds each) for a smooth spin.
- Drag all star animations into the same trigger group as the button press and photo animations.
Now, when the button is clicked, the stars will spin alongside the photo popping out and the button press animation, creating a cohesive and engaging visual sequence.
Testing Your Interactive Slide
With all animations and triggers set, it’s time to test your interactive PowerPoint animation slide.
How to Test:
- Enter full-screen slide show mode.
- Click the button and observe the animations:
- The button should press down and release smoothly.
- The photo should zoom and move out from the button’s location with a soft landing.
- The stars should spin smoothly once.
- If any animations do not behave as expected, review your animation pane and triggers to ensure all are grouped and triggered correctly.
This testing process ensures that your interactive slide works seamlessly during your presentation.

Frequently Asked Questions (FAQ)
1. Can I use this animation technique with any shape as a button?
Absolutely! While this tutorial uses a rounded rectangle, you can apply the same animation principles to any shape or object in PowerPoint that you want to use as a clickable button.
2. How can I add multiple photos to pop out from different buttons?
You can duplicate the setup for each button and assign separate triggers and animations for each photo. Just make sure each button and photo pair has its own unique animation trigger.
3. Can I customize the spin animation speed and direction of the stars?
Yes, you can adjust the duration of the spin animation to speed up or slow down the rotation. Additionally, you can set the rotation angle and direction in the animation settings to customize the effect.
4. Is this technique compatible with all versions of PowerPoint?
This tutorial is based on features available in recent versions of PowerPoint (2016 and later). Some older versions may not support animation triggers or advanced motion paths.
5. How do I remove or reset animations if something goes wrong?
You can select the object with the animation, open the Animation Pane, right-click the animation you want to remove, and select Remove. You can then reapply the animation as needed.
Conclusion
Creating an interactive PowerPoint animation slide is a powerful way to captivate your audience and add a professional touch to your presentations. By combining button press animations, photo pop-outs, and fun spinning stars, you can transform a simple slide into an engaging experience that encourages interaction.
Remember, the key steps include:
- Designing the button and adding a custom shadow.
- Animating the button press with motion paths and auto-reverse.
- Using animation triggers to make the button clickable.
- Animating photos with zoom and motion path to pop out from the button.
- Adding additional animations like spinning stars to enhance visual interest.
With practice, these techniques will become second nature, allowing you to create dynamic slides that stand out in any presentation setting.
If you want to master PowerPoint animations further and create professional animated presentations, consider exploring more tutorials and courses available on pptskill.com. You’ll find over 65 detailed video lessons that will unlock advanced animation secrets step by step.
Now it’s your turn to take your PowerPoint skills to the next level and make your slides truly interactive!


