
Creating captivating and interactive PowerPoint presentations is an essential skill for professionals, students, and educators alike. Gone are the days of static, boring slides filled with endless bullet points. Today, audiences crave engaging, dynamic, and interactive content that keeps them involved throughout the presentation.
In this comprehensive guide, inspired by the popular tutorial from One Skill PPT, you’ll learn how to create interactive PowerPoint slides with modern minimal design, clickable menus, zoomable sections, and subtle animations. Whether you’re presenting a research thesis, a business proposal, or a creative project, these techniques will elevate your slides to the next level.
Ready to transform your presentations? Let’s dive in!
Table of Contents
- Getting Started: Setting Up Your Presentation
- Creating Beautiful Glowing Circles for Background Effects
- Adding Text Boxes and Glowing Icons
- Applying Wipe and Motion Path Animations
- Building a Clickable Interactive Menu
- Managing Slide Transitions and Fixing Icon Transformations
- Making Text Boxes Follow Active Icons
- Adding Content and Creating Zoomable Sections
- Using Section Zooms for Interactive Navigation
- Final Touches: Grouping, Animations, and Testing
- Frequently Asked Questions (FAQ)
- Conclusion
Getting Started: Setting Up Your Presentation
The first step to creating interactive PowerPoint slides is starting with a clean slate. Using a blank presentation layout gives you complete freedom to design your slides without any preset distractions.
Follow these steps:
- Open Microsoft PowerPoint (the tutorial uses Microsoft 365, but most newer versions will work).
- Close the notes pane to maximize your workspace.
- Select the blank slide layout for a clean canvas.
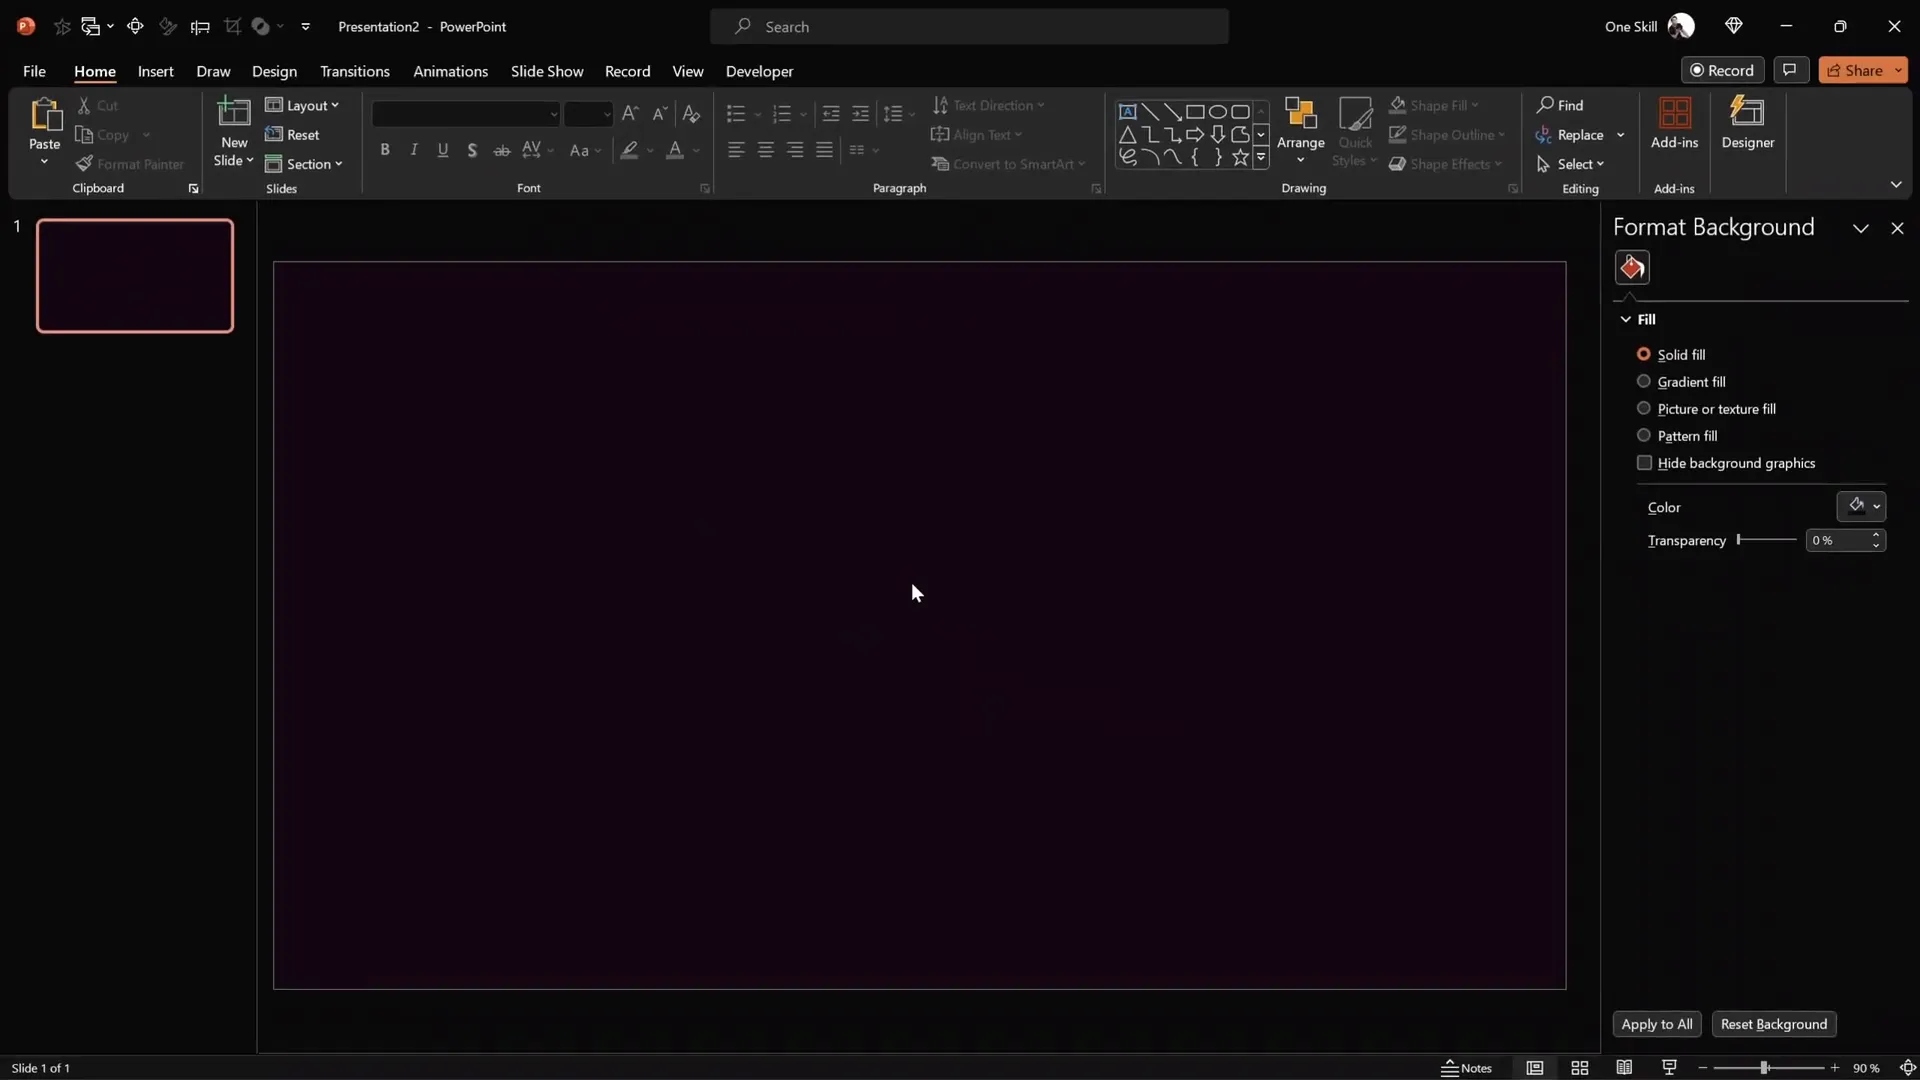
- Pick a modern, minimal background color by using hex codes to maintain consistency across slides.
For example, you can select the background color by right-clicking the slide, choosing Format Background, selecting Solid Fill, then More Colors, and pasting in the hex color value in the Custom tab. This ensures your background color is consistent throughout your presentation.
Consistency in color and font choice is key to maintaining a professional look. The tutorial recommends using beautiful fonts such as Darker Grotesque and icons from Phosphor Icons.
Creating Beautiful Glowing Circles for Background Effects
Adding soft, glowing circles to your slides can create a visually appealing, modern aesthetic that enhances your content without overpowering it.
Here’s how to create these glowing circles:
- Copy the hex code of your desired color (e.g., a dark blue).
- Insert a perfect circle by holding Ctrl + Shift while drawing with the circle tool to ensure symmetry from the center.
- Remove the outline to keep the circle clean.
- Apply a radial gradient fill with three color stops, all using the same color but with varying transparency:
- Leftmost stop: Fully visible (0% transparency) at position ~20%
- Middle stop: 65% transparency
- Rightmost stop: 100% transparent
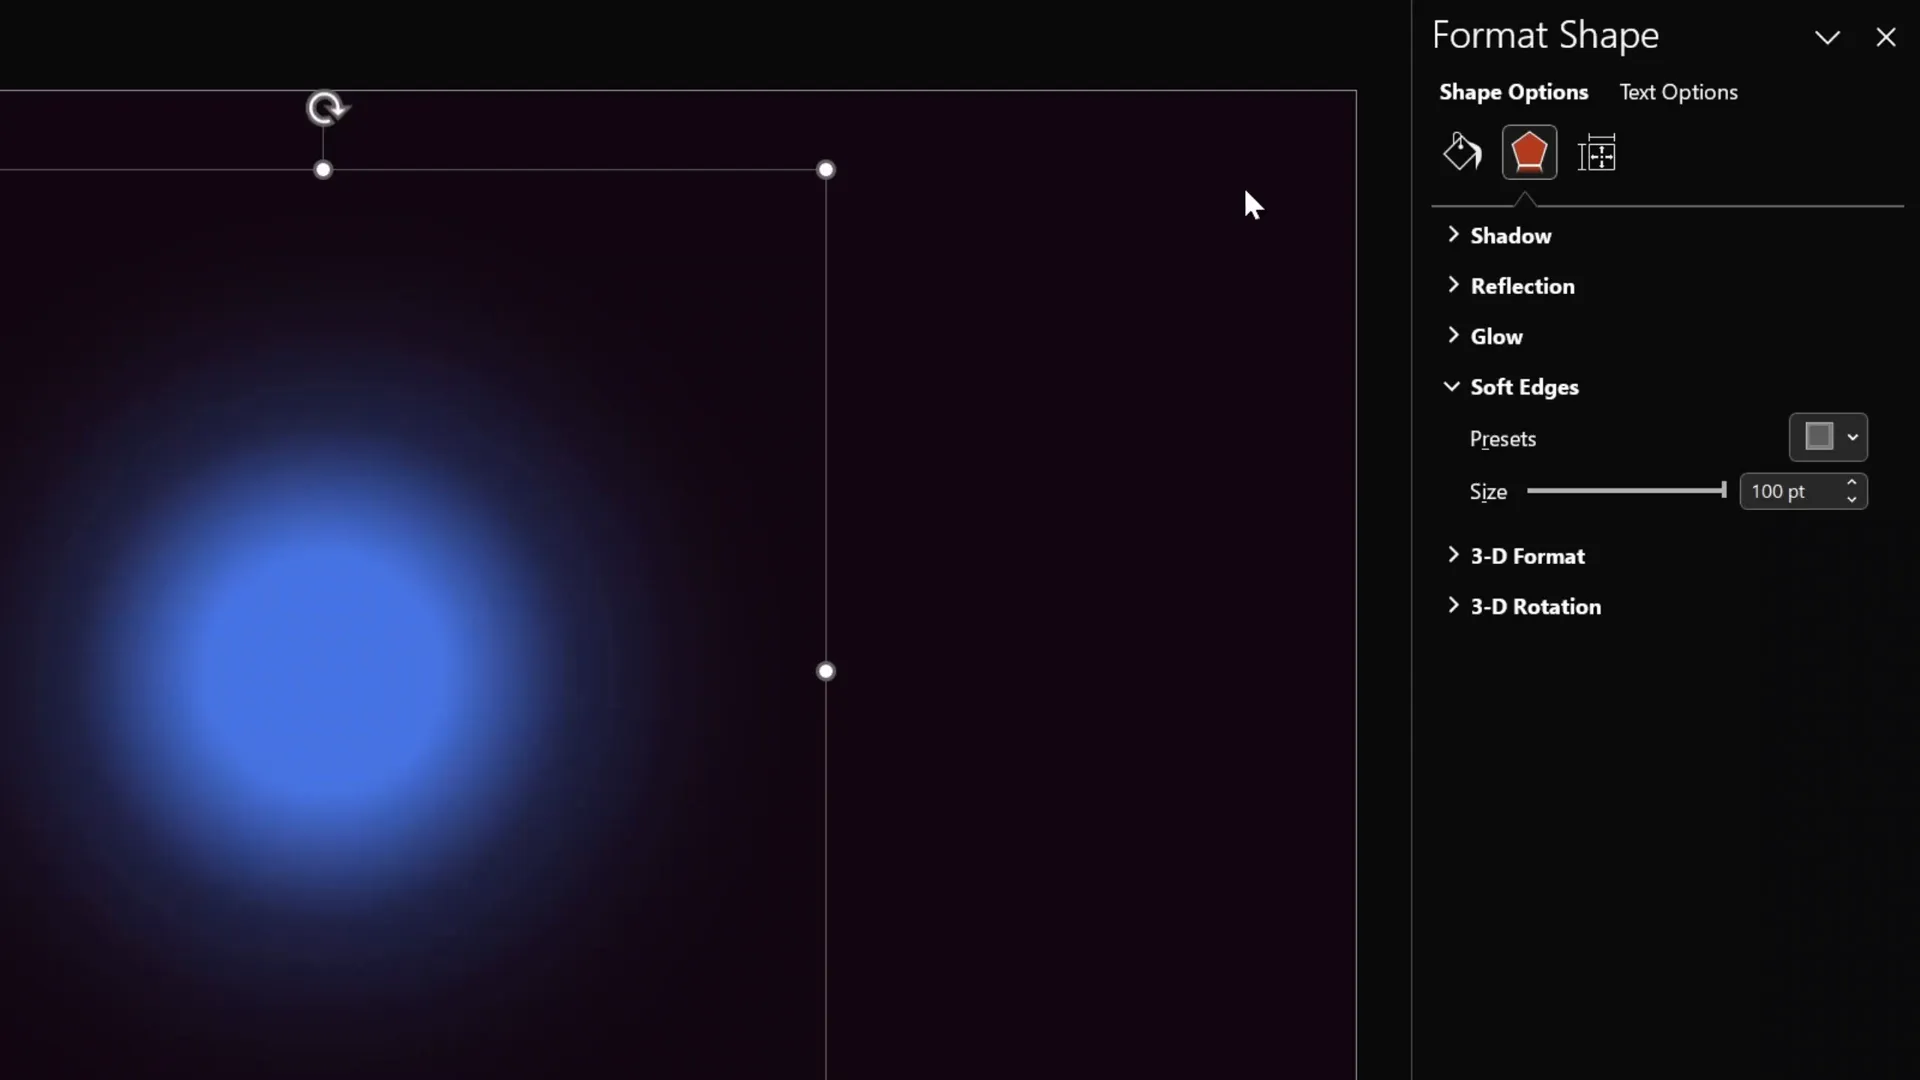
- Go to Effects and apply the maximum Soft Edges to give the circle a fuzzy, glowing look.
Feel free to adjust the transparency levels and positions to suit your design preferences. This technique adds depth and subtle color accents to your slides.
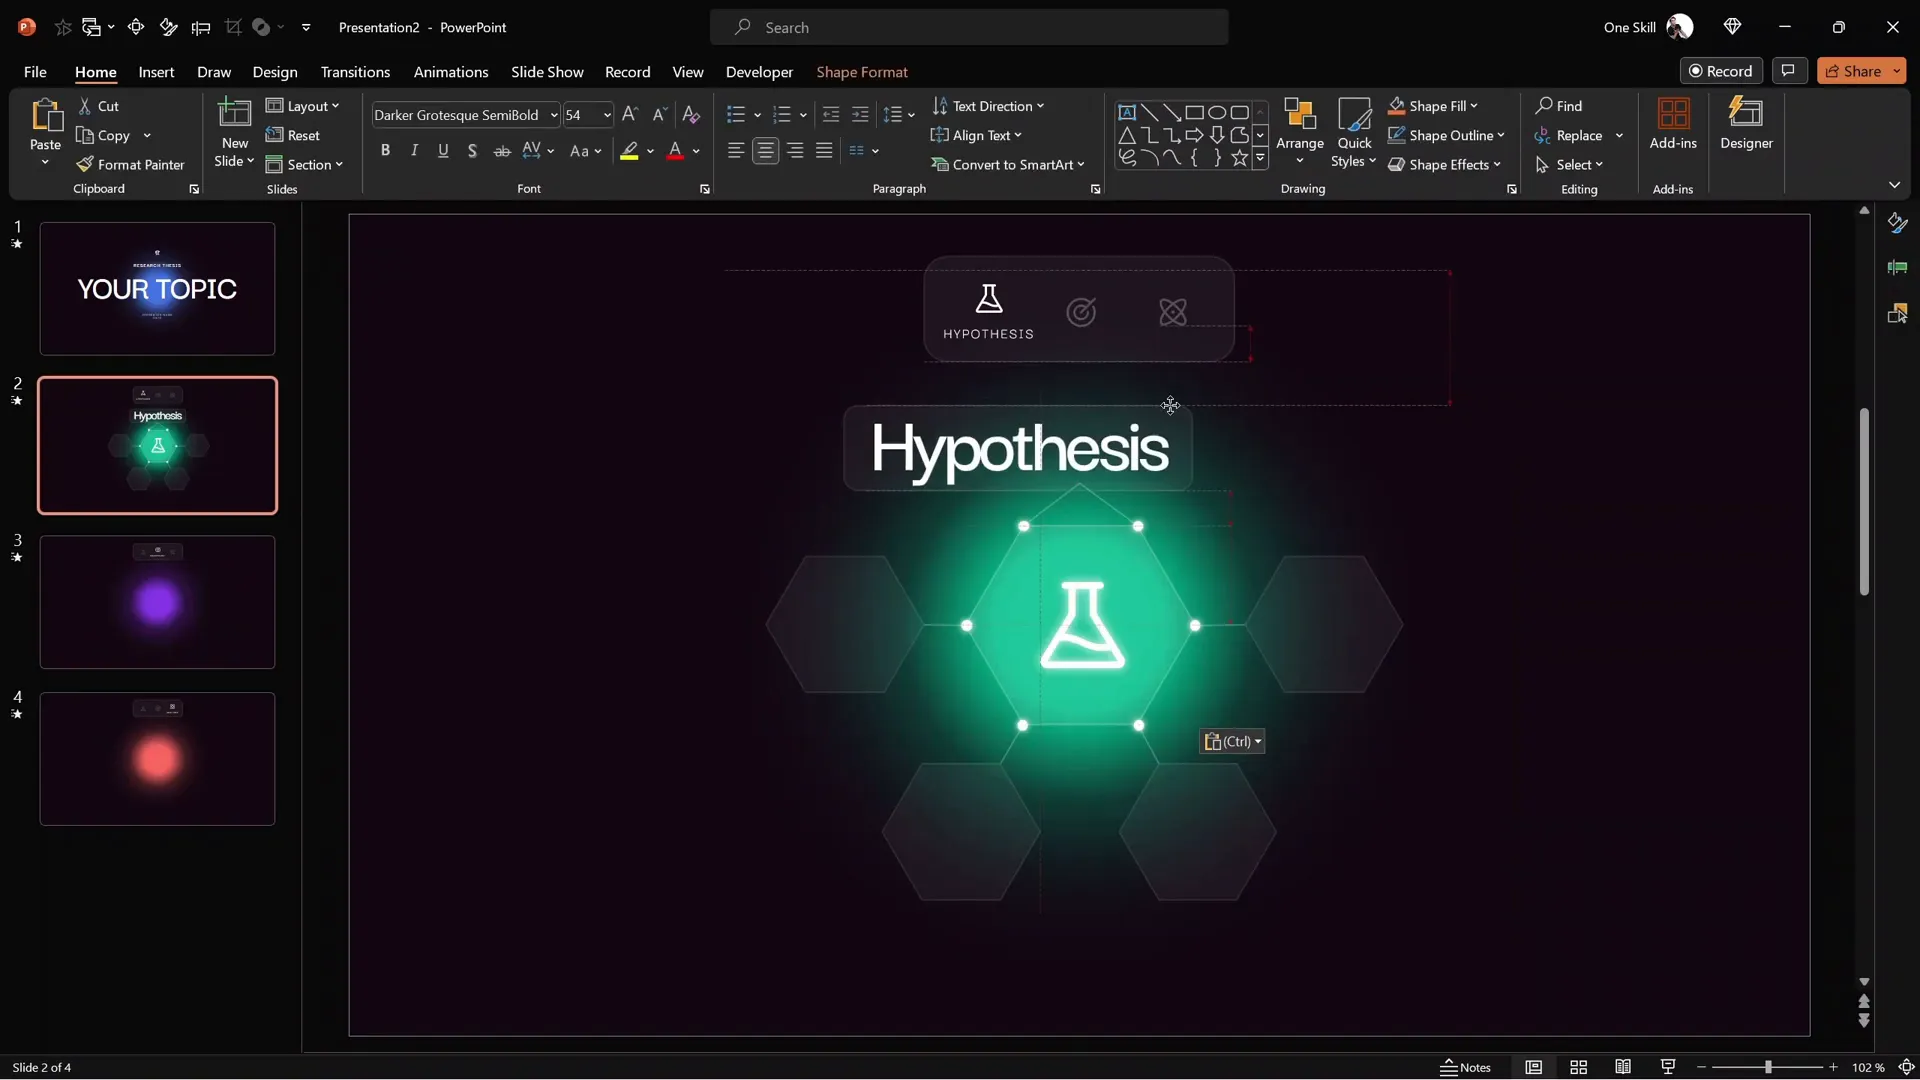
Adding Text Boxes and Glowing Icons
Next, enrich your slide with essential textual elements and icons that convey your message clearly while maintaining visual harmony.
To speed up your workflow, you can copy text boxes and icons from an existing slide:
- Copy multiple text boxes and a single icon from a previous slide.
- Paste them onto your new slide.
- Zoom in on the icon to fine-tune effects like shadows.
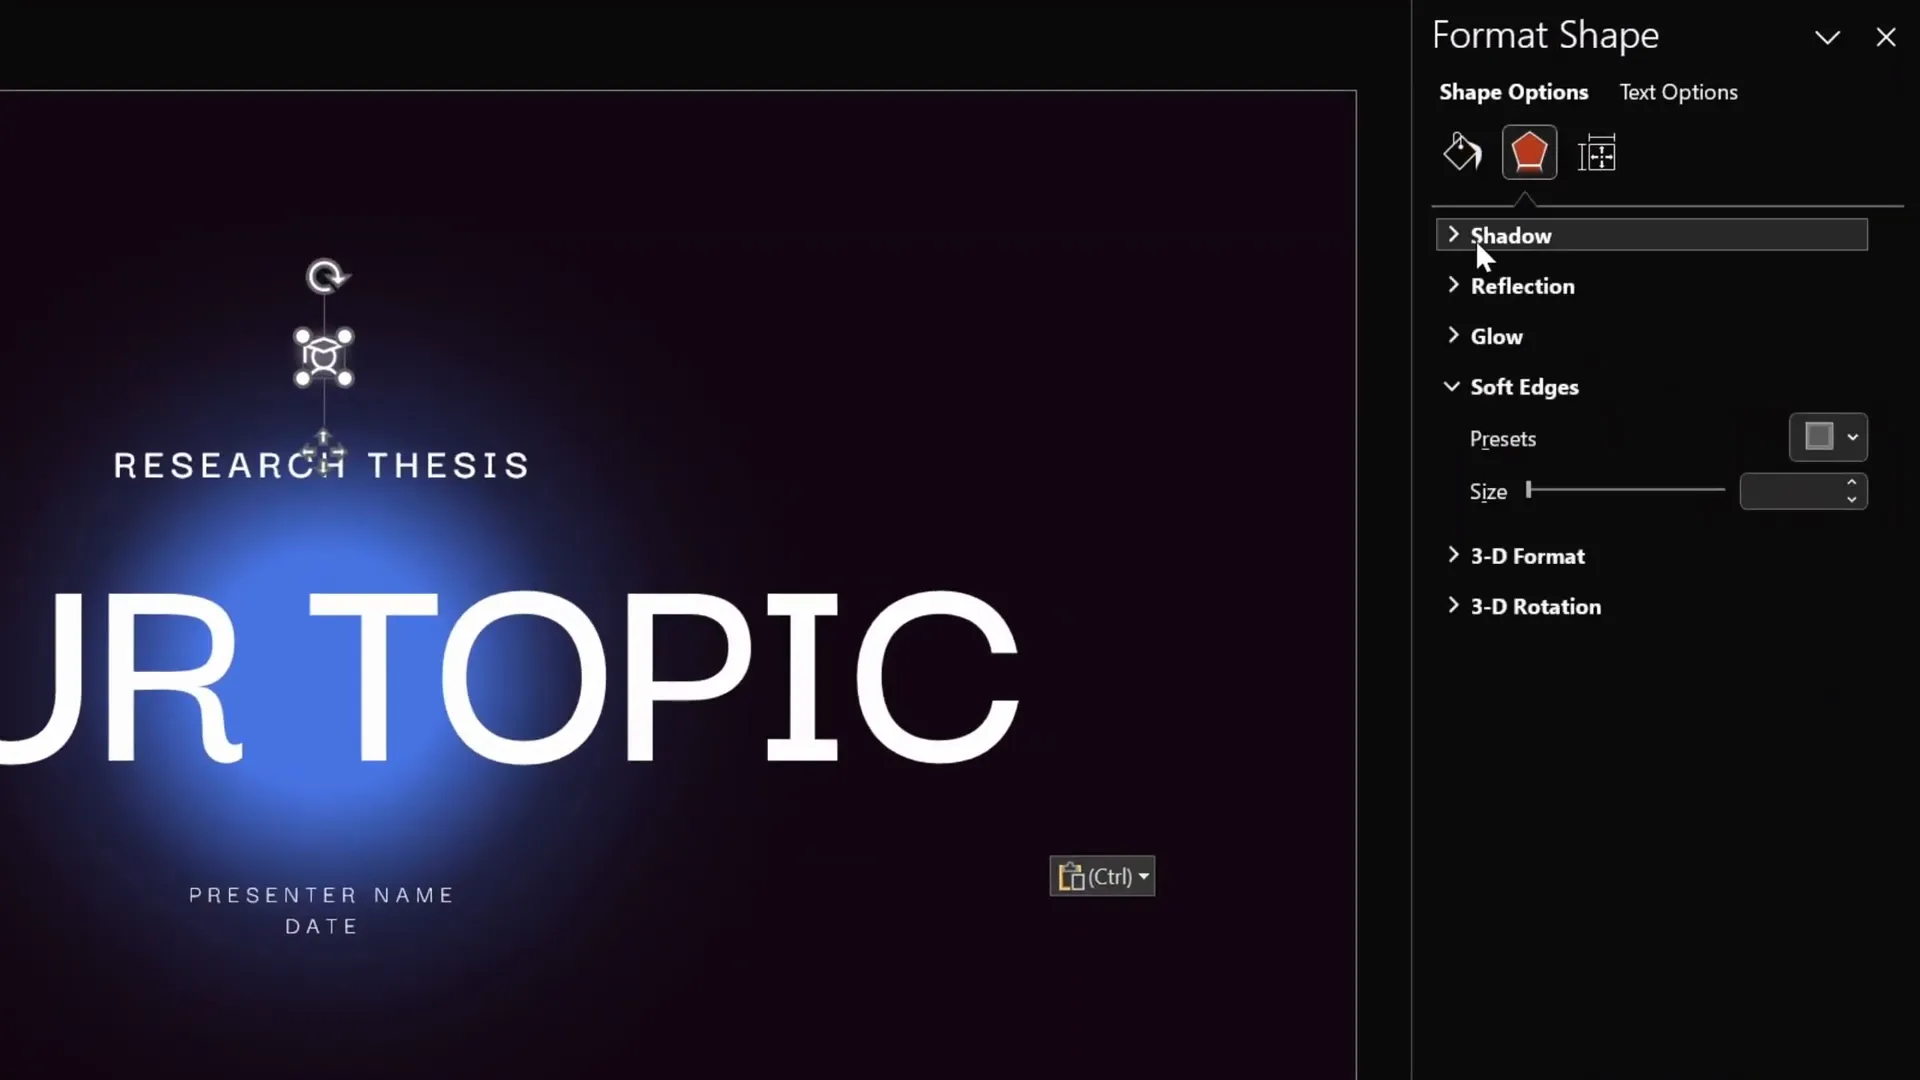
For a glowing icon effect:
- Set the shadow color to white.
- Use an 8-point blur radius.
- Set shadow transparency to 0% for maximum glow.
This subtle glow makes your icons stand out and adds a polished look to your presentation.
Applying Wipe and Motion Path Animations
Animations are a powerful way to guide your audience’s attention and add fluidity to your presentation. Here, you’ll learn how to apply two key animations: wipe and motion path.
Steps to animate a text box:
- Select the text box you want to animate.
- Apply a wipe animation with the direction from top and duration set to about 0.8 seconds.
- Add a second animation: motion path (line). Adjust the ending position of the motion path to control movement.
- Set the second animation to start with previous and duration to 1.25 seconds.
- If the motion path moves the object in the wrong direction, right-click the path and select Reverse Path Direction.
- For smoother animation, use the Smooth Start/End options to make the motion path feel natural.
After setting up one text box, use the animation painter tool to quickly apply the same animation effects to other text boxes.
This combination of wipe and motion path animations creates elegant, engaging transitions for your slide content.
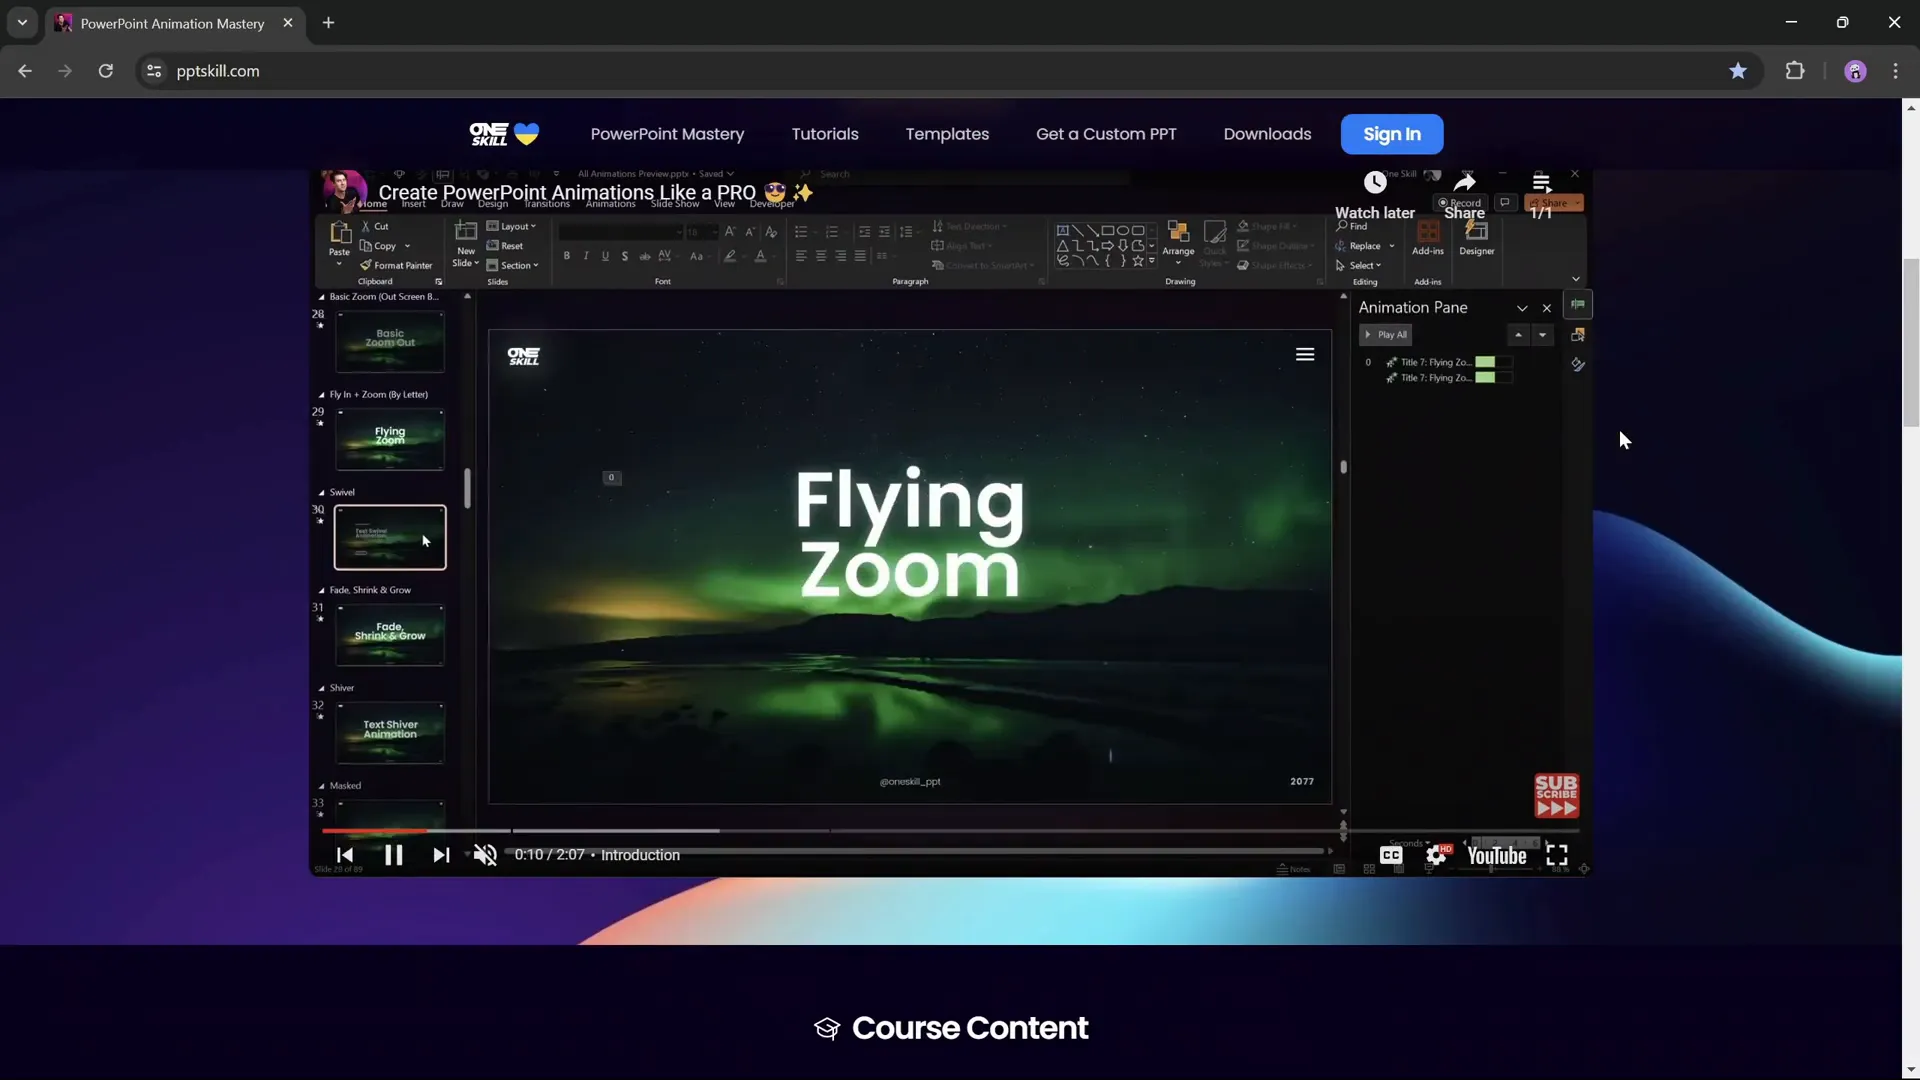
Pro tip: If you want to master PowerPoint animations, consider exploring specialized courses such as the PowerPoint Animation Mastery course by One Skill PPT, which offers step-by-step guidance and advanced animation techniques.
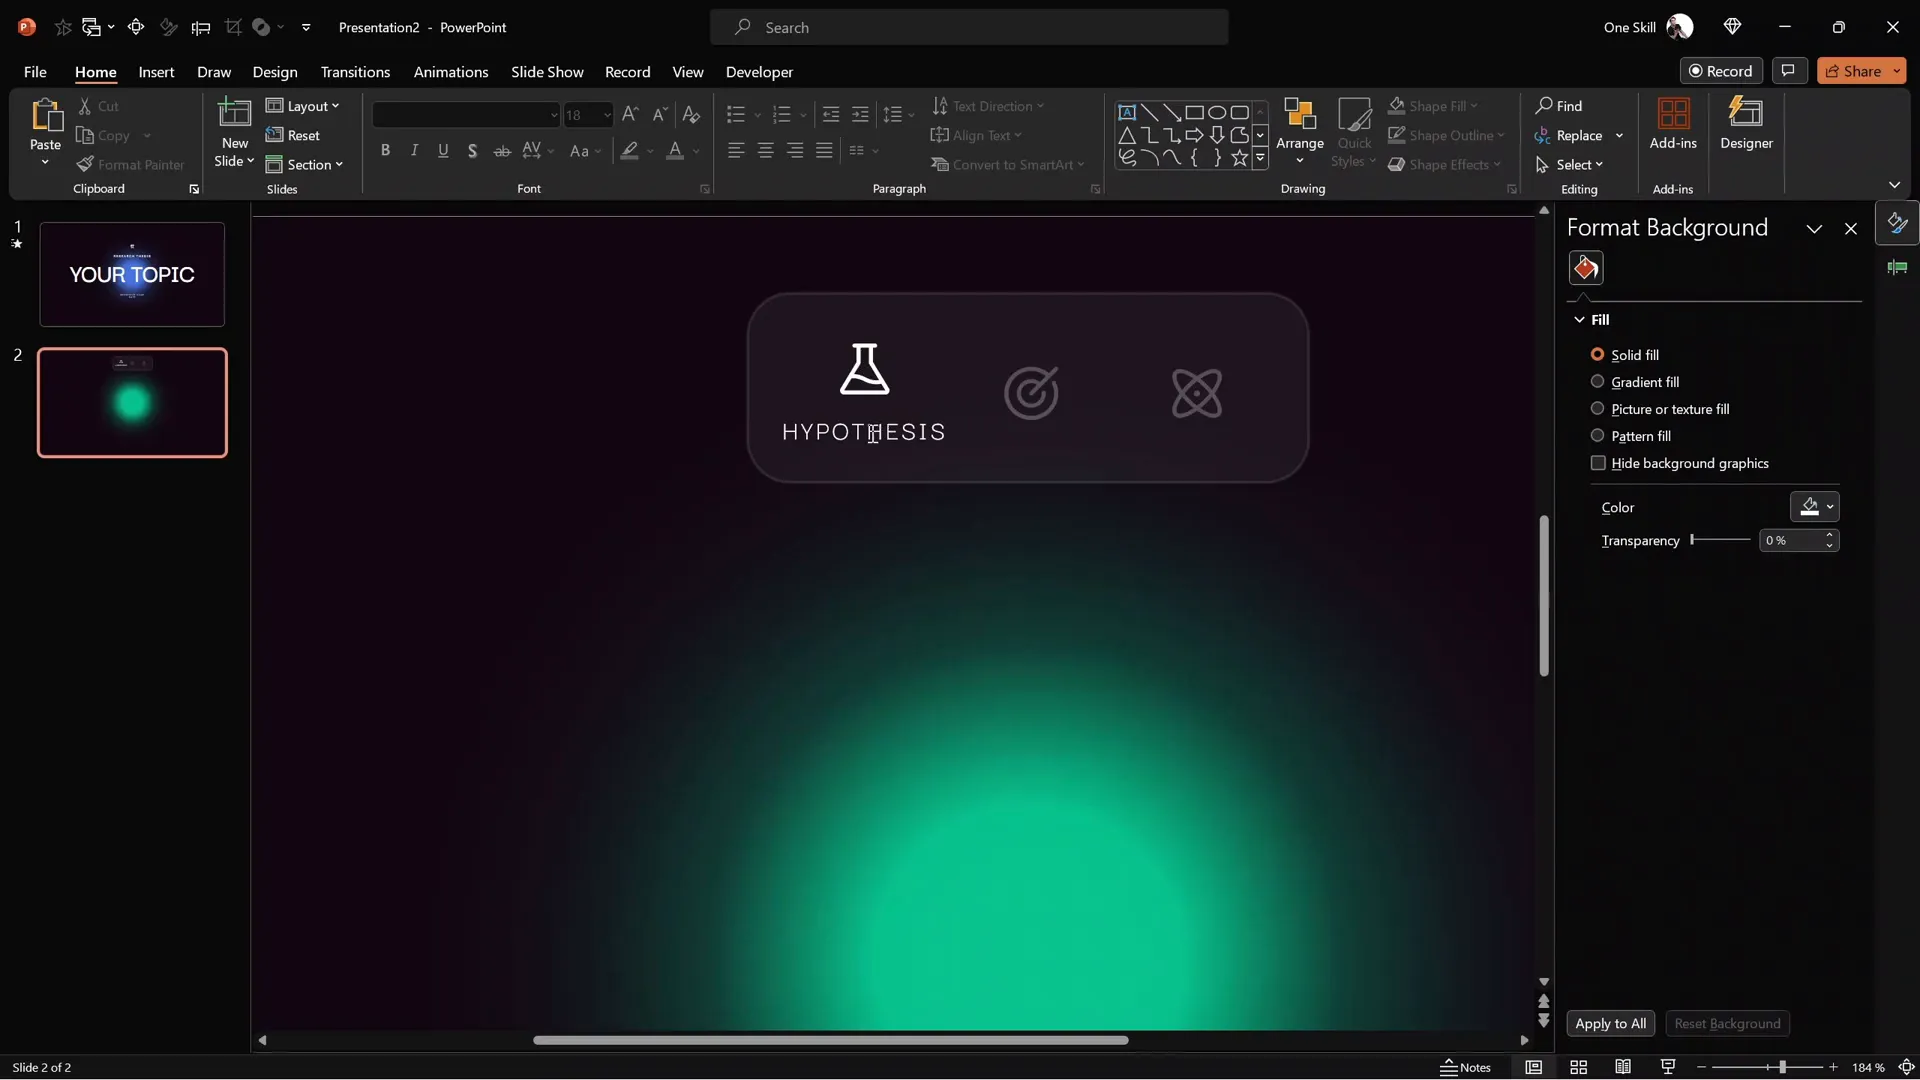
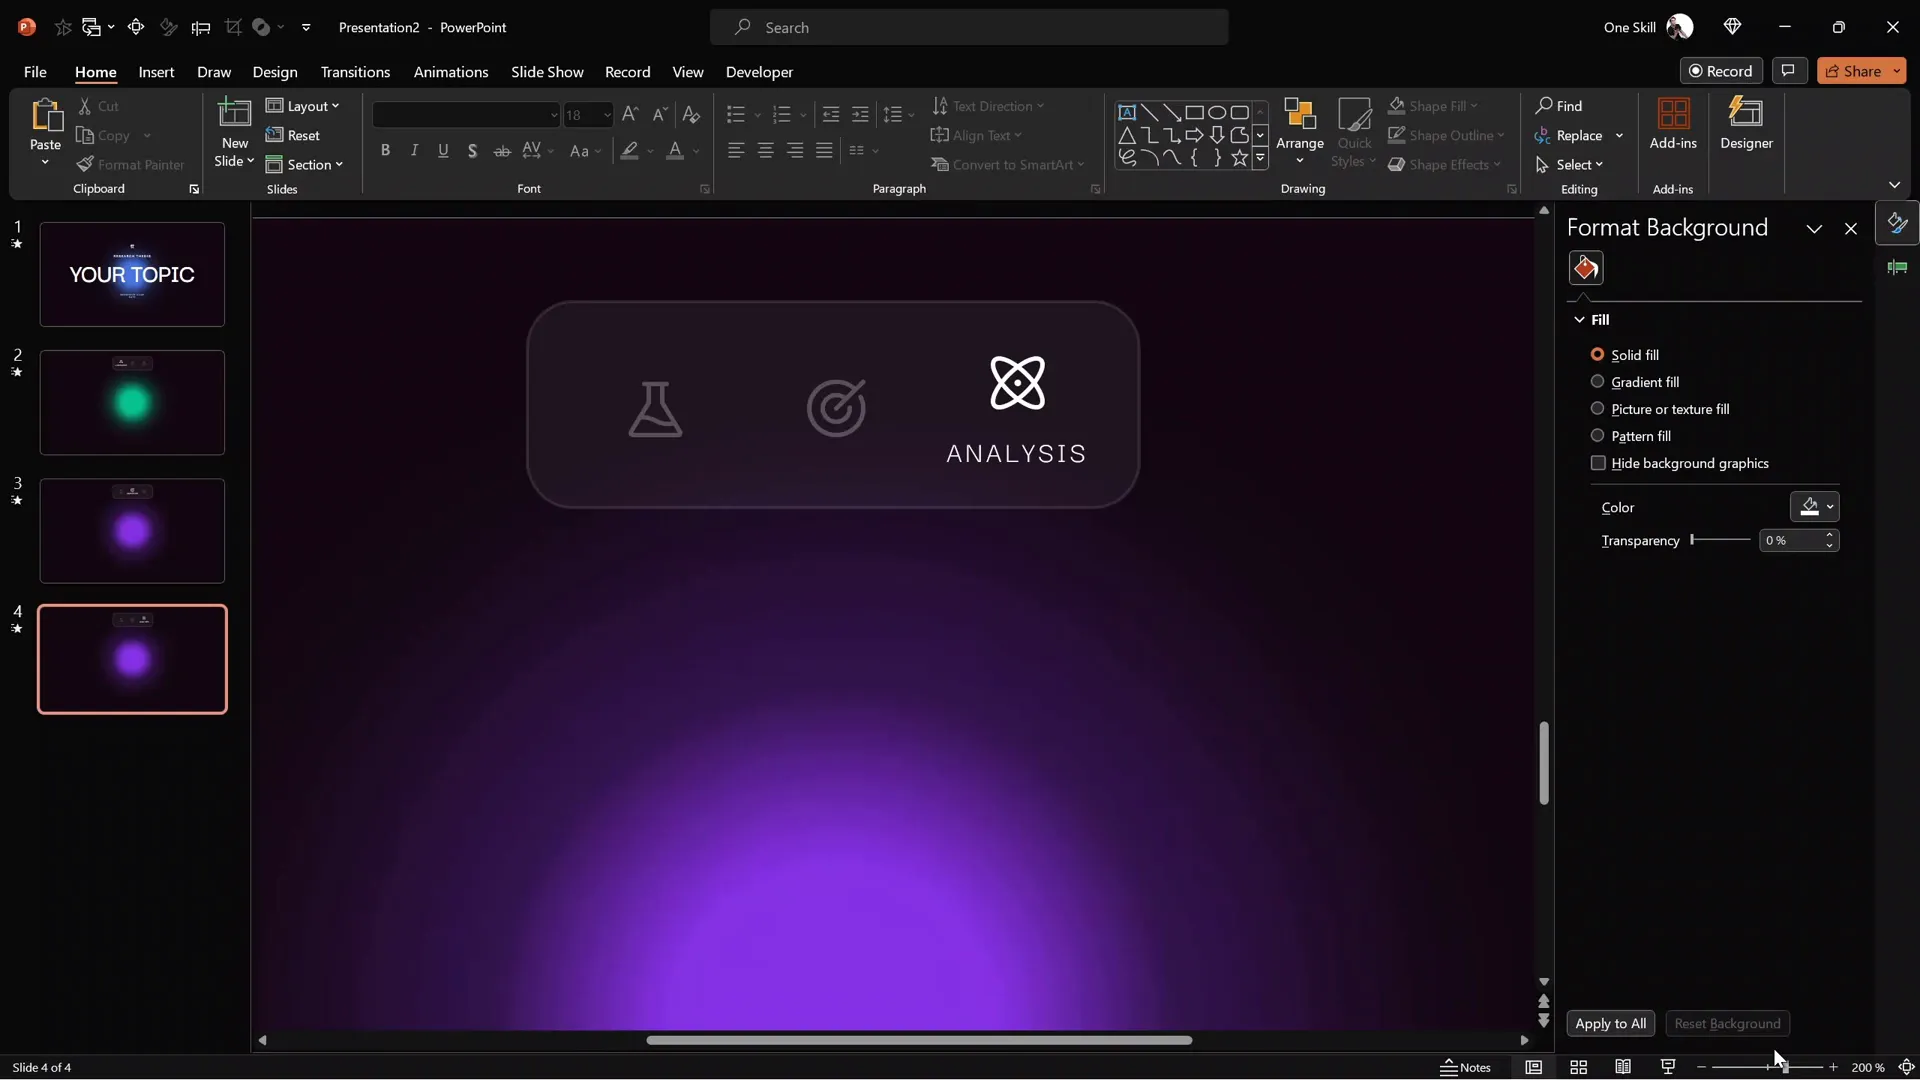
Building a Clickable Interactive Menu
One of the standout features of interactive PowerPoint slides is the clickable menu that allows users to navigate through different sections seamlessly.
Here’s how to create an interactive menu:
- Insert a rounded rectangle shape to serve as the menu background. Fill it with white and adjust transparency to around 95% to keep it subtle.
- Add multiple icons representing different sections of your presentation. Use icons from resources like Phosphor Icons.
- Set the transparency of inactive icons to about 75% to visually differentiate them.
- Remove transparency from the active icon to make it fully white and prominent.
- Insert a text box beneath the active icon to label the current section.
- Adjust the position of the active icon slightly upwards to create spacing between the icon and text.
- Duplicate the slide for as many menu states as you have icons (e.g., three icons = three slides).
- On each duplicated slide, change the active icon and its label accordingly.
To make the menu functional:
- Select each icon and insert a hyperlink linking to the corresponding slide (Insert > Link > Place in This Document).
- This setup allows users to click icons and jump to different sections of your presentation instantly.
Managing Slide Transitions and Fixing Icon Transformations
When using the Morph transition between slides with similar objects, PowerPoint tries to animate changes which can sometimes cause unwanted visual transformations — like one icon morphing into another.
To prevent this:
- Open the Selection Pane (Home > Select > Selection Pane).
- Rename the icons explicitly by prefixing their names with double exclamation marks (e.g.,
!!logo). - This tells PowerPoint to treat the icons as distinct objects and avoid morphing one into the other.
After renaming, apply the Morph transition to your menu slides with a duration of around 0.5 seconds. This will animate the menu smoothly without unexpected icon transformations.
Making Text Boxes Follow Active Icons
To enhance the menu experience, you can make the text box label follow the active icon instead of simply appearing and disappearing.
How to achieve this:
- In the Selection Pane, assign the same explicit name to all the text boxes that serve as labels across the menu slides (e.g.,
!!text). - By giving them the same name, PowerPoint understands these text boxes as one object, animating the text smoothly as it “moves” with the active icon.
This trick makes your interactive menu feel more polished and professional.
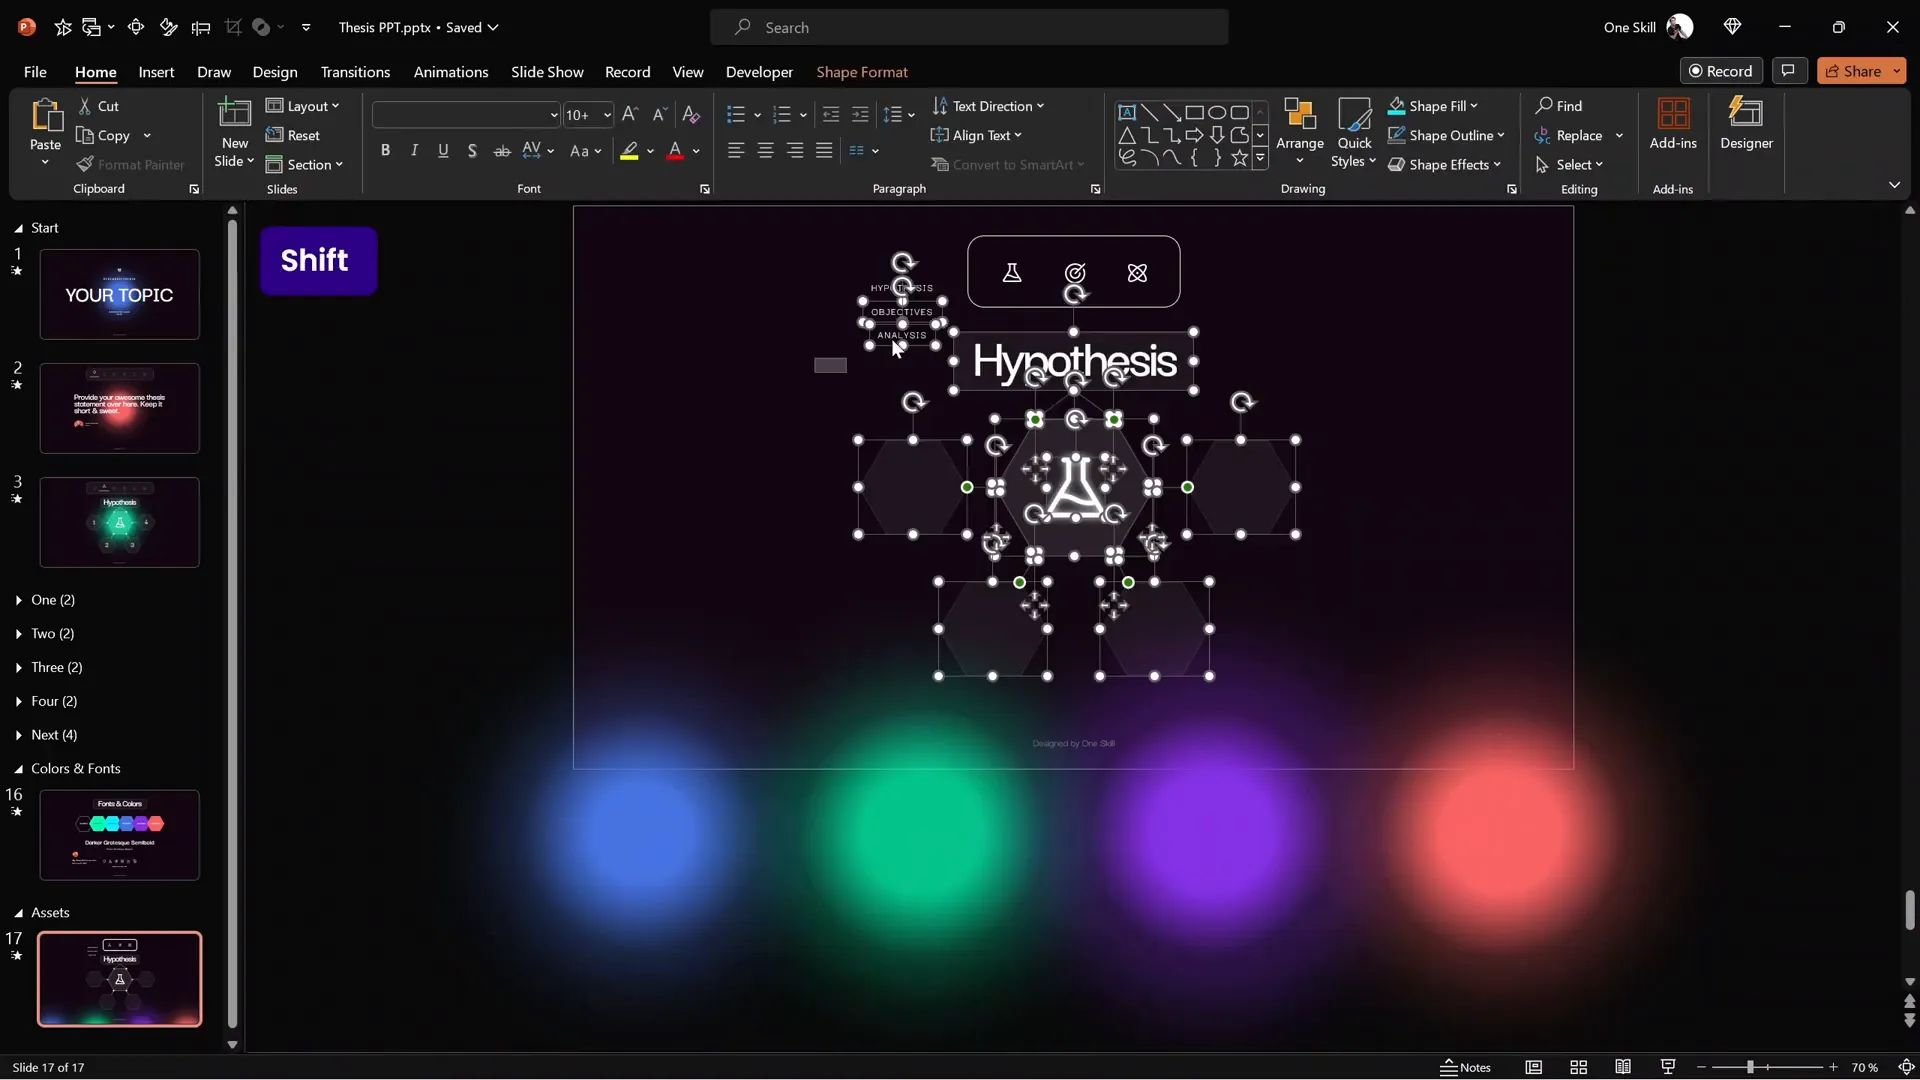
Adding Content and Creating Zoomable Sections
Beyond the menu, interactive presentations benefit from dynamic content areas where users can explore detailed information without cluttering the main slide.
One effective way to do this is by using infographics with zoomable sections:
- Create an infographic layout using shapes like hexagons, lines, and circles with subtle shadows for glow effects.
- Place icons (e.g., a flask for chemistry, a target for objectives) centrally with glowing shadows to highlight them.
- Add semi-transparent shapes around the infographic edges to create depth.
Each hexagon or section can be made zoomable, allowing you to dive deeper into specific topics.
Using Section Zooms for Interactive Navigation
PowerPoint’s Section Zoom feature is a game-changer for creating interactive presentations. It allows you to zoom into defined sections and return back seamlessly.
Steps to implement Section Zooms:
- Create sections in your presentation for each topic or subsection.
- In each section, add slides with detailed content and a large number indicating the section (e.g., a giant “1” for Section 1).
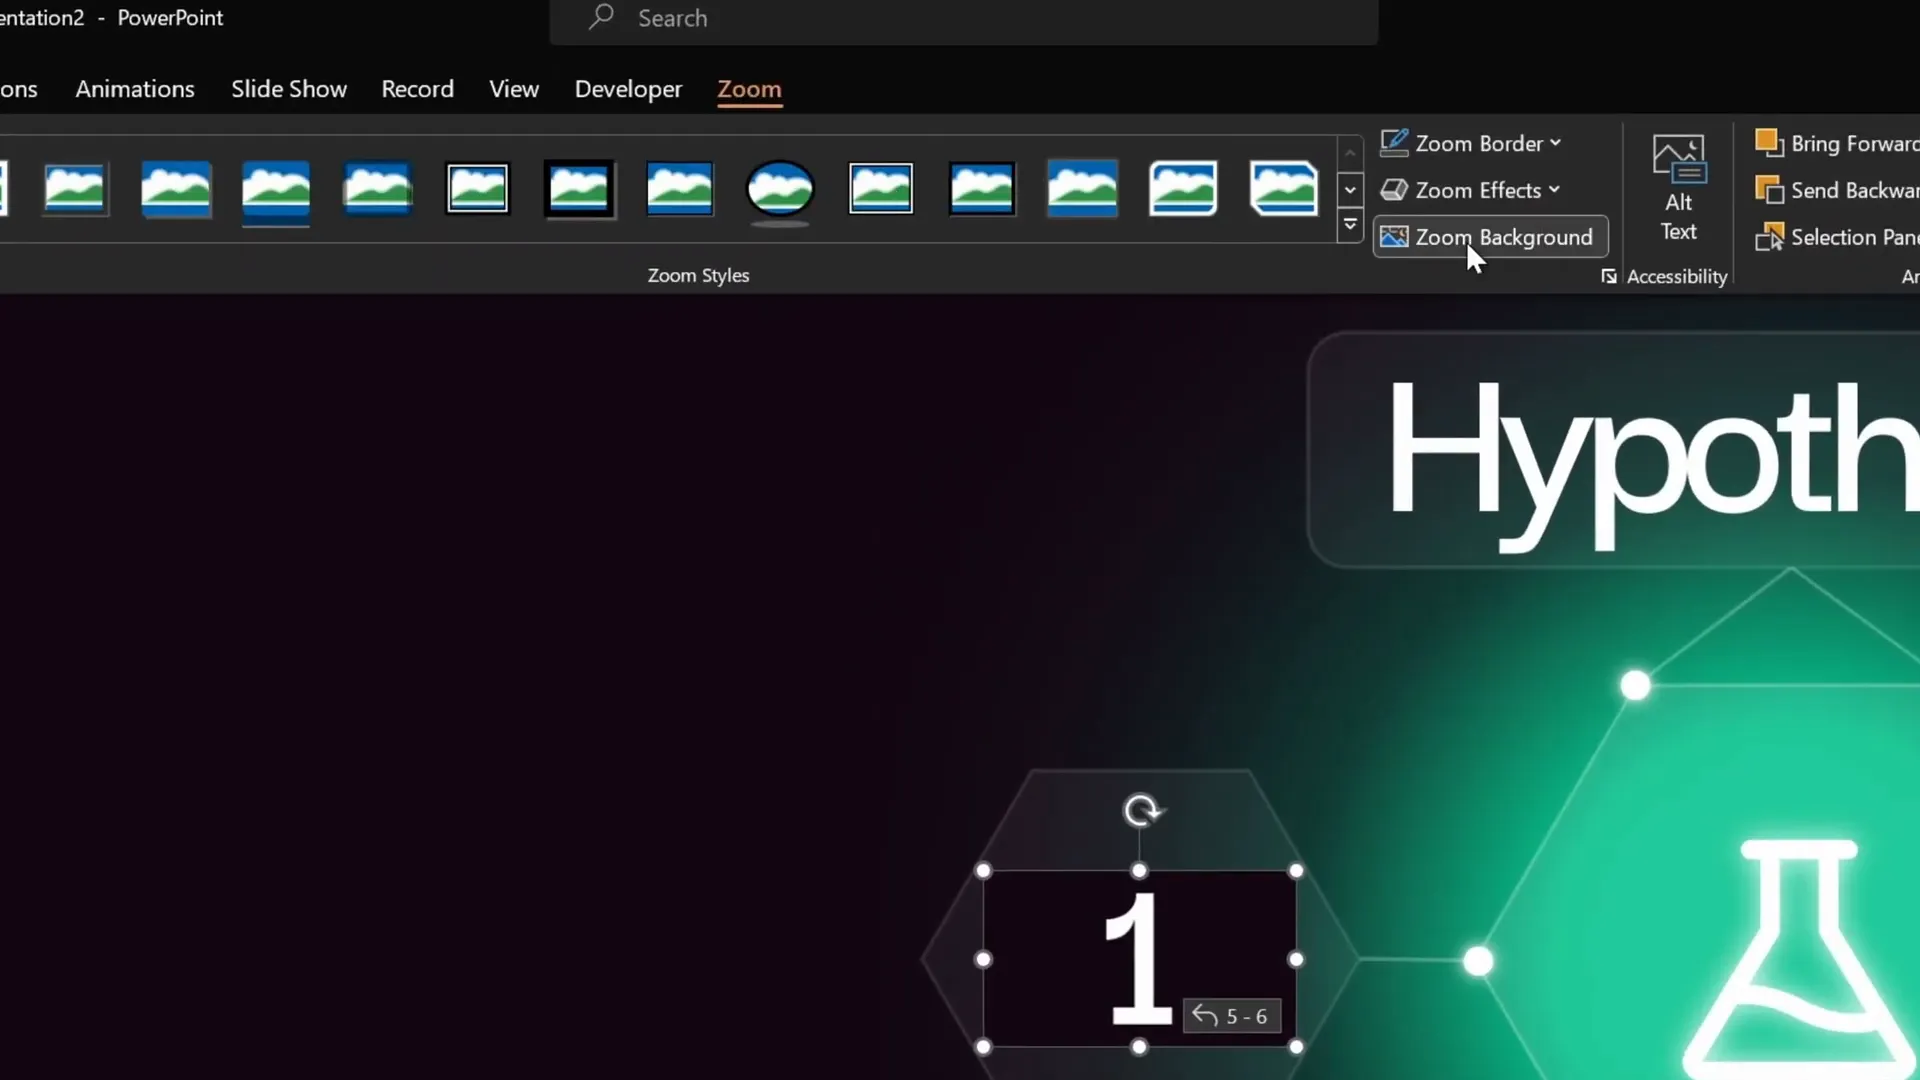
- On the main infographic slide, insert a Section Zoom: Insert > Zoom > Section Zoom.
- Select the section you want to zoom into.
- Resize the zoom object to fit inside the corresponding hexagon on the infographic.
- Make the zoom background transparent by toggling the Zoom Background option.
- Apply the Morph transition to slides involved for smooth animations, typically with a 1-second duration.
When presenting, clicking a section zoom will jump into that section’s slides. After viewing the slides, you return automatically to the main infographic slide, creating an engaging, non-linear navigation experience.
Pro tip: Set intermediate slides within a section to transition automatically after 0 seconds delay. This removes extra clicks and creates a seamless flow.
Final Touches: Grouping, Animations, and Testing
Once your interactive menu, zoomable sections, and content are in place, it’s time to polish your presentation:
- Group infographic elements to apply animations uniformly. This way, you can animate complex graphics as a single object.
- Use the Animation Painter to copy animations from one slide to others, ensuring consistency.
- Set animations to start with previous for automatic flow without extra clicks.
- Test your presentation in full-screen mode to verify all interactions, zooms, and animations work smoothly.
With these final touches, your interactive PowerPoint slides will look professional, modern, and engaging.

Frequently Asked Questions (FAQ)
What version of PowerPoint do I need to create interactive slides like this?
You will need Microsoft PowerPoint 365 or at least PowerPoint 2016 or later versions that support Section Zooms and Morph transitions. Older versions may lack these features.
Can I use free icons and fonts for my presentation?
Absolutely! The tutorial uses free fonts like Darker Grotesque and free icons from Phosphor Icons. These resources are ideal for professional and modern design.
How do Section Zooms improve my presentation?
Section Zooms allow non-linear navigation by letting you jump into subtopics and return to the main slide smoothly. This keeps your presentation organized and interactive, helping your audience engage better.
Can I customize the colors and fonts used in the template?
Yes! The hex codes for colors are provided, but you can adjust them to fit your branding or preferences. Similarly, fonts can be swapped while maintaining a consistent style.
Are animations necessary for interactive presentations?
While not mandatory, animations like wipe and motion paths add polish and guide viewer attention. Subtle animations enhance the experience without distracting from content.
Is this template suitable for all types of presentations?
The template is versatile but was inspired by a chemistry thesis presentation. You can customize sections, icons, and content to suit business, education, or creative presentations.
Can I add more sections and zooms?
Definitely! You can create as many sections and Section Zooms as needed, expanding your presentation’s depth and interactivity.
Conclusion
Creating interactive PowerPoint slides is no longer a daunting task thanks to modern PowerPoint features like Section Zooms and Morph transitions. By following this step-by-step guide, you can build presentations that are not only visually stunning but also highly engaging and user-friendly.
From setting up your slide background with consistent colors to creating glowing circles, adding animated text and icons, building clickable menus, and incorporating zoomable content sections, this tutorial covers everything you need to impress your audience.
Remember, the key to an effective interactive presentation lies in clear navigation, subtle animations, and cohesive design. Use the tips and techniques shared here to transform your next PowerPoint into a dynamic storytelling tool.
Want to learn more about the different zoom features like Slide Zooms and Summary Zooms? Check out the related tutorials by One Skill PPT for advanced interactive presentation techniques.
Happy presenting!


