
PowerPoint presentations are a staple in business, education, and creative fields, but often, slides can feel static and unengaging. What if you could transform your slides into interactive experiences that captivate your audience and make your message memorable? This article will guide you through a step-by-step process to create interactive slides using PowerPoint animations, clickable buttons, and dynamic effects — all without needing advanced software or programming skills.
Based on the tutorial by One Skill PPT, you’ll learn how to build an interactive button that not only reacts visually when clicked but also launches a photo and animates decorative elements like spinning stars. By the end, you’ll be equipped to add professional-level interactivity to your slides, making your presentations stand out.
Table of Contents
- Why Interactive Slides Matter
- Getting Started with PowerPoint Interactivity
- Creating a Shadow Effect for Your Button
- Building a Button Press Animation
- Making the Button Clickable with Animation Triggers
- Launching a Photo with Animation
- Animating Decorative Stars
- Previewing and Testing Your Interactive Slide
- Frequently Asked Questions (FAQ)
- Conclusion
Why Interactive Slides Matter
Interactive slides elevate your presentation by engaging your audience actively rather than passively. Instead of just watching static content, viewers can interact with buttons, reveal hidden information, and see animations triggered by their actions. This interactivity boosts attention, helps convey complex ideas more clearly, and makes your message more memorable.
Whether you’re pitching a product, teaching a class, or delivering a business update, adding interactive elements can transform your slides from bland to brilliant. The best part? You don’t need complex software — PowerPoint’s built-in animation and trigger features are powerful enough to create these effects.
Getting Started with PowerPoint Interactivity
For this tutorial, we’ll use a polished PowerPoint template created by Graphiccook, available on Envato (link in the video description). Using a template saves time so you can focus on animation techniques.
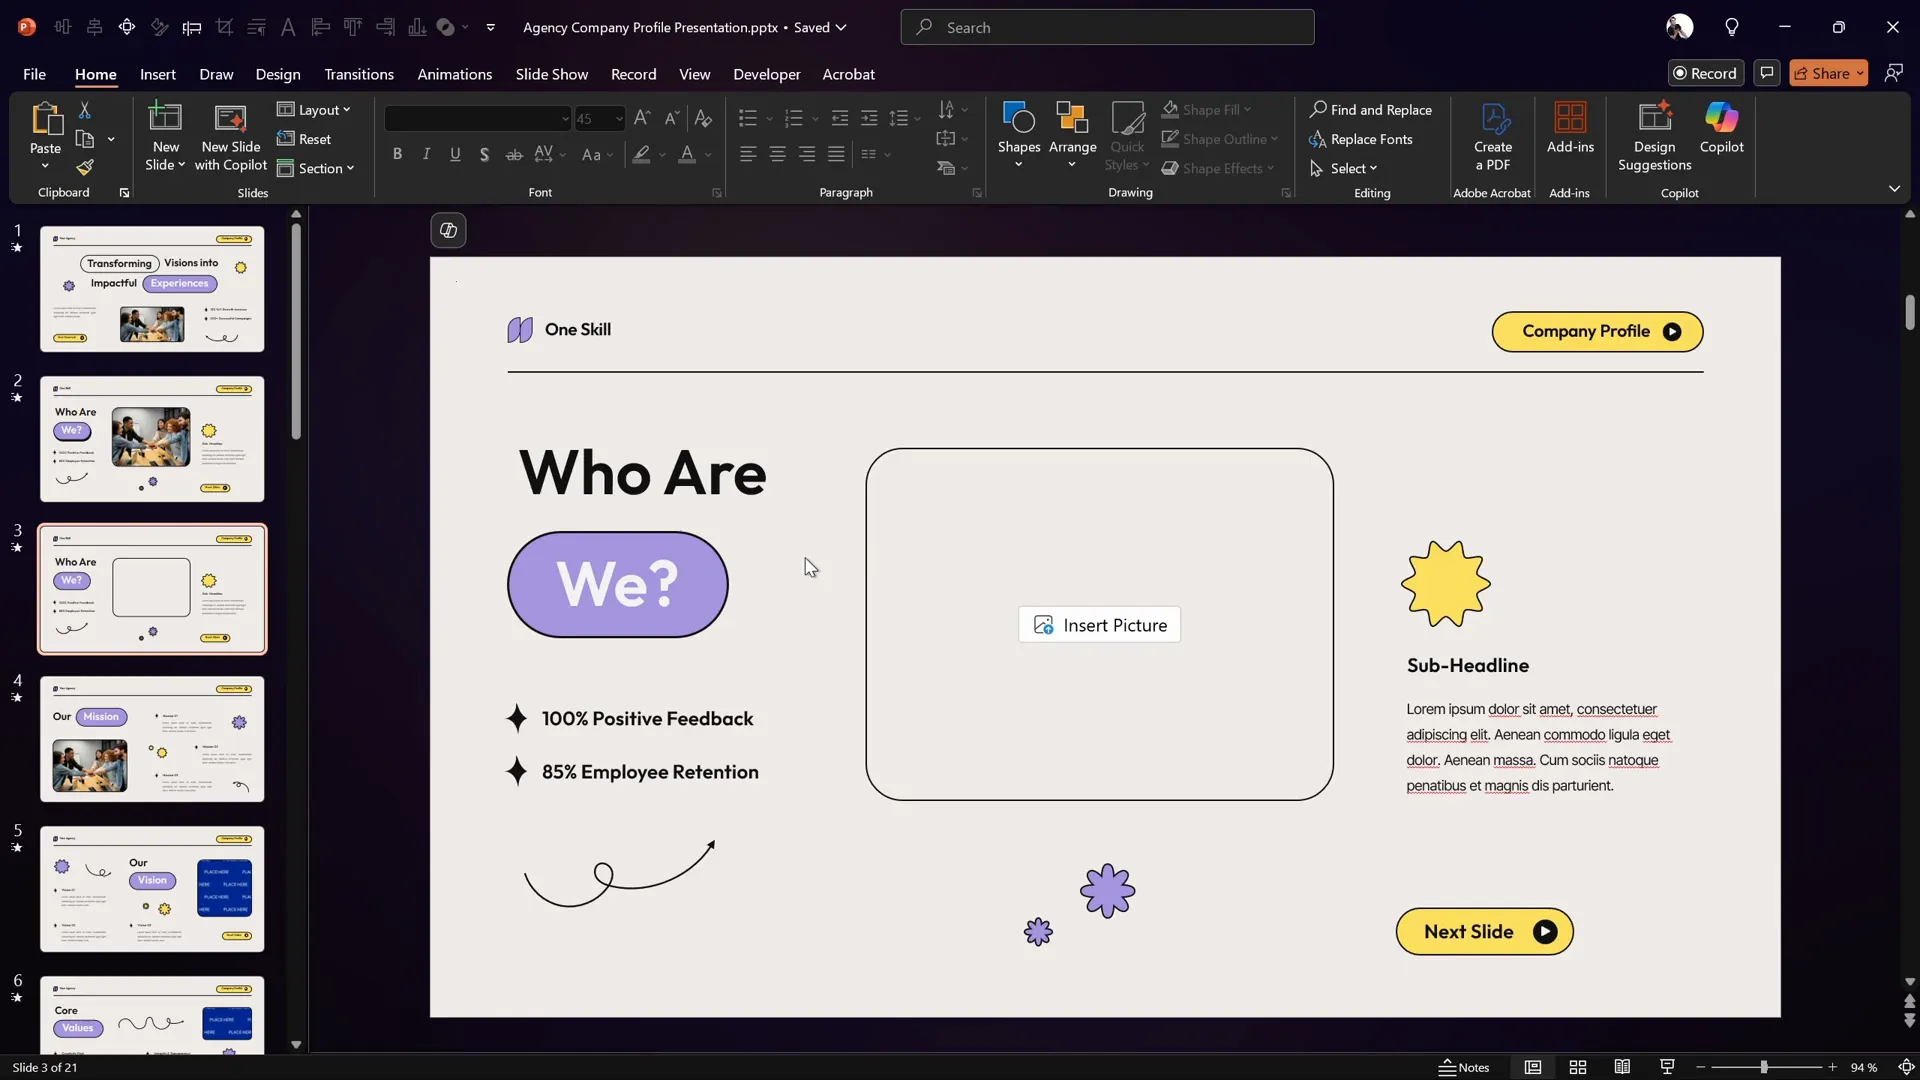
We will work on a slide containing:
- A rounded rectangle button with text
- An image placeholder for the photo
- Three small star shapes for decoration
Let’s dive into making the button visually appealing and interactive.
Creating a Shadow Effect for Your Button
A subtle shadow behind your button adds depth and makes it look more tactile and clickable. Instead of using PowerPoint’s default shadow effects, a more realistic approach is to duplicate the button shape and customize it as a shadow.
Step-by-Step Shadow Creation
- Select the rounded rectangle button on your slide.
- Zoom in for better precision.
- Press Ctrl + D (or ⌘ + D on Mac) to duplicate the button.
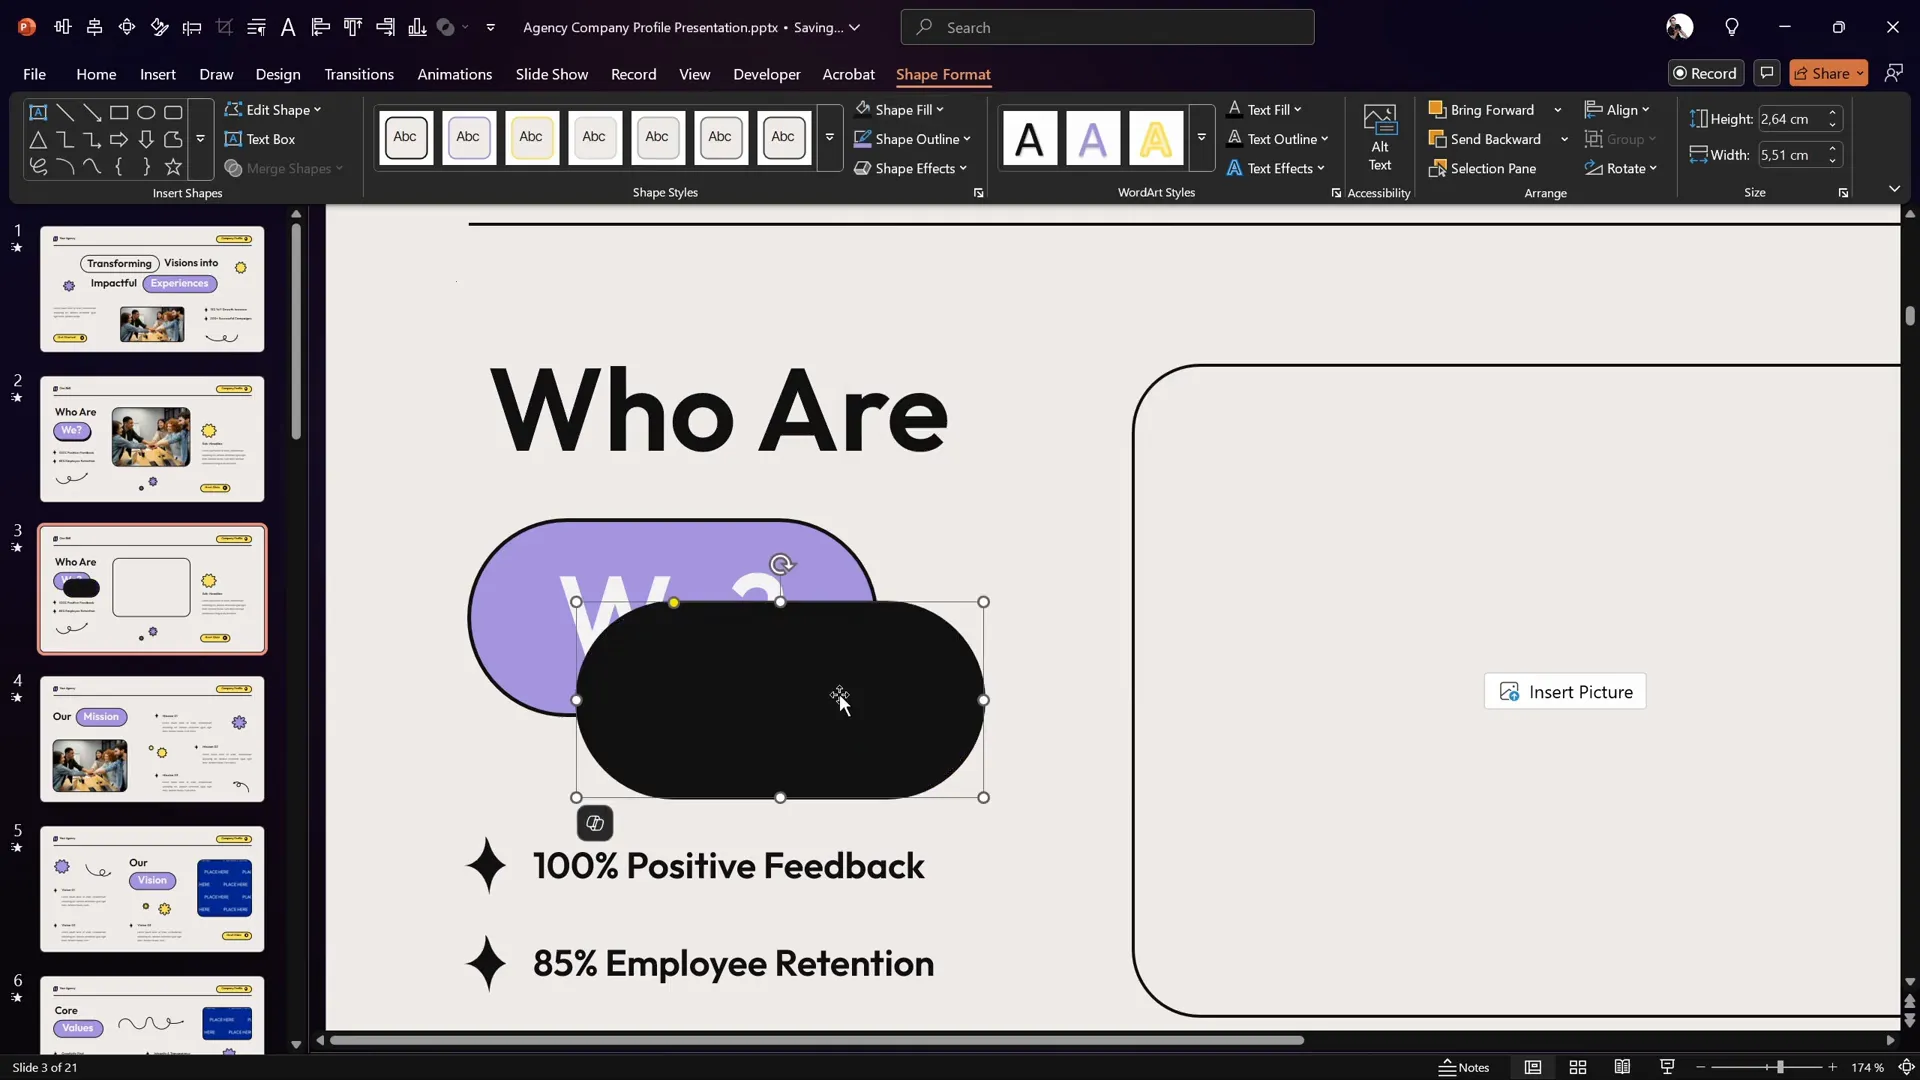
- Delete all text inside the duplicated button copy — the shadow should be a plain shape.
- Fill the duplicated shape with a solid black color or a dark shade.
- Right-click the shadow shape and choose Send to Back so it sits behind the original button.
- Position the shadow slightly offset from the button to create a natural shadow effect, e.g., a few pixels down and right.
This simple technique creates a clean and professional shadow that enhances the button’s appearance.
Building a Button Press Animation
Buttons should have a press-down effect when clicked to provide tactile feedback. We’ll create this effect using PowerPoint’s motion path animation.
How to Create the Button Press Effect
- Select the original button shape.
- Go to the Animations tab and click Add Animation.
- Scroll down to Motion Paths and choose the Line animation.
- Adjust the motion path so the button moves down and slightly towards the shadow shape, aligning perfectly on top of it.
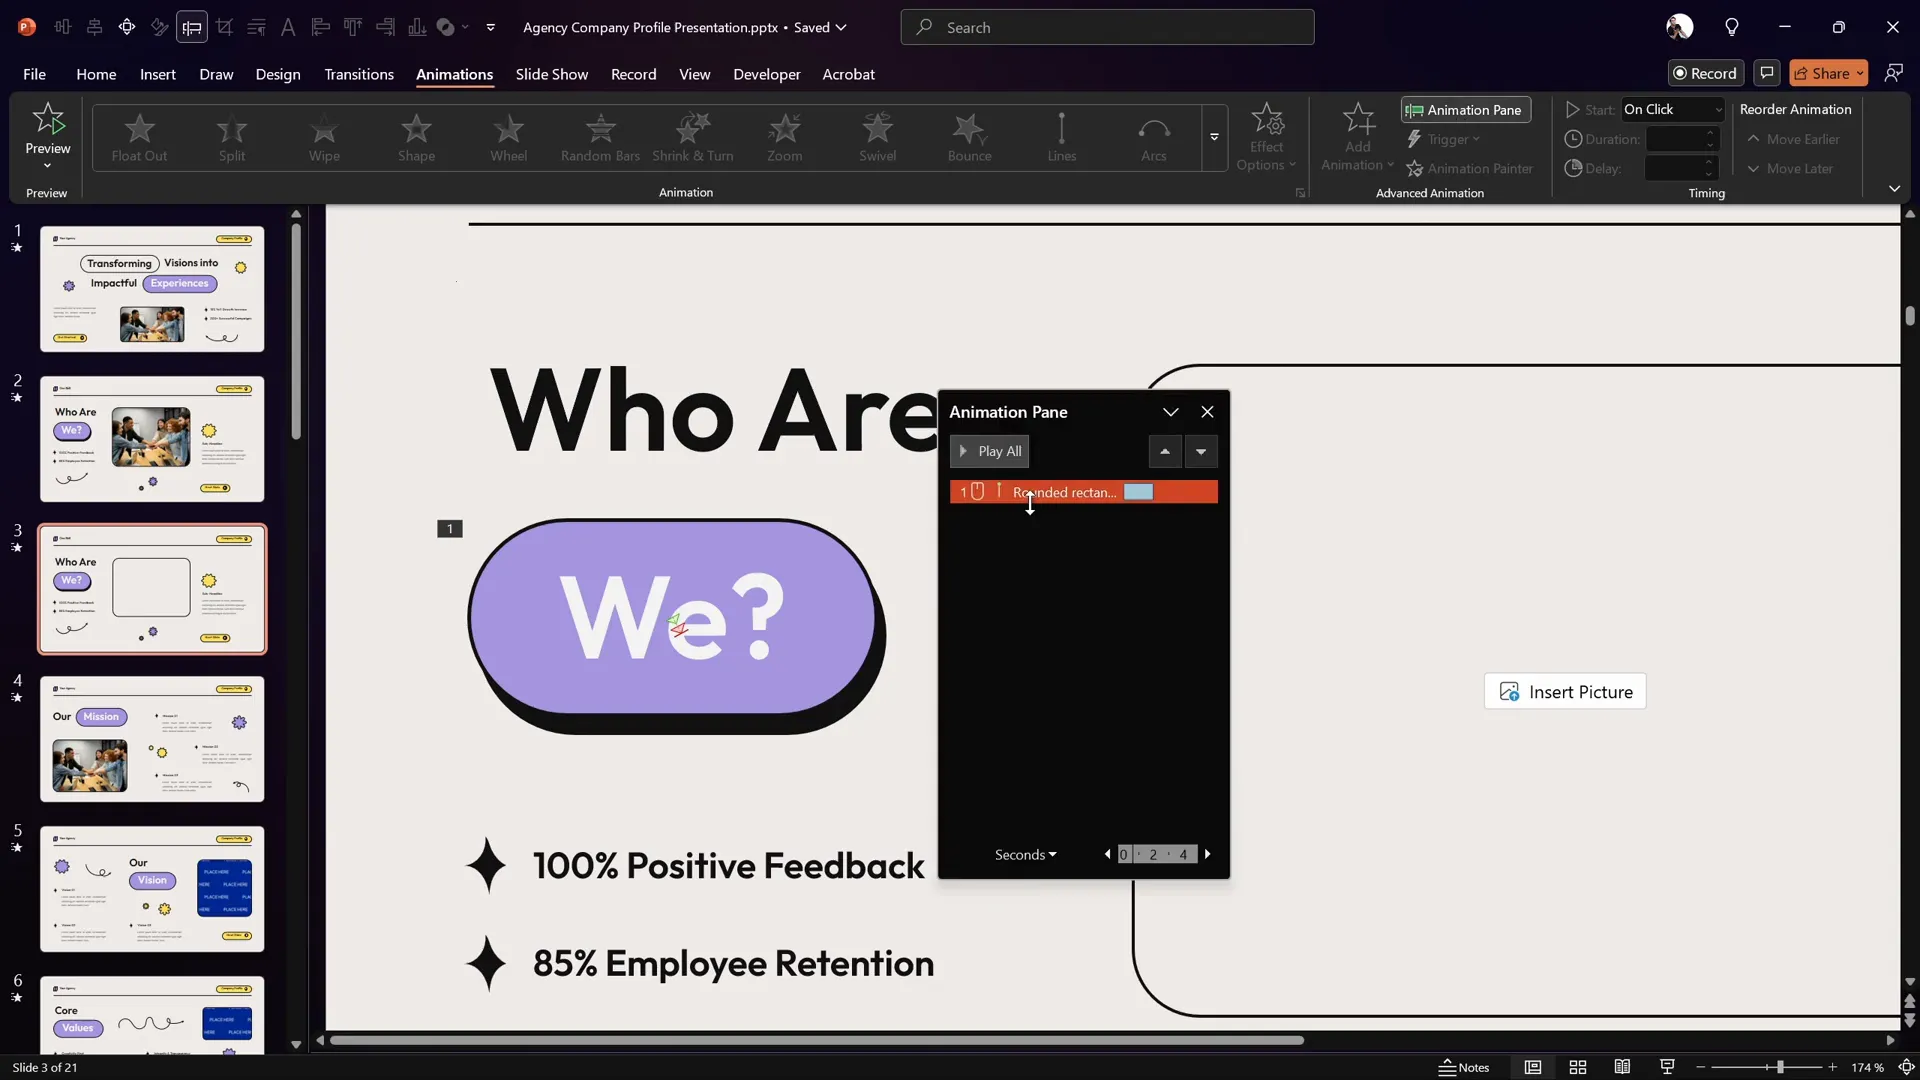
- If the motion path is too short, PowerPoint may merge the start and end points; adjust this by dragging the red endpoint slightly.
- In the Animation Pane, set the animation to start With Previous.
- Set the duration to 0.2 seconds for a quick press effect.
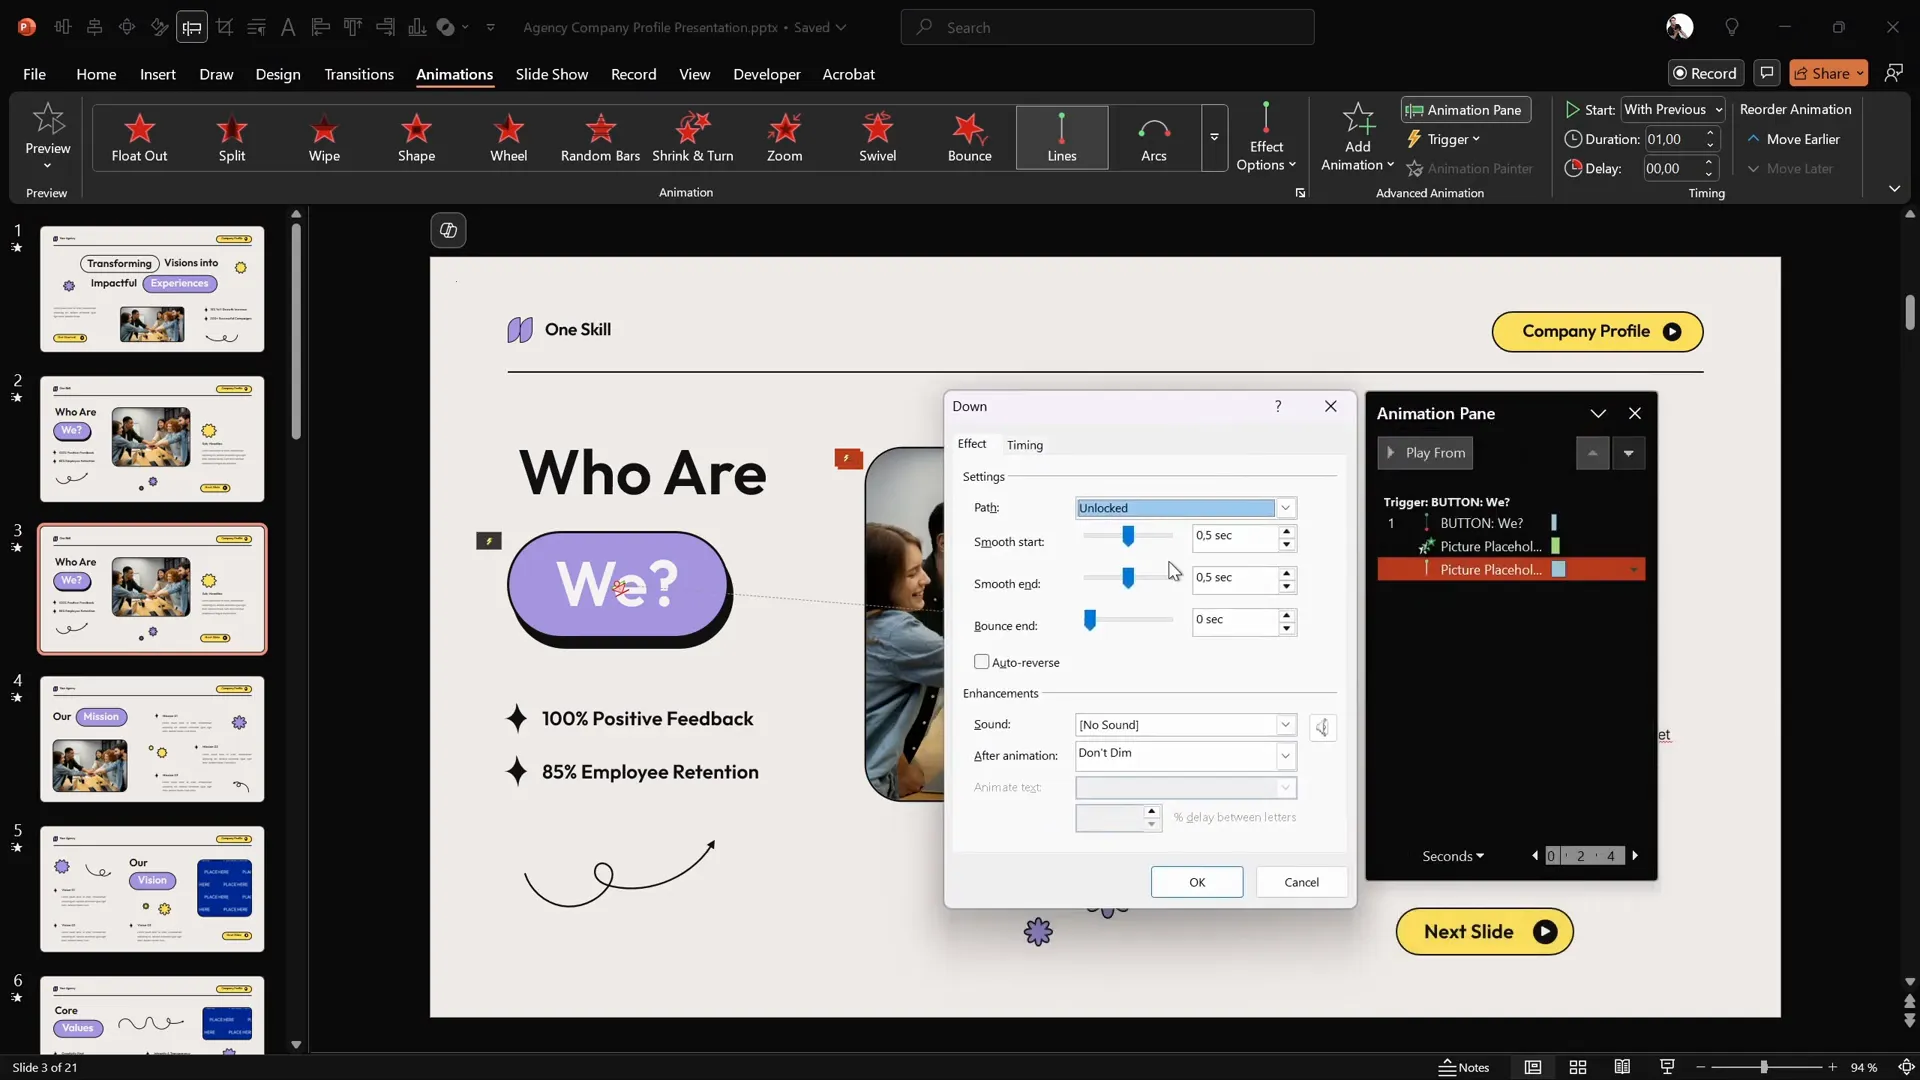
- Double-click the animation in the pane to open Effect Options.
- Keep Smooth Start and Smooth End checked.
- Enable Auto Reverse so the button moves down and then back up automatically.
This creates a smooth, fast button press and release animation.
Making the Button Clickable with Animation Triggers
By default, the motion path animation plays automatically when the slide loads. To make it truly interactive, we want the animation to run only when the button is clicked.
Steps to Add Animation Trigger
- Open the Selection Pane (Home > Select > Selection Pane) to see all objects on the slide.
- Rename the rounded rectangle button to
buttonor any short, memorable name. - Go back to the Animations tab.
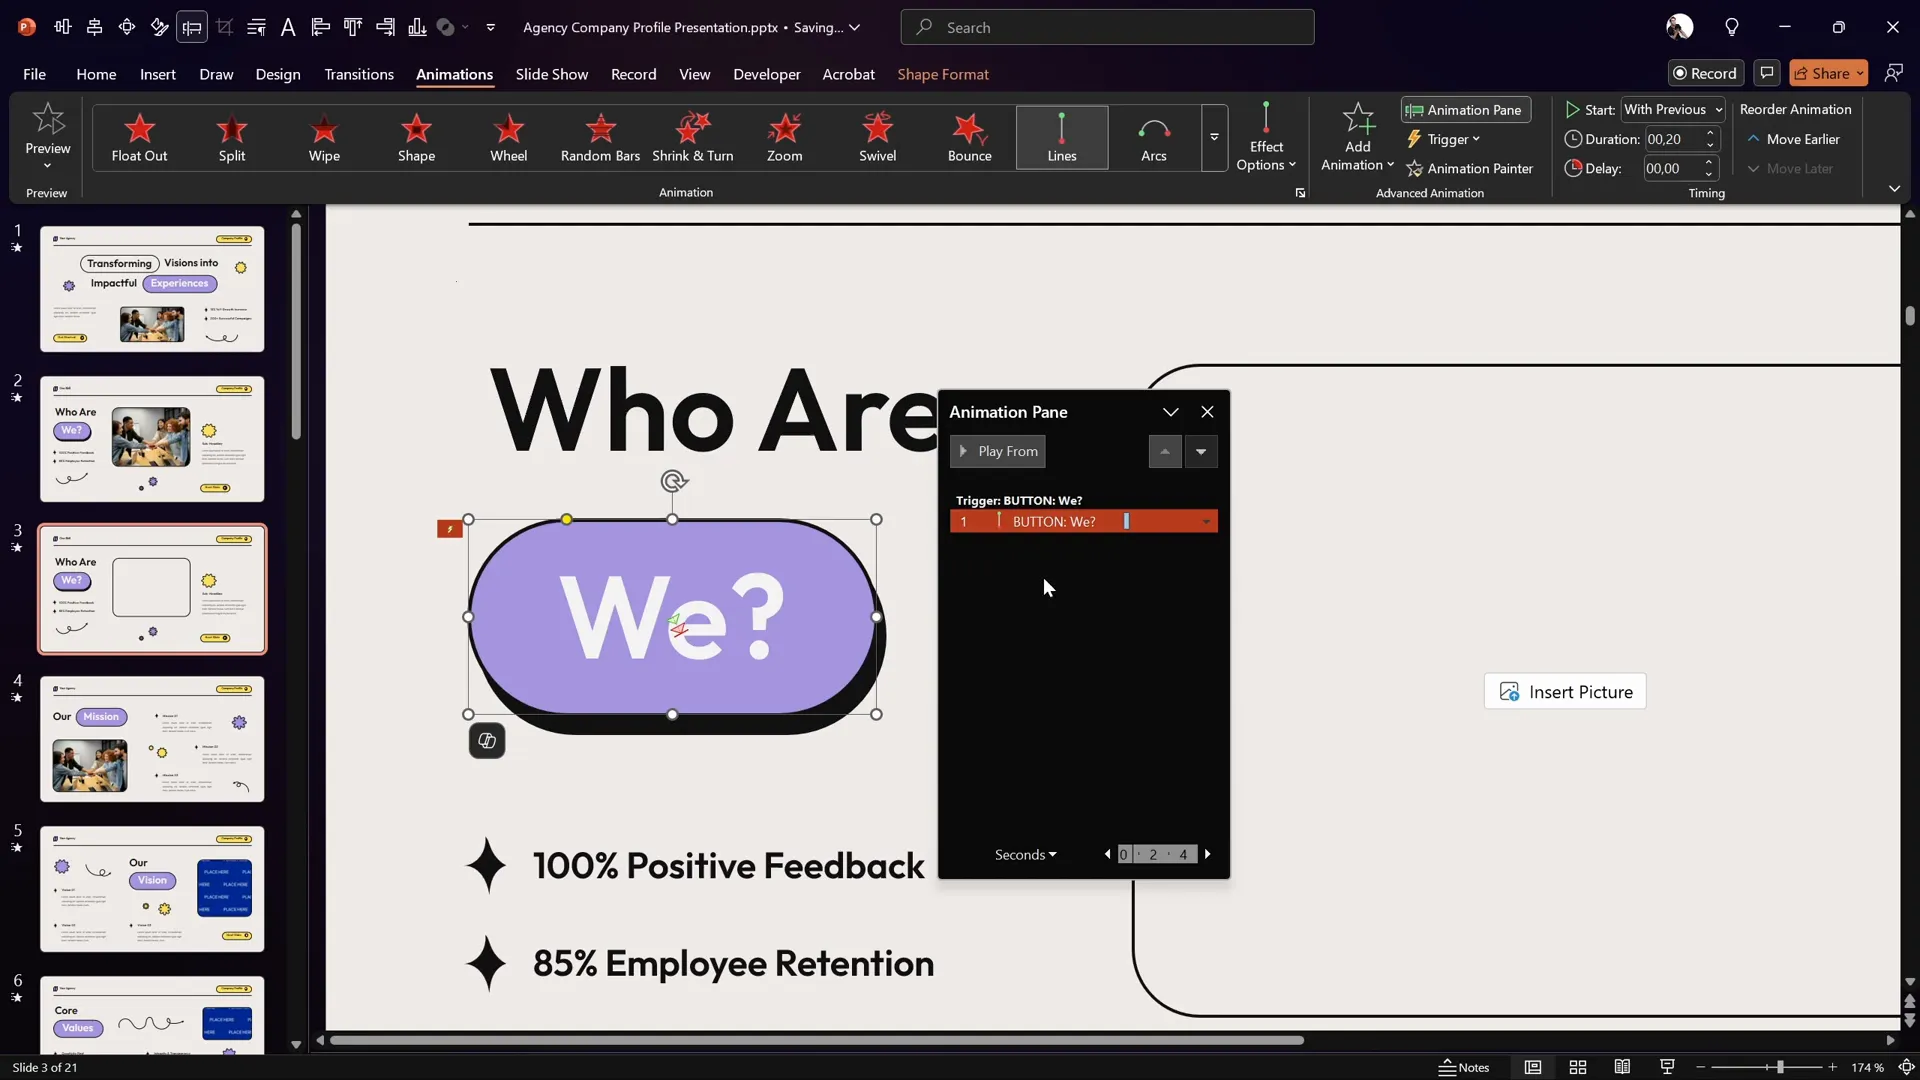
- Select the motion path animation for the button.
- Click the Trigger dropdown and select On Click Of, then choose the button shape from the list.
- Ensure the animation still starts With Previous to work smoothly with the trigger.
Now, the button press animation will only play when you click the button, adding real interactivity.
Launching a Photo with Animation
Next, we want the button to launch a photo when clicked, creating the effect that the photo pops out from the button.
Adding a Photo to the Placeholder
- Insert a photo into the image placeholder on the slide. You can use free resources like Freepik to find suitable images.
- Resize and position the photo as needed.
Animating the Photo
- Select the photo.
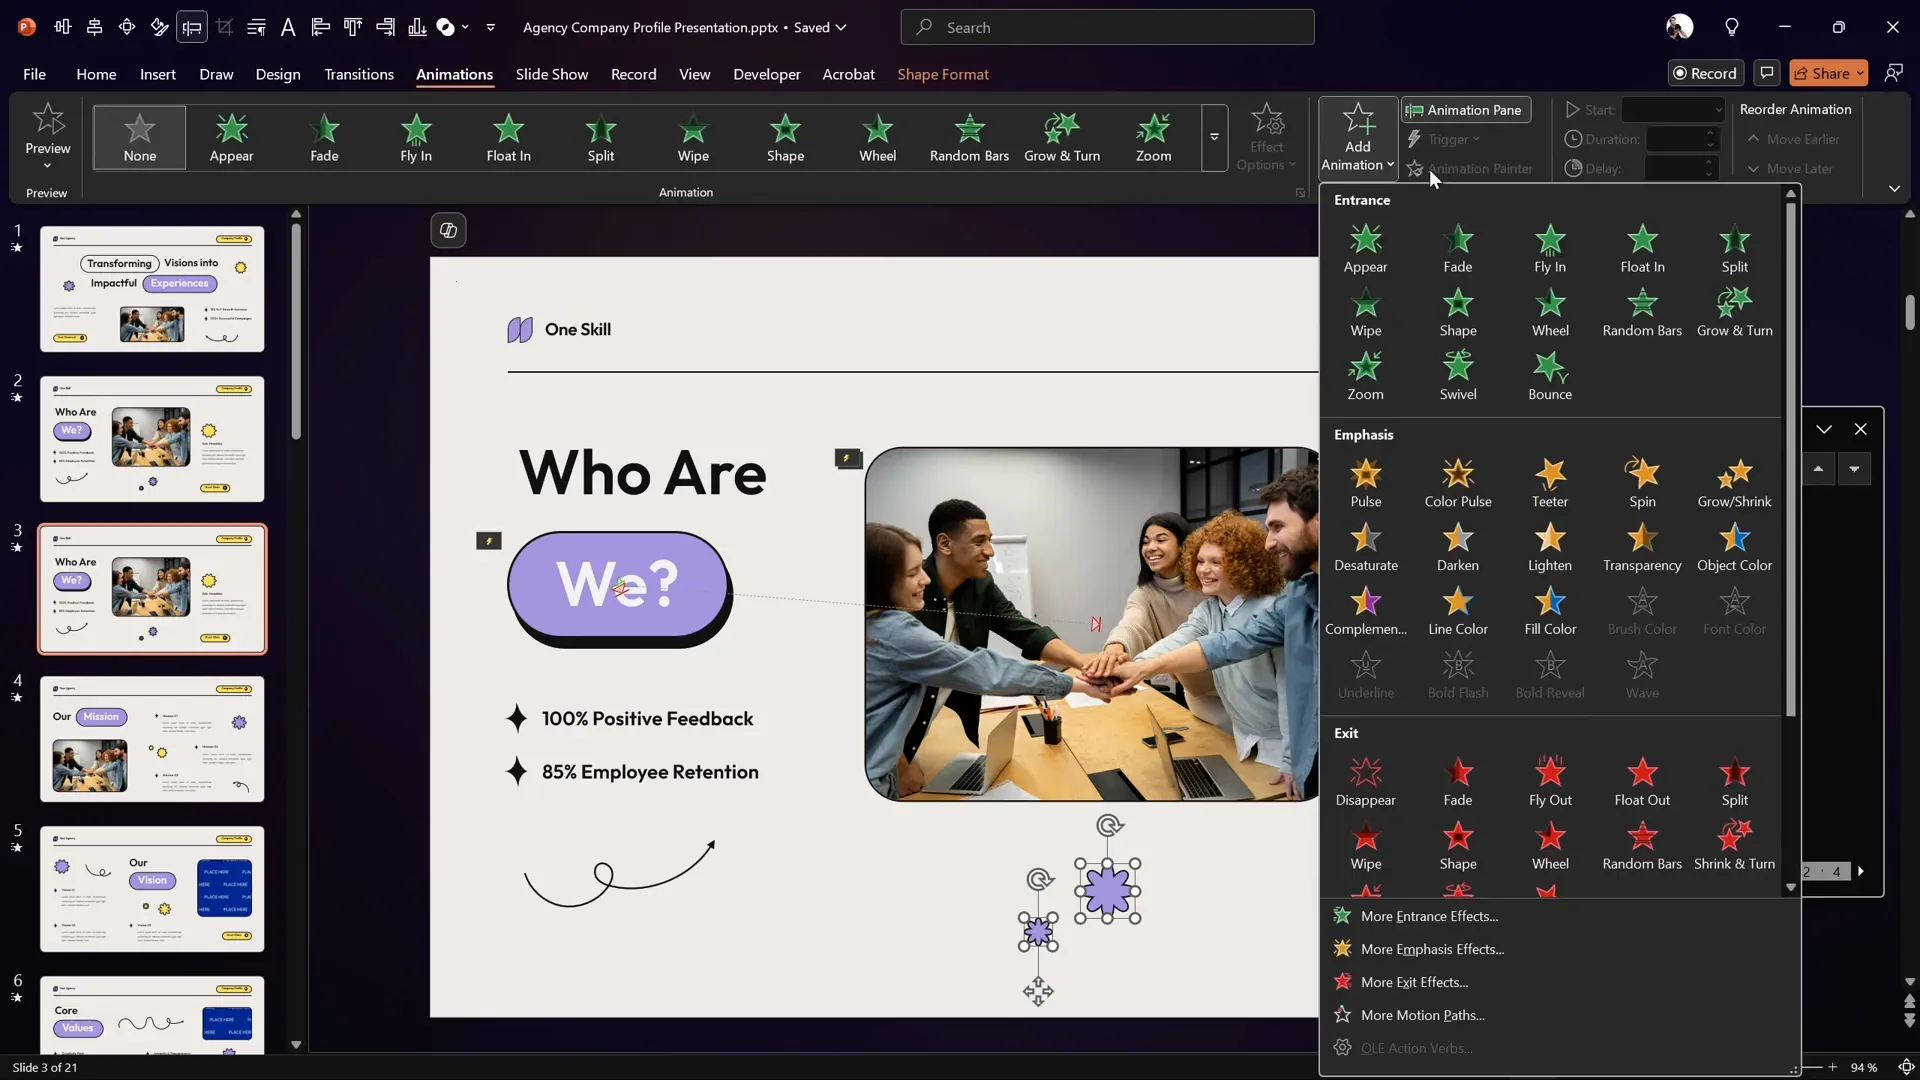
- Go to Animations and click Add Animation.
- Choose Basic Zoom from the entrance animations (found under More Entrance Effects).
- Open the Animation Pane.
- Set the zoom animation to start With Previous and set the duration to 0.6 seconds.
- Drag the zoom animation into the same trigger group as the button’s motion path animation so they activate together.
Making the Photo Pop Out from the Button
By default, the photo zooms in from the slide center, which looks less natural. To make it pop out from the button, add a motion path animation to the photo.
- With the photo selected, add a Motion Path > Line animation.
- Drag the red endpoint of the motion path to align precisely on top of the button.
- Reverse the direction of the motion path so the photo starts at the button’s position and moves to its final place.
- Set the motion path animation to start With Previous with a duration of 1 second.
- Open the Effect Options for the motion path and increase the Smooth End slider to maximum for a smooth landing.
- Drag this animation into the same trigger animation group.
- Send the photo to the back (right-click > Send to Back) so it appears behind other shapes, enhancing the “popping out” effect.
Animating Decorative Stars
To add a playful touch, you can animate the little stars on the slide to spin when the button is clicked.
Steps to Animate the Stars
- Hold down the Shift key and select all three star shapes.
- Go to the Animations tab and add a Spin animation.
- Set the spin animations to start With Previous and set the duration to 1 second.
- Open the Effect Options and add smooth start and smooth end timings, allocating about 0.5 seconds to each.
- Drag all star spin animations into the same trigger group as the button and photo animations.
Now, when the button is clicked, the stars will spin once alongside the photo popping out and the button press animation.
Previewing and Testing Your Interactive Slide
After setting up all animations and triggers, it’s important to preview the slide in full-screen mode.
What to Expect
- Clicking the button triggers the button press motion path animation, making it look pressed down and released.
- The photo zooms out from the button’s location with a smooth motion path, appearing to pop out.
- The decorative stars spin smoothly once.
This cohesive set of animations creates a polished and engaging interactive slide experience.

Frequently Asked Questions (FAQ)
1. Can I use this technique with any PowerPoint template?
Yes! While the tutorial uses a specific template by Graphiccook, this technique works with any PowerPoint slide. Just ensure your slide has a button shape, an image placeholder or picture, and optional decorative elements for animation.
2. What versions of PowerPoint support animation triggers?
Animation triggers are available in PowerPoint 2013 and later versions on Windows. Mac versions have limited support, so check your version’s capabilities. If triggers are unsupported, animations will play automatically instead.
3. Can I add more complex interactivity like multiple buttons or menus?
Absolutely! You can create multiple buttons with separate triggers to display different photos or animations. Combining triggers with hyperlinks and slide navigation can simulate menus and multi-page interactivity.
4. How can I find good images to use in my slides?
Free resources like Freepik, Unsplash, and Pexels offer high-quality photos. Be sure to respect licensing and attribution requirements.
5. Can I use this interactive slide technique for presentations other than PowerPoint?
While this tutorial is specific to PowerPoint, many presentation tools like Google Slides or Keynote have animation features but may lack advanced triggers. PowerPoint remains the most flexible for this kind of interactivity.
Conclusion
Creating interactive slides in PowerPoint is easier than you might think. With a few simple techniques — duplicating shapes for shadows, using motion path animations, and leveraging animation triggers — you can transform basic slides into engaging experiences that impress your audience.
From building a clickable button with a press effect to launching a photo with smooth animation and spinning decorative stars, these techniques enhance your storytelling and keep your audience captivated.
Practice these steps, experiment with your own designs, and soon you’ll master the art of interactive PowerPoint slides that go beyond static presentations.
If you want to dive deeper into PowerPoint animations and learn professional tips, check out pptskill.com, where you can access 65+ video lessons revealing advanced animation secrets.
Happy presenting!


