
PowerPoint is an incredibly powerful tool that goes far beyond simple slide decks. If you want to captivate your audience and bring your presentations to life, mastering advanced animation techniques is key. In this comprehensive guide, I’ll walk you through five professional-level PowerPoint animation tricks that you can start using immediately to impress your viewers and make your slides stand out. These techniques were inspired by my talented colleague, Interstellar PowerPoint, whose innovative methods have revolutionized how we approach presentation design.
Whether you’re delivering a business pitch, an educational lecture, or a creative portfolio, these animation strategies will give your slides a polished, dynamic edge. From adding flip effects on slide zooms to creating futuristic typewriter text animations, and even spinning colorful donut charts, you’ll learn everything step-by-step. Let’s dive in and unlock the secrets of animating like a pro in PowerPoint!
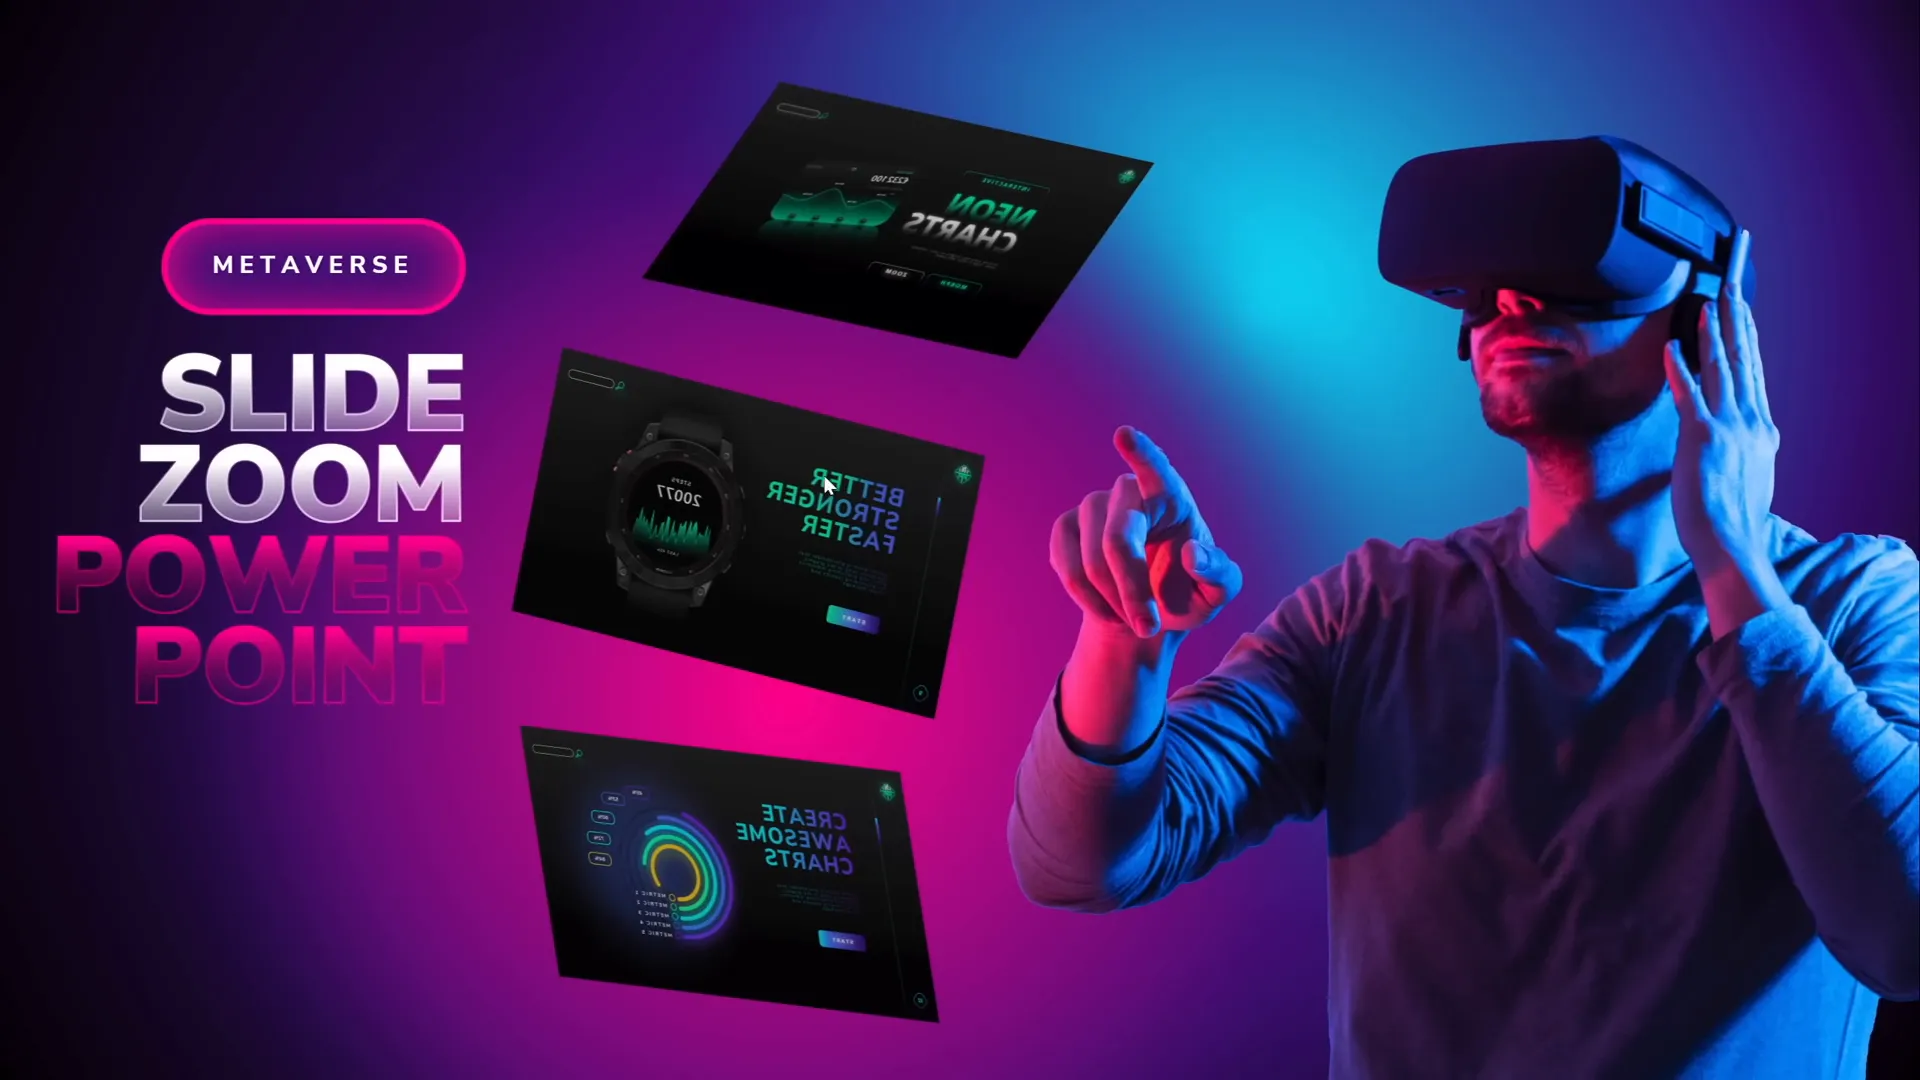
Table of Contents
- 1. Flip Effect for Slide Zooms: Make Your Slide Transitions More Engaging
- 2. Animated Textures: Spice Up Your Illustrations and Slide Design
- 3. Rotating 3D Text Animation: Create an Eye-Catching Intro Slide
- 4. Futuristic Typewriter Animation for Text
- 5. Spinning Colorful Donut Charts: Add Fun and Movement to Data
- Frequently Asked Questions (FAQ)
- Conclusion: Animate Like a Pro and Impress Your Audience
1. Flip Effect for Slide Zooms: Make Your Slide Transitions More Engaging
Slide zooms are a fantastic feature in PowerPoint that allow you to jump between different sections or slides in a presentation dynamically. However, the default zoom effect can sometimes feel a bit flat or predictable. To spice things up, you can add a flip animation that rotates your slide zooms in 3D, creating a visually stunning transition that grabs attention.
Here’s how you can create this flip effect:
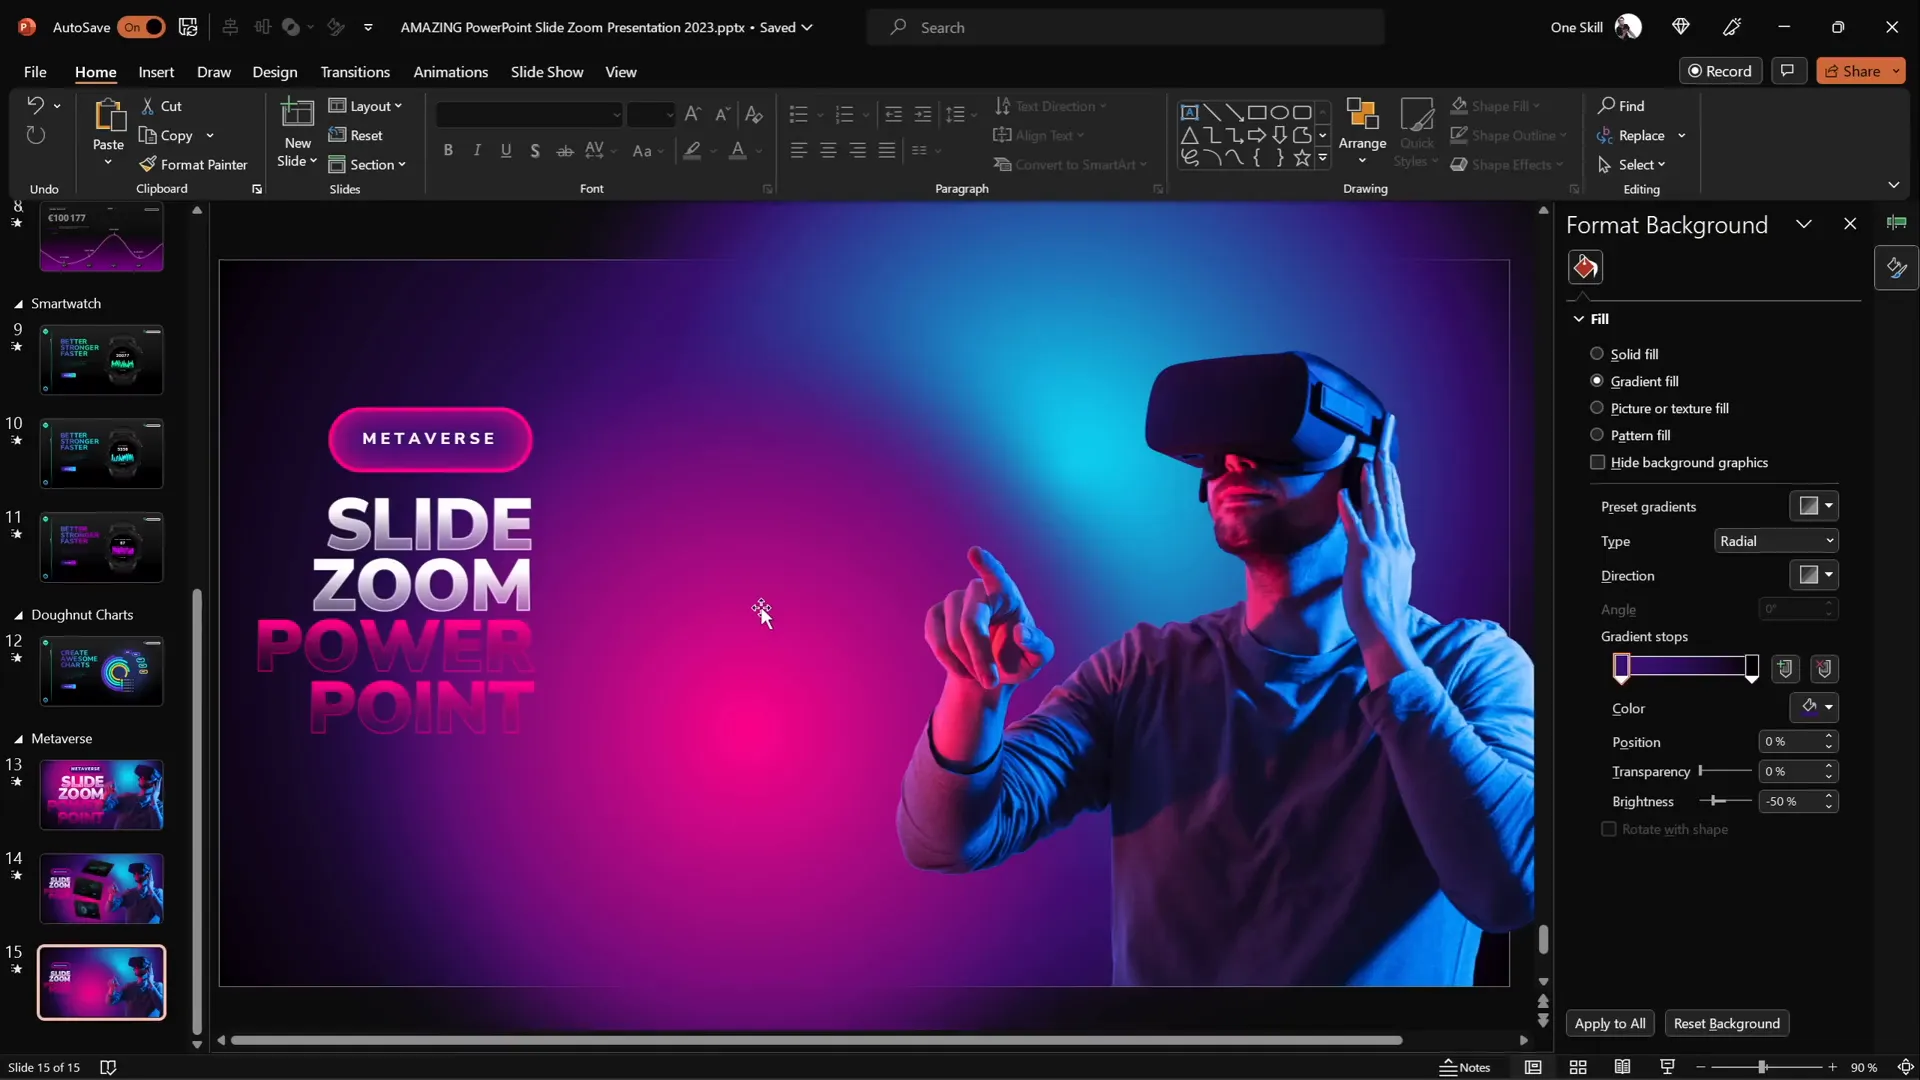
- Insert a Slide Zoom: Go to the Insert tab, select Zoom, and then Slide Zoom. Choose the slide you want to zoom into.
- Remove the Zoom Border: Select the slide zoom thumbnail and remove the border for a cleaner look.
- Activate Return to Zoom: This option lets you zoom back to the original slide after viewing the zoomed slide, ensuring smooth navigation.
- Add 3D Rotation: Open the 3D rotation options and select one of the parallel rotation presets. Then, adjust the X rotation to flip the slide zoom to the other side. You can also tweak Y and Z rotations for different flipping effects.
- Preview the Effect: When you click the slide zoom during the presentation, you’ll see the slide flip and zoom in simultaneously. Clicking again flips it back and returns to the original slide, creating a seamless and eye-catching transition.
This simple modification transforms the standard slide zoom into a professional and dynamic flip animation, adding flair and sophistication to your presentation flow.
Adding Subtle Floating Animations to Illustrations
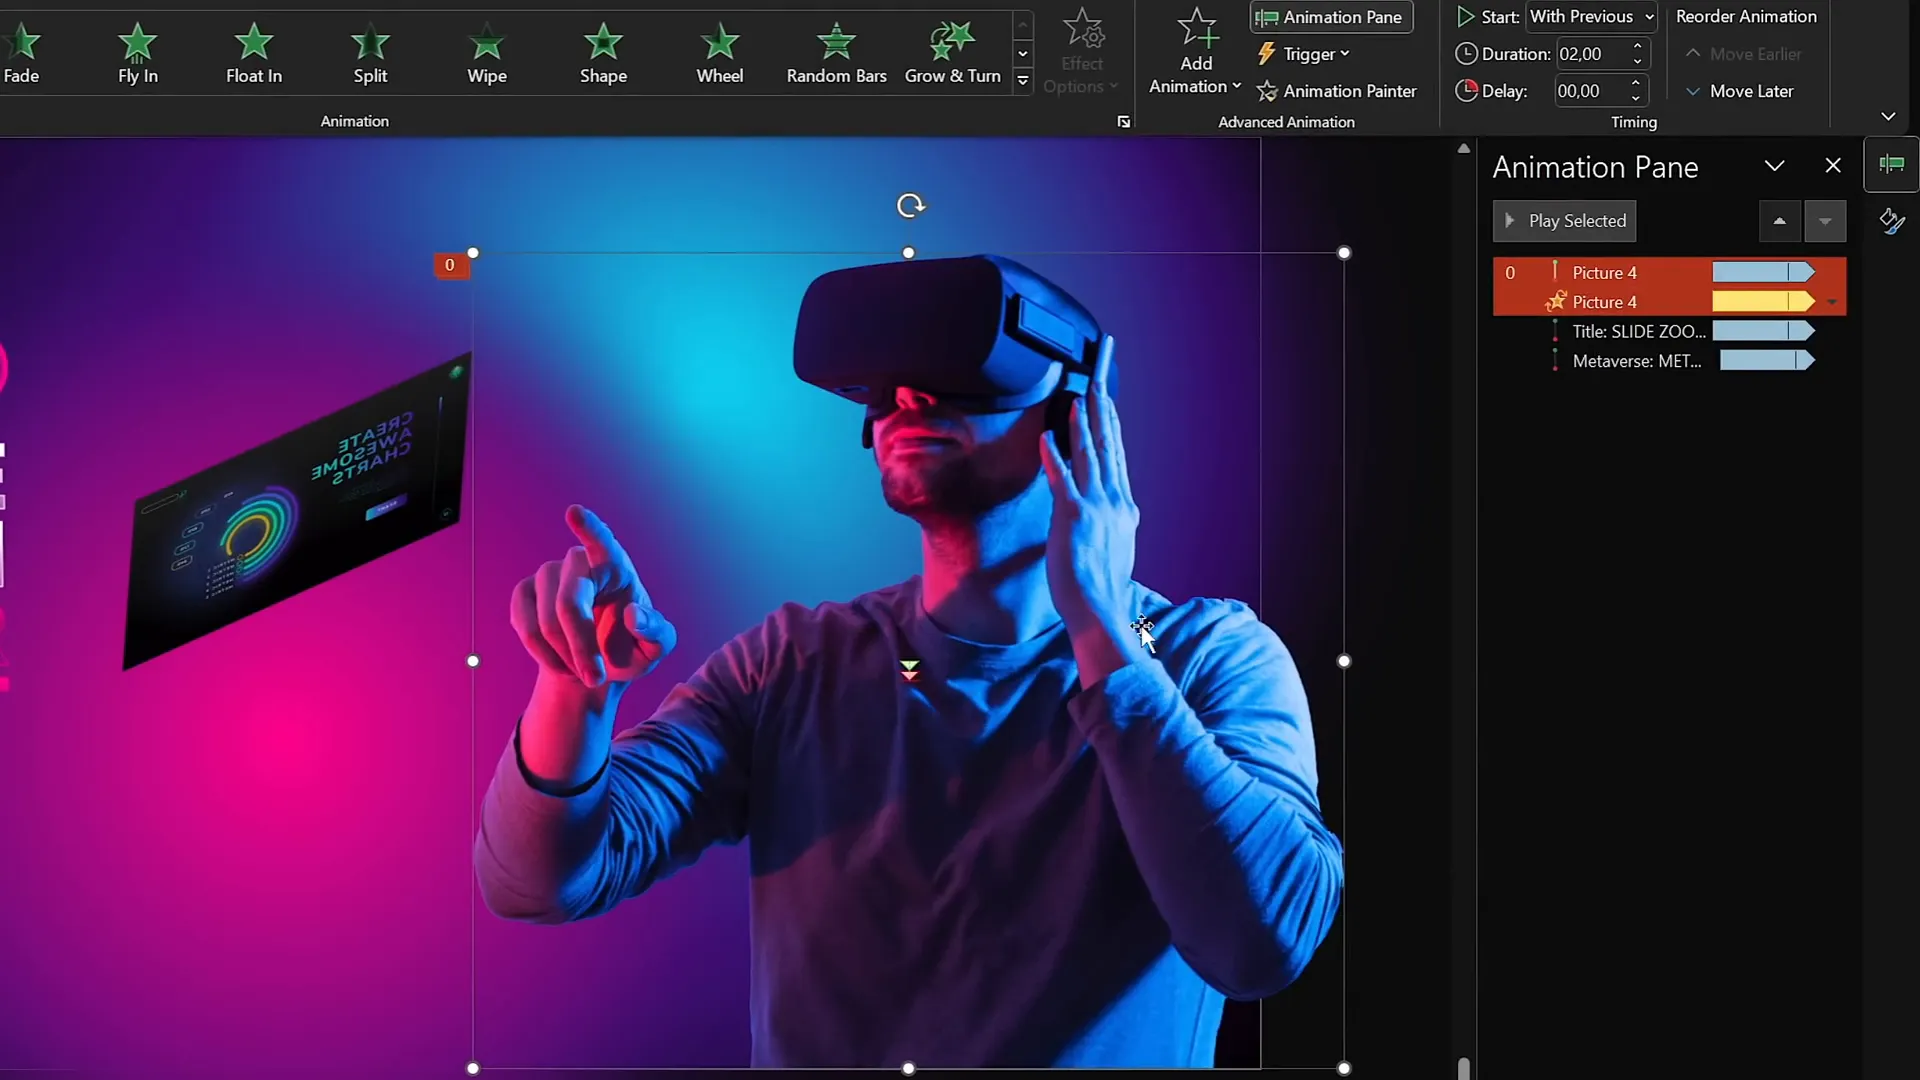
On the same slide, you might want to add subtle animations to enhance visual interest without distracting from your message. For example, I animated a character wearing VR glasses to float gently up and down with a slight spin, making the scene feel alive.
To create this floating effect:
- Motion Path Animation: Apply a motion path line animation that moves the object subtly up and down. Keep the distance short for a gentle effect.
- Timing Settings: Set the animation duration to 2 seconds with smooth start and end of 1 second each. Enable auto-reverse so the motion repeats back and forth smoothly.
- Spin Animation: Add a spin animation with a very small rotation angle (around 2 degrees) and also enable auto-reverse. This adds a natural slight rotation to the floating movement.
Combine these two animations, and you get a smooth, subtle floating effect that brings your illustrations to life without overpowering the slide content.
2. Animated Textures: Spice Up Your Illustrations and Slide Design
Static illustrations can sometimes feel dull or disconnected from the dynamic nature of a presentation. Animated textures add movement and energy, making your designs feel more immersive and modern. This technique works best with vector shapes that you can edit and animate easily in PowerPoint.
Here’s a step-by-step guide on creating animated textures using grouped squares:
- Create Vector Shapes: Start with a blank slide and insert a perfect square by holding the Shift key while drawing a rectangle.
- Duplicate and Resize: Duplicate the square and increase its size slightly. Align it to the center. Repeat this process to create multiple squares of varying sizes stacked together.
- Group the Shapes: Select all the squares and group them (Ctrl + G) to make animating easier.
- Add Spin Animation: Apply a spin animation to the group with clockwise rotation and a quarter spin amount. Set the duration to 2 seconds, with smooth start and end of 1 second, and enable auto-reverse so the group spins back and forth.
- Add Grow/Shrink Animation: Using the Add Animation button, apply a grow/shrink effect to the group with 130% size growth, smooth start of 1 second, and auto-reverse enabled. This makes the squares simultaneously spin and pulse in size.
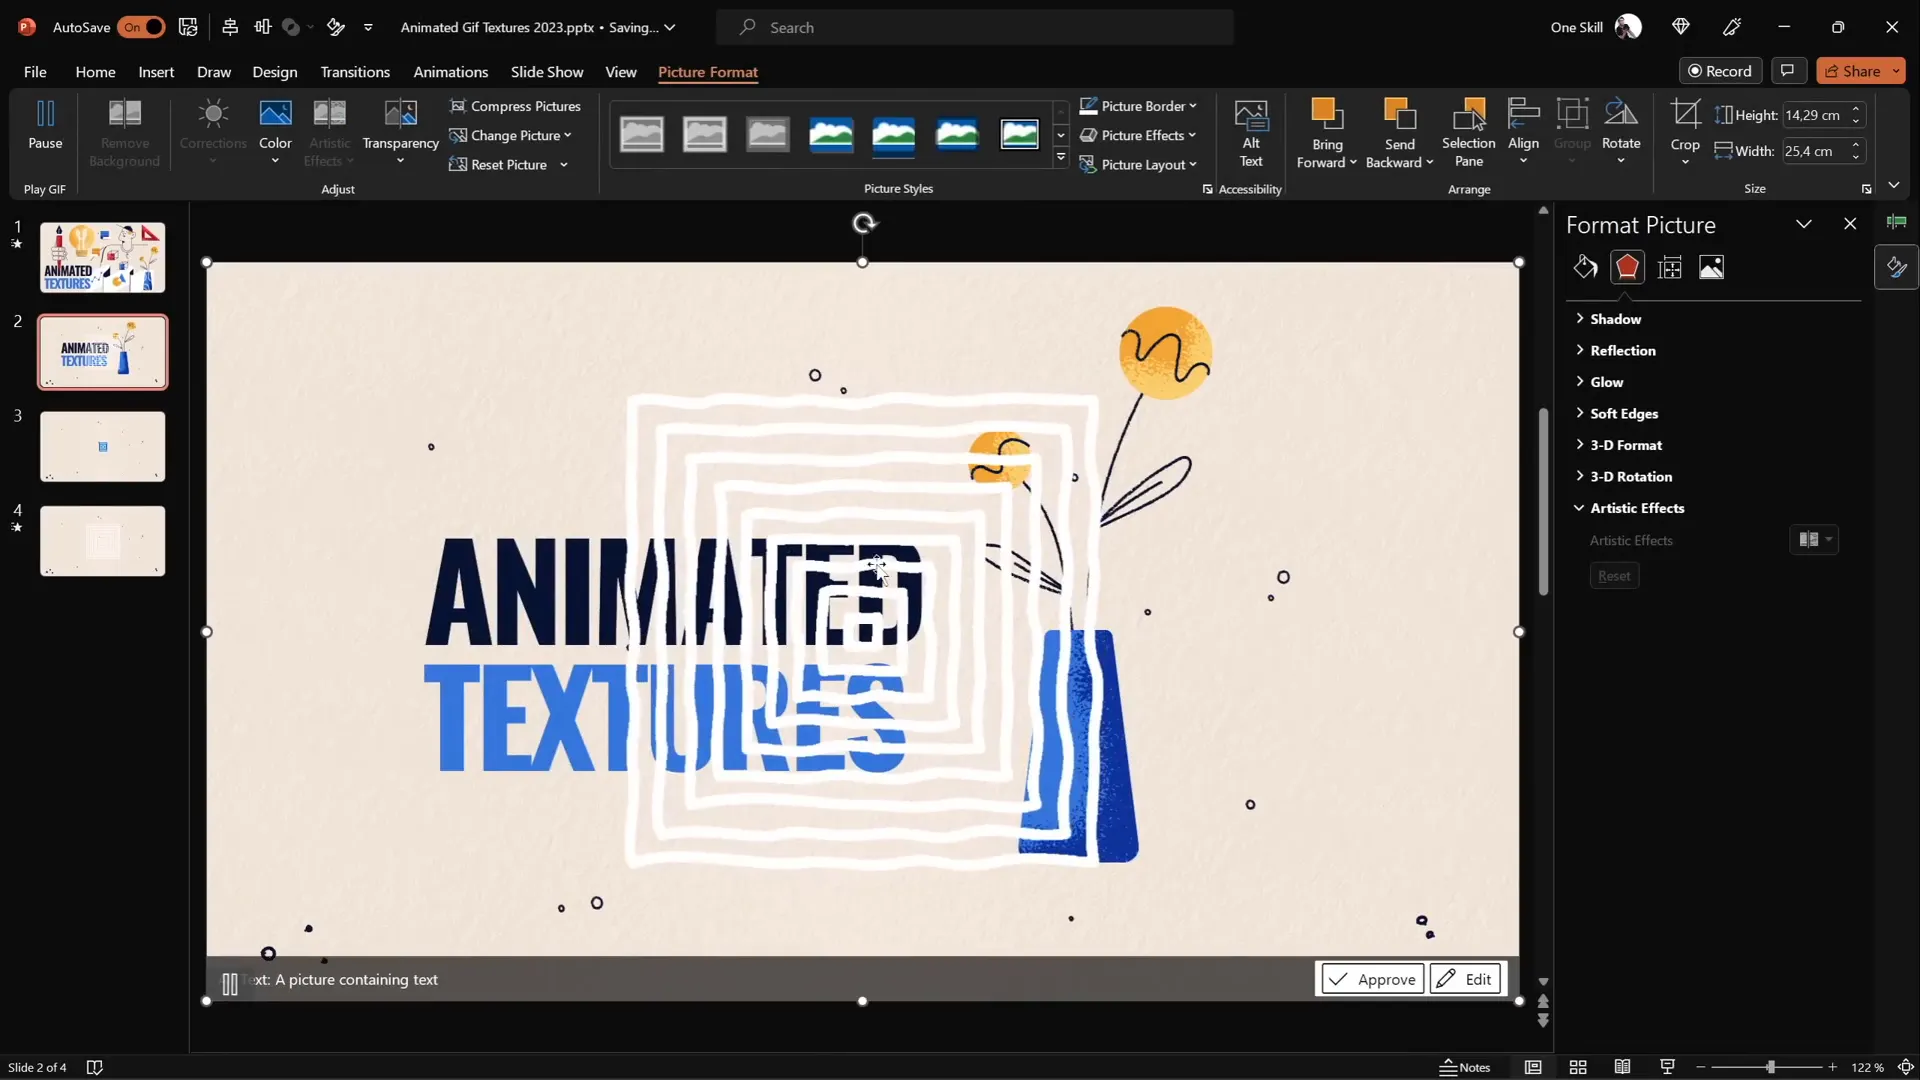
- Experiment with Styles: Change the line style from straight to sketch and adjust the outline color to white for better visibility against dark backgrounds.
The result is a captivating animated texture that can be exported as a transparent GIF and inserted into other slides or projects. For example, you can crop this animated texture to fit inside the shape of a vase or any other vector object using the Intersect merge shape option, creating unique textured animations.
Exporting Animated Textures as GIFs
PowerPoint allows you to export slides as animated GIFs, which is perfect for preserving and reusing your animated textures. When exporting, make sure to:
- Select the slide containing your animated texture.
- Set the seconds spent on each slide to zero (PowerPoint will auto-determine the duration).
- Enable transparency and choose extra-large quality for the best results.
Once exported, insert the GIF back into your presentation or other projects to add animated flair without the need for complex animations on every slide.
3. Rotating 3D Text Animation: Create an Eye-Catching Intro Slide
Text animations can be powerful tools to emphasize key messages or titles. One standout technique is combining PowerPoint’s 3D rotation options with the Morph transition to create a rotating text effect that looks professional and engaging.
Here’s how to create this rotating 3D text animation:
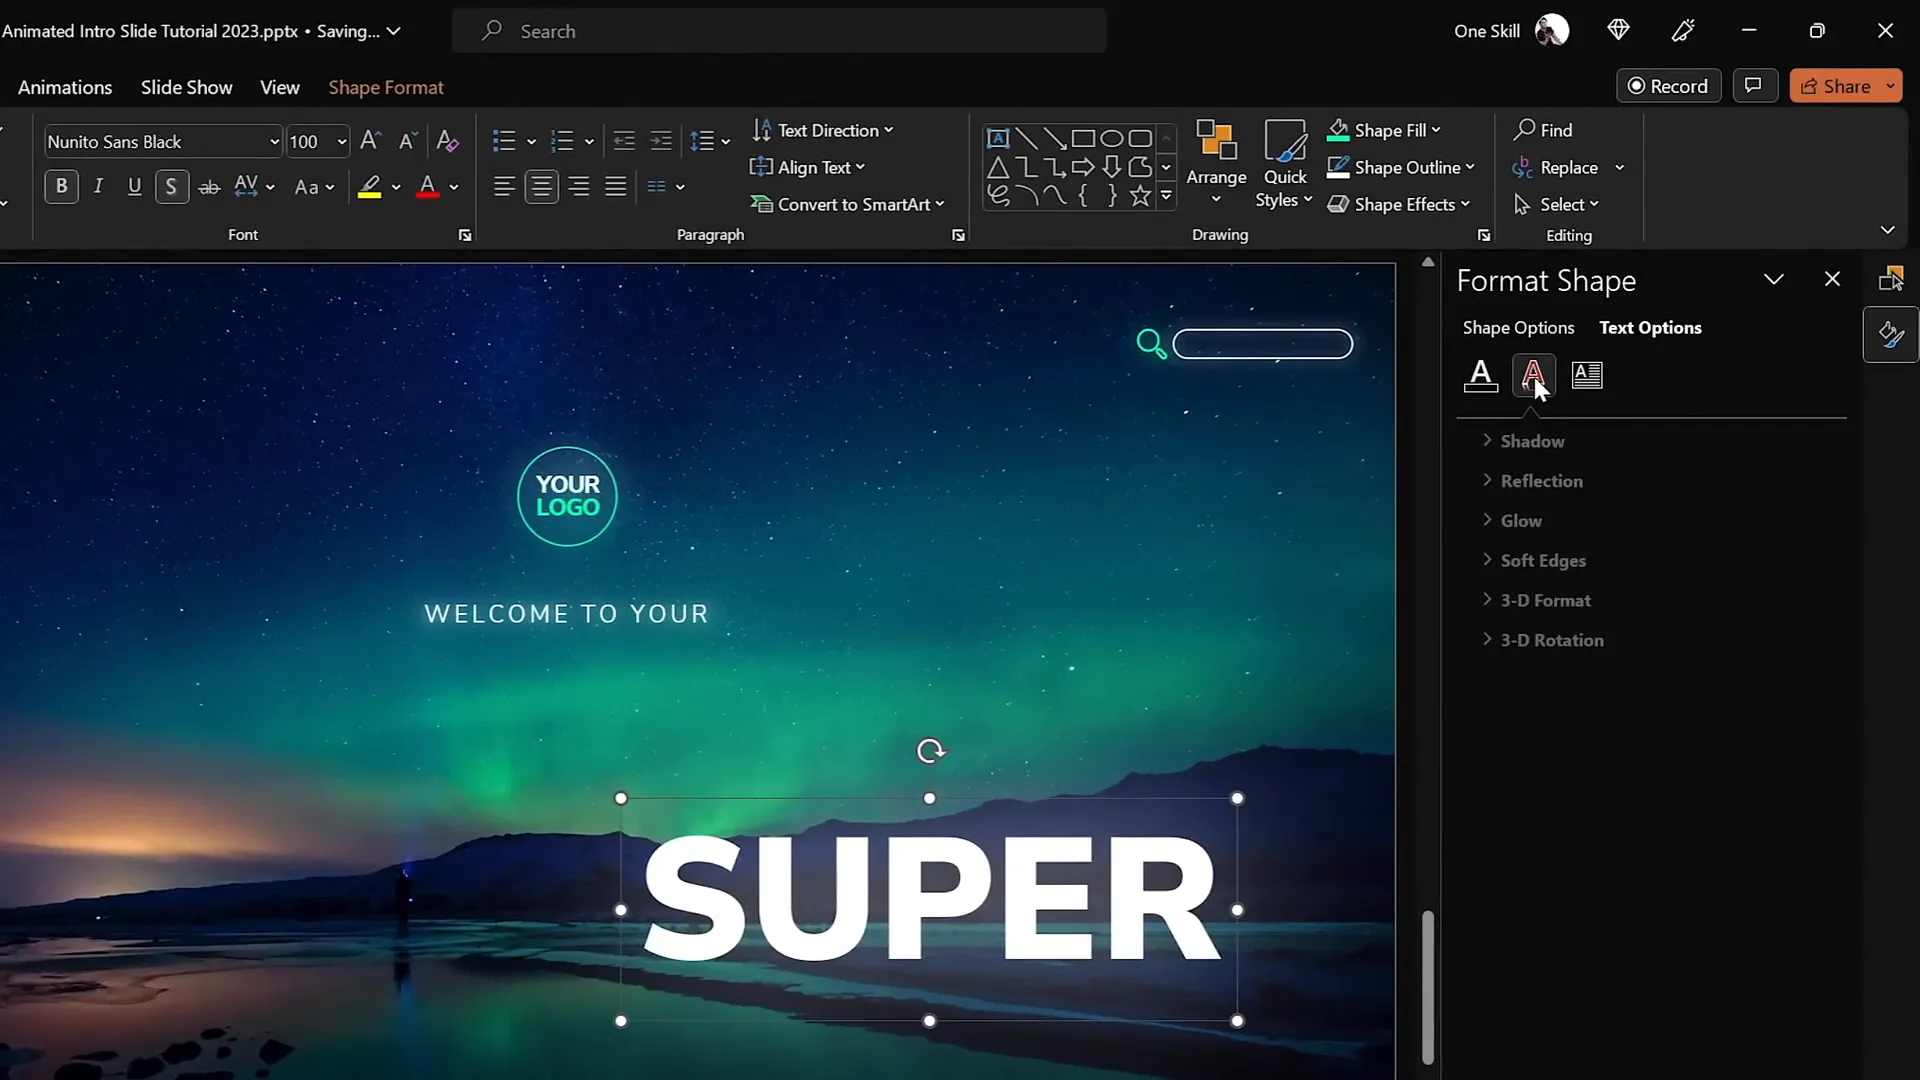
- Prepare Your Text Box: Start with a large text box centered on a slide. To add a glowing shine effect, apply a white shadow with a blur radius of 100 points.
- Apply 3D Rotation: Open the 3D rotation options and select a perspective preset such as “Perspective Relaxed.” Set the perspective angle to the maximum of 120 degrees and keep the Y rotation at zero for the initial slide.
- Duplicate the Slide: Copy the slide and change the text content on the duplicate to another word or phrase (e.g., from “Super” to “Awesome”).
- Rotate the Text Box: On the duplicate slide, select the text box and adjust its X rotation to 90 degrees until it looks flat and disappears from view. Then, nudge it so its midpoint aligns with the text below it.
- Use Morph Transition: Apply the Morph transition between the two slides with a duration of 1 second. This will animate the text box rotating smoothly as you move between slides.
- Repeat for Second Text Box: Copy the second slide’s text box back to the first slide, rotate it 270 degrees on the Y-axis (opposite direction), and align it properly. This ensures a seamless rotation effect.
When you play the slideshow, you’ll see the text rotate in 3D space, creating a slick and modern intro animation. You can add more slides with different words to build a full animated sequence for your presentation opening.
4. Futuristic Typewriter Animation for Text
Want to add a futuristic vibe to your text? The swivel animation combined with letter-by-letter animation settings can simulate a slick typewriter effect that feels modern and engaging.
Here’s how to achieve this effect:

- Select Your Text Box: Choose the text you want to animate, such as a slide title.
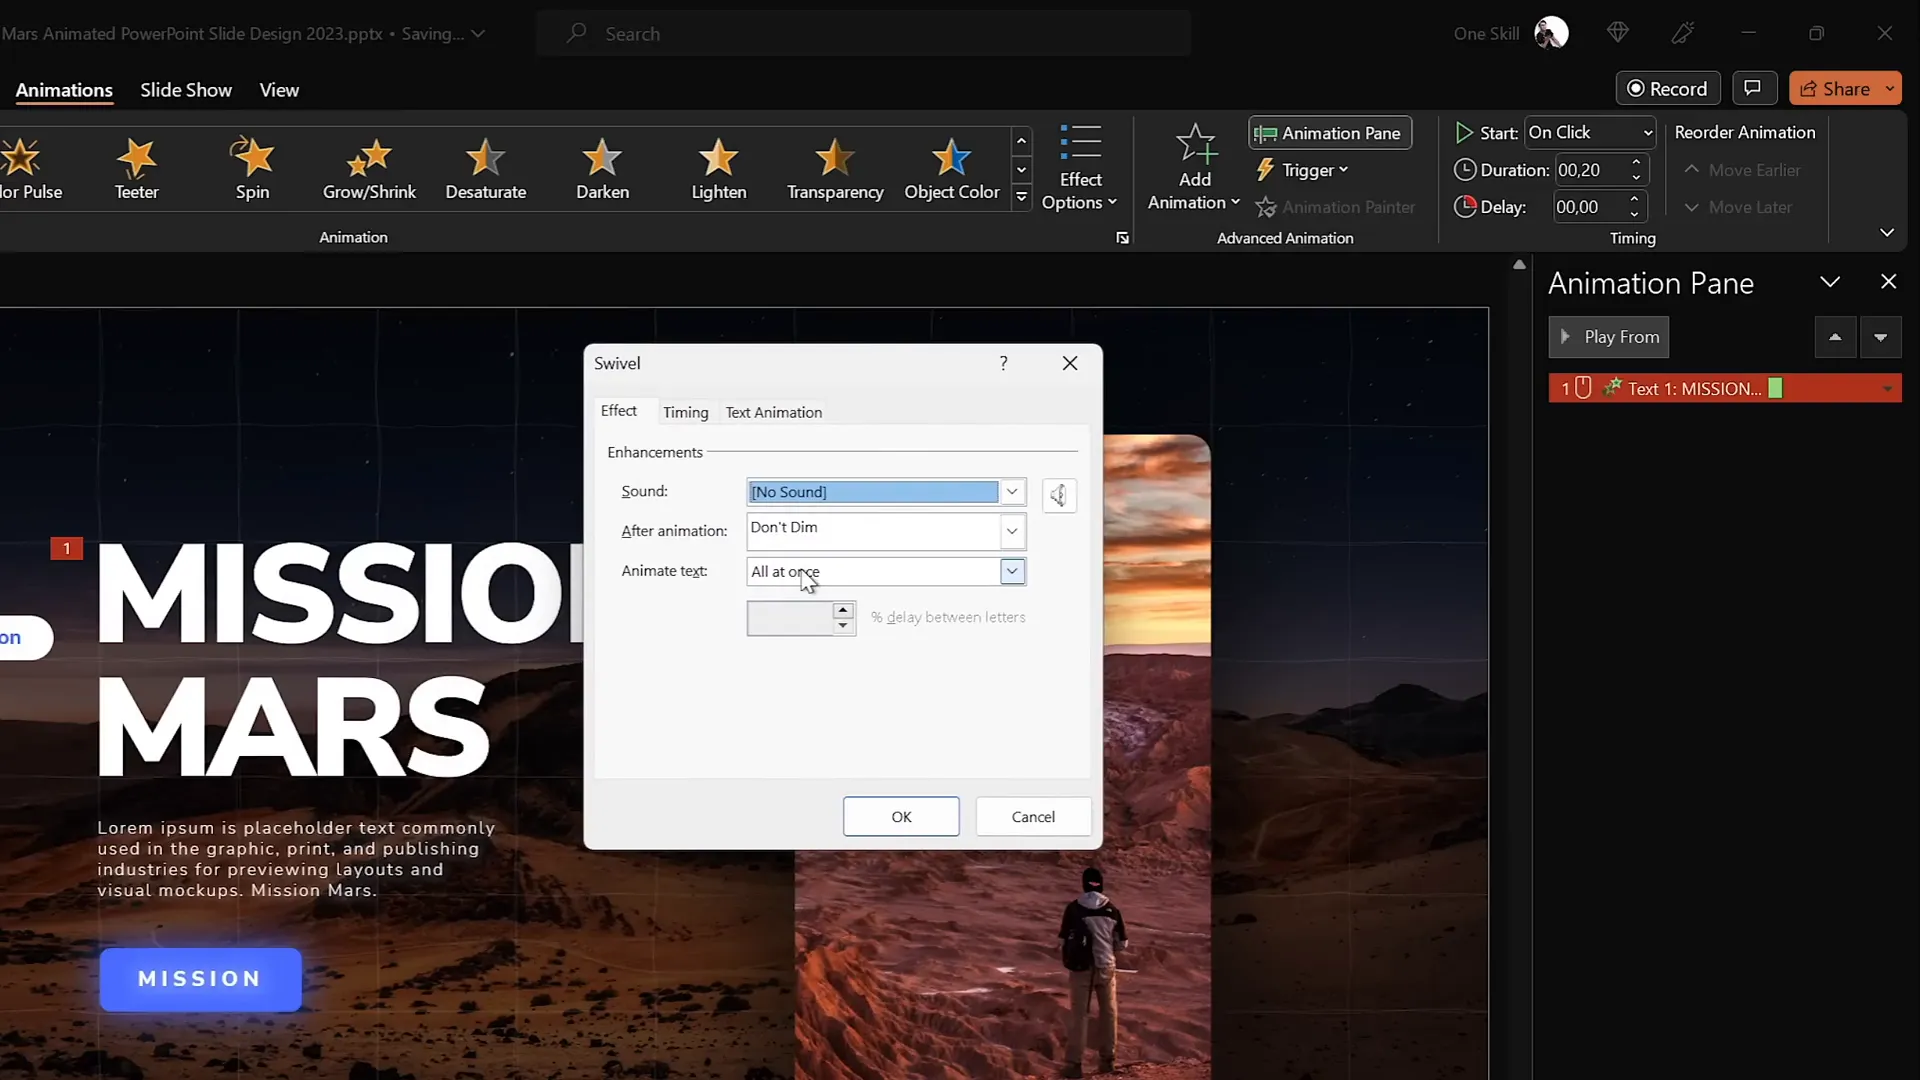
- Apply the Swivel Animation: Go to the Animations tab, find the “Swivel” entrance animation, and apply it.
- Adjust Animation Settings: Set the duration to a very short 0.2 seconds to keep the effect snappy.
- Animate Text by Letter: In the animation options, choose to animate the text by letter with a delay of 10%. This makes each letter appear with a slight stagger, mimicking typewriter typing.
- Use Animation Painter: Copy this animation to other text boxes or objects you want to animate similarly for consistency.
- Configure Animation Start: Set the first animation to start on click, and the rest to start with previous so they play automatically together after one click.
- Animate Paragraph Text by Word: For longer paragraphs, animate by word instead of letter to keep the pace lively but readable.
This approach produces a dynamic, futuristic typewriter effect that can add personality and energy to your slides.
5. Spinning Colorful Donut Charts: Add Fun and Movement to Data
Presenting data doesn’t have to be boring! You can animate donut charts with spinning and wedge effects to create eye-catching visuals that keep your audience engaged.
Here’s how to create spinning donut charts:
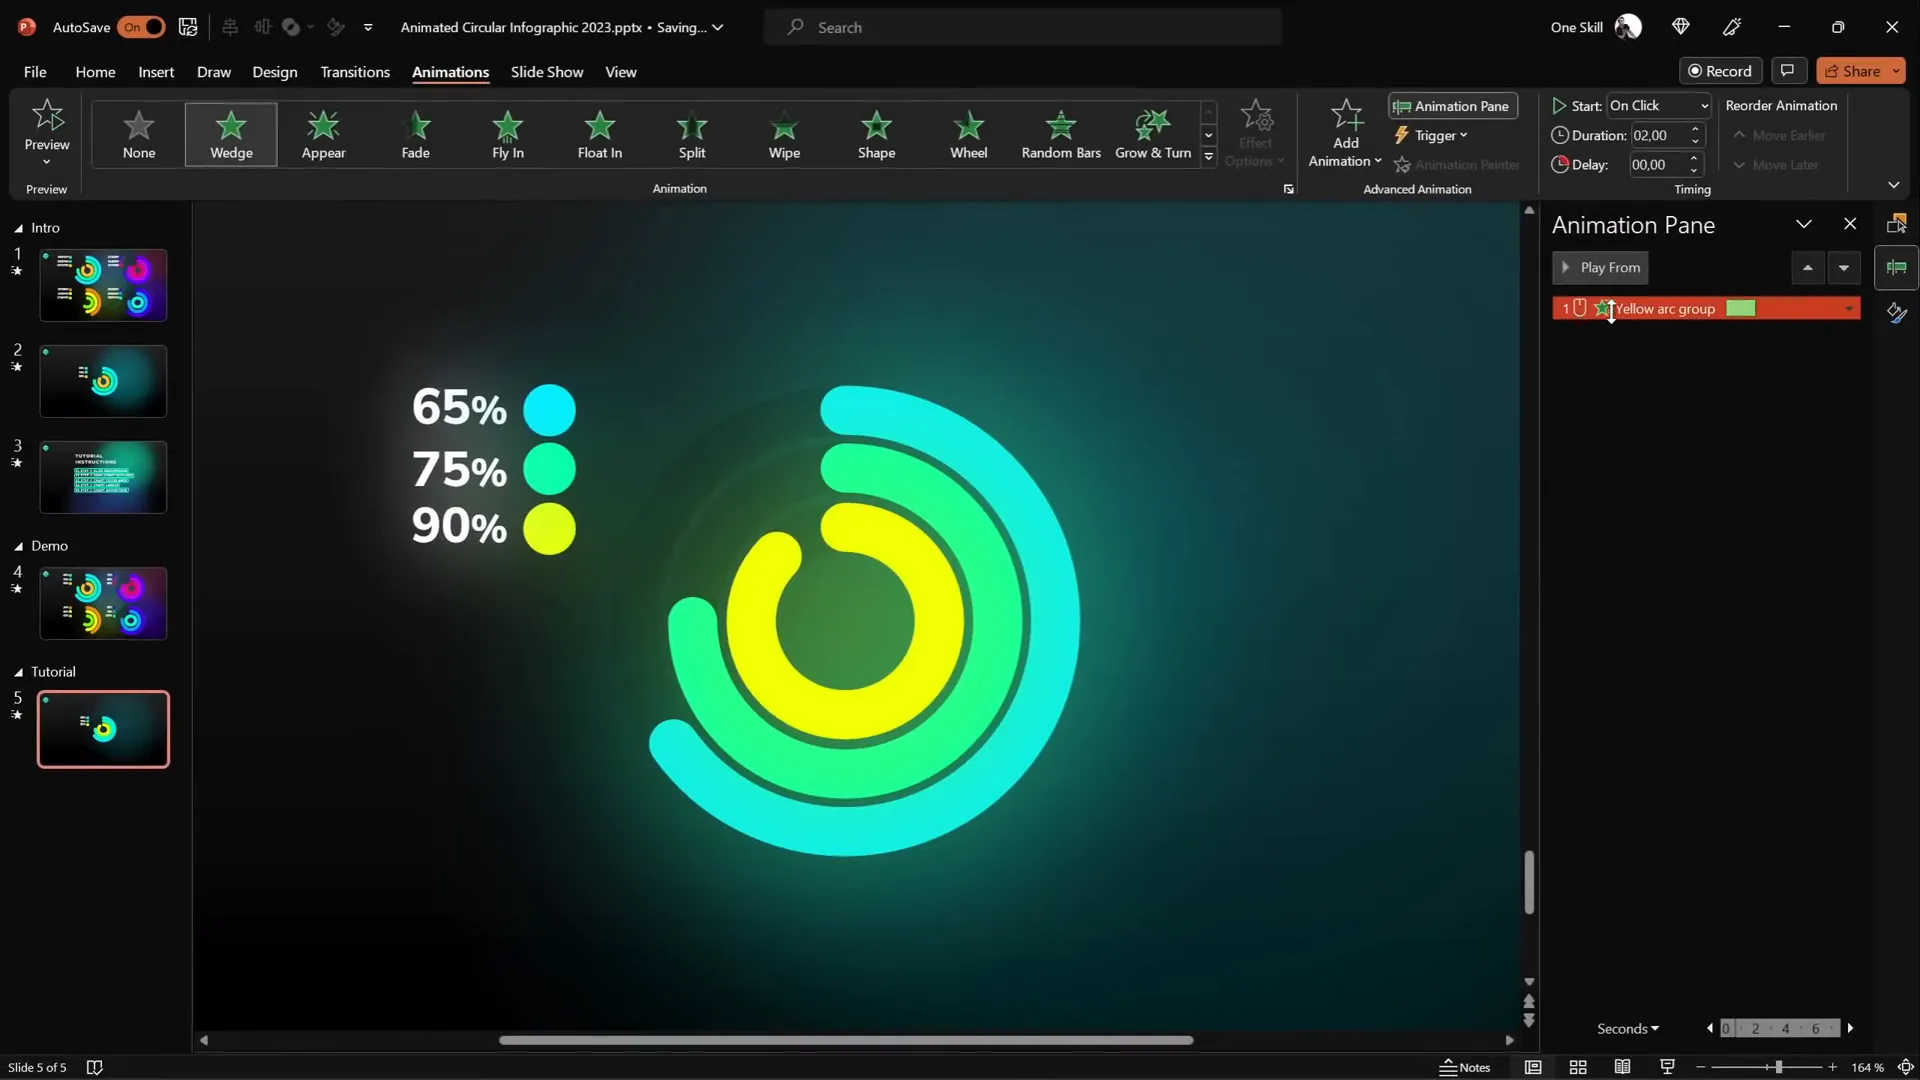
- Create Donut Shapes: Use the Arc shape tool while holding Shift to draw perfect arcs. Adjust the line width to about 20 points and set the cap type to round for smooth edges.
- Customize the Arc: Use the yellow handles to modify the arc length and shape to your liking, forming the donut segments.
- Apply Wedge Animation: Select the donut shape, go to More Entrance Animations, and choose the “Wedge” animation. Reduce the duration to 0.6 seconds for a quicker reveal.
- Add Spin Animation: Add a spin animation set to start with previous, with a 1-second duration. Change the spin amount to 1080 degrees (three full spins) and set the timing to half a second for a fast spin.
- Use Animation Painter: Copy these animations to other donut chart segments for uniform motion.
This combination of animations produces a futuristic spinning effect that’s both fun and visually informative.
Adjusting Donut Charts to Precise Percentages
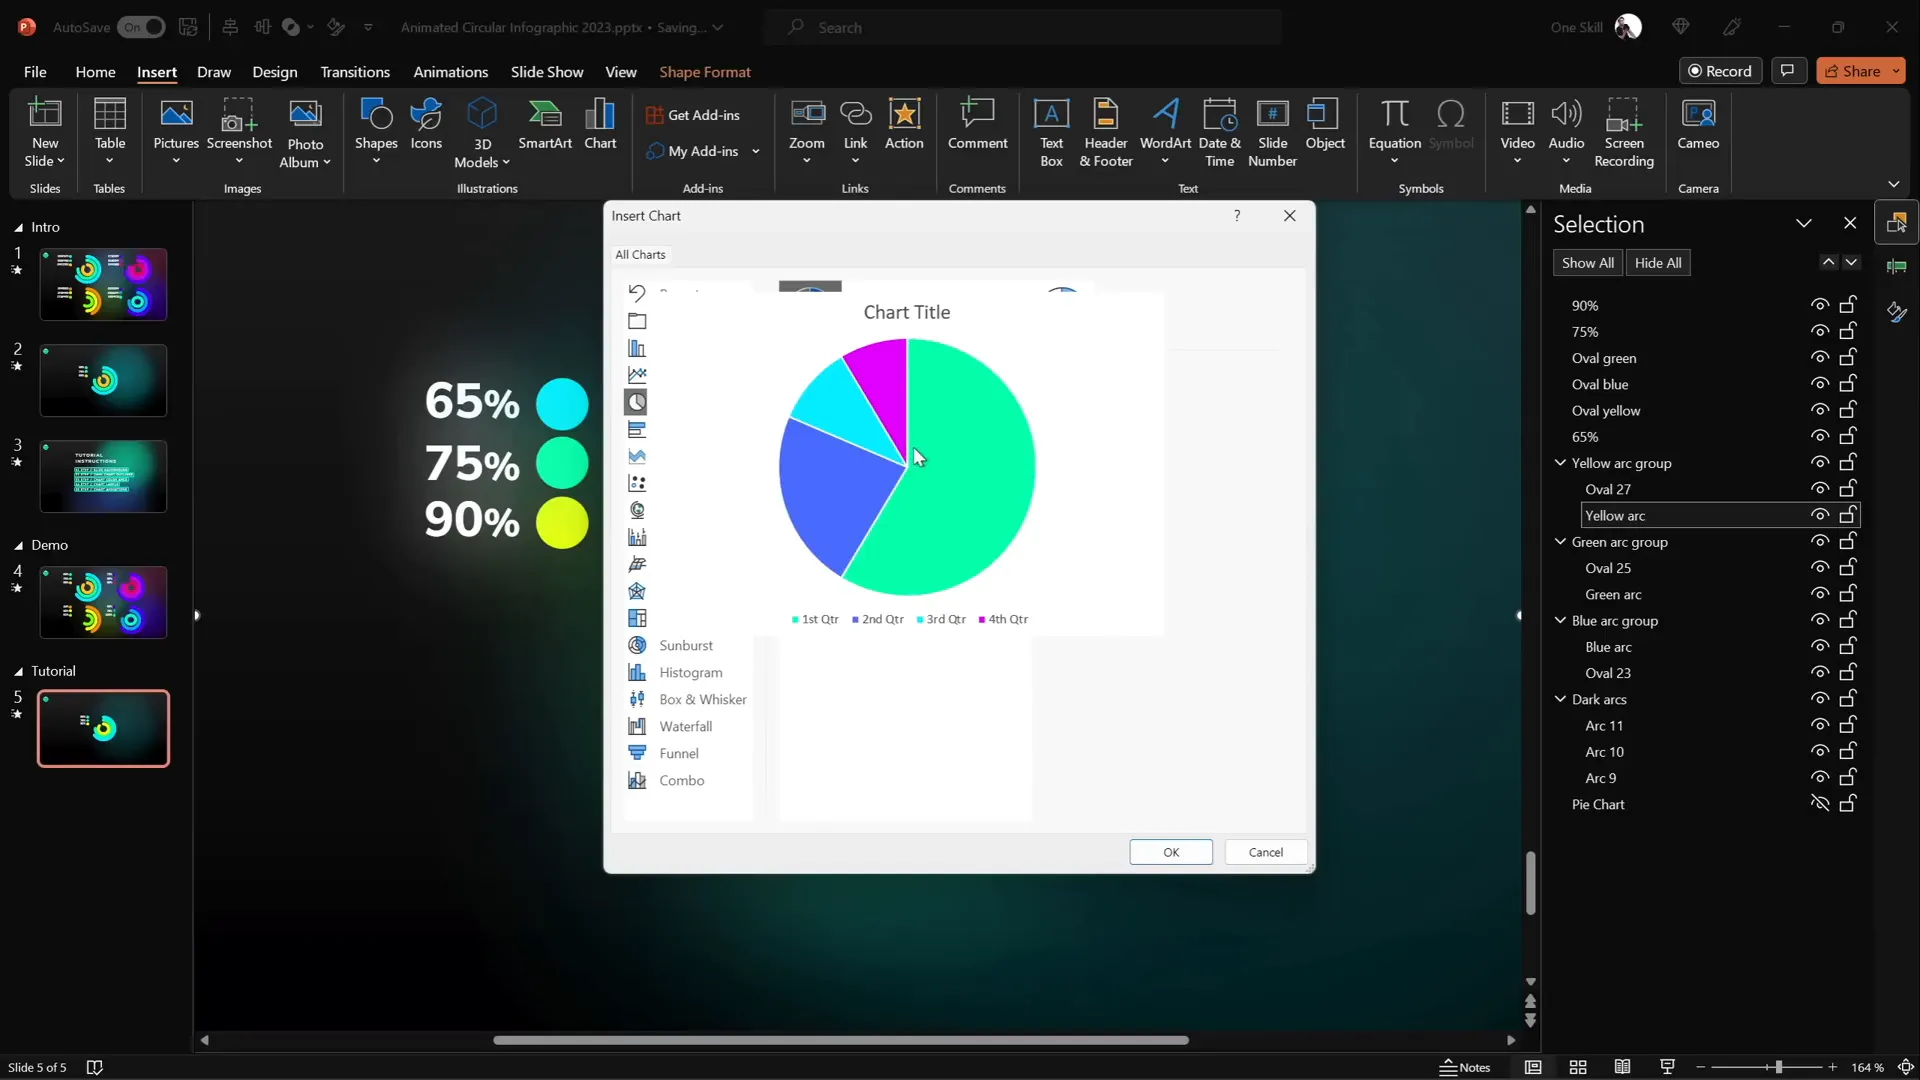
To ensure your donut charts represent exact percentages accurately, use a simple pie chart as a guide:
- Insert a Pie Chart: Go to Insert > Charts > Pie Chart and add it behind your donut charts.
- Edit Data: Right-click the pie chart and select Edit Data. Adjust the value in the data sheet to reflect your desired percentage (e.g., 85%).
- Align Donut Segments: Drag your donut chart segments so their edges align perfectly with the pie chart’s corresponding segment edges.
This method allows you to fine-tune your animated donut charts to represent data precisely while keeping the animation seamless and visually appealing.
Frequently Asked Questions (FAQ)
Q: Can I use these animation techniques in older versions of PowerPoint?
A: Some of these features, like Morph transition and advanced 3D rotation, require PowerPoint 2016 or later. However, you can still create many animations using basic tools in older versions, though with less polish.
Q: How do I ensure animations don’t distract from my message?
A: Use animations purposefully to highlight key points or transitions. Avoid overusing effects on every element. Subtle animations, like the floating motion path or slight spins, can add interest without overwhelming your audience.
Q: Can I export animated textures as video instead of GIF?
A: PowerPoint primarily supports exporting slides as GIFs for looping animations with transparency. For video, you can export as MP4, but transparency isn’t supported. GIFs are ideal for textures you want to overlay.
Q: How do I combine multiple animations on a single object?
A: Use the Add Animation button instead of replacing animations. This allows you to layer effects, such as spin plus motion path, and control their timing individually in the Animation Pane.
Q: Is the Morph transition better than traditional animations?
A: Morph is excellent for smooth, complex animations like rotating 3D text or moving objects between slides without setting multiple animation steps manually. It simplifies creating professional effects.
Conclusion: Animate Like a Pro and Impress Your Audience
Mastering PowerPoint animations elevates your presentations from ordinary to extraordinary. With these five advanced techniques—flip effects on slide zooms, animated textures, 3D rotating text with Morph, futuristic typewriter text animation, and spinning donut charts—you have a powerful toolkit to engage and inspire your audience.
Remember, animation is a storytelling tool. Use it wisely to emphasize your message, guide attention, and create a memorable experience. Experiment with these techniques, customize them to fit your style, and watch your presentations come alive.
For more inspiration and detailed tutorials, check out the amazing work by Interstellar PowerPoint, whose innovative ideas helped shape these methods.
Happy animating, and here’s to creating presentations that truly shine!
Check out the full video: Create PowerPoint ANIMATIONS Like a Pro ✨ feat. @interstellar_ppt


