

Welcome, dear friends! Today, we’re diving deep into the art of creating captivating looping animations in PowerPoint. Whether you want to make your slides more dynamic, breathe life into your illustrations, emphasize key elements, or craft engaging animated backgrounds, mastering looping animations is an invaluable skill.
In this comprehensive guide, inspired by the expertise of One Skill PowerPoint, you’ll discover five of the best ways to create looping animations in PowerPoint. Each method is illustrated with practical examples and step-by-step instructions to help you transform your presentations into visually stunning experiences.
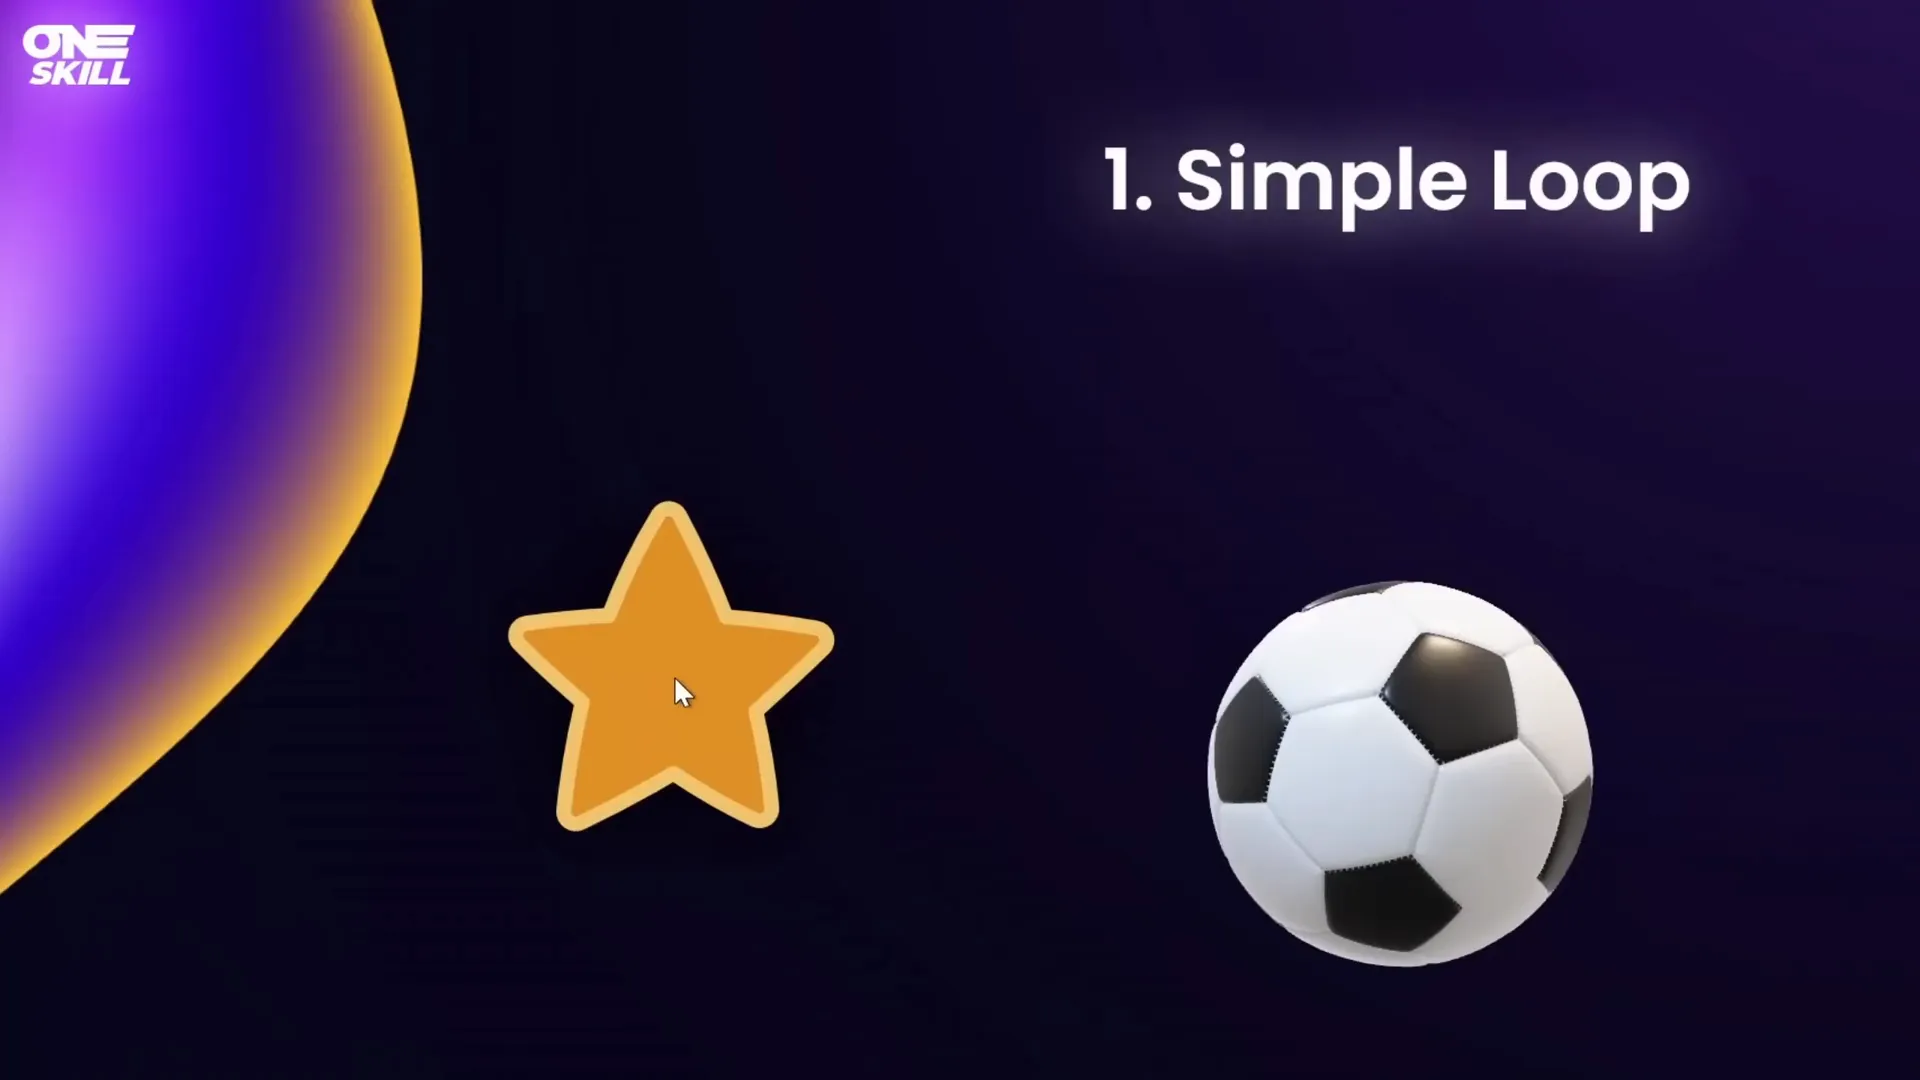
Table of Contents
- Introduction to Looping Animations in PowerPoint
- 1. Simple Loop or Simple Repeat Animation
- 2. Custom Motion Path Loops
- 3. Auto-Reversing Looping Animations
- 4. Seamless Loop Animations
- 5. Pause Loop Animation
- 6. Sequence Loop Animation
- 7. Bonus: Creating GIFs from PowerPoint Animations
- Conclusion
- Frequently Asked Questions (FAQ)
Introduction to Looping Animations in PowerPoint
Looping animations are animations that repeat continuously or for a specified number of times during a presentation. They can be simple, like a spinning icon, or complex, like a sequence of animations triggered repeatedly. The beauty of looping animations is their ability to add energy and focus to your slides without overwhelming your audience.
Here are some amazing things you can achieve with looping animations:
- Make your slides more dynamic and engaging
- Bring illustrations and 3D models to life
- Highlight specific areas or elements on the slide
- Create animated backgrounds that subtly enhance your message
- Design interactive elements like spinning wheels or pulsing buttons
Let’s jump right into the five best ways to create looping animations in PowerPoint!
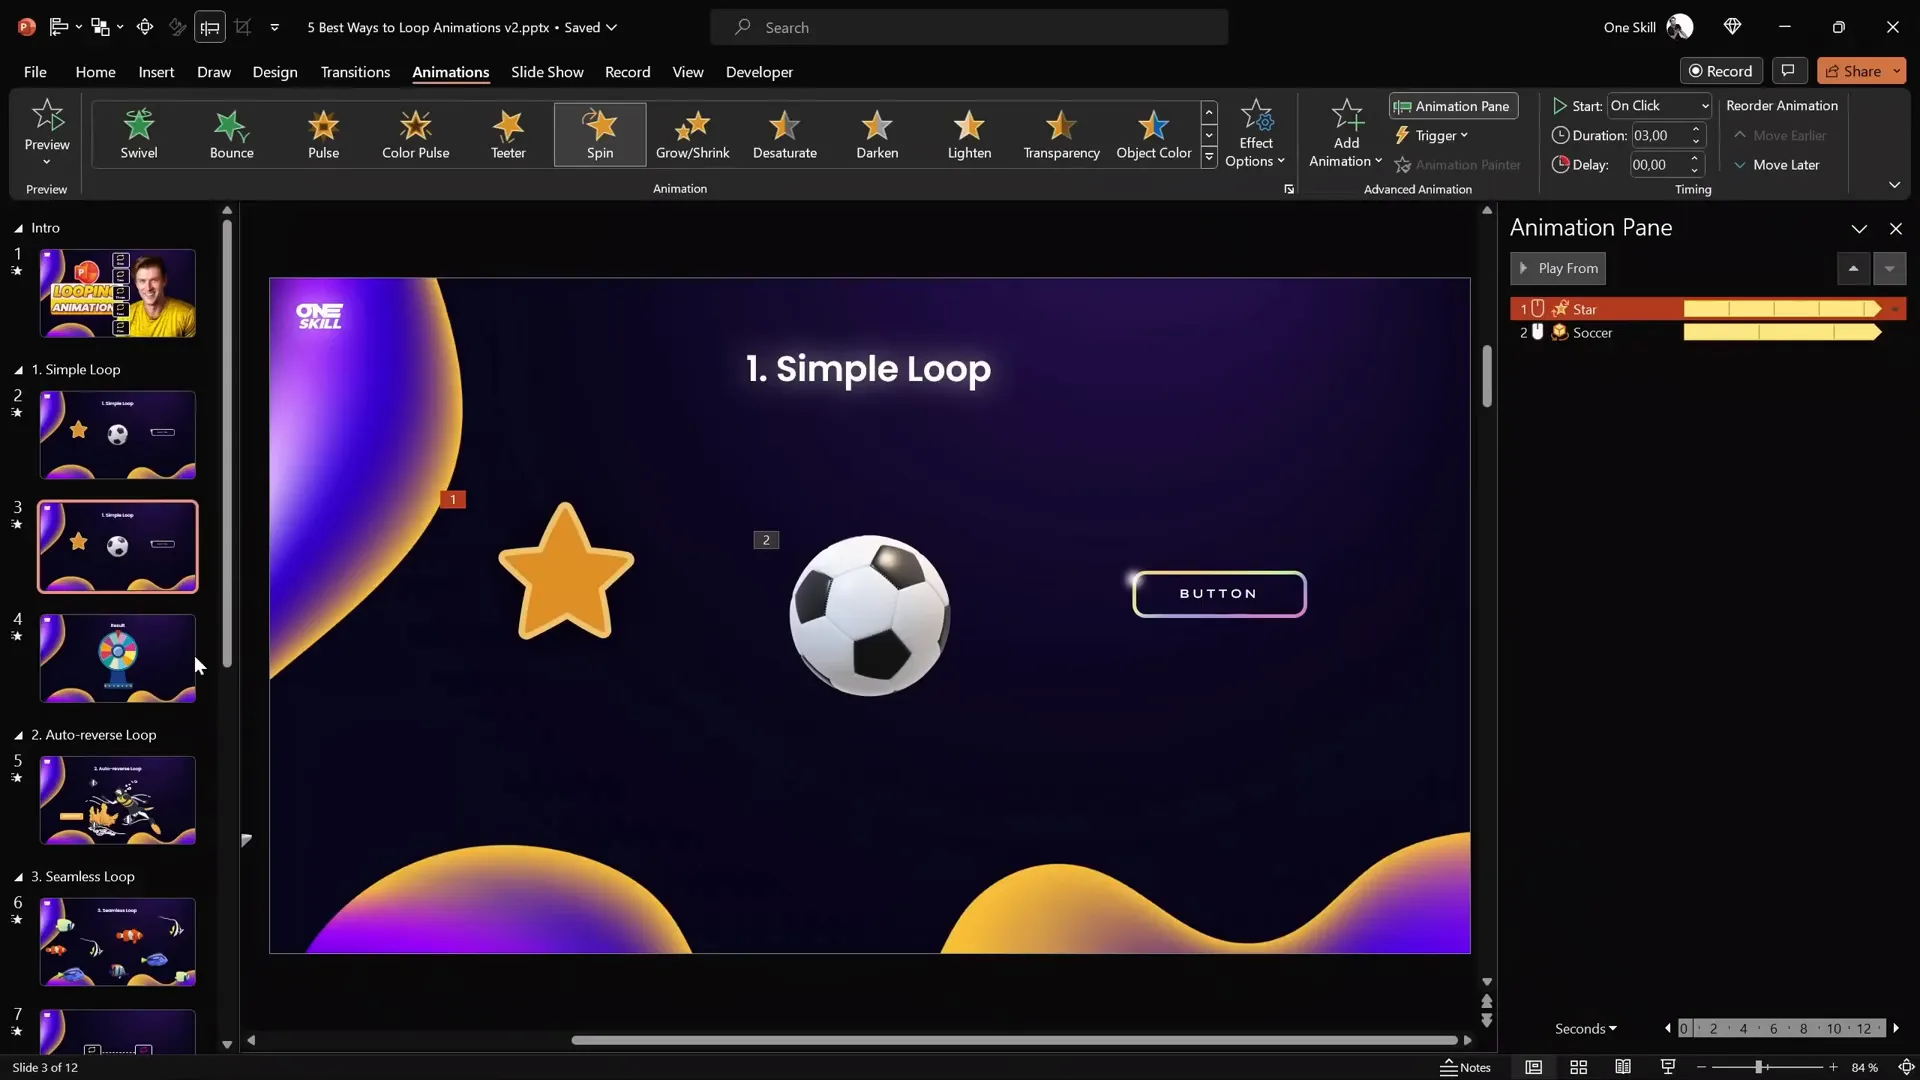
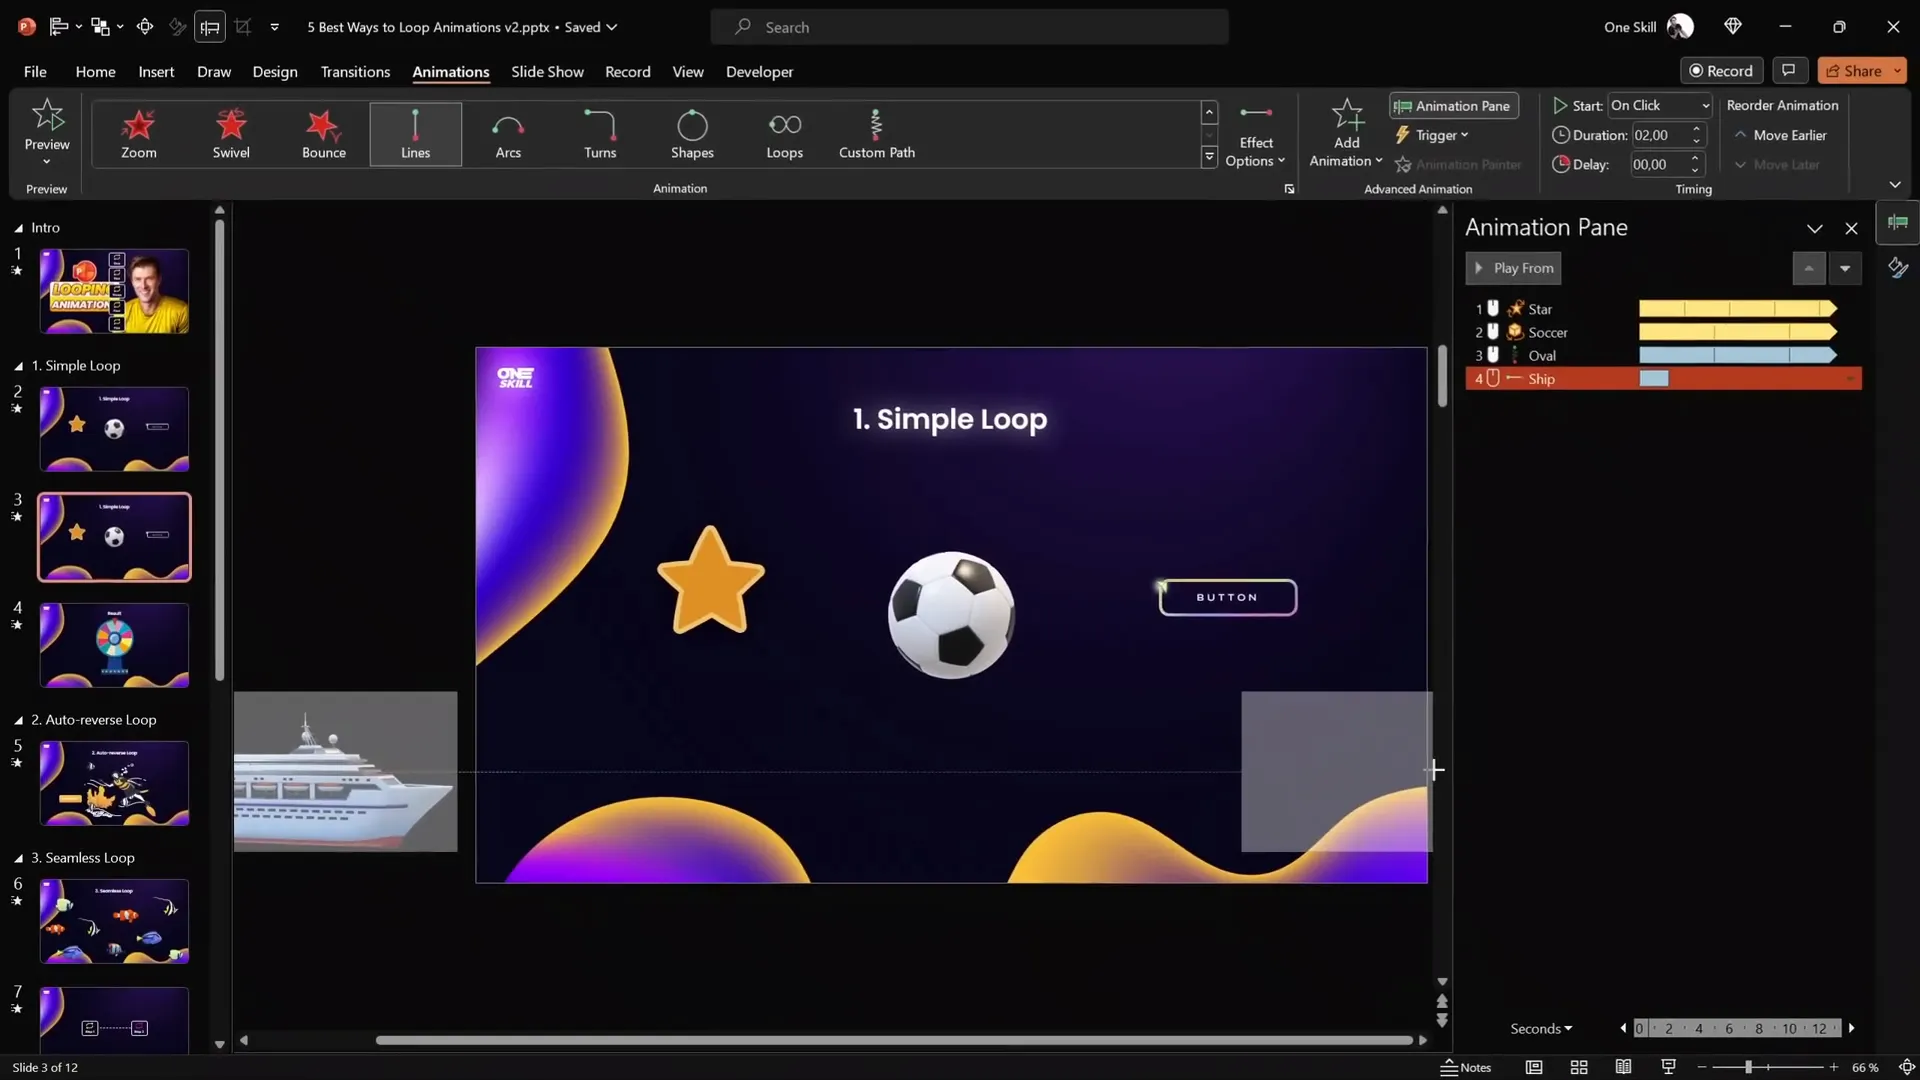
1. Simple Loop or Simple Repeat Animation
The simplest way to create a looping animation is to set an animation to repeat continuously or until the end of the slide. This technique is perfect for animations like spinning icons, rotating 3D models, or moving highlights.
Examples of Simple Loops
- A small star spinning endlessly
- A 3D soccer ball rotating on its axis
- A highlight moving around the edges of a rounded rectangle
- A ship moving from left to right on a motion path
- Text with a wave effect continuously repeating
Here’s how to create such a simple looping animation:
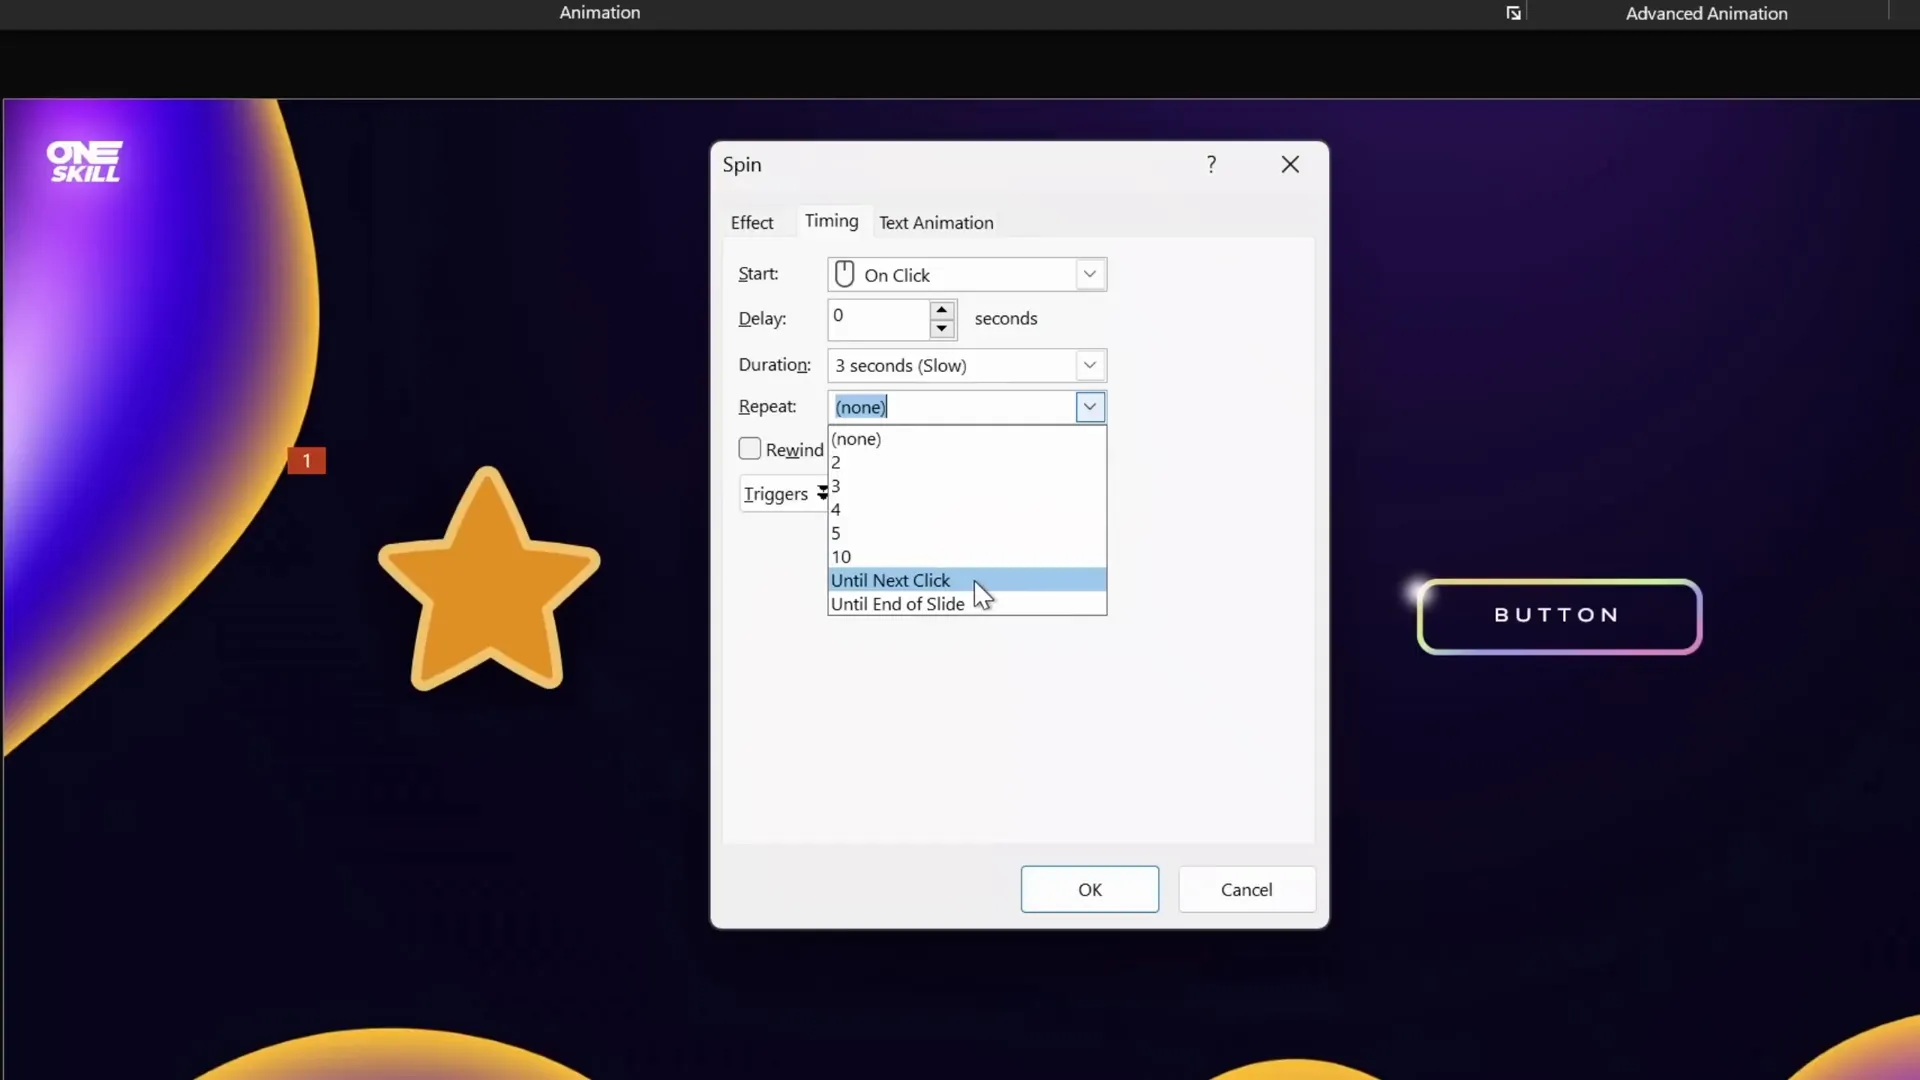
Step-by-Step: Creating a Spinning Star Loop
- Select the object (e.g., the star).
- Go to the Animations tab and click Add Animation.
- Choose the Spin animation.
- Set the Start to On Click and the Duration to 3 seconds.
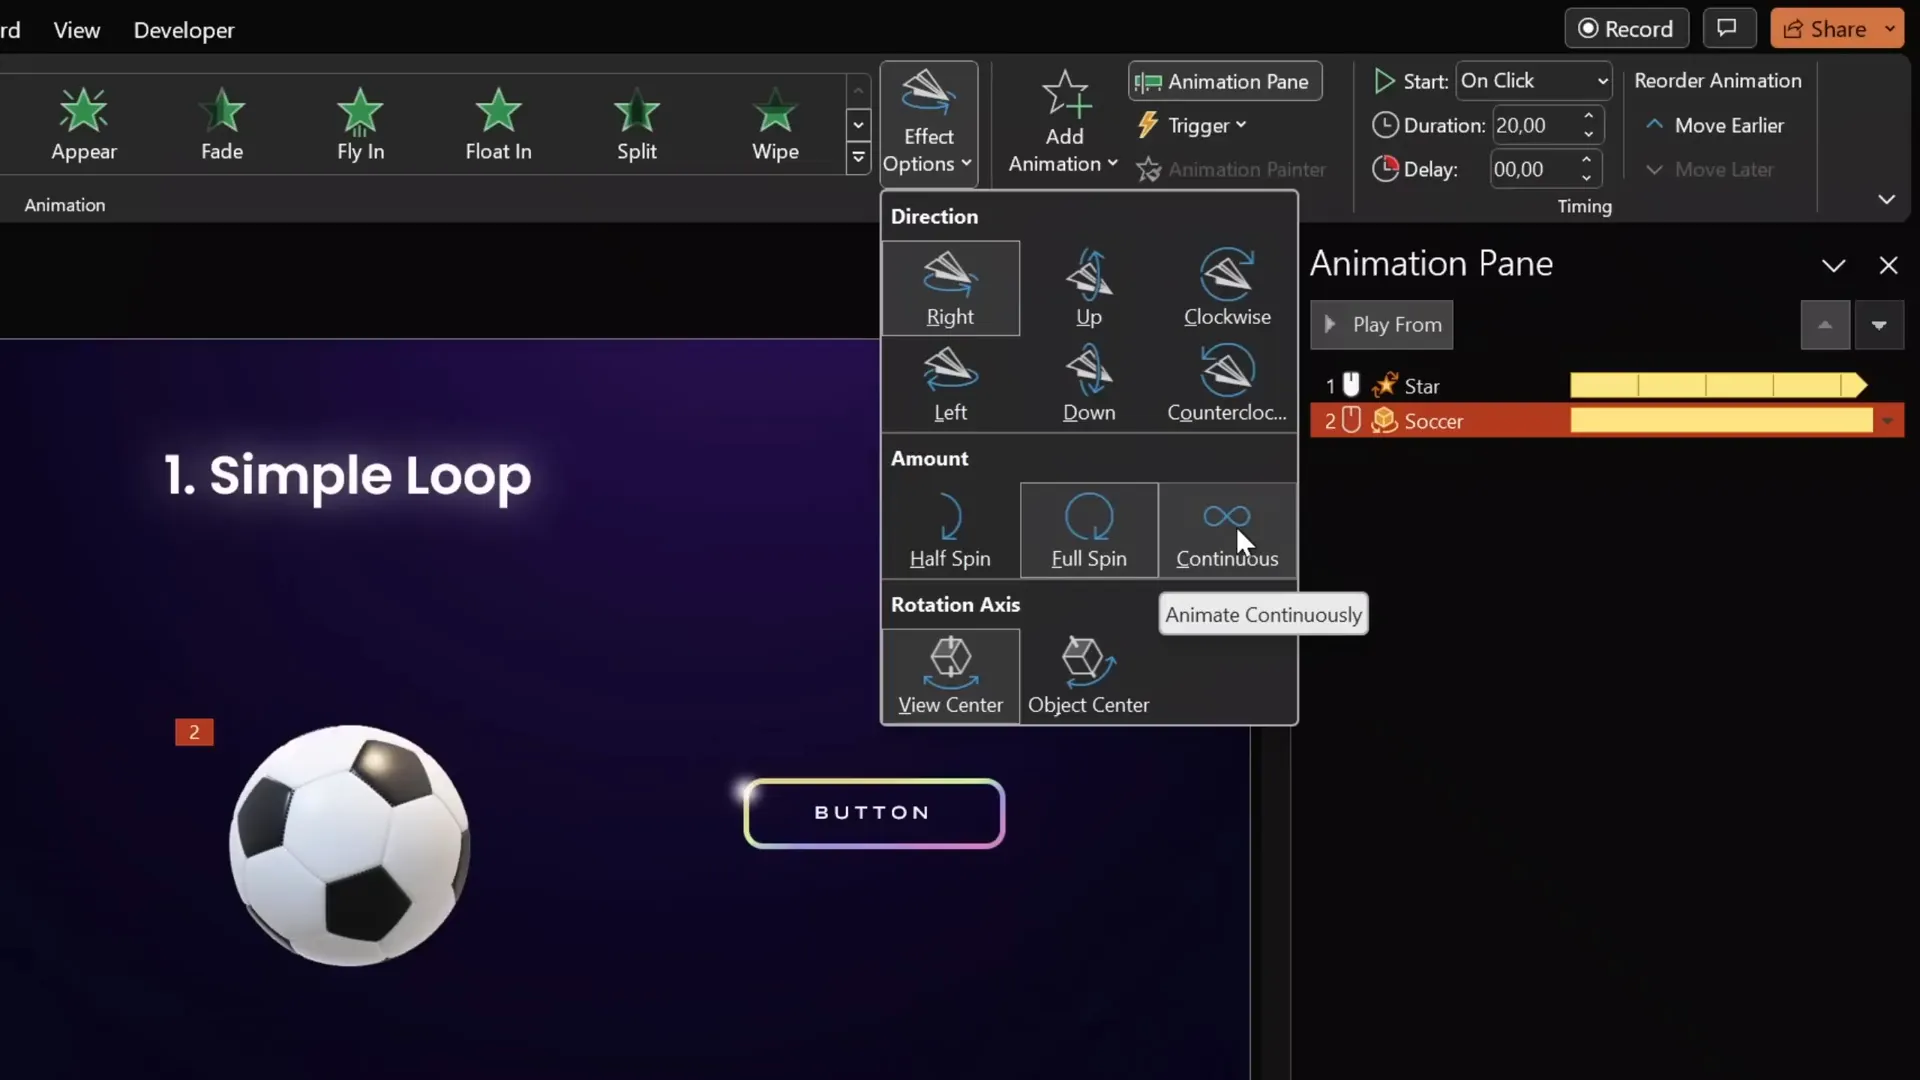
- In Effect Options, choose the spin direction (clockwise) and amount (full spin).
- Open the animation options by double-clicking the animation in the Animation Pane.
- Under the Timing tab, set Repeat to Until End of Slide.
- Click OK and preview your animation in full screen.
This will make the star spin endlessly throughout the slide.
Looping 3D Models
PowerPoint supports 3D models with special animations. For example, the Turntable animation spins a 3D object continuously.
To loop a 3D model:
- Select the 3D model.
- Go to Animations and find the 3D Animation section.
- Choose the Turntable animation.
- Under Effect Options, set the Amount to Continuous to loop indefinitely.
- Adjust the duration as desired (e.g., 5 seconds for faster rotation).
Looping Until Next Click
You can also set an animation to loop until the next click. This means the animation will repeat until you click again, at which point it will stop and another animation can start. This is especially useful for interactive elements like a spinning wheel.
For example, a spinning wheel of fortune can spin indefinitely until the presenter clicks to stop it, revealing the result.
Creating a Wheel of Fortune Spin
To make a wheel of fortune animation:
- Create or insert the colorful wheel (available from free sources like Freepik).
- Add a Spin animation to the wheel, set to start On Click.
- Set the duration to 1 second and the repetition to Until Next Click.
- Add a Fade animation to a text box that will show the result, starting On Click (the next click).
- Click once to spin the wheel, and click again to stop the wheel and reveal the result.
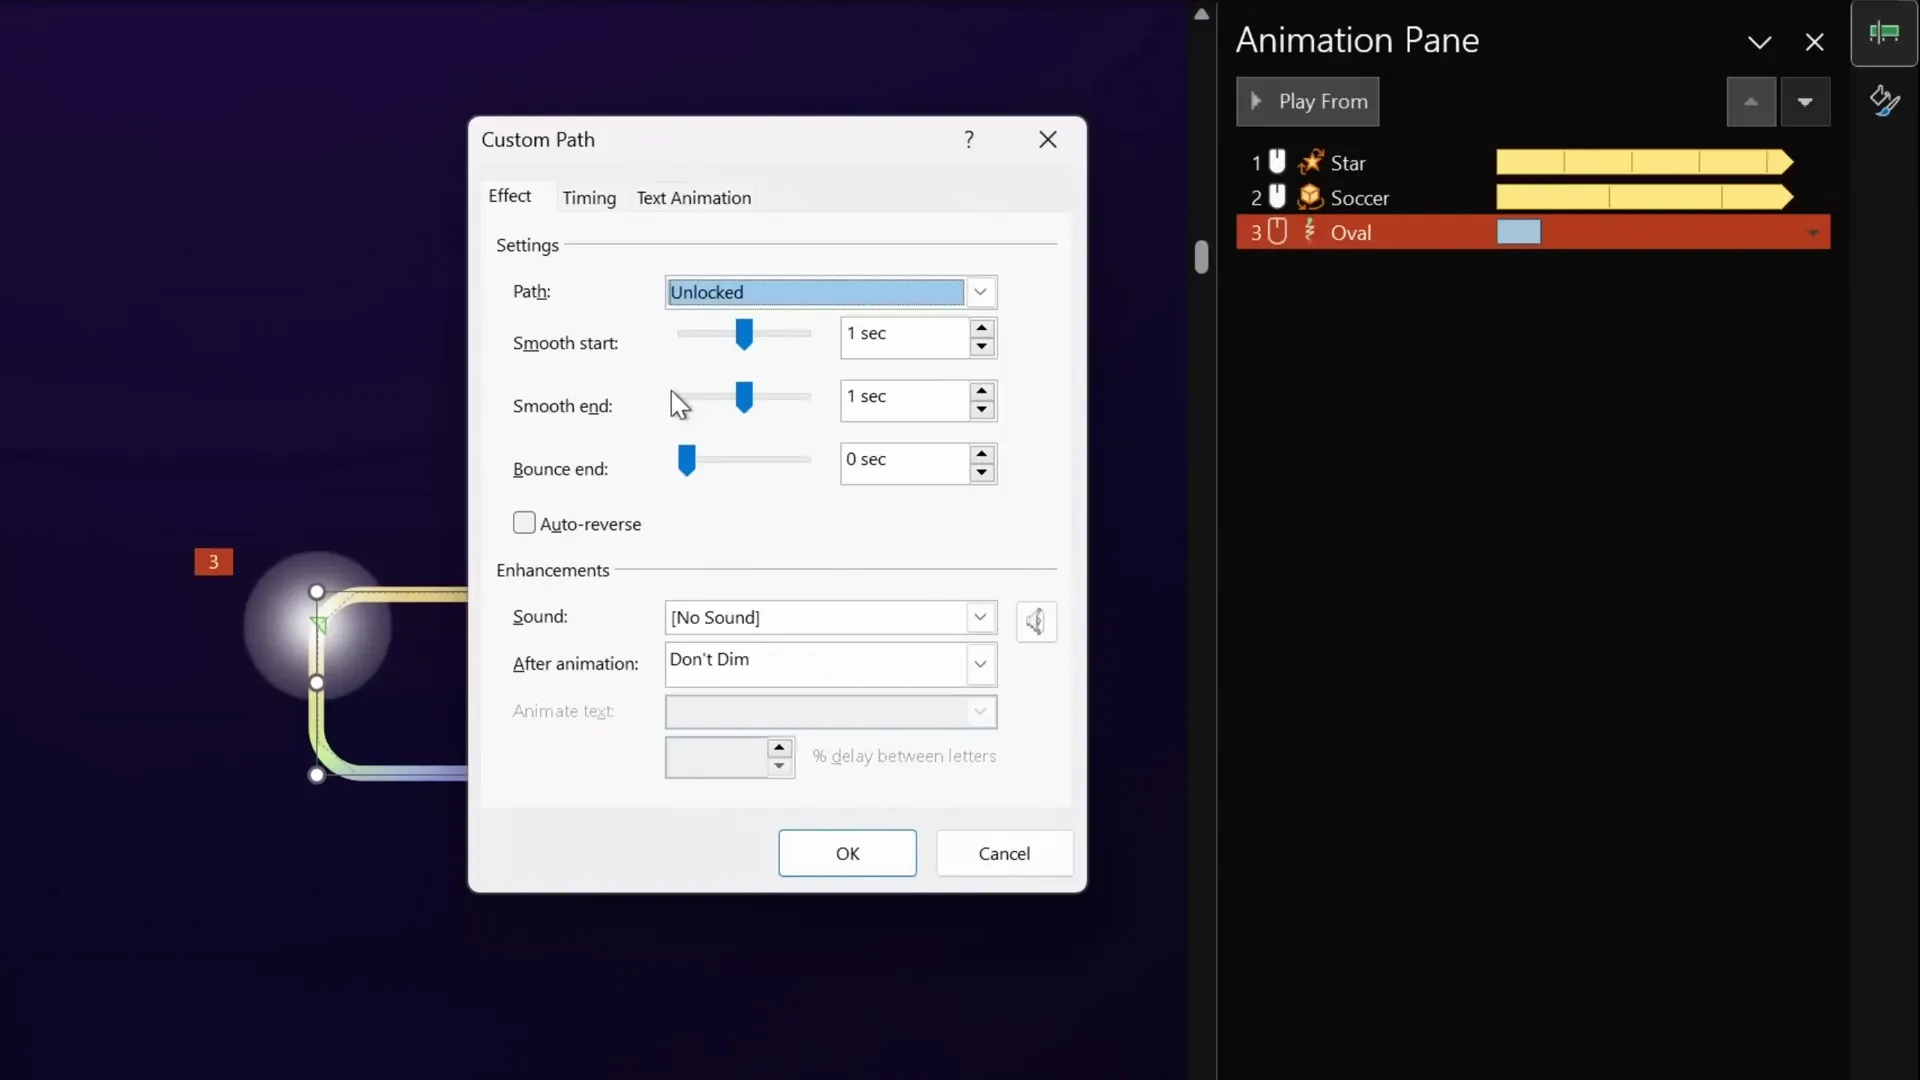
2. Custom Motion Path Loops
Custom motion paths allow you to create custom-shaped loops, such as a highlight moving around the edges of a shape or an object moving along a complex path.
Creating a Highlight Moving Around a Rounded Rectangle
Here’s how you can make a highlight follow the edges of a rounded rectangle:
- Create a small circle with a radial gradient fill (white to transparent) and add a soft edges effect for smoothness.
- Select the circle and go to Animations > Add Animation > Motion Paths > Custom Path.
- Click around the corners of the rounded rectangle to create a polygonal path that follows the edges.
- Connect the end point to the starting point to complete the loop.
- Open the animation options and remove smooth start and end.
- Set the repetition to Until End of Slide and adjust the duration (e.g., 5 seconds).
Looping a 3D Ship Moving Across the Slide
You can animate 3D models along motion paths as well. For example, a ship model moving from left to right:
- Position the ship just outside the left edge of the slide.
- Add a Motion Path: Line animation going to the right.
- Extend the end point beyond the right edge of the slide.
- Remove smooth start and end for consistent speed.
- Set the animation to repeat Until End of Slide.
- Adjust duration to control speed (e.g., 10 seconds for slower movement).
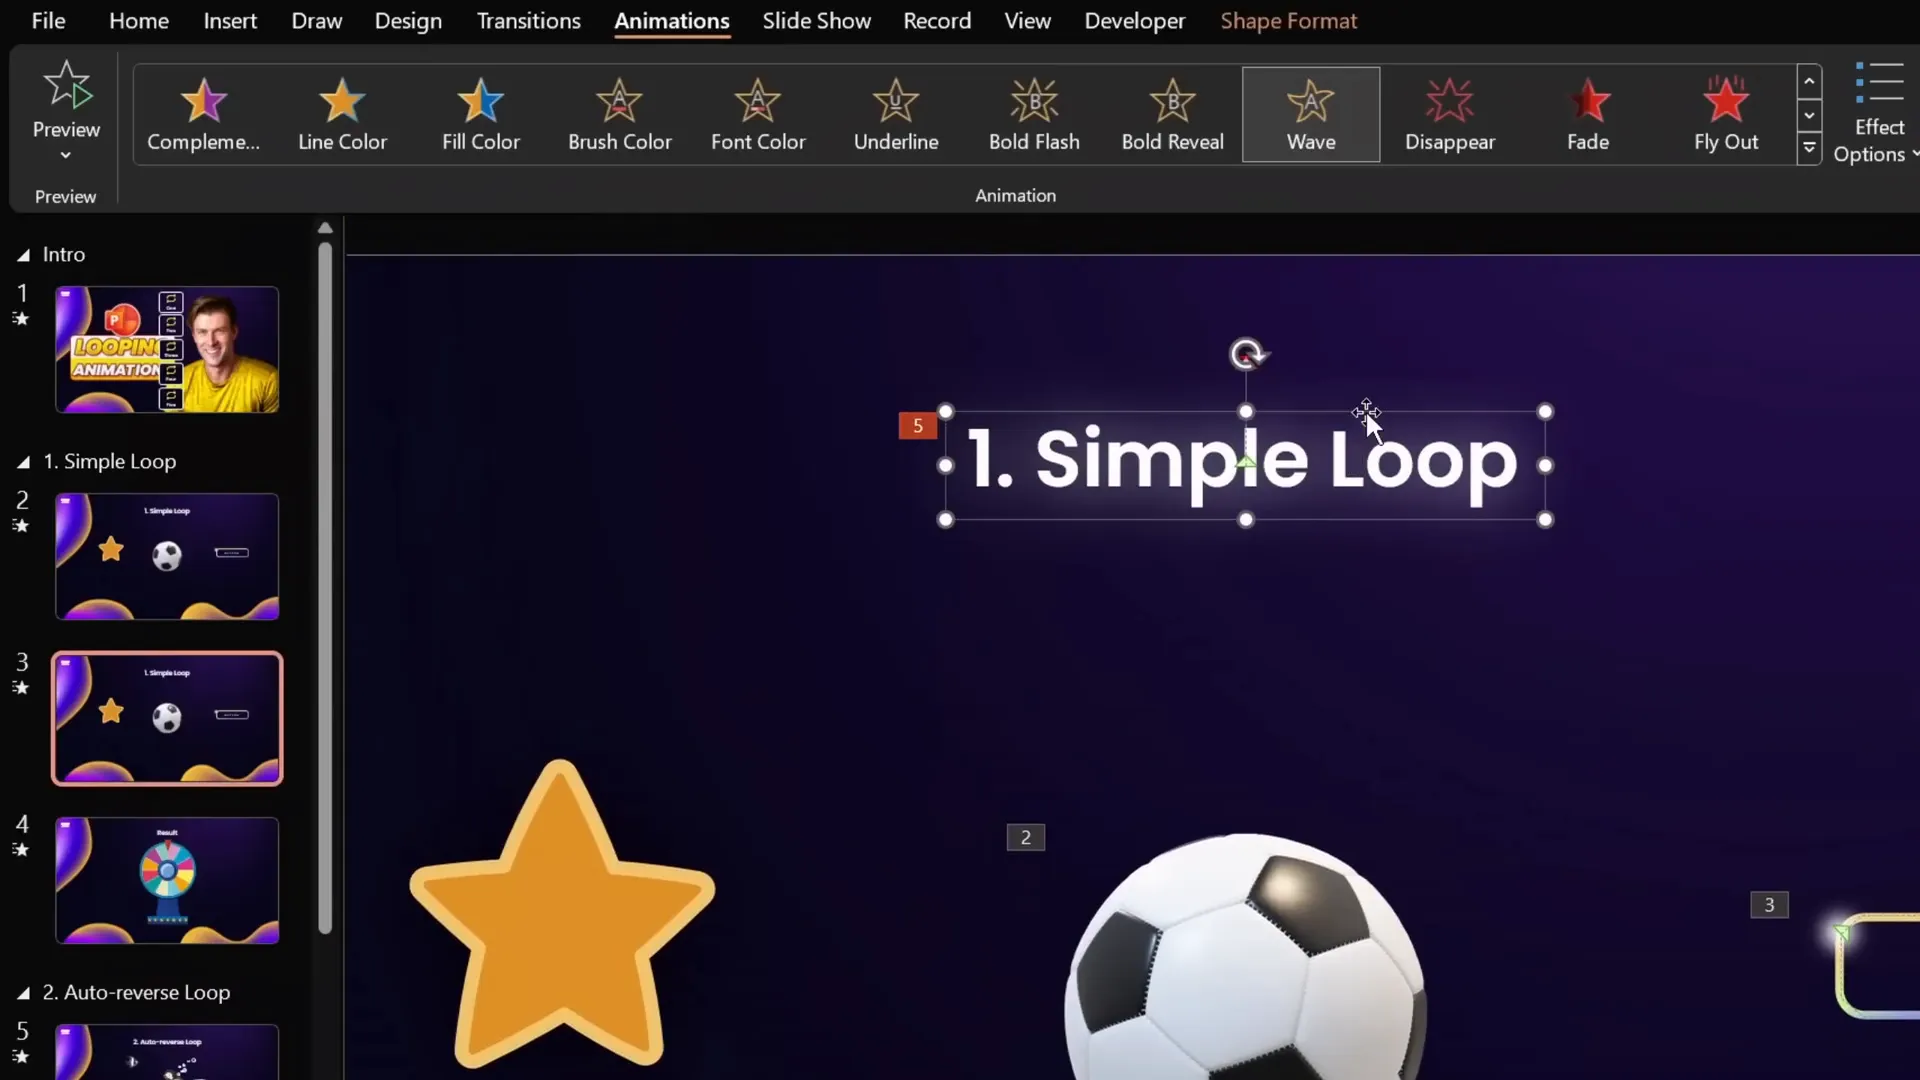
Looping Text Wave Animation
Text animations like the Wave effect can also be looped to add an elegant dynamic touch to slide titles or headings.
Steps to create a looping text wave:
- Select your text box.
- Go to Animations > Add Animation > Emphasis > Wave.
- Adjust the wave height by dragging the red endpoint bubble.
- In animation options, animate by letter with a 10% delay.
- Set repetition to Until End of Slide.
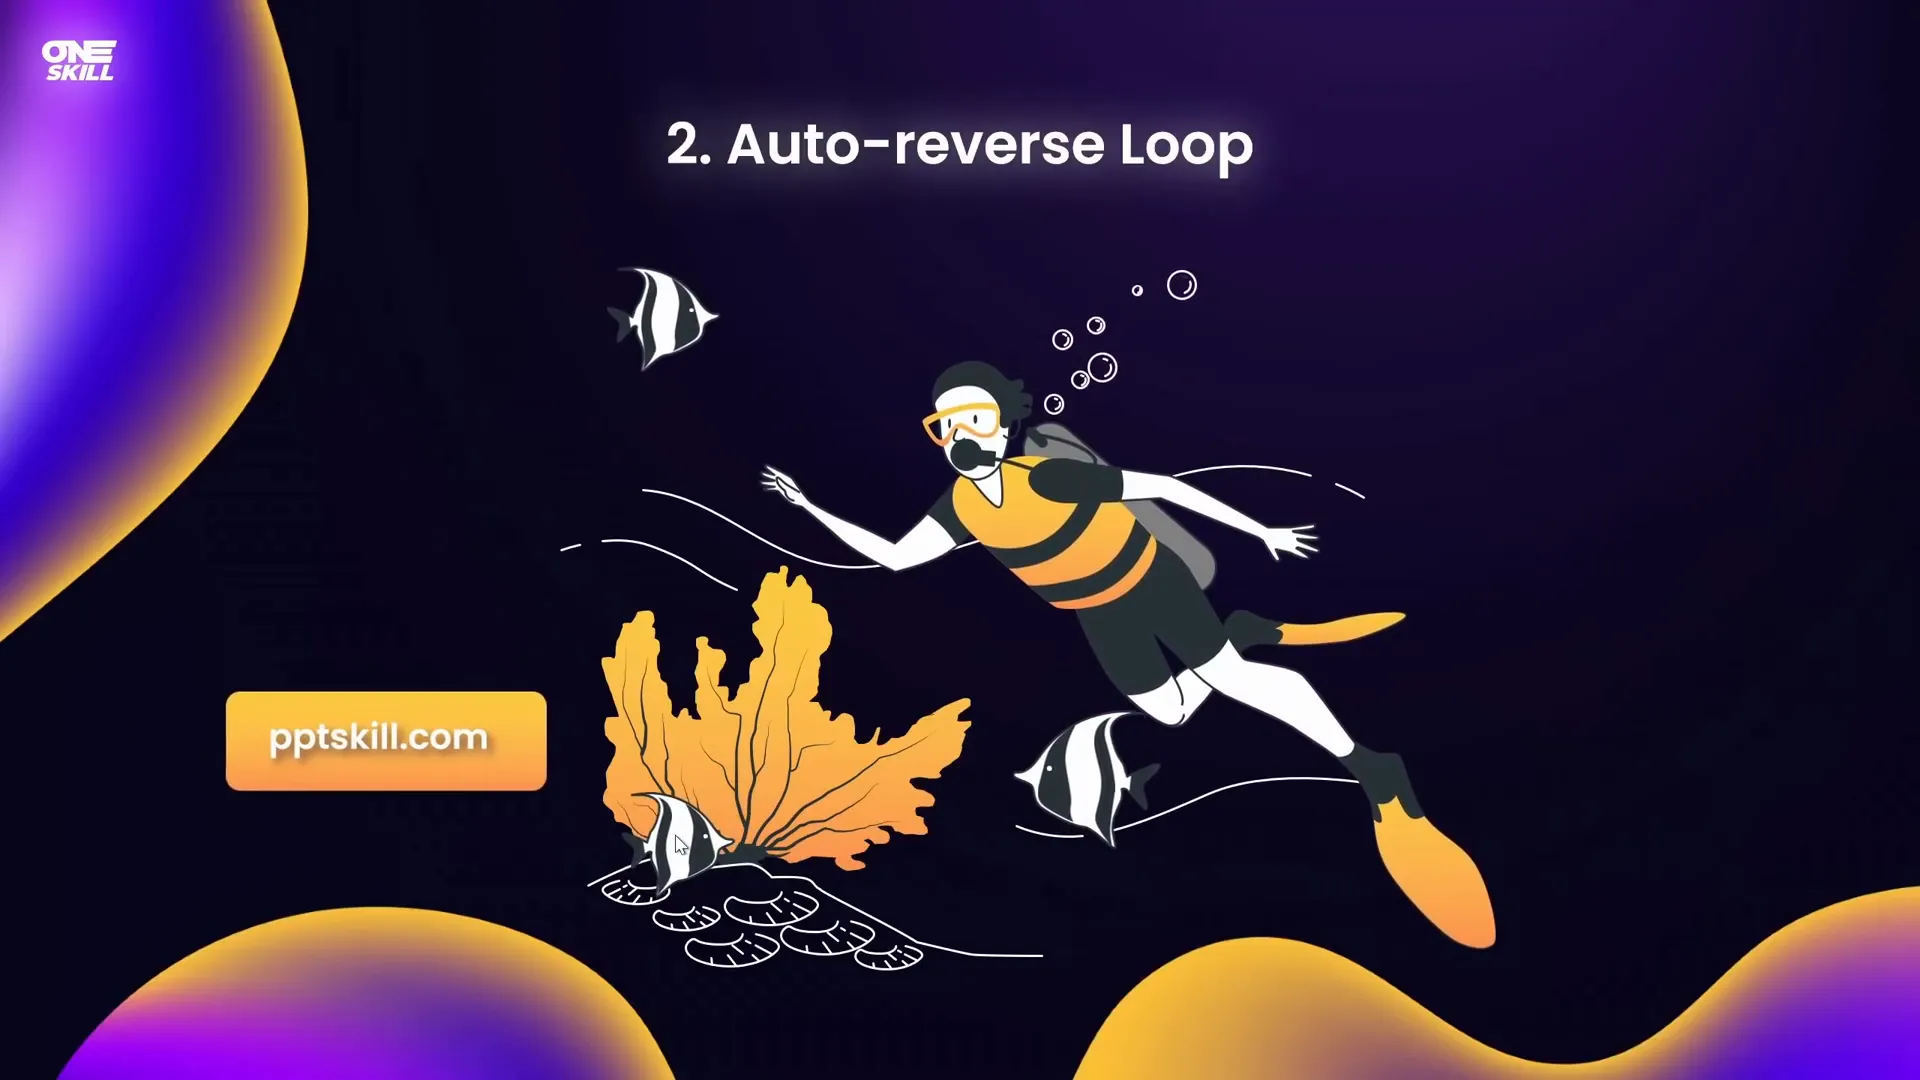
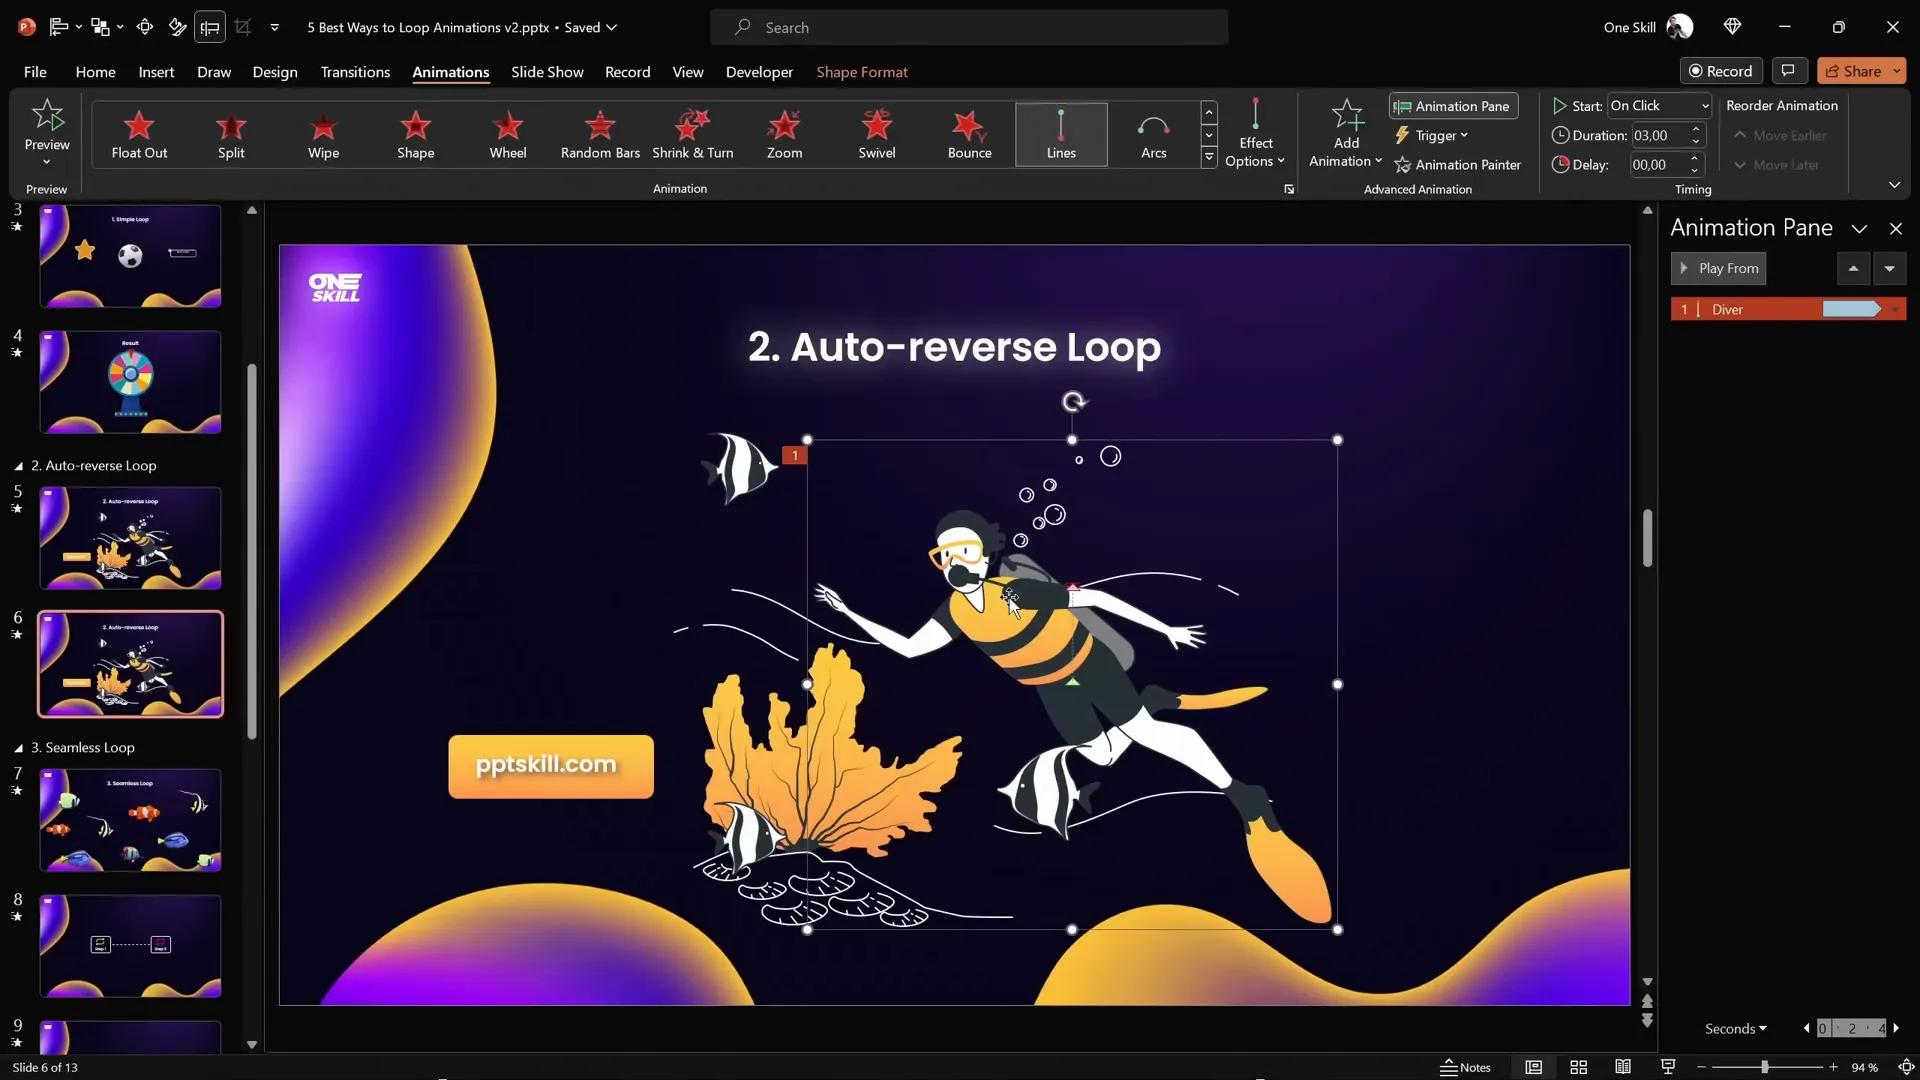
3. Auto-Reversing Looping Animations
Auto-reversing animations move an object back and forth along a path or change size repeatedly, creating a natural, smooth looping effect. Examples include a diver bobbing up and down, fishes swimming side to side, or buttons pulsing.
Creating Auto-Reversing Motion Path Animations
- Select the object (e.g., a diver).
- Add a Motion Path: Line animation going up or sideways.
- Adjust the end point to set how far the object moves.
- Enable the Auto Reverse checkbox in the animation options.
- Set repetition to Until End of Slide.
- Adjust duration to control speed.
Using Animation Painter to Save Time
You can quickly apply the same animation to multiple objects using the Animation Painter:
- Select the animated object.
- Click Animation Painter.
- Click the target object to apply the animation.
- Adjust motion path endpoints and durations individually as needed.
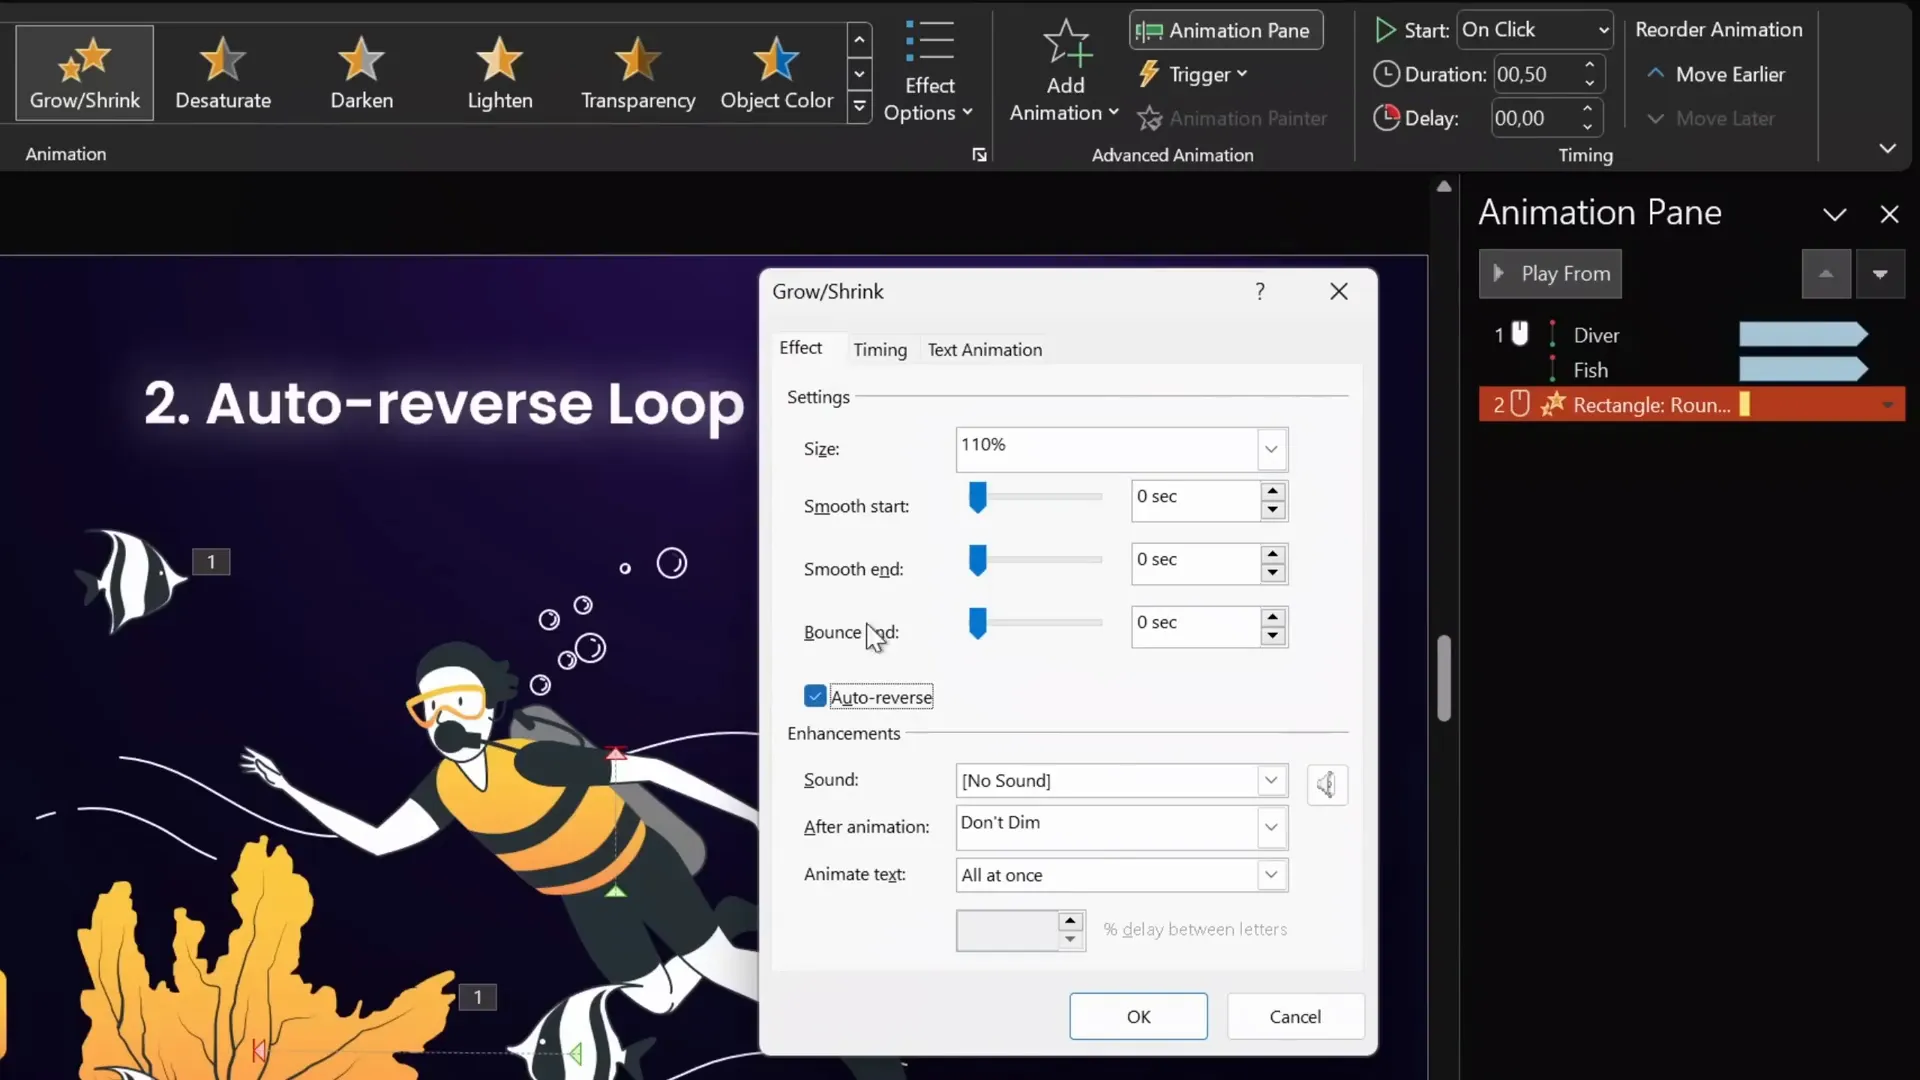
Creating a Pulsing Button
The Grow/Shrink animation with auto reverse and repetition creates a pulsing effect:
- Select the button.
- Add a Grow/Shrink animation.
- Set duration to around 0.5 seconds.
- Set grow percentage to a subtle increase (e.g., 110%).
- Enable auto reverse and set repetition to Until End of Slide.
- Adjust duration to speed up or slow down pulsing.
4. Seamless Loop Animations
Seamless loops create the illusion of continuous motion without visible jumps or resets. This technique is perfect for backgrounds, flowing lines, or any element you want to move infinitely.
Creating a Seamless Loop with Moving Fishes
To create a seamless loop of fishes swimming across the slide:
- Insert a rectangle covering the entire slide background.
- Select all fish and the rectangle, and group them.
- Duplicate the group and move the copy to the left side, adjacent to the original.
- Change the duplicate rectangle’s fill color to differentiate it temporarily.
- Group both large groups into one mega group.
- Add a Motion Path: Line animation moving right.
- Adjust the end point so the duplicate group aligns perfectly with the original, creating a seamless transition.
- Remove smooth start and end, no auto reverse.
- Set repetition to Until End of Slide and adjust duration (e.g., 10 seconds).
- Make the rectangles invisible by setting their fill to No Fill.

Now the fishes swim continuously with new fish appearing seamlessly.
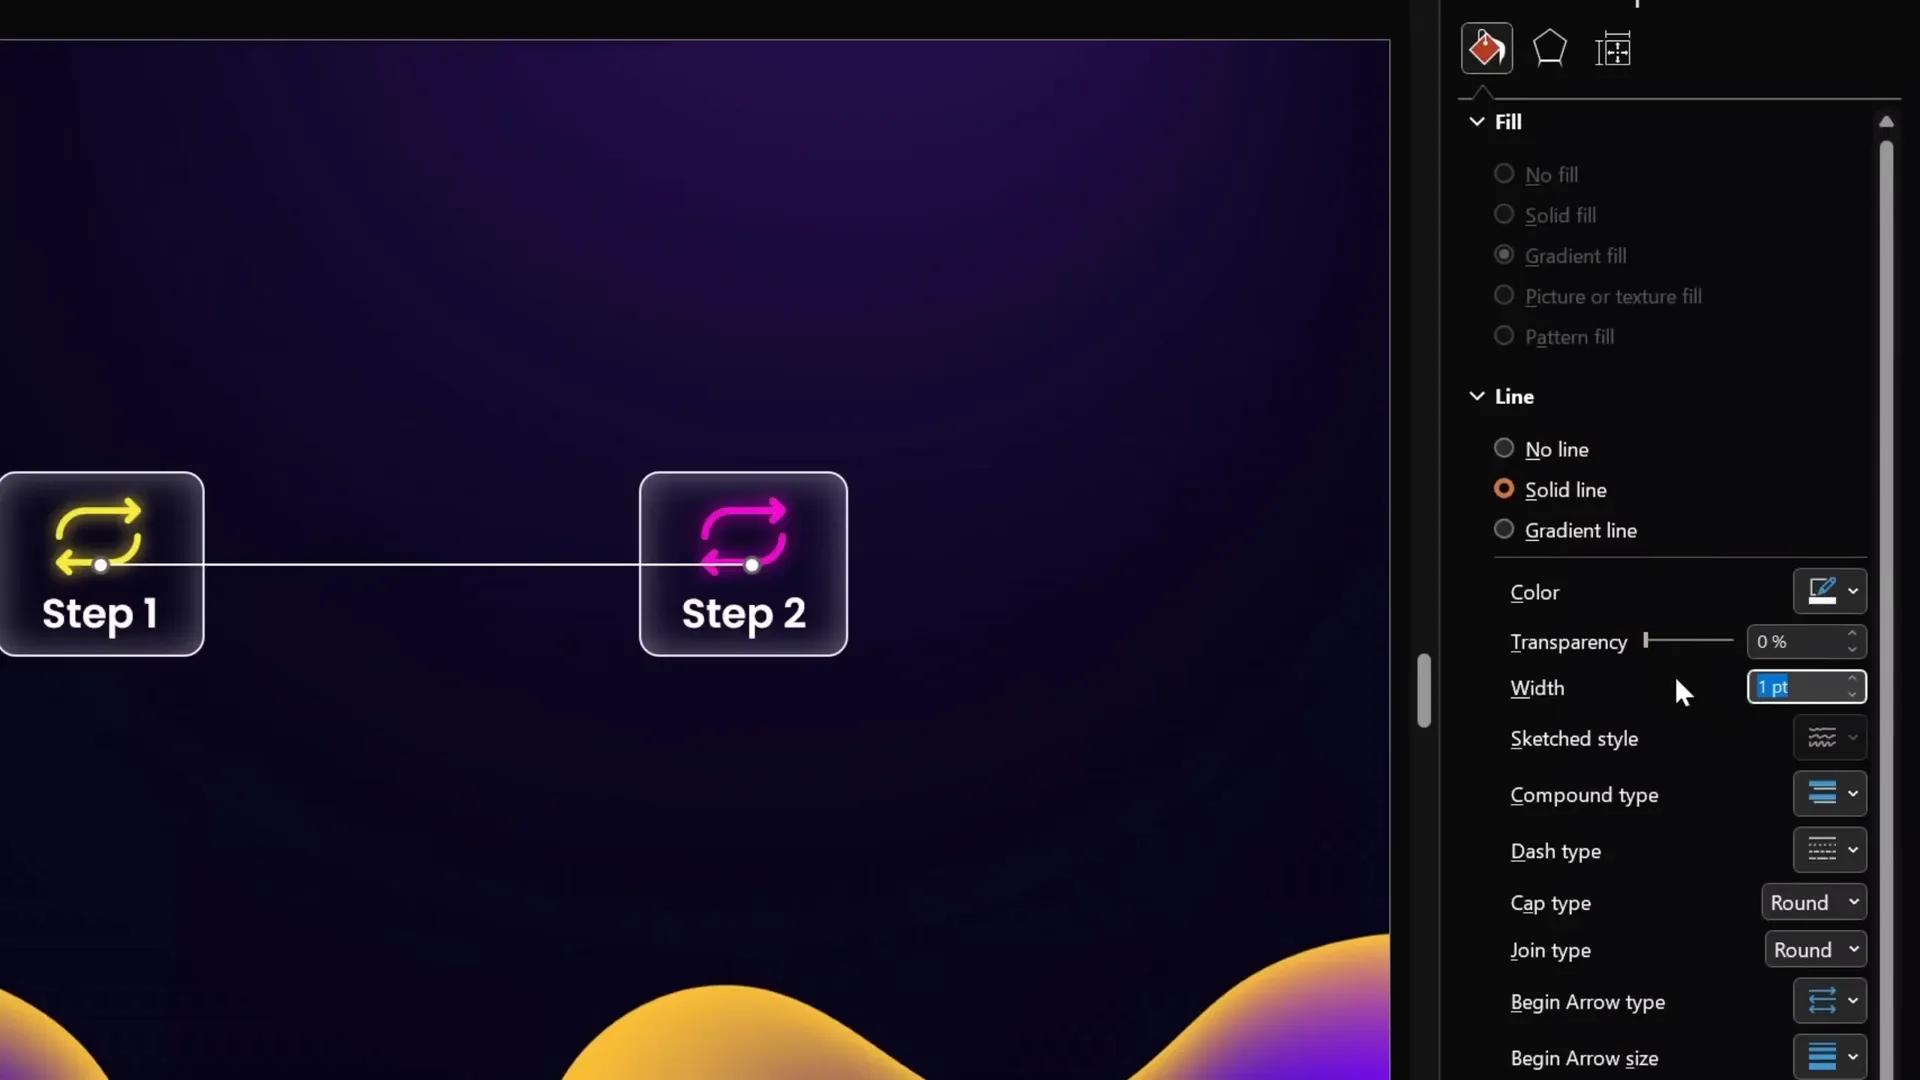
Animating a Seamless Moving Dotted Line
You can apply the seamless loop technique to a dotted line moving across the slide between two boxes:

- Draw a dashed line between the boxes.
- Duplicate the line, change its color for visibility, and align it precisely next to the original.
- Group both lines into one group.
- Add a Motion Path: Line animation moving right.
- Adjust the end point so the duplicated line overlaps the original perfectly.
- Use rectangles filled with the slide background color to mask the ends of the line, creating an invisible boundary.
- Set animation to repeat Until End of Slide with no smooth start or auto reverse.
Seamless Looping Background with Moving Dots
The seamless loop technique also works great for background animations, such as dots moving upward continuously:
- Fill the slide with small dots.
- Duplicate the dots group and position it just below the slide.
- Group all dots into a single group.
- Add a Motion Path: Line animation moving upward.
- Set repetition to Until End of Slide and duration to a longer time (e.g., 17 seconds).
- Remove smooth start and end for constant speed.
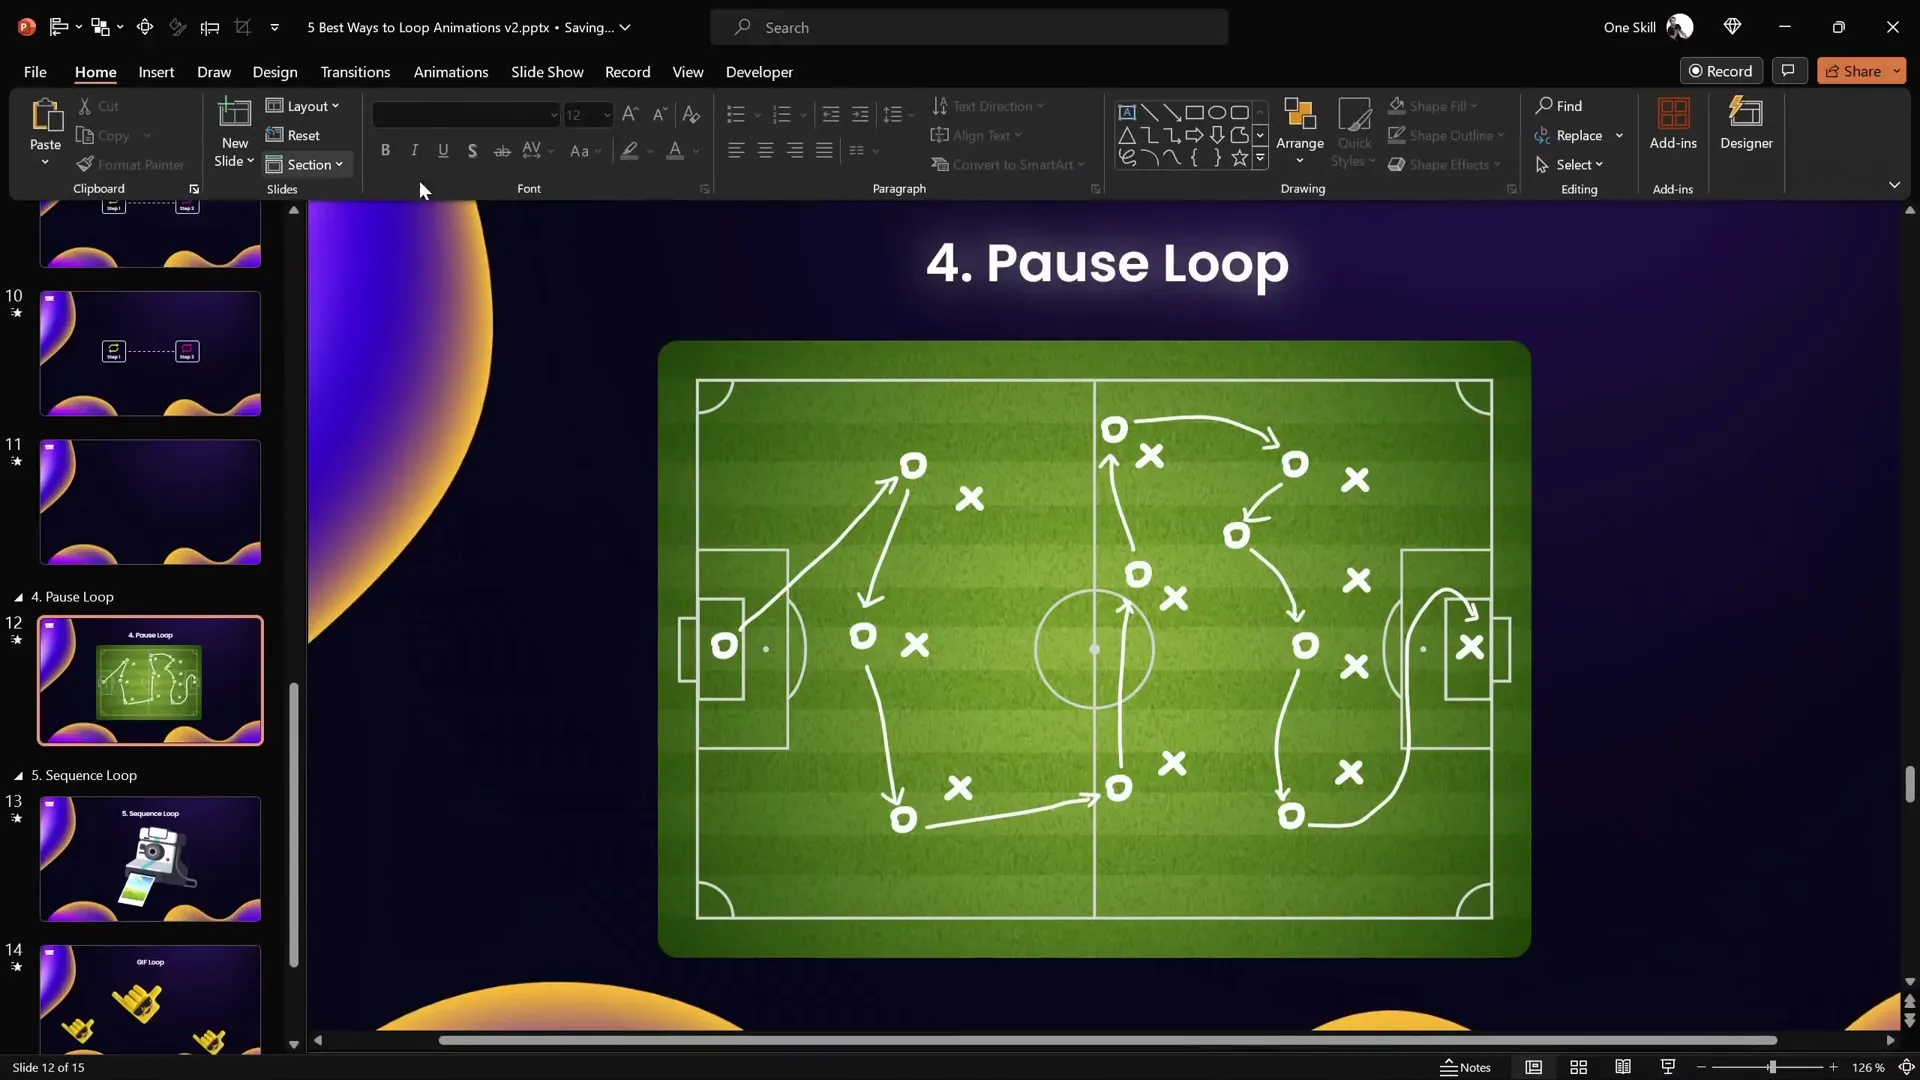
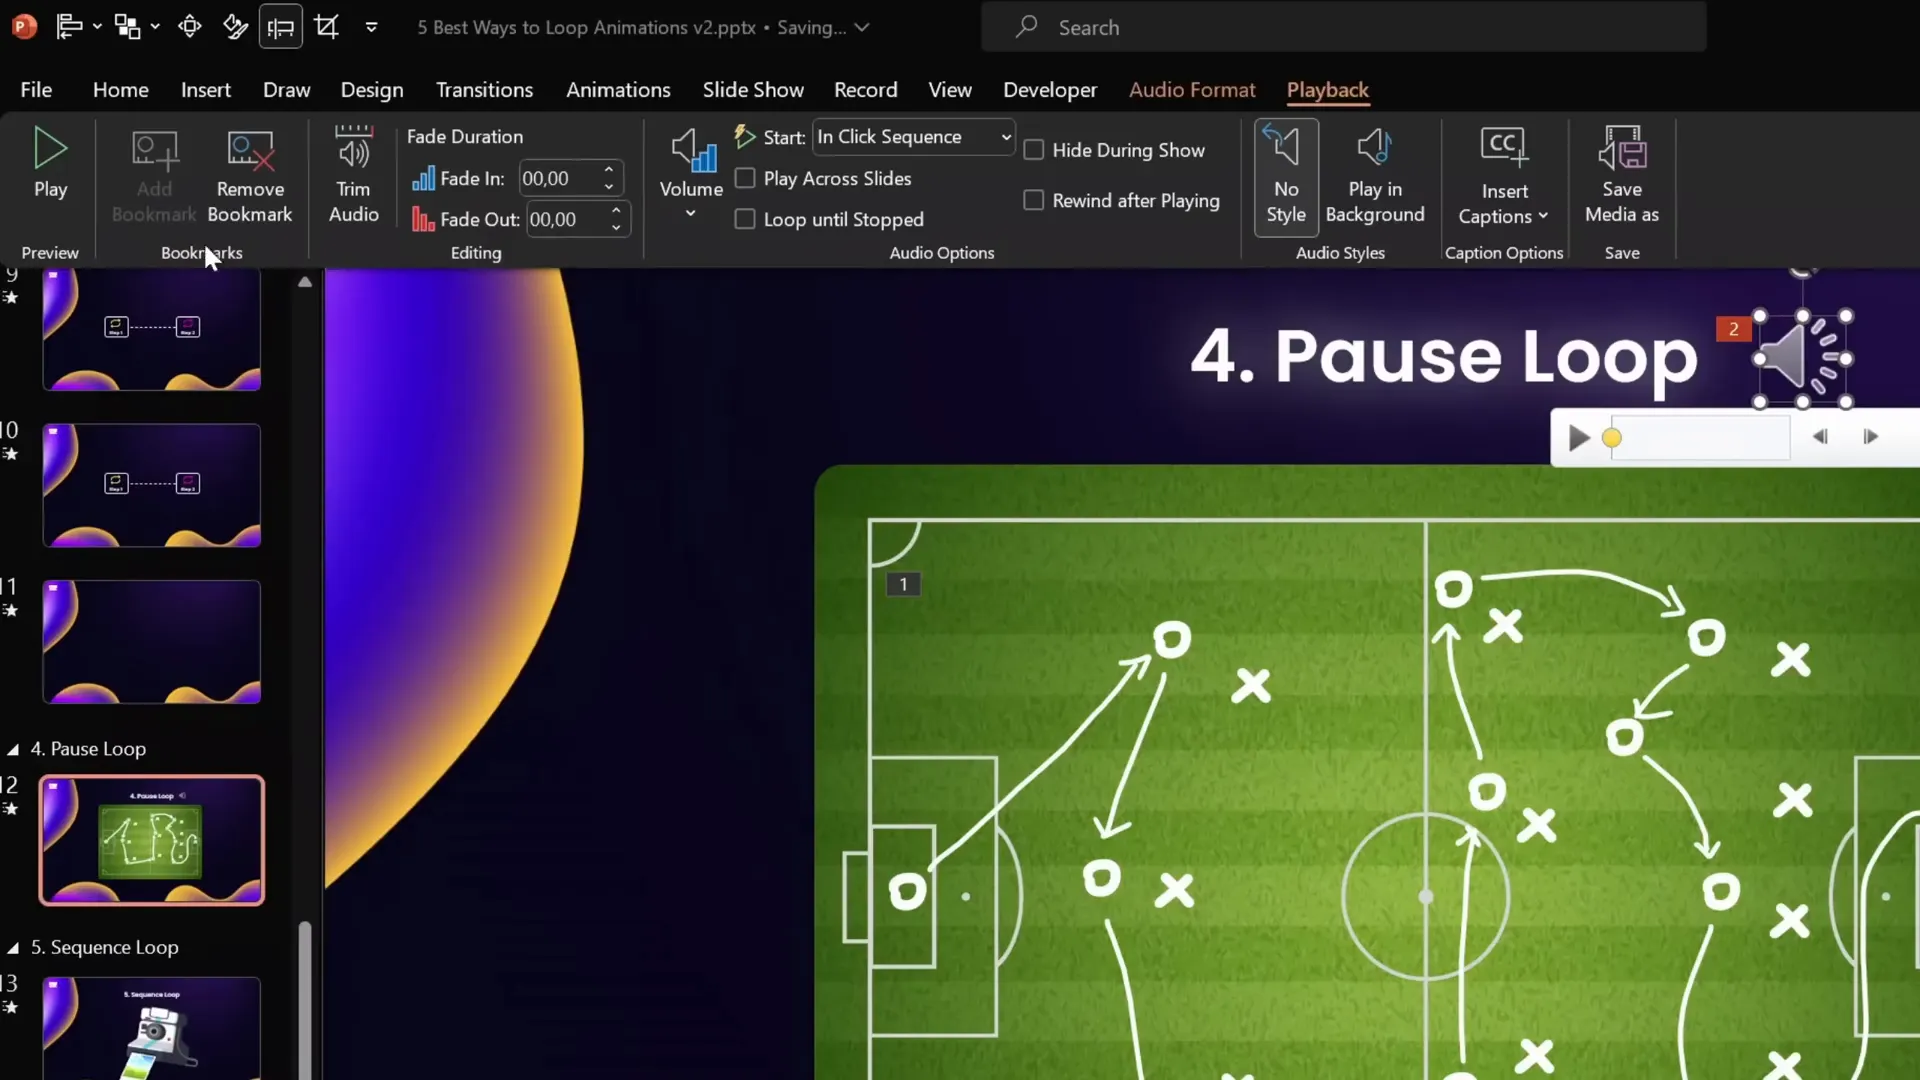
5. Pause Loop Animation
The pause loop technique is useful when you want to replay an animation continuously but include a deliberate pause at the end, allowing the audience to absorb the final state before restarting.
Using Replay Ink Animation with a Pause
Imagine you have drawn passing lines on a football field that you want to animate repeatedly with a pause after each sequence:
- Draw lines using the Draw tab and pen tool.
- PowerPoint groups the drawn lines automatically.
- Select the group and apply the Replay Ink animation from the Ink category.
- Set the animation duration (e.g., 5 seconds).
- Initially, set the repetition to None to control looping manually.
Adding a Pause with an Audio Bookmark
To create a pause, you use a clever workaround by recording a silent audio clip that’s longer than the animation and using its bookmarks to trigger the animation repeatedly:
- Insert a silent audio clip slightly longer than the animation (e.g., 7 seconds).
- Add a bookmark at the start of the audio clip.
- Set the audio playback to loop until stopped.
- In the Animation Pane, set the Replay Ink animation to trigger on the audio bookmark.
- Hide the audio icon during the slideshow by moving it off-slide or setting hide during show.
This setup causes the animation to replay each time the audio bookmark loops, with a pause equal to the difference between the audio length and animation duration.
6. Sequence Loop Animation
Sometimes you have a sequence of animations that you want to loop as a group, such as a camera flash followed by a photo popping out and flying away. Simply setting each animation to repeat can cause awkward overlaps or timing issues. The sequence loop technique solves this elegantly.
Example: Looping a Camera Flash and Photo Sequence
Here’s how to loop a sequence of animations smoothly:
- Check when the last animation in the sequence ends (e.g., 2 seconds).
- Record a silent audio clip slightly longer than the sequence (e.g., 2.5 seconds).
- Set the audio clip to loop until stopped and add a bookmark.
- Select all animations in the sequence and set their triggers to the audio bookmark.
- Remove any direct repetition settings on the animations themselves.
This approach synchronizes the entire sequence to the audio bookmark, creating a smooth loop without overlapping or glitches.
7. Bonus: Creating GIFs from PowerPoint Animations
Did you know you can export your PowerPoint animations as animated GIFs? This is fantastic for sharing animated content outside of PowerPoint or using animations in other documents.
Steps to Create a GIF from an Animation
- Prepare your animated slide without slide transitions (these don’t export well to GIF).
- Adjust the rotation center of objects if needed by grouping with invisible shapes to control pivot points.
- Add your desired animation (e.g., spin with auto reverse) to the object.
- Go to File > Export > Create an Animated GIF.
- Select quality (e.g., Extra Large), transparent background if desired, and specify the slide number.
- Click Create GIF and save to your device.
- Insert the GIF back into PowerPoint or use it elsewhere.
GIFs created in PowerPoint loop automatically, making them perfect for websites, emails, and social media.
Conclusion
Looping animations are a powerful way to elevate your PowerPoint presentations. From simple spinning icons to complex sequence loops and seamless background animations, mastering these techniques will allow you to create engaging, professional, and dynamic slides.
Remember these key takeaways:
- Use Simple Loops for continuous animations like spins and motion paths.
- Apply Custom Motion Paths for unique looping paths around shapes.
- Leverage Auto-Reverse for natural back-and-forth movement.
- Design Seamless Loops for infinite scrolling or flowing backgrounds.
- Utilize the Pause Loop technique with audio bookmarks for replay animations with pauses.
- Employ Sequence Loops to loop complex animation sequences smoothly.
- Export animations as GIFs for versatile use beyond PowerPoint.
With these skills, you’ll become a true looping animation legend in PowerPoint!
Frequently Asked Questions (FAQ)
Q1: How do I make an animation loop indefinitely in PowerPoint?
After applying an animation, open its Effect Options and navigate to the Timing tab. Under Repeat, select Until End of Slide to loop the animation continuously during the slide.
Q2: Can I make a 3D model spin continuously?
Yes! When you apply a Turntable animation to a 3D model, set the Amount to Continuous in the effect options to spin it indefinitely.
Q3: What is the best way to create a seamless moving background in PowerPoint?
Group your background elements, duplicate the group, and position it adjacent to the original. Then apply a motion path animation moving the group by the width of one set, and set the animation to loop Until End of Slide. Use masking shapes to hide edges for a seamless effect.
Q4: How can I create a pause between animation loops?
Record a silent audio clip longer than your animation and set it to loop. Add a bookmark at the start of the audio, and trigger your animation to start on that bookmark. This causes the animation to replay with a pause equal to the difference between audio and animation durations.
Q5: Can I export PowerPoint animations as GIFs?
Absolutely! Use File > Export > Create an Animated GIF. Select your desired quality and slides, and export your animation as a looping GIF with or without a transparent background.
Q6: How do I control the rotation center of an object for animation?
You can group the object with an invisible shape positioned where you want the rotation center to be. Grouping changes the pivot point for animations like spin.
Q7: What is auto-reverse in animations?
Auto-reverse causes an animation to reverse direction automatically after it completes, creating a smooth back-and-forth motion. It’s useful for natural movements like bobbing or pulsing.
Q8: How do I use the Animation Painter tool?
Select an object with the desired animation, click Animation Painter, then click the target object to copy the animation. This saves time when applying the same animation to multiple objects.
Start experimenting with these techniques today to create dynamic, professional, and eye-catching presentations that keep your audience engaged!
Check out the full video: BEST Ways to Create Looping Animations in PowerPoint! ✨ Step-by-Step


