
If you’ve ever wanted to bring a presentation to life with eye-catching, professional animations, mastering PowerPoint Animation is a must-have skill. One of the most impressive and visually appealing animations you can create in PowerPoint is a realistic page flip effect. This animation mimics the natural movement of flipping a page in a book, adding a touch of elegance and polish to your slides.
In this comprehensive guide, inspired by the expert tutorial from One Skill PPT, we’ll walk you through the entire process of creating a realistic page flip animation using PowerPoint’s built-in features such as Morph transition and 3D rotation. Whether you’re a beginner or an advanced user, this step-by-step tutorial will equip you with the knowledge to impress your audience and elevate your presentation skills.
Table of Contents
- Getting Started: Setting Up Your PowerPoint Slide
- Choosing and Adjusting the Background Image
- Inserting and Preparing the Book Image
- Removing the Book Background with Photopea
- Straightening and Adjusting the Book Image
- Cutting Out a Page for the Flip Animation
- Grouping and Naming Your Page Objects
- Applying 3D Rotation and Morph Transition
- Finalizing the Page Flip Animation
- Adding Text and Images to the Flipping Pages
- Frequently Asked Questions (FAQ)
- Conclusion
Getting Started: Setting Up Your PowerPoint Slide
The first step to creating a stunning page flip animation is setting up your PowerPoint slide correctly. Start by opening PowerPoint and creating a new blank presentation. For best results, choose a blank slide layout without any text placeholders. This gives you a clean canvas to work on your animation without distractions.
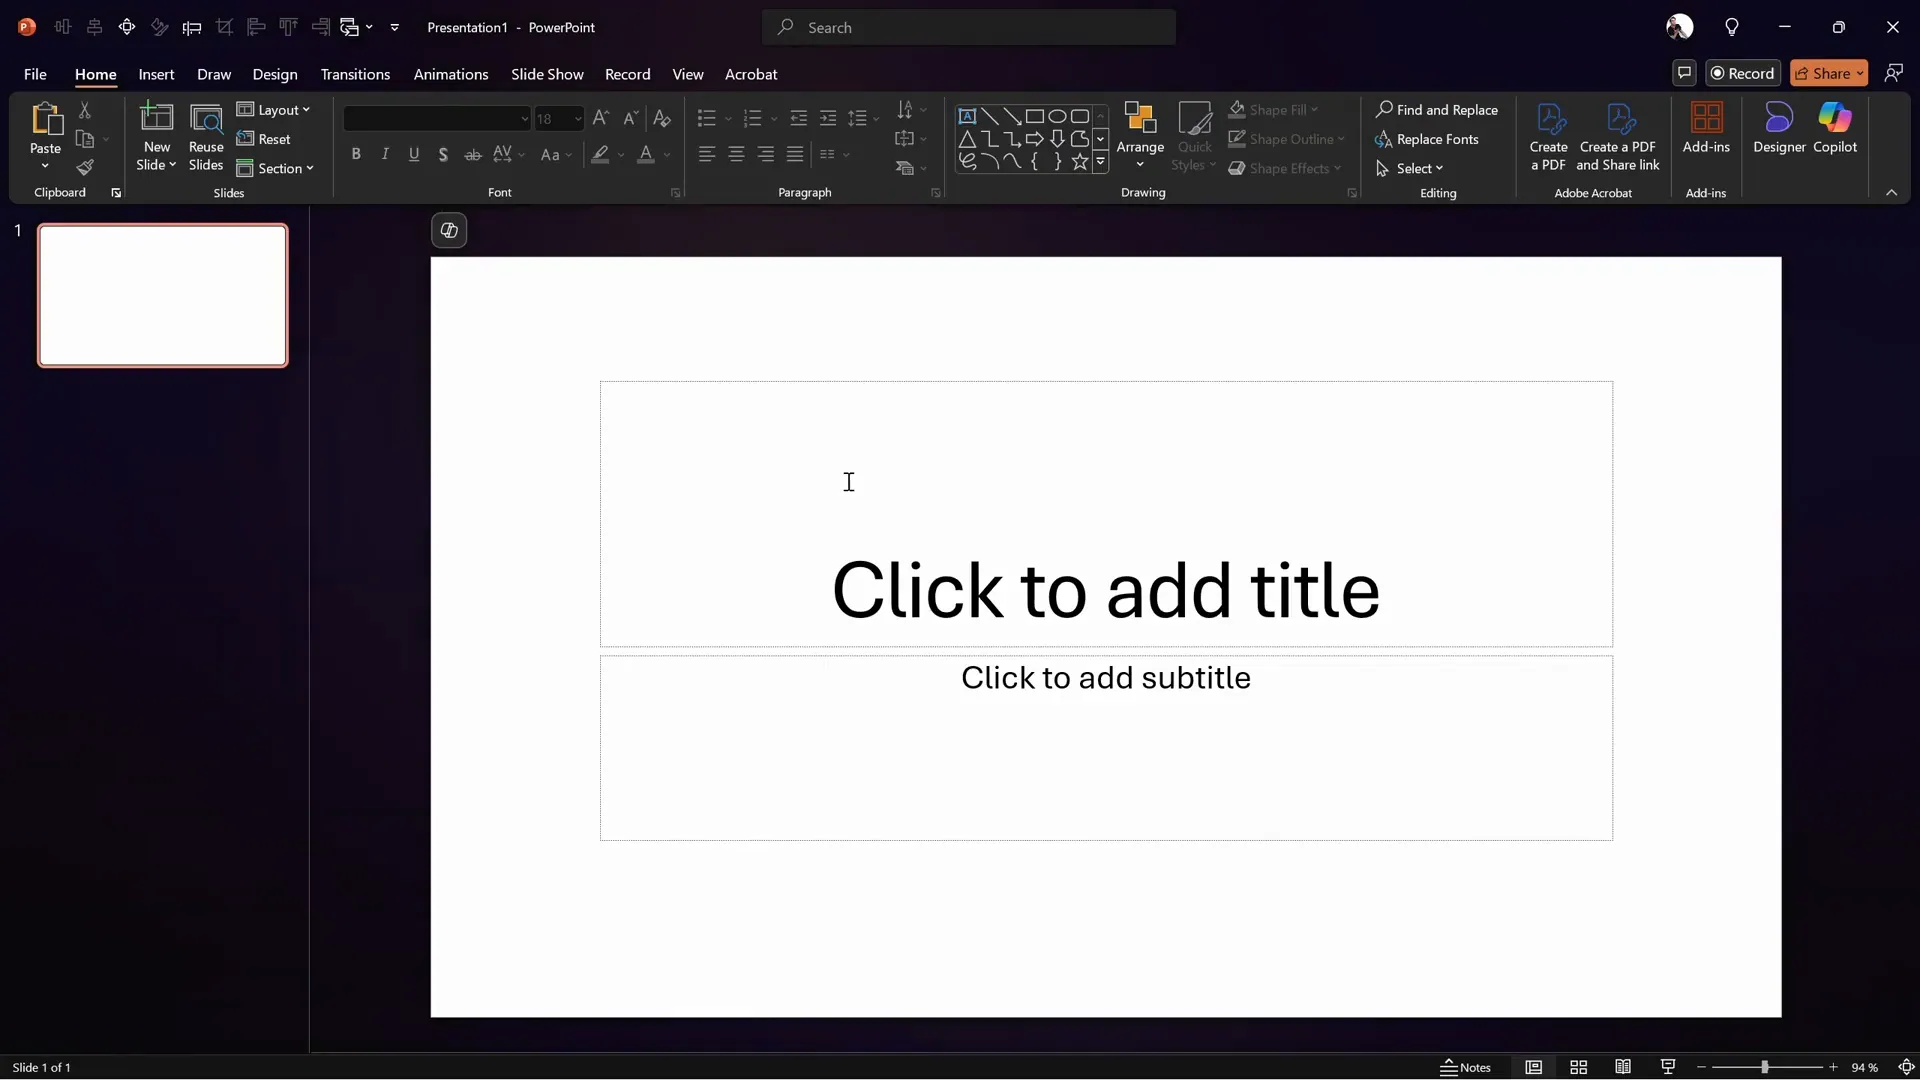
Once you have your blank slide, you’re ready to start building the background and adding the elements needed for the animation.
Choosing and Adjusting the Background Image
A realistic page flip animation needs a suitable background to make the scene believable. In this tutorial, a beautiful wooden texture background is used to simulate a wooden table or desk surface, giving the presentation a warm and natural feel.
To find such backgrounds, websites like Freepik offer free high-quality images. For this project, a wooden texture image is copied directly from Freepik and pasted into PowerPoint.
After pasting the image, resize it by holding down Ctrl + Shift and dragging from a corner to scale it from the center, ensuring it covers the whole slide perfectly. Then, crop the image to a 16:9 aspect ratio to match the slide size.
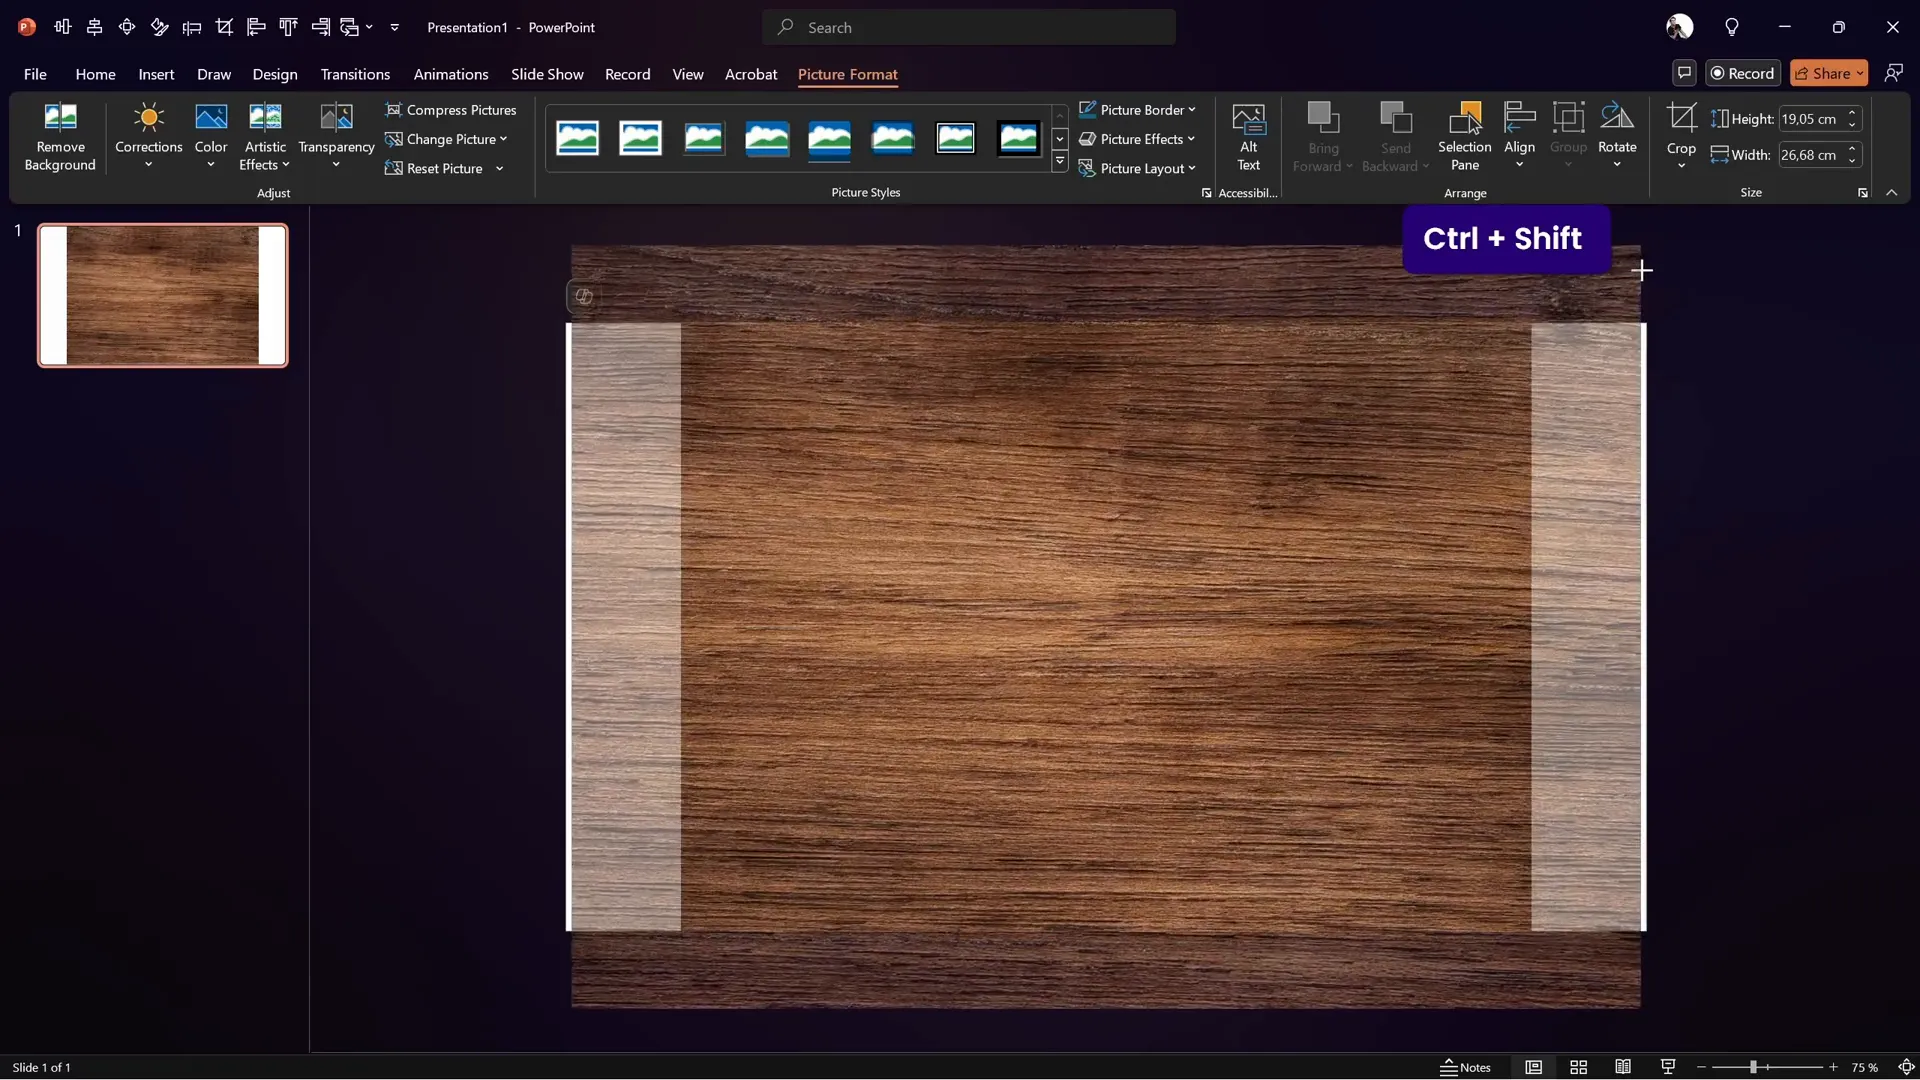
Next, adjust the brightness and contrast to make the background less distracting and more realistic. Decreasing brightness by about 10% and increasing contrast by 10% creates a subtle, darker background that enhances the visibility of the book and page elements.
Inserting and Preparing the Book Image
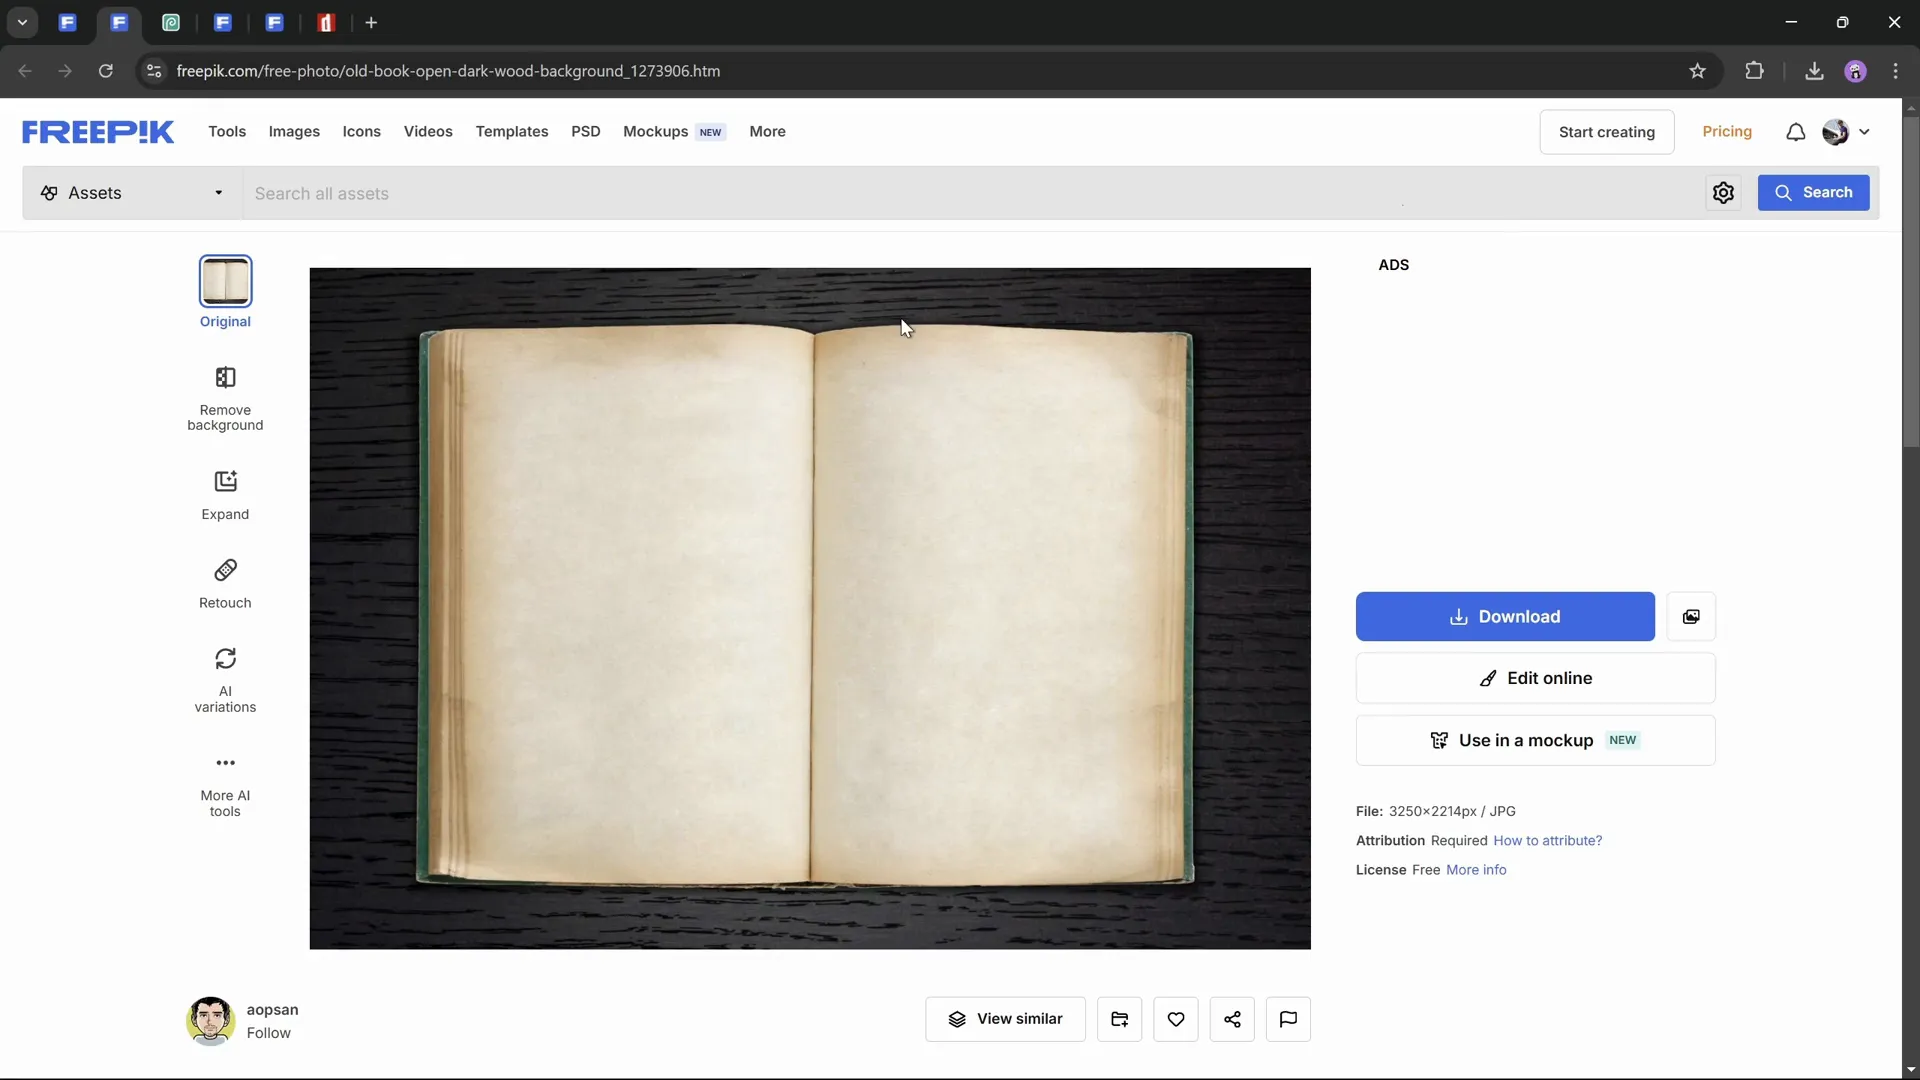
Now that the background is set, it’s time to add the star of the animation: the book image. Like the background, the book image is sourced from Freepik, where an open book photo is selected for its realistic texture and lighting.
Since the book must appear naturally on the background, it’s important to remove the book’s original background to avoid clashes with the wooden texture. This is where background removal tools come into play.
Removing the Book Background with Photopea
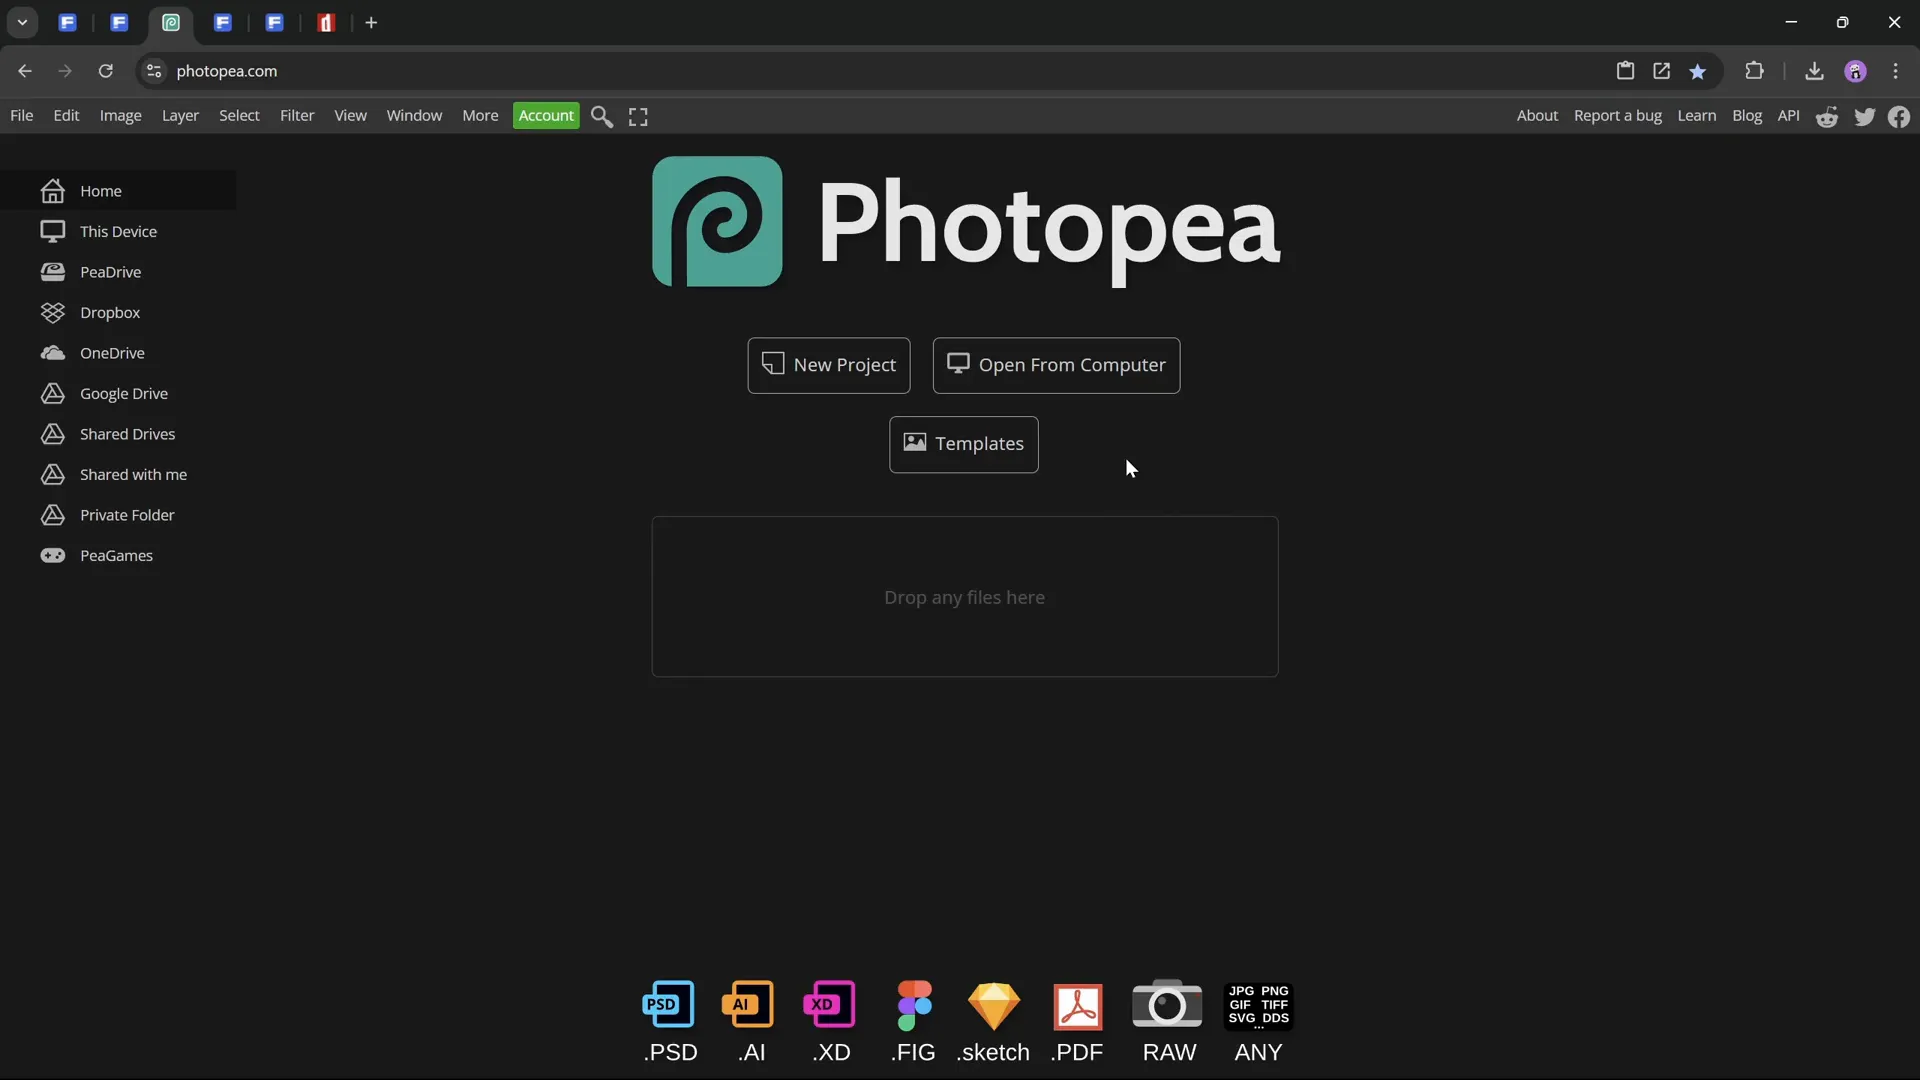
To remove the background from the book image, a free online Photoshop alternative called Photopea is used. This tool allows you to paste the copied image directly and easily remove its background.
Once the image is pasted into Photopea, turn on rulers (Ctrl + R) and drag guides to help straighten the image for better alignment later. This step is crucial because the division between the pages must be perfectly centered for the page flip animation to work seamlessly.
To straighten the book, you might think rotating it is enough, but this often causes the edges to stick out awkwardly. Instead, use the transform tool to distort the image horizontally by holding Ctrl + Shift and dragging the corners to align the page division vertically center.
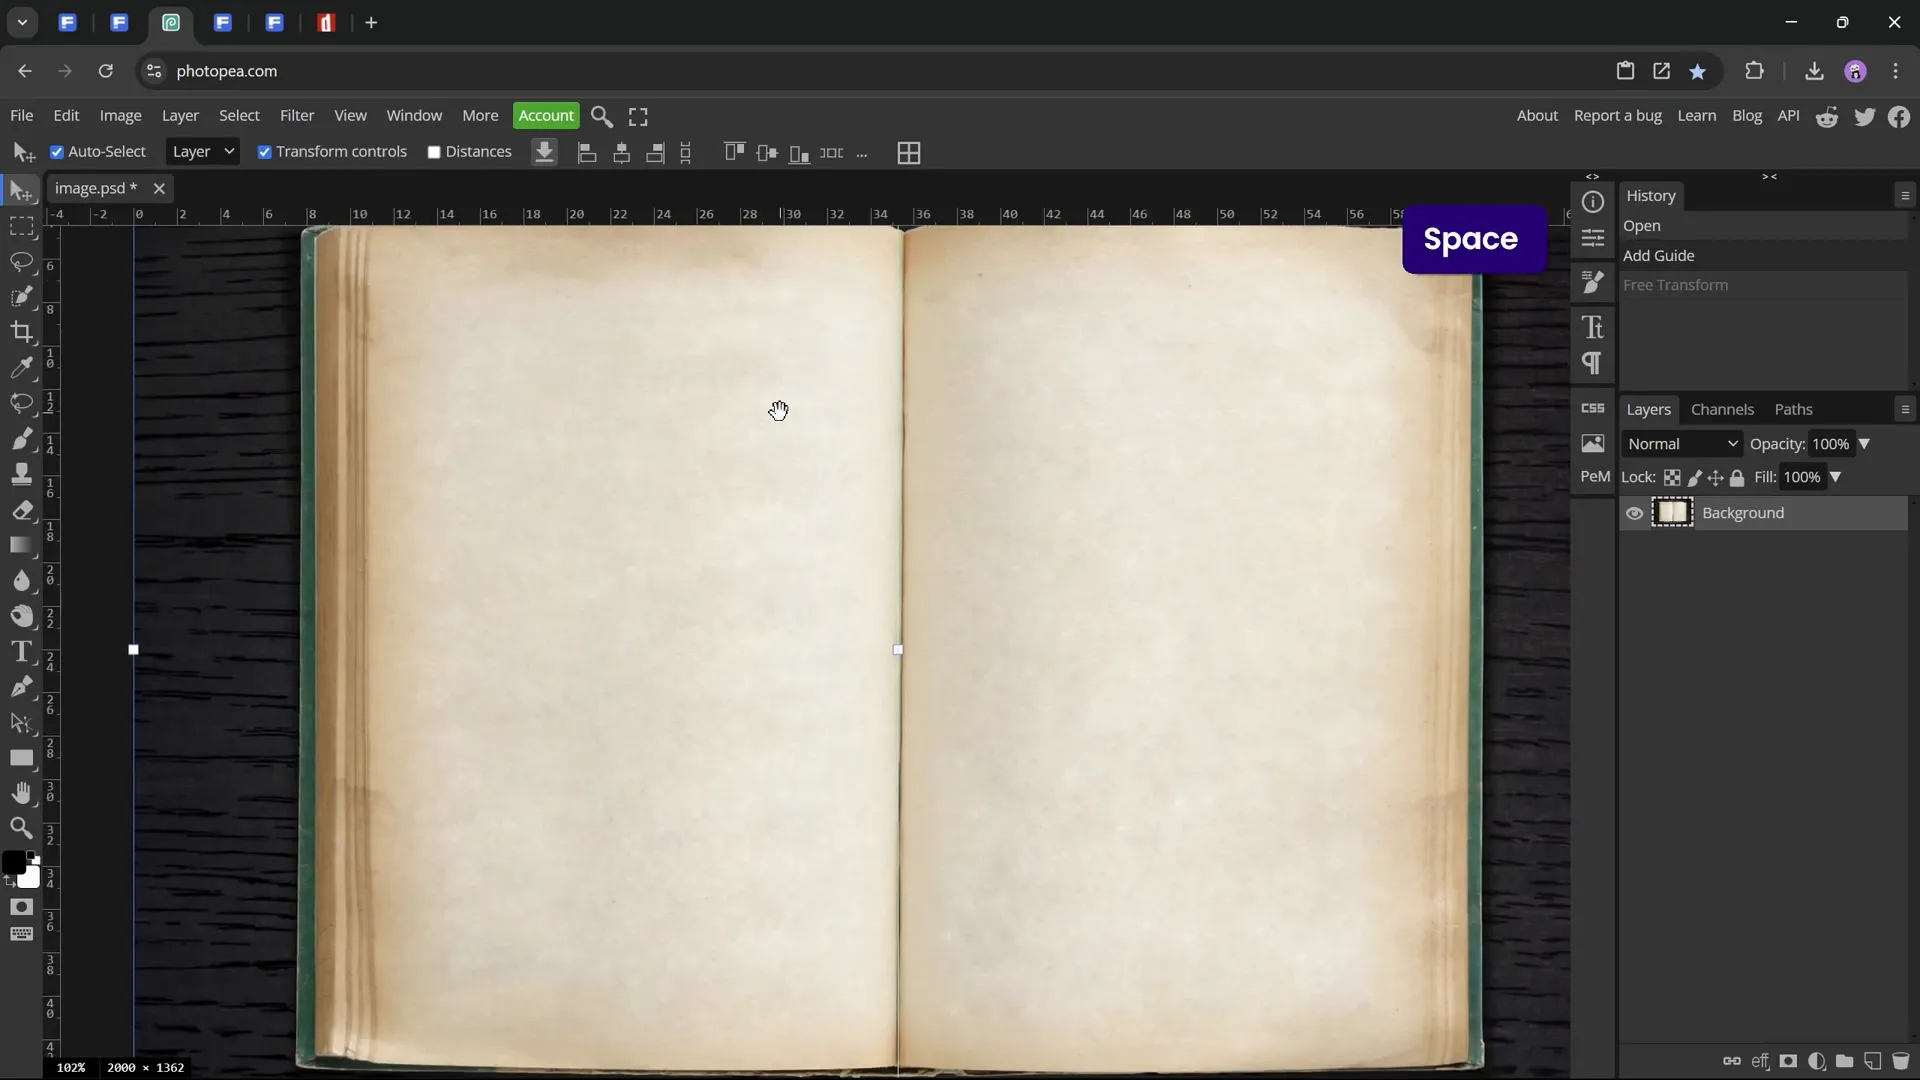
After straightening, remove the background using the “Remove Background” option, and then trim the image to cut off any transparent pixels around the edges. Save the file as a PNG to preserve transparency.
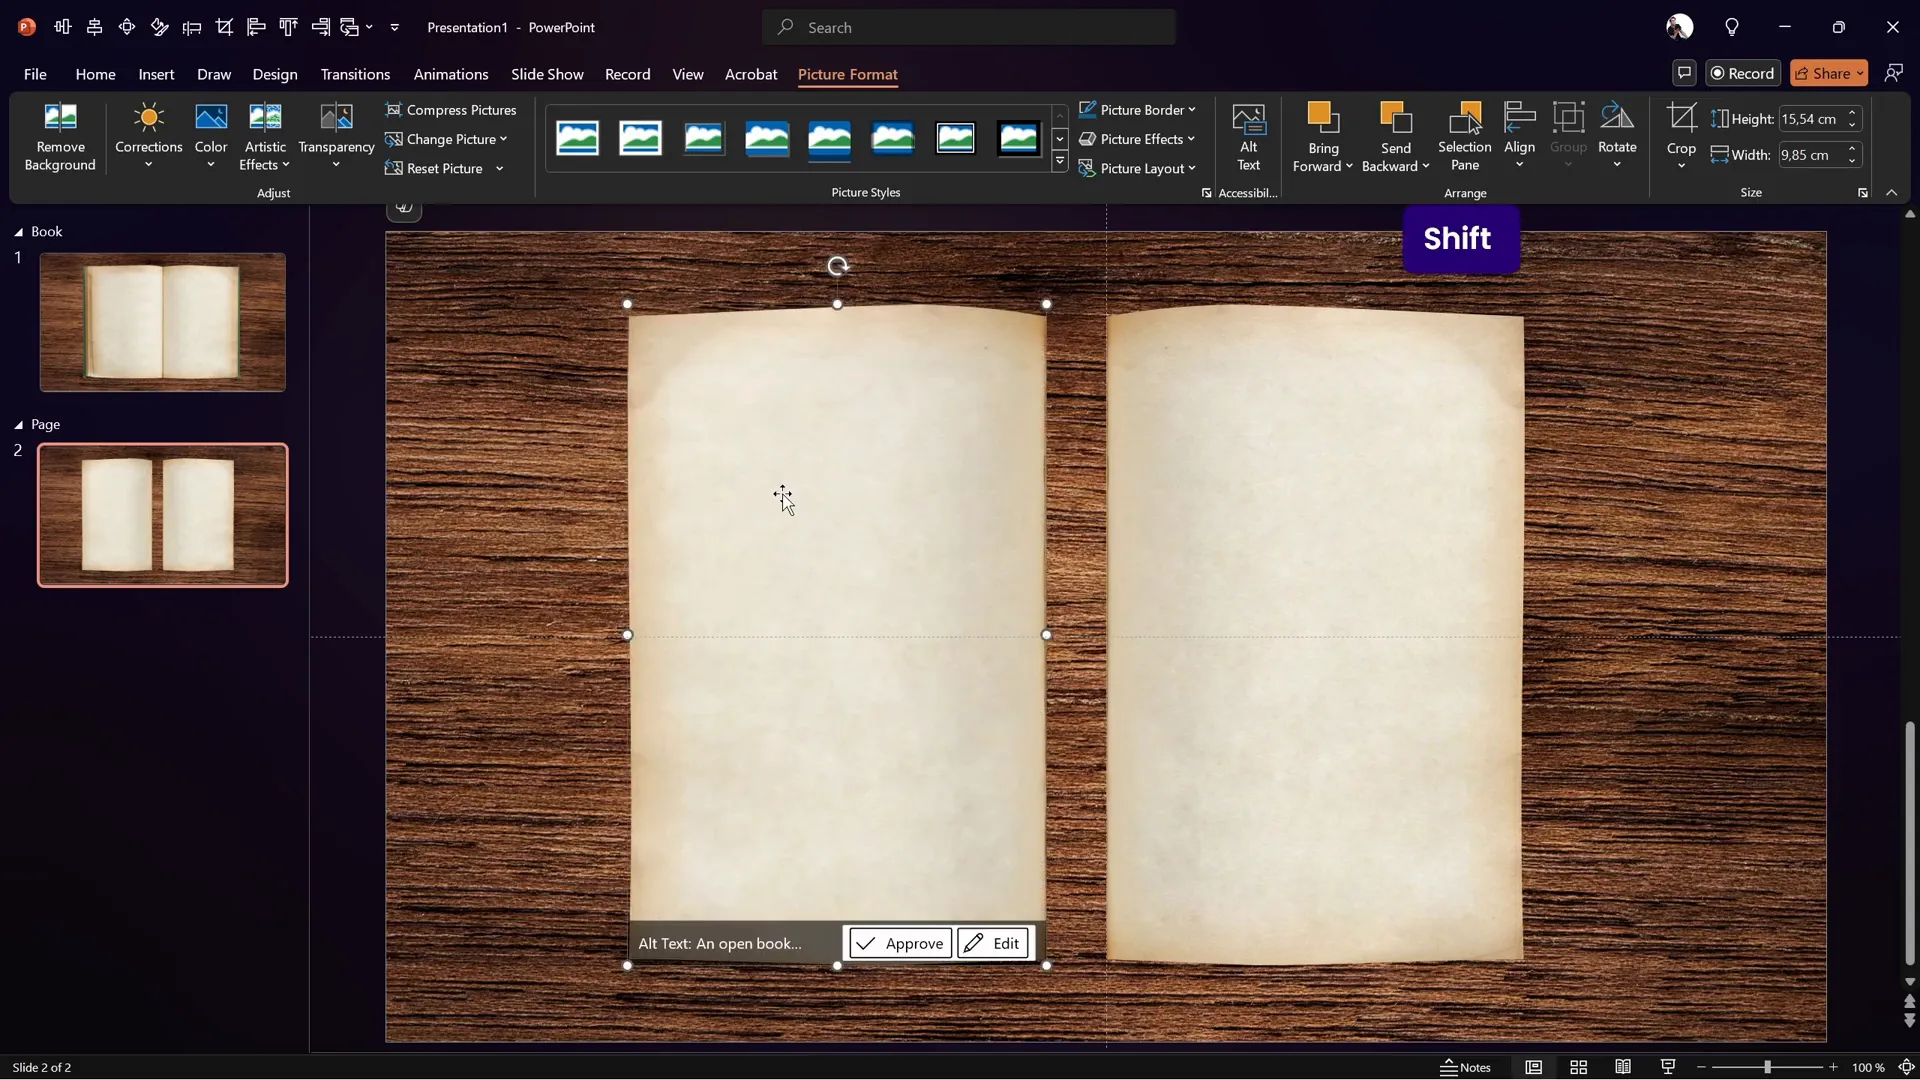
Straightening and Adjusting the Book Image
Back in PowerPoint, insert the edited book PNG file onto your slide. Resize it to fit nicely on the background and ensure the page division is perfectly centered on the slide. Use slide guides and zoom in to make precise adjustments with arrow keys.
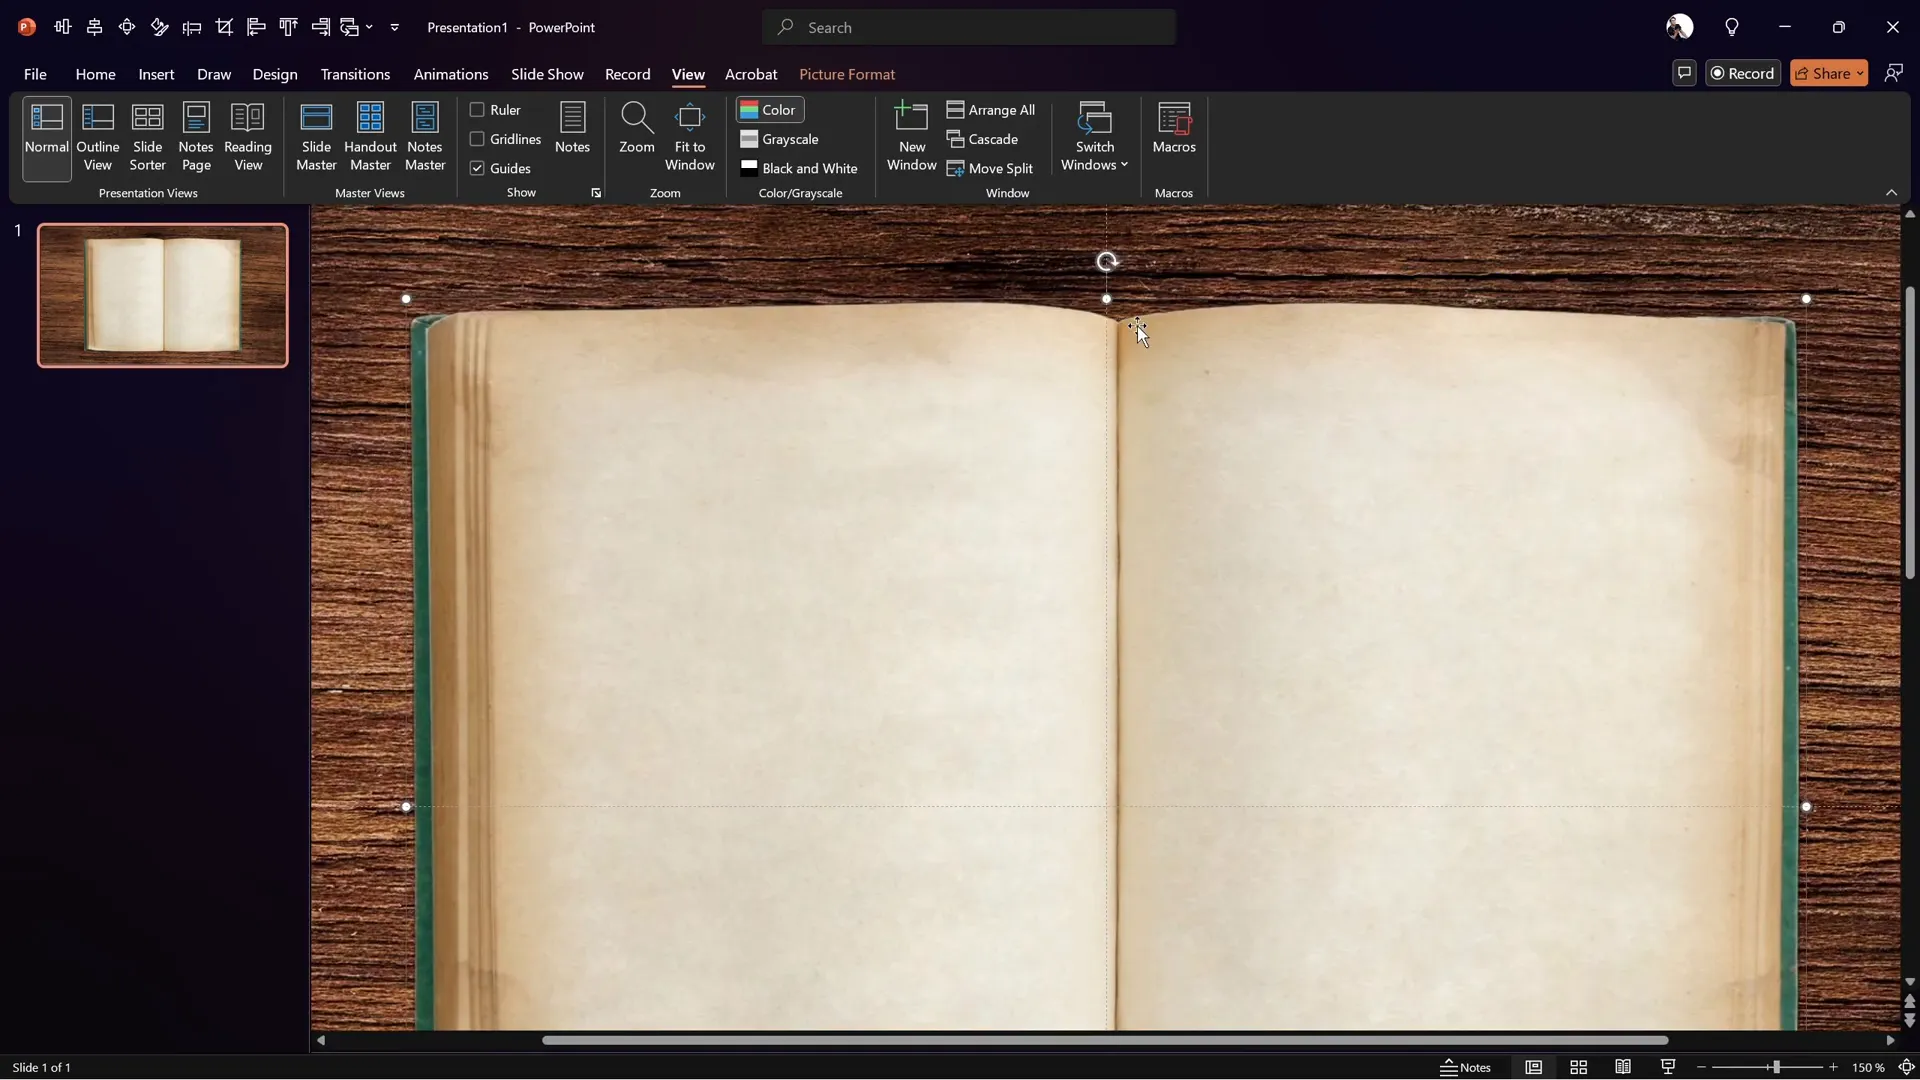
At this point, you can also add shadows to the book image to make it look like it’s resting naturally on the wooden table, but keep this subtle to maintain realism.
Cutting Out a Page for the Flip Animation
The core of the page flip animation is the ability to flip one page independently. To do this, you need to cut out the right page from the book image.
Start by duplicating your slide for organizational purposes and create a new section named “Page” in PowerPoint to keep things tidy.
Next, insert a rectangle shape and position it so its left edge aligns with the center guide where the page division lies. Adjust the rectangle’s height to cover the page fully from the top curve to the bottom curve of the page.
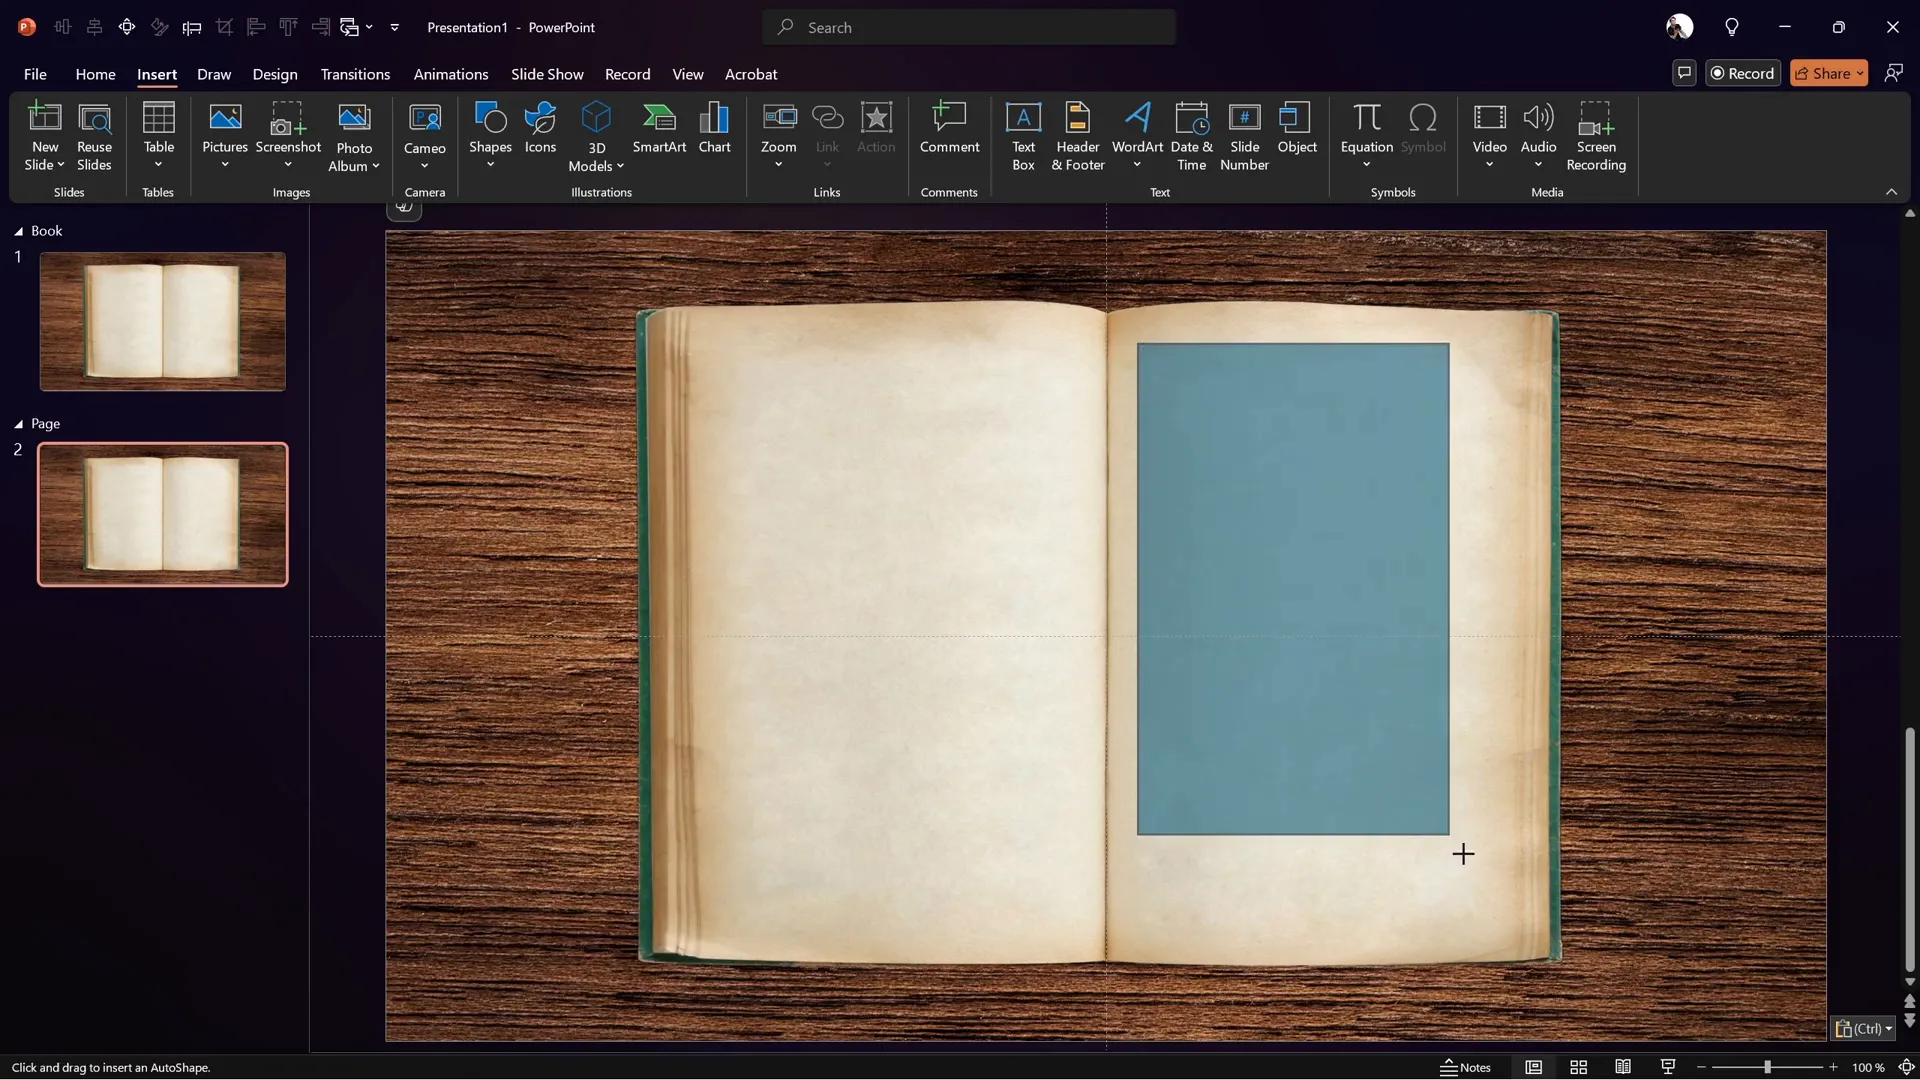
To make the rectangle fit the curved edges of the page, right-click it and choose “Edit Points.” Add points and drag the handles to create smooth curves that match the page’s shape, making the cutout look natural.
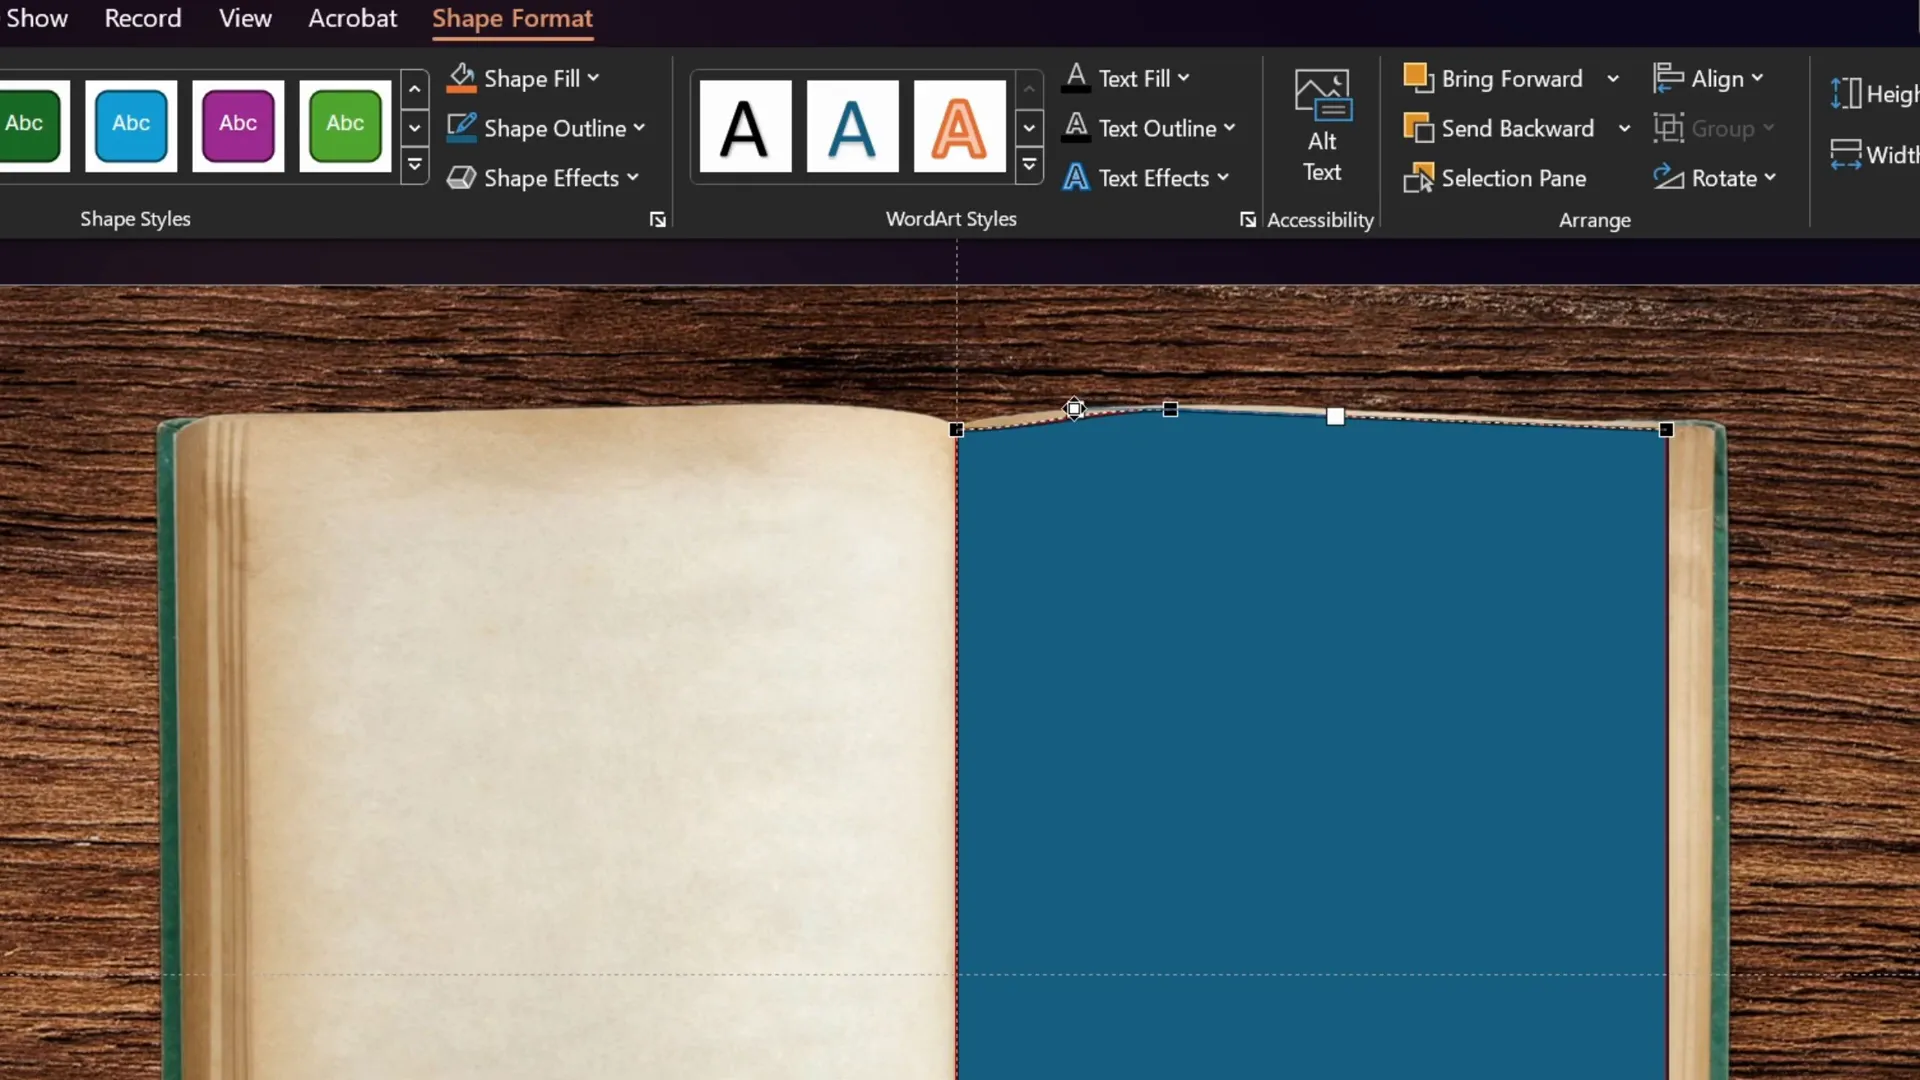
Once the custom shape is ready, select the book image first, hold Shift, then select the rectangle, and use the “Merge Shapes” feature in the Shape Format tab to choose “Intersect.” This operation crops the book image to just the right page shape.
Copy the cut-out page, flip it horizontally, and align it to the center guide to create the left page. This setup gives you two separate page images that will be animated to simulate flipping.
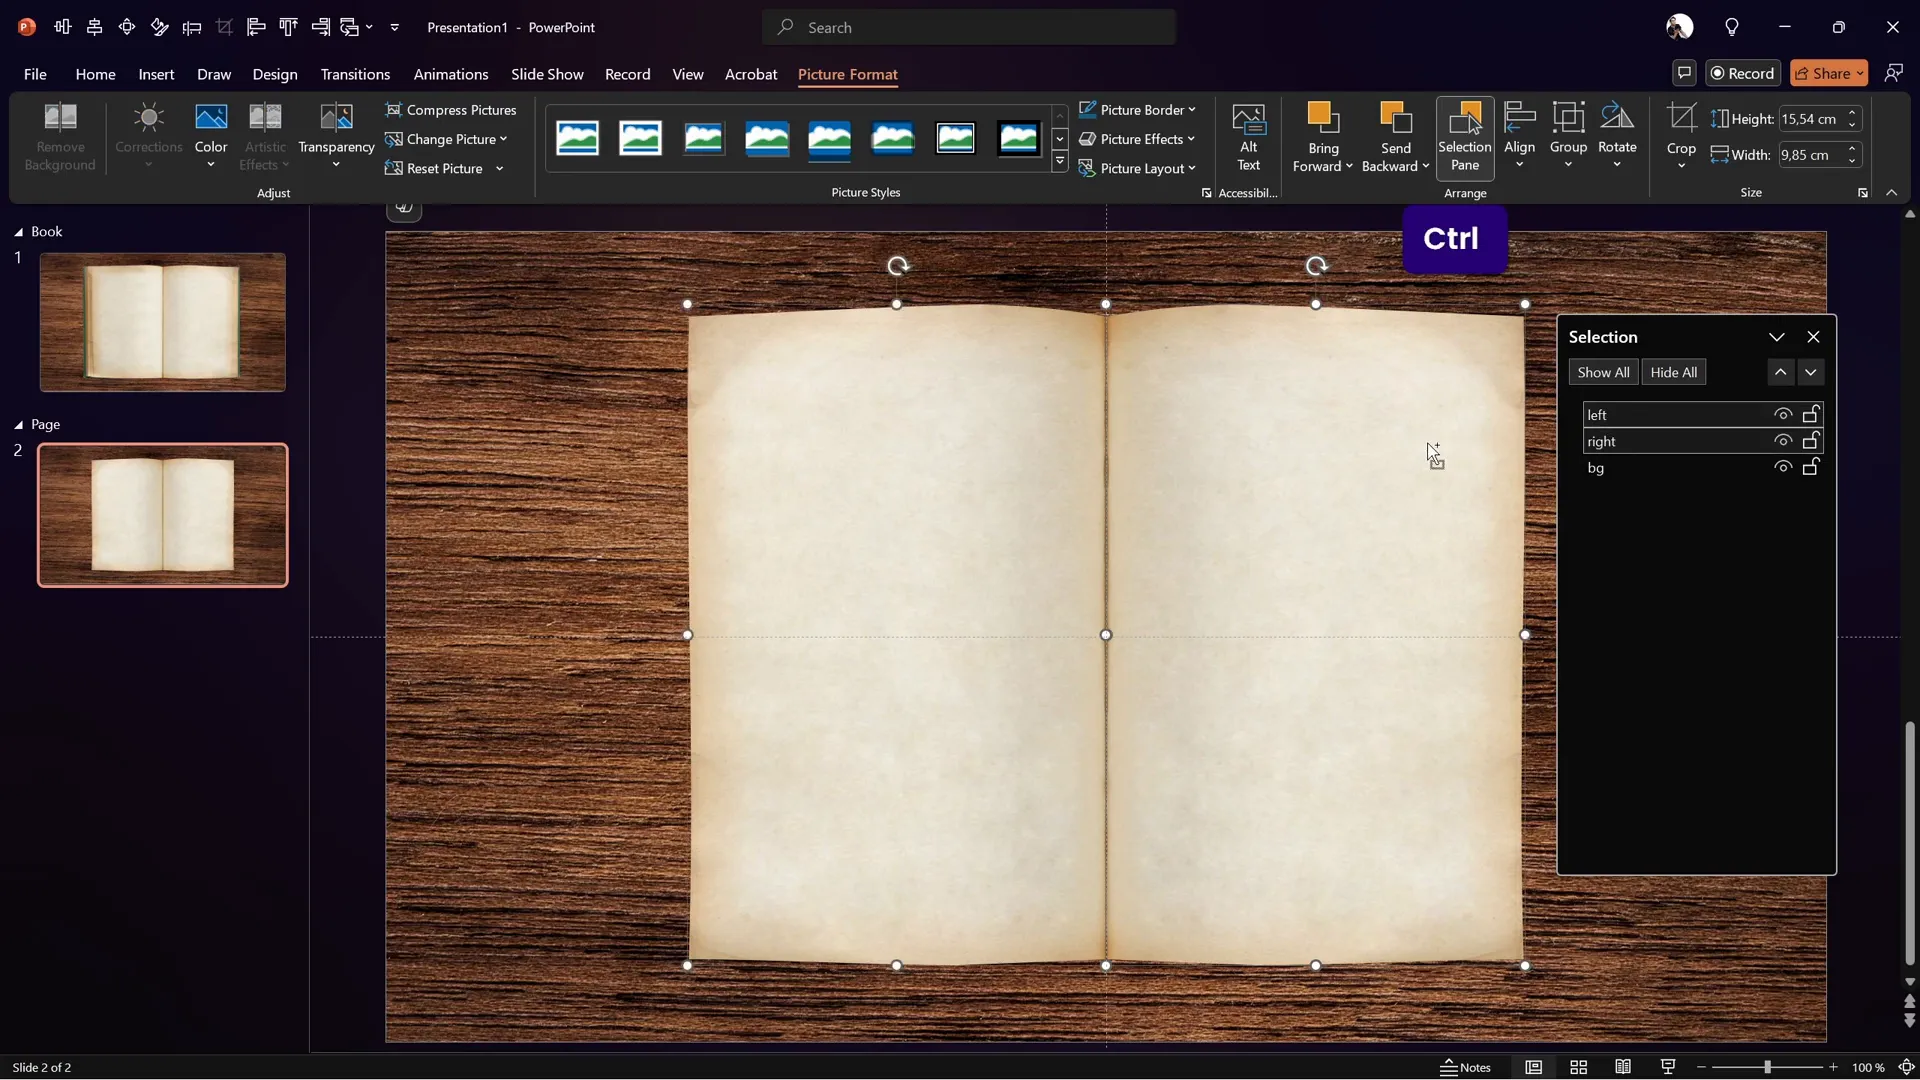
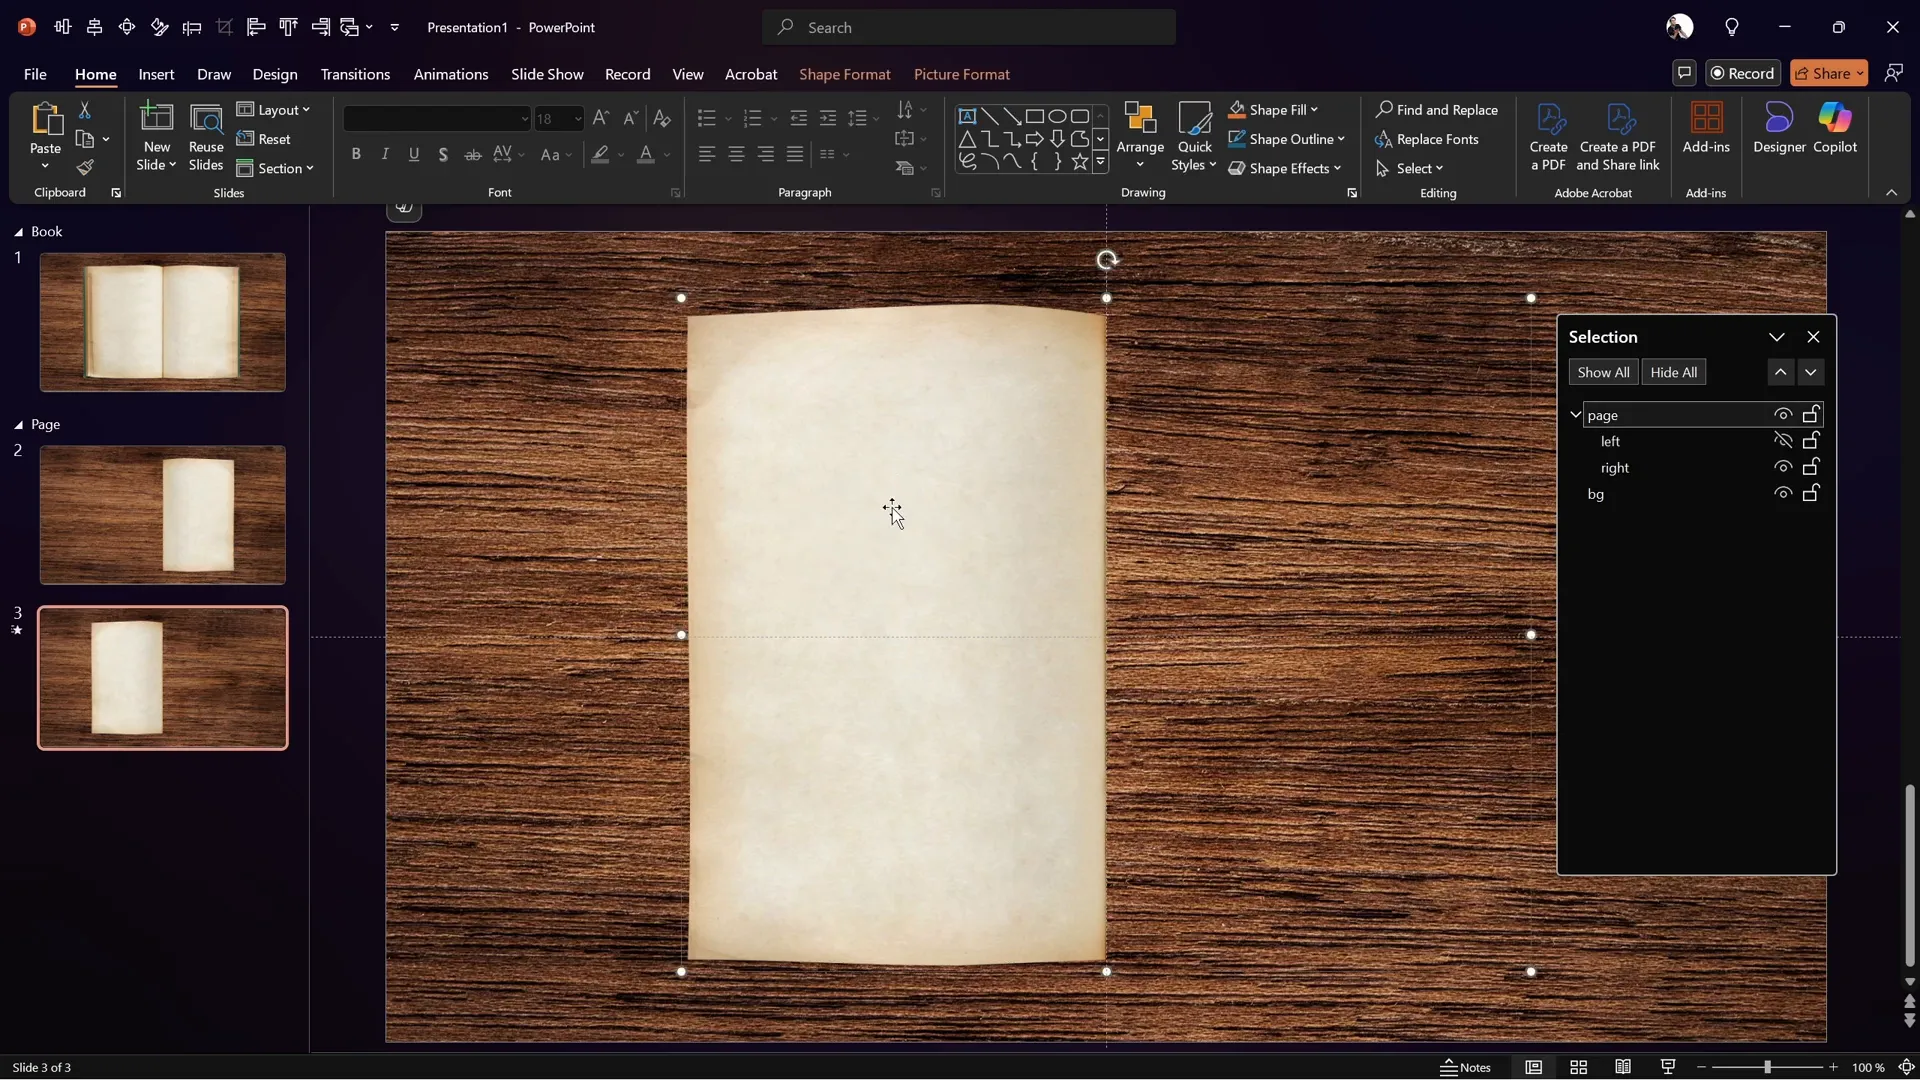
Grouping and Naming Your Page Objects
To keep your work organized and easier to animate, name each object clearly:
- BG – Background photo
- Book – The book image without the cut-out pages
- Right – The right page cutout
- Left – The left page cutout (flipped horizontally)
Group the right and left pages into a single group named “Page.” This grouping allows you to animate the pages together or separately as needed.
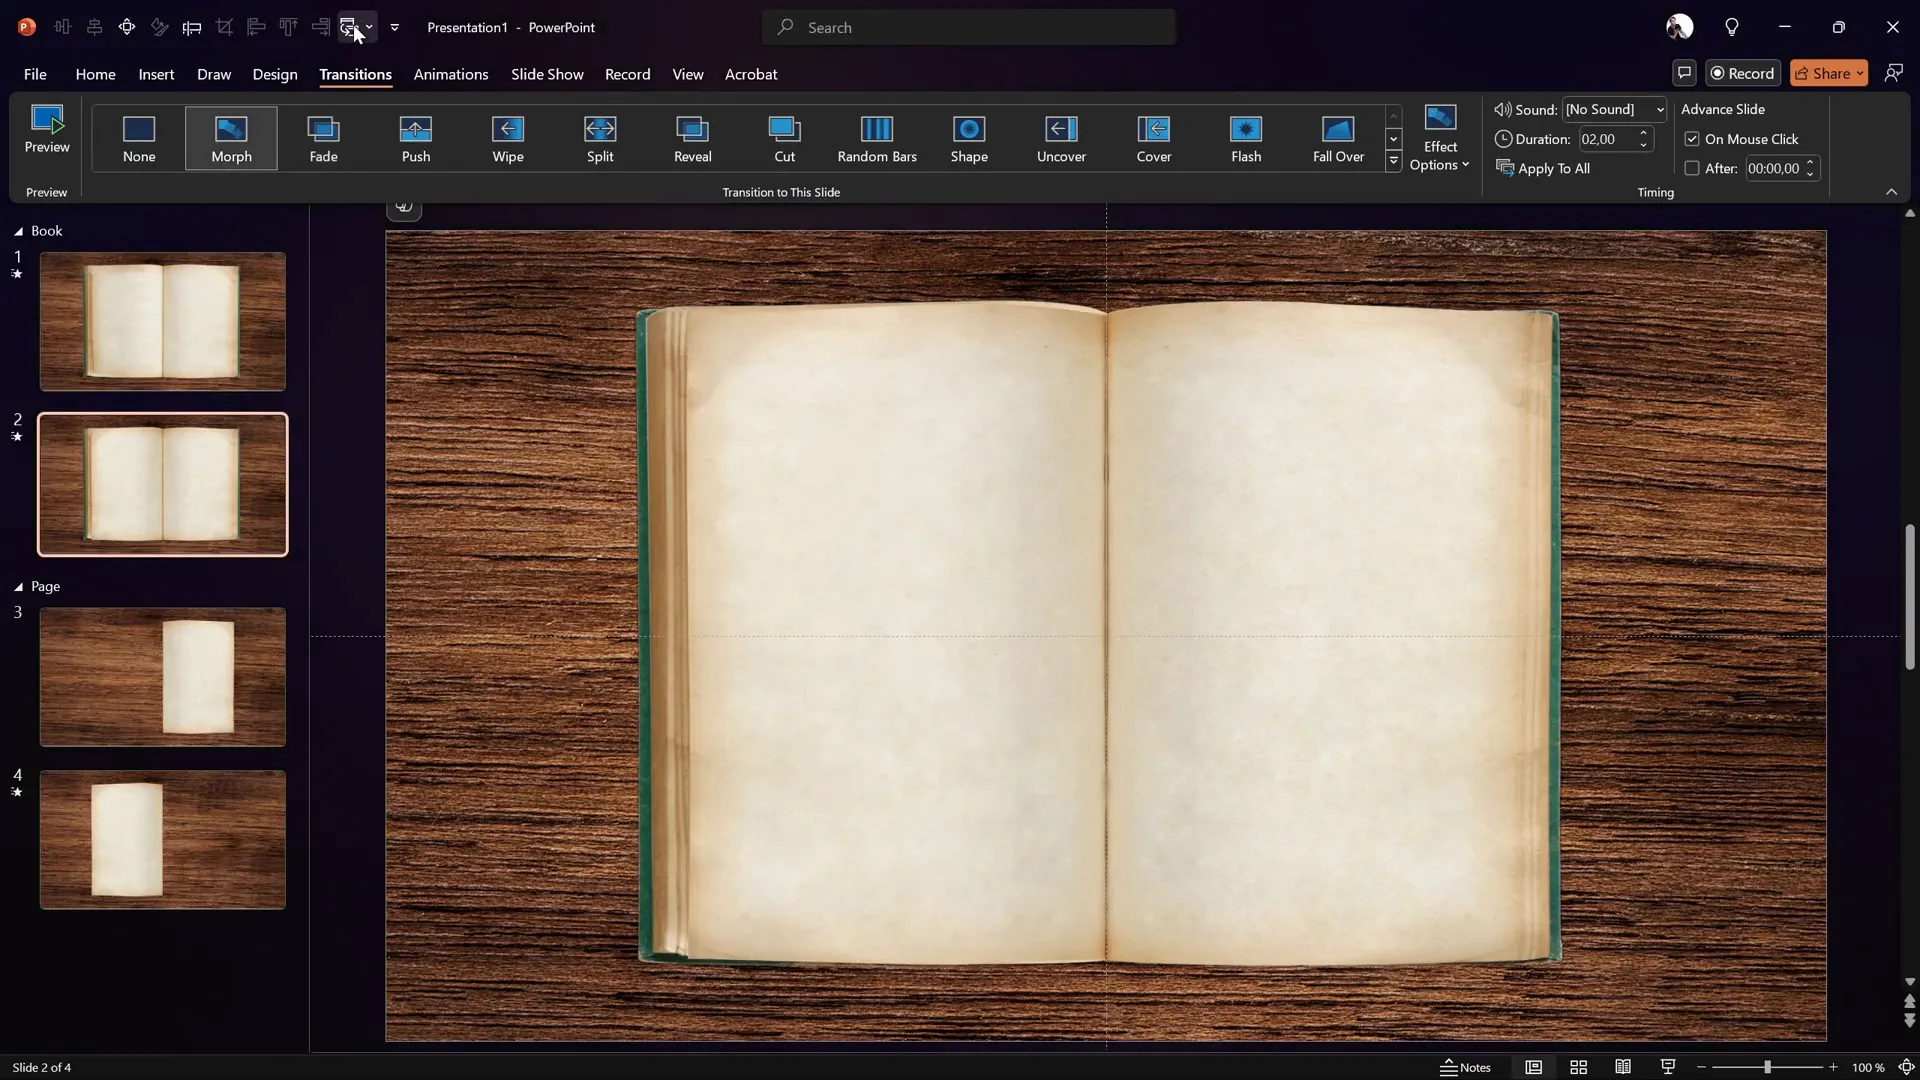
Applying 3D Rotation and Morph Transition
Now comes the magic: animating the page flip. PowerPoint’s 3D rotation combined with the Morph transition enables a smooth, realistic flip effect.
Select the page group and open the 3D rotation options (found under Shape Format or by using a quick access toolbar shortcut). Choose a perspective preset like “Perspective Front” to give the pages a natural 3D look.
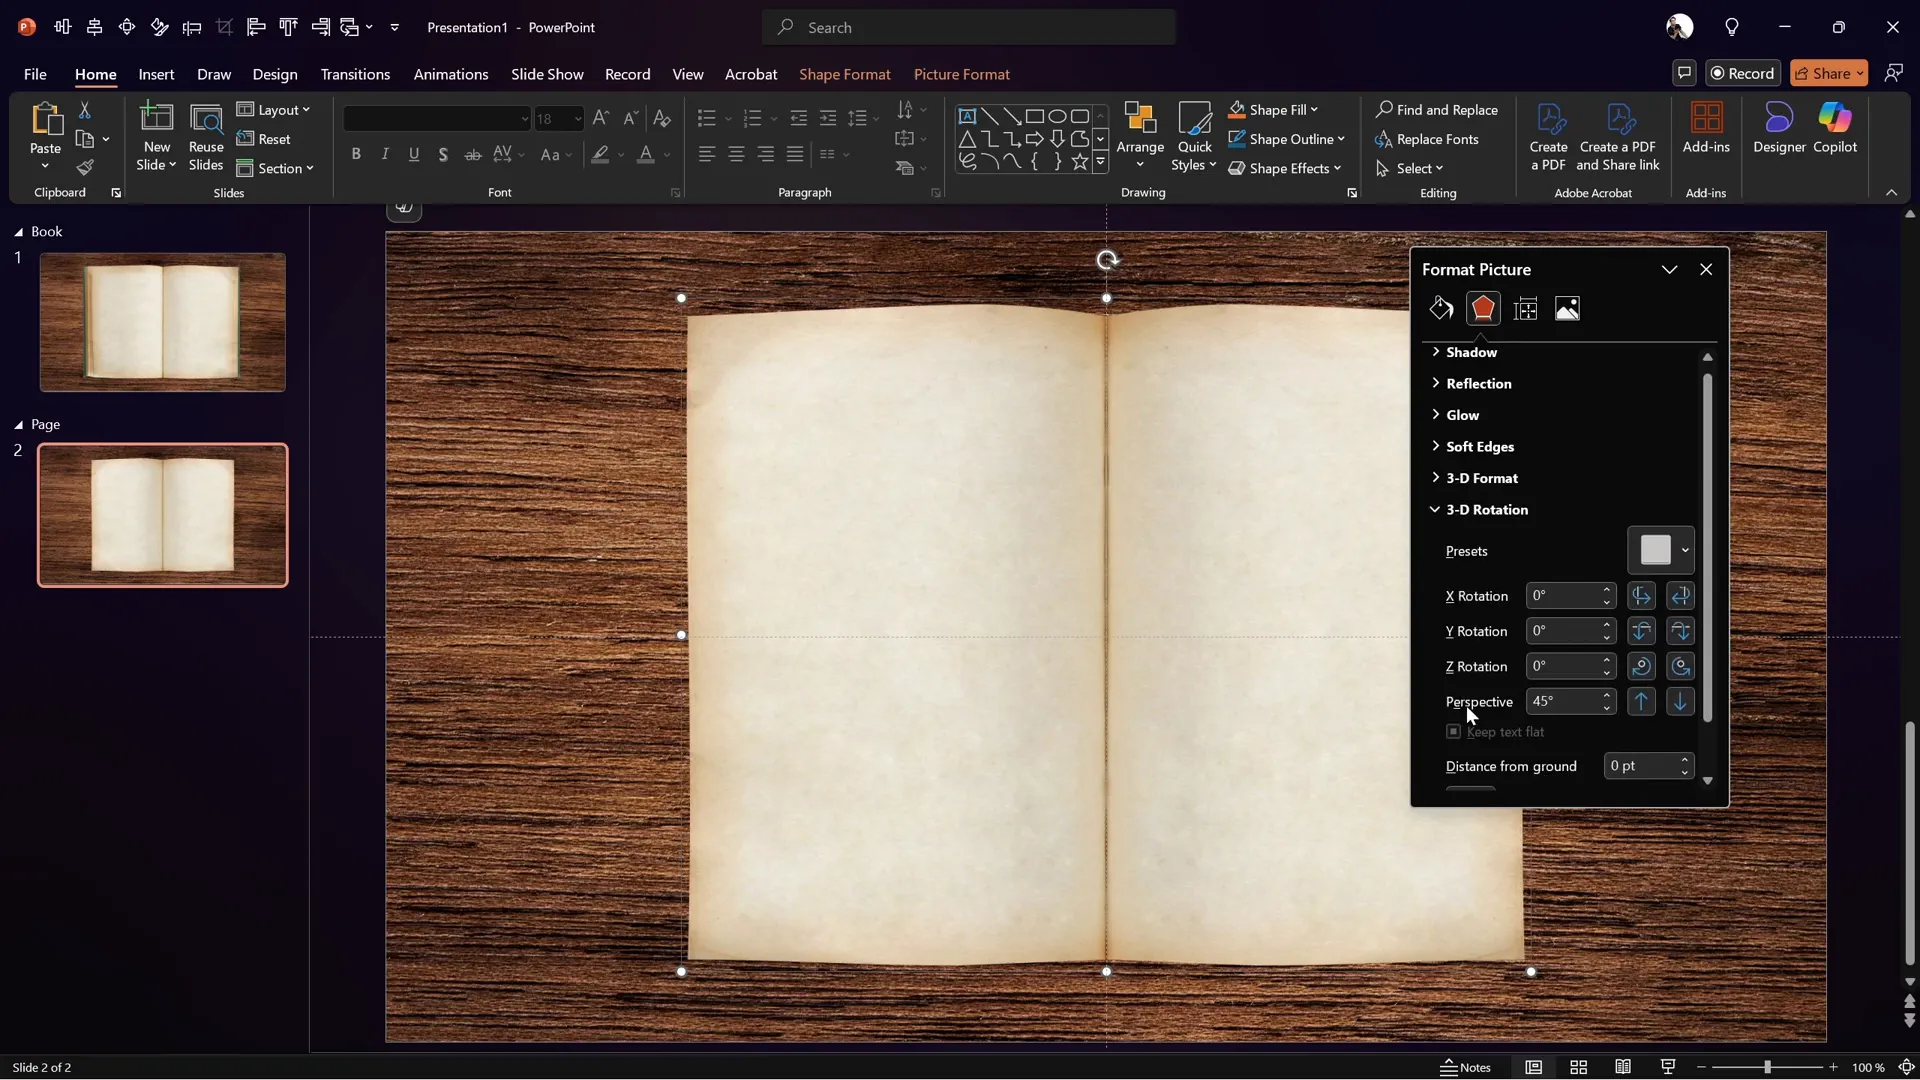
Adjust the lighting to “Contrasting” to avoid unwanted brightening effects that can occur with some presets. Then, in the 3D rotation options, set the X-axis rotation to 0° for the first slide.
Duplicate the slide and set the Morph transition on the duplicate. On this second slide, change the page group’s X rotation to 180°. This rotation will simulate the page flipping over.
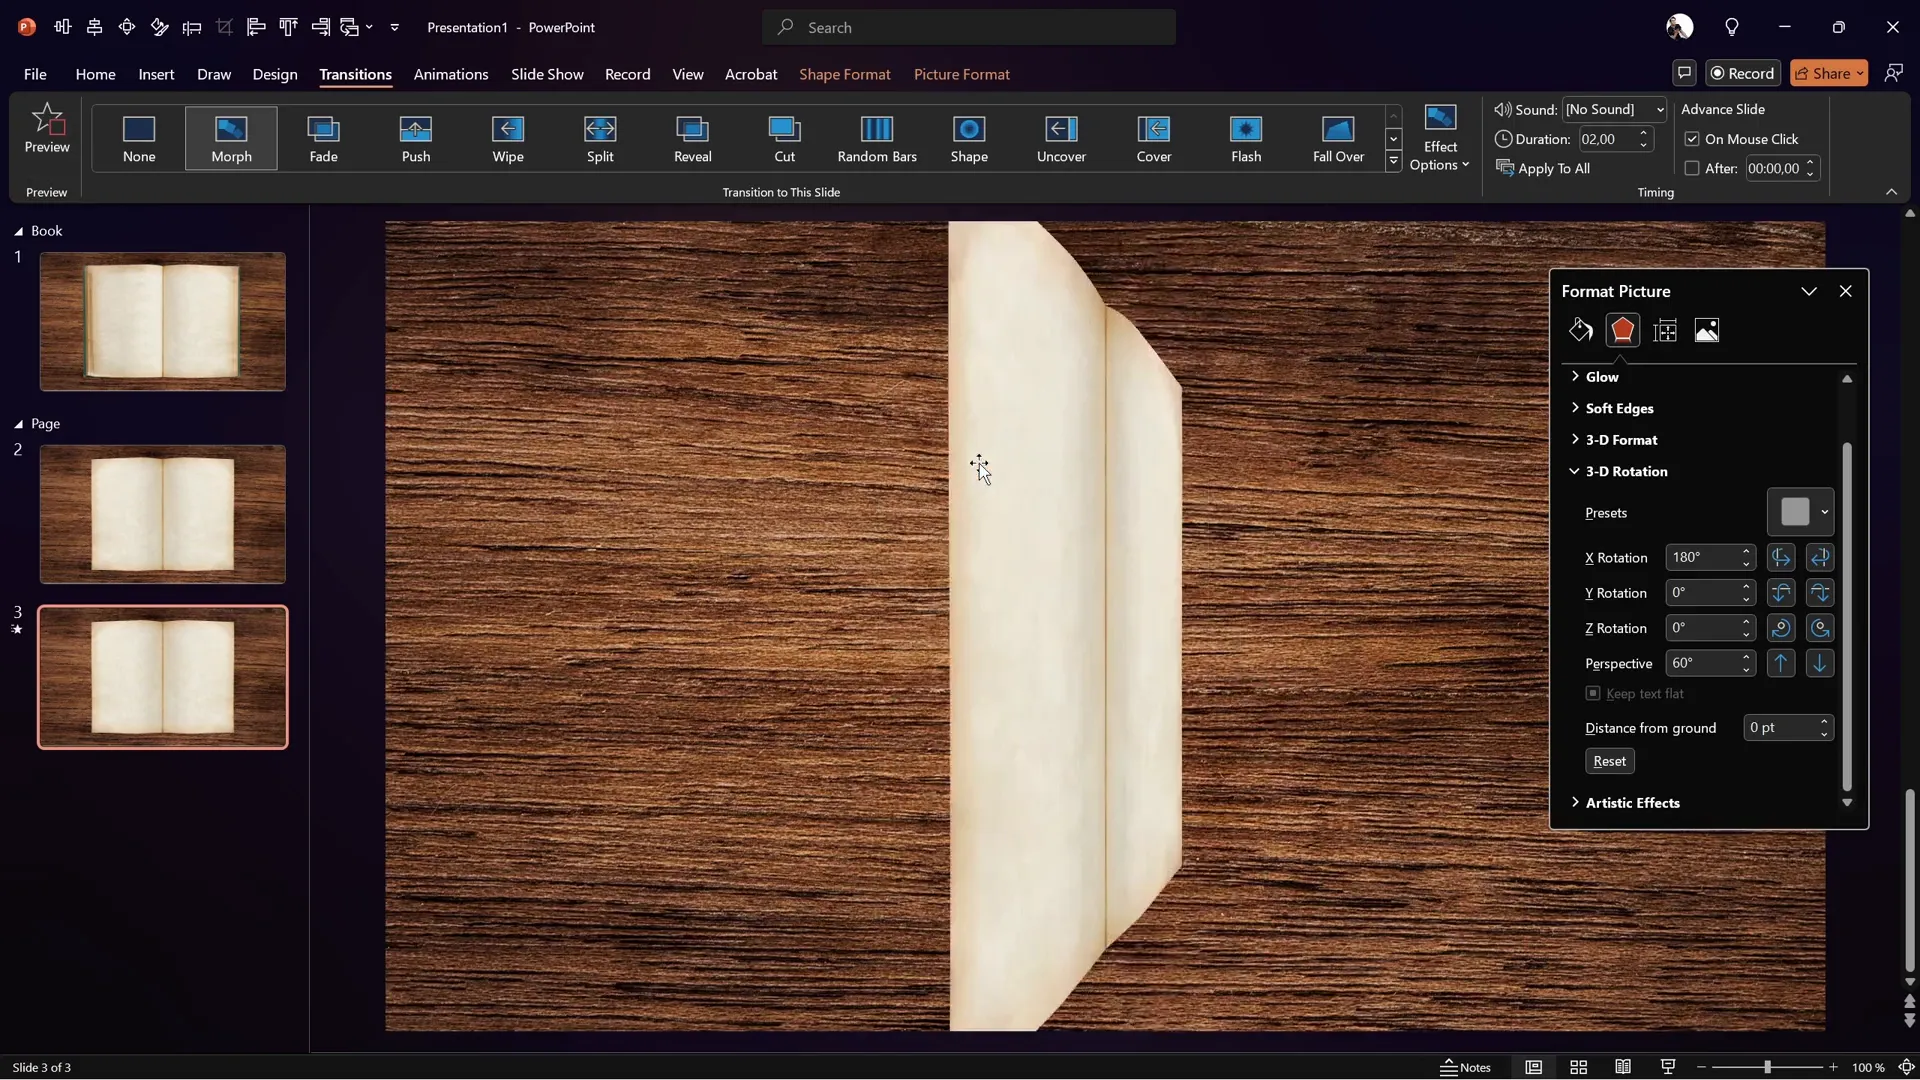
Finalizing the Page Flip Animation
To create the illusion that only the right page flips, hide the left page on both slides using the Selection Pane. This way, only the right page is animated, flipping from right to left.
Copy the page group with the hidden left page back to your original book slide. Duplicate this slide and apply the Morph transition to the duplicate to see the full animation in place with the book and background.
Set the first slide’s transition to Fade for a smooth start and the second slide to Morph for the flipping effect. When you preview the slides in Slide Show mode, you’ll see a beautiful, realistic single page flip animation.
Adding Text and Images to the Flipping Pages
For those wanting to take the animation further, text and images can be added to the flipping pages, creating interactive and dynamic presentations. These can be customized to zoom in or fade in as the pages flip, allowing you to showcase detailed content creatively.
This advanced technique is covered in extended lessons on pptskill.com as part of the PowerPoint Animation Mastery course, which currently offers a Black Friday 50% discount.
Frequently Asked Questions (FAQ)
What PowerPoint version do I need for this animation?
You need PowerPoint 2016 or later versions that support the Morph transition and 3D rotation features.
Can I use other images for the book and background?
Absolutely! Feel free to use any images that fit your presentation style. Just ensure the book image has a clear page division for the best flip effect.
Is it possible to flip multiple pages?
Yes, by duplicating the page groups and adjusting the timing of animations and transitions, you can create a multi-page flip effect.
How do I add clickable links or interactive elements to the flipping pages?
You can add hyperlinks or interactive buttons on the pages as usual, but make sure they are positioned correctly and tested in Slide Show mode.
Can I use this animation on Mac versions of PowerPoint?
Some features like Morph transition and 3D rotation are available in recent Mac versions, but functionality might vary. Test your animation carefully on your device.
Where can I learn more advanced PowerPoint Animation techniques?
Check out PowerPoint Animation Mastery by One Skill PPT for in-depth tutorials and courses that cover advanced animation tricks.
Conclusion
Creating a realistic page flip animation in PowerPoint is a fantastic way to add a professional and dynamic touch to your presentations. By combining well-chosen images, precise shape editing, and PowerPoint’s 3D rotation and Morph transition features, you can bring your slides to life with captivating effects.
This tutorial, based on the expert guidance from One Skill PPT, demonstrates how accessible and powerful PowerPoint Animation can be when you understand the right techniques. Whether you’re designing a digital book, portfolio, or creative presentation, mastering this animation will set your work apart.
Remember, practice and experimentation are key. Don’t hesitate to start simple, then build complexity as you get comfortable with the tools. And if you want to dive deeper, consider enrolling in specialized courses like PowerPoint Animation Mastery to unlock even more creative potential.
Happy animating!


