Welcome, dear friends! If you’re looking to elevate your PowerPoint presentations with eye-catching custom animations, you’re in the right place. Today, I’ll walk you through five genius ways to create stunning animations in PowerPoint that will captivate your audience and bring your slides to life. These are some of my favorite custom animations—tried, tested, and guaranteed to add a professional touch to your presentations.
Whether you’re a beginner or an intermediate PowerPoint user, this comprehensive guide will help you master these animations step-by-step. Plus, by the end, you’ll discover how to access a collection of ready-made animations that can save you tons of time on your future projects. Let’s dive in!
Table of Contents
- 1. Cyber Text Animation: Futuristic Letter-by-Letter Swivel
- 2. Scrolling Grid: Animated Background for Dynamic Slides
- 3. Floating Images: Circular Motion with Subtle Spin
- 4. Horizon Parallax: Bring Photos to Life with Layered Motion
- 5. Button Shine Effect: Colorful Looping Highlights
- Bonus: The PowerPoint Animation Pack
- Frequently Asked Questions (FAQ)
- Final Thoughts
1. Cyber Text Animation: Futuristic Letter-by-Letter Swivel
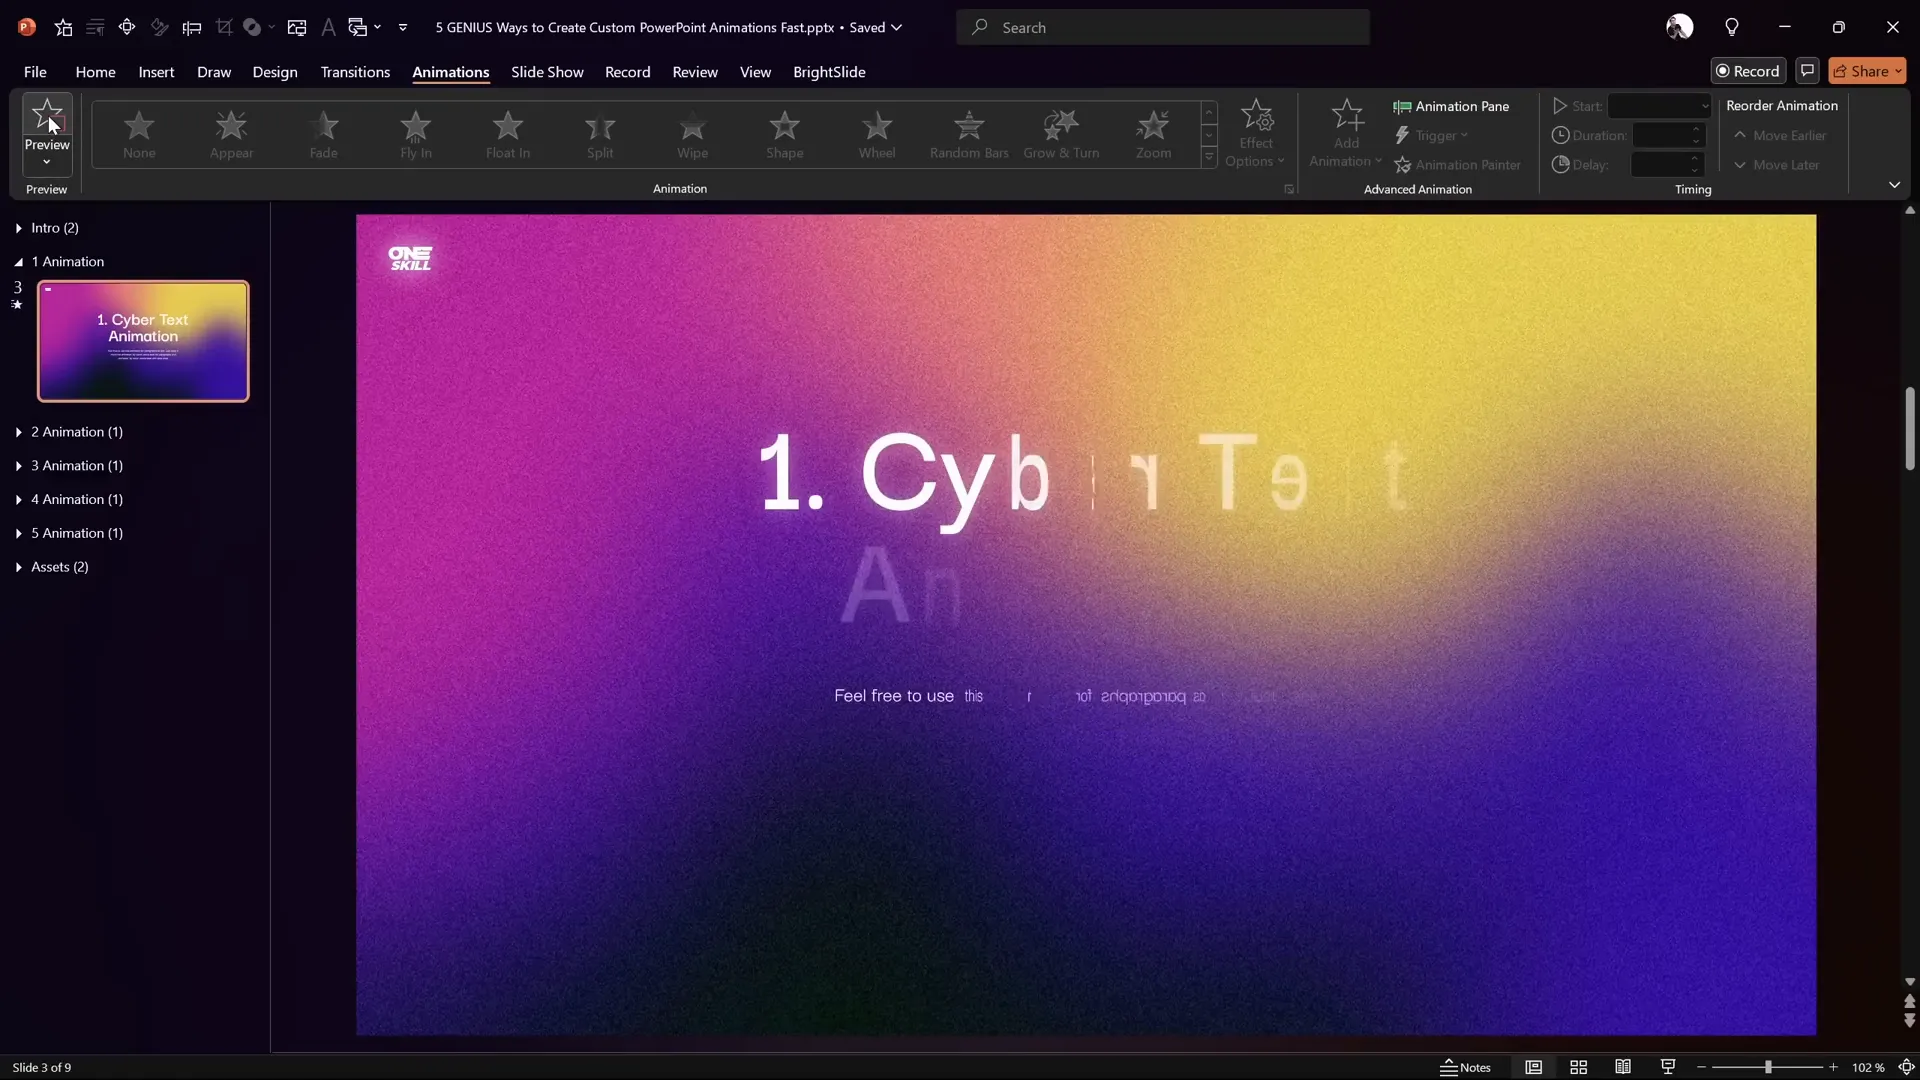
The first animation style I want to share is what I call the Cyber Text Animation. Imagine your slide title or text flickering in letter by letter, creating a dynamic, futuristic vibe—perfect for tech presentations, digital themes, or anything that calls for a modern edge.
Here’s how it looks: each letter swivels into view with a slight delay, giving that captivating cyber effect.
How to Create the Cyber Text Animation
- Start fresh: Duplicate your slide to work on a copy.
- Clear existing animations: Open the Animation Pane and delete all current effects.
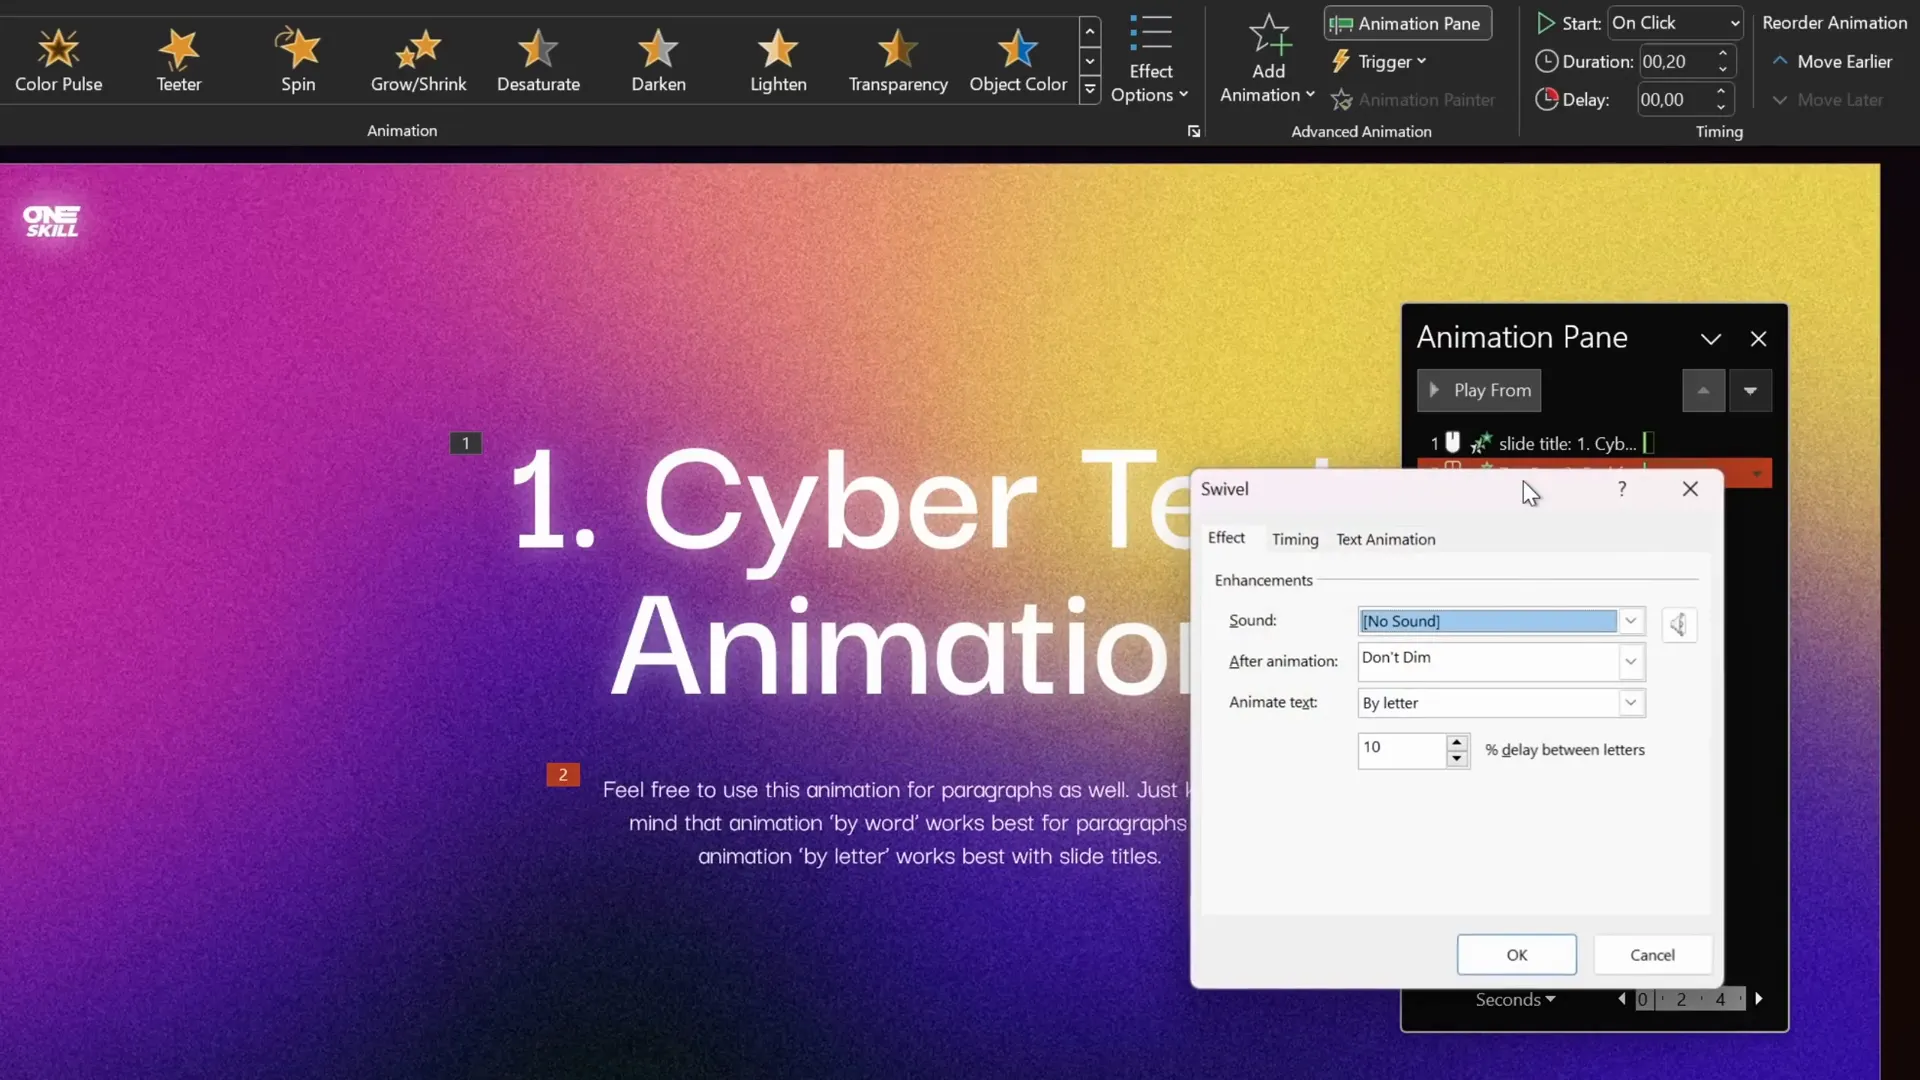
- Apply the swivel animation: Select your slide title, then go to More Entrance Animations and choose Swivel. Click OK to apply.
- Animate by letter: In the animation options, change the text animation to happen by letter, set the delay between letters to 10%, and shorten the duration to 0.2 seconds. This makes each letter appear swiftly one after another.
- Copy animation to paragraph: Select the slide title again and use the Animation Painter to copy the animation to your paragraph text.
- Animate paragraph by word: For variety, adjust the paragraph’s animation to happen by word instead of by letter. This gives a subtle, different rhythm that complements the title.
- Set timing: Make the first animation start With Previous, and the second animation start After Previous, so they play sequentially.
When you play the slide, you’ll see the title letters swivel in one by one, followed by the paragraph words, producing a sleek, cyber-inspired effect.
This animation is not only visually impressive but also straightforward to create once you know the steps. You can customize the delay and duration to fit your style.
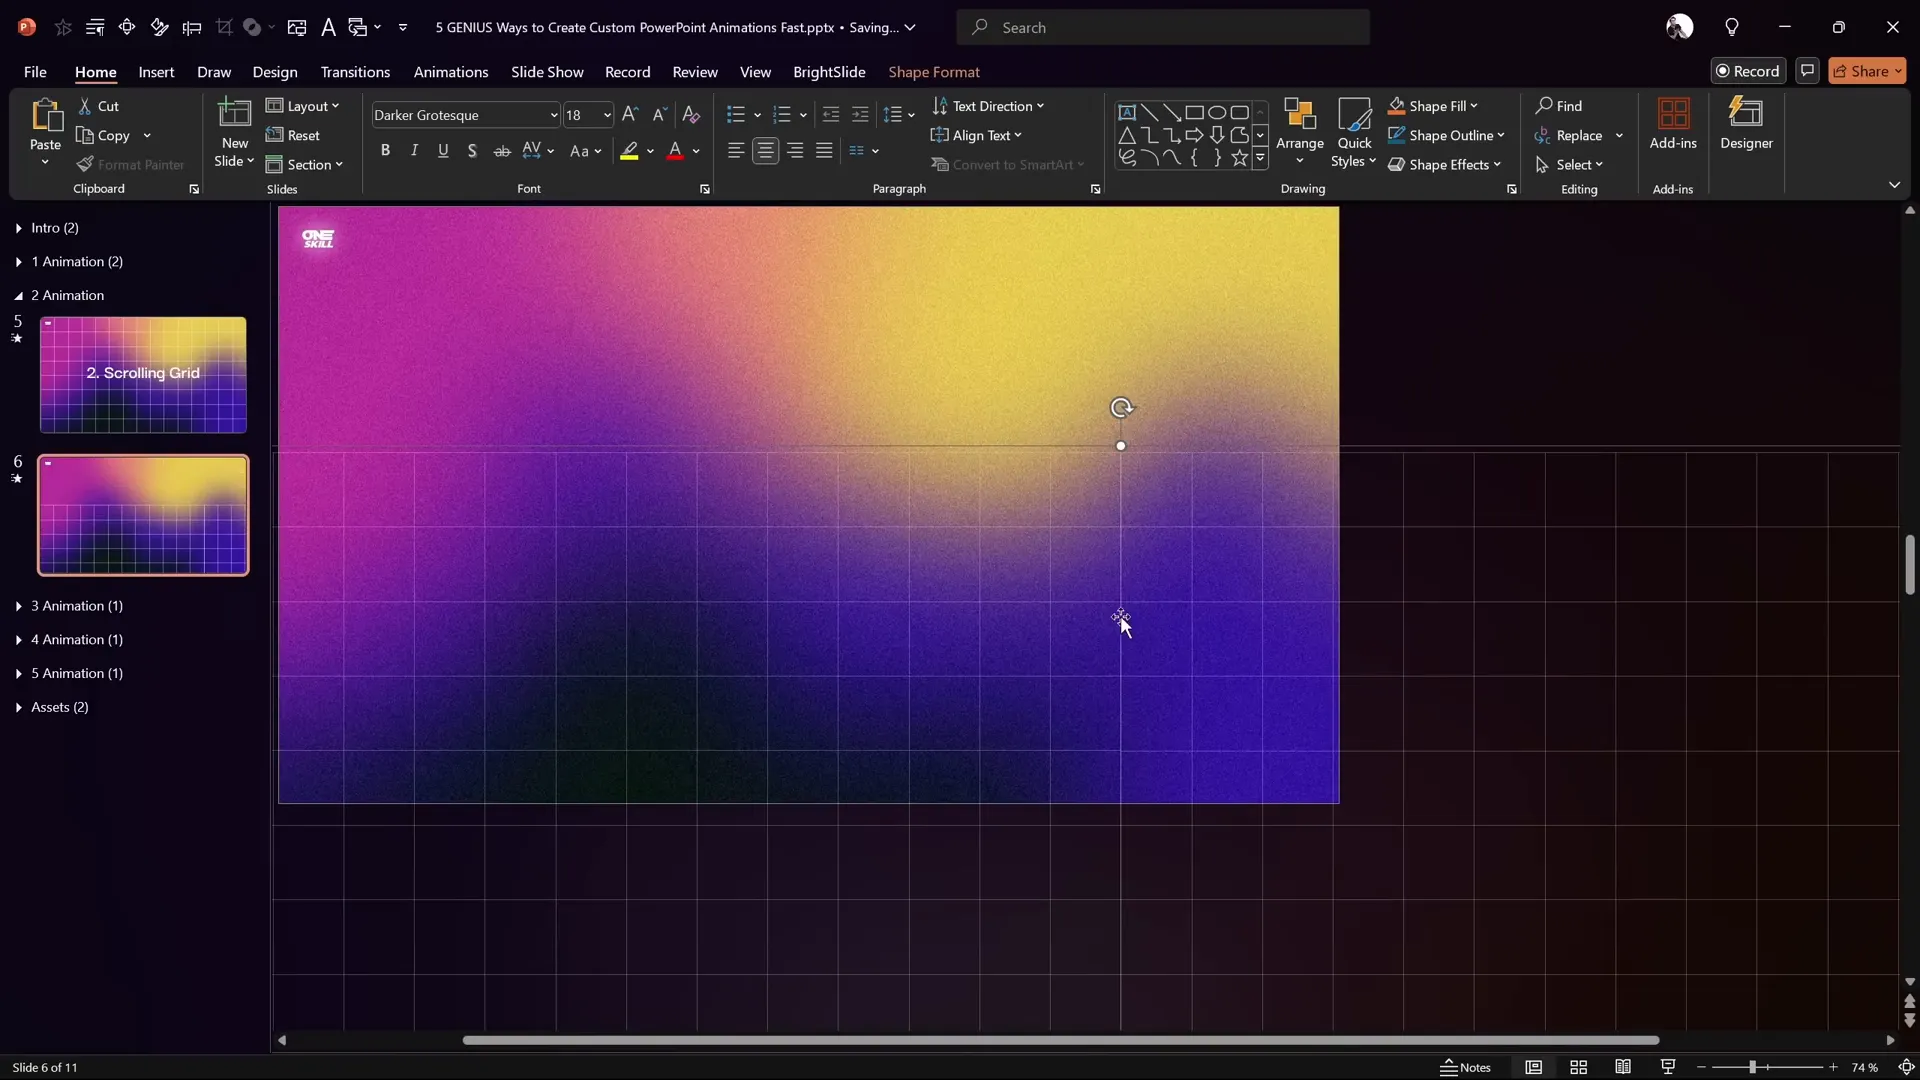
2. Scrolling Grid: Animated Background for Dynamic Slides
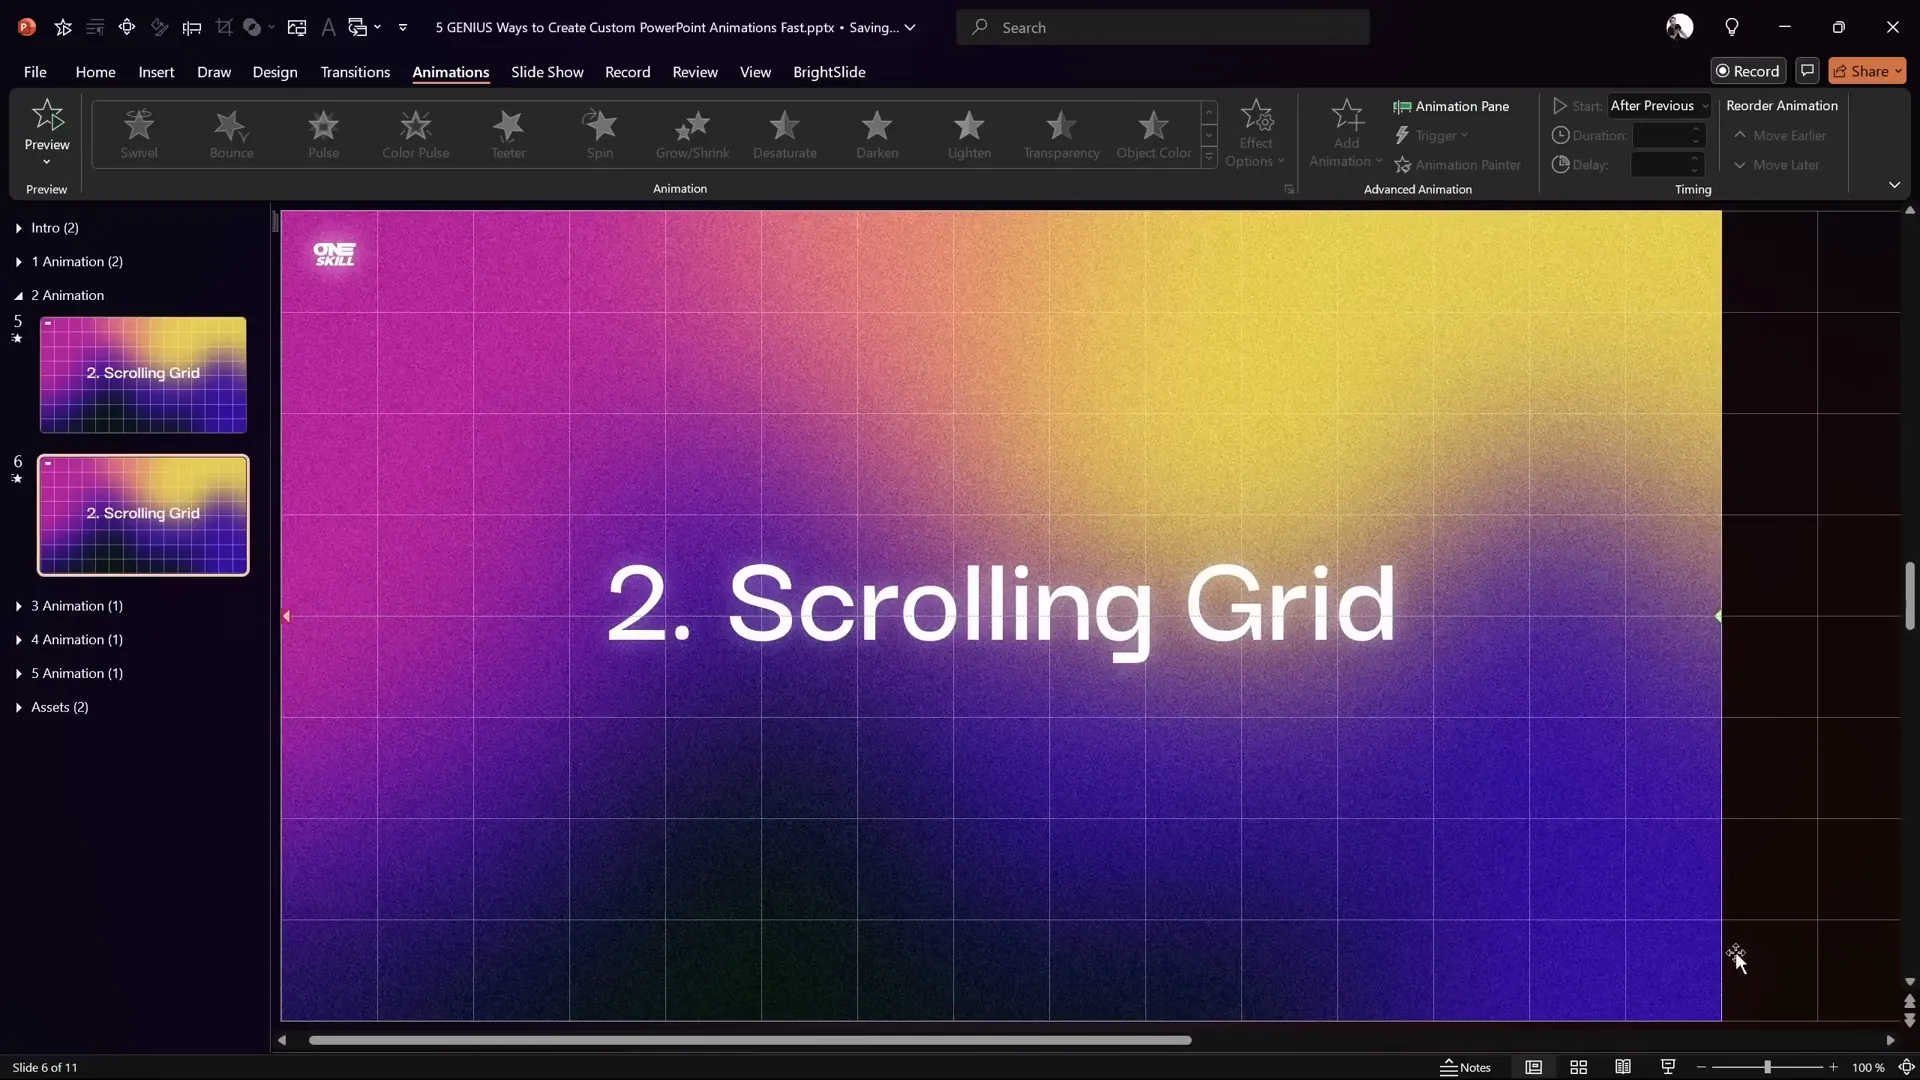
Next up is one of my favorites for slide backgrounds—the Scrolling Grid Animation. This technique creates a subtle but engaging grid pattern that scrolls horizontally, adding a modern, tech-savvy feel to your presentation background.
It’s especially useful for backgrounds where you want motion without distraction. Let me show you how to build this scrolling grid from scratch.
Step-by-Step: Building the Scrolling Grid
- Create vertical columns: Insert a rectangle shape matching the height of your slide. Align it to the left edge.
- Duplicate columns: Press Ctrl+D to duplicate the rectangle 14 times until you have 15 columns side by side.
- Group columns: Select all 15 rectangles and group them. Stretch the group so it covers the entire slide width.
- Create horizontal rows: Inside the group, copy one column and paste it on top. Rotate or transform this shape into a row spanning the slide width.
- Duplicate rows: Duplicate the row 7 more times to have 8 rows in total.
- Group rows: Group all rows and stretch them to cover the slide height.
- Combine rows and columns: Position the rows and columns groups correctly and then group them together to form the entire grid.
- Format the grid: Set the fill to No Fill so the grid lines are transparent, then adjust the line color to white or a light color with 80% transparency and set the line thickness to 0.5 pt. This creates a subtle but visible grid.
- Create a double-length grid: Duplicate the entire grid and move the copy to the right side, then group both grids together. This makes the grid twice as wide as the slide, essential for the scrolling effect.
Animating the Scrolling Grid
- Add motion path: Select the grouped grid and add a Motion Path Line animation.
- Set direction: Change the path direction to Left so the grid scrolls horizontally.
- Adjust motion path length: Drag the red endpoint to align exactly with the left edge of the grid to ensure smooth looping.
- Refine animation: Remove smooth start and end for a constant scrolling speed.
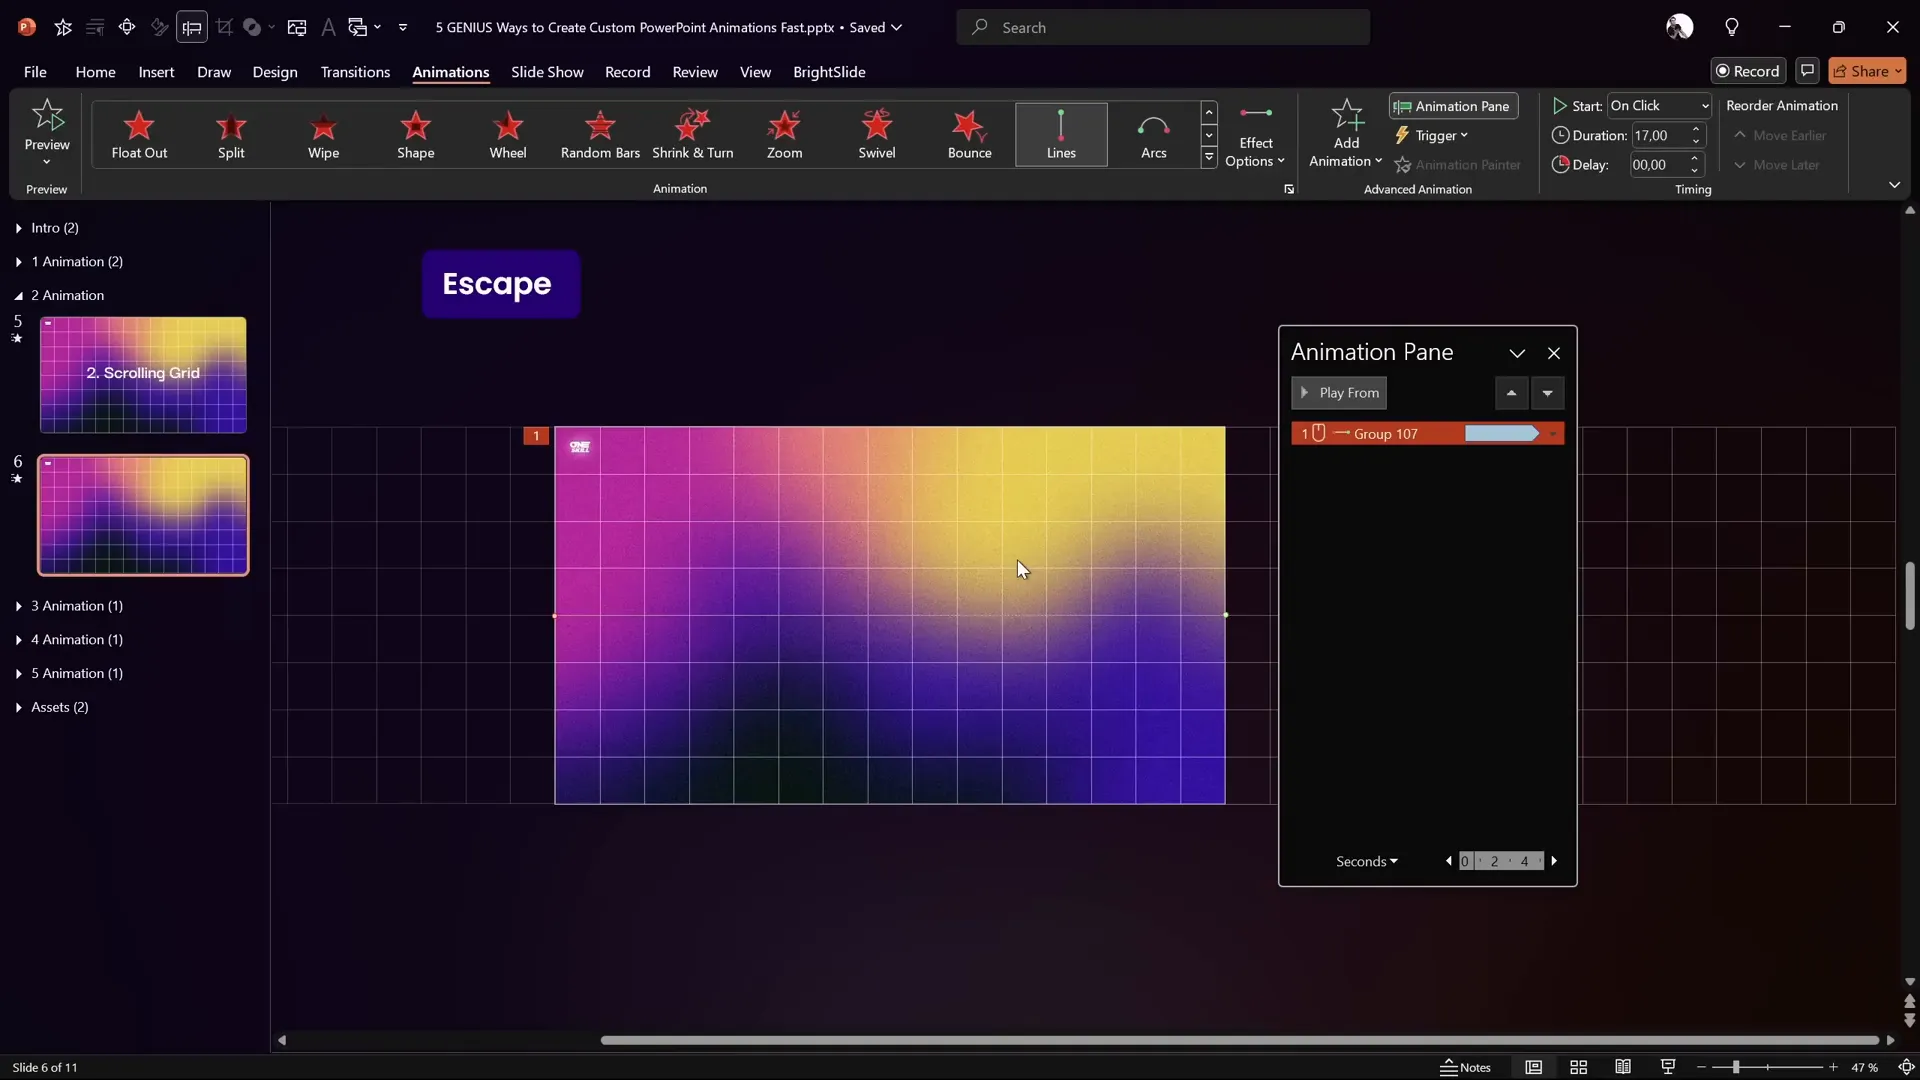
- Set duration: Increase duration to 17 seconds for a slow, subtle scroll.
- Loop infinitely: Set the animation to repeat Until End of Slide.
- Add fade-in: Add a Fade In animation at the beginning with a 1-second duration to smoothly introduce the grid.
- Synchronize animations: Make sure the fade-in and motion path animations start With Previous for a seamless effect.
When you play this animation, the grid will fade in and scroll continuously to the left, creating a mesmerizing, futuristic background that loops indefinitely.
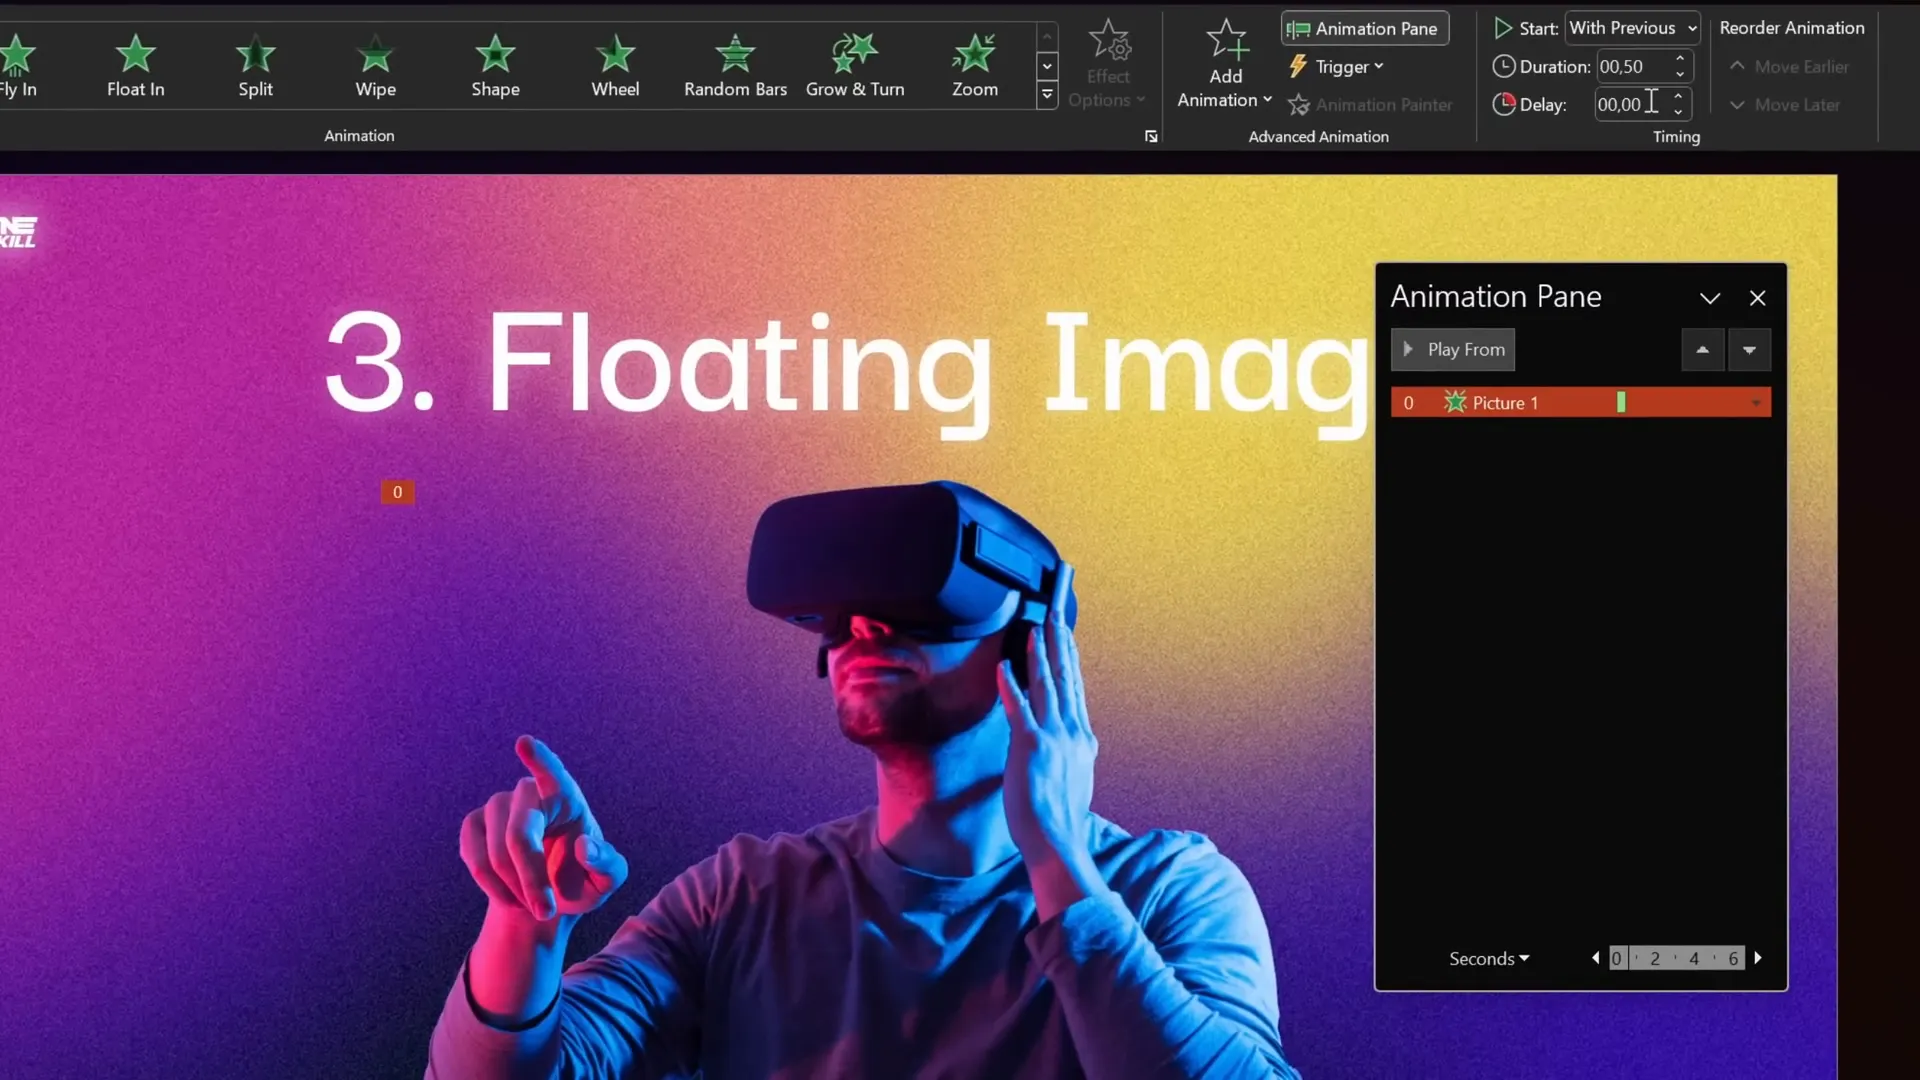
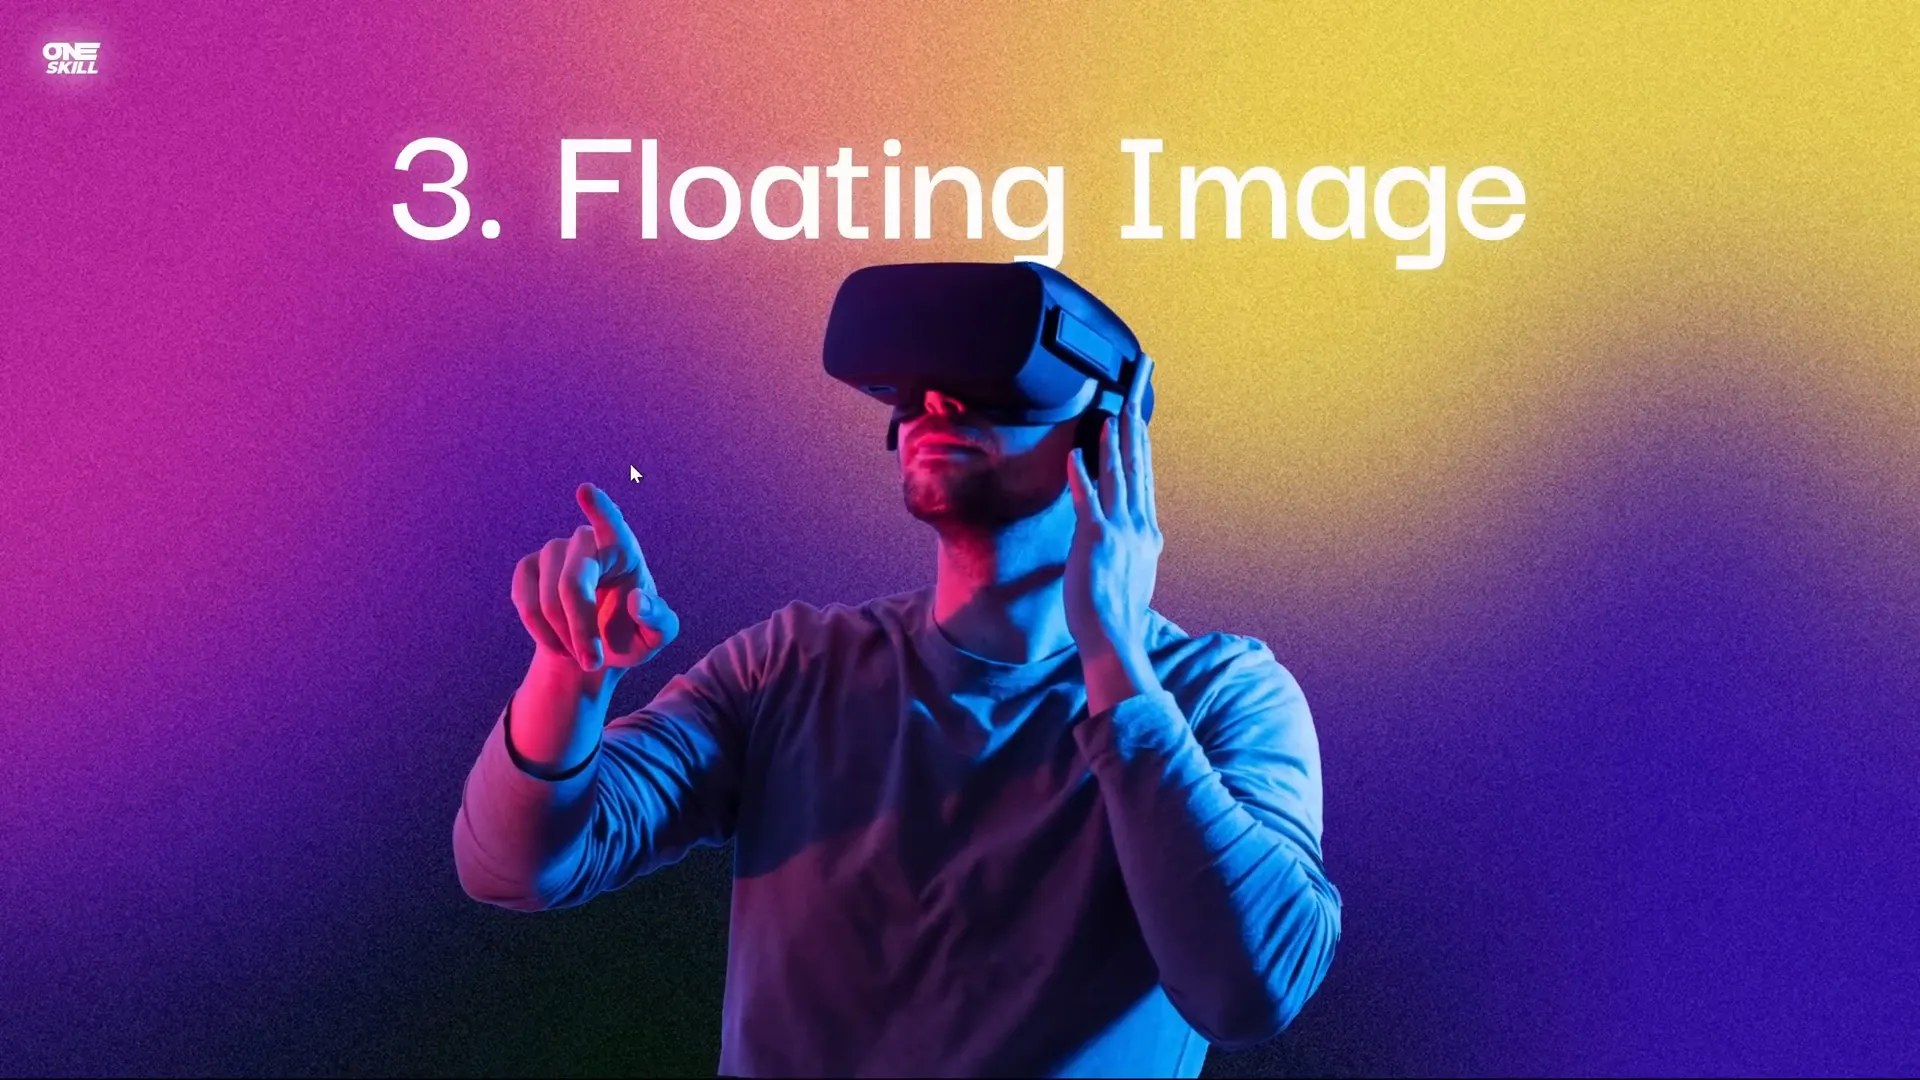
3. Floating Images: Circular Motion with Subtle Spin
Now, let’s add some life to your images with the Floating Images Animation. This technique makes an image float in a circular path while gently spinning, perfect for adding a dynamic touch to logos, icons, or photos.
Steps to Create Floating Images
- Duplicate slide: Work on a copy to keep your original slide intact.
- Add fade-in: Select your image and apply a Fade In animation starting With Previous, duration 0.5 seconds.
- Add circular motion: Add a Motion Path animation with a circular shape. Adjust the path to circle around the image.
- Reverse path: If the circle moves counterclockwise, reverse it to clockwise via the effect options.
- Resize path: Hold Ctrl and drag the motion path handles to resize the circle proportionally.
- Adjust motion path: Move the bottom handle upwards to change the path direction from downward to upward.
- Set duration and looping: Set the motion path duration to 6 seconds, remove smooth start/end, and set repeat to Until End of Slide.
- Add spin: Add a Spin animation of 5 degrees clockwise with auto-reverse enabled, duration 3 seconds (which effectively becomes 6 seconds with auto-reverse), starting With Previous.
- Synchronize animations: Ensure fade-in, motion path, and spin all start With Previous for smooth combined effect.
The result is an image that fades in, gently floats in a clockwise circular path, and spins subtly back and forth, creating a natural floating effect that loops throughout the slide.
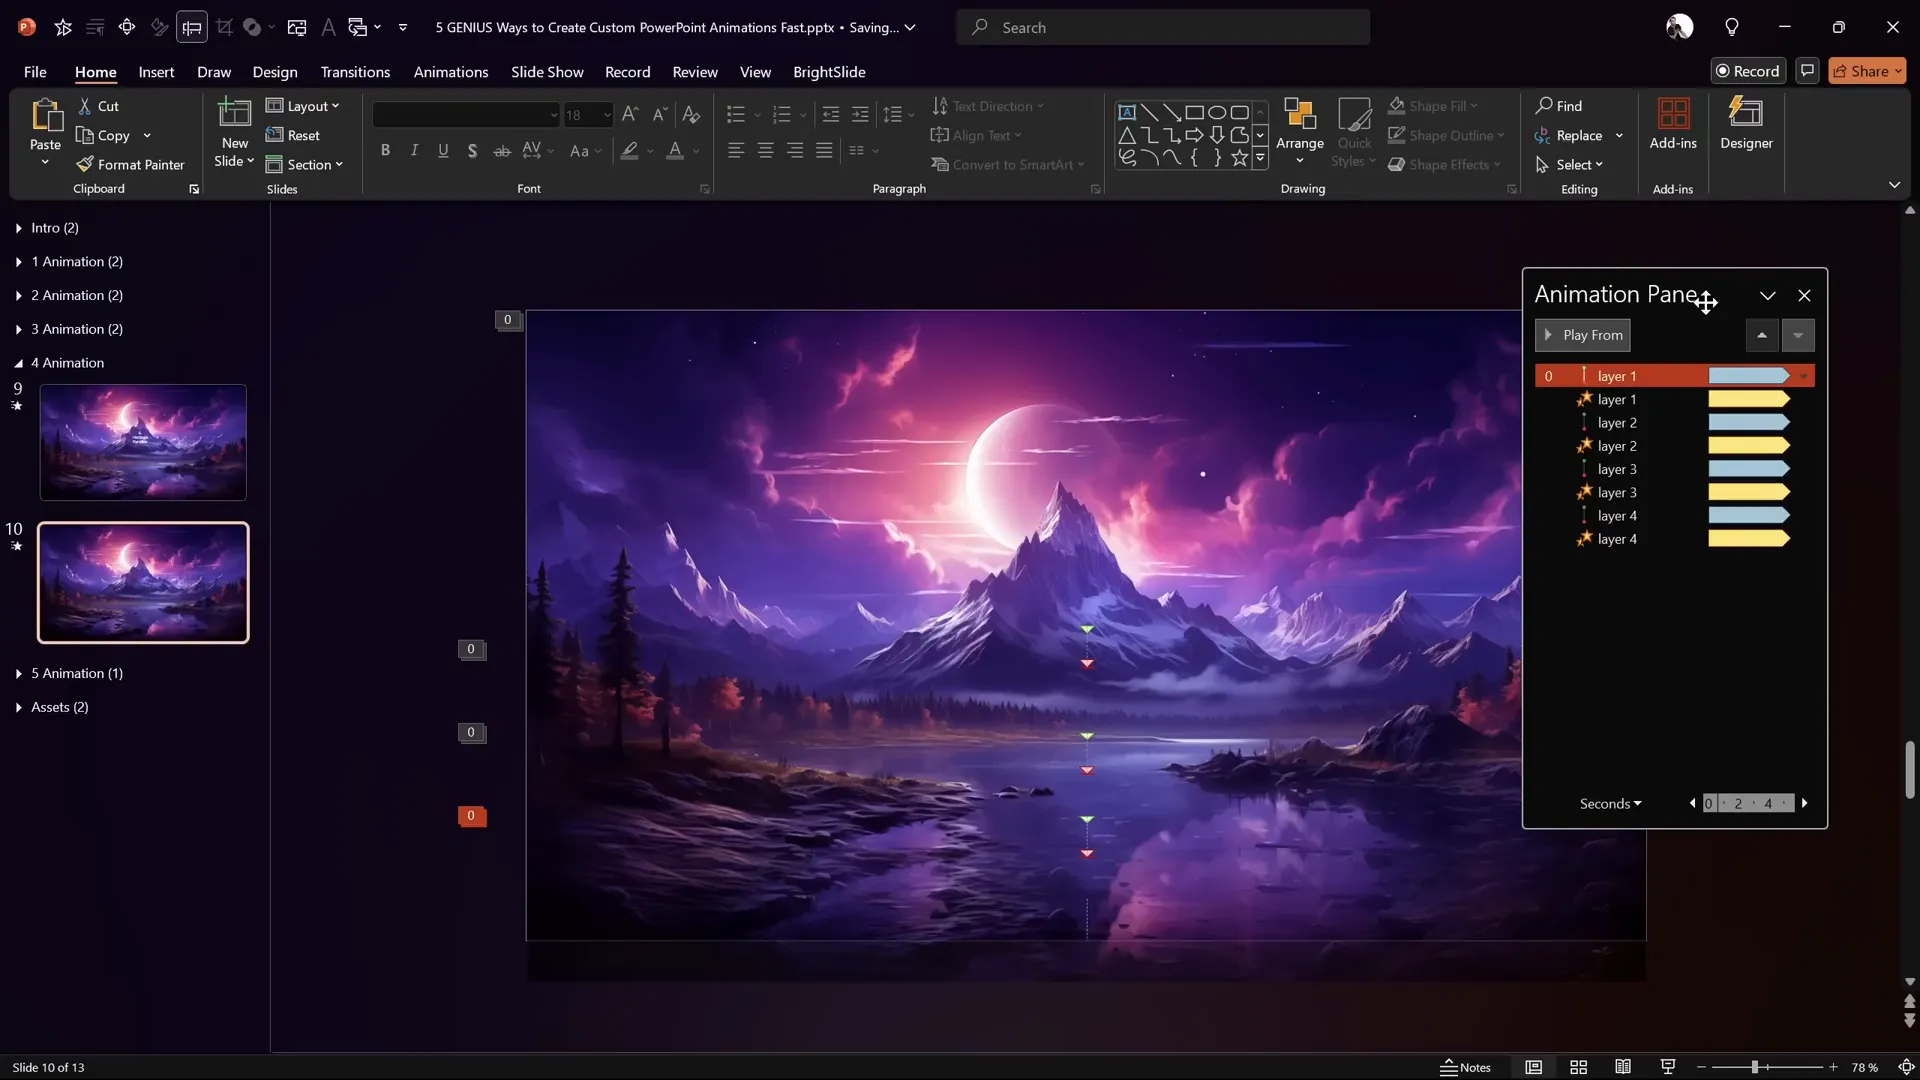
4. Horizon Parallax: Bring Photos to Life with Layered Motion
Next is the Horizon Parallax Animation, a brilliant way to add depth and motion to any photo by layering multiple rectangles with the same background image and animating them differently. This method creates a subtle parallax effect that makes your slide background feel three-dimensional and alive.

Creating the Horizon Parallax Effect
- Prepare your slide: Set your slide background to a photo or image you want to animate.
- Create layers: Insert four rectangles named Layer 1, Layer 2, Layer 3, and Layer 4. Layer 4 should cover the entire slide.
- Apply soft edges: For the bottom three layers (Layer 1, 2, and 3), add 30 points of soft edges. This smooths the edges and allows the layers to blend naturally.
- Order layers: Arrange layers so the bottom rectangle is on top, followed by Layer 2, Layer 3, and finally the full-screen Layer 4 at the back.
- Animate motion path: Select the bottom layer and add a Motion Path Line animation moving downward. Reduce the travel distance by dragging the red endpoint upwards slightly.
- Animation settings: Set the motion path to start With Previous, duration 5 seconds, add 1-second smooth start/end, enable auto-reverse, and loop Until End of Slide.
- Add grow/shrink: Add a Grow/Shrink animation to the same layer with 175% growth, also 5 seconds duration, smooth start 1 second, auto-reverse, and repeat indefinitely.
- Copy animations: Use Animation Painter to apply the same motion path and grow/shrink animations to Layers 2, 3, and 4.
- Adjust growth percentages: Gradually reduce the growth percentage for each layer: Layer 2 at 150%, Layer 3 at 125%, and Layer 4 at 110%.
- Fill with slide background: Select all rectangles, right-click, choose Format Shape > Fill > Slide Background Fill. This ensures the rectangles use the same image as the background, creating the parallax effect.
When you play the slide, you’ll notice the layers moving up and down with varying sizes, giving the illusion of depth and life to your static photo background. This effect is perfect for landscapes, cityscapes, or any photo where you want to add motion without distracting from your content.
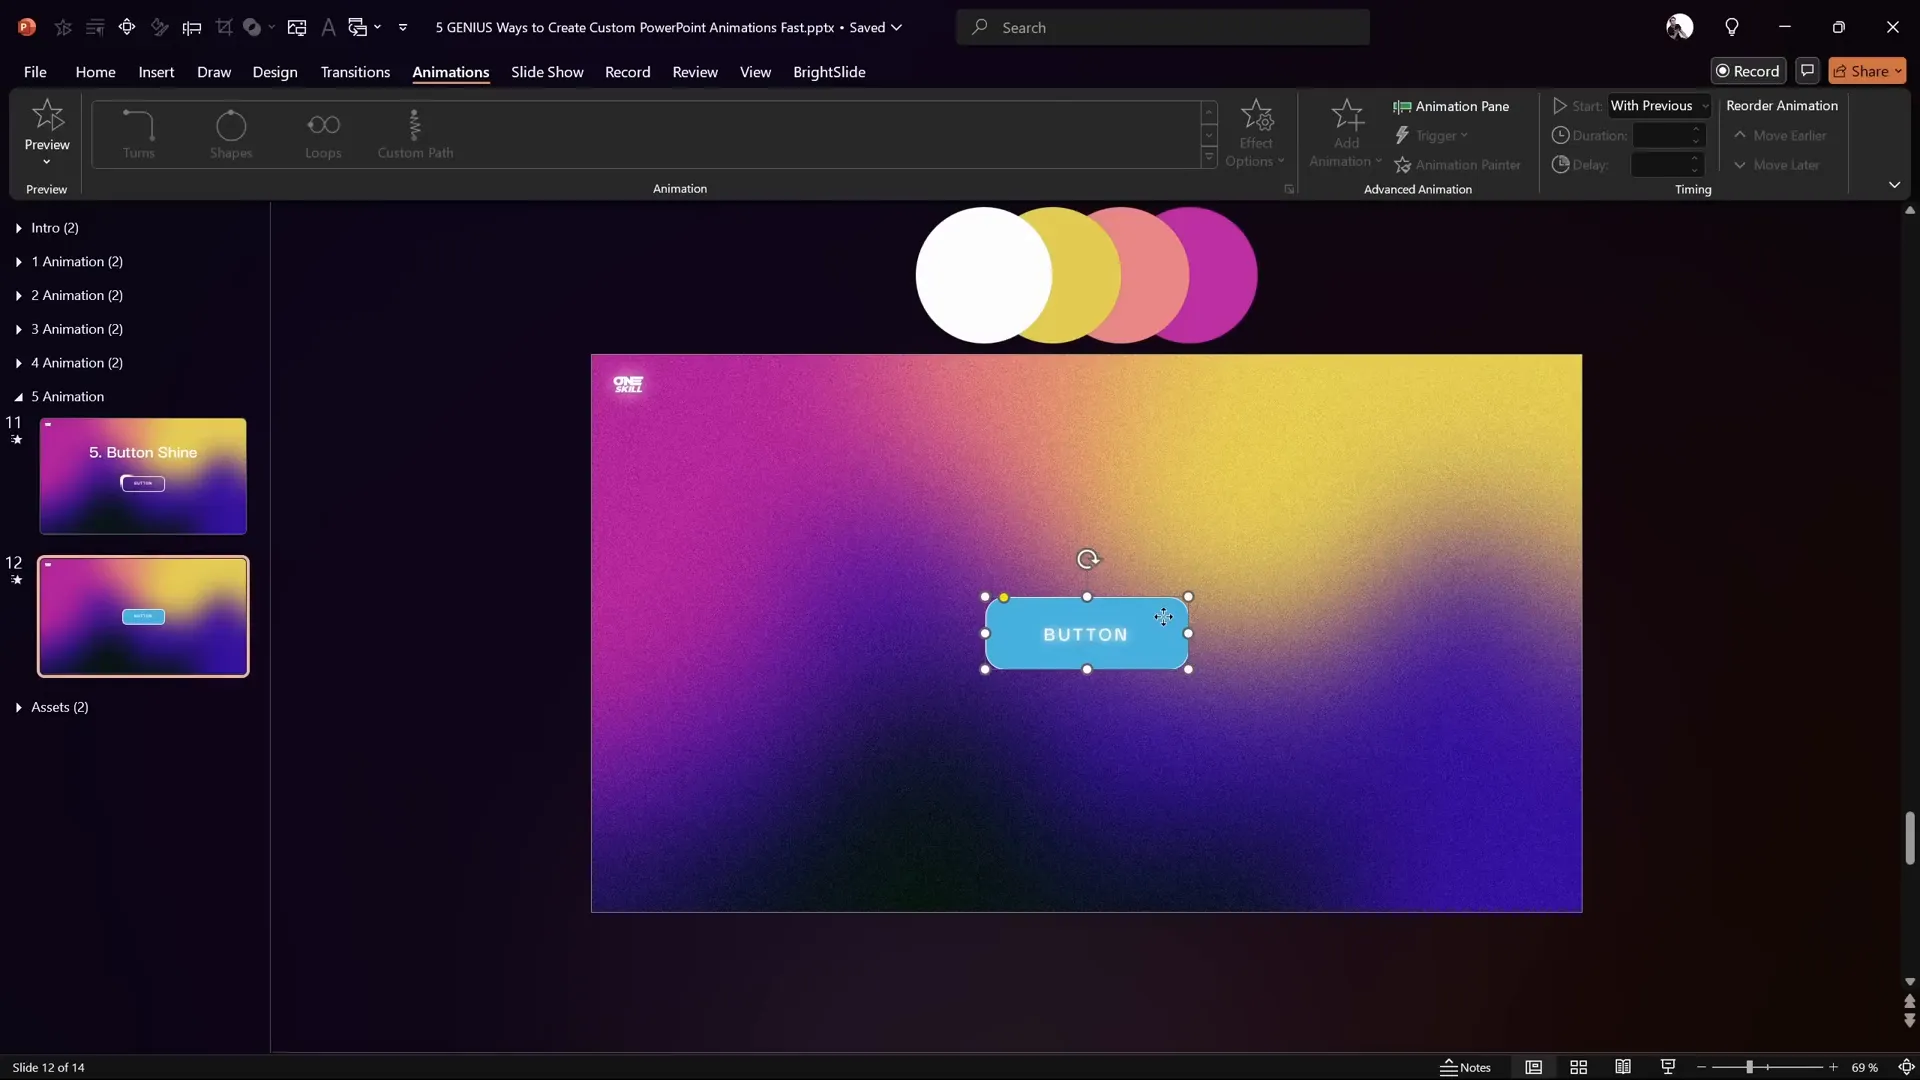
5. Button Shine Effect: Colorful Looping Highlights
Finally, I want to share a cool animation trick for making your buttons or shapes pop—the Button Shine Effect. This technique creates a colorful, looping shine that circles around your button, ideal for call-to-action buttons or important shapes you want to highlight.
How to Build the Button Shine Effect
- Prepare shapes: Insert a rounded rectangle as your main button and add a few colorful circles (ovals) around it.
- Set slide background: Make sure your slide background is filled with a picture as the shapes will use this for a masking effect.
- Duplicate button: Duplicate your rounded rectangle, remove text from the duplicate, and change its fill color to differentiate it.
- Resize and align: Make the duplicated rectangle slightly bigger and send it behind the original button. Align both perfectly centered.
- Create mask: Insert a large rectangle that covers both buttons, send it to back, then select it and the bigger rectangle and use the Subtract merge shape operation. This punches a hole in the big rectangle matching the button shape, creating a mask.
- Position circles: Place the colorful circles precisely around the button. Name them clearly in the selection pane for easy management.
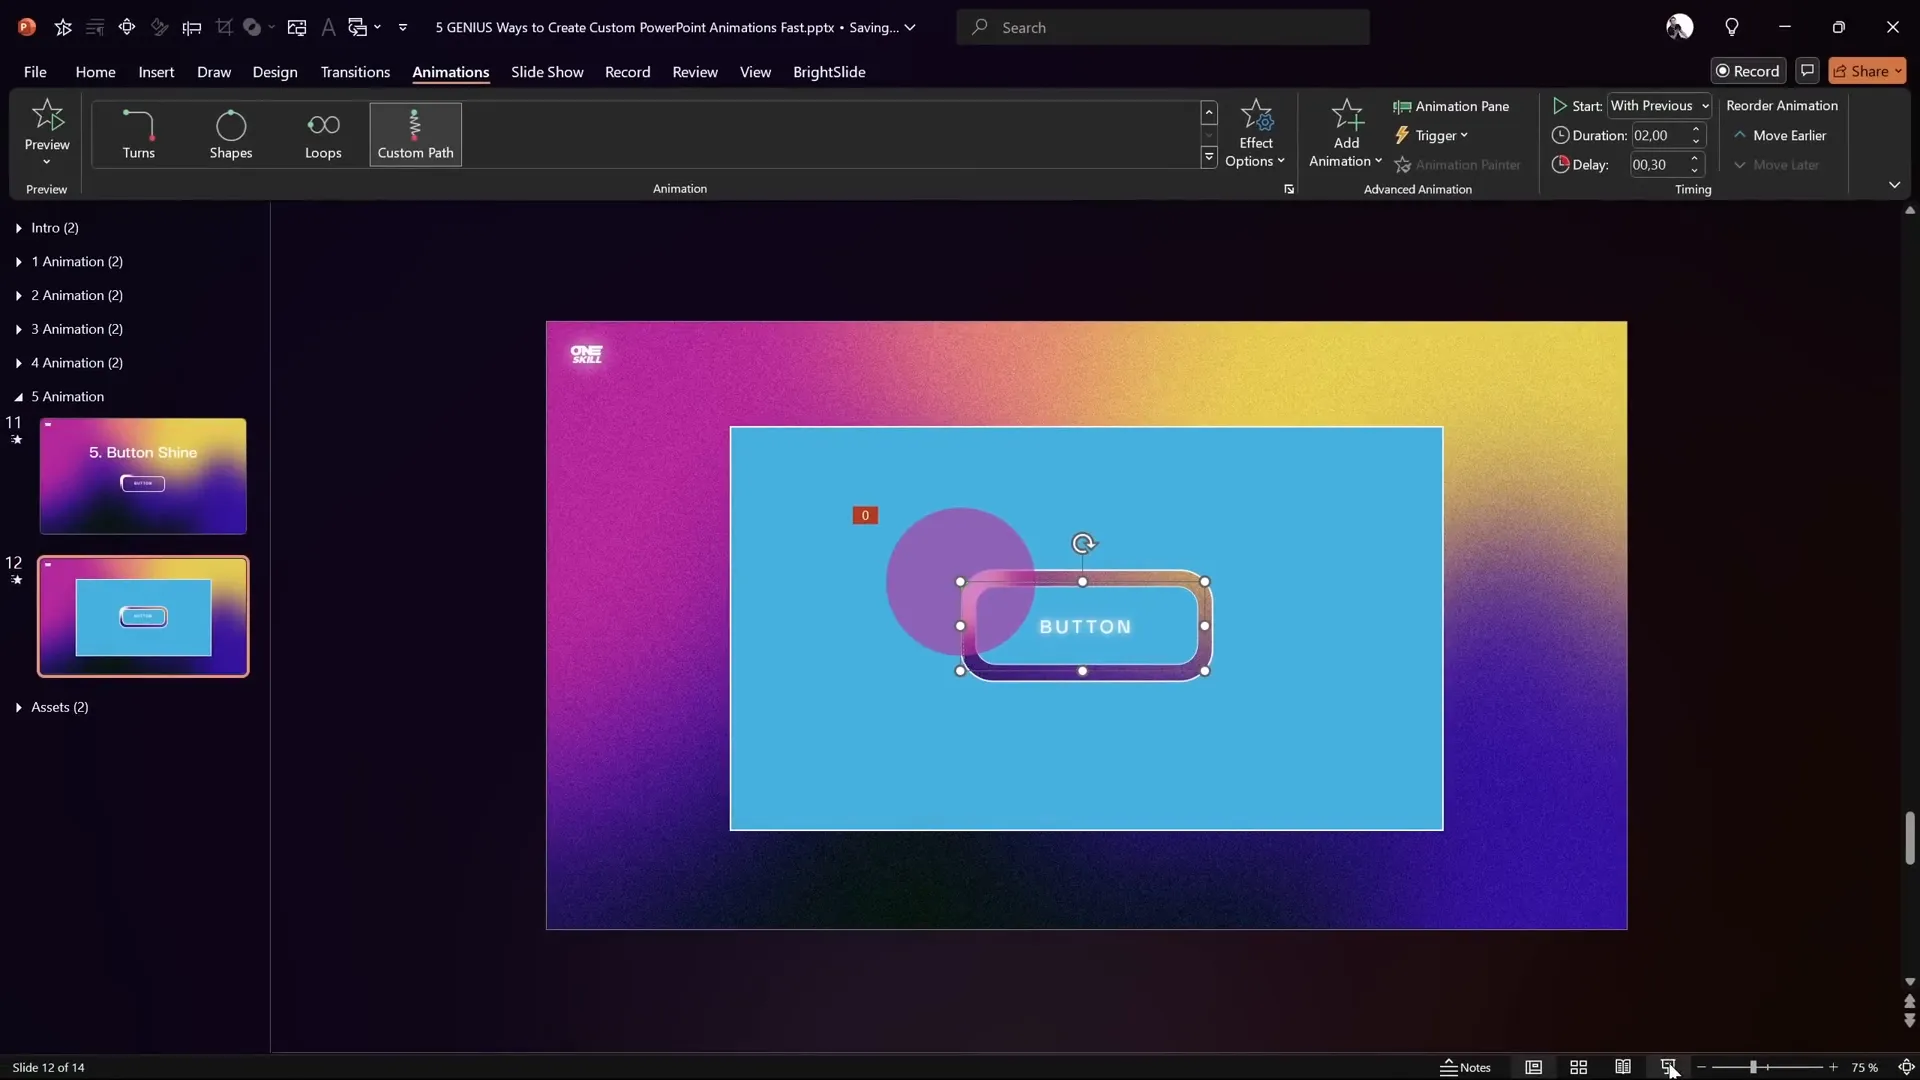
- Animate the highlight: For the first circle, add a Custom Motion Path animation that follows the button’s perimeter. Click points around the button’s edges to create a closed path, then set animation duration to 2 seconds, remove smooth start/end, repeat indefinitely, and start With Previous.
- Add soft edges: Apply 30 points of soft edges to the circles to soften their glow.
- Copy animation: Use Animation Painter to apply the same motion path animation to the other circles.
- Align circles: Stack all circles on top of each other precisely.
- Add animation delays: Stagger the animations by adding delays: 0.1s for the second circle, 0.2s for the third, and 0.3s for the fourth. This creates a trailing shine effect.
- Apply slide background fill: Set the fill of the blue shapes to Slide Background Fill, allowing the shine to blend with the background image.
- Remove outlines: Remove lines from the mask shape for a cleaner look.
When played, this creates a beautiful, colorful, looping shine that circles your button, drawing attention in a subtle yet effective way. It’s perfect for interactive presentations or highlighting key actions.
Bonus: The PowerPoint Animation Pack
Creating these custom animations can be time-consuming, especially if you want to perfect settings like delays, durations, and effects. That’s why I’ve compiled all these animations—and many more—into a PowerPoint Animation Pack. This pack acts as your personal animation library, containing text animations, text highlights, animated backgrounds, shape animations, and button animations.

With this pack, you can:
- Quickly apply professional, ready-made animations to your slides.
- Use the Animation Painter to copy animations between slides with ease.
- Save hours of tedious setup by having perfect animations at your fingertips.
- Receive continuous updates based on user feedback.
- Access additional templates and resources by joining the Patreon superhero level membership.
This pack is available on my Patreon page, linked in the video description. It’s a subscription service, but you can cancel anytime while still having access to the latest updates if you stay subscribed. Joining the Patreon superhero level also grants you access to a wide range of premium templates, making it a massive value for PowerPoint enthusiasts.
Frequently Asked Questions (FAQ)
Can I use these animations in any version of PowerPoint?
Most of these animations use basic PowerPoint features like motion paths, fade, spin, and grow/shrink effects, which are available in PowerPoint 2013 and later versions. However, some options like text animation by letter or word may require newer versions. Always check your PowerPoint version to ensure compatibility.
Are these animations suitable for professional presentations?
Absolutely! These animations are designed to enhance your slides without overwhelming your audience. They add polish and engagement, making your content more memorable. Just use them sparingly and appropriately for your audience and topic.
Can I customize the colors and timing of these animations?
Yes, all animations can be customized. You can adjust colors, animation speed, delays, and more to fit your brand or presentation style. Experiment with settings to find what works best for your slides.
Is the PowerPoint Animation Pack compatible with Mac and Windows?
The animations are compatible with both Windows and Mac versions of PowerPoint, but some features may behave slightly differently. Windows users typically have access to more advanced animation options, so test your animations on your target platform.
How do I apply animations from the pack to my own slides?
You can copy animated objects from the pack and paste them into your presentation or use the Animation Painter tool to transfer animations. The pack is designed to be user-friendly and save you time.
Do these animations affect the file size of my PowerPoint?
Animations themselves do not significantly increase file size. However, if your animations include high-resolution images or many complex effects, it might slightly increase the file size. Optimize your images and use animations judiciously.
Can I combine multiple animations on a single object?
Yes! PowerPoint allows layering of animations like fade, motion paths, spin, and grow/shrink to create complex effects—as demonstrated in the floating image and parallax examples. Just be mindful of timing and performance.
Final Thoughts
Custom animations are a powerful way to transform your PowerPoint presentations from ordinary to extraordinary. By mastering these five genius animation techniques, you can create engaging, professional slides that hold your audience’s attention and communicate your message with flair.
Remember, the key is not to overdo it but to use animations thoughtfully to support your content. Whether it’s the cyber text flicker, a scrolling grid background, floating images, horizon parallax, or a brilliant button shine, these animations add polish and personality.
And if you want to save time and get even more animation ideas, consider investing in the PowerPoint Animation Pack—a treasure trove of ready-made animations that you can easily apply and customize.
Happy animating, and may your presentations always shine!
Check out the full video: 5 GENIUS PowerPoint ANIMATION Ideas ✅ Step-by-Step


