
Welcome! If you’ve ever wanted to bring your Microsoft PowerPoint presentations to life with engaging animations but weren’t sure where to start, you’re in the right place. This comprehensive guide walks you through the fundamentals of animation in PowerPoint, from creating your first simple animation to mastering advanced techniques like morph transitions and animating 3D objects. Whether you’re preparing a business pitch, an educational lecture, or a creative slideshow, learning how to animate in PowerPoint can elevate your presentations and captivate your audience.
This tutorial is inspired by the expert insights of Kevin Stratvert, a seasoned Microsoft PowerPoint user who breaks down animation tools and techniques into easy-to-understand steps. By the end of this article, you’ll have a solid grasp of how to use PowerPoint’s animation features to create dynamic and professional presentations.
Table of Contents
- Getting Started with PowerPoint Animations
- Exploring More Animation Effects
- Adding Multiple Animations to a Single Object
- Using Triggers for Interactive Animations
- Copying Animations Between Objects
- Animating Text in PowerPoint
- Building a Complex Animation Scene
- Using Morph and Advanced Morph Transitions
- Animating 3D Objects in PowerPoint
- Tips and Tricks for PowerPoint Animations
- Frequently Asked Questions (FAQ)
- Conclusion
Getting Started with PowerPoint Animations
Animations add movement and emphasis to your slides, helping to guide your audience’s attention and make your content more engaging. But before diving into complex sequences, it’s important to understand the basics of animating objects in PowerPoint.
Inserting Objects to Animate
PowerPoint animations work on objects that you place on your slides, such as shapes, text, pictures, or 3D models. To begin animating, you first need to insert an object.
- Open Microsoft PowerPoint and create a new blank presentation.
- Go to the Insert tab on the ribbon at the top.
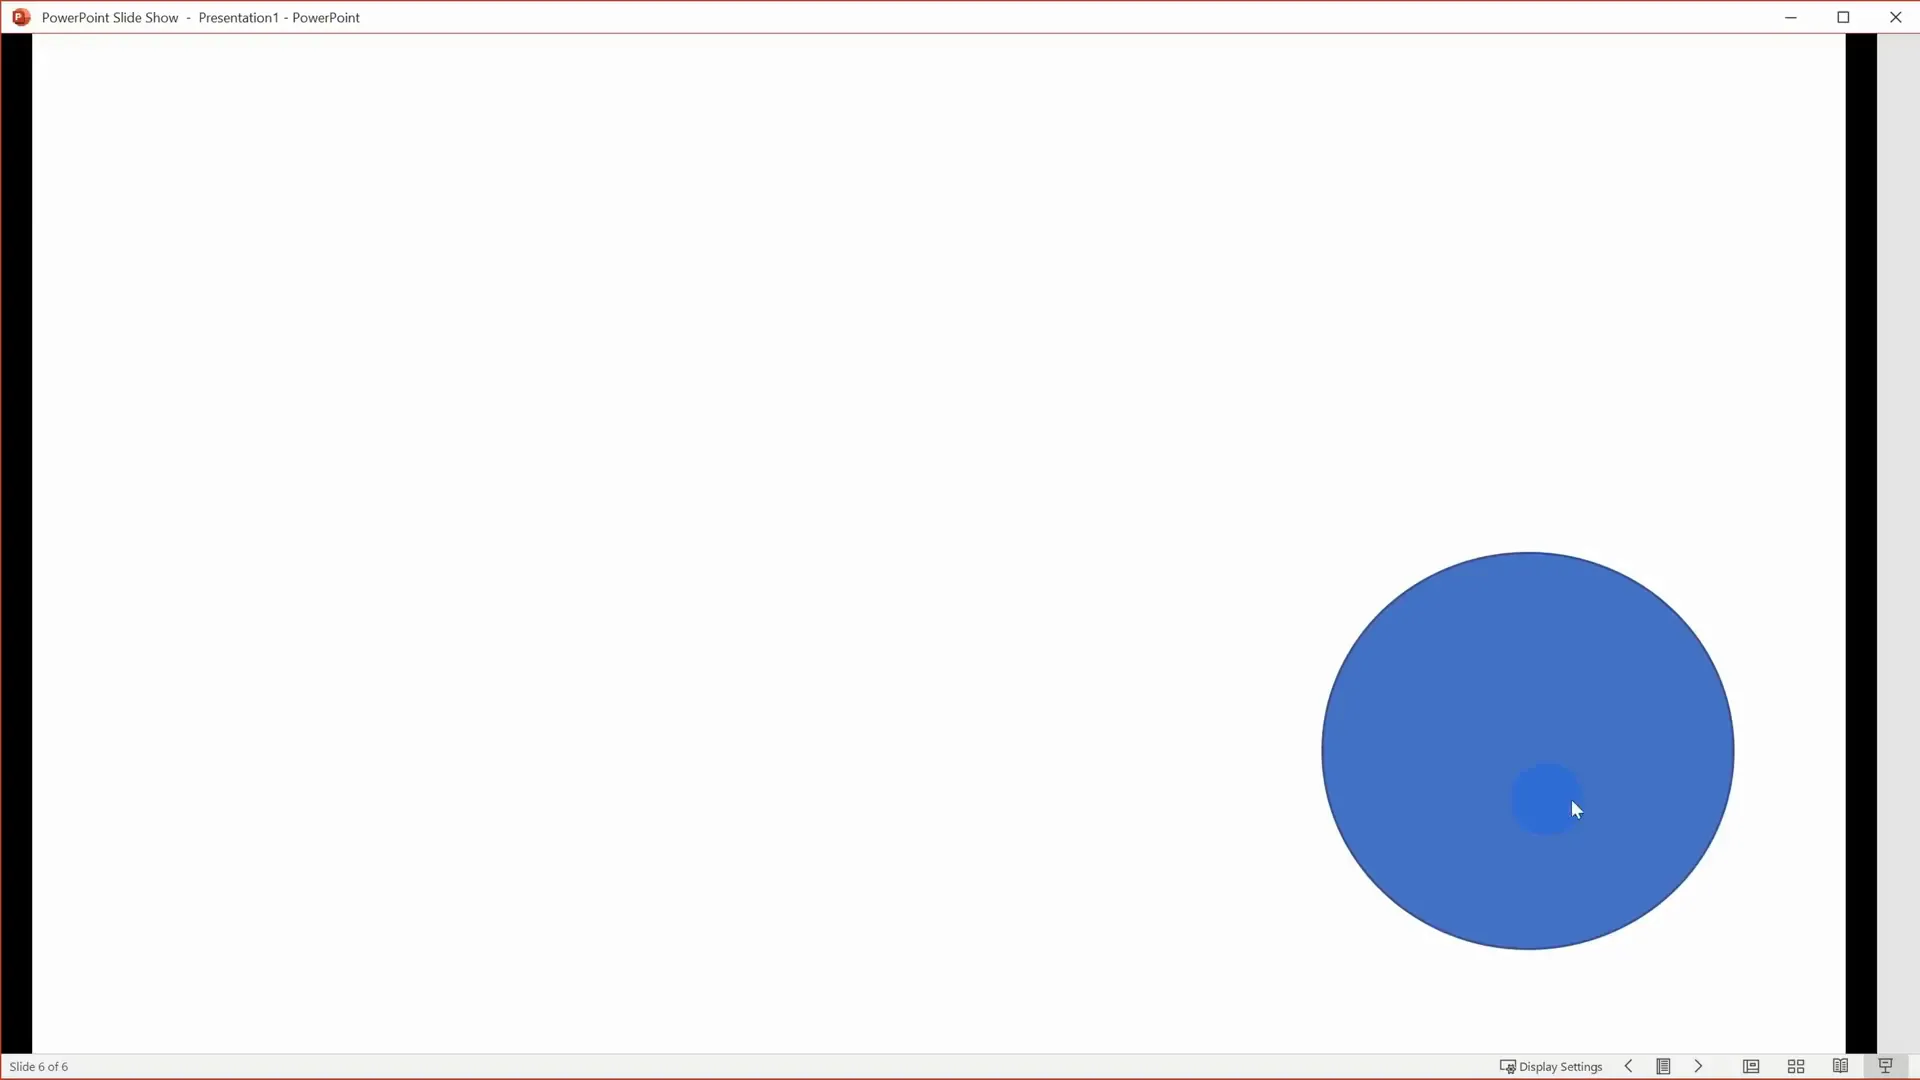
- Click on Shapes and choose a shape to insert. For beginners, an oval or circle is a great starting point.
- Draw the shape onto your slide. Tip: Hold the Shift key while drawing to create a perfect circle.

Once your shape is on the slide, you’re ready to apply an animation.
Applying Your First Animation
Animations in PowerPoint are managed through the Animations tab in the ribbon.
- Select the shape you just inserted.
- Click on the Animations tab.
- You will see a variety of animation options appear. Click on any to apply it to your shape. For example, select Float In to make the shape appear by floating onto the slide.

PowerPoint automatically previews the animation as soon as you select it, but you can manually preview it anytime by clicking the Preview button on the left of the Animations ribbon.
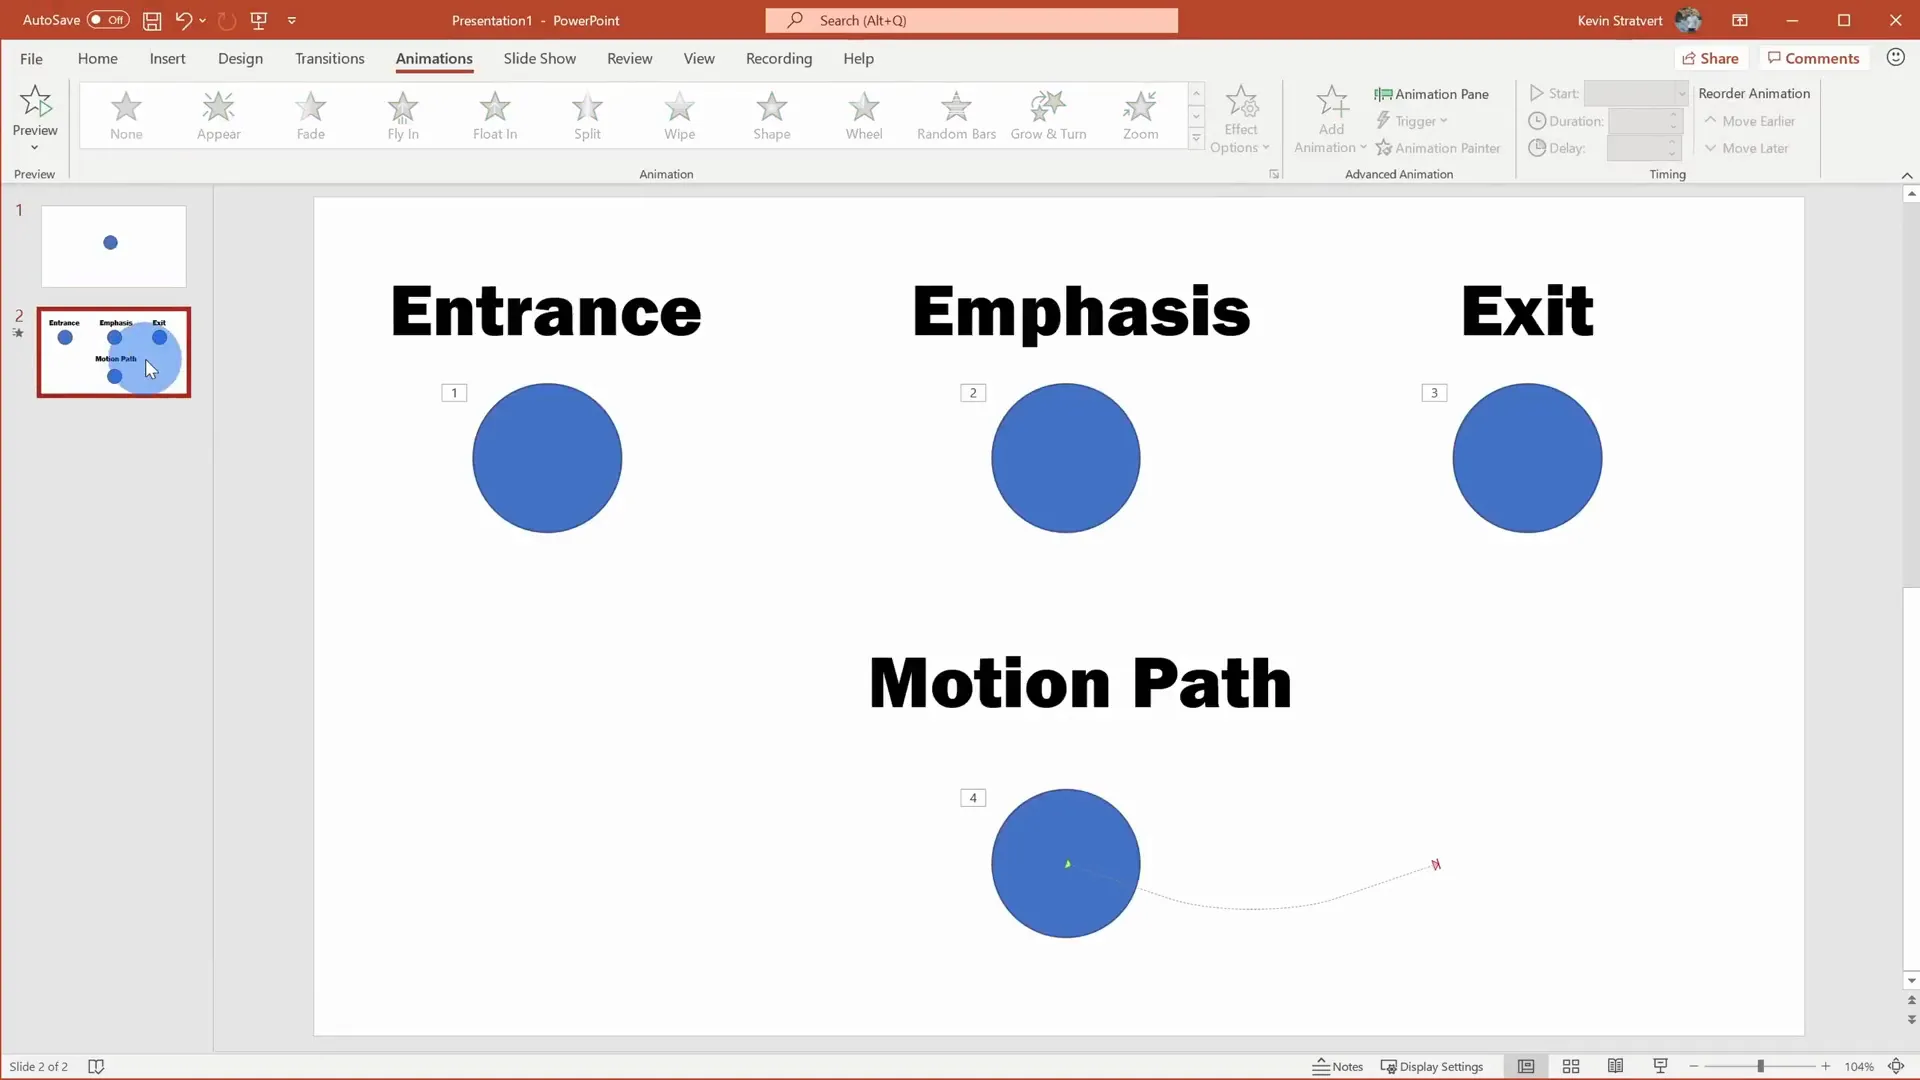
Animations are categorized into four types:
- Entrance: Controls how an object appears on the slide.
- Emphasis: Adds effects to objects already visible on the slide, drawing attention without removing them.
- Exit: Controls how an object leaves the slide.
- Motion Paths: Allows objects to move along a custom path on the slide.
Understanding these categories is the foundation for building more complex animations.
Exploring More Animation Effects
PowerPoint comes loaded with a default set of animations, but there are many more hidden under the “More Effects” options.
- Click the small downward arrow at the bottom right of the animation gallery to open the full list.
- Here, you can browse through a wide variety of entrance, emphasis, exit, and motion path animations.
- For example, select the Boomerang entrance effect for a unique animation style.
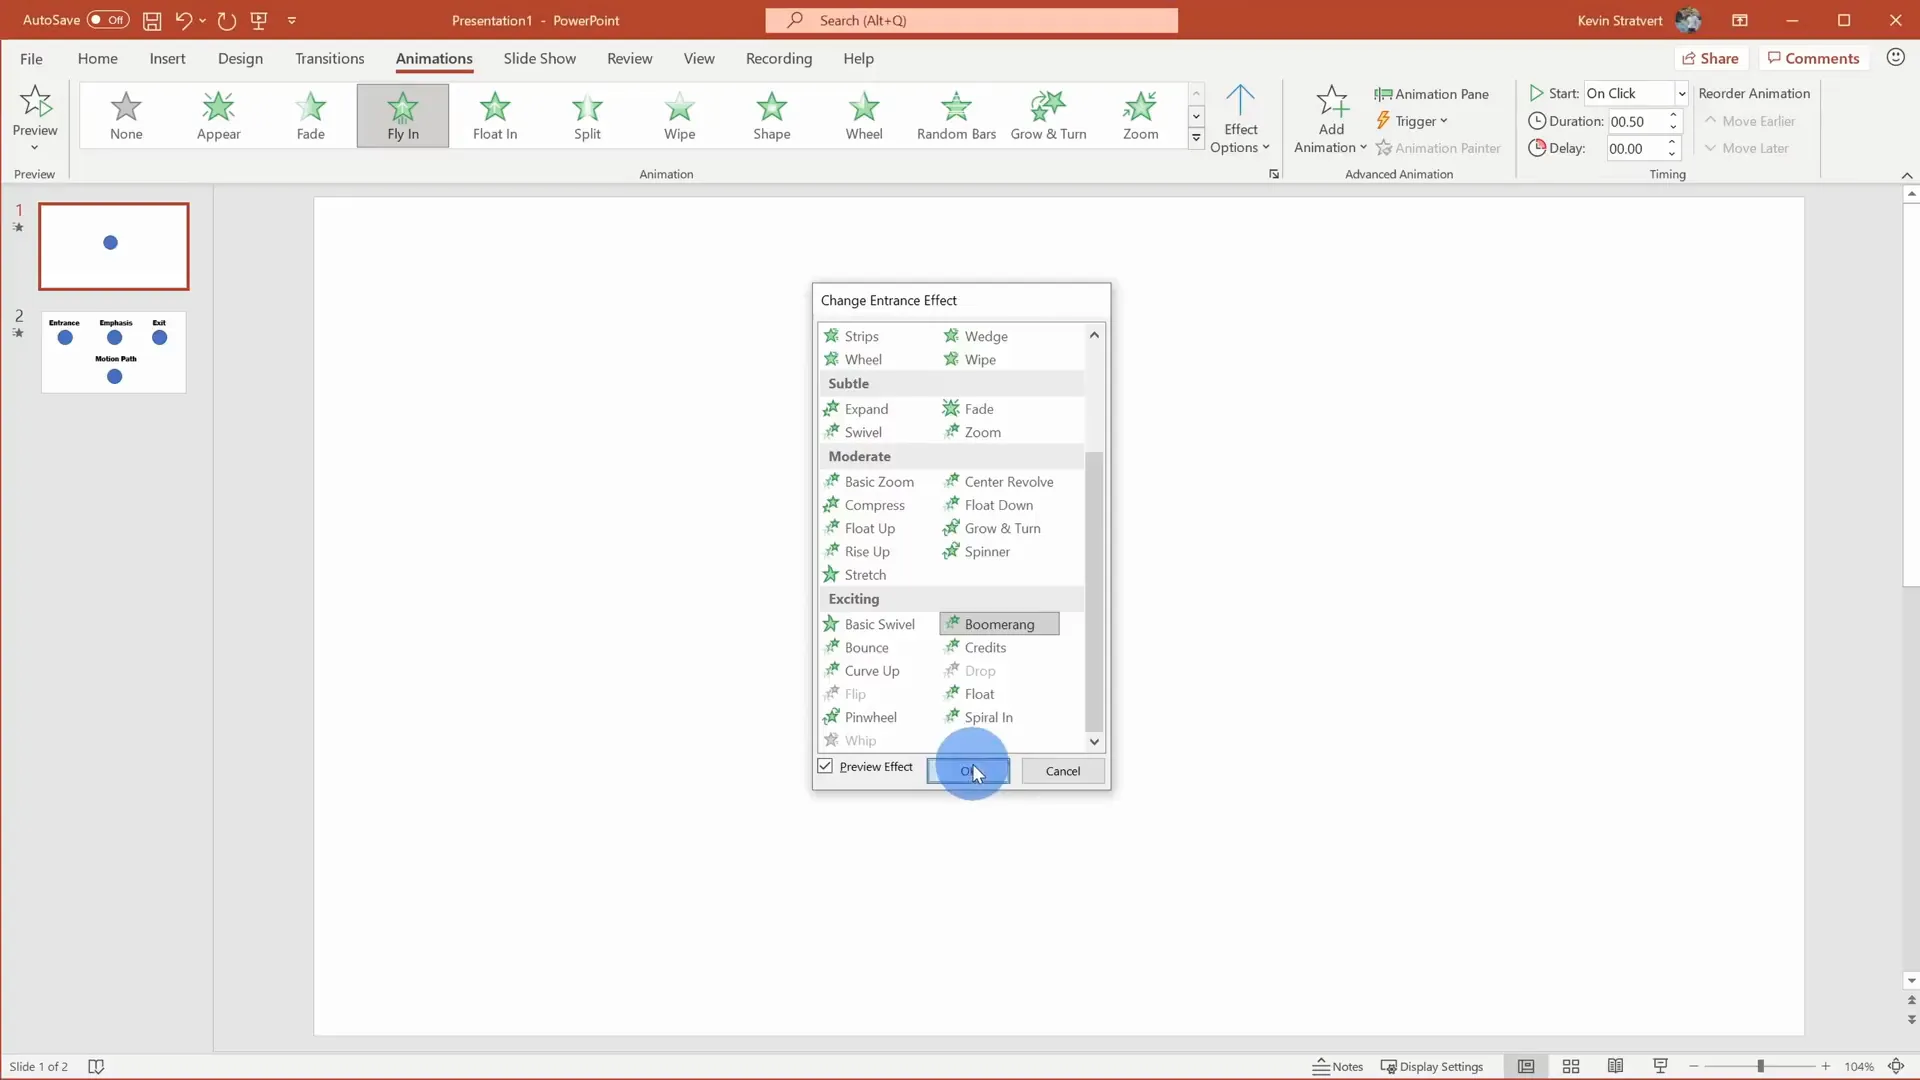
Remember, selecting a new animation from the main animation gallery will overwrite any existing animation on that object. To add multiple animations, use the Add Animation button instead.
Customizing Animation Direction and Options
Many animations come with customizable options depending on the effect type. For instance, the Fly In animation can be set to fly in from different directions:
- From the bottom (default)
- From the left
- From the right
To access these options, select your animated object, then click on Effect Options in the Animations ribbon to change the direction or other properties specific to the animation.
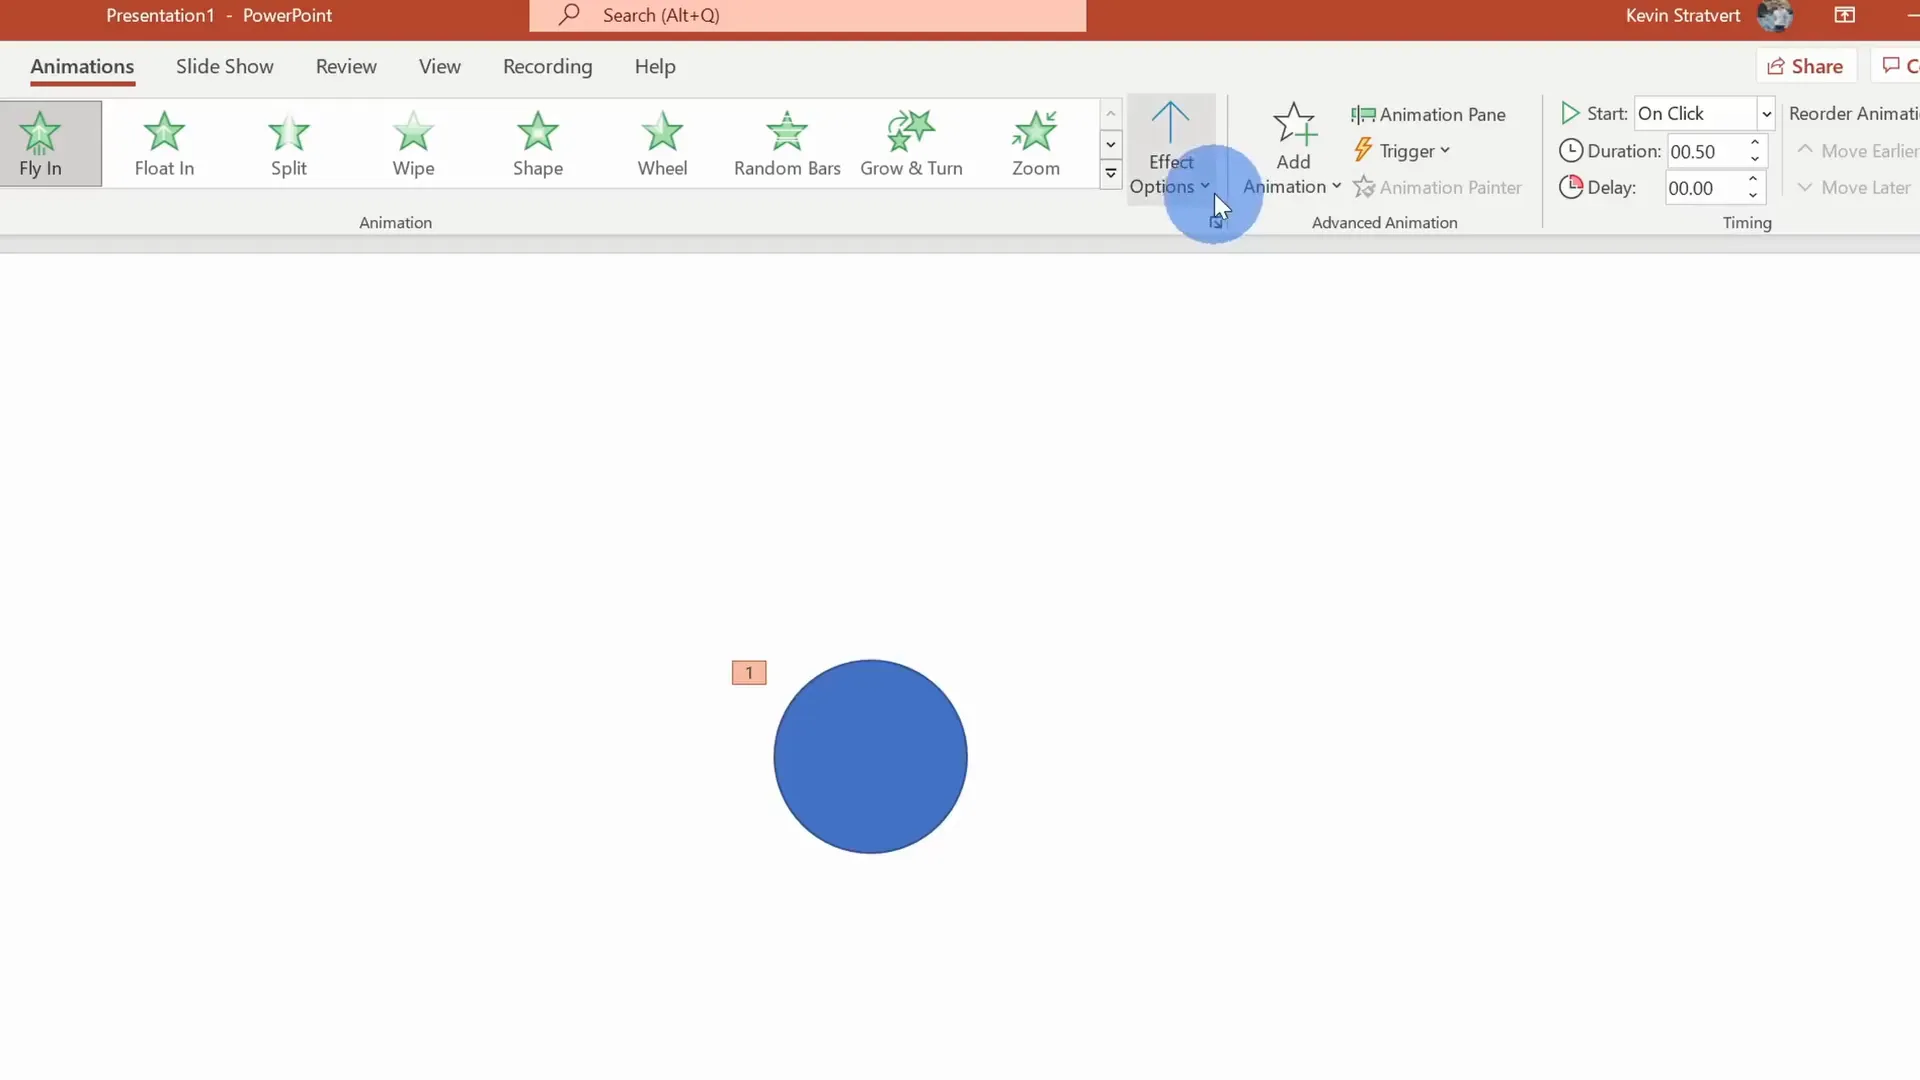
Some animations also allow changes to timing, smooth start/end, bounce effects, sounds, and color changes after animation.
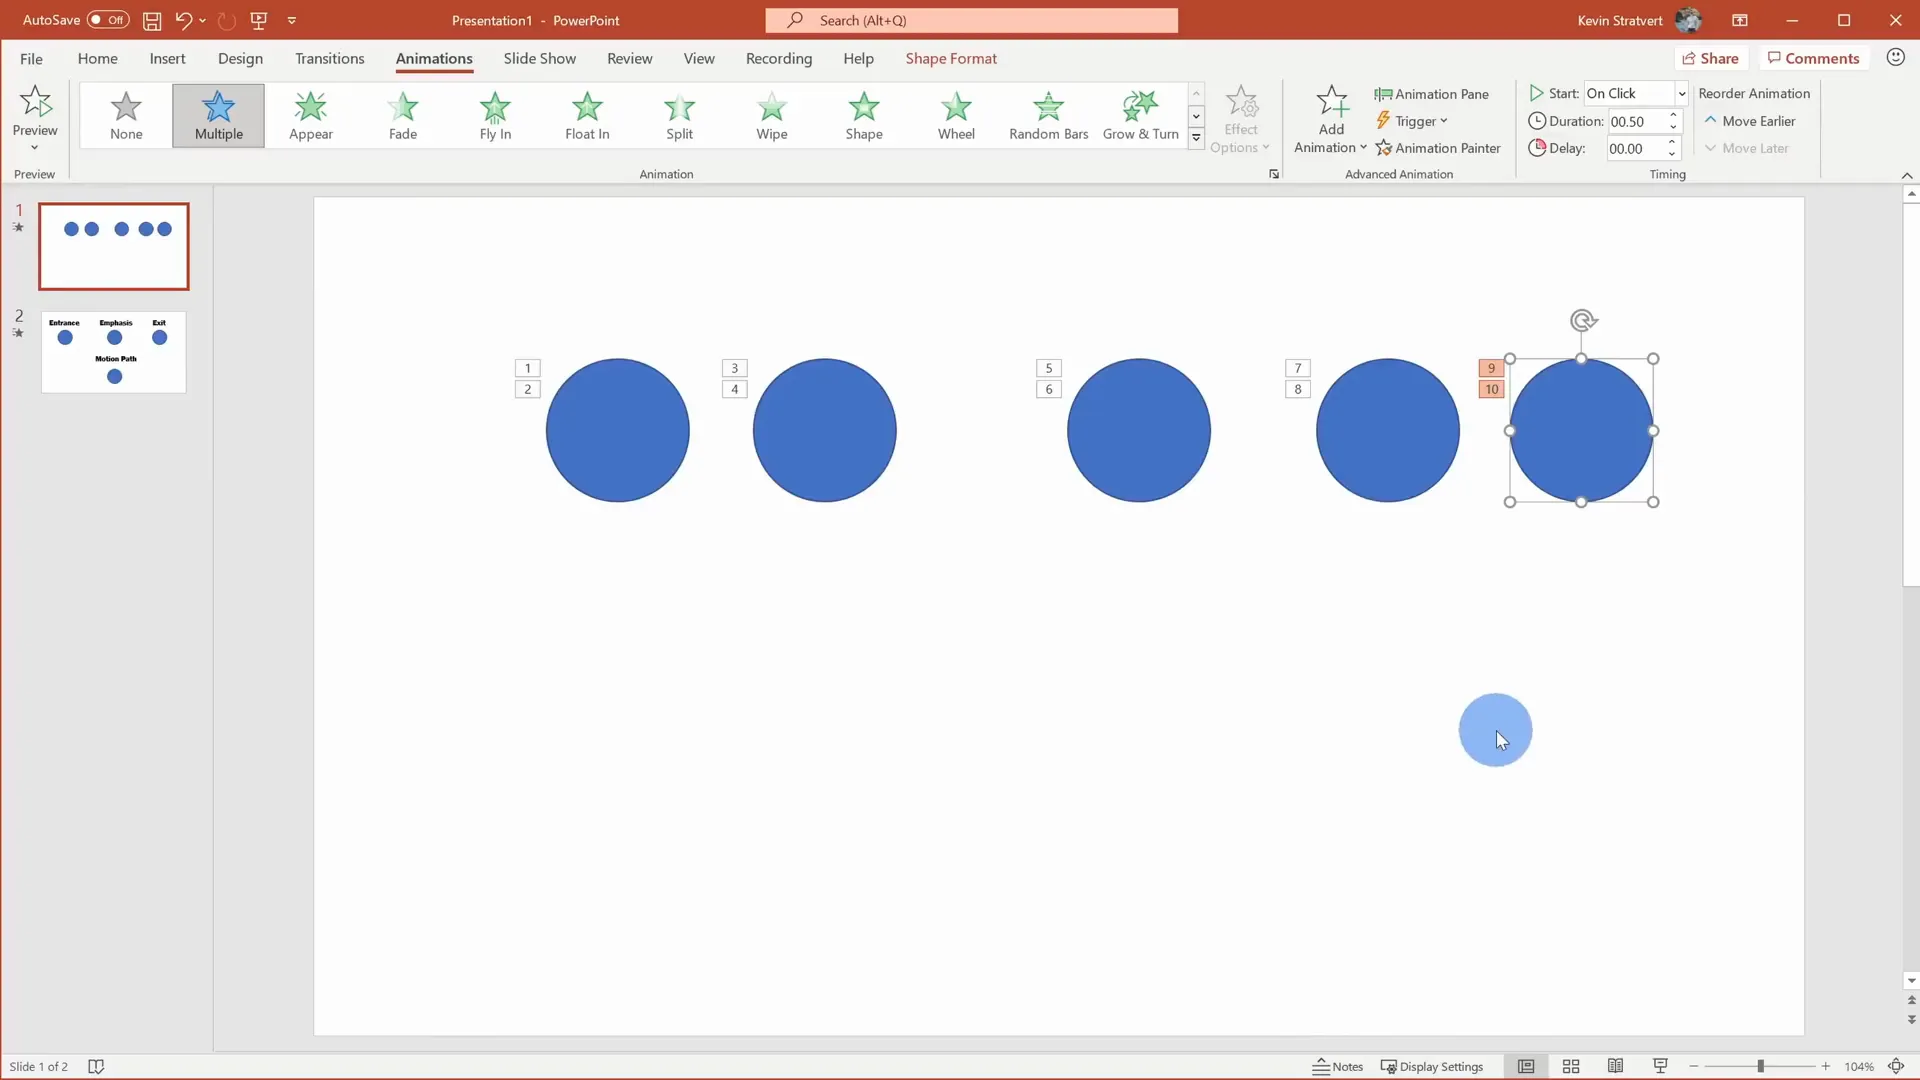
Adding Multiple Animations to a Single Object
Want your object to do more than one thing? PowerPoint lets you chain multiple animations on the same object.
- Apply your first animation as usual.
- Instead of selecting a new animation directly, click Add Animation to add a secondary effect without replacing the first.
- For example, apply a Fly In animation, then add a Fly Out animation.
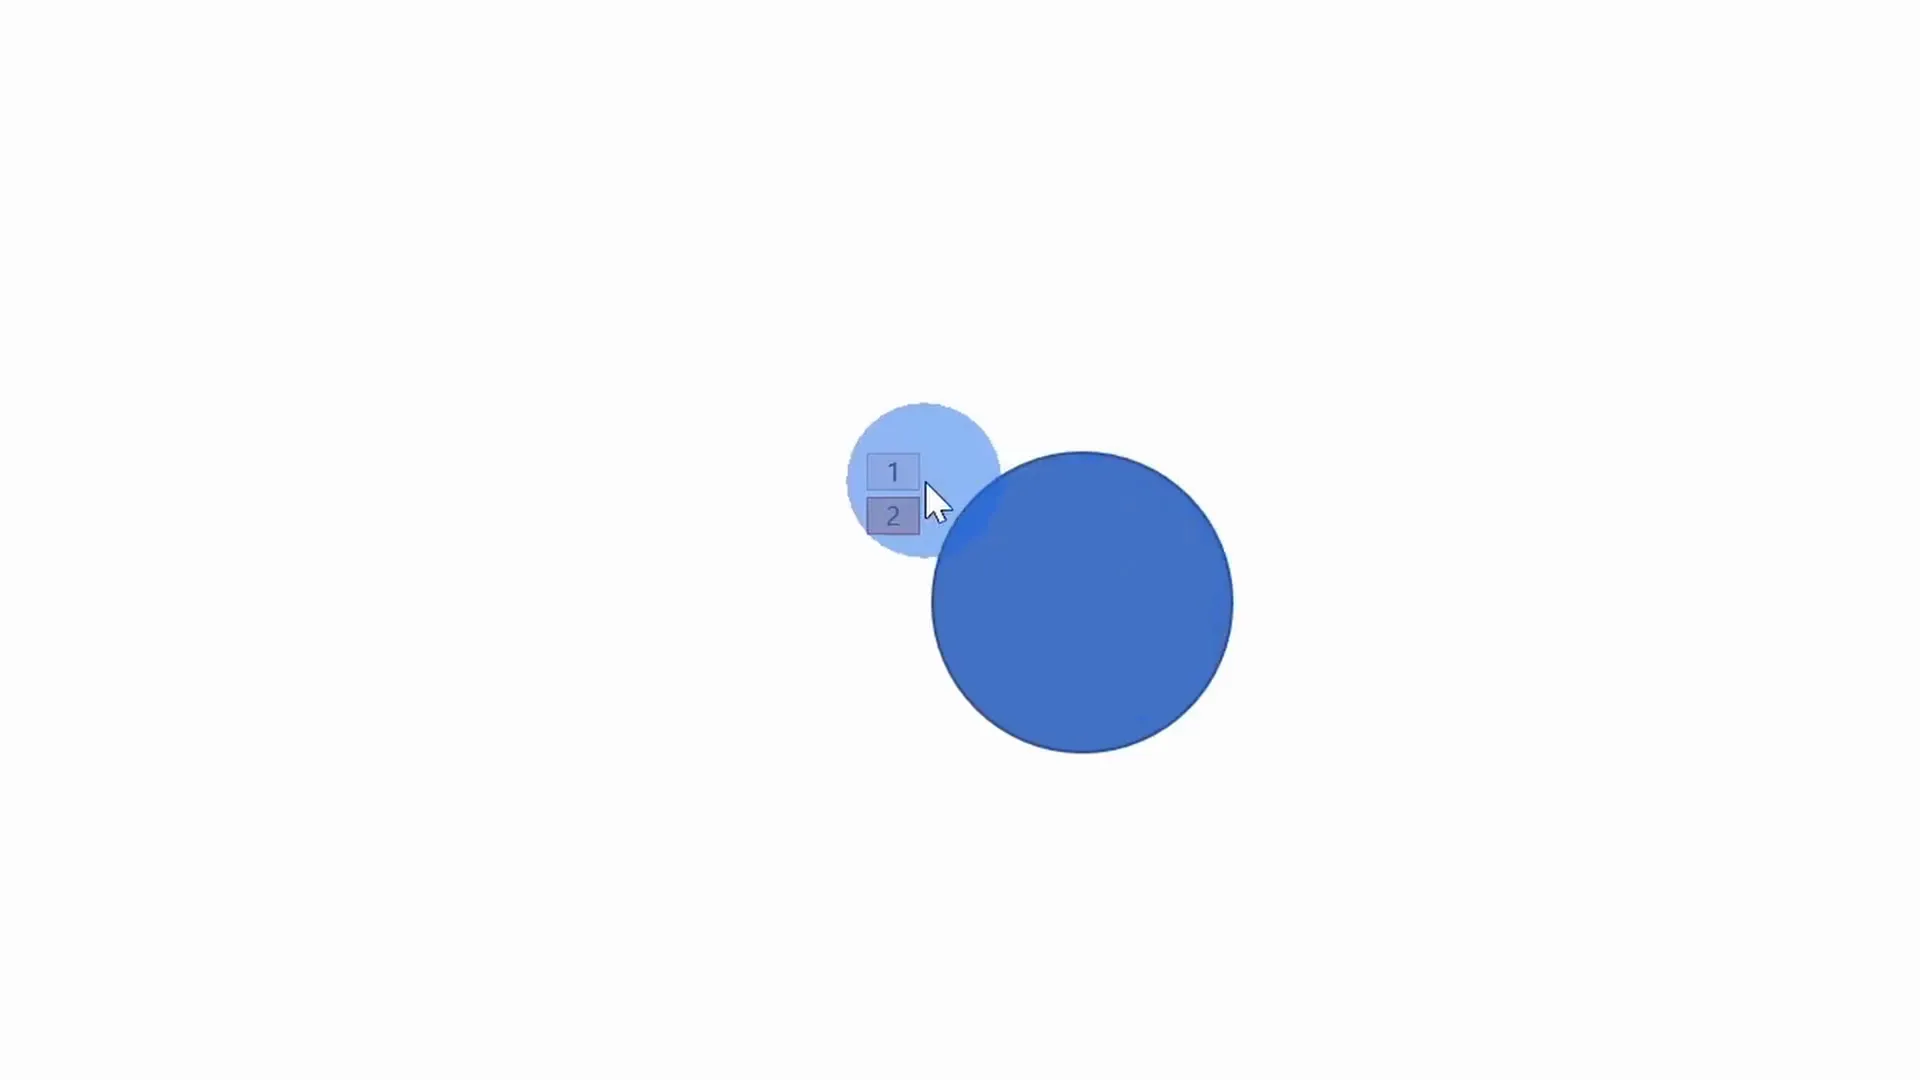
The animation pane (accessible via Animation Pane in the Advanced Animation group) lets you view, reorder, and fine-tune these animations. Each animation is numbered, and selecting a number highlights the corresponding animation settings.
Adjusting Animation Order and Timing
With multiple animations on your slide, controlling the sequence and timing is key. Use the animation pane to:
- Reorder animations: Drag animations up or down or use the arrow buttons.
- Change start triggers: Choose whether an animation starts On Click, With Previous (simultaneously with the previous animation), or After Previous (immediately after the previous animation finishes).
- Set duration and delay: Control how long the animation takes and how long it waits before starting.
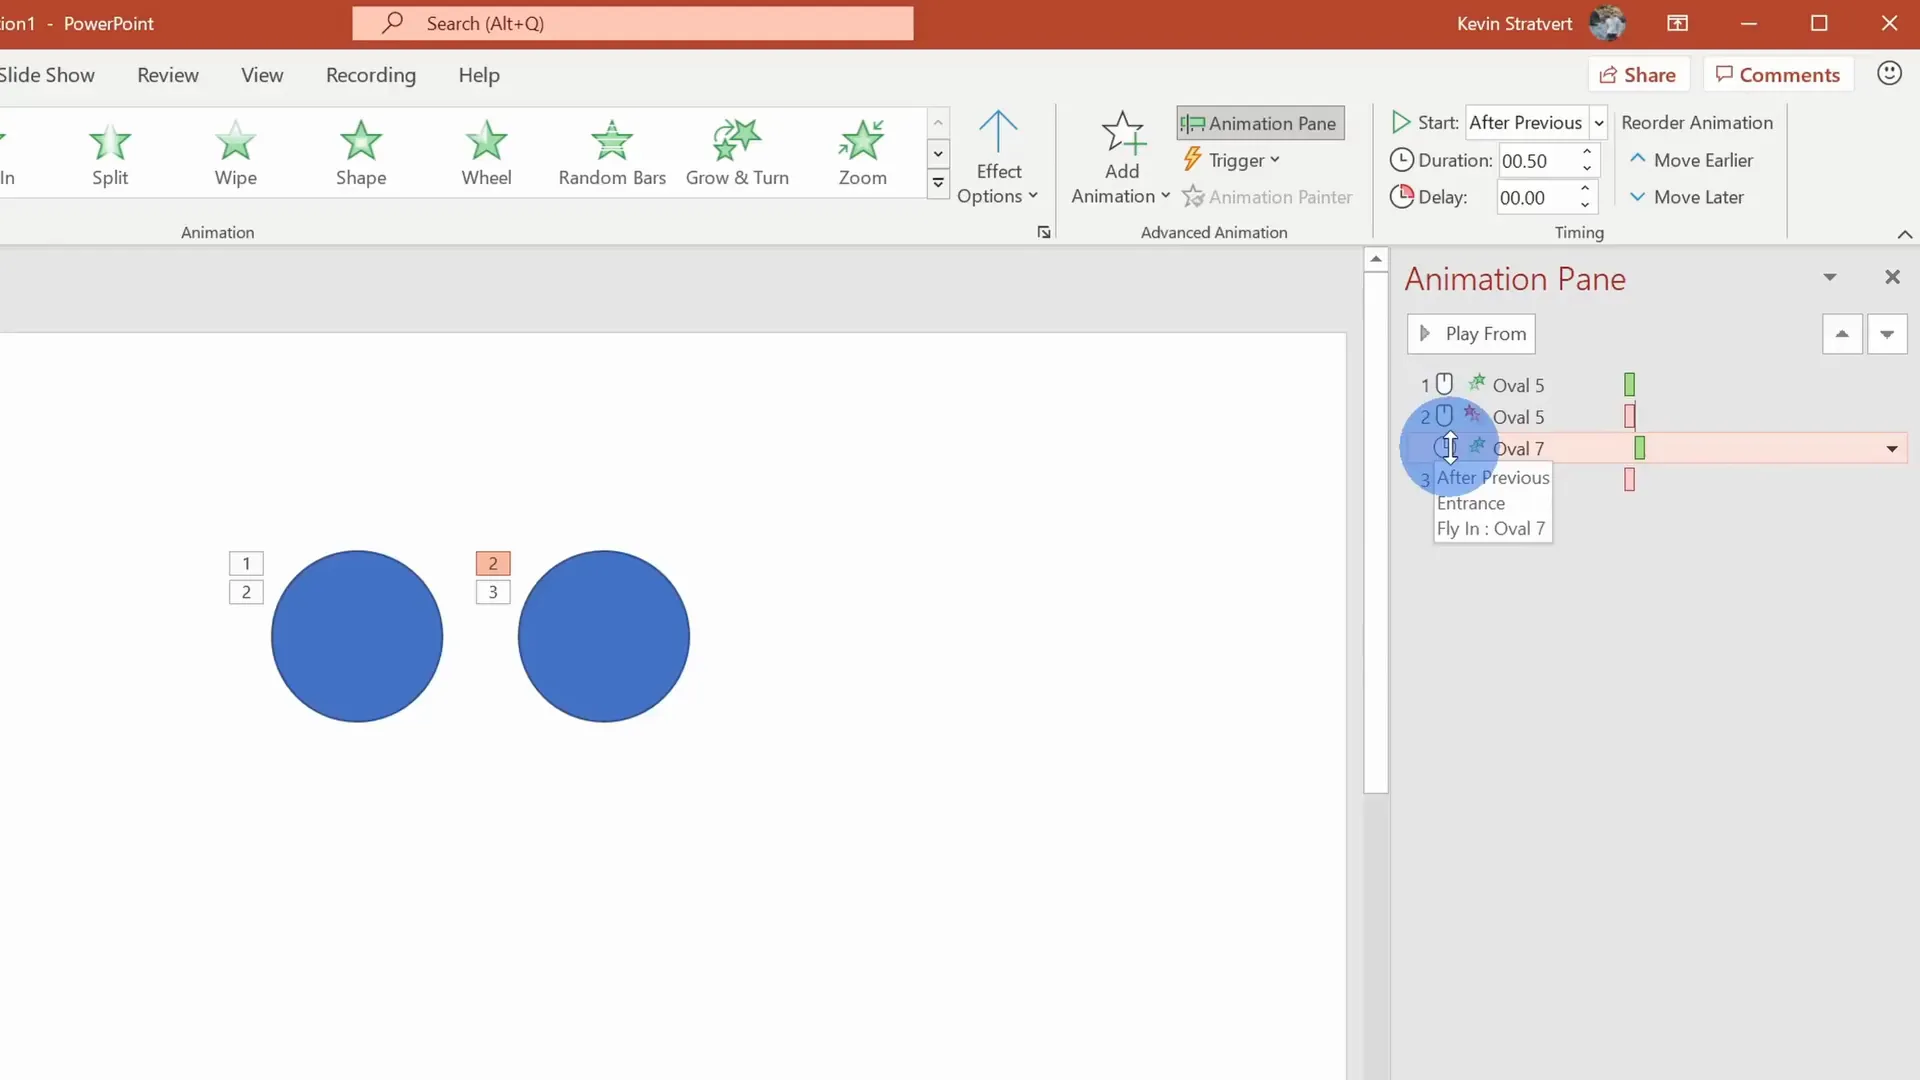
For example, setting an animation to start With Previous allows two animations to occur simultaneously, while After Previous sequences them one after another with optional delays.
You can also zoom into the timeline in the animation pane for precise control of animation timing.
Using Triggers for Interactive Animations
Triggers allow animations to start based on specific user actions, such as clicking on a particular object.
- After adding multiple animations to an object, select the animation you want to trigger.
- Click on Trigger in the ribbon and set the animation to start On Click Of a specific object.
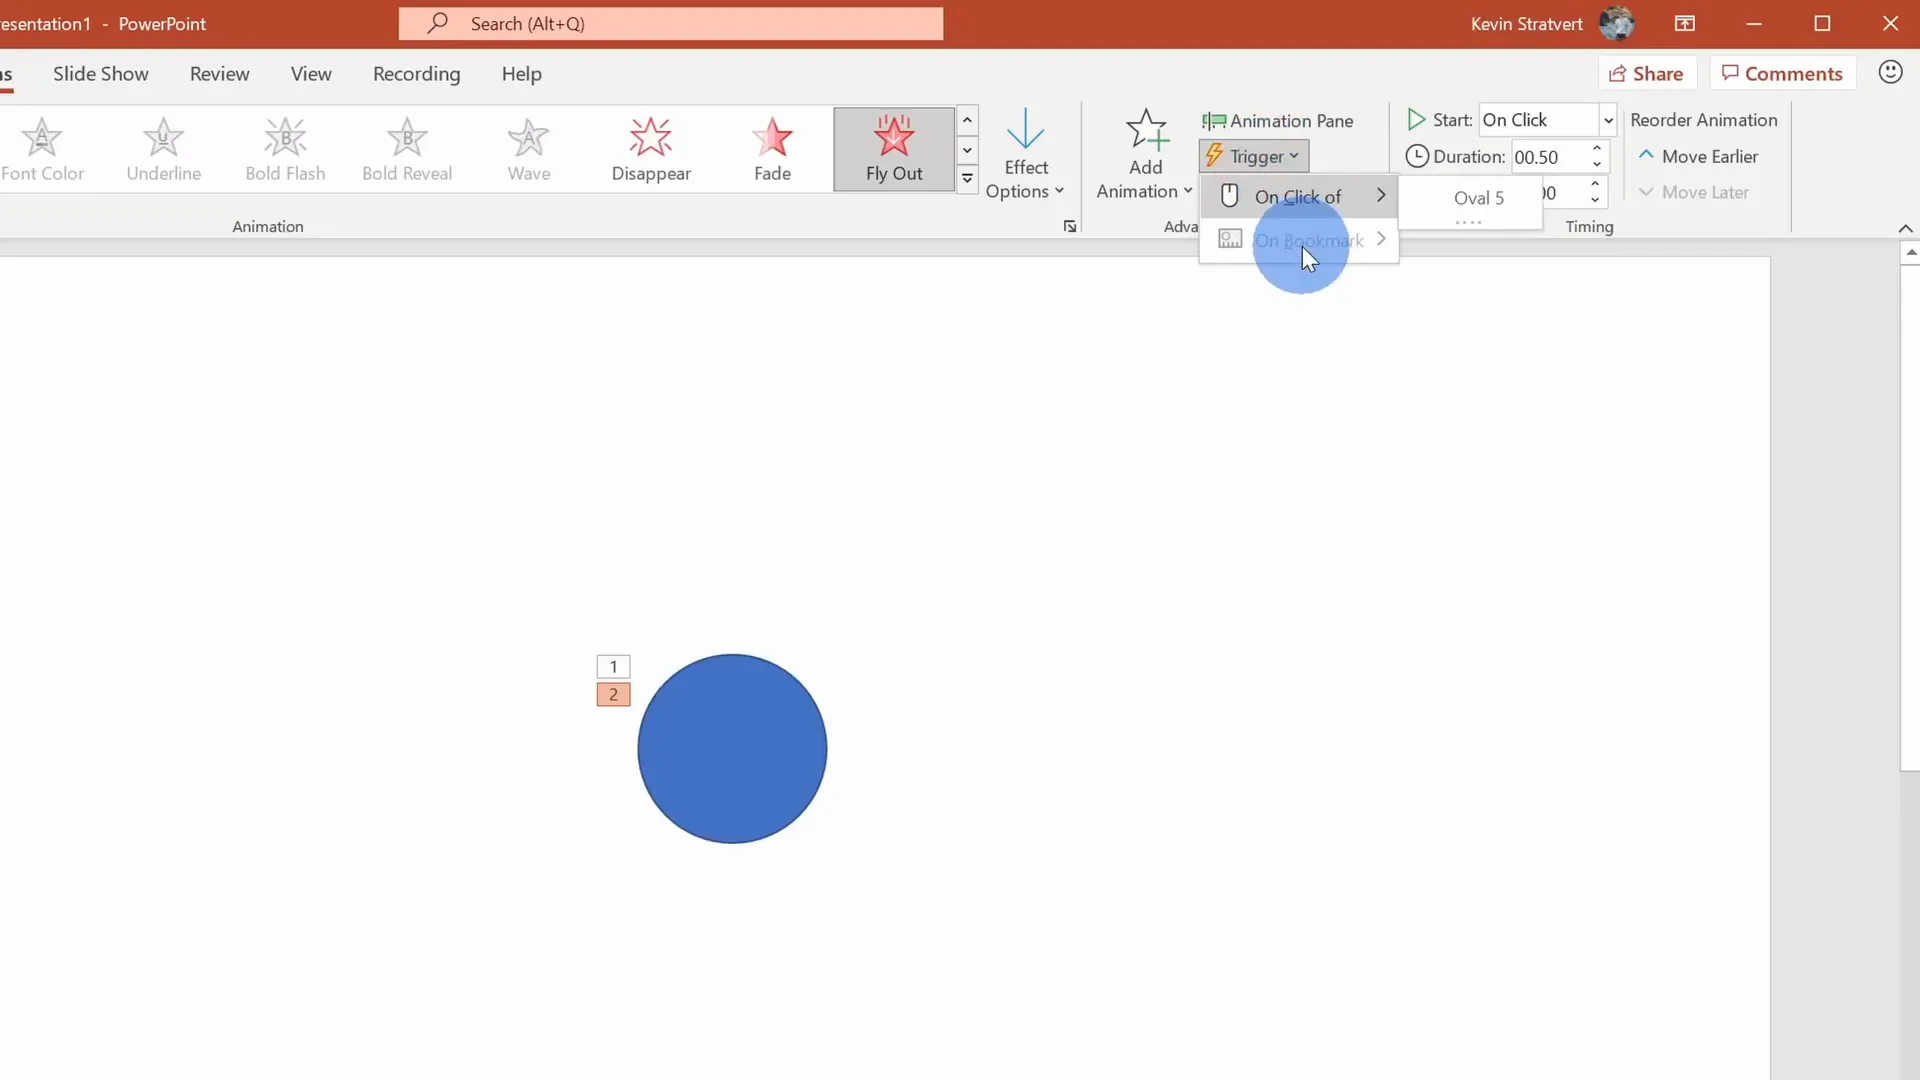
This is especially useful for interactive slides, where clicking buttons or shapes triggers animations elsewhere on the slide.
Copying Animations Between Objects
Rather than recreating animations for each object, PowerPoint offers a handy tool called Animation Painter to copy animations from one object to another.
- Select the object with the animations you want to copy.
- Click the Animation Painter button in the ribbon (it looks like a paintbrush).
- Click on the target object to apply the same animations.
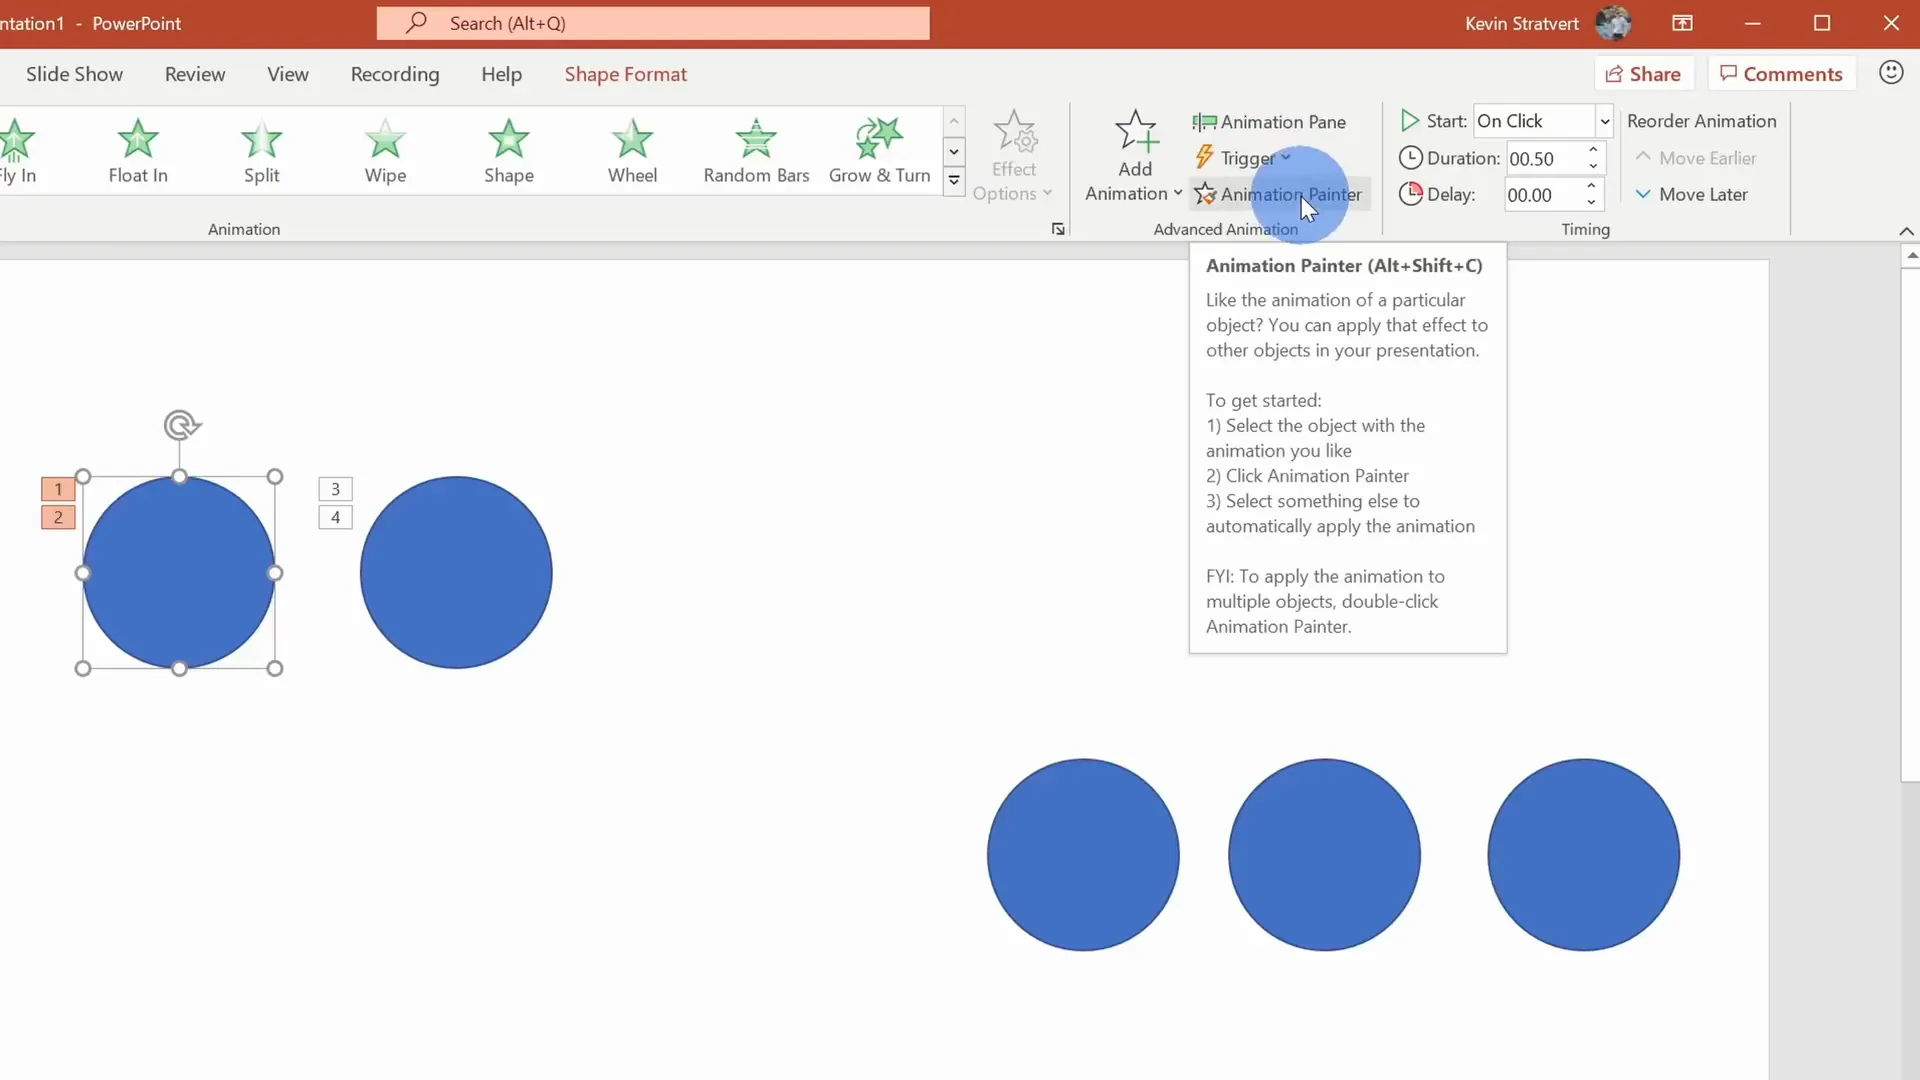
Double-clicking the Animation Painter lets you apply animations to multiple objects consecutively without reselecting the tool each time. Press Escape to exit the painter.
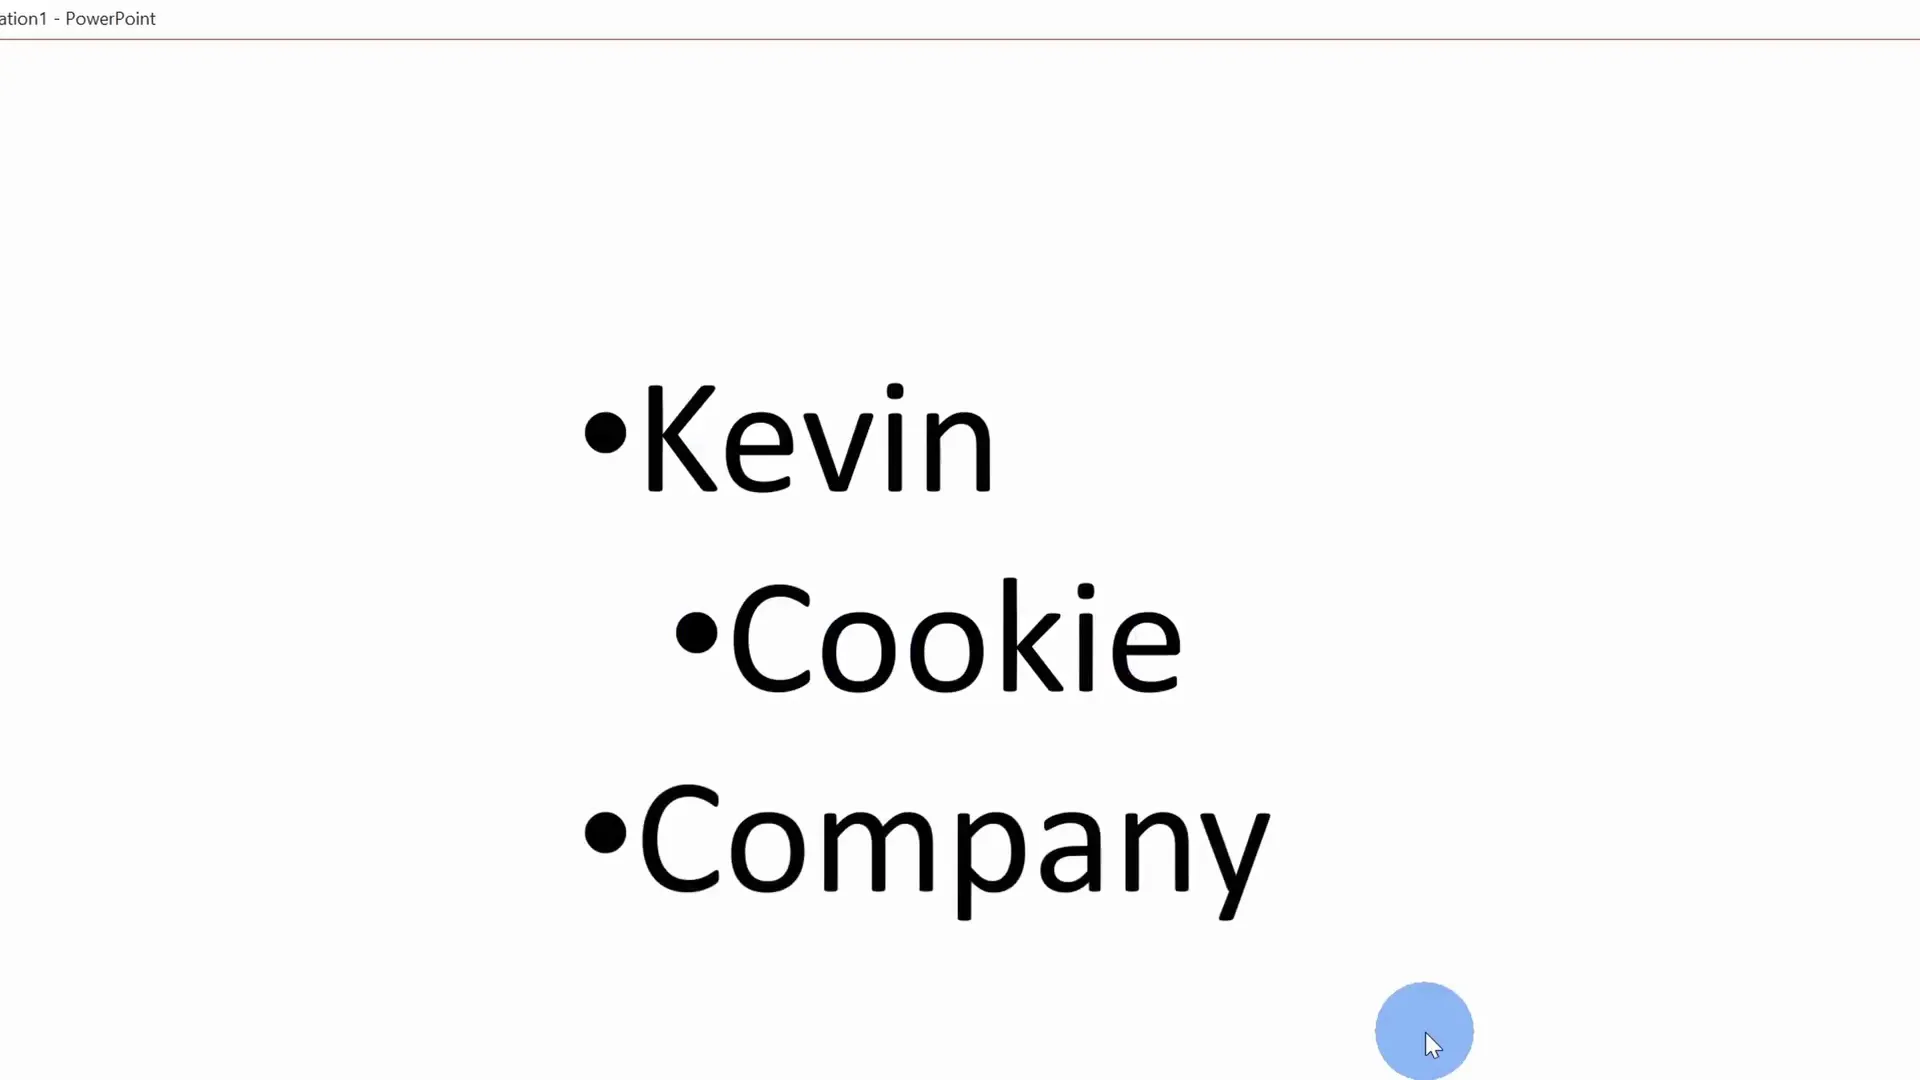
Animating Text in PowerPoint
Animating text has some differences compared to shapes or images. PowerPoint allows you to animate entire text boxes or individual paragraphs, words, or letters within them.

- Insert a text box and enter your content, such as a bulleted list.
- Select the text box, then go to the Animations tab.
- Choose an animation like Fade or Wave from the Emphasis category. Some animations show a letter icon, indicating they are text-specific.
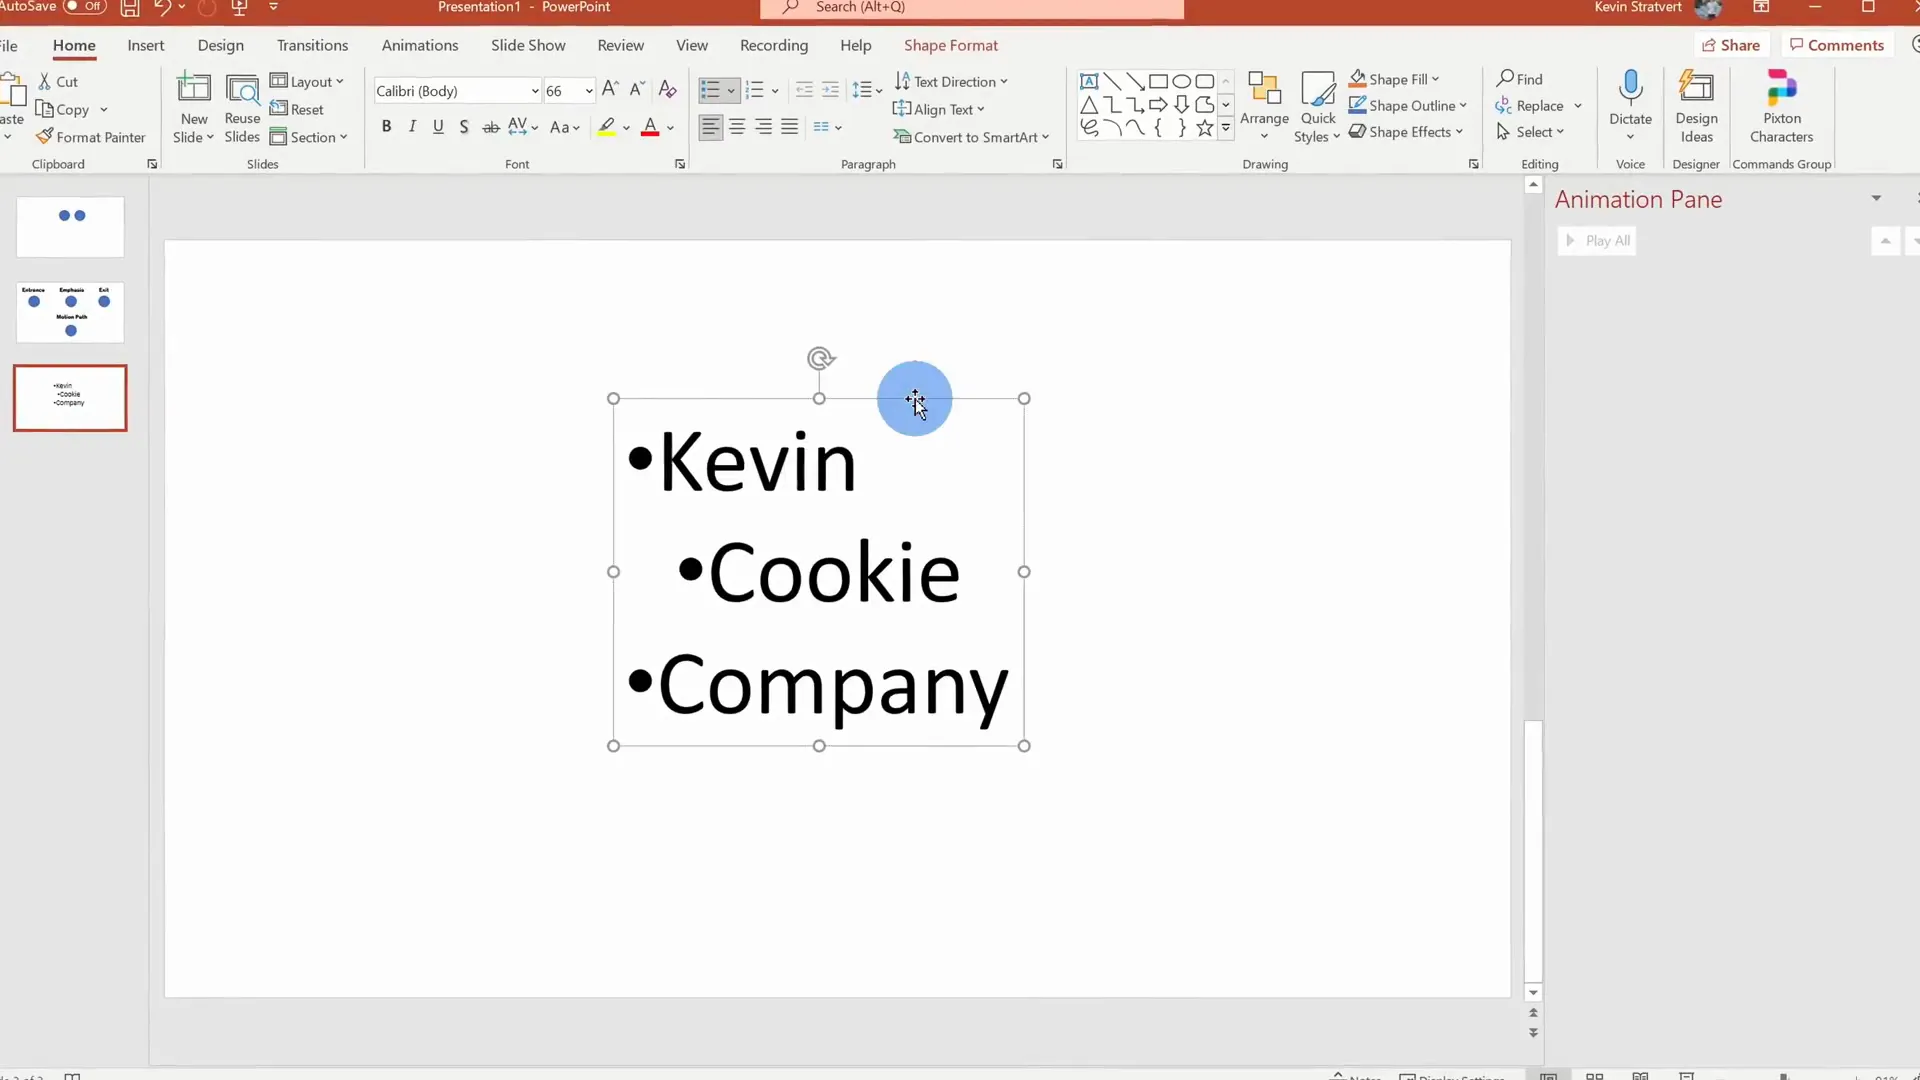
By default, animations apply to the entire text box at once, but you can animate by paragraph:
- Click Effect Options in the Animations ribbon.
- Under Animate text, select By Paragraph.
This will animate each bullet point or paragraph separately, making your presentation more dynamic.
You can also customize whether sub-bullets animate together or separately, and adjust the animation order and timing for each paragraph via the animation pane.
Building a Complex Animation Scene
To illustrate how you can combine these techniques, let’s create a more advanced animation scene involving layered images and motion paths.
Layering Images and Removing Backgrounds
- Insert a photo of a mountain using Insert > Pictures > Stock Images. Resize it to fill the slide.
- Copy and paste the mountain photo to create a duplicate on top.
- Use Picture Format > Remove Background on the top photo to isolate the mountain by removing the sky.
- Mark areas to keep (mountains) and remove (sky) to fine-tune the selection.
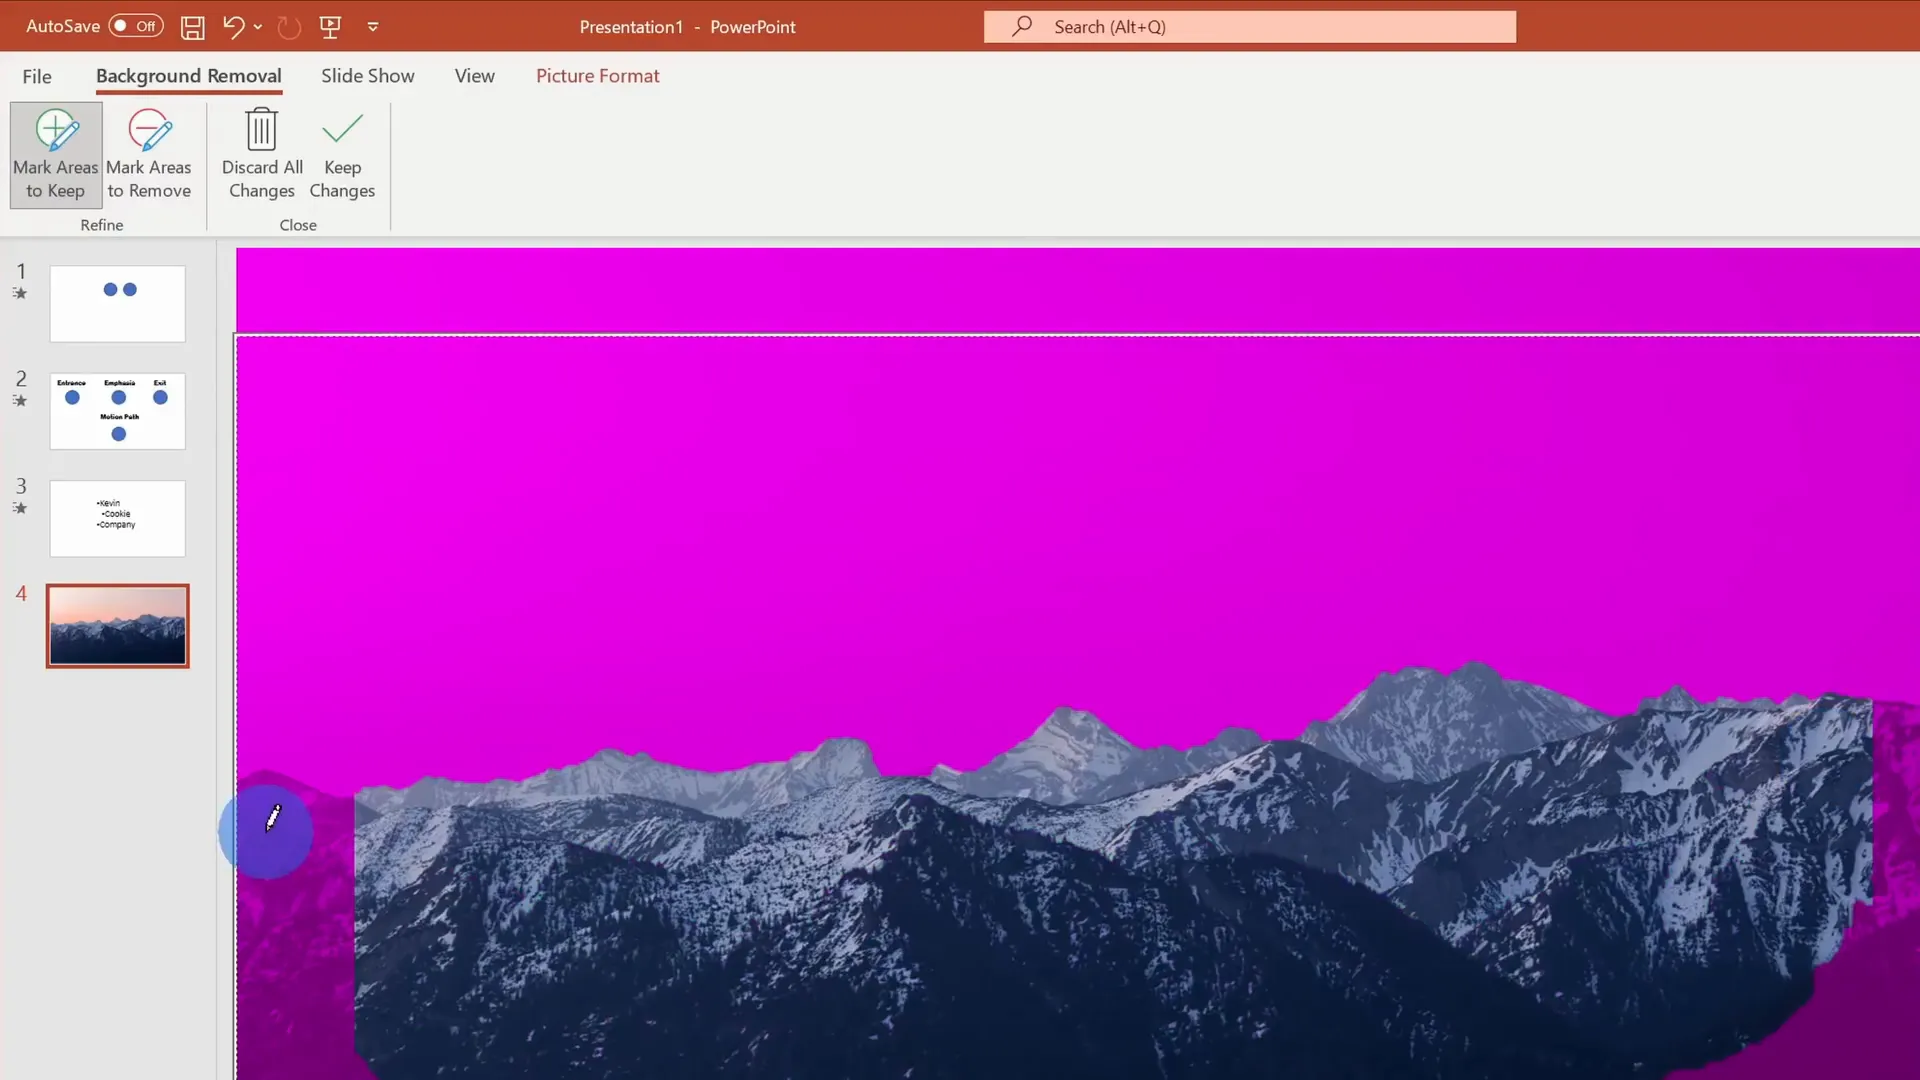
Now you have two layers: one with the full mountain and sky, and another with just the mountains. This layering will allow for creative animation effects.
Adding and Animating a Moon
- Insert a transparent image of the moon (Insert > Pictures > Online Pictures and search “moon transparent”).
- Resize and position the moon over the sky area.
- Apply a Motion Path animation like Turns to make the moon lift and move across the sky.
- Adjust the motion path direction and length to control the moon’s trajectory.
- Set the animation duration to slow down the movement.

Animating Mountain Layers
- Apply a Grow and Shrink animation to the mountain layer to make it bulge out slightly, adding depth.
- Use the animation pane to synchronize this with the moon’s motion path animation, setting both to start With Previous and have the same duration.
- Use the Selection Pane (Home > Select > Selection Pane) to adjust the order of layers for realistic overlap.

When played, this animation scene shows the mountain bulging and the moon slowly rising and moving across the sky, creating a compelling visual effect.
Using Morph and Advanced Morph Transitions
The Morph transition in PowerPoint allows objects to smoothly change position, size, shape, or color between slides, creating animation effects without manually adding animations.
Basic Morph Transition
- Create two identical slides.
- On the second slide, move or resize the object you want to animate.
- Apply the Morph transition to the second slide (Transitions > Morph).
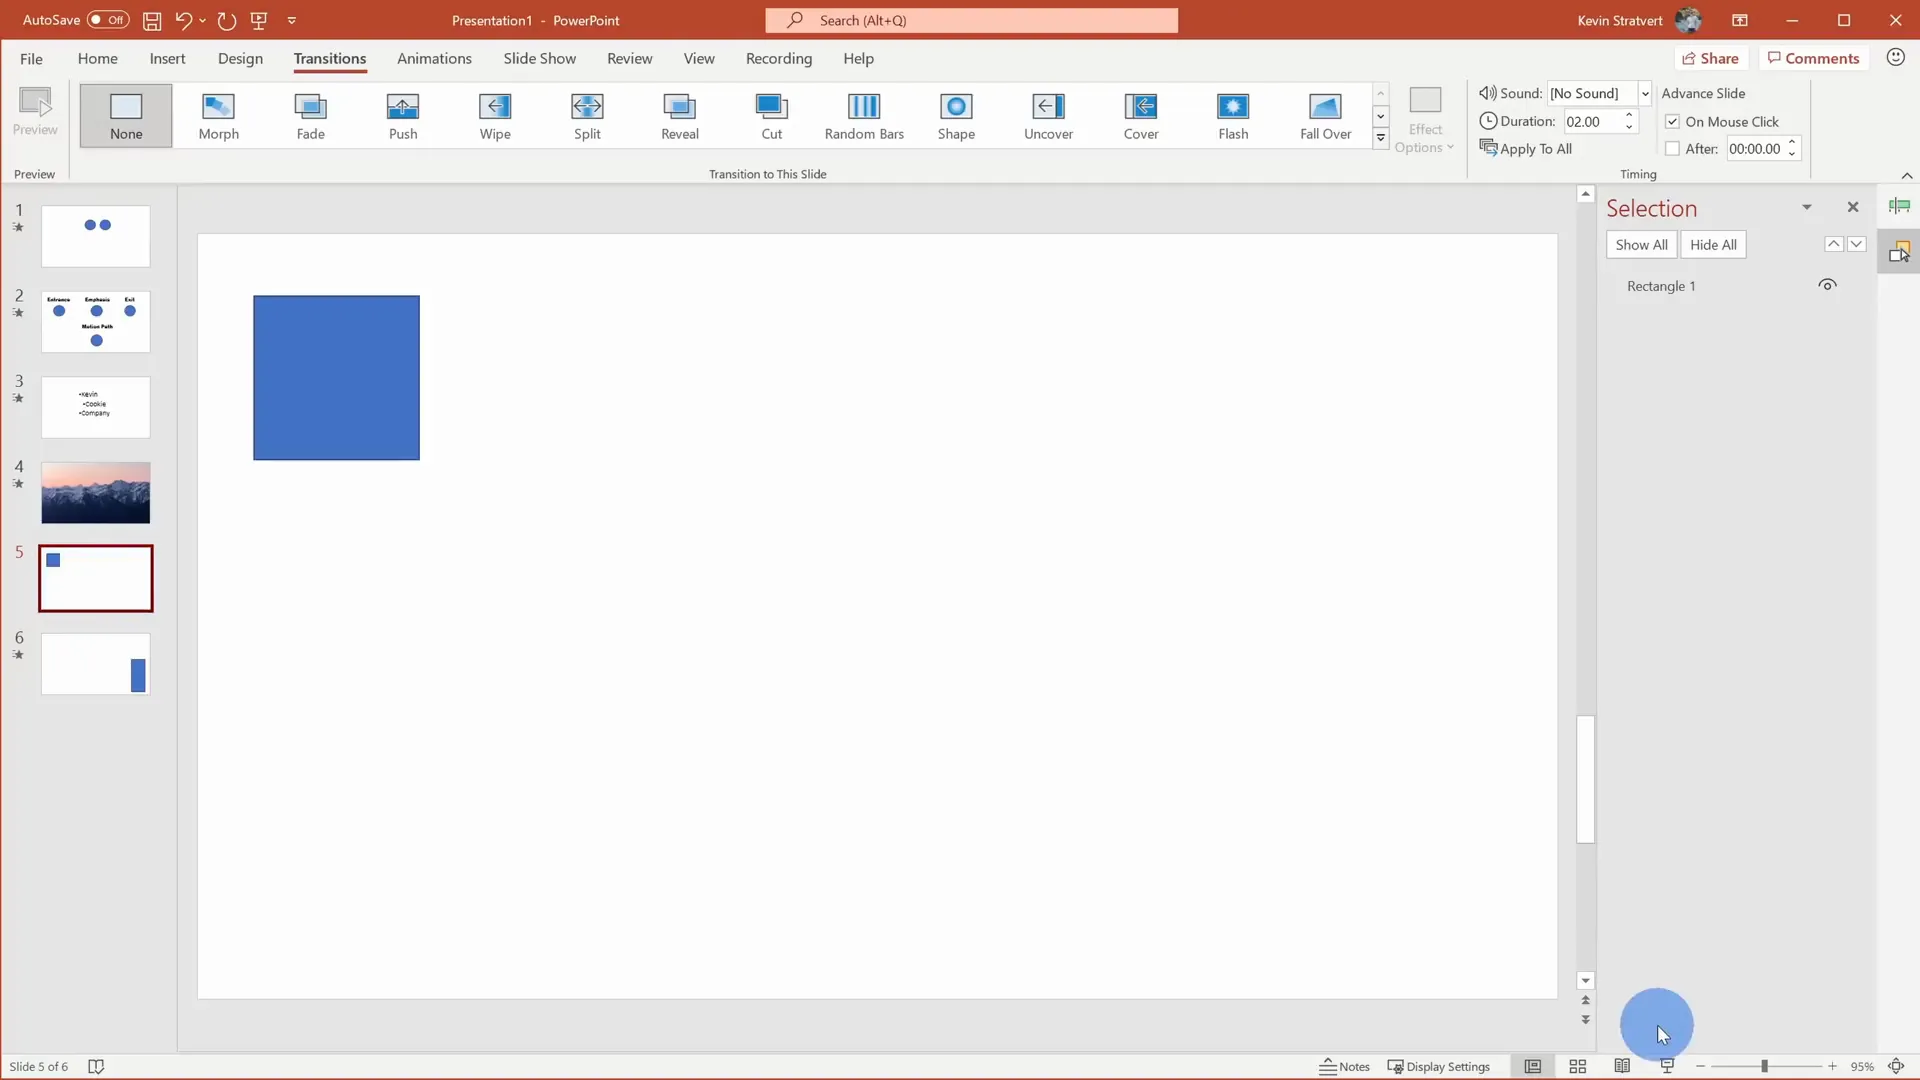
When you play the slides, PowerPoint will animate the object moving or resizing smoothly between the two slides.
Advanced Morph by Matching Object Names
To morph one shape into a completely different shape, you need to match their names:
- Use the Selection Pane to rename shapes. Add double exclamation marks (!!) at the beginning of the names to signal PowerPoint to morph these shapes into each other.
- For example, rename a rectangle to !!Rectangle 1 and an oval on the next slide to the same name.
- Apply the Morph transition to see the rectangle smoothly morph into the oval.
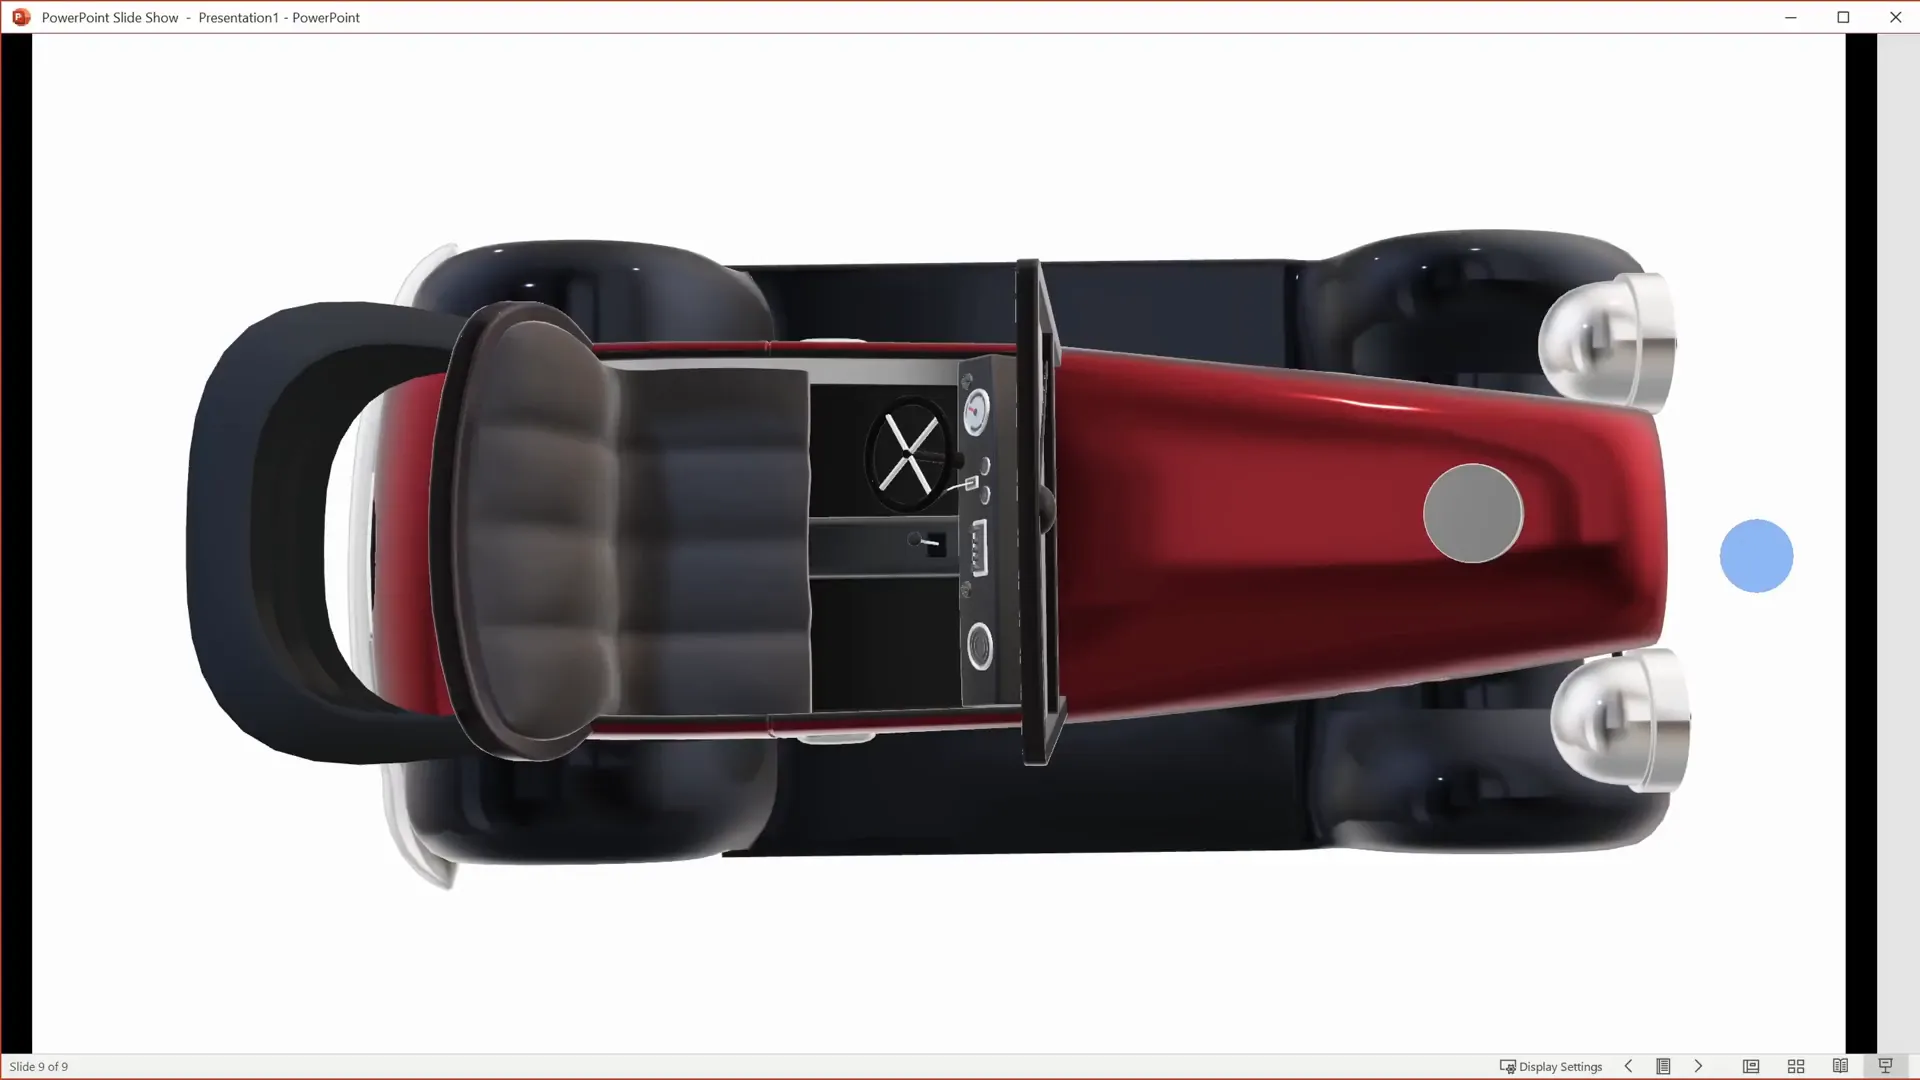
Animating 3D Objects in PowerPoint
PowerPoint supports 3D models, allowing you to insert and animate 3D objects directly within your slides.
Inserting and Animating 3D Models
- Add a new slide and go to Insert > 3D Models.
- Choose from stock 3D models or insert your own created in tools like Paint 3D.
- Resize and position your 3D model.
- Apply animations specifically designed for 3D objects, such as Jump and Turn or Arrive.
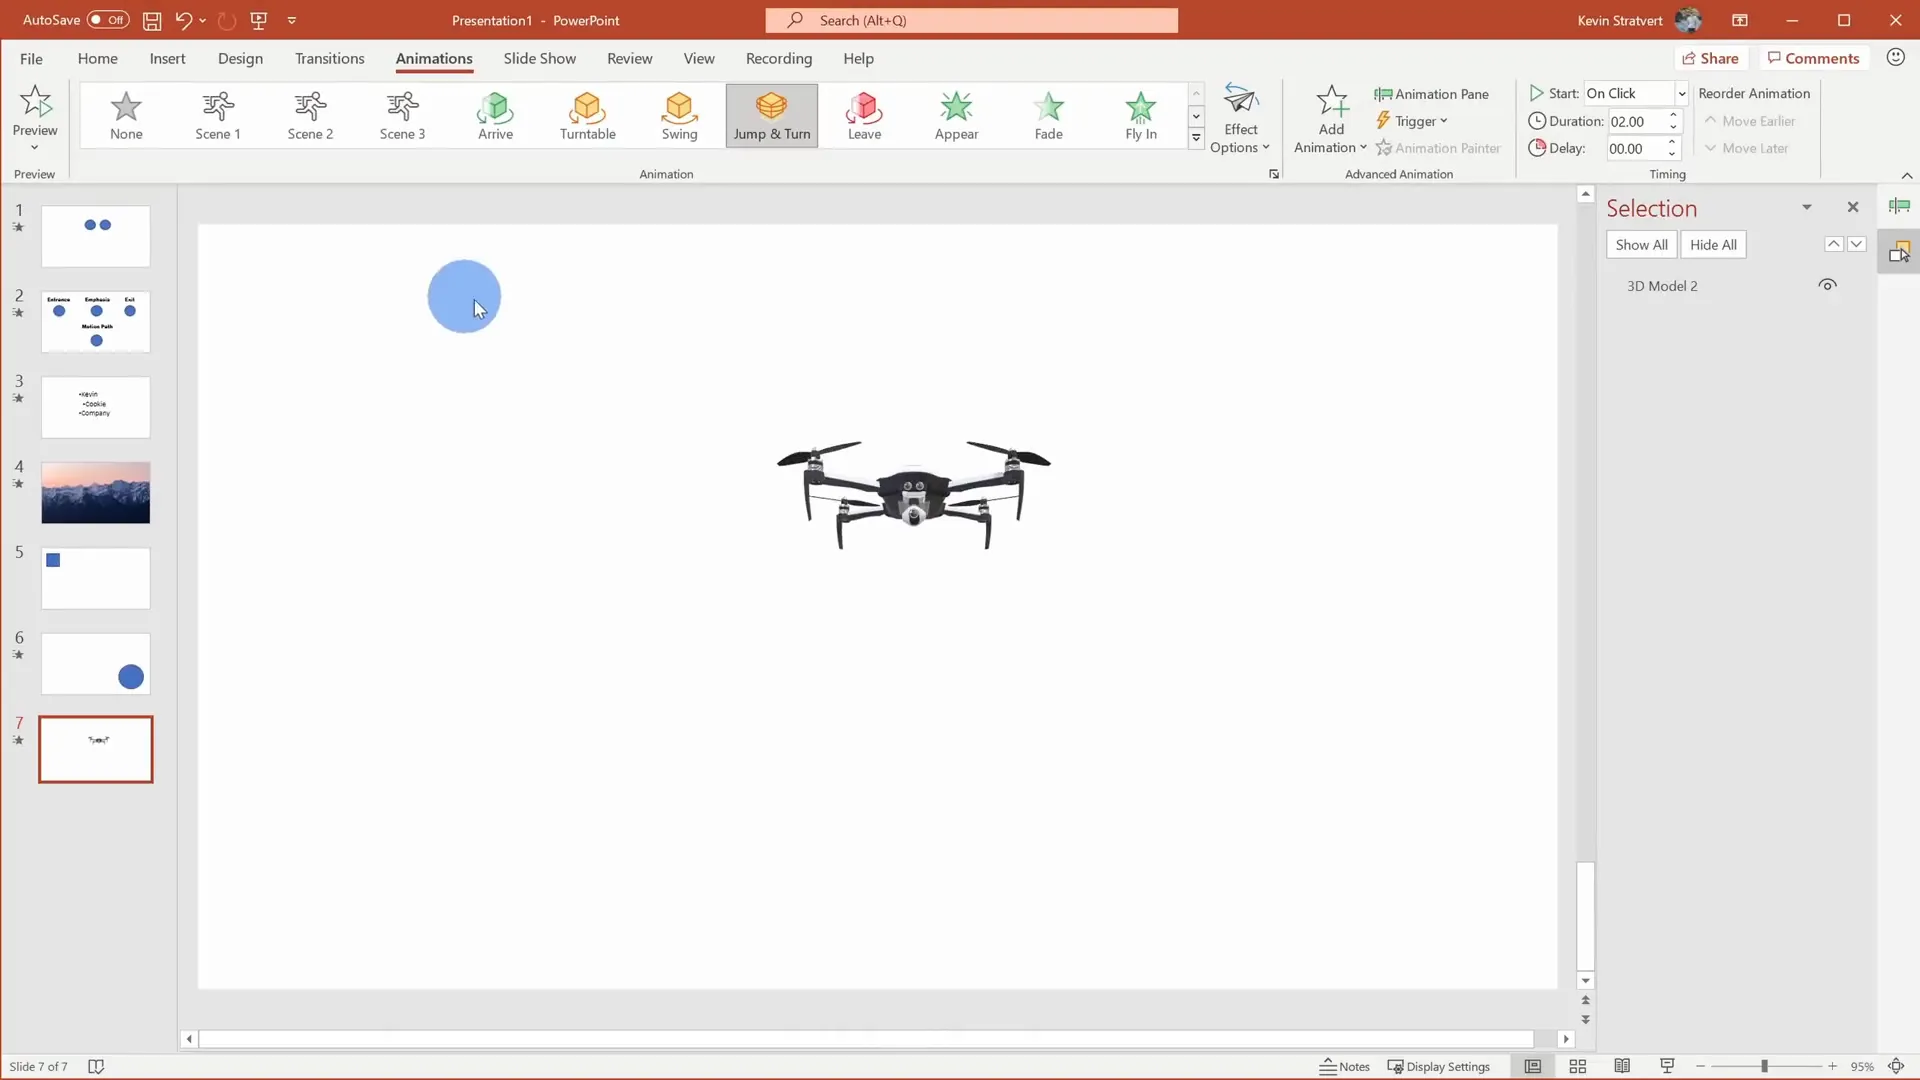
These animations can be customized with effect options like direction, intensity, and rotation axis.
Using Morph with 3D Objects
- Insert a 3D model on two identical slides.
- On the second slide, change the view angle or size of the 3D model.
- Apply the Morph transition to create a smooth transition between views.
Tips and Tricks for PowerPoint Animations
- Use the Animation Pane: This is your control center for all animations on a slide. Use it to reorder, adjust timing, and set triggers.
- Combine Animations: Use Add Animation to layer multiple effects on the same object without overwriting.
- Experiment with Timing: Adjust durations and delays to create smooth, natural animations.
- Leverage Triggers: Make your presentations interactive by triggering animations with specific clicks on objects.
- Use Morph for Efficiency: Morph transitions can replace complex animations for smooth movement and shape changes.
- Animate Text Thoughtfully: Animate bullet points individually for better pacing and engagement.
- Layer Images for Depth: Use background removal and layering to create complex scenes.
Frequently Asked Questions (FAQ)
Q: Can I animate multiple objects at the same time in PowerPoint?
A: Yes. Using the Animation Pane, you can set animations to start With Previous, allowing multiple objects to animate simultaneously. You can also stagger them by setting delays or using After Previous.
Q: How do I make text appear one bullet point at a time?
A: Apply an entrance animation to the text box, then under Effect Options, set the animation to occur By Paragraph. This will animate each bullet point individually.
Q: What is the difference between Morph and traditional animations?
Traditional animations are applied to objects on a single slide, while Morph is a transition effect between two slides that animates changes in position, size, and shape of objects automatically, creating smooth transformations.
Q: Can I animate 3D models in PowerPoint?
Yes! PowerPoint supports 3D models and includes specific animations for them, such as Jump and Turn. You can also use Morph transitions with 3D objects to animate changes in view and size.
Q: How do I copy animations from one object to another?
Use the Animation Painter tool. Select the animated object, click Animation Painter, then click the target object. Double-click Animation Painter to apply animations to multiple objects consecutively.
Q: What are triggers in PowerPoint animations?
Triggers let you start animations based on specific clicks on objects rather than clicking anywhere on the slide. This allows for interactive presentations where clicking a button or shape controls what animates.
Q: How can I remove or edit animations once added?
Open the Animation Pane, select the animation you want to remove or edit, then press the delete key or use the drop-down menu to access effect options and timing settings.
Conclusion
Animating in Microsoft PowerPoint is a powerful way to add visual interest, emphasize key points, and create dynamic storytelling within your presentations. From simple entrance animations to layered sequences, triggers, morph transitions, and 3D model animations, PowerPoint offers a versatile toolkit for users at all skill levels.
By mastering these animation fundamentals and exploring advanced techniques like morph transitions and motion paths, you can create presentations that not only inform but also captivate your audience. Remember to experiment with timing, layering, and interactive triggers to tailor animations to your presentation’s needs.
With practice, you’ll find that PowerPoint animations become a natural part of your workflow, helping you deliver more engaging and memorable presentations every time.
Happy animating!
Check out the full video: PowerPoint Animation Tutorial – Learn How To Animate


