
Creating professional, visually appealing presentations can often feel like a daunting task, especially when you want to maintain consistency and save time. One of the most powerful yet underutilized features in PowerPoint that can transform your slide design workflow is the Slide Master. In this comprehensive guide, I will walk you through everything you need to know about the Slide Master—from the very basics to advanced tips and tricks—to help you create beautiful and effective slide designs in the shortest amount of time possible.
My name is Ramgopal, and I am the creator of the PowerPoint Mastery program, a comprehensive training designed specifically for professionals who want to master the art of PowerPoint. This article distills the essence of my approach, aiming to empower you to use Slide Master like a pro, whether you are a beginner or looking to sharpen your skills.
Table of Contents
- What is the Slide Master in PowerPoint?
- How to Access the Slide Master
- Understanding the Relationship Between Theme Slide Master and Slide Layouts
- Using Slide Master the Right Way: A Practical Demonstration
- Common Uses of Slide Master
- Advanced Tips and Tricks to Impress Your Audience
- Bonus Tip: Save Your Slide Master as a Template
- Frequently Asked Questions (FAQ)
- Conclusion
What is the Slide Master in PowerPoint?
The Slide Master is a special view in PowerPoint that controls the overall look and layout of your entire presentation. Think of it as the blueprint or template that defines the theme, colors, fonts, effects, and positioning of placeholders for all your slides. By making changes in the Slide Master, you can ensure consistency across your entire slide deck without having to edit each slide individually.
There are two types of Slide Masters in PowerPoint:
- Theme Slide Master: This is the top-level master that controls the overall design and theme of the presentation.
- Master Slide Layouts: These are the predefined layouts under the Theme Slide Master that define how individual slide types look, such as title slides, content slides, section headers, etc.
How to Access the Slide Master
There are two simple ways to get into the Slide Master view:
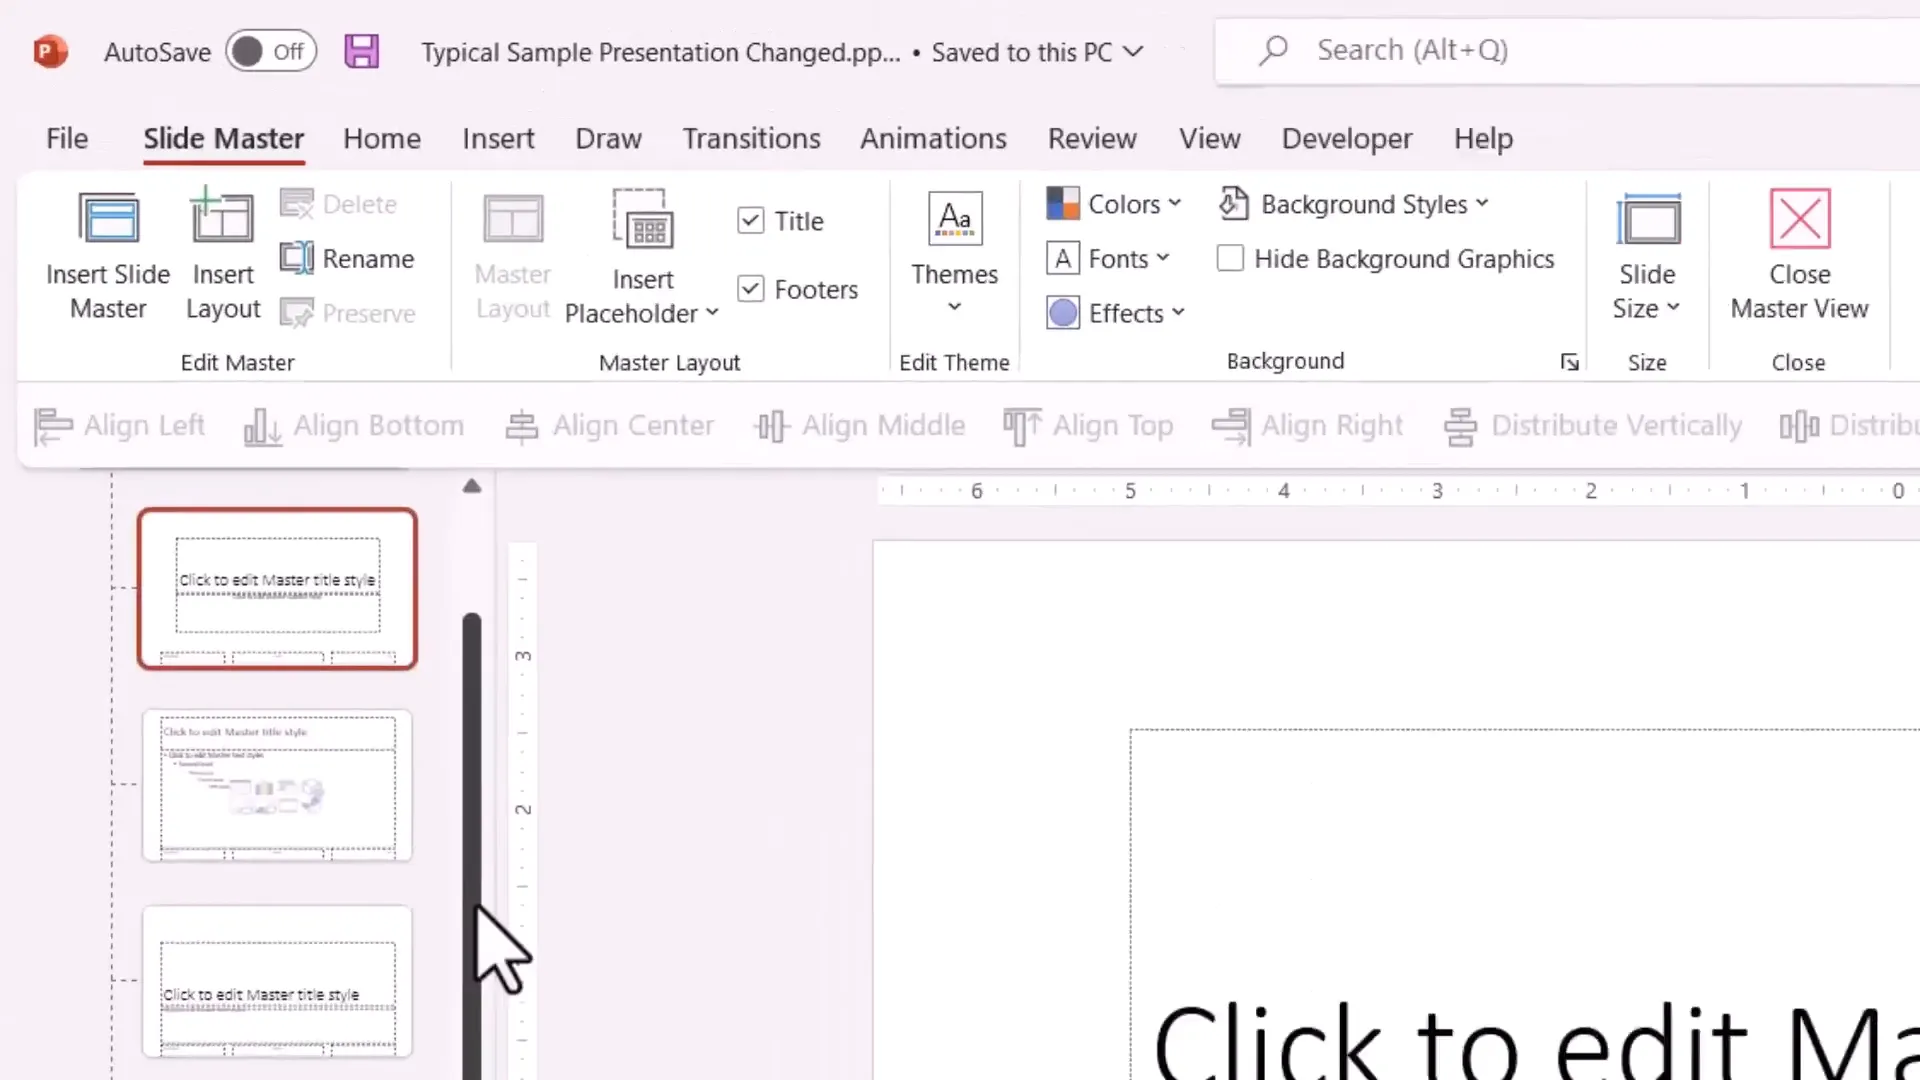
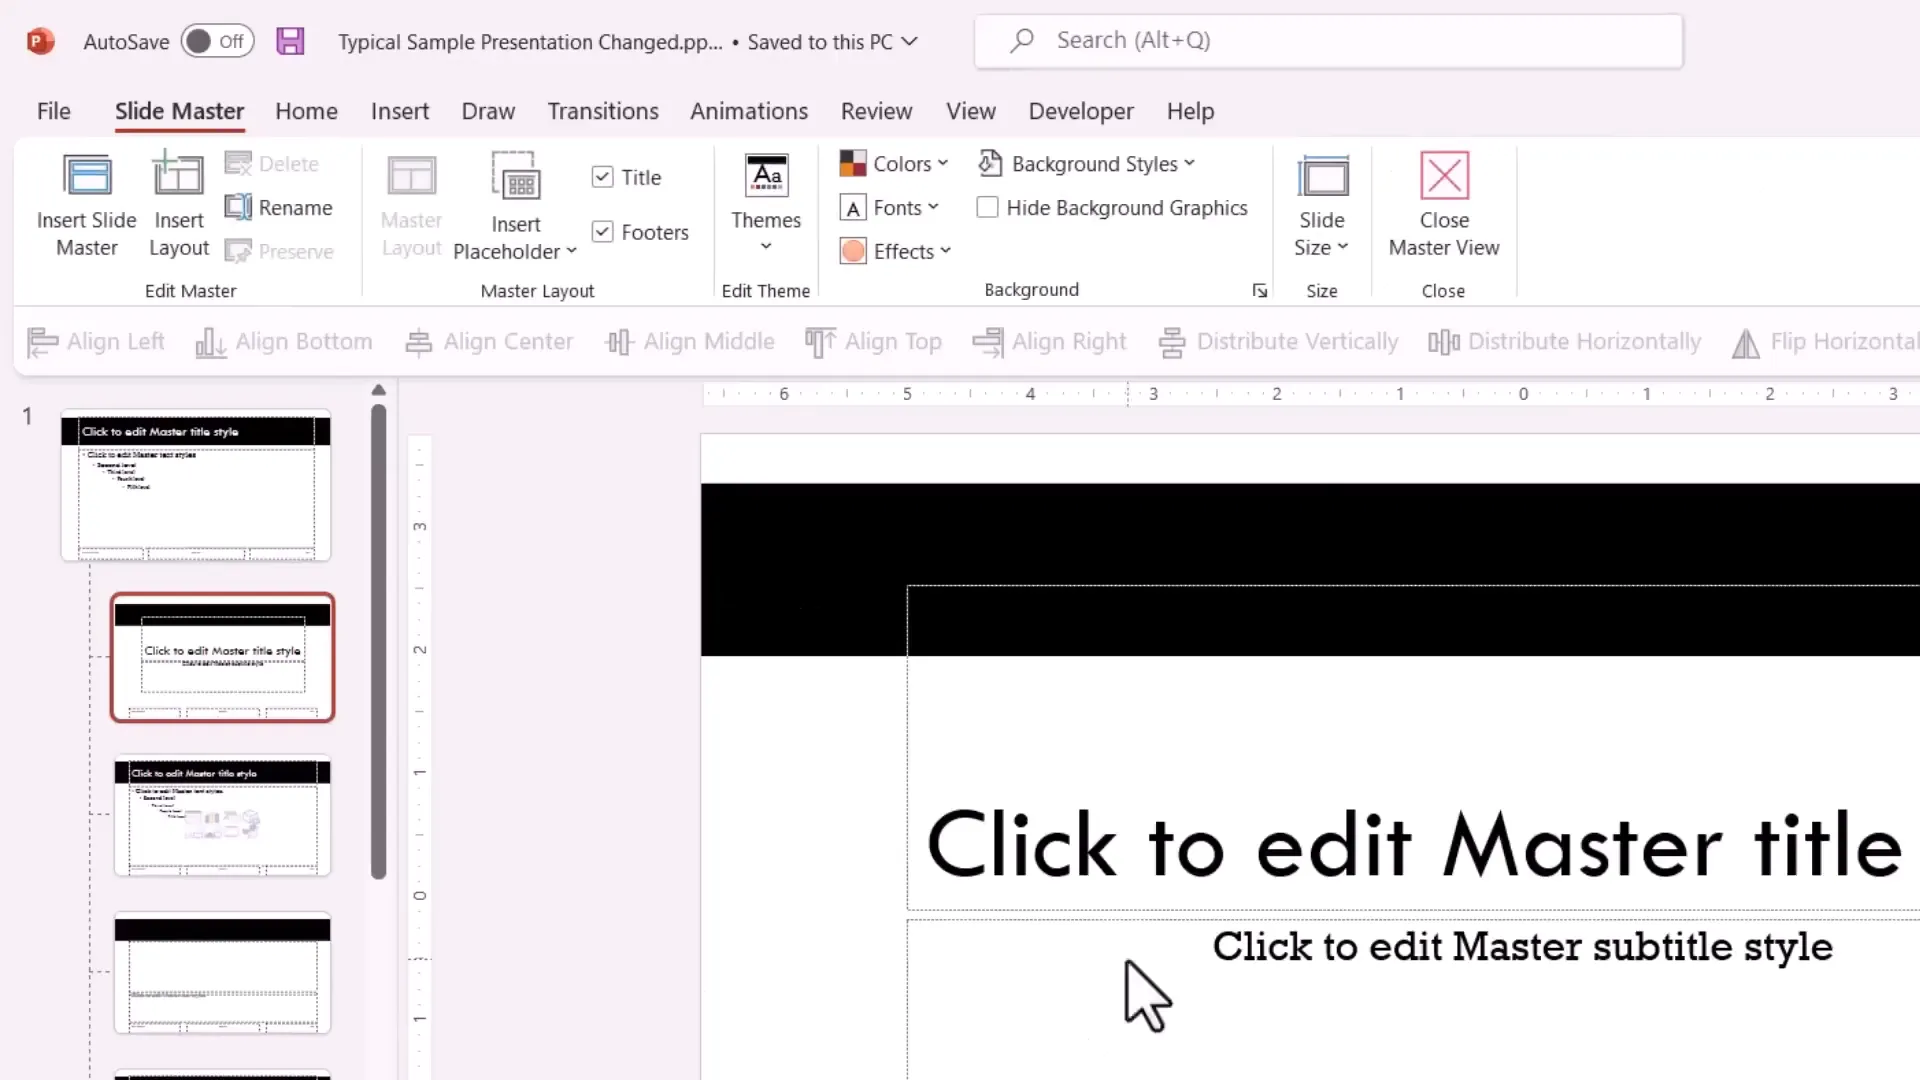
- Using the Ribbon: Go to the View tab on the ribbon and click on Slide Master. This opens the Slide Master view where you can see the master thumbnail on the left and all the slide layouts beneath it.
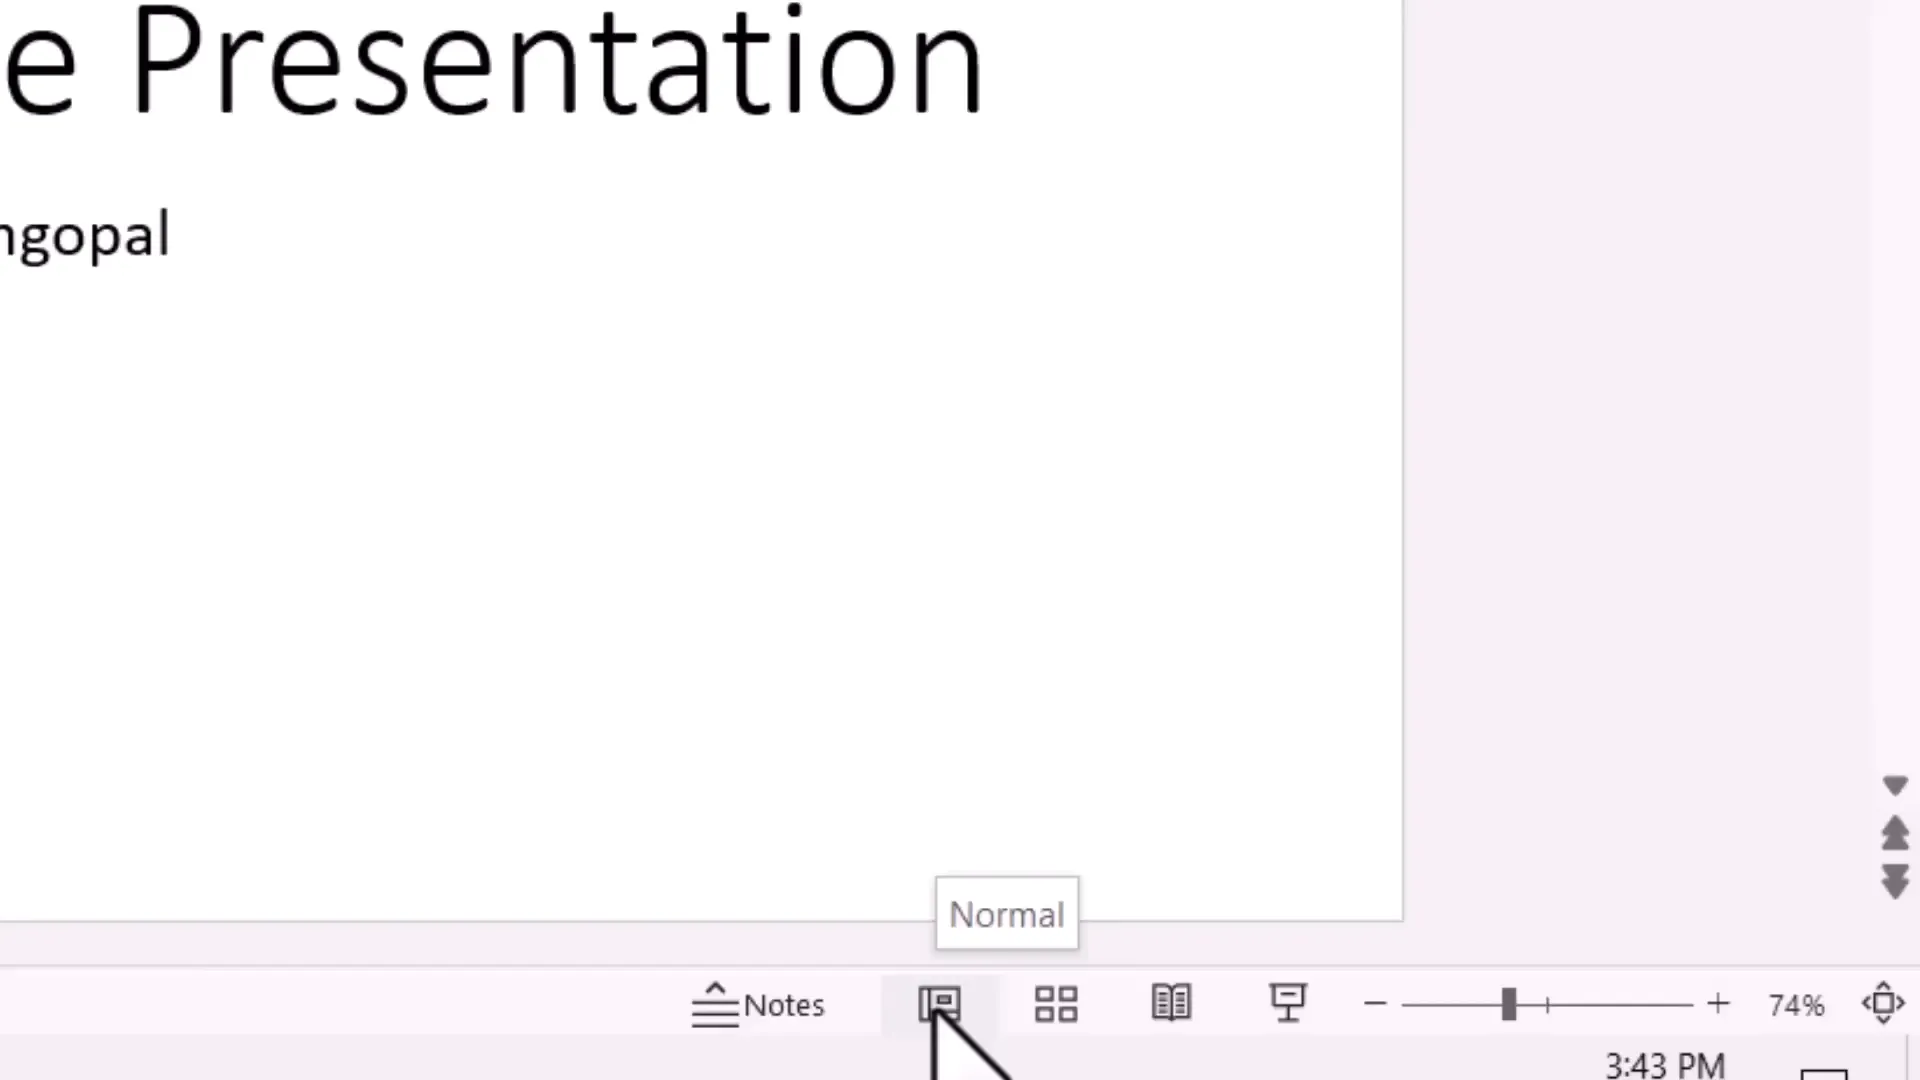
- Using a Keyboard Shortcut: Hold down the Shift key and click on the Normal View icon in the status bar at the bottom right of PowerPoint. This shortcut immediately takes you to the Slide Master view.
To exit Slide Master view, simply click on the Close Master View button or click the Normal View icon again.
Understanding the Relationship Between Theme Slide Master and Slide Layouts
The Theme Slide Master influences all the slide layouts beneath it. Any design element you add to the Theme Slide Master will appear on all the layouts. However, if you add something to a specific slide layout, it will only appear on slides that use that layout.
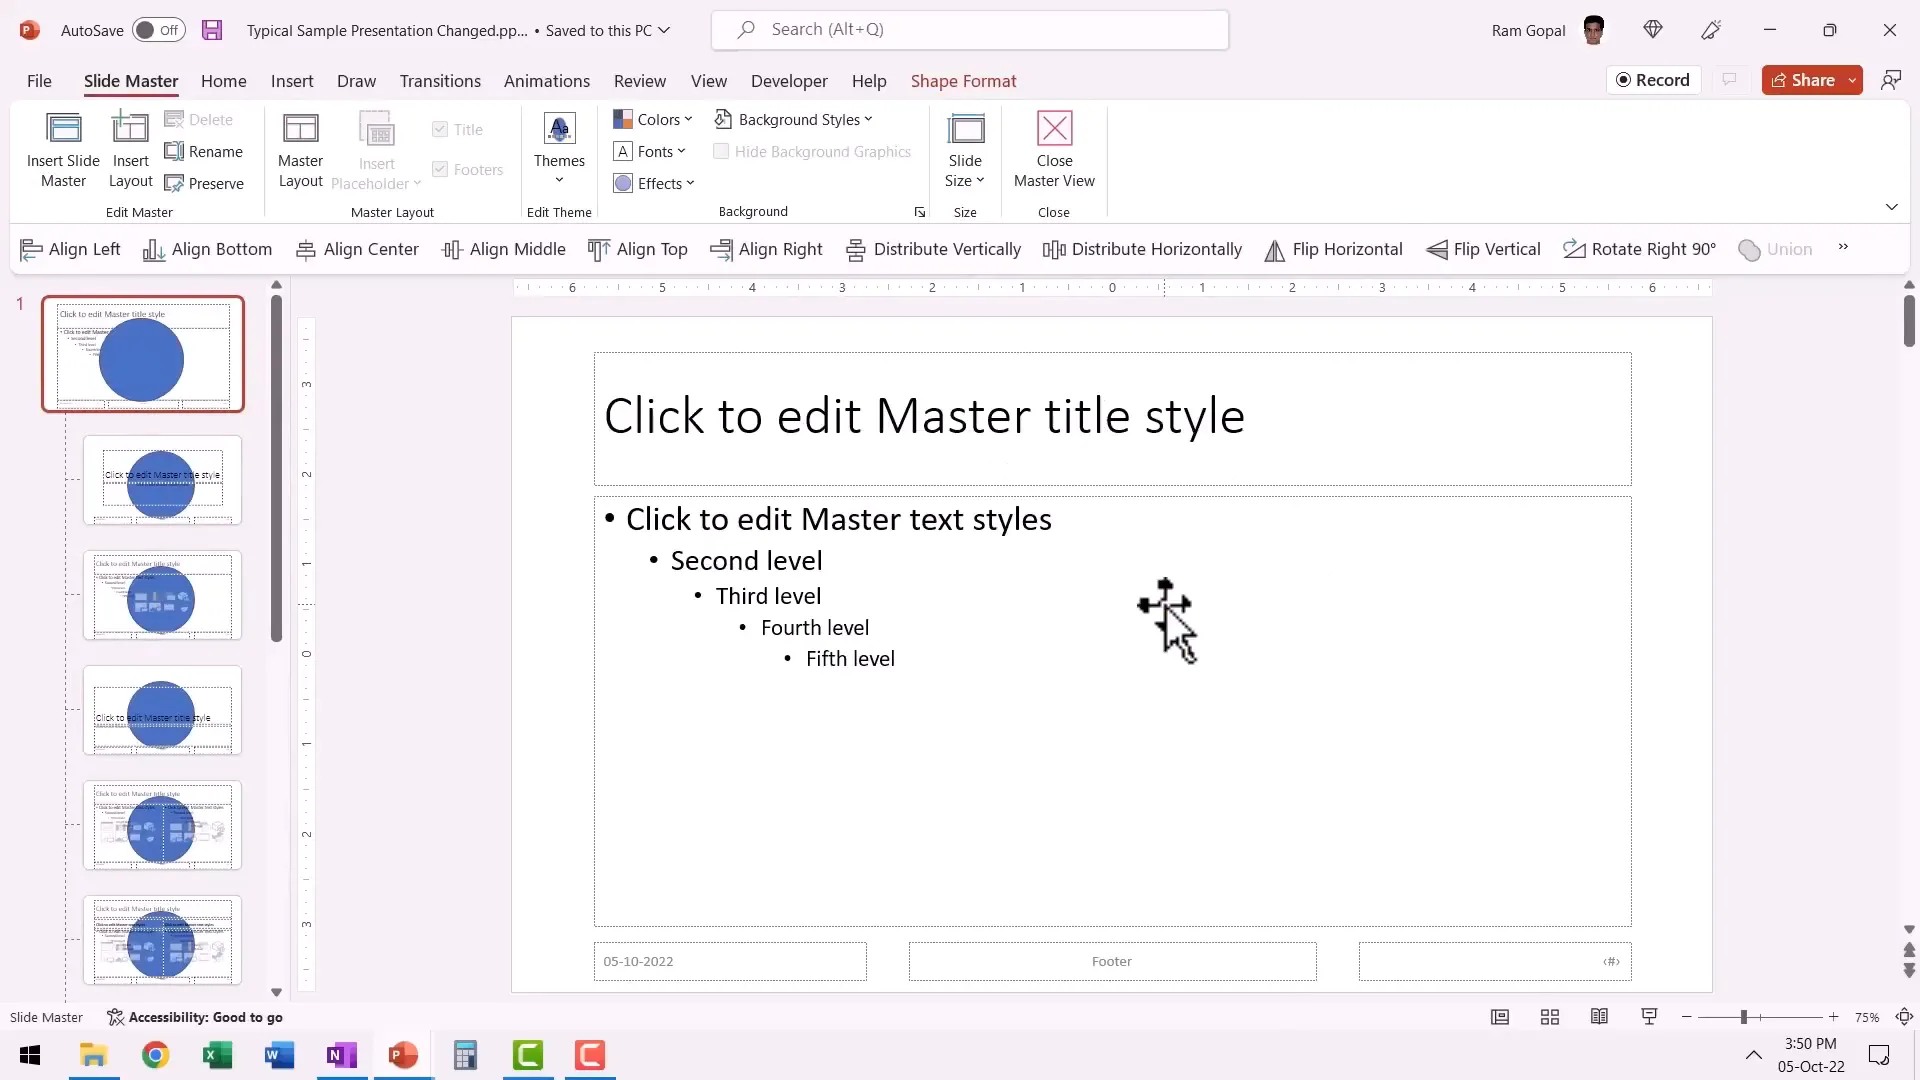
For example, if you draw a large circle in the Theme Slide Master, this circle will be visible on all the slide layouts. But if you delete it from the Theme Slide Master, it disappears from all layouts. Conversely, if you draw a circle on a single slide layout, it only appears on that layout and does not affect the other layouts.
Using Slide Master the Right Way: A Practical Demonstration
Let’s take a typical presentation and improve its look and feel using Slide Master. The goal is to create a distinctive and professional design that stands out from the millions of generic slide decks your audience has seen before.
Step 1: Change the Font and Color Theme
The quickest way to make your presentation look fresh and unique is to change the font theme and color theme from the default. Most presentations use the default Calibri font, which is very common and lacks personality.
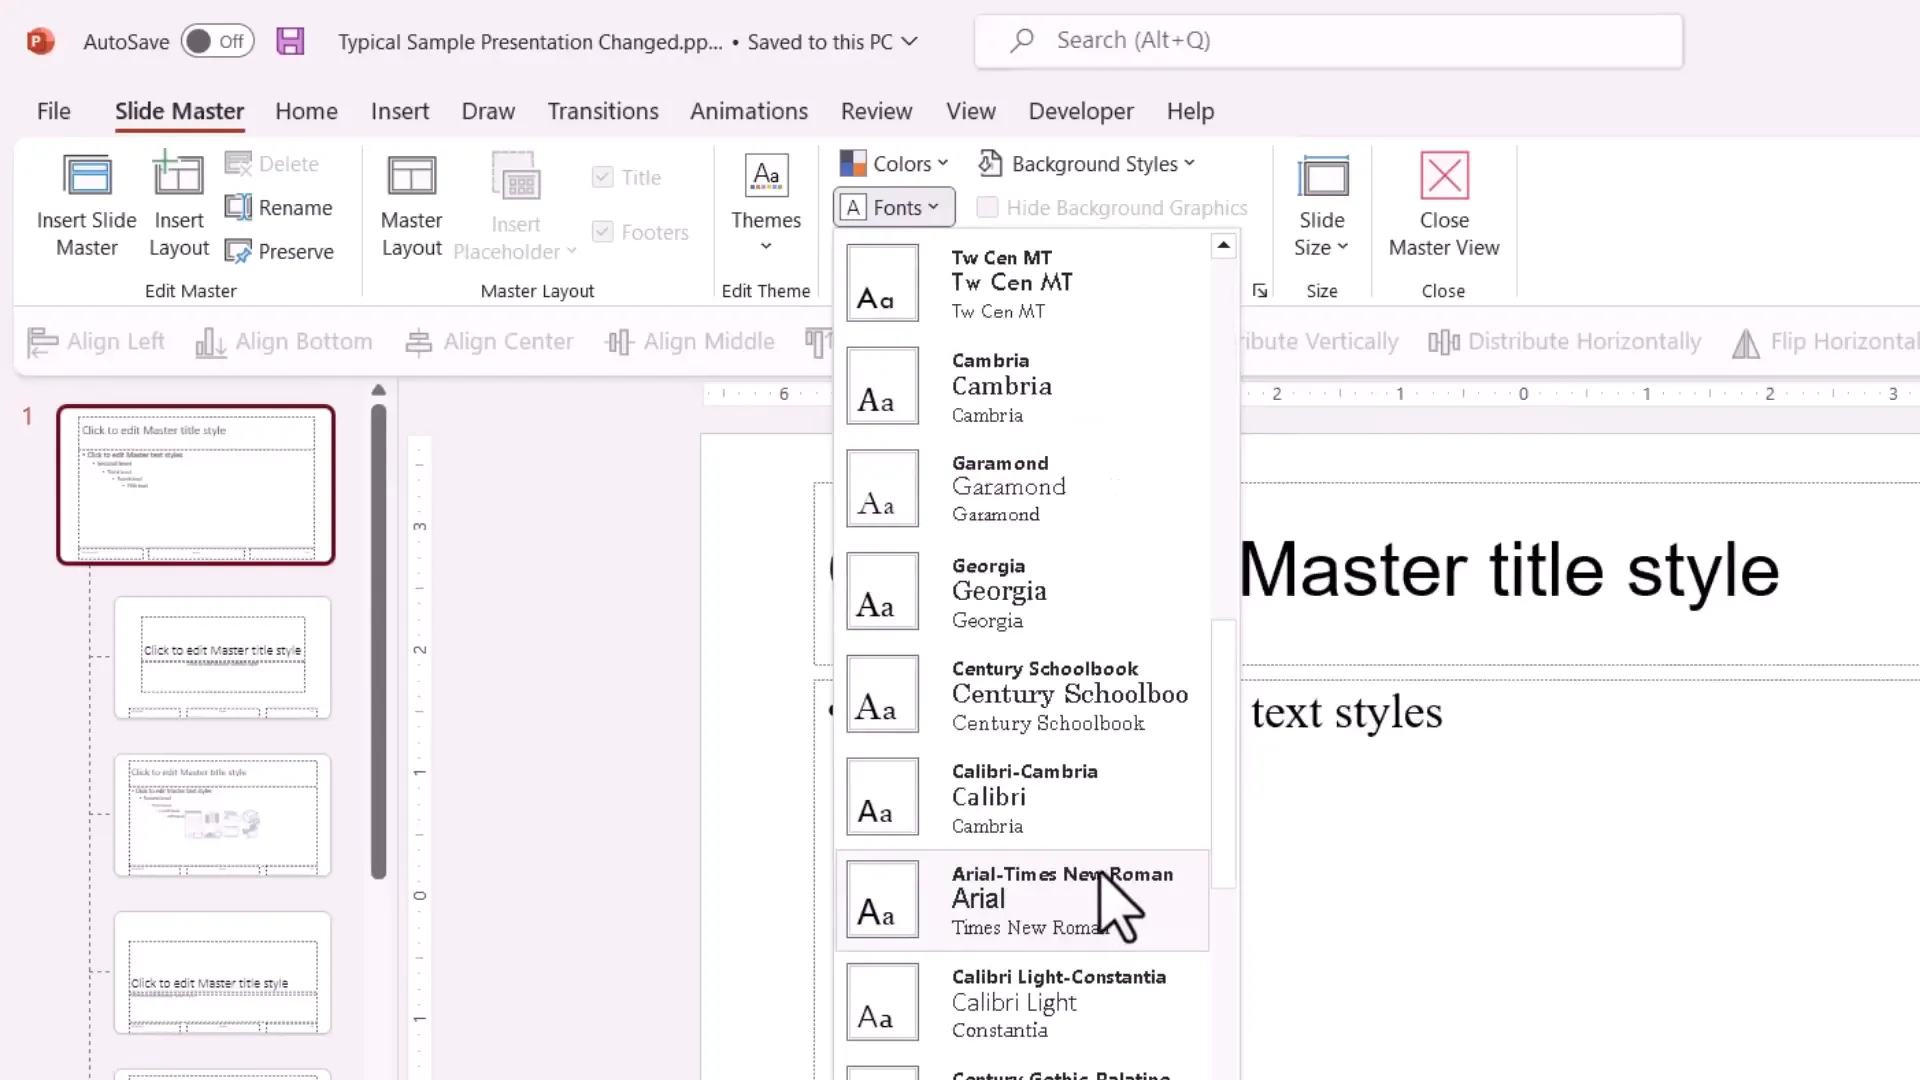
In Slide Master view, go to the Fonts dropdown and choose a different font combination. PowerPoint offers several expert-chosen font pairings that can instantly elevate your slides’ appearance. For example, I selected the Tusen MT Rockwell and Rockwell combination, which looks beautiful and professional.
Next, change the color theme by clicking Colors and selecting a vibrant theme such as Aspect. This immediately refreshes the color palette across all slides.
Tip: Avoid using the default design themes that come with PowerPoint because they have been used by millions of presenters. Instead, customize your own theme through Slide Master for a distinctive look.
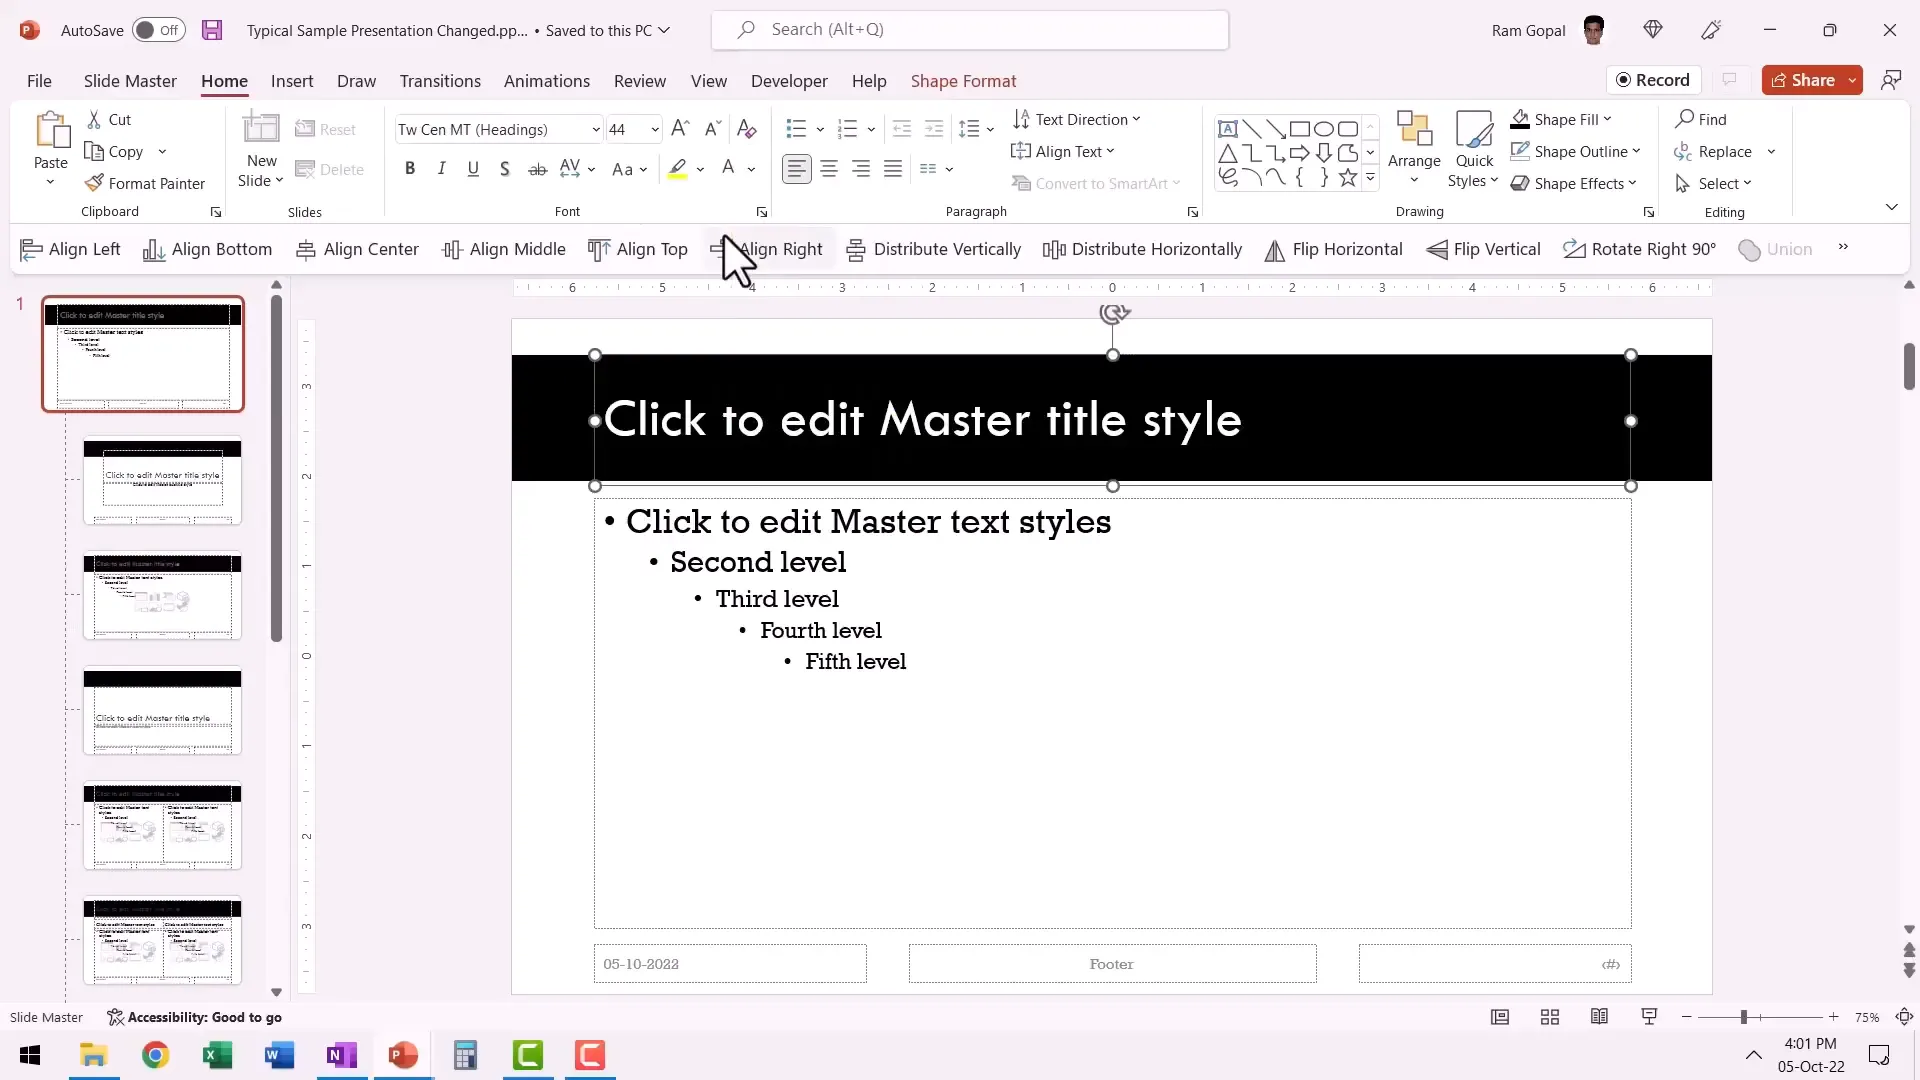
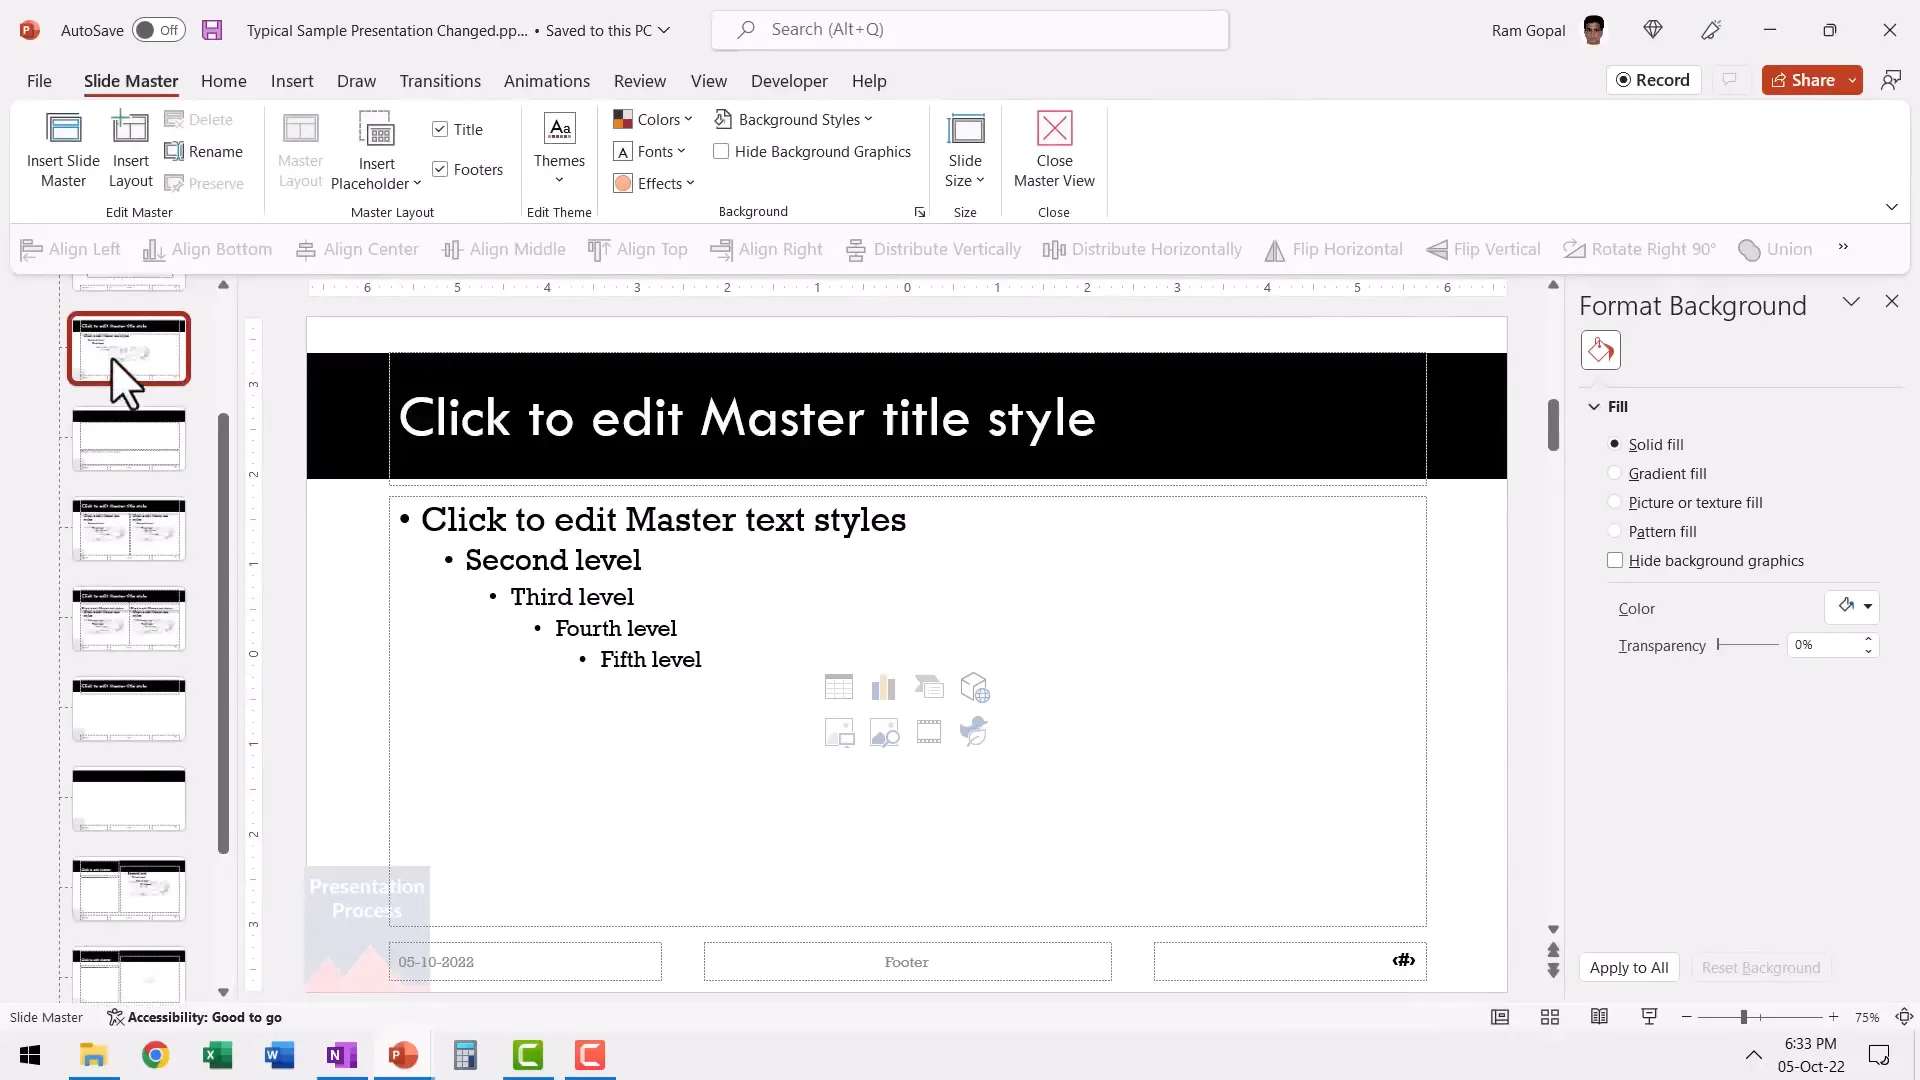
Step 2: Make Slide Titles Distinct
It’s important that slide titles stand out clearly from the body content. To achieve this, draw a dark band or rectangle behind the title area in the Theme Slide Master. Use a black or dark color rectangle with no outline and send it to the back.
Then, change the title font color to white for better contrast and increase the font size if necessary. This makes your titles pop and easier to read for your audience.
Step 3: Customize the Title Slide Layout
Often, the title slide requires a different look. For example, you may not want the dark band on the title slide or want the font color to remain black. To customize this:
- Go to the Title Slide Layout in Slide Master view.
- Change the font color for the title back to black.
- To remove the dark band only on the title slide, check the Hide Background Graphics option in the background group. This hides the band without affecting other layouts.
This flexibility allows you to maintain a consistent design while customizing individual layouts as needed.
Common Uses of Slide Master
Adding a Consistent Slide Background
Many presenters want to add a background image or texture to all slides. The common approach is to insert the picture on each slide individually, but this is inefficient and problematic:
- The image can interfere with slide content and formatting.
- Editing becomes cumbersome as the image can move accidentally.
- The presentation file size balloons because the image is duplicated on every slide.
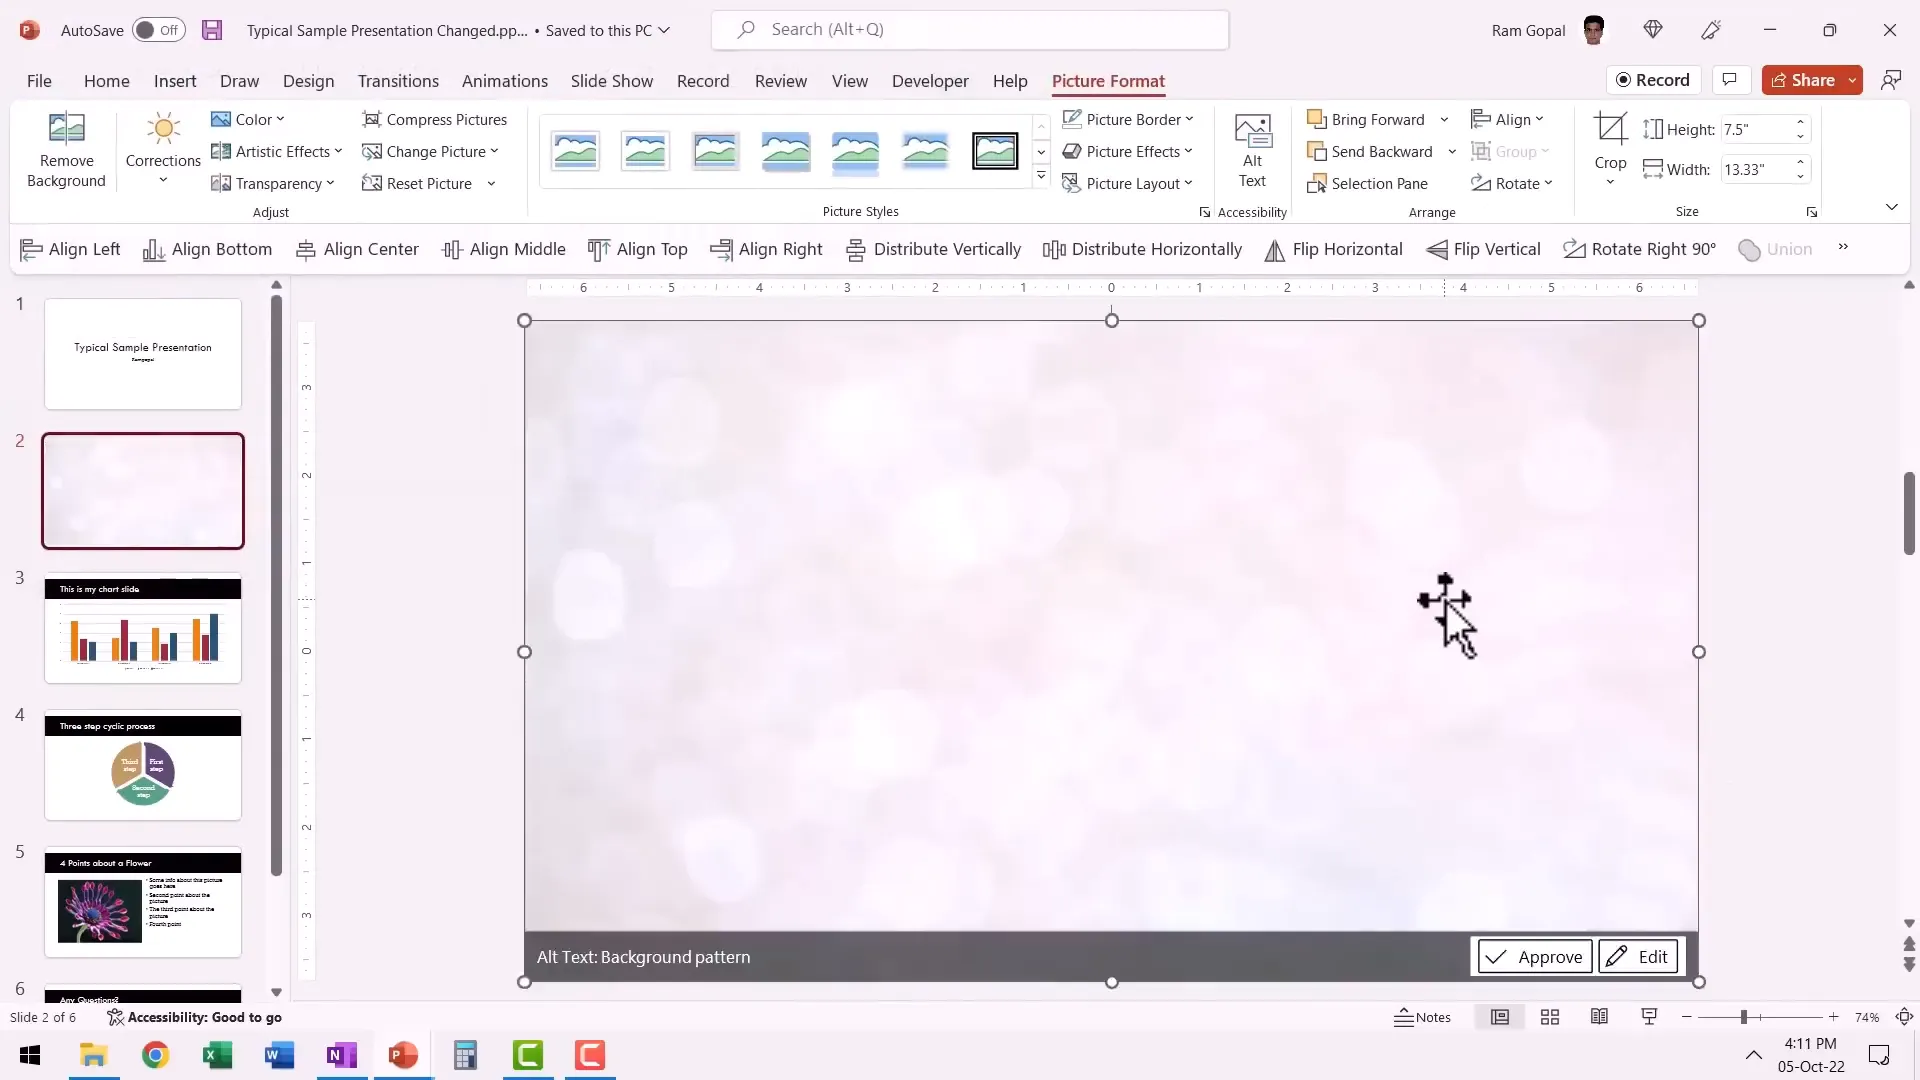
A better method is to add the background image directly in the Theme Slide Master:
- Go to Slide Master view.
- Insert the background image on the Theme Slide Master.
- Right-click the image and send it to back.
- Close Slide Master view.
Now, every slide has the same background without increasing file size or causing editing difficulties. You can also hide the background on specific layouts using the Hide Background Graphics option if needed.
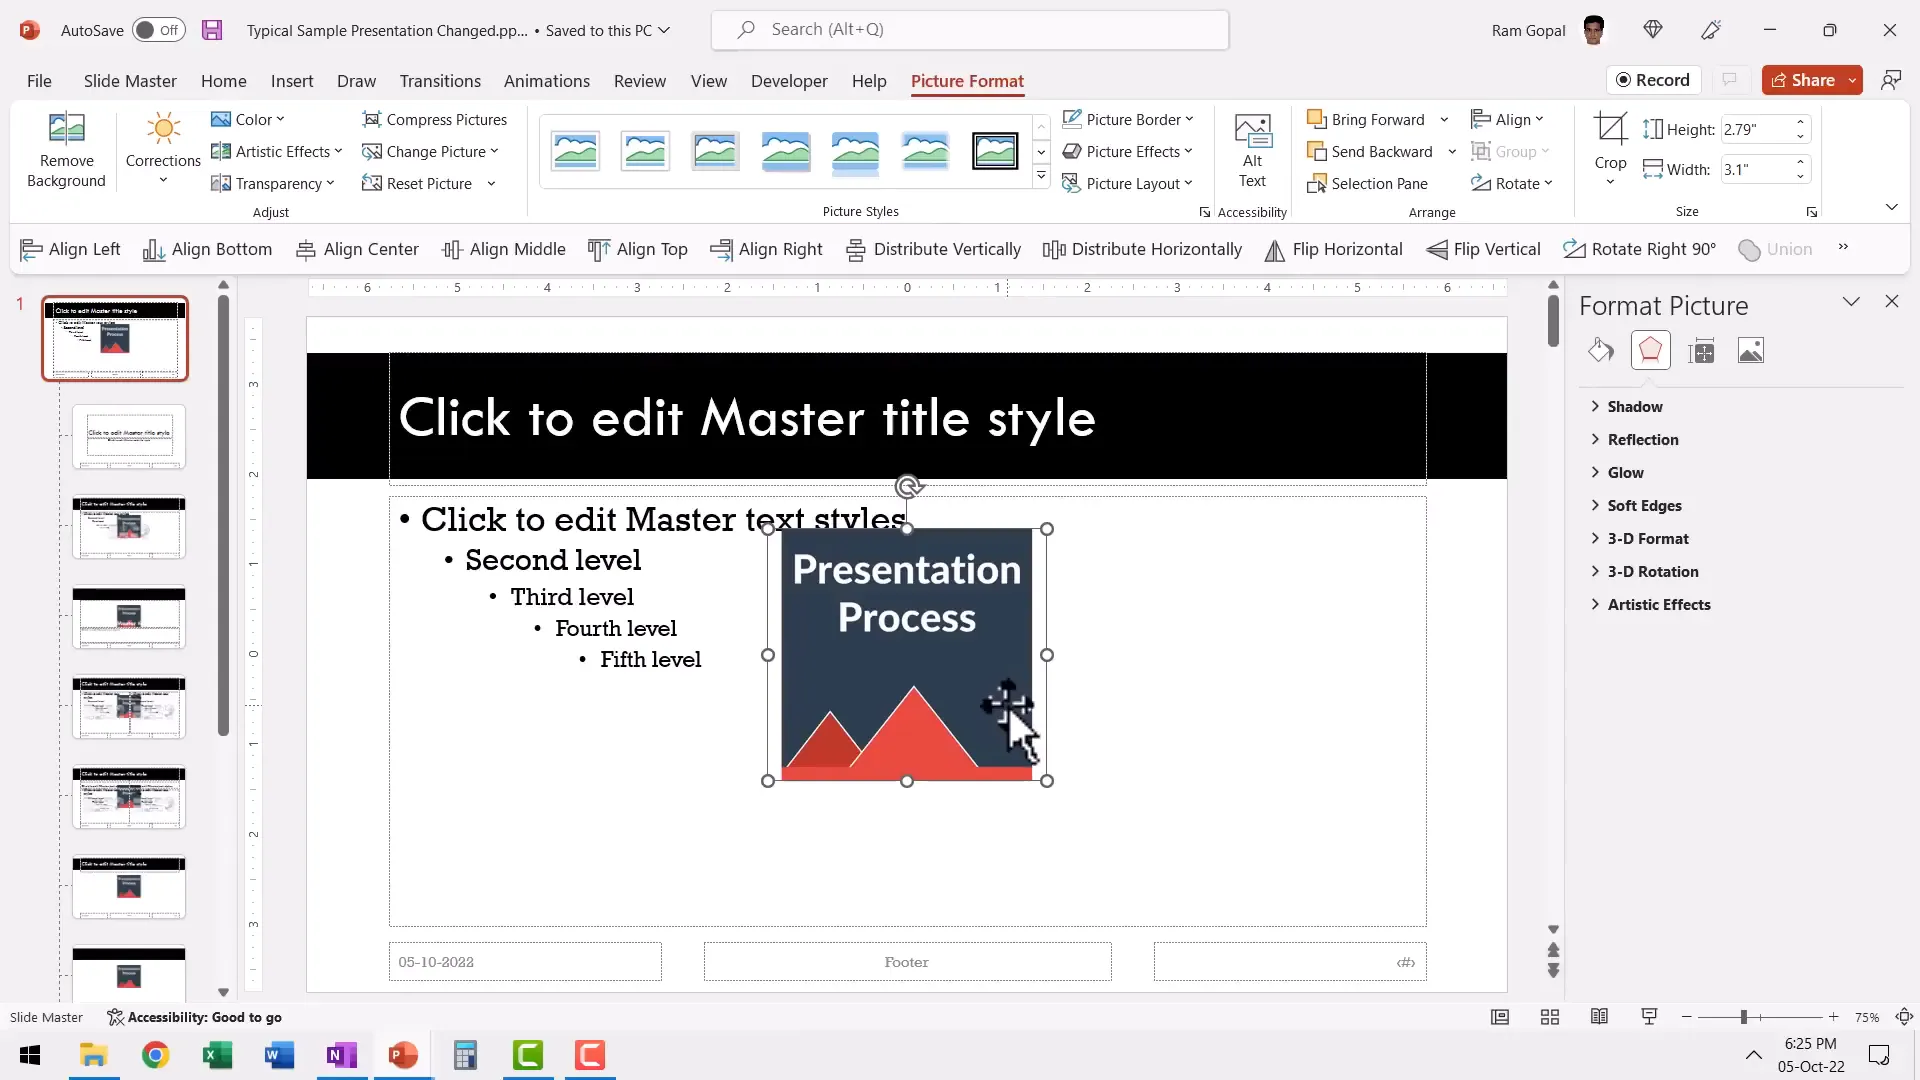
Adding a Logo on Every Slide
While I generally don’t recommend placing a logo on every slide due to space constraints and limited impact, some organizations require it. In such cases, placing a subtle, washed-out watermark version of the logo on the Theme Slide Master is the best approach.
To do this:
- Insert your logo image on the Theme Slide Master.
- Use the Picture Format tab to recolor the logo and select the Washout option to reduce its visual intensity.
- Resize and position the logo, typically in a corner, so it’s non-intrusive.
- Hide the logo on the title slide by checking Hide Background Graphics on the title layout.
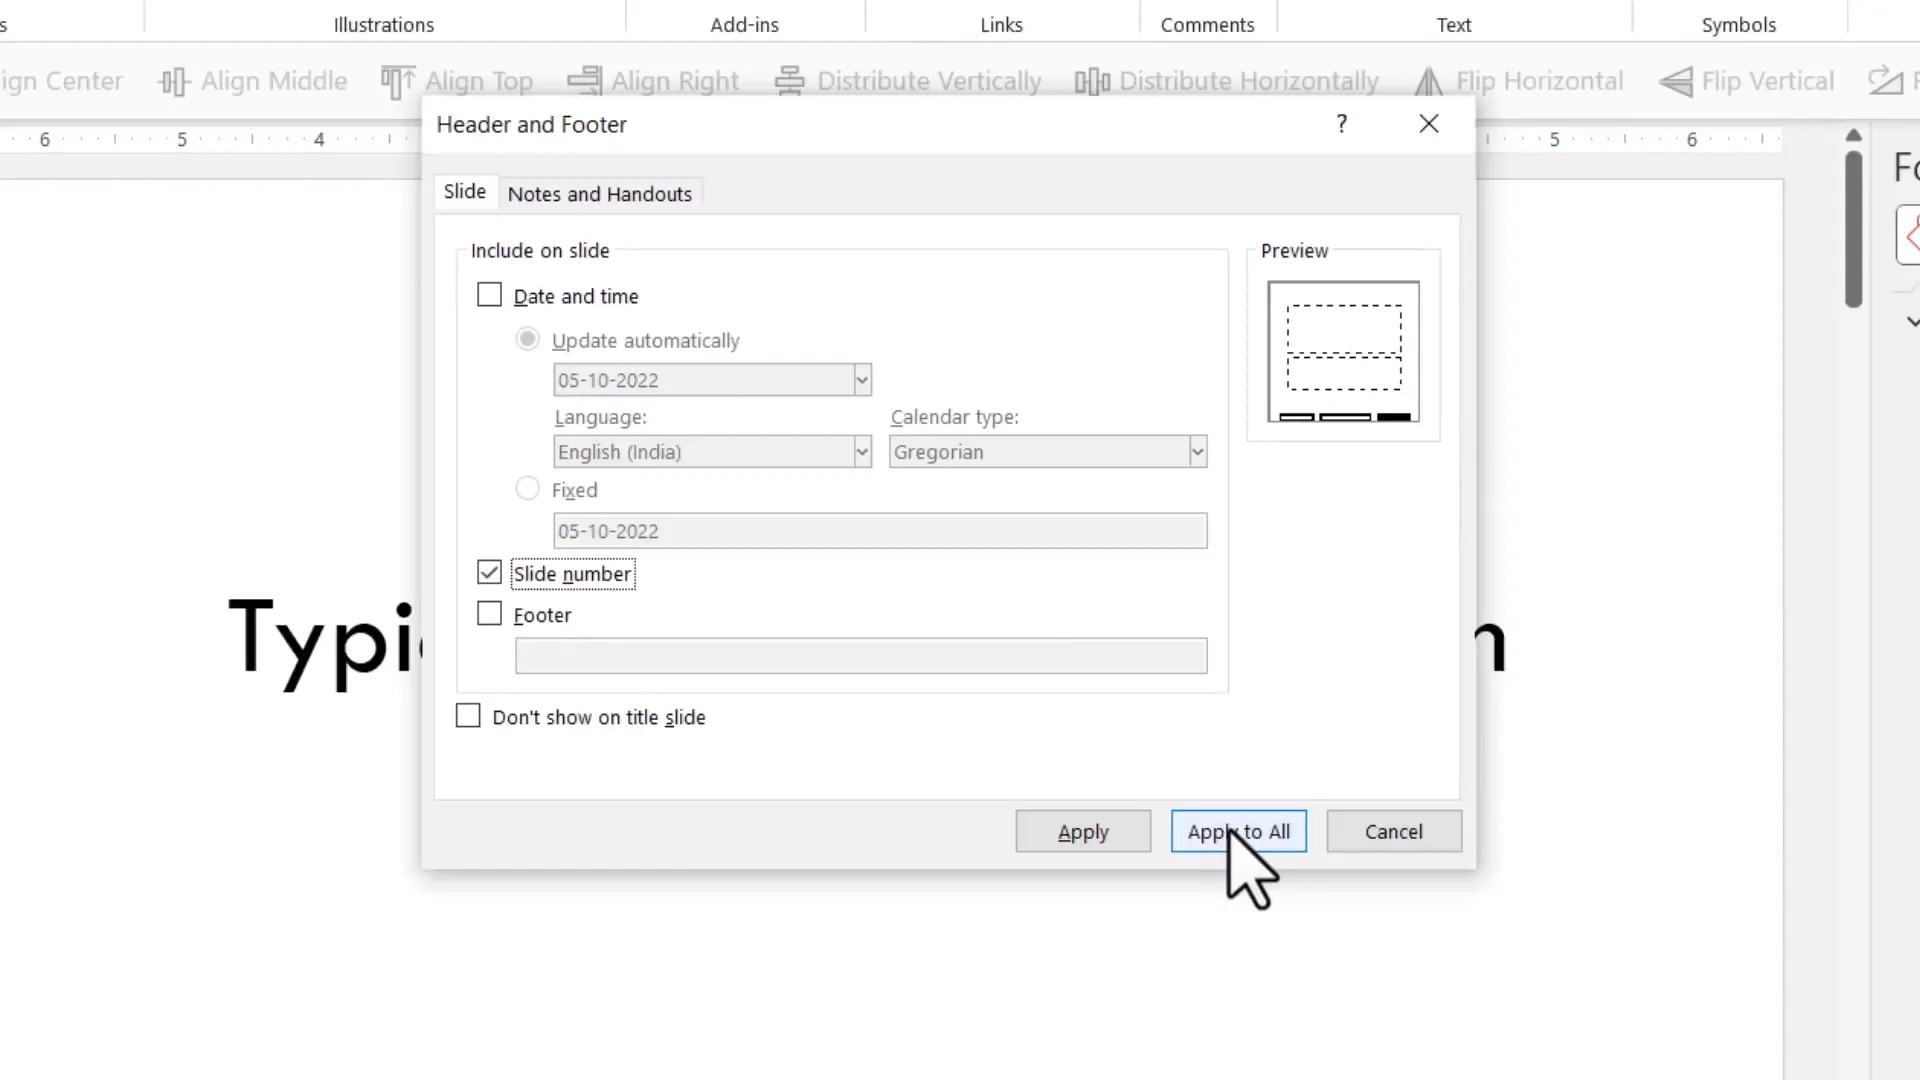
Inserting Slide Numbers on Every Slide
Slide numbers help your audience keep track of progress and make your presentation look polished. Here’s how to add them correctly:
- Go to the Insert tab and click Slide Number.
- In the dialog box, check the Slide Number option and click Apply to All.
- Slide numbers appear on all slides, typically in the bottom right corner.
- To customize the font, size, or color of the slide numbers, go to the Theme Slide Master and edit the slide number placeholder accordingly.
This method ensures consistent formatting and placement of slide numbers throughout your presentation.
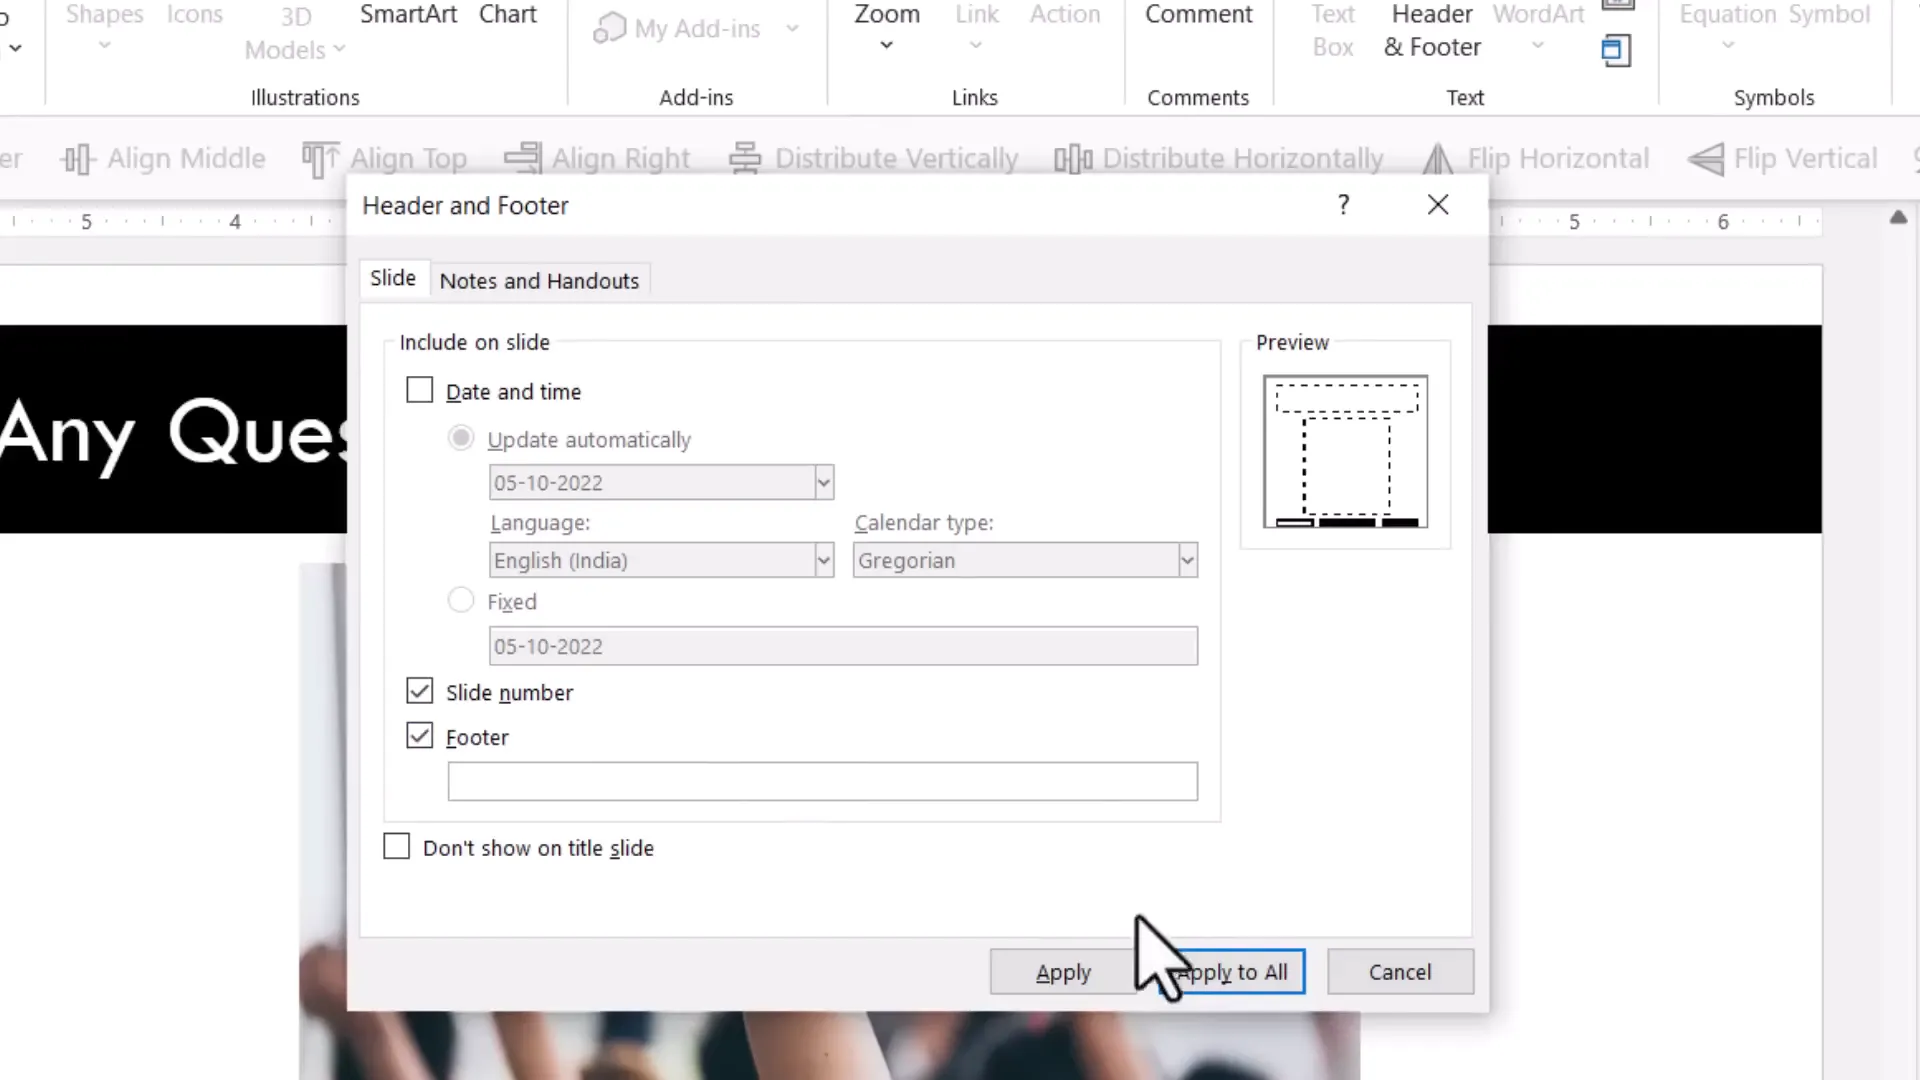
Adding a Footer for Legal Disclaimers or Other Information
Some presentations, especially in finance or legal fields, require a footer with disclaimers or other information on every slide.
To add a footer:

- Go to Insert > Slide Number.
- Check the Footer option, enter your text, and click Apply to All.
- Customize the footer’s font, size, and color in the Theme Slide Master as needed.
This ensures that your required information appears consistently on all slides.
Changing Slide Size
PowerPoint presentations default to a widescreen 16:9 aspect ratio, but sometimes you may want to use the traditional 4:3 ratio or custom dimensions.
You can change the slide size directly in the Theme Slide Master by selecting the Slide Size option and choosing the desired ratio.
Important: It’s best to set the slide size before you start creating content because changing it later may require tedious adjustments to images, text boxes, and other elements.
Advanced Tips and Tricks to Impress Your Audience
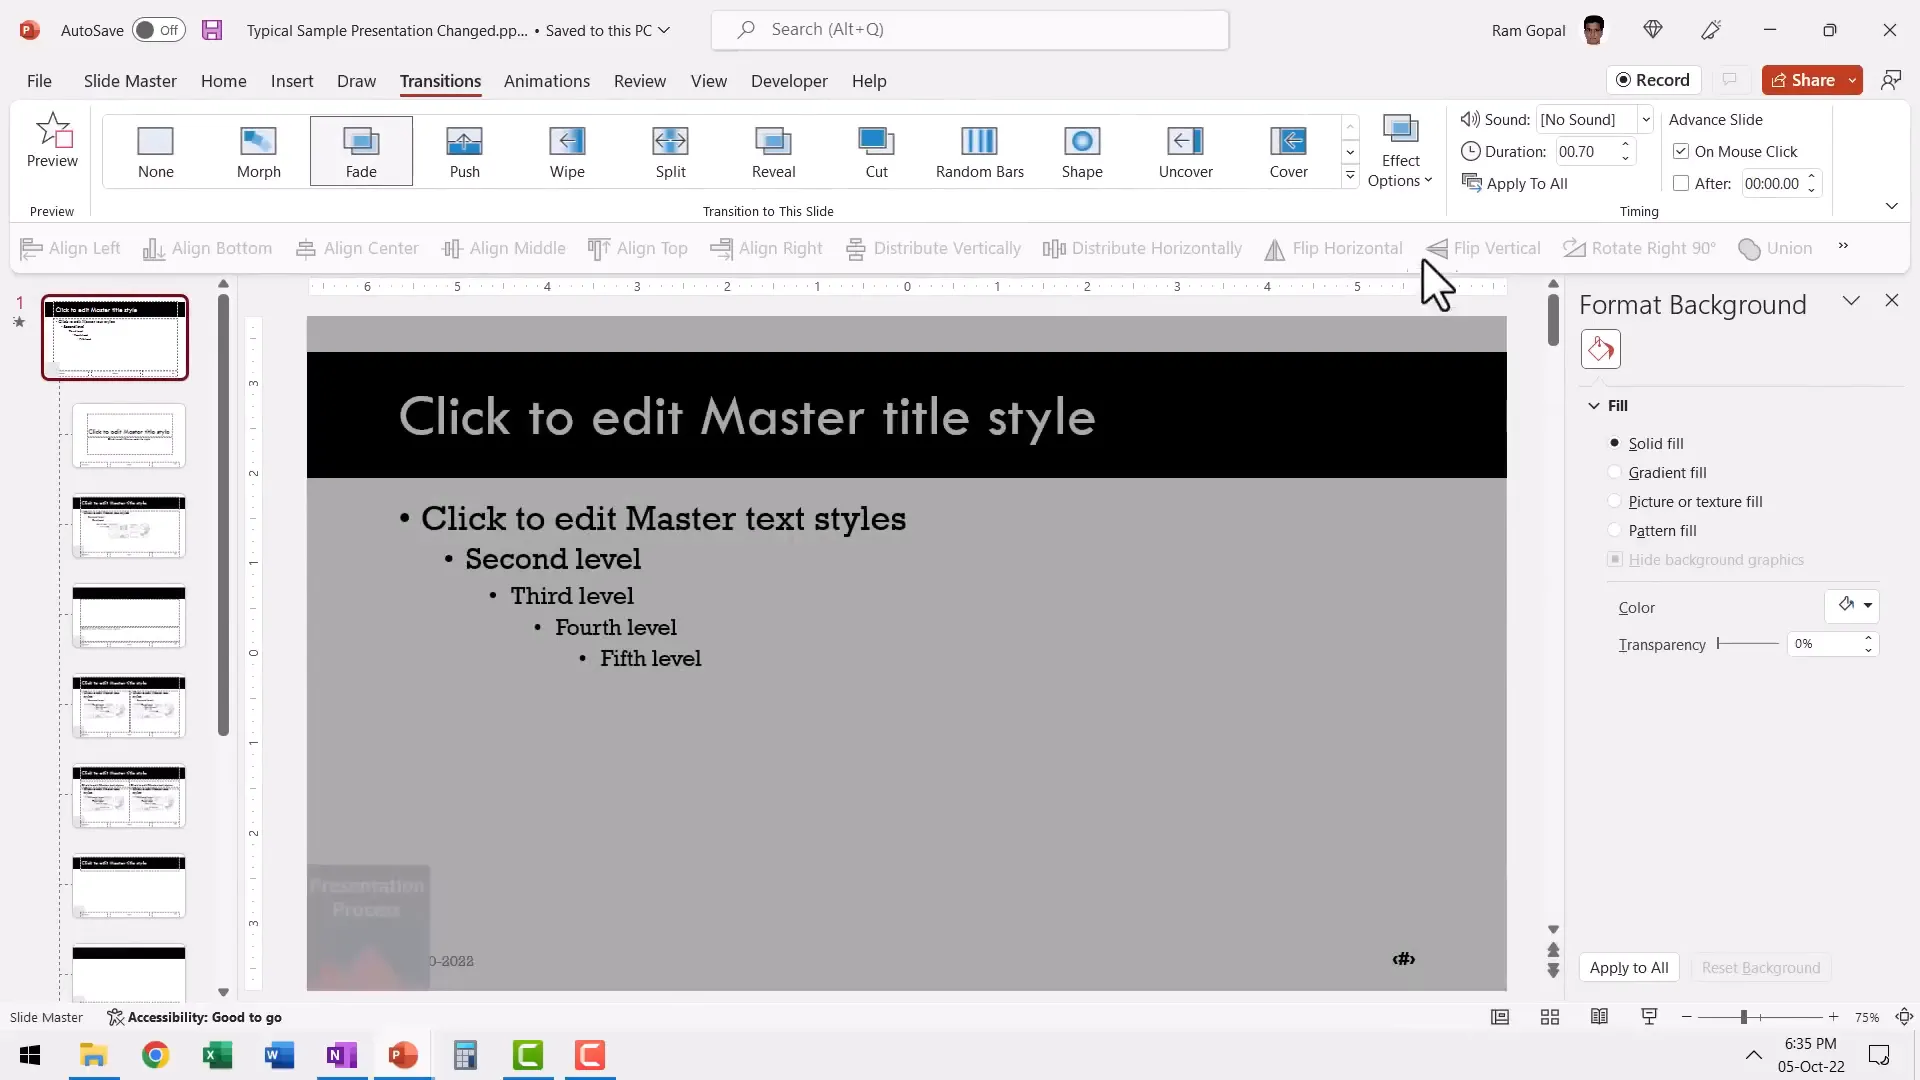
Applying Transitions to All Slides via Slide Master
You can apply transitions to every slide in your deck efficiently by setting them in the Slide Master view:
- Enter Slide Master view using the Shift + Normal View shortcut.
- Go to the Transitions tab and select a transition effect, such as Fade.
- Click Apply to All to apply the transition to all slides.
This method is a quick way to maintain consistent transitions without applying them slide-by-slide.
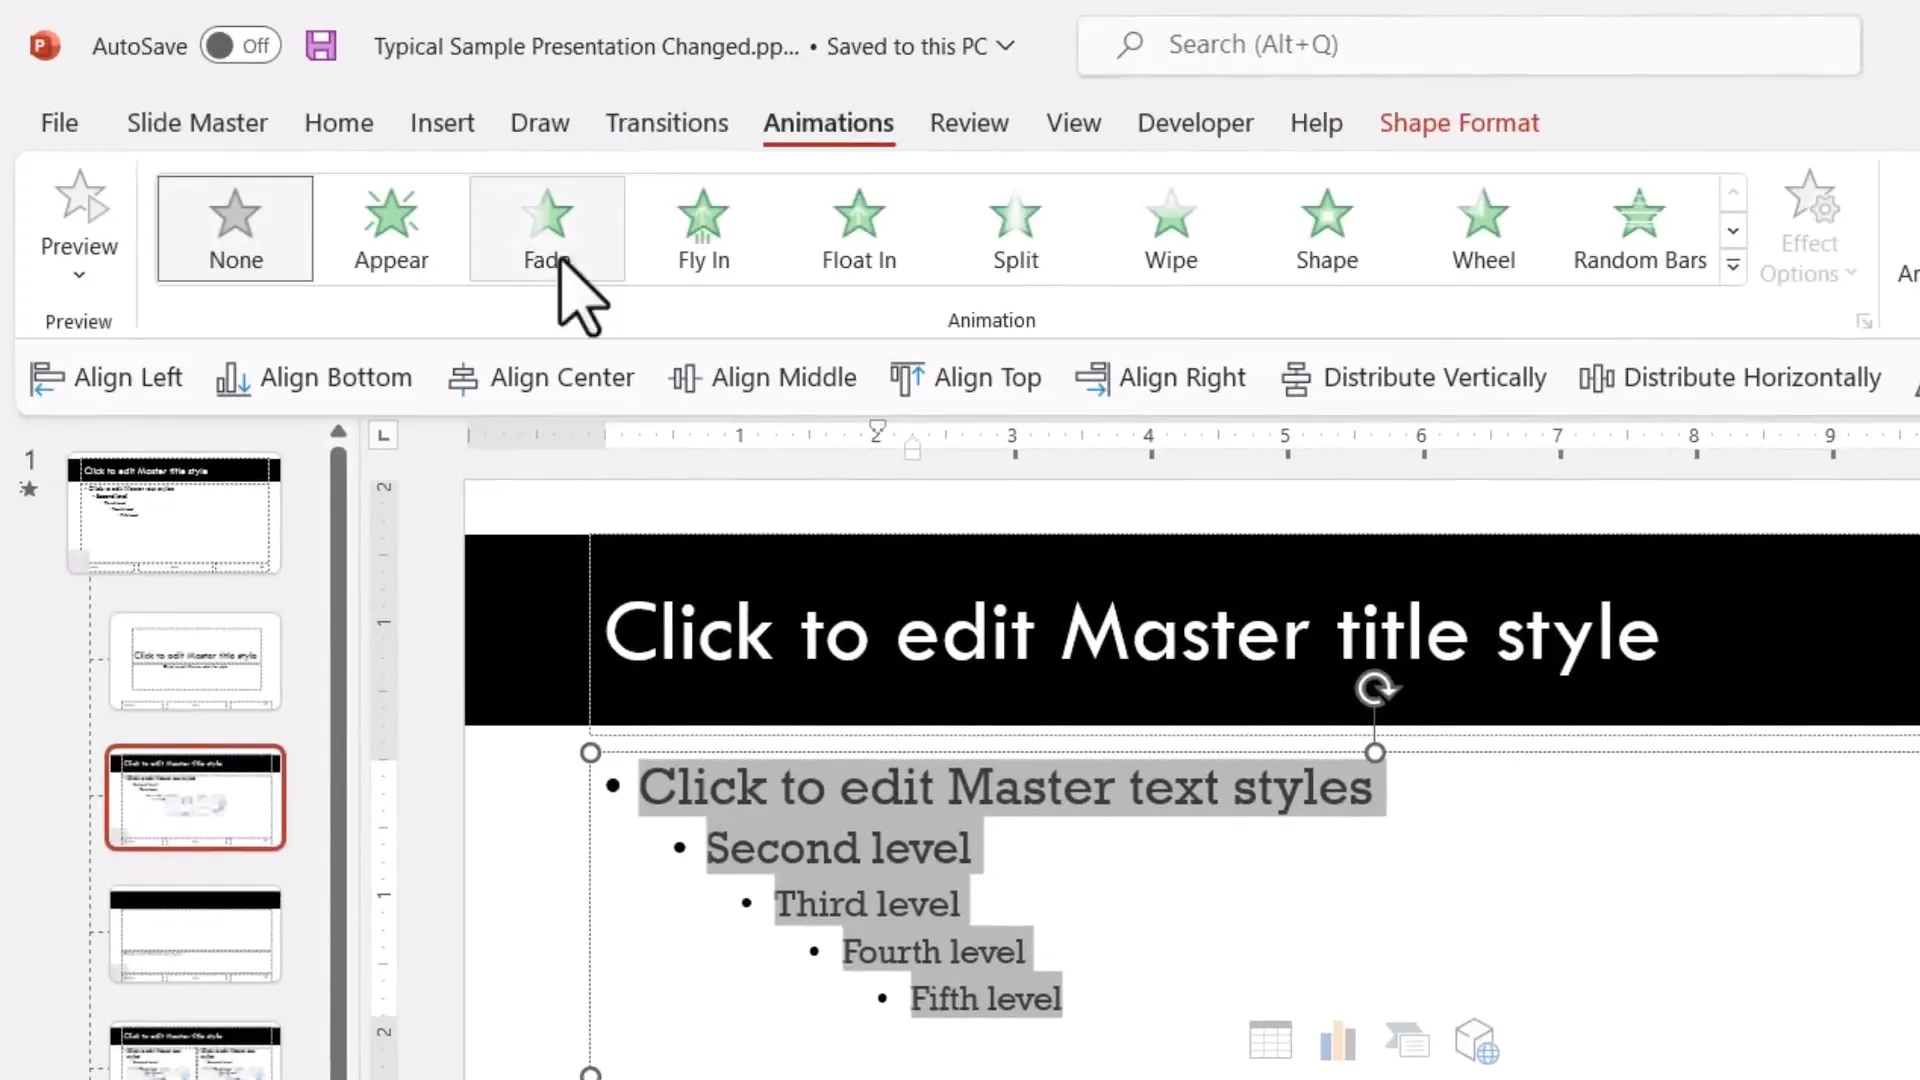
Animating Slide Layouts
You can add animations to specific slide layouts in the Slide Master. For example, you might want bullet points on the Title and Content layout to appear with a fade animation on click.
To do this:
- In Slide Master view, select the specific slide layout (e.g., Title and Content).
- Go to the Animations tab and choose an animation like Fade.
- Set the animation to start On Click.
- Open the Animation Pane, select the effect, and under Effect Options, set the bullets to Dim after animation to a lighter color.
Now, every slide using that layout will have animated bullets that fade in on clicks, with previous bullet points dimming out to keep the audience focused.
Creating Visually Distinct Sections for Multi-Presenter Decks
When multiple people present different sections from the same slide deck, it’s helpful to visually distinguish these sections. You can do this by duplicating the Theme Slide Master and customizing each copy with a different background or color theme.
Steps:
- Enter Slide Master view.
- Right-click on the existing Theme Slide Master and select Duplicate Slide Master.
- Customize the new Theme Slide Master with a different background color or design.
- Close Slide Master view.
- In Normal view, add new slides and assign them to layouts under the new Theme Slide Master.
This way, each presenter’s section has a unique look, making it easy for the audience to follow along and for presenters to identify their slides.

Bonus Tip: Save Your Slide Master as a Template
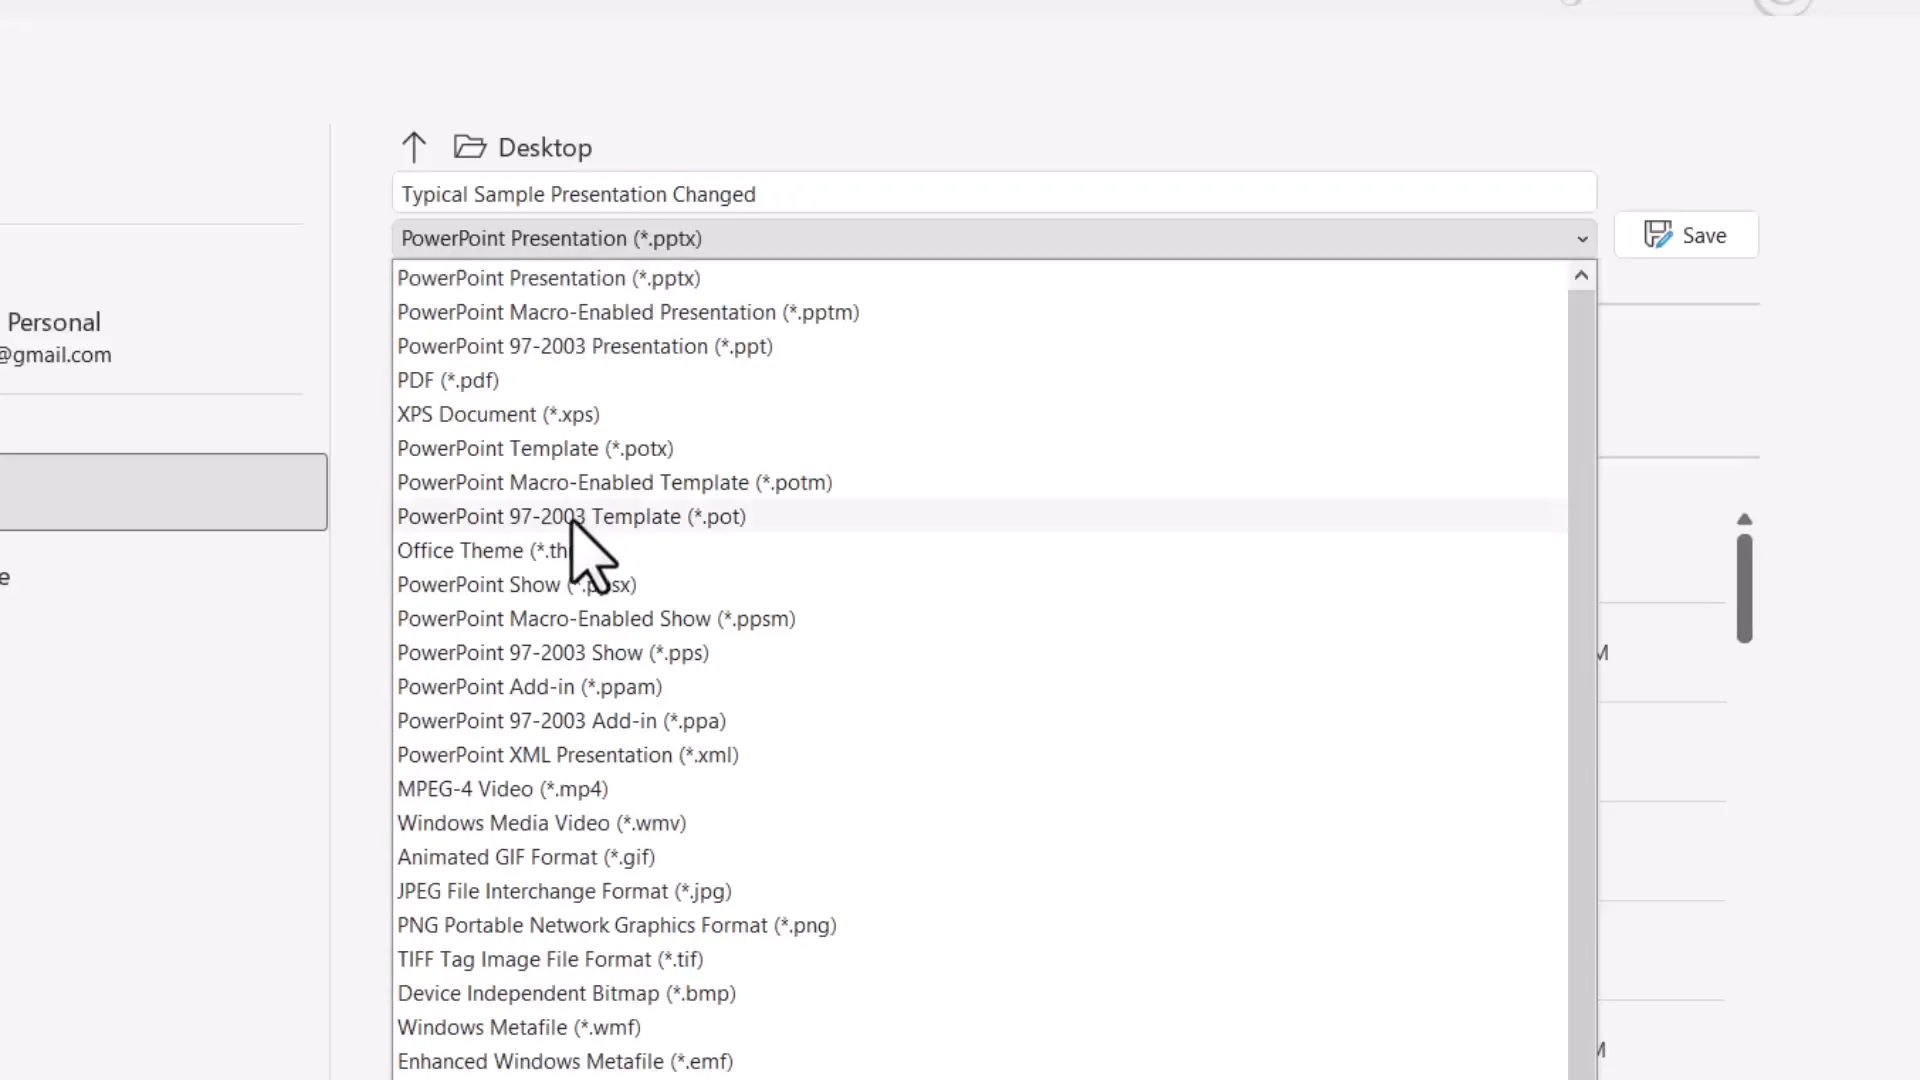
After investing time in designing a great Slide Master, you can save it as a PowerPoint template (.POTX) to reuse in future presentations. This saves time and ensures design consistency across multiple presentations.
To save as a template:
- Go to File > Save As.
- Choose PowerPoint Template (*.potx) as the file type.
- Save it in the default Templates folder.
When starting a new presentation, select Custom > Custom Office Templates and open your saved template. All your Slide Master customizations will be available, ready to use.
Frequently Asked Questions (FAQ)
What is the difference between the Theme Slide Master and Slide Layouts?
The Theme Slide Master controls the overall design elements like colors, fonts, effects, and background for the entire presentation. Slide Layouts are individual templates under the Theme Slide Master that define the arrangement of content for specific slide types. Changes to the Theme Slide Master affect all layouts, but changes to a layout only affect slides using that layout.
How can I add a background image to all slides without increasing the file size?
Insert the background image once on the Theme Slide Master and send it to the back. This way, the image is stored only once in the presentation, avoiding duplication and reducing file size.
Can I apply animations to slide layouts so that every slide using that layout has the animation?
Yes, you can apply animations to placeholders in specific slide layouts within Slide Master view. For example, you can set bullet points to fade in on click for all slides using the Title and Content layout.
How do I remove a design element like a background band from only the title slide?
Go to the Title Slide Layout in Slide Master view and check the Hide Background Graphics option. This hides elements from the Theme Slide Master on the title slide without affecting other slides.
Is it possible to have different sections of a presentation with distinct designs?
Yes. Duplicate the Theme Slide Master and customize each copy with different colors or backgrounds. Then assign slides to layouts under the appropriate Slide Master to visually separate sections.
How do I save my Slide Master customizations for future presentations?
Save your presentation as a PowerPoint Template (.potx) via File > Save As. When creating new presentations, start from your custom template to retain all Slide Master settings.
Conclusion
Mastering the Slide Master in PowerPoint is a game-changer for anyone serious about creating professional, consistent, and visually appealing presentations quickly. From changing fonts and colors to adding backgrounds, logos, slide numbers, footers, and even animations, Slide Master gives you centralized control over your entire slide deck’s design.
By using Slide Master effectively, you avoid repetitive tasks, reduce file size, and create presentations that stand out from the crowd. Whether you’re preparing a simple business update or a multi-presenter conference deck, the Slide Master is your key to efficiency and impact.
If you want to dive deeper into mastering PowerPoint and learn even more creative ideas, consider exploring comprehensive training programs designed for professionals. With the right knowledge and practice, you’ll impress your audience and elevate your presentations to a whole new level.
Check out the full video: All about PowerPoint Slide Master [Basic to Advanced]


