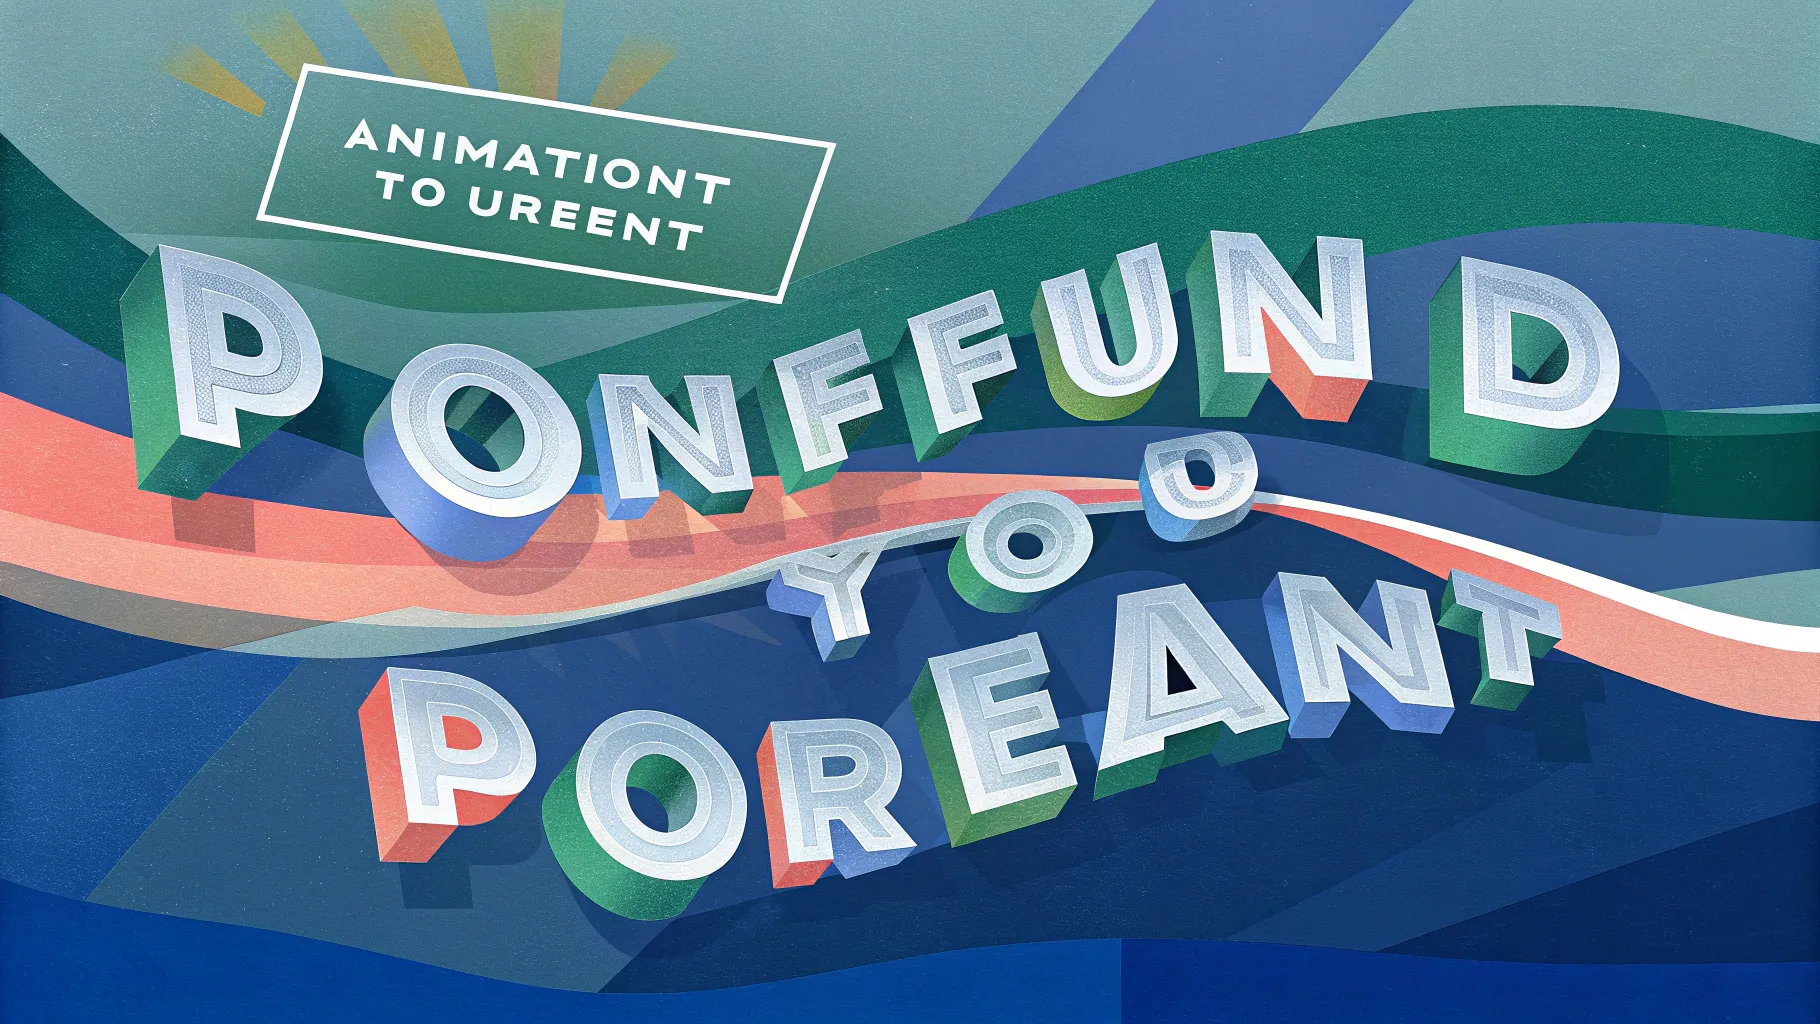
If you’re looking to elevate your PowerPoint presentations with eye-catching animations, you’re in the right place. In this detailed guide, we’ll explore how to create the incredible text slice effect animation in PowerPoint, a sleek and modern animation style that can make your slides truly stand out. Whether you’re a beginner or an experienced user, this tutorial will walk you through each step to master this powerful animation technique.
This tutorial is inspired by the expert tips shared by One Skill PPT, a renowned PowerPoint animation creator, who breaks down the process in an easy-to-follow video. We’ll cover everything from setting up your background to slicing text and animating each piece perfectly. Let’s dive in and unlock the potential of PowerPoint Animation for your next presentation!
Table of Contents
- Setting Up the Slide Background
- Creating and Positioning Your Text
- Slicing the Text Using Shapes
- Adding the Text Slice Animation
- Fine-Tuning the Animation Effects
- Extending the Effect to Multiple Text Boxes
- Frequently Asked Questions About PowerPoint Animation
- Conclusion
Setting Up the Slide Background
The first step to creating a professional-looking text slice animation is to set up an appealing slide background that complements the effect. Here’s how to do it:
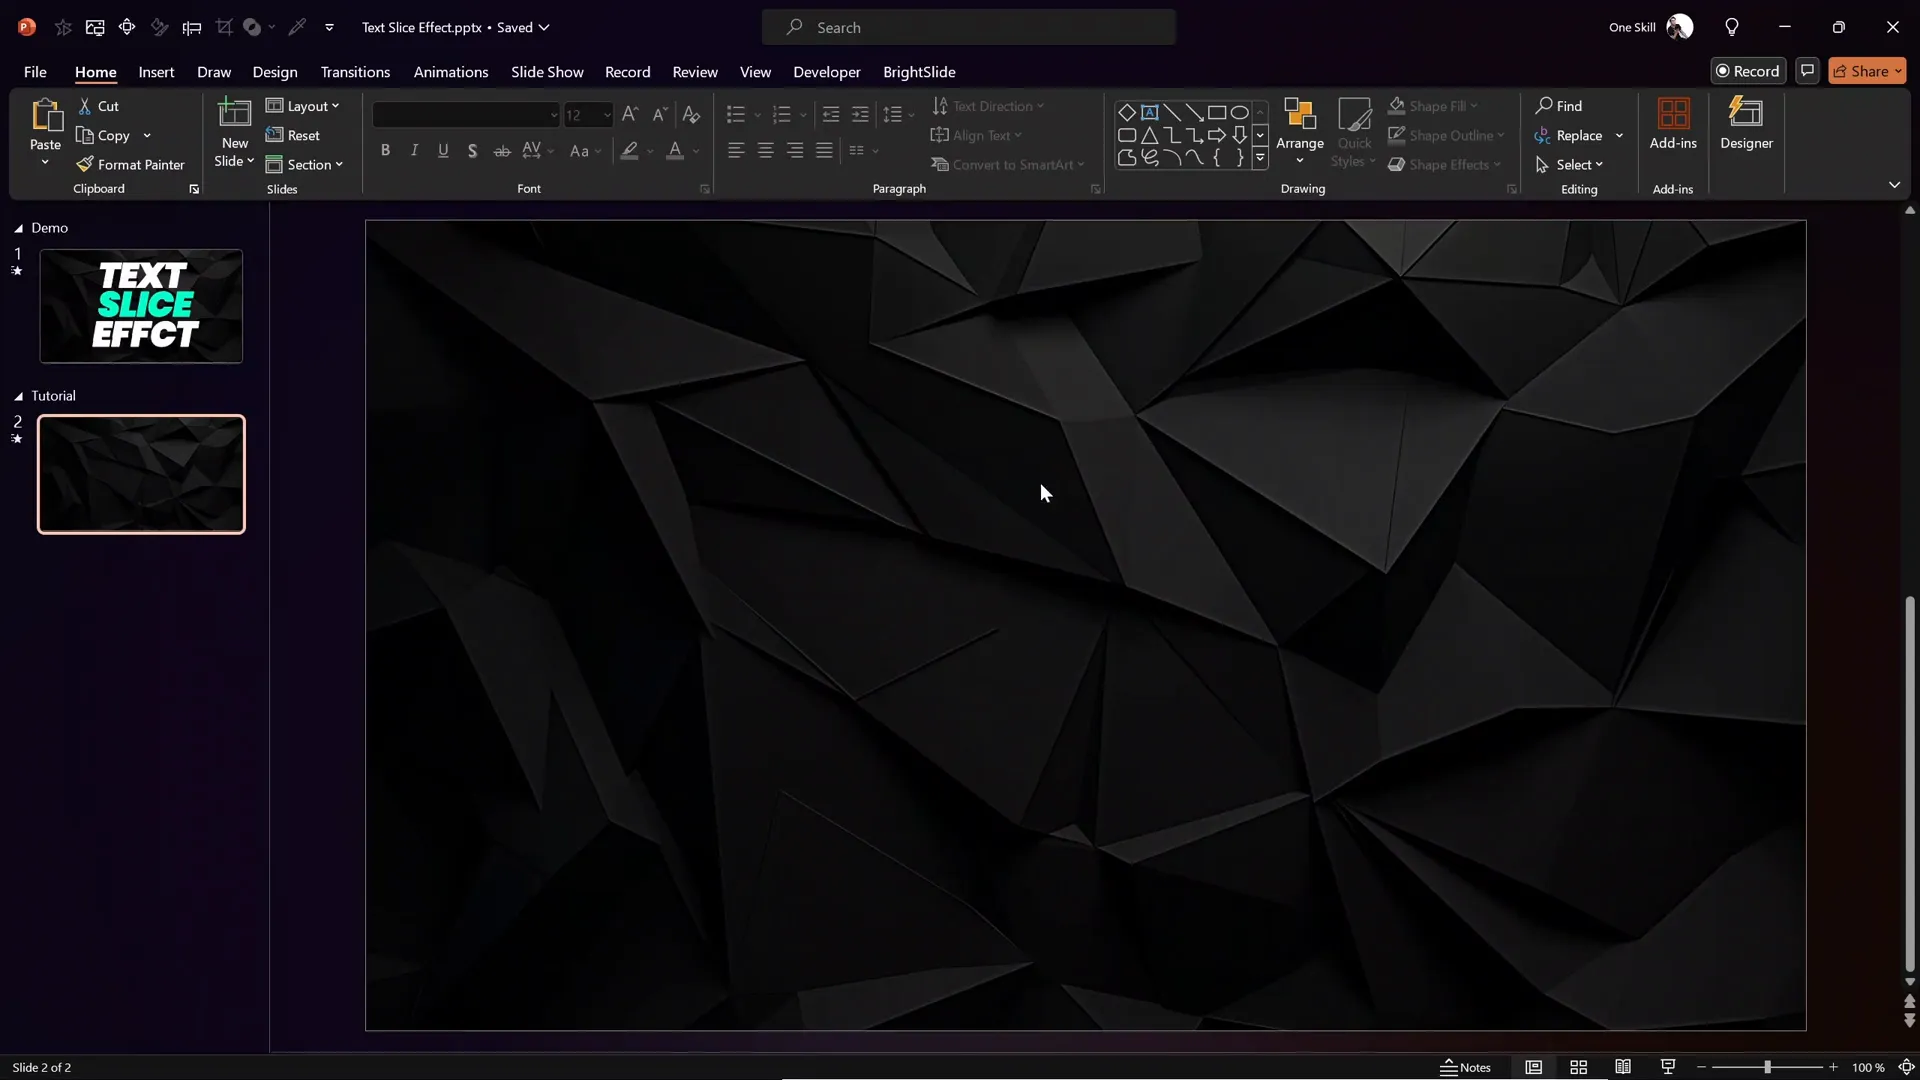
- Choose a Textured Background Image: Select a high-quality, dark photo texture to serve as the background. In the tutorial, the creator uses a dark photo from Freepik, which adds depth and sophistication to the slide.
- Insert the Background in Slide Master View: To keep the background consistent and prevent accidental selection, place the photo in the Slide Master view:
- Go to the View tab and select Slide Master.
- Insert the photo on the slide layout you intend to use.
- Adjust the photo’s position as needed.
- Close the Slide Master view to return to normal editing.
This approach locks the background image so it cannot be selected or moved accidentally during normal slide editing, ensuring a clean workspace.
Why Use Slide Master for Backgrounds?
Using the Slide Master for backgrounds is a best practice because it:
- Keeps your slide design consistent throughout the presentation.
- Prevents accidental edits or movement of the background image.
- Makes it easier to update the background globally if needed.
Creating and Positioning Your Text
With the background set, the next step is to add the text that will be sliced and animated.
- Insert a Text Box: Start simple by inserting a single text box:
- Go to the Insert tab and select Text Box.
- Click on the slide and type your desired text, for example, the word “Text”.
- Center the Text Box: Position the text box centrally on the slide for a balanced look.
- Choose Font and Size: Select a bold, clear font and adjust the font size for maximum impact. In the tutorial, the font used is Poppins (available on Google Fonts), which is modern and readable.

Tips for Effective Text Design
- Use a sans-serif font like Poppins for clarity and modern appeal.
- Ensure the font size is large enough to be visible from a distance.
- Keep the text concise to maintain focus on the animation.
Slicing the Text Using Shapes
The core of the text slice effect is dividing the text into parts using shapes and then animating them separately. Here’s a step-by-step breakdown:
- Insert a Rectangle Shape:
- Go to the Insert tab and select Shapes, then choose the rectangle.
- Draw a rectangle over the text box area where you want to slice.
- Adjust Rectangle Transparency:
- Right-click the rectangle and select Format Shape.
- Under Fill, increase transparency so you can see the text underneath.
- Rotate the Rectangle: Rotate the rectangle slightly (e.g., -10 degrees) to create a diagonal slicing edge.
- Position the Rectangle: Move the semi-transparent rectangle to the desired slice position over the text.

Duplicating the Slide for Slicing Parts
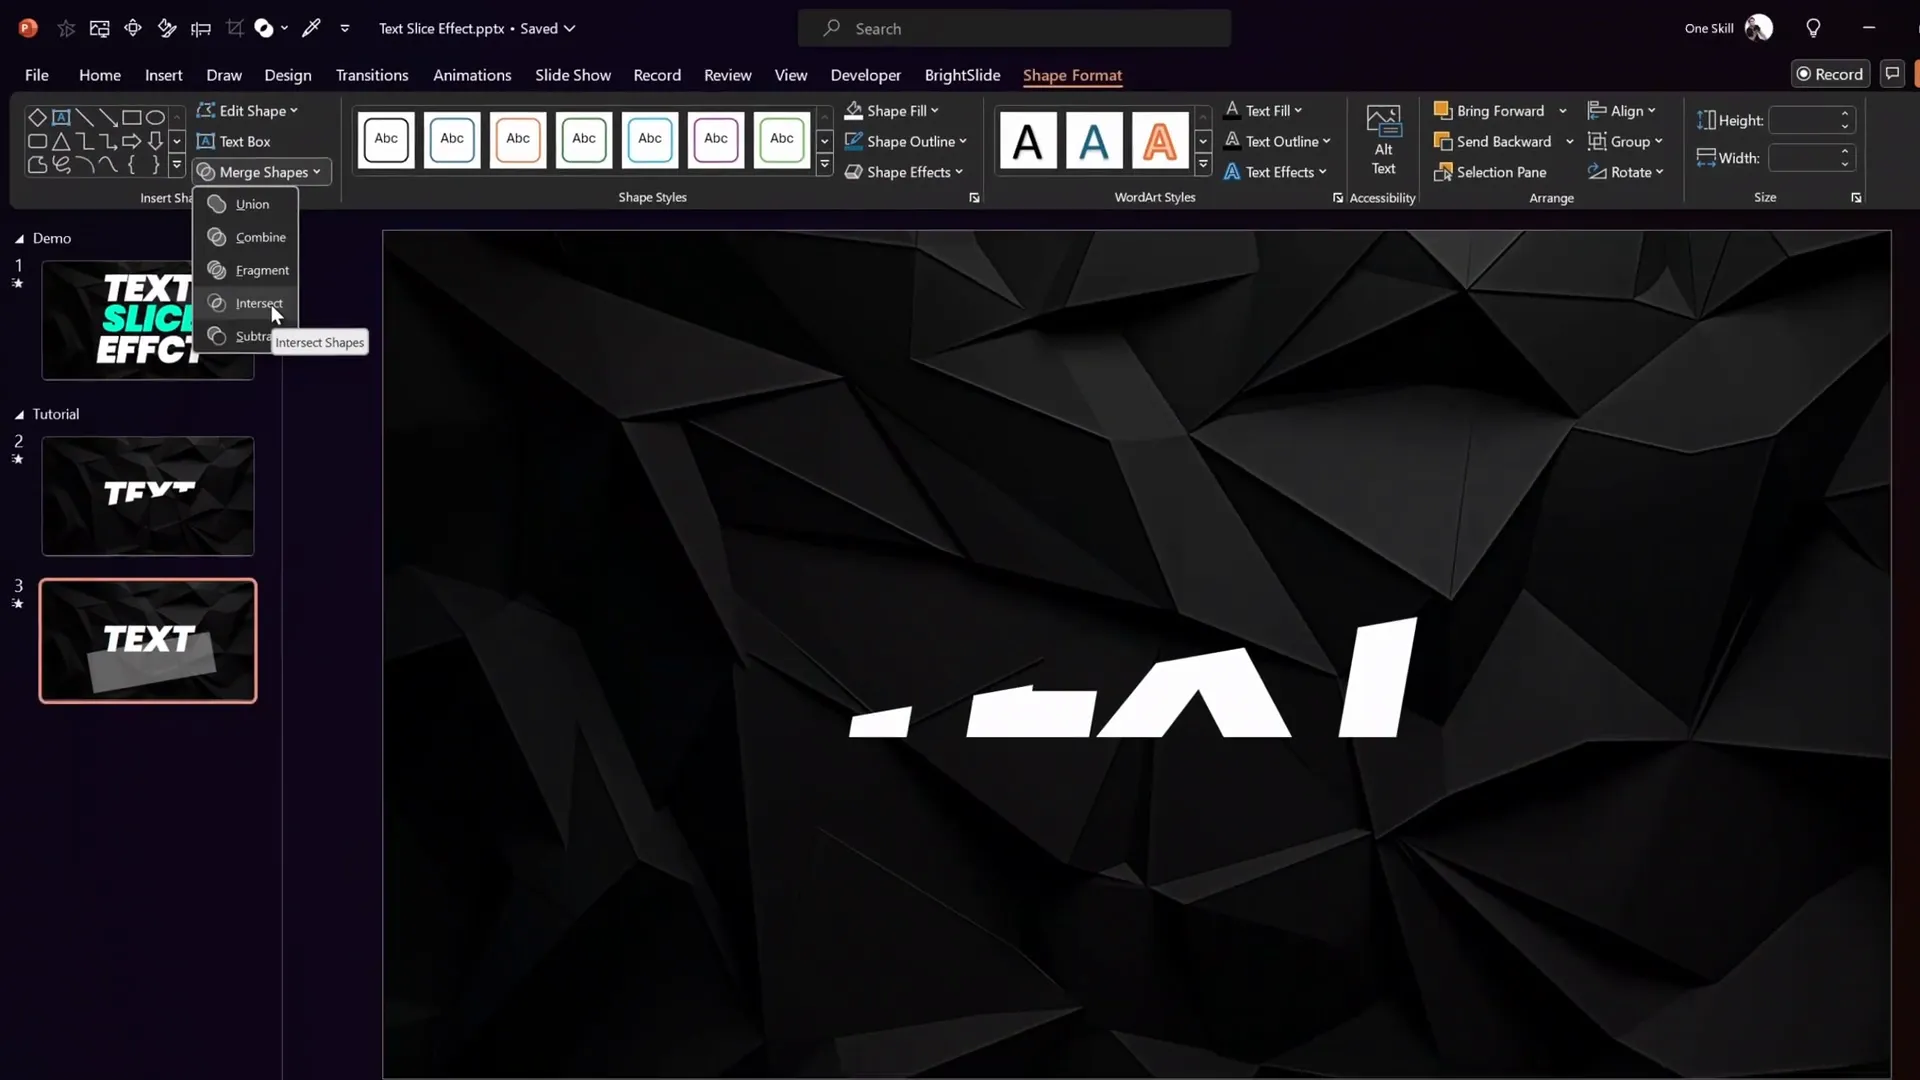
To create separate slices, duplicate the slide and use PowerPoint’s Merge Shapes tool:
- Duplicate the Slide: Right-click the slide thumbnail and choose Duplicate Slide.
- Select Text and Rectangle: Hold Shift and click both the text box and the rectangle.
- Use Merge Shapes – Subtract: Under the Shape Format tab, select Merge Shapes and choose Subtract. This extracts the top part of the text.
- On the Duplicate Slide: Select the text and rectangle again.
- Use Merge Shapes – Intersect: Choose Intersect to get the bottom part of the text slice.
- Cut and Paste Bottom Part: Cut the bottom part and paste it into the original slide with the top part.
- Delete the Empty Slide: Remove the duplicated slide used for slicing.
Adding White Outline to Sliced Text Parts
After slicing, a slight edge may appear between the two parts. To unify the appearance:
- Select both sliced text parts.
- Apply a thin white outline to each part to mask the dividing edge.
This creates the illusion of a single text box while maintaining individual parts for animation.
Adding the Text Slice Animation
Now for the exciting part—animating the sliced text to create the dynamic text slice effect.
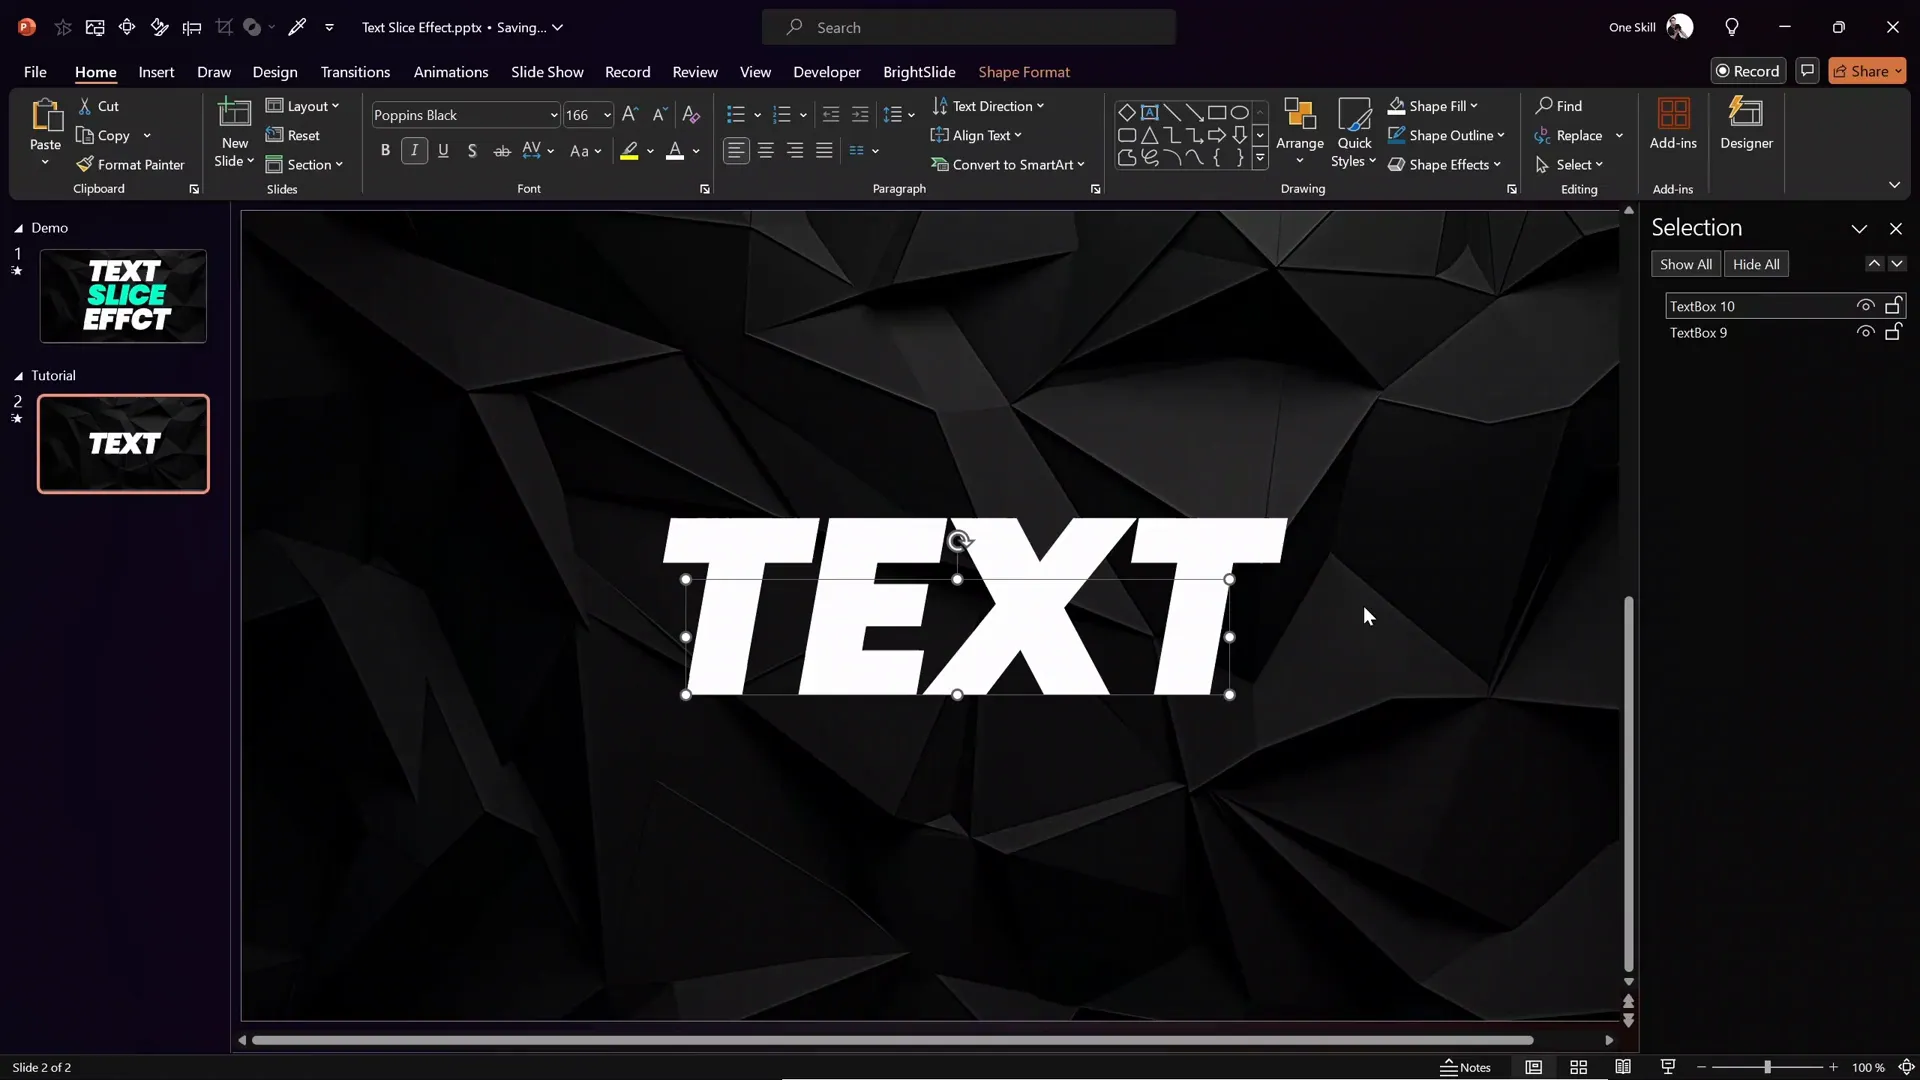
Step 1: Naming the Text Parts
Open the Selection Pane (Home > Select > Selection Pane) and rename the two text parts for easier management, e.g., “Top Text” and “Bottom Text.”
Step 2: Adjusting Transparency to Visualize Slice Angle
Temporarily reduce the fill transparency of the top text part to better see the slice angle. This will help align additional shapes and animations.
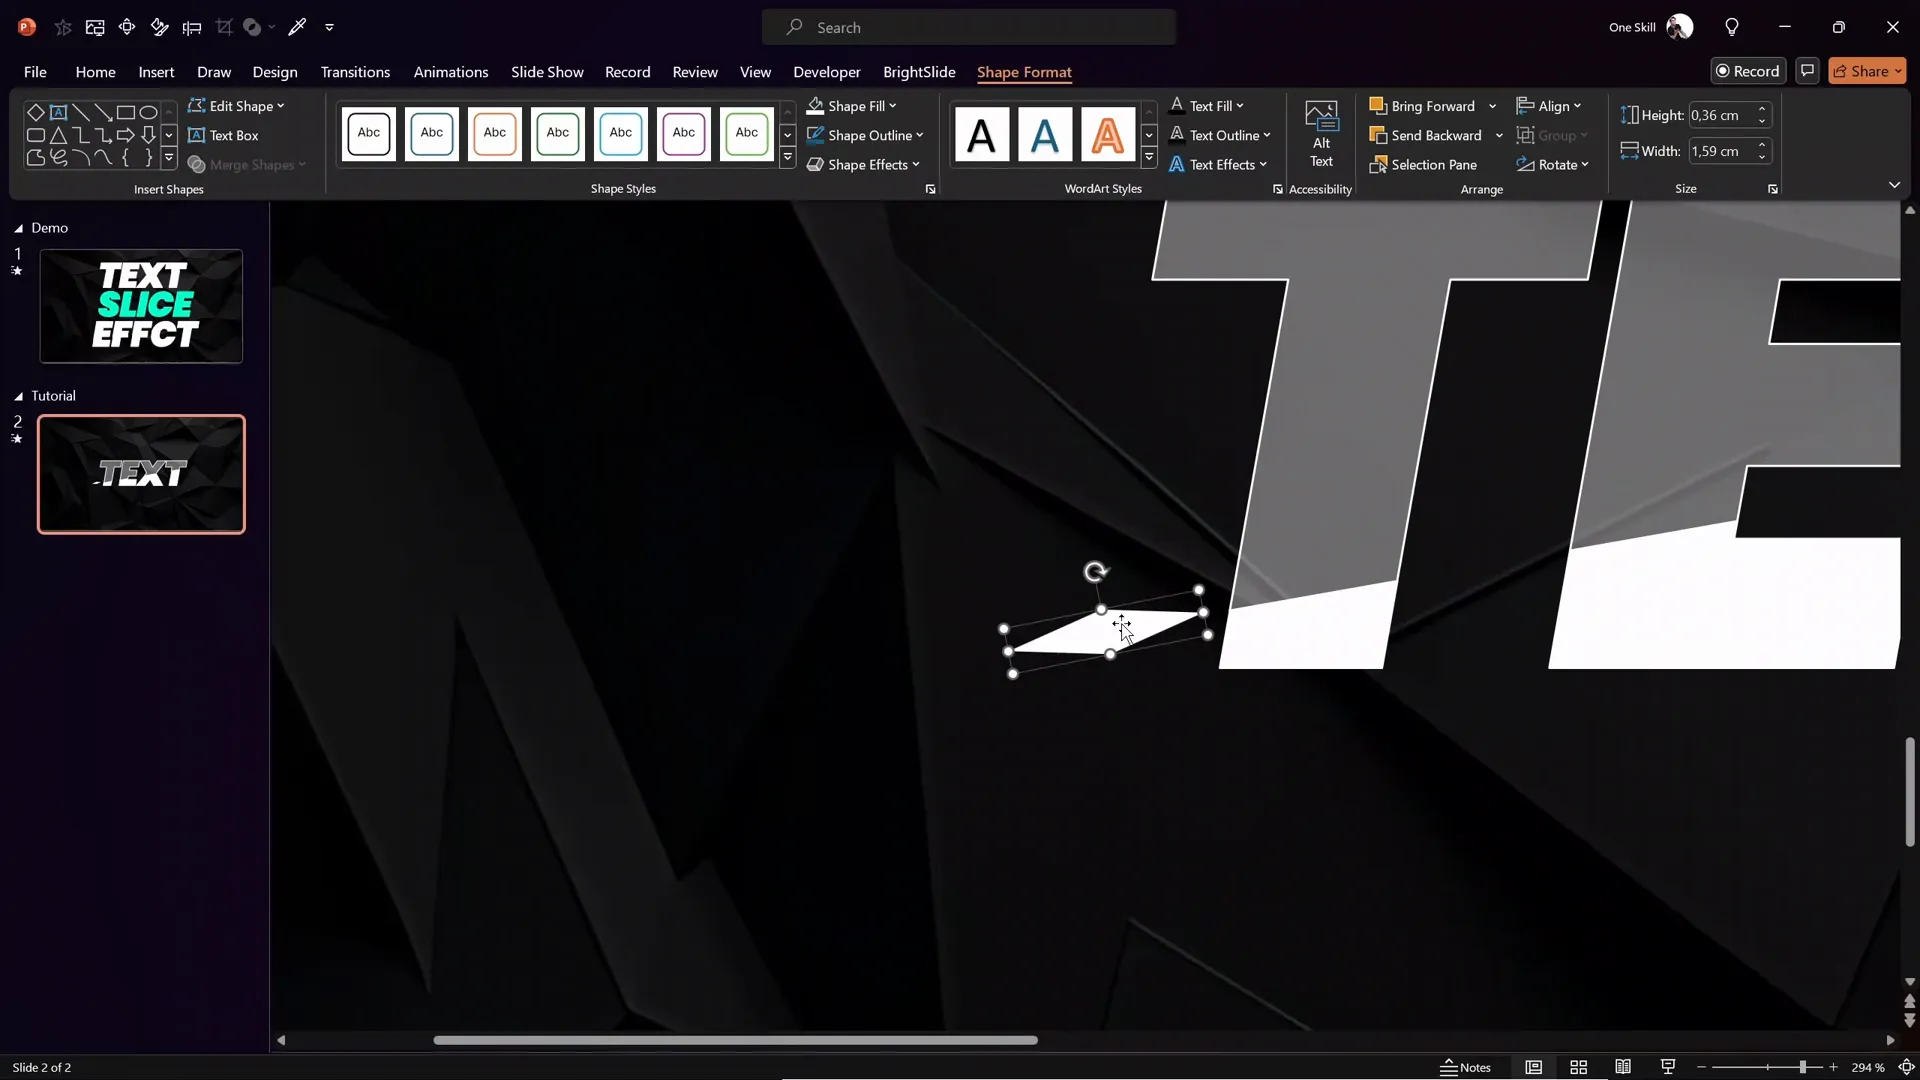
Step 3: Adding the Diamond Shape for Slice Accent
- Insert a small diamond shape (Insert > Shapes > Diamond).
- Resize and squish the diamond to a slim, wide shape.
- Rotate the diamond to match the slice angle (same as rectangle rotation, e.g., -10 degrees).
- Position the diamond near a letter in the text (e.g., near “T”) to accentuate the slice.
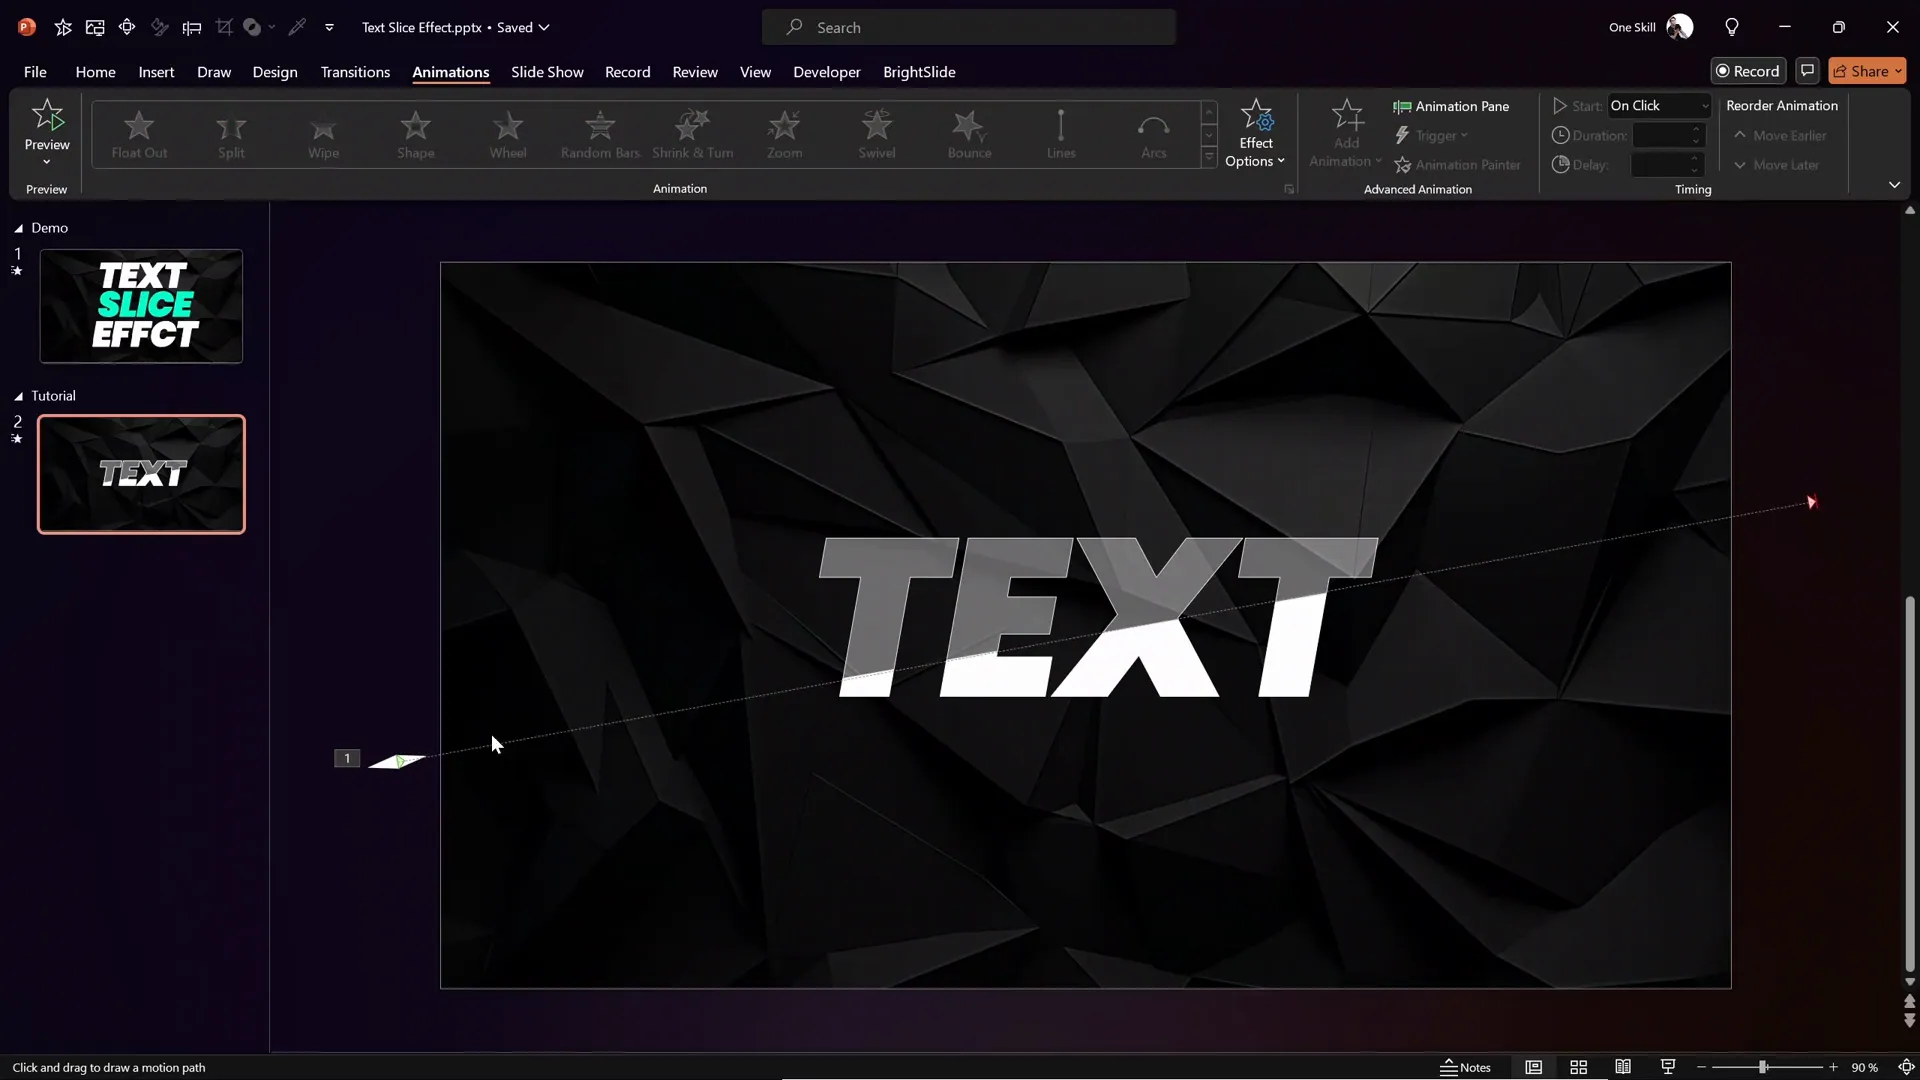
Step 4: Animating the Diamond Shape
- Select the diamond shape and go to the Animations tab.
- Choose a Motion Path animation, specifically the Right motion path.
- Adjust the end point of the motion path so the diamond moves outside the slide boundary on the right, maintaining the slice angle.
- Use arrow keys for fine-tuning the diamond’s position.
- Set the animation duration to a quick 0.5 seconds.
- Enable smooth start and smooth end in animation options for a polished effect.
Step 5: Animating the Top Text Slice
- Select the top text part.
- Add a motion path animation similar to the diamond shape, moving it slightly upward and to the right.
- Set the animation to start With Previous for smooth sequencing.
- Set duration to 0.5 seconds and add a 0.25-second delay for a staggered effect.
- Restore the white fill of the top text part after animation.
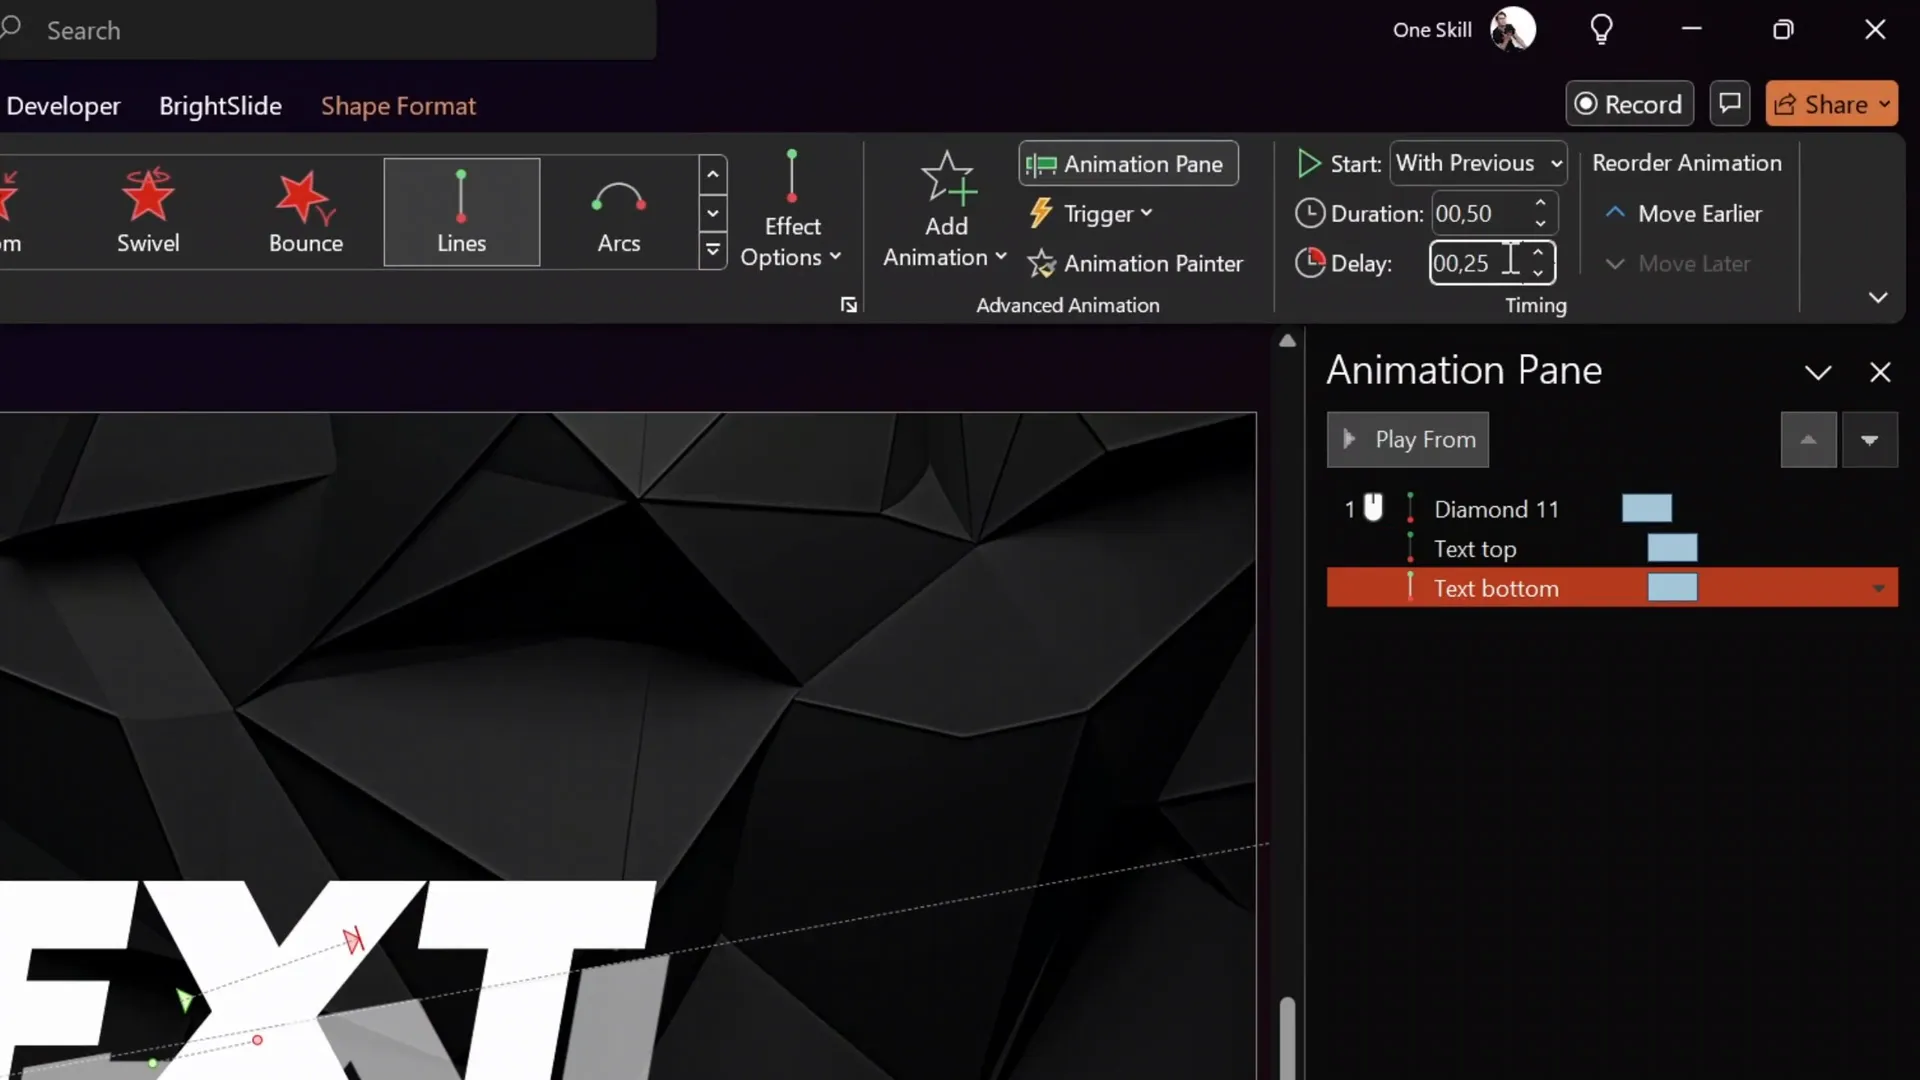
Step 6: Animating the Bottom Text Slice
- Copy the top text animation to the bottom text part using the Animation Painter.
- Shorten the motion path slightly to create visual variation.
- Set the animation delay to 0.4 seconds so it triggers last.
Fine-Tuning the Animation Effects
Getting the timing and smoothness of animations right is crucial for a professional look. Here are some tips:
- Use Animation Pane: Open the Animation Pane to view and adjust the sequence and timing of all animations.
- Adjust Delays: Stagger the delays slightly between the diamond shape and the two text parts to create a waterfall effect.
- Match Angles: Fine-tune the rotation and position of shapes to ensure the slice angle looks consistent.
- Preview Frequently: Use the preview feature to test the animation and make adjustments as needed.
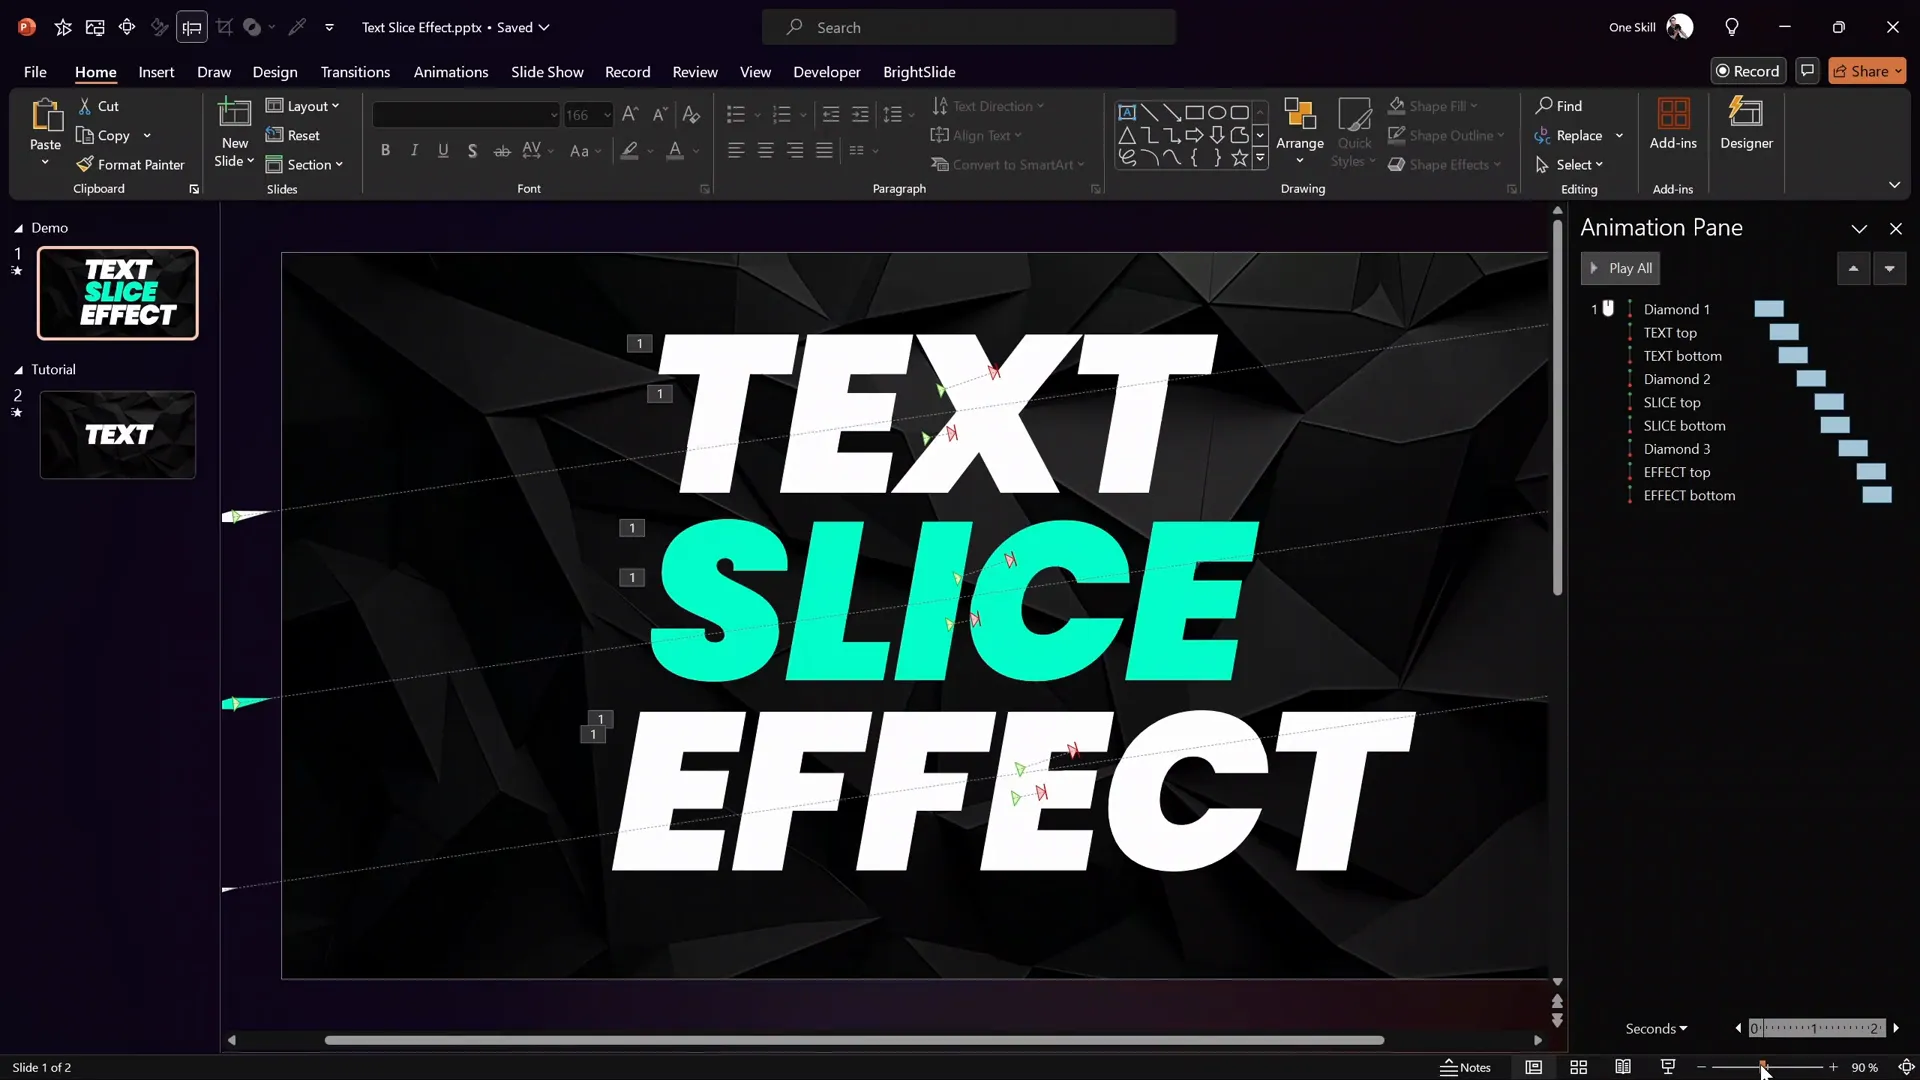
Extending the Effect to Multiple Text Boxes
Once you’ve mastered the slicing and animating of a single text box, you can easily extend this effect to multiple text boxes on the same slide:
- Repeat the slicing process for each text box.
- Add corresponding diamond shapes for each slice.
- Apply motion path animations with staggered delays to create a cascading waterfall effect.
In the example slide, three text boxes and three diamond shapes are animated with half-second durations and carefully timed delays, producing a visually appealing and cohesive animation sequence.
Frequently Asked Questions About PowerPoint Animation
1. What version of PowerPoint do I need to create the text slice effect?
The text slice effect uses features like Merge Shapes and Motion Path animations, which are available in PowerPoint 2013 and later versions for Windows and Mac. Ensure your version supports these tools.
2. Can I use any font for the text slice effect?
Yes, but it’s best to use bold, sans-serif fonts like Poppins or Arial for clarity and impact. Thin or script fonts may not slice cleanly or be as legible when animated.
3. How do I prevent the background image from being accidentally selected?
Place the background image in the Slide Master view. This locks it in place and makes it unselectable during normal editing, reducing the risk of accidental moves or edits.
4. Can I customize the slice angle?
Absolutely. The slice angle is controlled by the rotation of the rectangle shape used for slicing. You can adjust this angle to any degree to suit your design preference.
5. Is it possible to add more than two slices to the text?
Yes, by duplicating the slicing process with multiple rectangles and using Merge Shapes with different combinations, you can create multiple slices for more complex animations.
6. How do I make the animation smoother?
Use the Smooth Start and Smooth End options in the motion path animation settings. Also, fine-tune the duration and delay to get the desired pacing.
7. Can I use this effect for large blocks of text?
The effect works best with short, impactful text or headings. Large blocks of text may become cluttered and harder to animate cleanly.
8. How do I save and reuse this animation?
You can save the slide as a template or copy the animated text boxes and paste them into other presentations. Alternatively, save the entire presentation as a template for future use.
Conclusion
Mastering the PowerPoint Animation text slice effect is a fantastic way to add a modern, dynamic flair to your presentations. By carefully slicing the text, adding accent shapes, and applying motion path animations with precise timing, you create a professional and engaging slide that captures attention.
This tutorial from One Skill PPT provides a clear, step-by-step approach that anyone can follow, whether you’re a beginner or looking to refine your animation skills. Remember, practice makes perfect—experiment with different fonts, slice angles, and animation timings to find the style that best fits your presentation’s message.
Don’t forget to explore other PowerPoint Animation techniques and templates to keep your presentations fresh and captivating. With these skills, you’ll be well on your way to delivering presentations that wow your audience every time.
Happy animating!


