
If you’re looking to elevate your PowerPoint slide design skills and create engaging, clickable, and animated slides that captivate your audience, you’re in the right place. In this detailed guide, we’ll walk you through the step-by-step process of designing an interactive and visually appealing PowerPoint slide featuring clickable items on a photo that pop out with smooth animations.
This tutorial is inspired by the expert guidance of One Skill PPT, who shares how to build an interactive slide design using Microsoft PowerPoint 365. Whether you want to use the same photo or customize your own, this guide covers everything—from setting up gradient backgrounds to cutting out photo elements and applying morph transitions for stunning effects.
Table of Contents
- Getting Started: Setting Up Your Slide
- Adding Photos and Text Elements
- Cutting Out Photo Elements for Animation
- Positioning and Color Matching Cutouts
- Making Elements Clickable with Hyperlinks
- Using Morph Transition for Smooth Animation
- Final Adjustments and Testing Your Slide
- Frequently Asked Questions
- Conclusion
Getting Started: Setting Up Your Slide
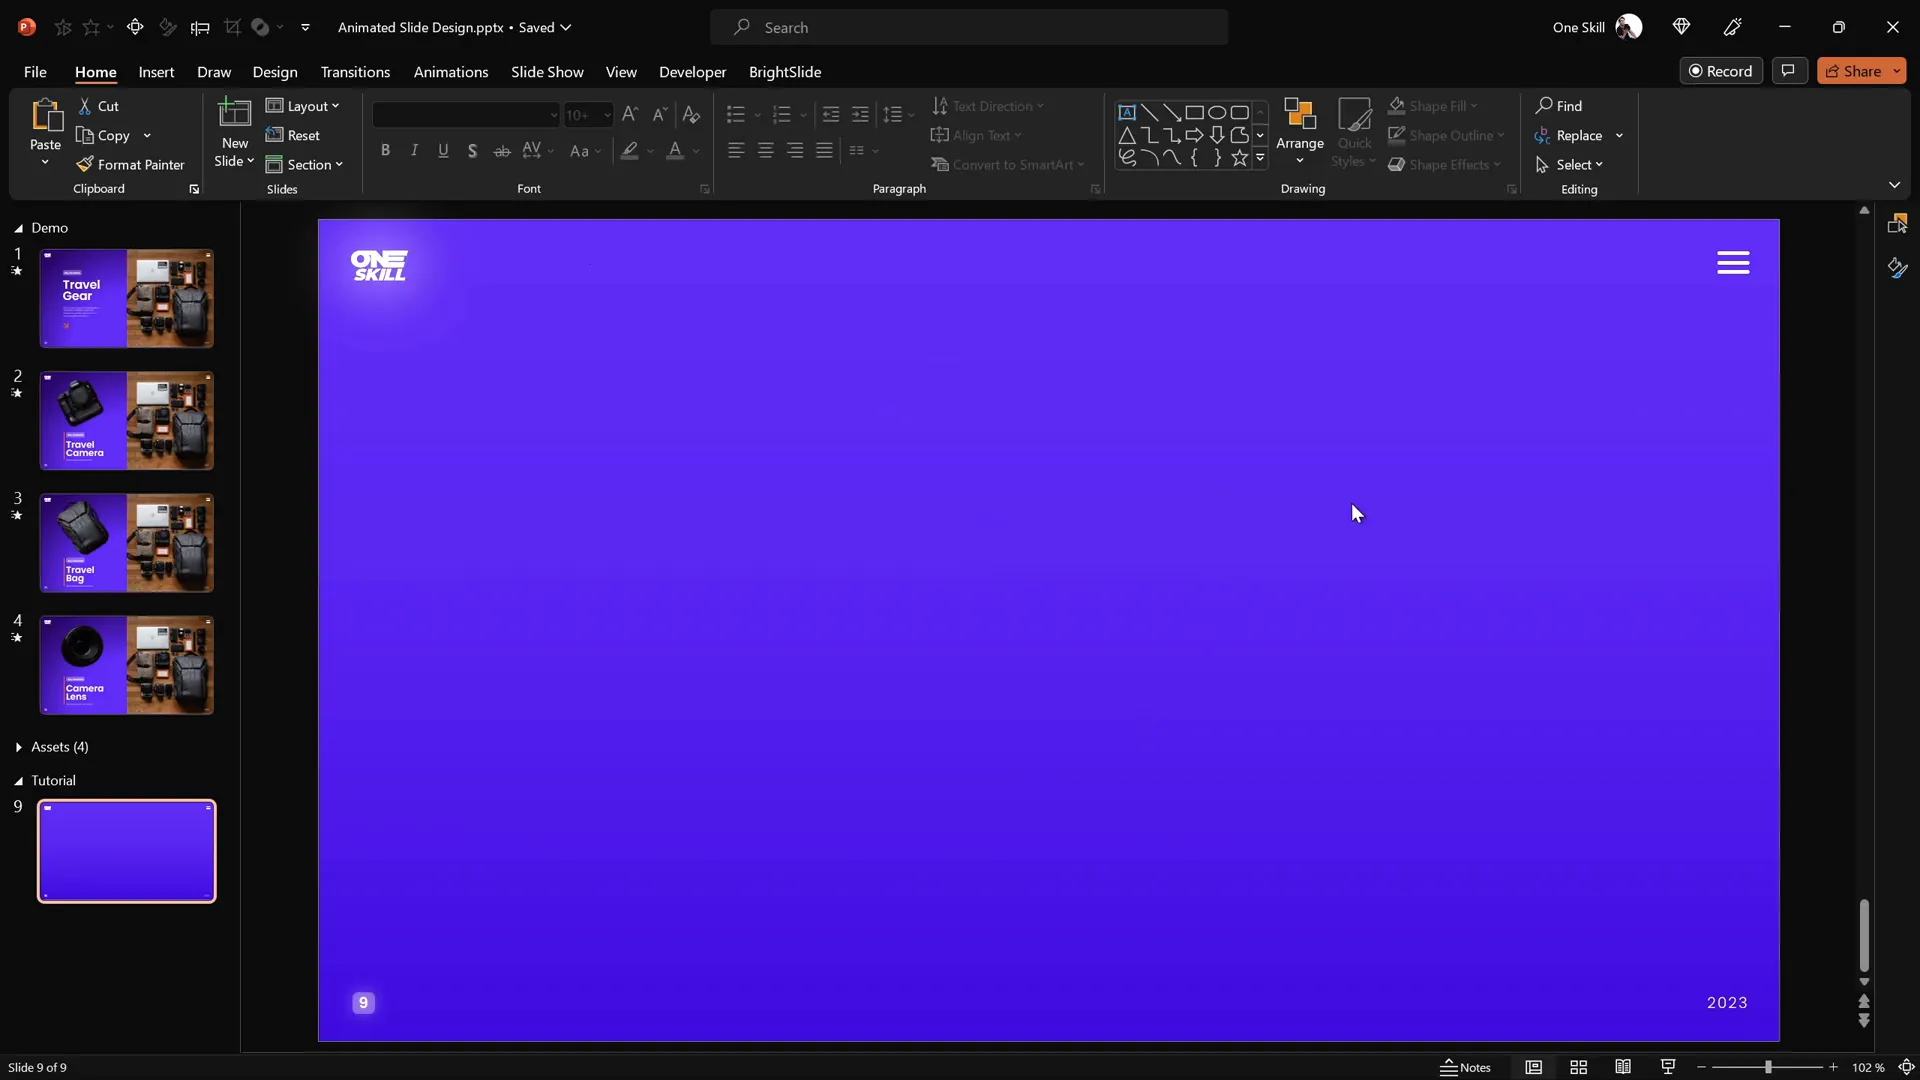
The foundation of any great PowerPoint slide design is a clean, visually appealing background that complements your content without overpowering it. Let’s begin by creating a gradient background and adding a subtle shape to serve as a container for your clickable items.
Create a Gradient Background
Start with a blank slide in Microsoft PowerPoint 365 and apply a linear gradient fill to the slide background. Use two color stops for a smooth and elegant effect:
| Color Stop | Hex Code | Description |
|---|---|---|
| First Color Stop | #5B7B8A | A calm, muted blue-gray shade |
| Second Color Stop | #8EAEB8 | A soft, light blue tone |
Set the gradient direction to linear to achieve a subtle blend across the slide.
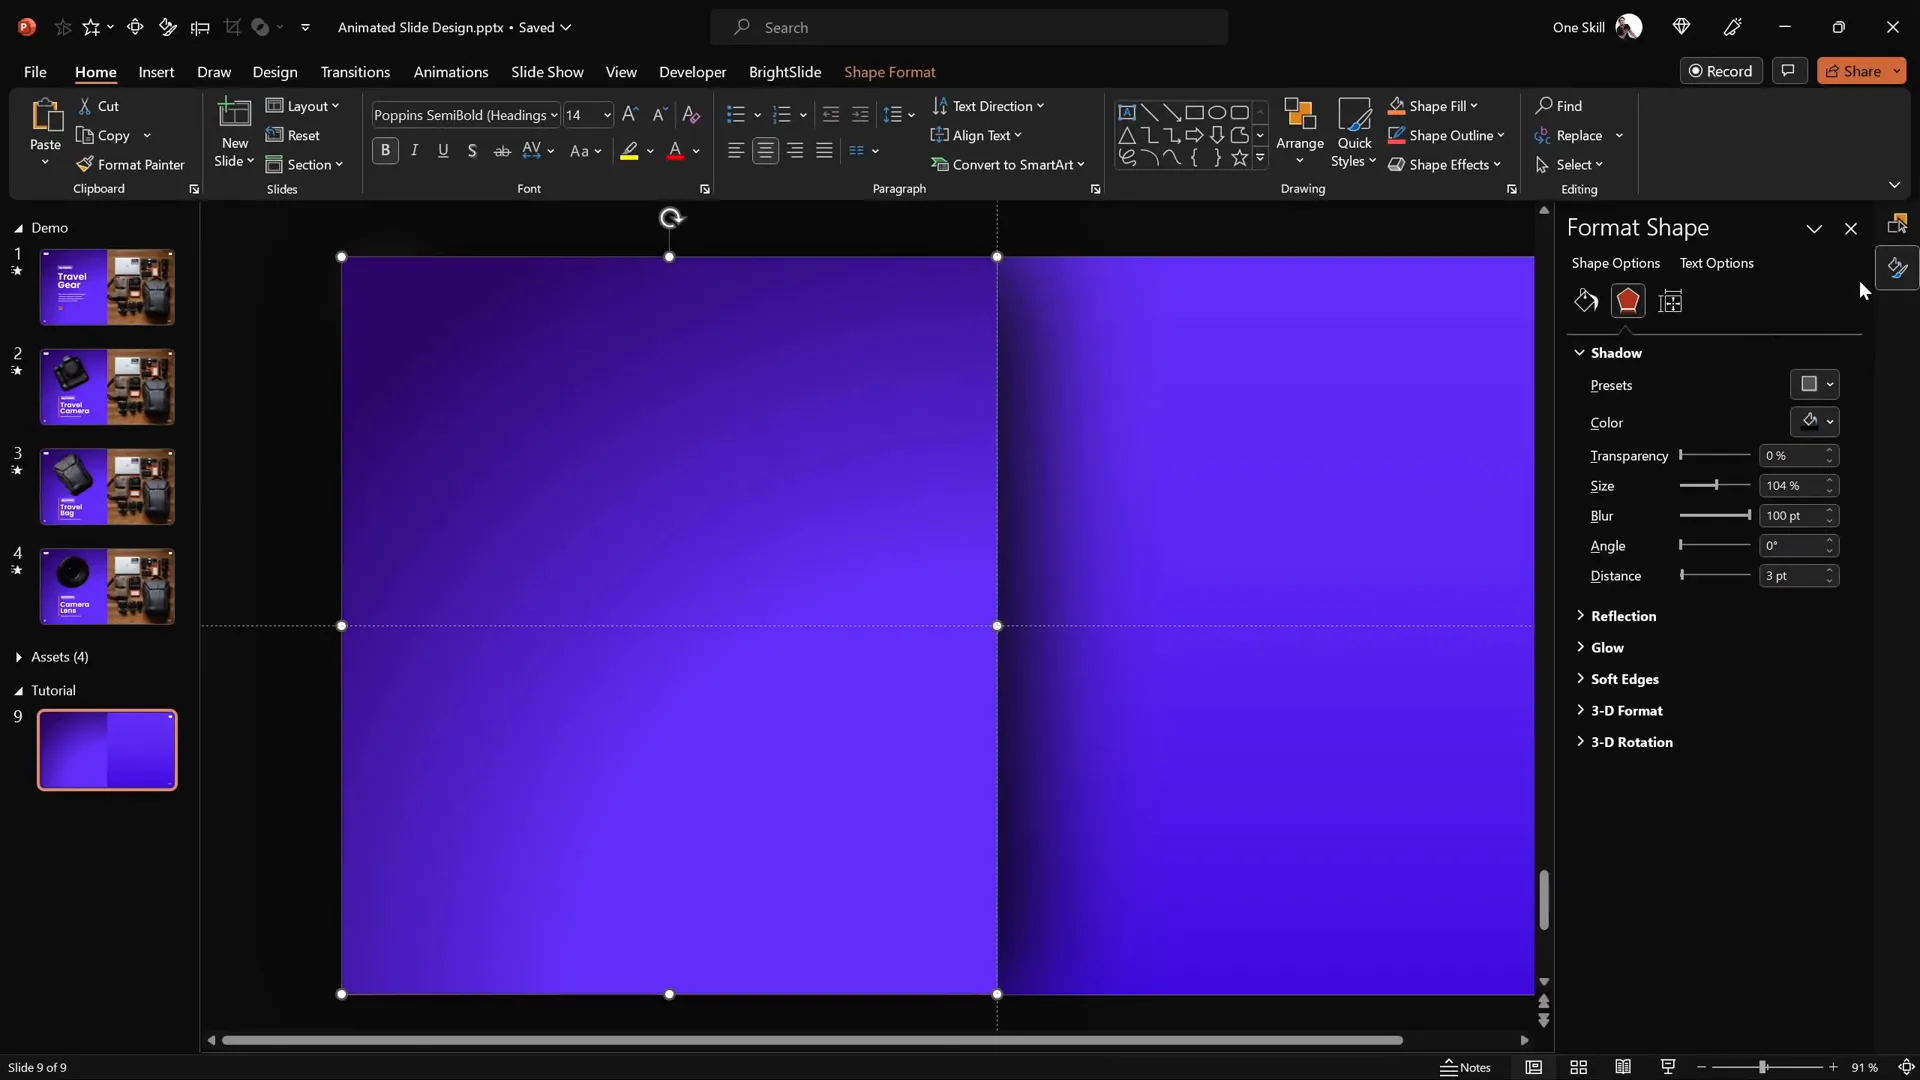
Add a Subtle Rectangle Shape
Next, insert a large rectangle shape that covers the left half of the slide. This shape will serve as a background for your text and clickable items. To make it visually appealing, apply a gradient fill similar to the slide background but with a softer appearance.
- Insert → Shapes → Rectangle
- Draw to cover the left half of the slide
- Apply a subtle gradient fill with two color stops:
| Color Stop | Hex Code | Effect |
|---|---|---|
| First Color Stop | #3E5360 | Darker subtle blue-gray |
| Second Color Stop | #607680 | Lighter soft blue |
Add a soft shadow on the right side of the rectangle to help it pop out from the background. This shadow enhances depth and visual interest.
Adding Photos and Text Elements
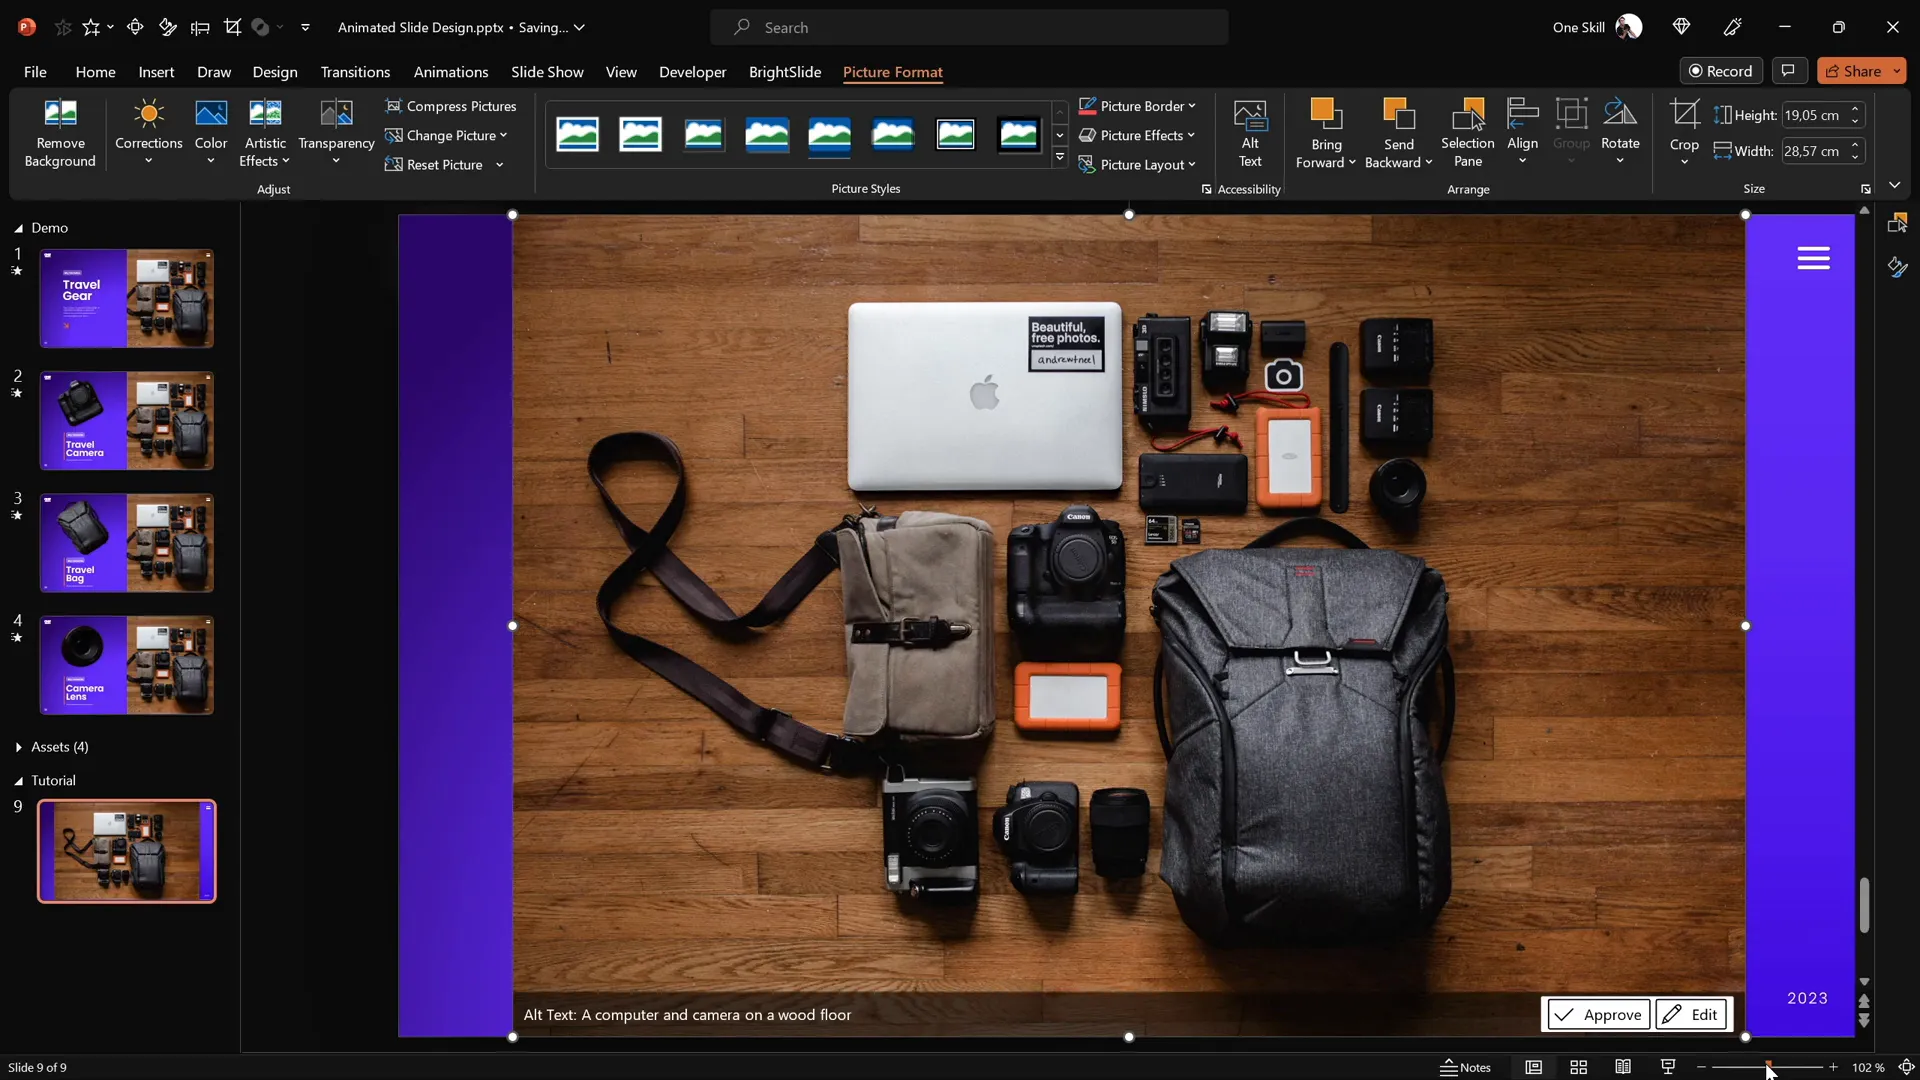
Insert and Crop the Photo
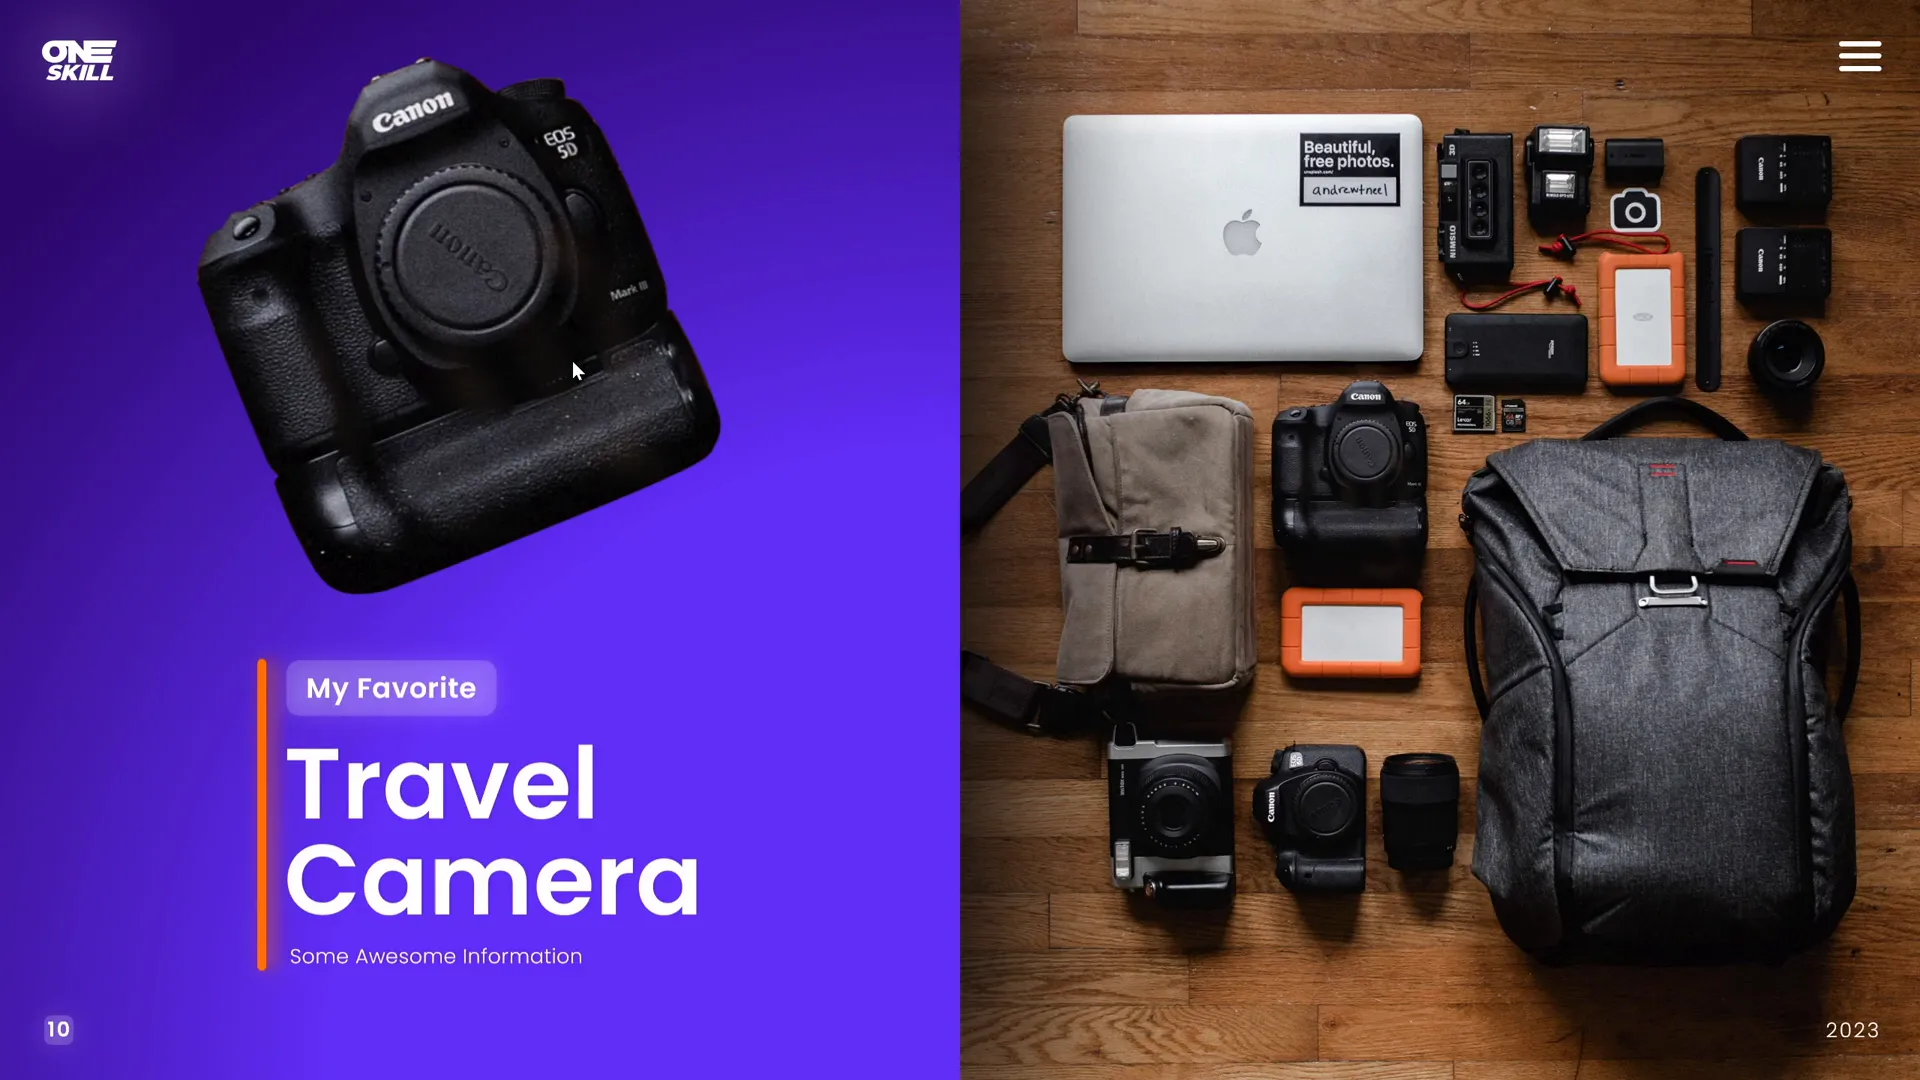
Now it’s time to bring in a beautiful photo that will be the centerpiece of your slide design. You can use any photo you like, but for this tutorial, we’ll use a stunning travel-themed image from Unsplash.
- Insert → Pictures → This Device
- Select your photo and insert it
- Position the photo on the right side of the slide
- Send the photo to the back so the rectangle remains visible on the left
- Crop the right edge of the photo to fit within the slide boundaries
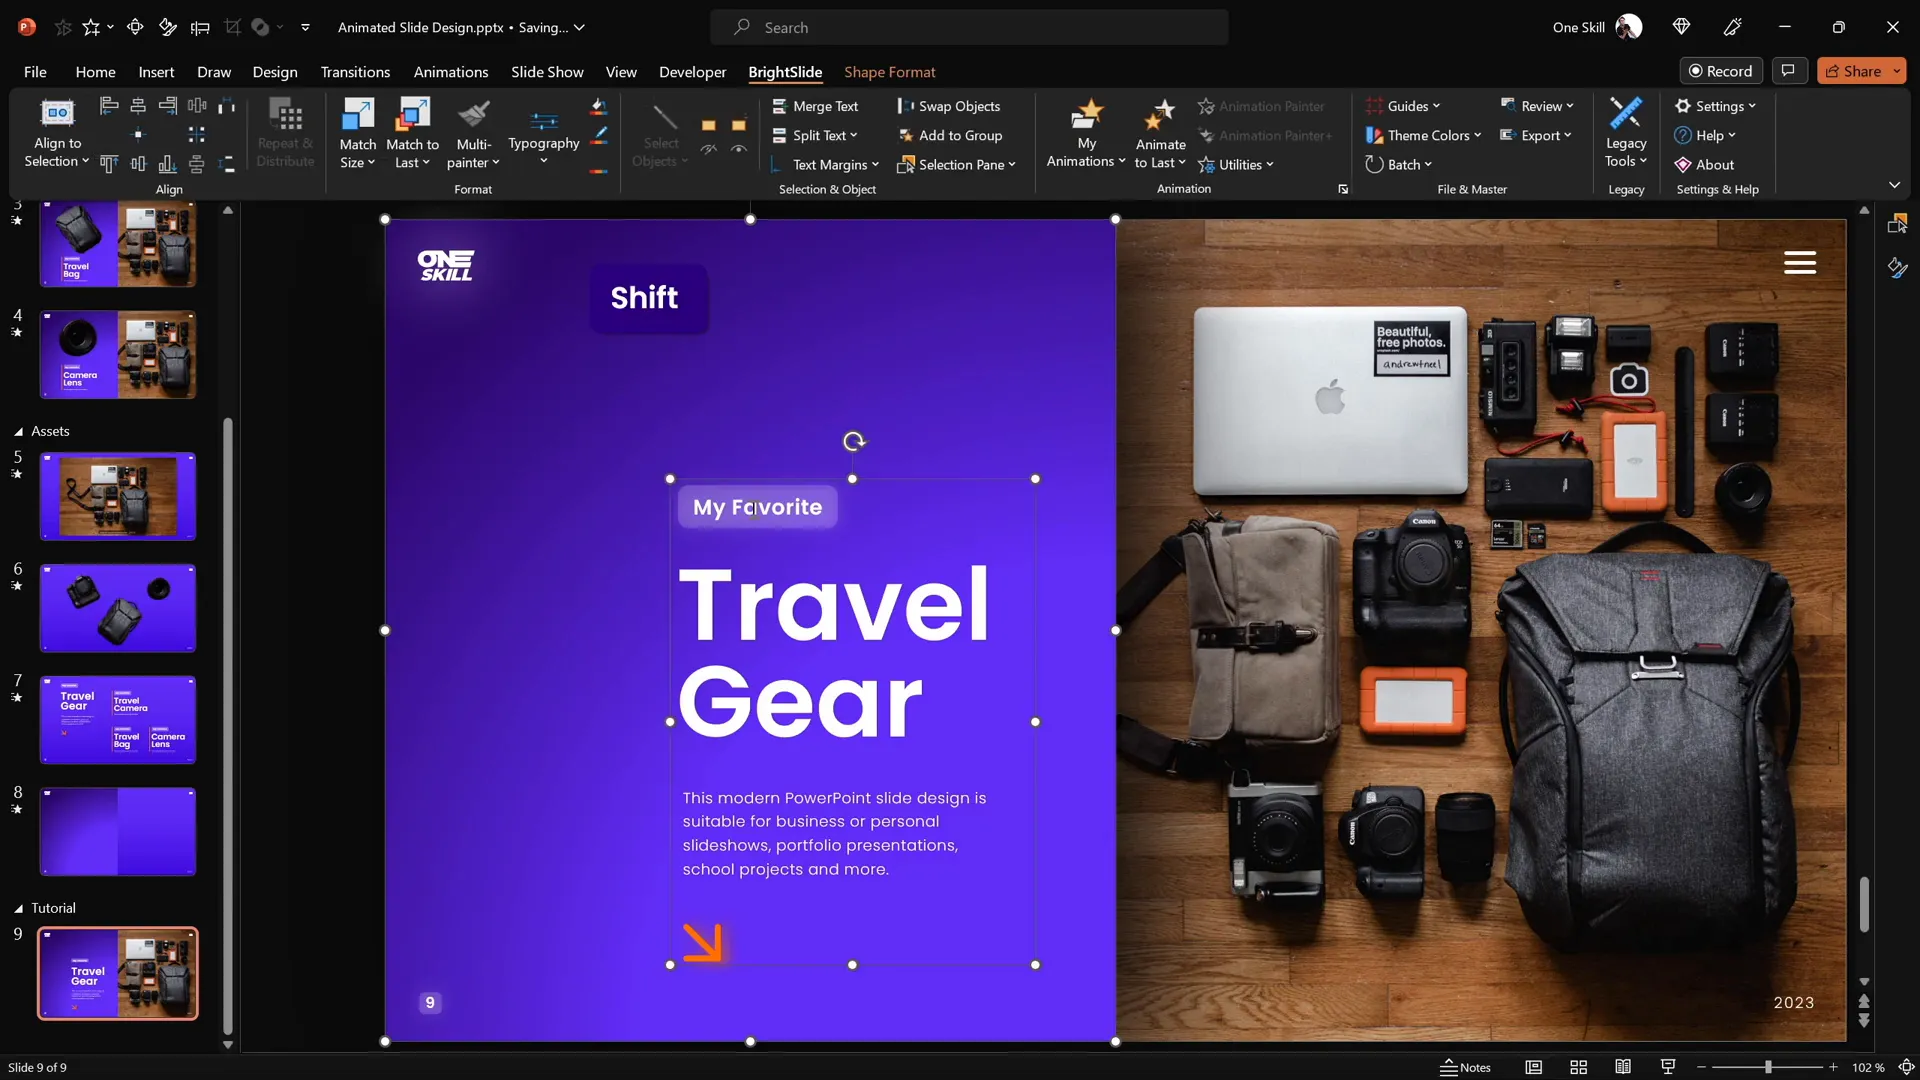
Add Text Boxes for Clickable Items
To complement the clickable items on your photo, you need to add descriptive text boxes aligned neatly within the rectangle. The tutorial uses the Poppins font family, combining Semi Bold and Light weights for an elegant and readable look.
- Create text boxes for each clickable item (e.g., Travel Camera, Travel Bag, Camera Lens)
- Group related text boxes for easier positioning and management
- Align text boxes to the left side of the rectangle and ensure consistent vertical spacing
To speed up alignment, consider using the free BrightSlide add-in, which offers useful shortcuts for aligning objects quickly. Alternatively, use PowerPoint’s built-in alignment tools:
- Select the rectangle
- Hold Shift and select the text box
- Go to Shape Format → Align → Align Center
- Then Align Middle
Cutting Out Photo Elements for Animation
The key to creating an interactive and animated slide design is to isolate elements from the photo so they can be animated separately. Since the original photo is a single image, we need to cut out individual objects (like the camera, travel bag, and lens) as separate layers.
Using Photopea for Precise Cutouts
While PowerPoint offers basic cropping tools, more precise cutouts require an external editor. Photopea is a free online photo editor that works similarly to Adobe Photoshop and is perfect for this task.
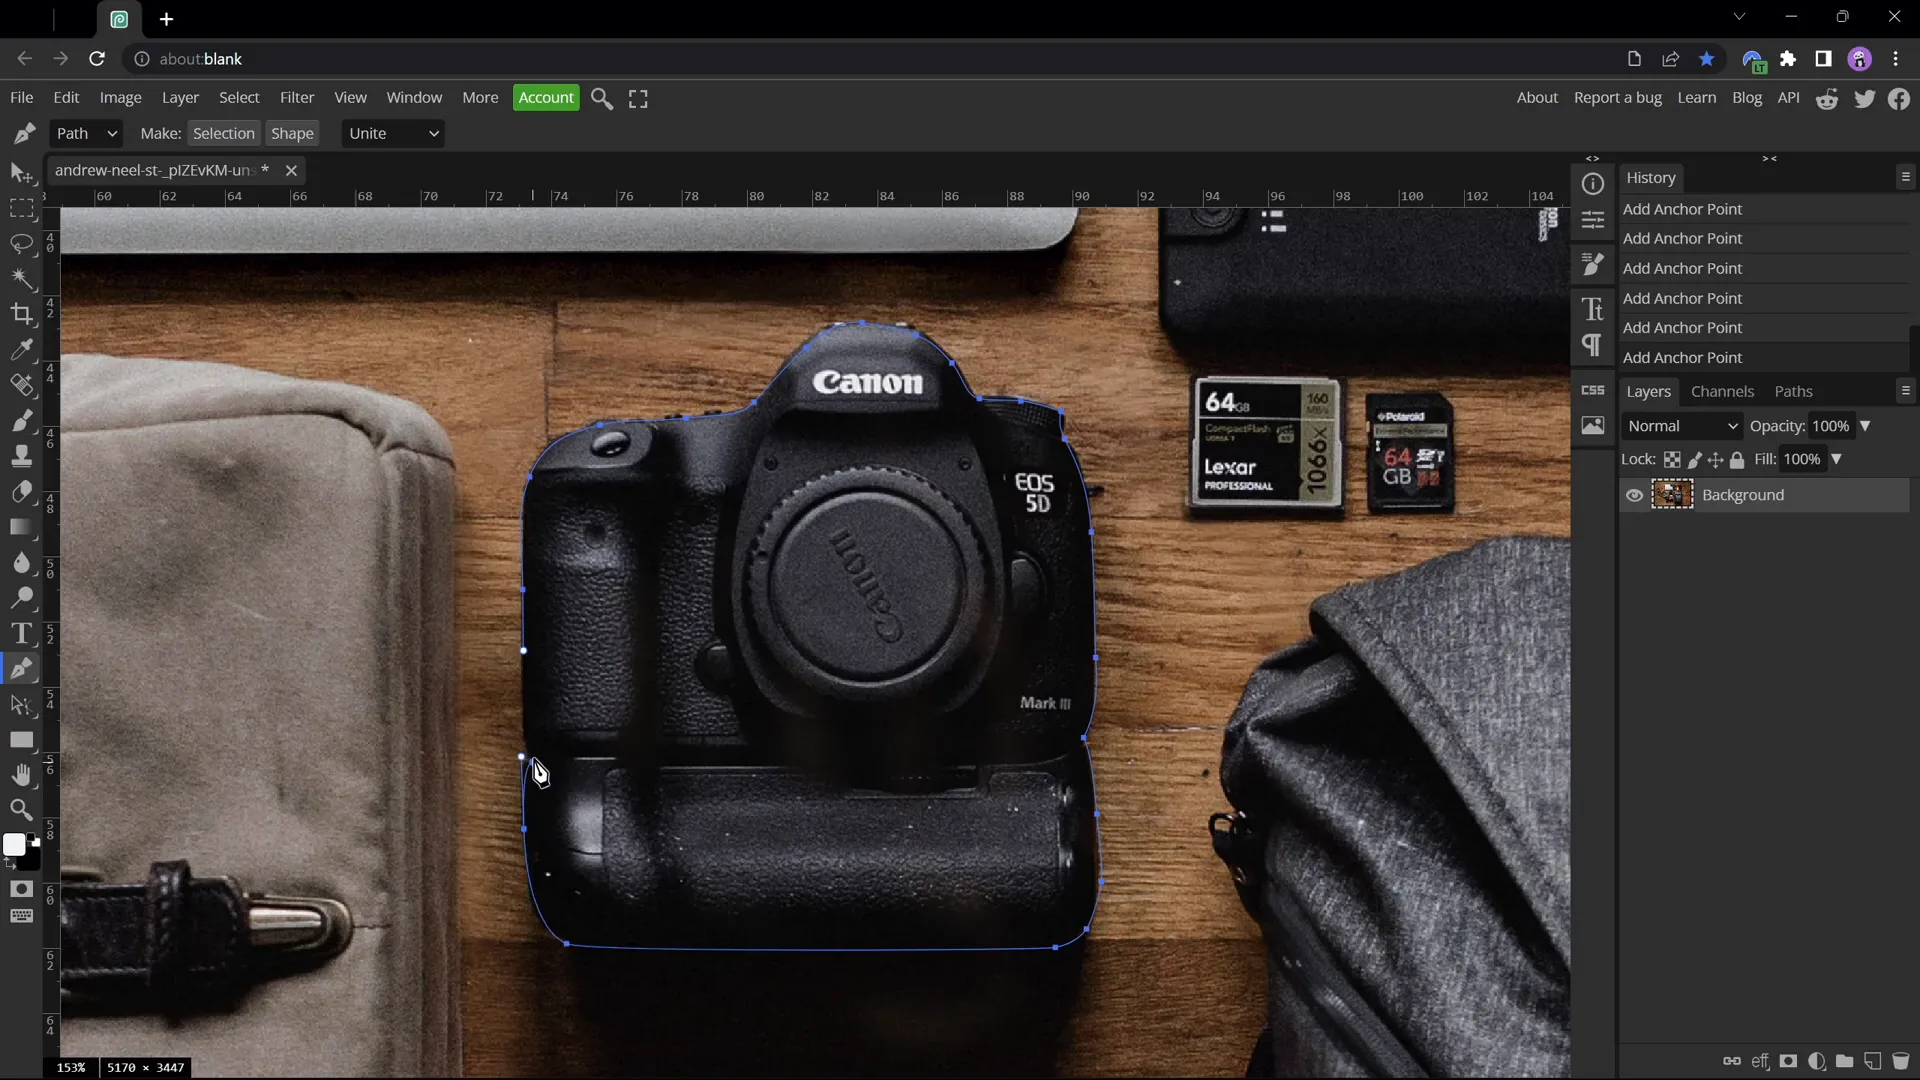
Here’s how to cut out an object, such as the camera:
- Open your photo in Photopea.
- Zoom in for precision (hold Alt and scroll).
- Activate the Pen Tool and set it to Path Mode.
- Click around the edges of the object to create a path.
- Adjust points as needed by holding Space (to move) or Alt (to change curve direction).
- Close the path by clicking near the starting point.
- Click “Create Selection” and confirm.
- Apply a mask to hide the rest of the image.
- Trim empty space via Image → Trim.
- Export the cutout as a PNG file with a transparent background.
Repeat this process for each item you want to animate separately. For this tutorial, the camera, travel bag, and lens have already been cut out.
Positioning and Color Matching Cutouts
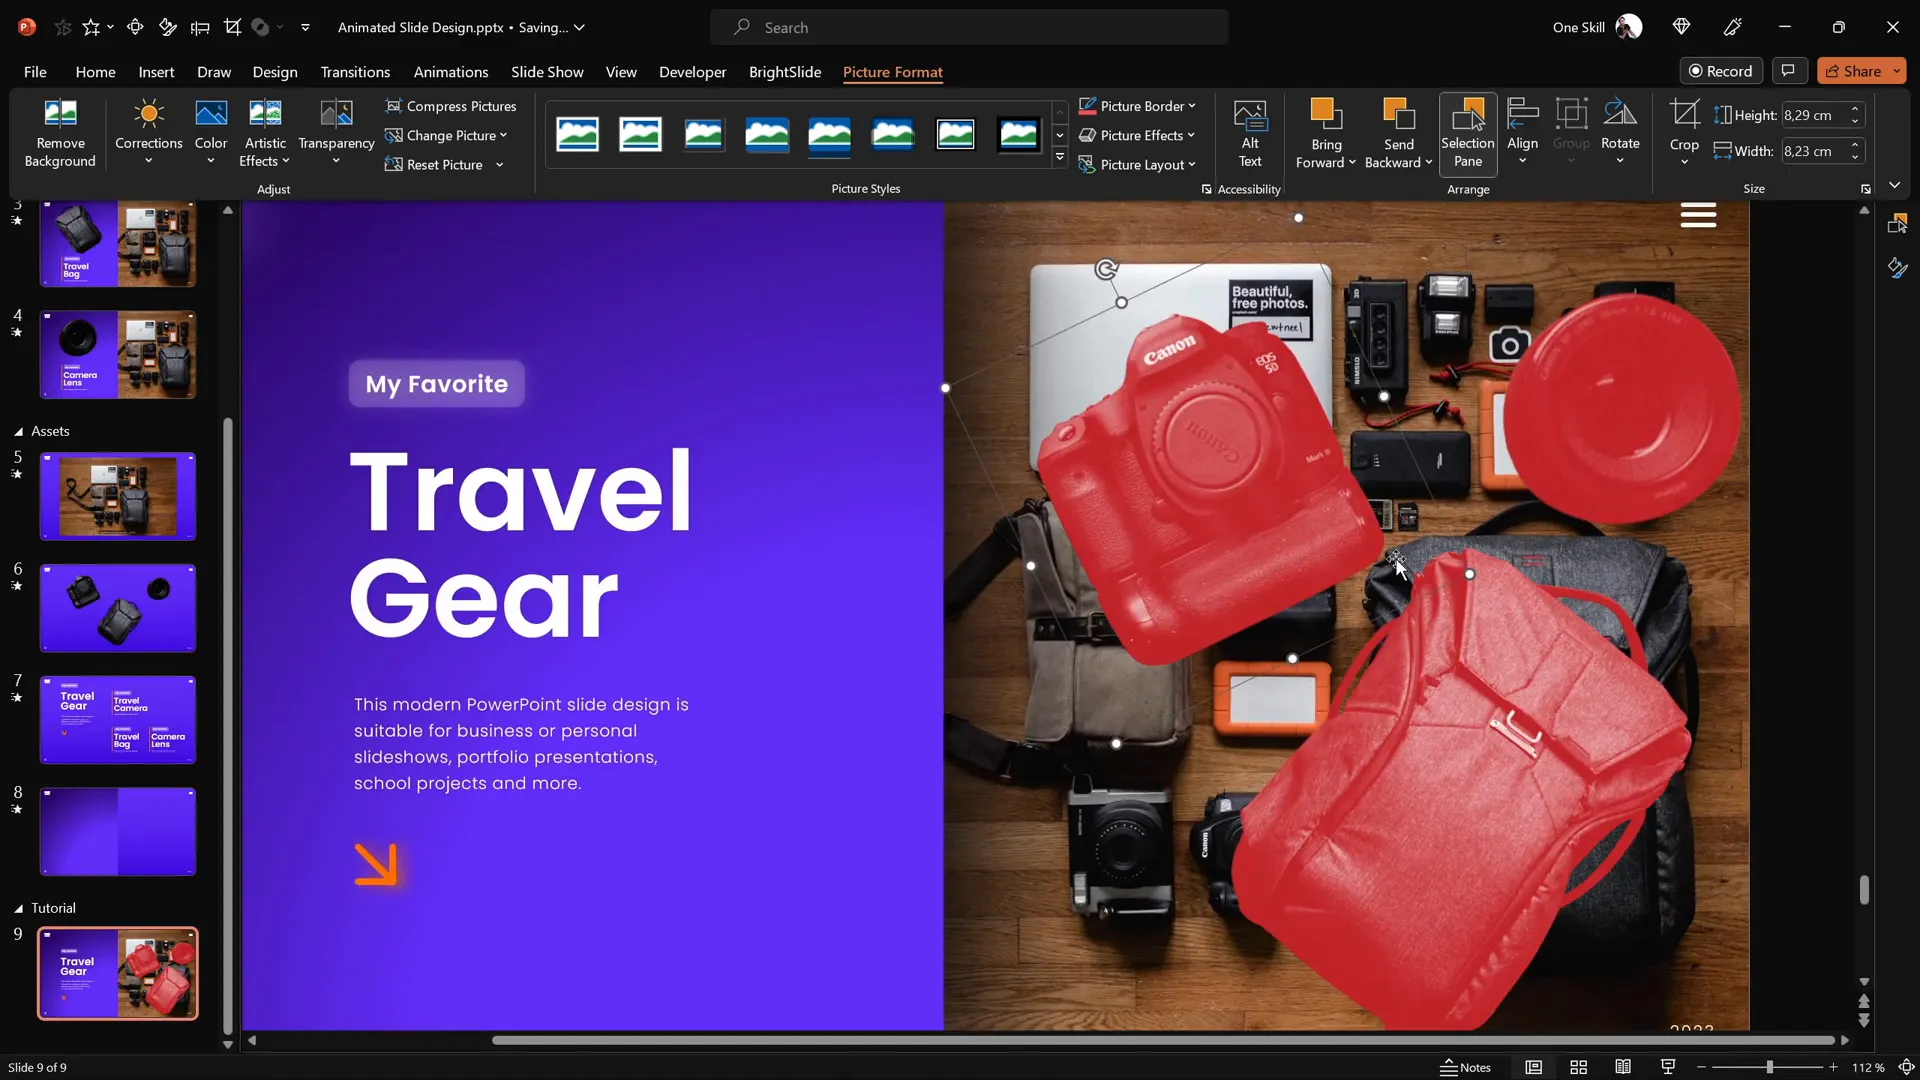
After importing the cutouts back into PowerPoint, you need to position them precisely on top of the original photo to ensure a seamless effect. To facilitate this alignment, temporarily recolor the cutouts with a bright color (such as red) to see if they match the underlying photo perfectly.
Steps to Position and Match Cutouts
- Import all cutout PNG images into your slide.
- Select all cutouts and recolor them using Picture Format → Color → Recolor (choose red).
- Move and resize each cutout to fit exactly over its original counterpart in the photo.
- Use arrow keys for fine adjustments and Ctrl + Shift for resizing from the center.
- Once aligned, reset the picture color to remove the red overlay.
Making Elements Clickable with Hyperlinks
Now that you have your cutouts perfectly positioned, the next step is to make them interactive. This is done by adding hyperlinks to each cutout, which will link to separate slides showcasing their animated pop-out effects.
Creating Additional Slides for Each Clickable Item
Duplicate your main slide three times to create a total of four slides:
- Slide 1: Introduction slide with all clickable items
- Slide 2: Animation focused on the camera
- Slide 3: Animation focused on the travel bag
- Slide 4: Animation focused on the camera lens
Inserting Hyperlinks
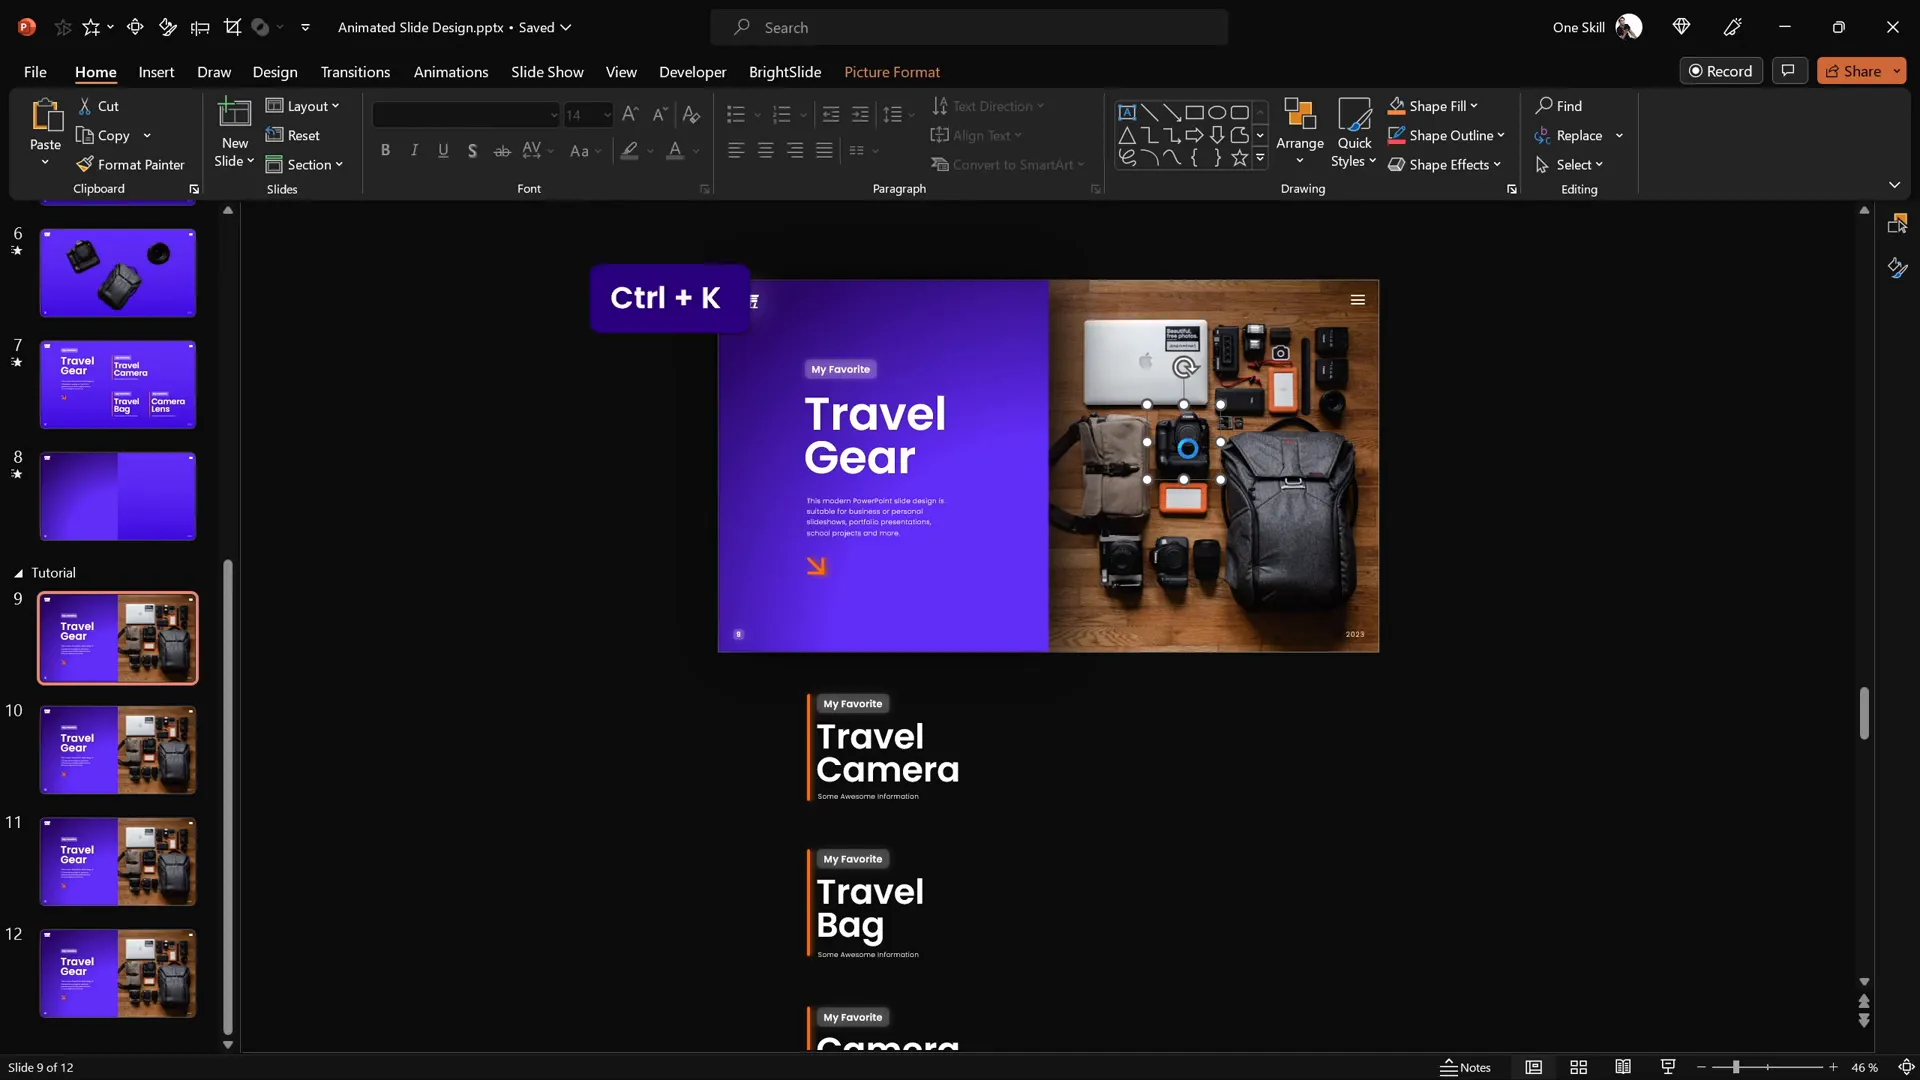
- Select the camera cutout on the introduction slide.
- Press Ctrl + K to open the hyperlink dialog.
- Link it to the camera slide (e.g., slide 2).
- Repeat for the travel bag and lens, linking to their respective slides.
To maintain consistency, copy these cutouts with hyperlinks to the other slides, replacing the old non-clickable cutouts.
Using Morph Transition for Smooth Animation
PowerPoint‘s Morph Transition is a powerful tool to create smooth, dynamic animations between slides. Applying the Morph transition between your slides will create the illusion of the cutouts popping out and animating seamlessly.
Applying Morph Transition
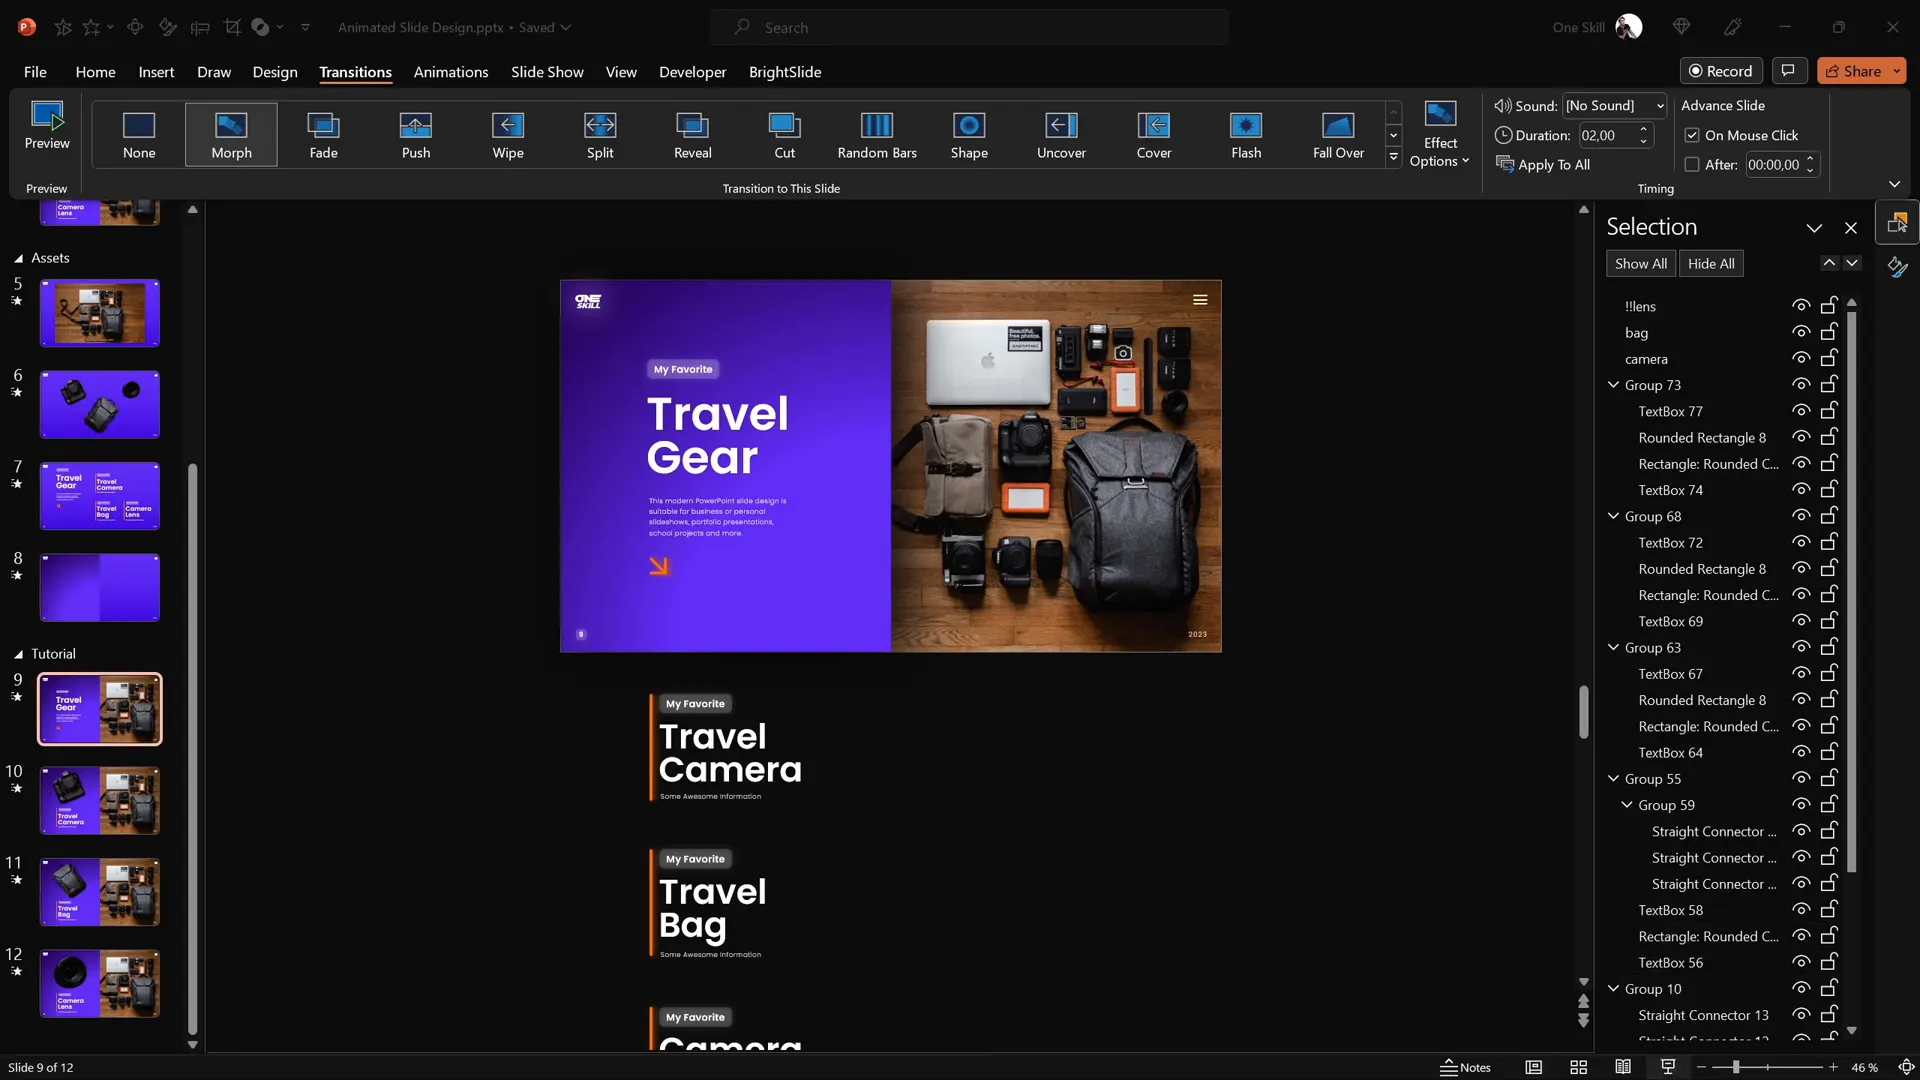
- Select all four slides.
- Go to the Transitions tab and select Morph.
- Adjust the transition duration if desired (default is 2 seconds).
The Morph transition will automatically animate the changes in size, position, and rotation of your clickable items between slides.
Fixing Morph Transition Issues
Sometimes, Morph can get confused when morphing similar objects across slides. For example, the camera lens animation may look off if Morph mistakes it for the camera cutout.
To fix this, rename the objects in the Selection Pane with unique names prefixed by double exclamation marks (e.g., !!Lens) consistently across all slides. This helps Morph identify and animate objects correctly.
Final Adjustments and Testing Your Slide
Once you have your clickable items linked and morph transitions applied, it’s time to customize the individual slides to highlight each item:
- Move and resize the cutout on each slide to make it larger and more prominent.
- Hide or move other text boxes to focus attention on the active item.
- Ensure all text groups are properly aligned and spaced.
Finally, test your slide by running the presentation in full-screen mode and clicking on each clickable item. You should see smooth pop-out animations triggered by your clicks.
Frequently Asked Questions
What version of PowerPoint do I need to create this animated slide design?
You need Microsoft PowerPoint 365 or any version that supports the Morph transition feature and allows hyperlinking within slides.
Can I use any photo for this clickable slide design?
Yes! You can use any photo you like. Just make sure to cut out the clickable objects precisely for the best animation effect.
Do I need external software to cut out objects from photos?
While PowerPoint has basic cropping tools, for more precise cutouts, it’s recommended to use free online editors like Photopea, which offers advanced selection and masking tools similar to Photoshop.
How do I fix Morph transition issues when animating similar objects?
Rename similar objects in the Selection Pane with unique names prefixed by double exclamation marks (e.g., !!Camera, !!Lens) consistently across slides. This helps Morph identify and animate objects correctly.
Can I use this technique for other types of presentations?
Absolutely. This clickable and scrollable animated slide design technique works well for product showcases, educational content, interactive portfolios, and more.
Conclusion
Creating an engaging PowerPoint slide design that features clickable, scrollable, and animated elements may seem complex at first. However, by following this step-by-step process, you can craft stunning interactive slides that elevate your presentations and captivate your audience.
Starting from a beautifully designed gradient background, adding photos and text, precisely cutting out elements for animation, and leveraging PowerPoint‘s Morph transition and hyperlinking features, you can transform static slides into dynamic storytelling tools.
Don’t forget to experiment with your own photos, fonts, and colors to match your brand or presentation style. And if you want to speed up your workflow, tools like the BrightSlide add-in and Photopea make the process smoother and more professional.
For more PowerPoint animation secrets and design tips, check out the original video by One Skill PPT on their YouTube channel. Happy designing!


