PowerPoint is often underestimated as a simple slide-making tool, but it harbors immense creative potential when it comes to video effects. Imagine text gracefully rising from behind mountains in a captivating video scene, then disappearing back behind the peaks — all created within PowerPoint itself! This tutorial will walk you through how to achieve this stunning video effect using just PowerPoint and a few clever tricks.
In this comprehensive guide, you’ll learn how to:
- Set up full-screen videos as backgrounds
- Use duplicate videos to create layered video masks
- Precisely crop videos to complex shapes like mountain silhouettes
- Add dynamic text animations that interact with video layers
- Leverage free online tools to enhance your video masking precision
Let’s dive into the step-by-step process of creating this epic PowerPoint video effect — perfect for presentations, storytelling, or simply wow-ing your audience.
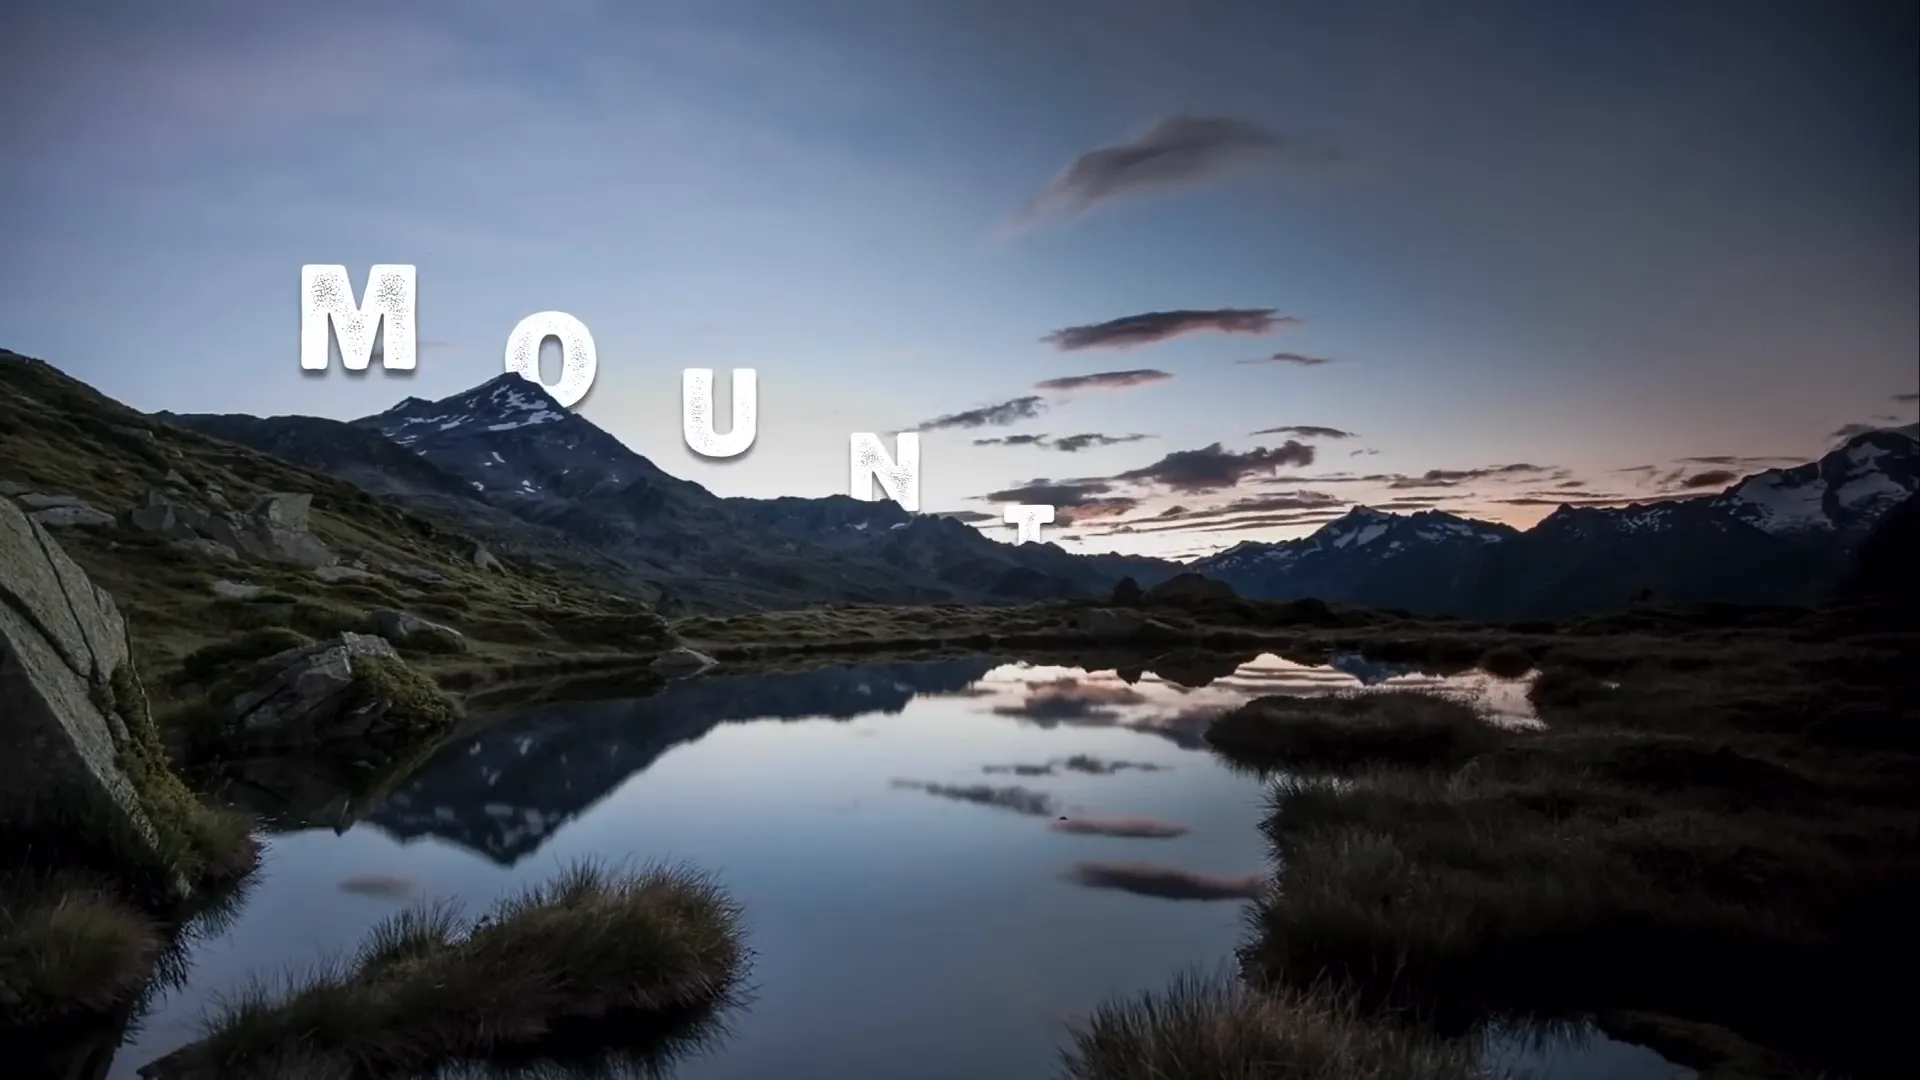
Table of Contents
- Preparing Your Slide and Selecting the Video
- Setting Up the Video Background
- Creating the Video Mask Effect with Two Video Layers
- Cropping the Front Video to Follow Mountain Silhouettes
- Using Photopea for Precise Sky Removal and Vector Shape Creation
- Synchronizing Video Playback and Animations
- Adding Animated Text That Interacts with the Mountains
- Final Touches and Animation Tweaks
- Frequently Asked Questions
- Conclusion
Preparing Your Slide and Selecting the Video
Start by opening PowerPoint (Office 365 is recommended for best functionality) and creating a new blank slide. This clean slate will be your canvas for the entire effect.
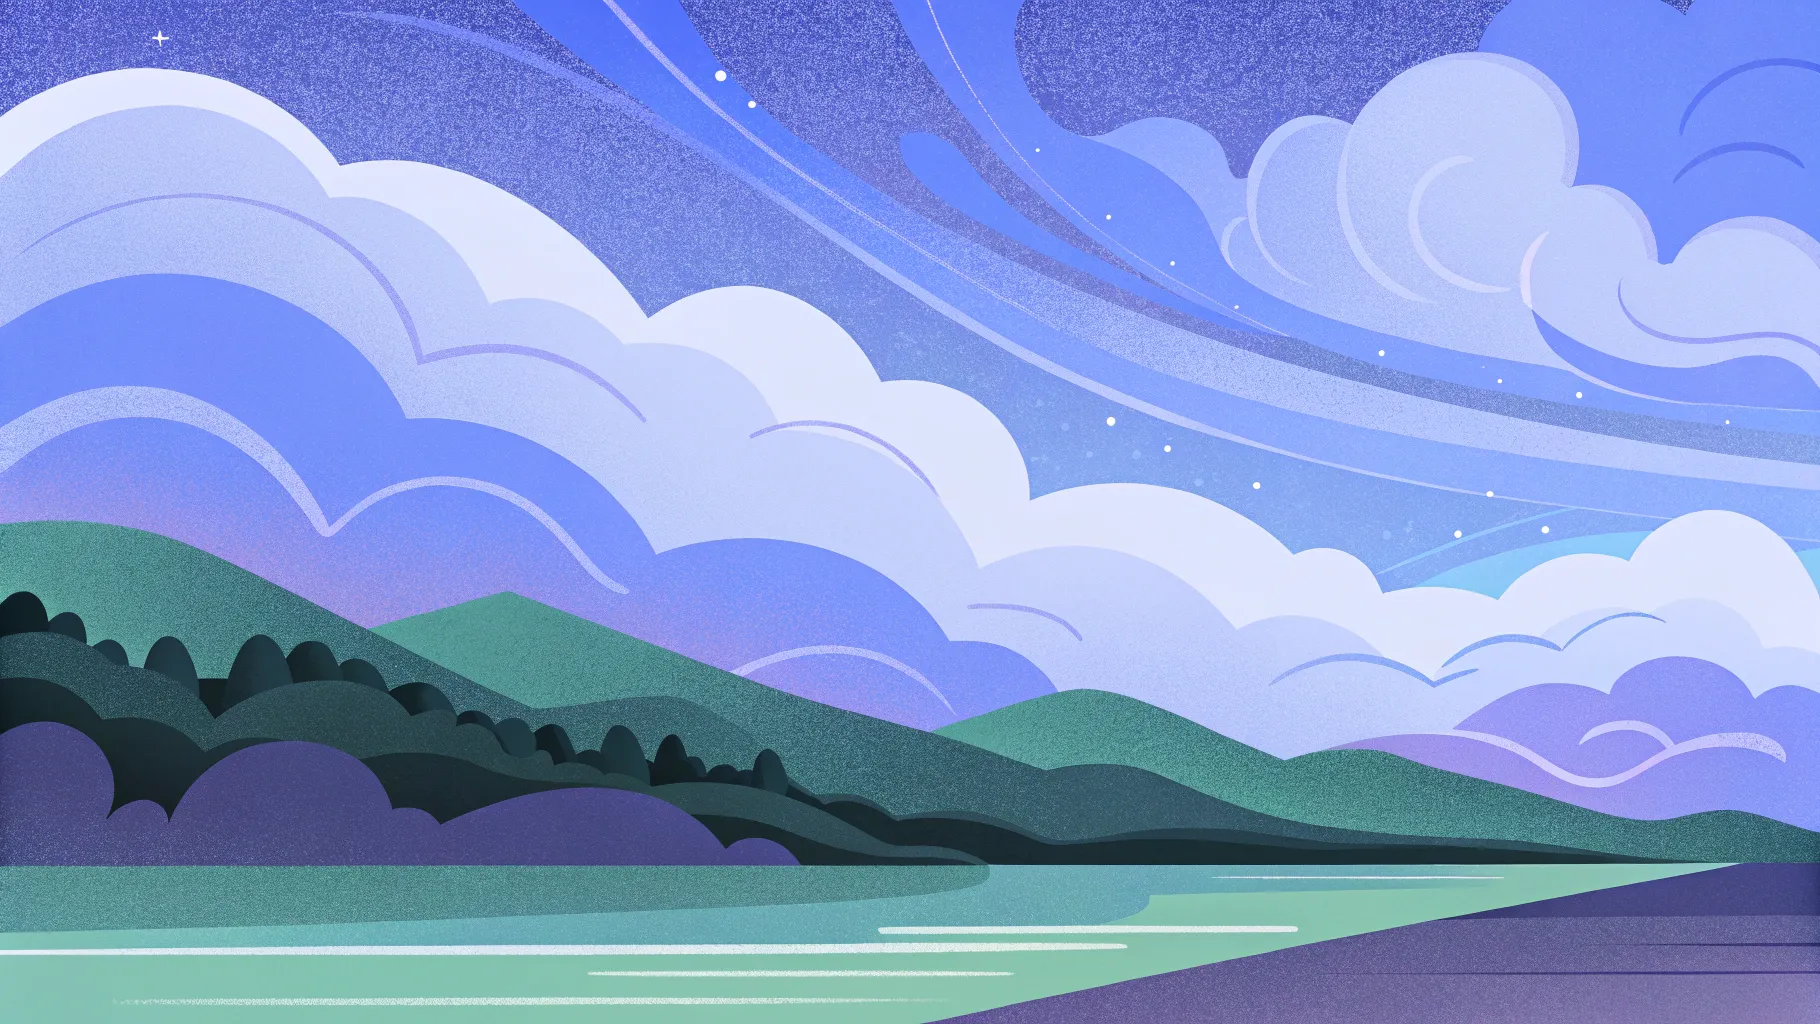
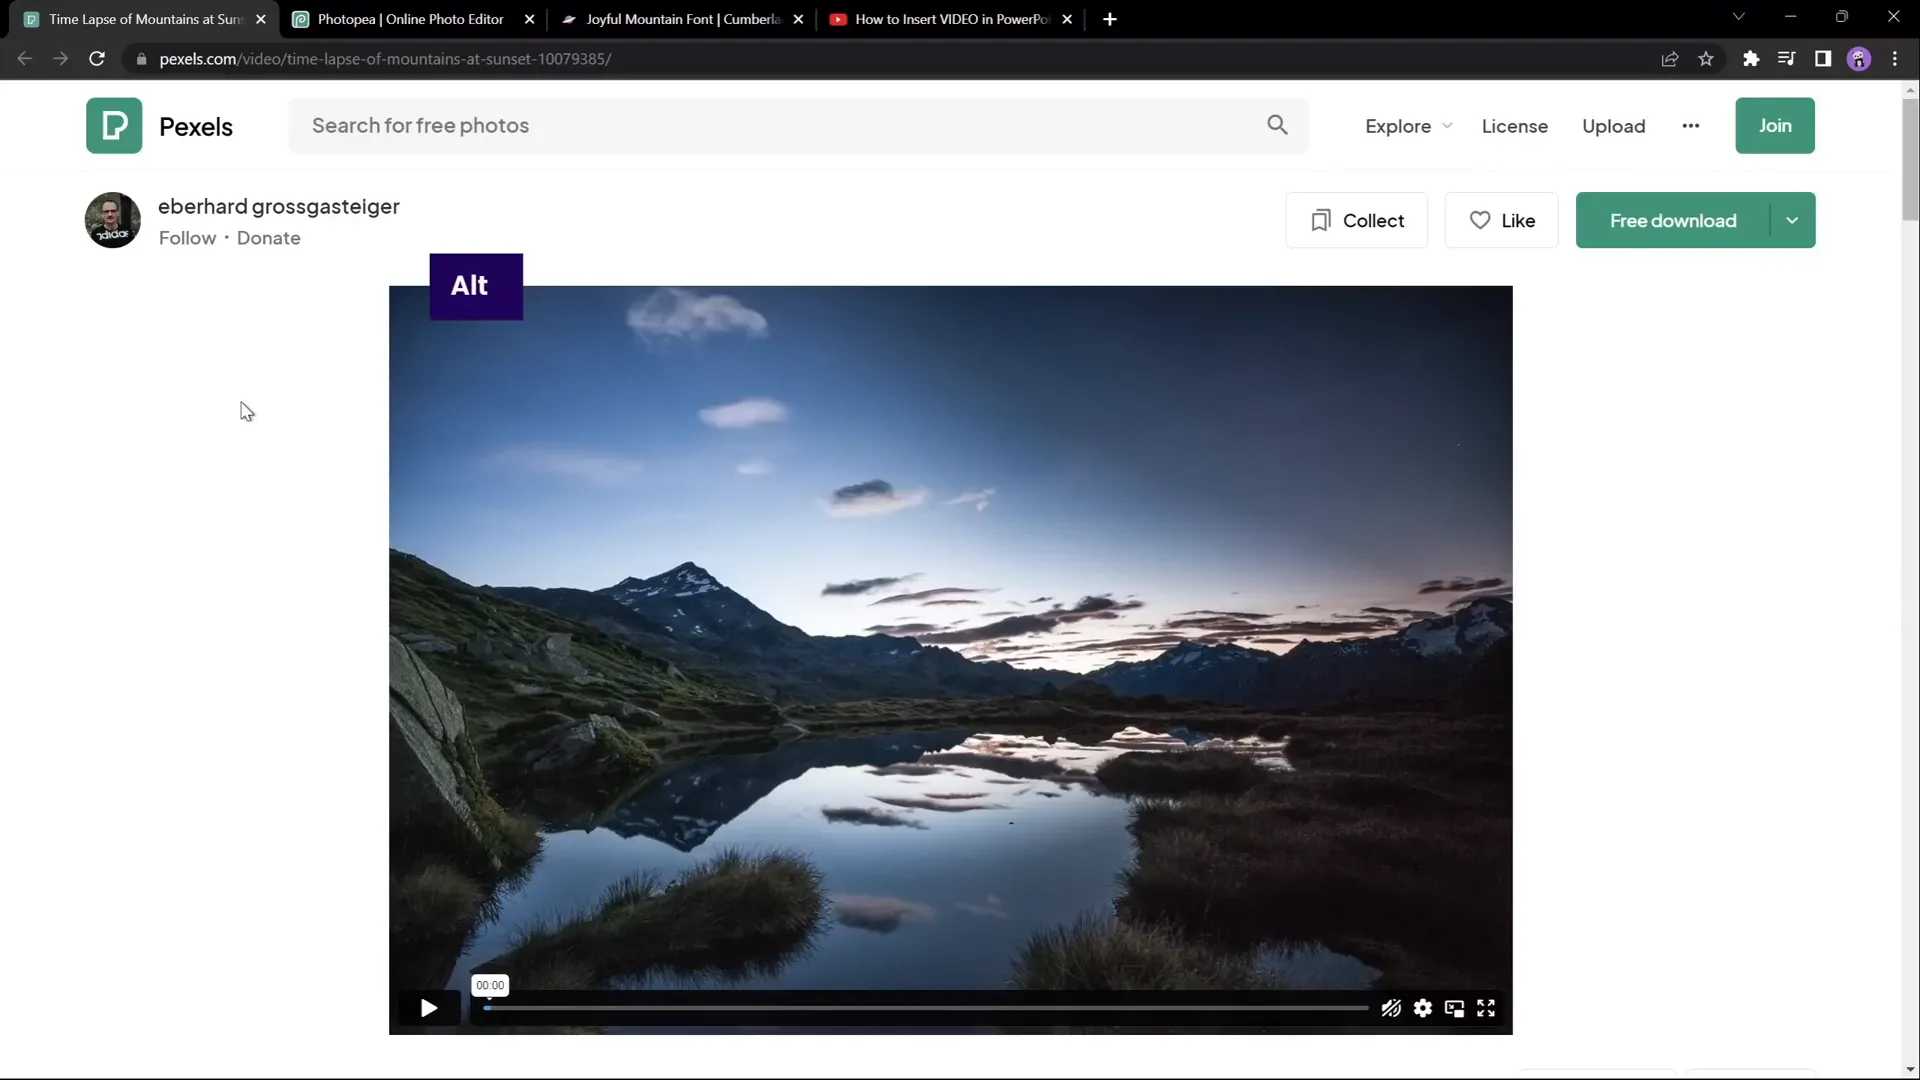
The key to this effect lies in the video you choose. You want a beautiful landscape video with a static foreground (like mountains) and a dynamic background (like a changing sky). For this tutorial, we sourced a breathtaking time-lapse video of mountains from Pexels, created by Eberhard. This video is approximately 17 seconds long and available in full HD resolution.
Choosing a video with a clear distinction between the static mountains and the moving sky is essential because the mountains will act as the mask for your text animation.
Setting Up the Video Background
With your video file ready, drag and drop it onto your blank PowerPoint slide. Next, center the video both horizontally and vertically on the slide. To scale it properly so it covers the entire slide:
- Select the video and drag one of its corner handles.
- Hold down Ctrl + Shift keys to resize from the center proportionally.
- Resize until the video fully covers the slide.
- Use the crop tool to trim the top and bottom edges so the aspect ratio matches your slide perfectly.
After cropping, finalize your adjustments by clicking outside the crop area. You should now have a full-screen video covering your entire slide.
To make the white text you will add later stand out better, reduce the video brightness slightly by 5%. This will darken the video subtly but effectively.
Finally, set the video playback options:
- Start video automatically when the slide loads.
- Loop video continuously until stopped.
This ensures your video will play seamlessly in the background during your presentation.
Creating the Video Mask Effect with Two Video Layers
This is where the magic begins! To create the effect of text rising from behind the mountains, you need to split the video into two layers:
- Video Background: The full video with sky and mountains.
- Video Front: The same video but cropped so only the mountains remain visible.
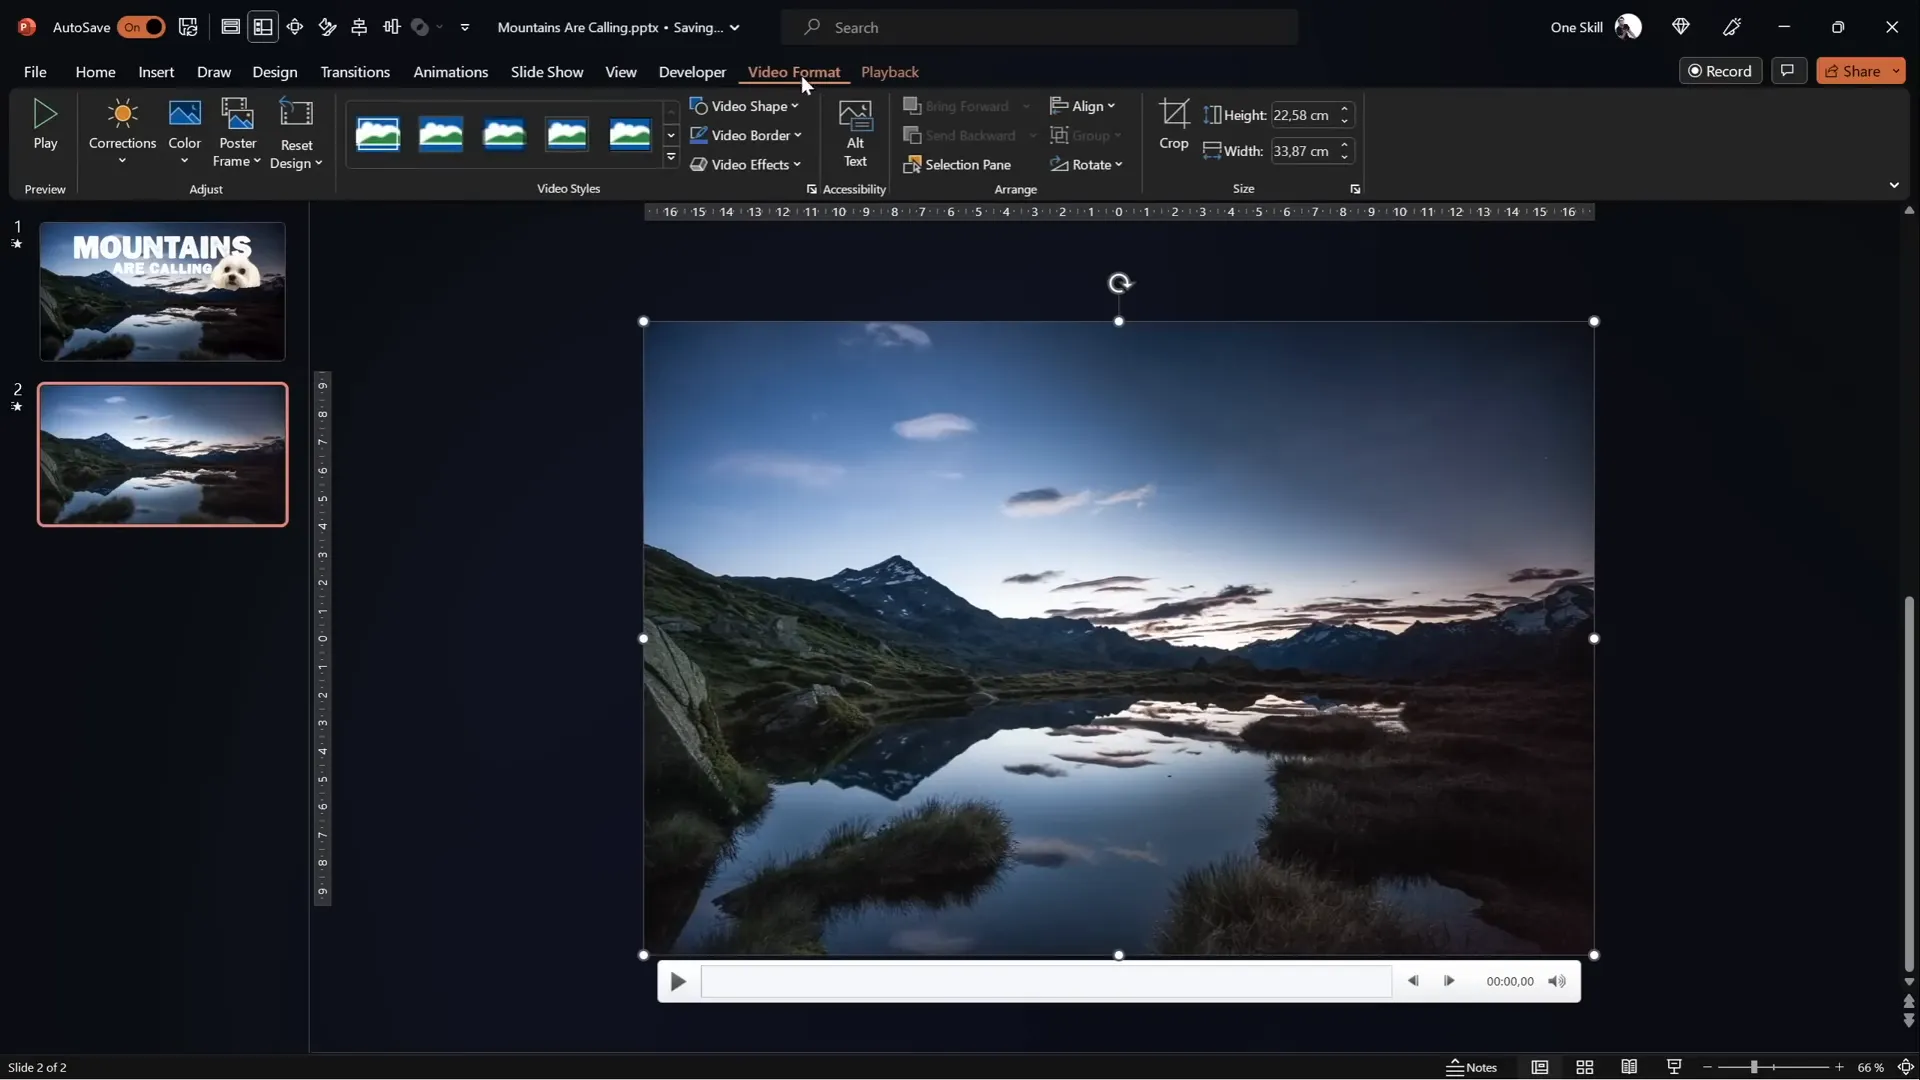
Start by duplicating your video background. Rename the original video to Video Background and the duplicate to Video Front.
Align the duplicate video exactly on top of the background video, so they are perfectly stacked.
Next, crop the Video Front to remove the sky portion. Initially, you can crop the top part in a straight line to reveal your content between the two videos. This creates a “video sandwich” effect, where anything placed between the two videos appears to be behind the mountains.
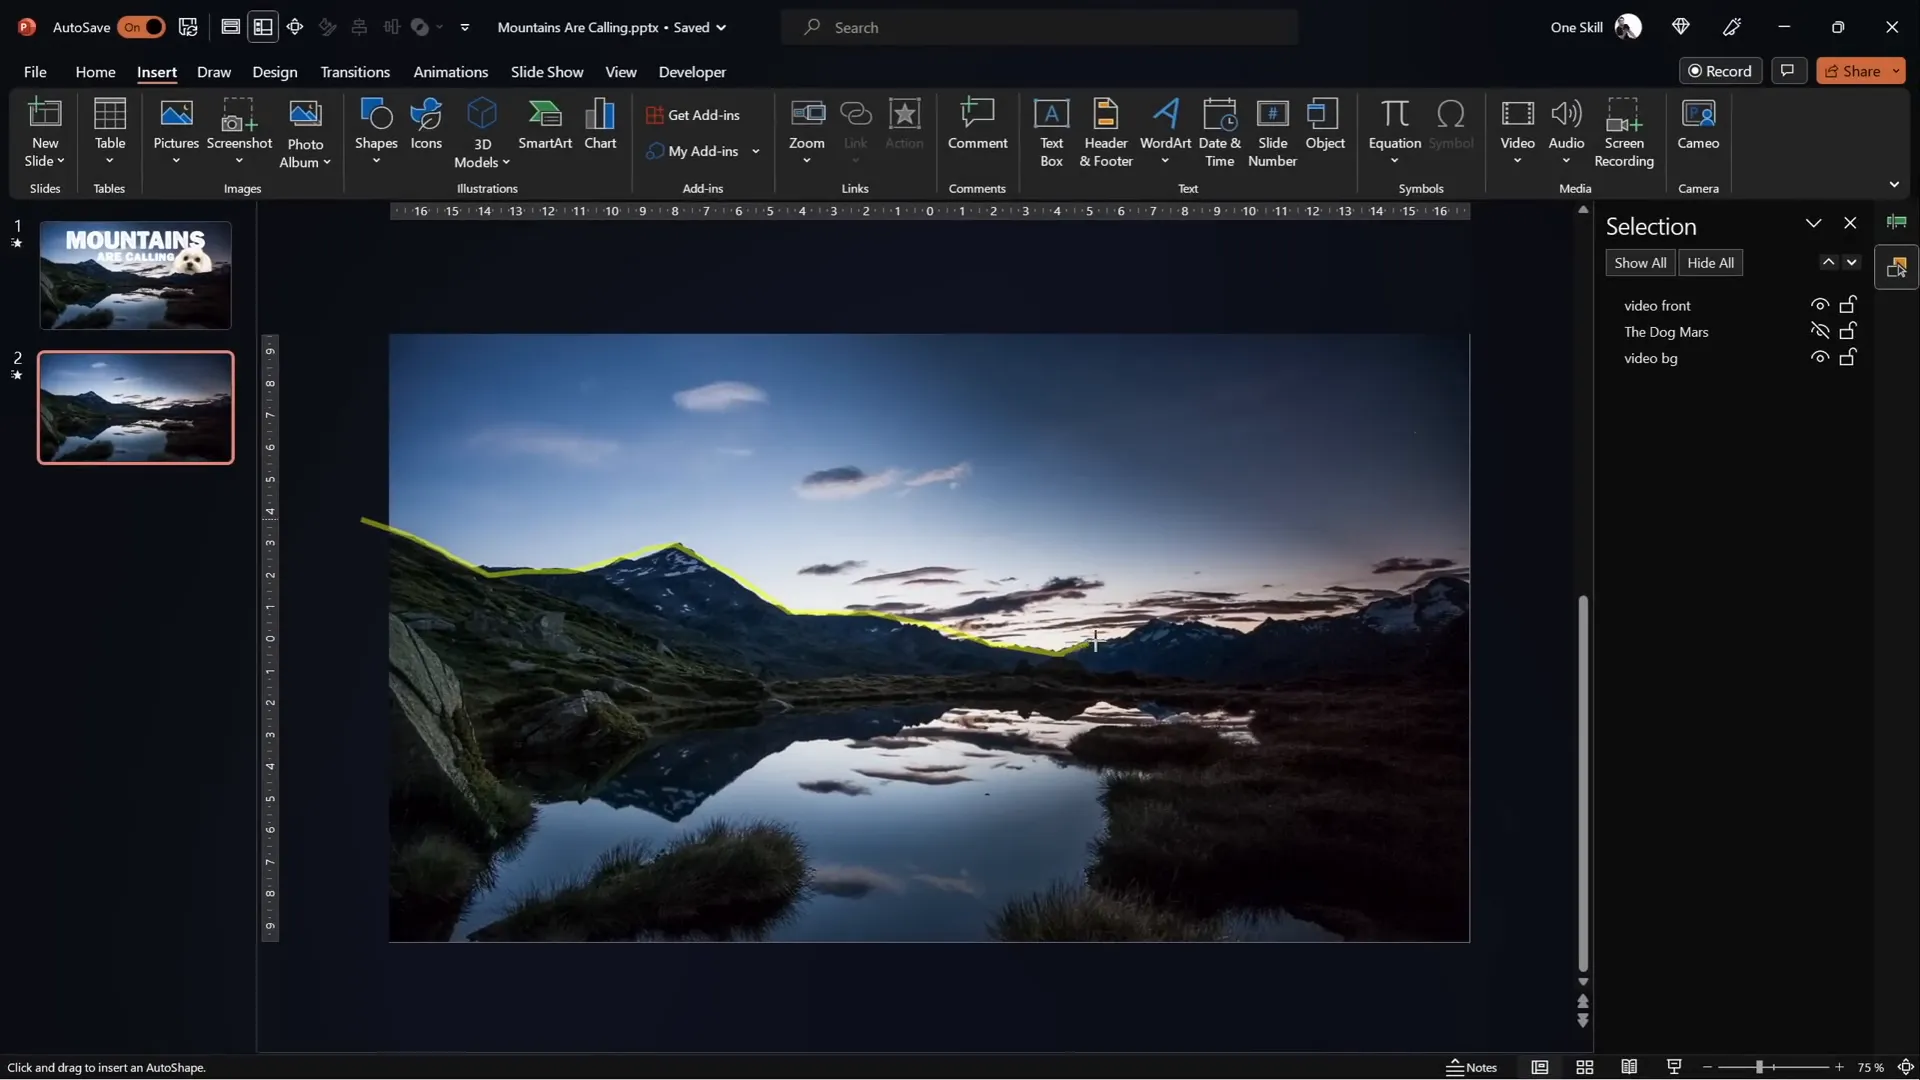
Cropping the Front Video to Follow Mountain Silhouettes
Cropping the front video in a straight line is a good start, but it doesn’t look very natural. To achieve a realistic effect, you want the crop to follow the mountain outlines precisely.
Here’s one way to do it directly in PowerPoint:
- Use the Insert Shapes tool and select the Freeform Shape tool.
- Click multiple points to trace the mountain line as accurately as possible.
- Close the shape by connecting the end point to the start point.
- Select your Video Front video, then hold Shift and select the custom shape.
- Go to the Merge Shapes dropdown and choose Subtract.
This will subtract the sky portion from the front video, leaving only the mountains visible. This method works but requires patience and precision to follow the mountain edges closely.
If you don’t see the Merge Shapes button, you can add it to your Quick Access Toolbar via PowerPoint settings — links to tutorials for this can be found in many online resources.
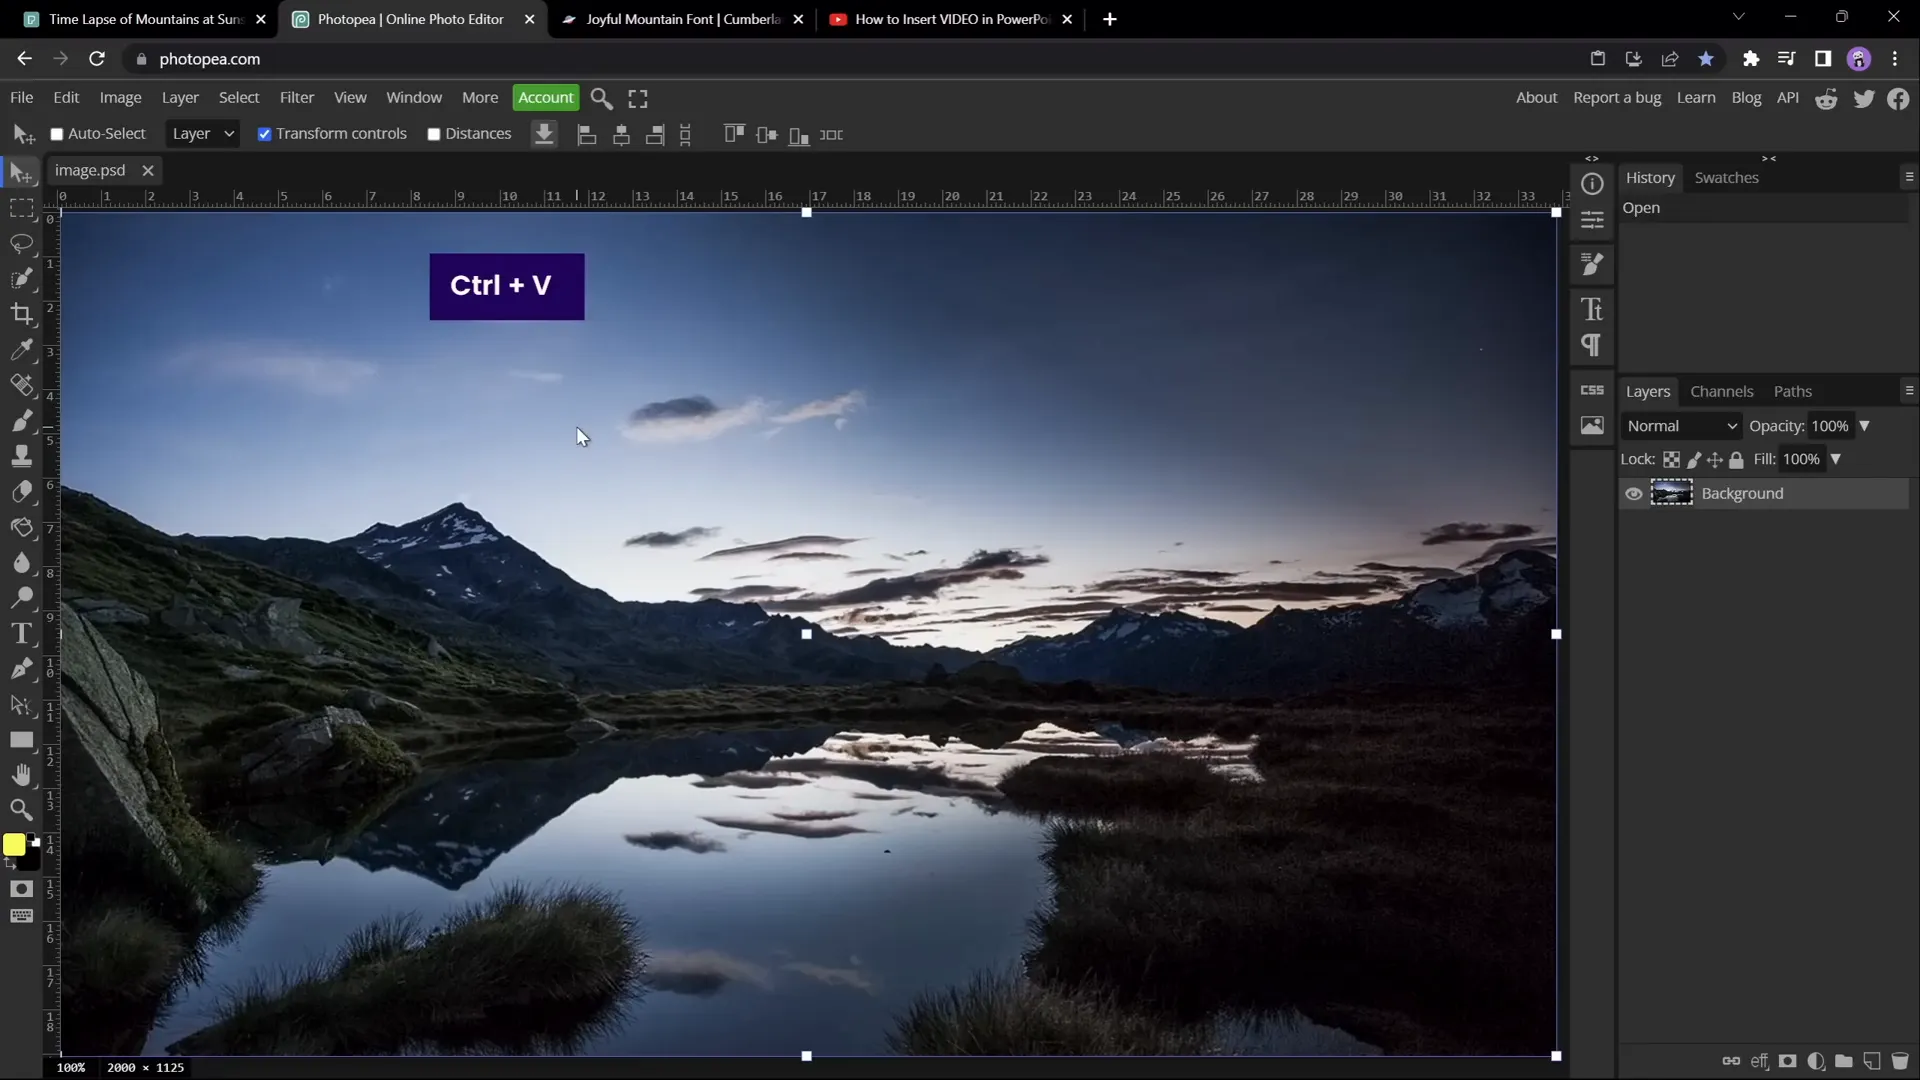
Using Photopea for Precise Sky Removal and Vector Shape Creation
For a more precise and professional crop, use a free online photo editor like Photopea. Here’s how:
- Take a screenshot of your video frame by copying the video in PowerPoint and pasting it into Photopea.
- Use the Quick Selection Brush tool to select the sky area. Adjust brush size with square brackets for accuracy.
- Press Q to toggle Quick Mask Mode, which highlights unselected areas in red, helping you refine your selection.
- Switch to the Lasso Tool in subtract mode to remove any parts of the mountains accidentally included in the selection.
- Once the sky is accurately selected, create a new blank layer and fill the selected area with a solid color (e.g., yellow) using the Bucket Tool.
- Hide the original image layer to isolate the colored sky shape.
- Go to Image > Vectorize Bitmap and choose photo mode with polygon checked. This converts the colored sky into a vector shape.
- Export this vector shape as an SVG file.
- Import the SVG file back into PowerPoint and convert it into a shape to reveal vector points.
- Select your front video and the imported shape, then use Merge Shapes > Subtract to precisely crop out the sky.
This method yields a highly accurate mountain outline mask, improving your video layering effect dramatically.
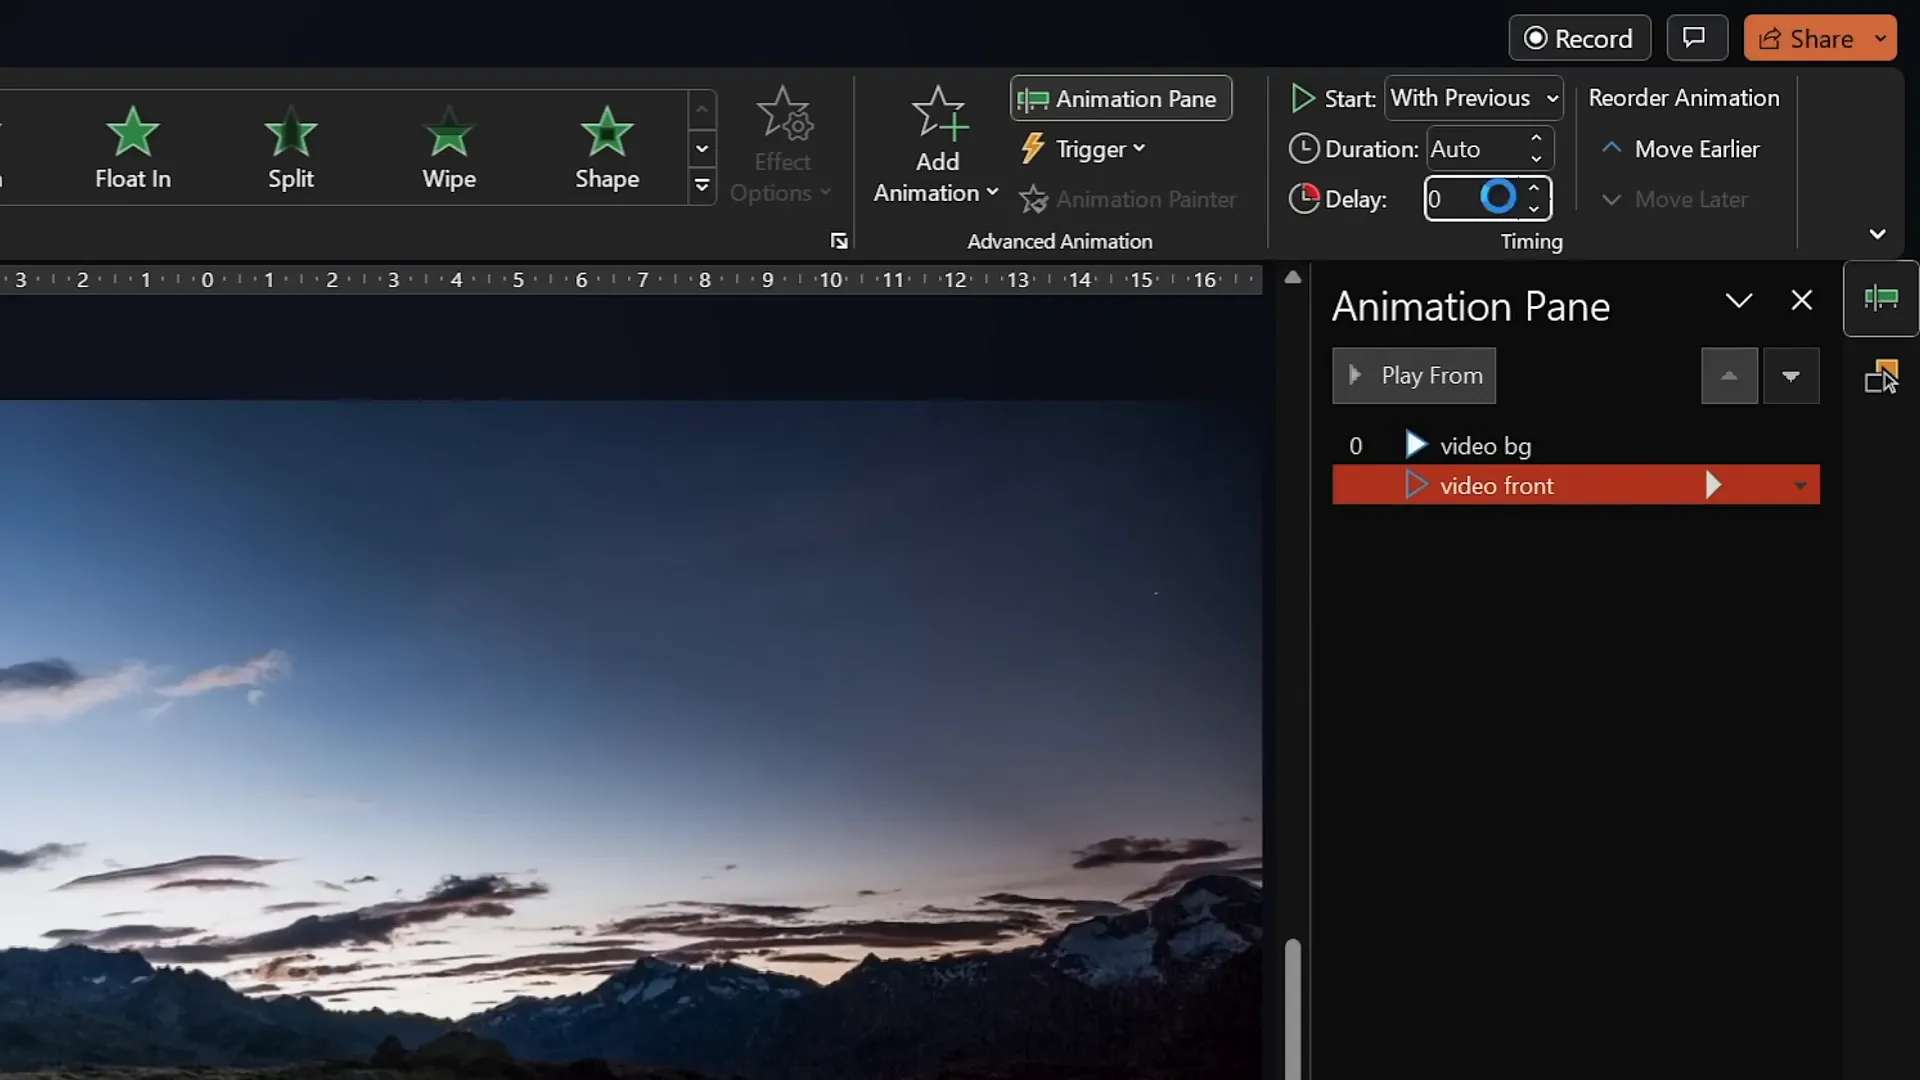
Synchronizing Video Playback and Animations
With two video layers perfectly aligned and cropped, make sure both videos start playing simultaneously:

- Add a Play animation to the front video.
- Set it to start With Previous to ensure it plays automatically alongside the background video.
- Remove any delays in the animation pane so both videos sync perfectly.
When you preview the slide, it should look like a single continuous video, but now you have a powerful setup where you can insert other elements (like text or images) between these layers.
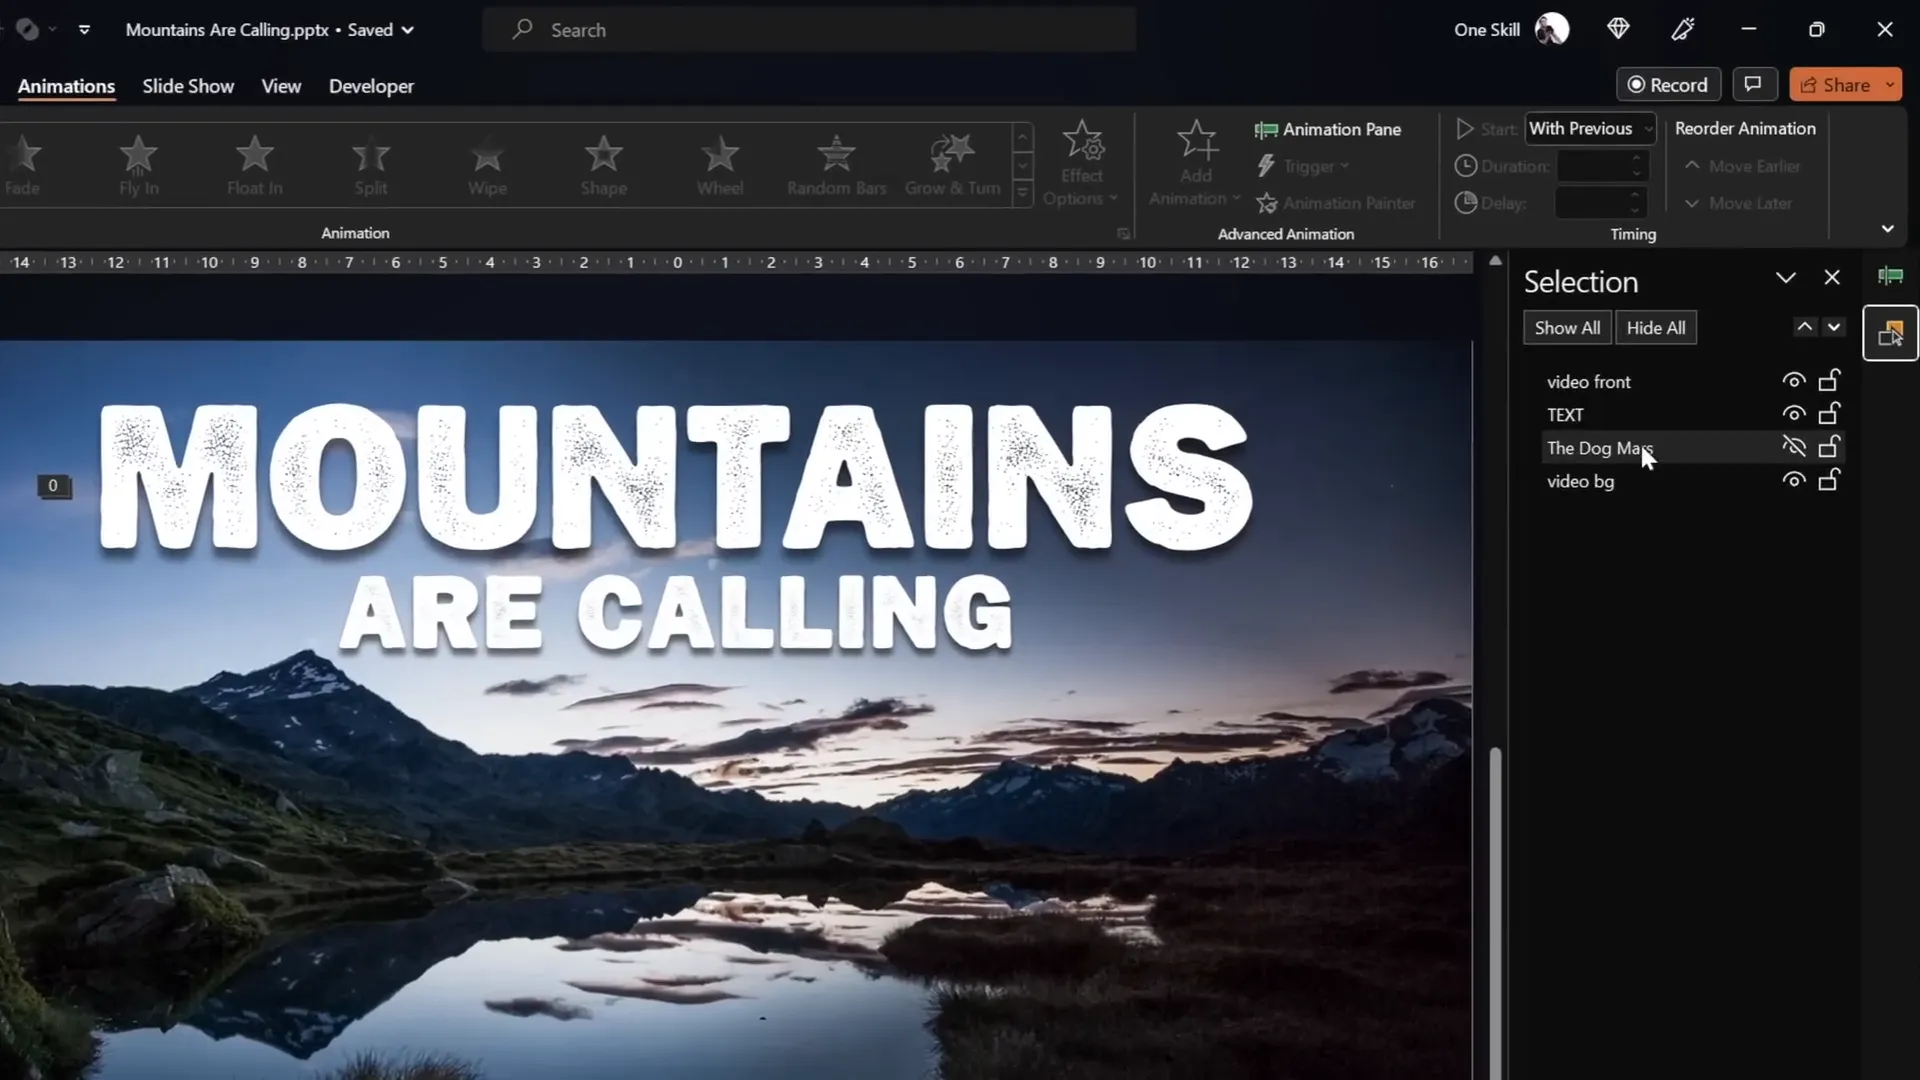
Adding Animated Text That Interacts with the Mountains
Now comes the exciting part — adding text that rises from behind the mountains and disappears behind them again.
Follow these steps to add dynamic animated text:
- Insert a text box between the two video layers in the selection pane (place it below the front video).
- Use a beautiful, natural-looking font to complement the mountain theme. For this tutorial, the Joyful Mountain font was used.
- Format the text with white color for contrast against the darkened video background.
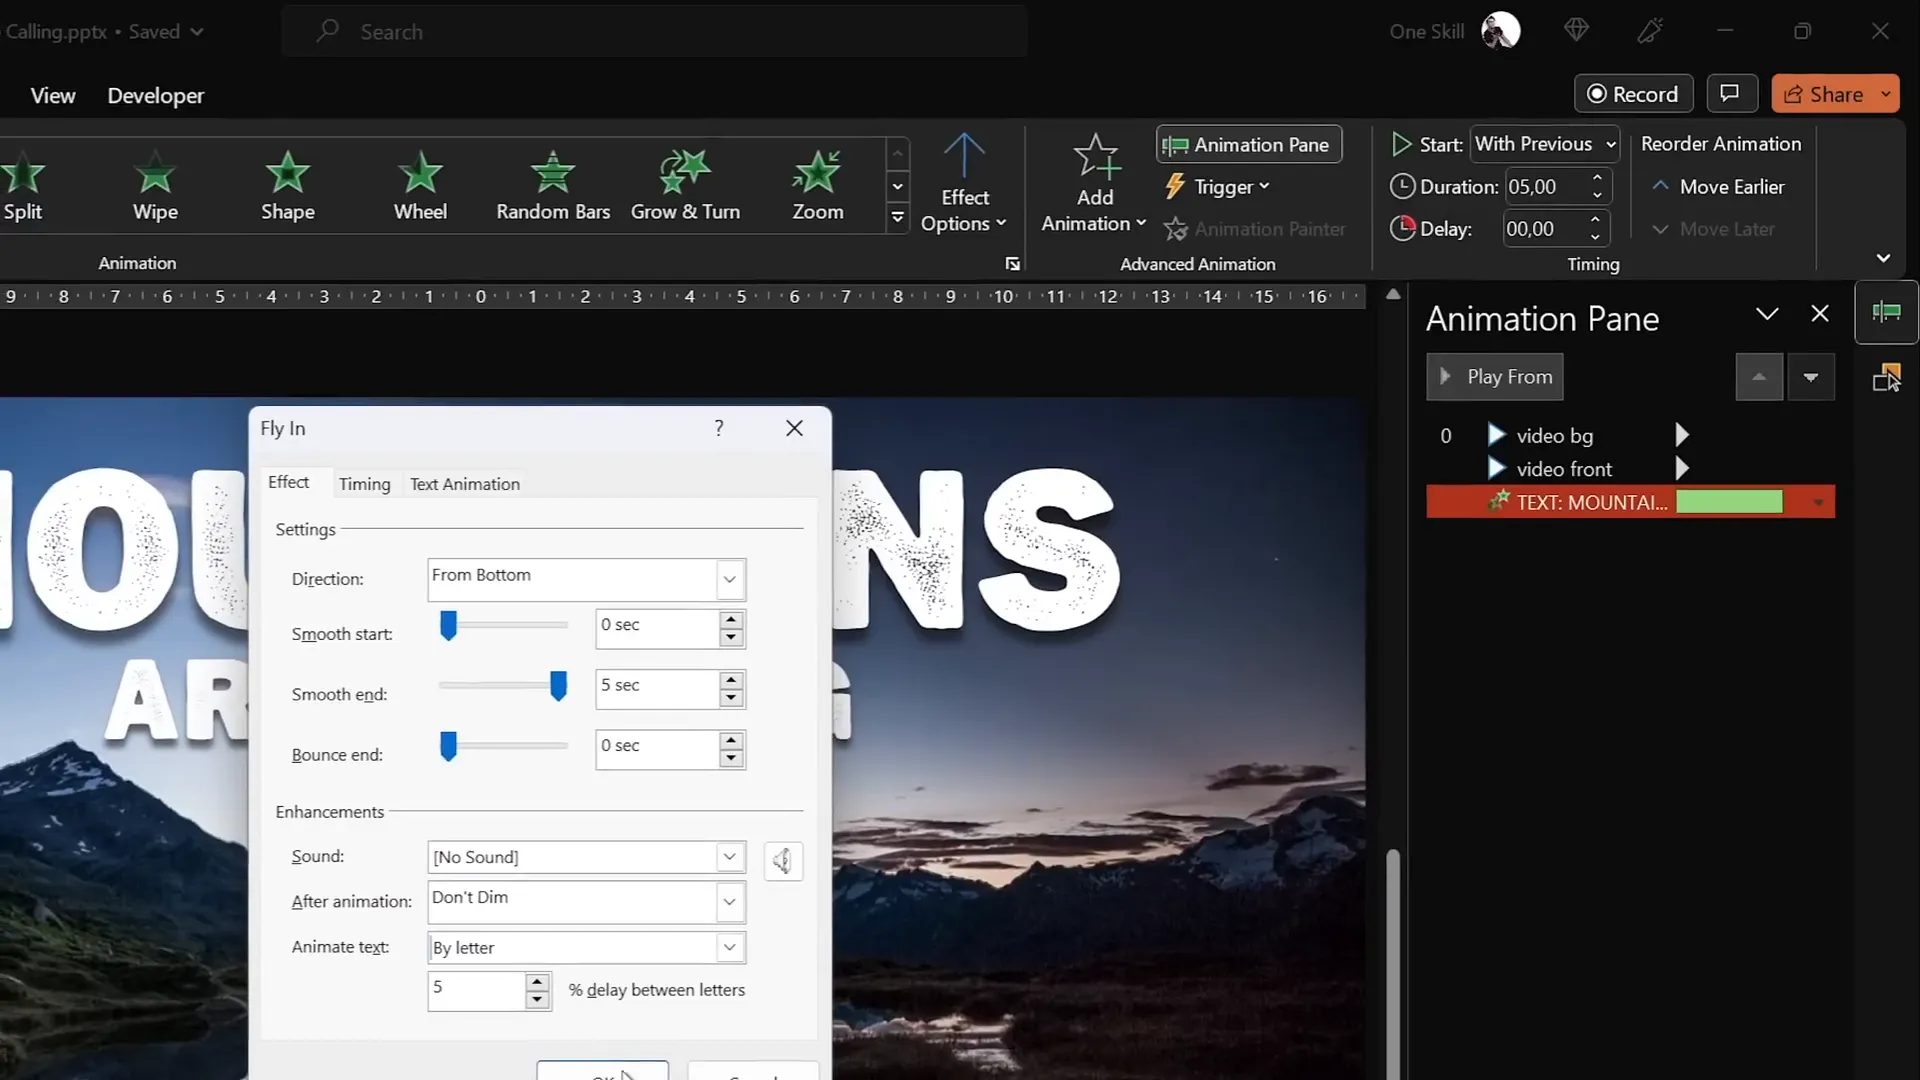
Next, add entrance animations to make the text fly in letter by letter:
- Apply the Fly In animation, setting it to start With Previous and duration of 5 seconds.
- In the effect options, choose Maximum Smooth End for a polished look.
- Animate text By Letter with a 5% delay between letters.
To make the animation even more captivating, add a simultaneous Basic Zoom entrance animation with the same timing and letter delay.
Final Touches and Animation Tweaks
To complete the effect, add exit animations so the text flies out and zooms away:
- Add a Fly Out animation starting With Previous, duration 5 seconds, with Maximum Smooth Start.
- Add a Basic Zoom Out animation with the same timing.
- Group exit animations and add a delay (try 11 seconds) so the text remains visible for a moment before exiting.
When you preview the slide, the text should elegantly rise from behind the mountains, linger, then zoom and fly away behind the peaks — all perfectly synced with the looping mountain video.
To add a fun personal touch, you can insert objects or images between the video layers, such as a pet photo or logo, for dynamic layering effects.
Summary Table: Key Steps for Creating the Mountain Text Video Effect
| Step | Action | Tips |
|---|---|---|
| 1 | Insert full-screen mountain video | Use a video with static foreground and dynamic sky |
| 2 | Duplicate video for front and background layers | Align videos exactly and name them for clarity |
| 3 | Crop front video to remove sky | Use Freeform shapes or Photopea SVG for precision |
| 4 | Set both videos to play automatically and loop | Ensure no delays in playback animations |
| 5 | Insert and format white text between video layers | Use thematic fonts like Joyful Mountain |
| 6 | Add entrance and exit animations to text | Animate by letter for dynamic effect |
| 7 | Preview and adjust timing | Fine-tune animation delays for smoothness |
Frequently Asked Questions
Can I use any video for this effect?
You can use any video, but for best results, choose one with a clear, static foreground (like mountains) and a dynamic background (like changing sky). This contrast allows for effective masking and layering of text.
Is this technique possible in older versions of PowerPoint?
This tutorial uses features available in Office 365. Some tools like Merge Shapes and advanced video playback options may not be available or behave differently in older versions.
Do I need to be proficient in graphic design to create the shape masks?
You don’t need to be a professional designer. PowerPoint’s Freeform Shape tool is user-friendly for tracing shapes. For more precision, free online tools like Photopea help automate complex masking.
How can I add the Merge Shapes button to my Quick Access Toolbar?
If the Merge Shapes option is missing, you can add it by customizing your Quick Access Toolbar in PowerPoint’s options. Numerous tutorials are available online to guide you through this simple process.
Can I animate other objects between the video layers?
Absolutely! You can insert images, logos, or even animated shapes between the two video layers to create creative visual effects.
Where can I find fonts similar to “Joyful Mountain”?
Fonts like “Joyful Mountain” can be found on free font repositories such as FontSpace. Choose fonts that complement your video theme for the best visual harmony.
Is it possible to export this presentation as a video?
Yes, once your animations and video effects are set, you can export your PowerPoint presentation as a video file through File > Export > Create a Video. This preserves the animations and video playback.
Conclusion
Creating engaging PowerPoint video effects doesn’t require advanced video editing software. With a bit of creativity and the powerful tools built into PowerPoint, you can design stunning animations that integrate video and text in seamless, cinematic ways.
By using two identical video clips layered and masked cleverly, you simulate complex masking effects like text rising from behind mountains and disappearing behind them again. Coupled with letter-by-letter animations and synchronized playback, this effect elevates your presentations and storytelling.
Whether you’re crafting an impactful presentation, a marketing pitch, or a personal project, mastering this technique will add a professional edge to your PowerPoint skills.
Remember to experiment with different videos, fonts, and animation timings to make the effect your own. And don’t hesitate to explore free online tools like Photopea to refine your masking precision.
Happy presenting, and may your slides always captivate and inspire!
Check out the full video: EPIC PowerPoint Video Effect Tutorial


