
If you’re eager to elevate your PowerPoint skills and design captivating animated slides, you’ve landed in the right spot. In this comprehensive guide, we’ll walk you through creating an impressive animated slide design — specifically a virtual planner user interface — entirely within PowerPoint. This tutorial focuses on leveraging advanced features such as morph transitions, slide zooms, and creative widget designs to build a dynamic, interactive presentation that feels professional and modern.
The techniques shared here come from One Skill PPT’s expert tutorial, where you’ll learn how to incorporate beautiful photos, stylish text effects, and smooth animations to create a user interface that looks like it was made in a dedicated design tool — but it’s all done inside PowerPoint.
Table of Contents
- Getting Started: Setting Up Your PowerPoint Slides
- Inserting and Adjusting Background Photos
- Removing Photo Backgrounds for a Clean Look
- Creating Morph Animations for Smooth Transitions
- Designing and Styling Text Boxes
- Building Modern UI Widgets with Blurred Backgrounds
- Advanced Morph Animations and Slide Management
- Adding Interactive Slide Zooms
- Final Tips and Presentation Review
- Frequently Asked Questions
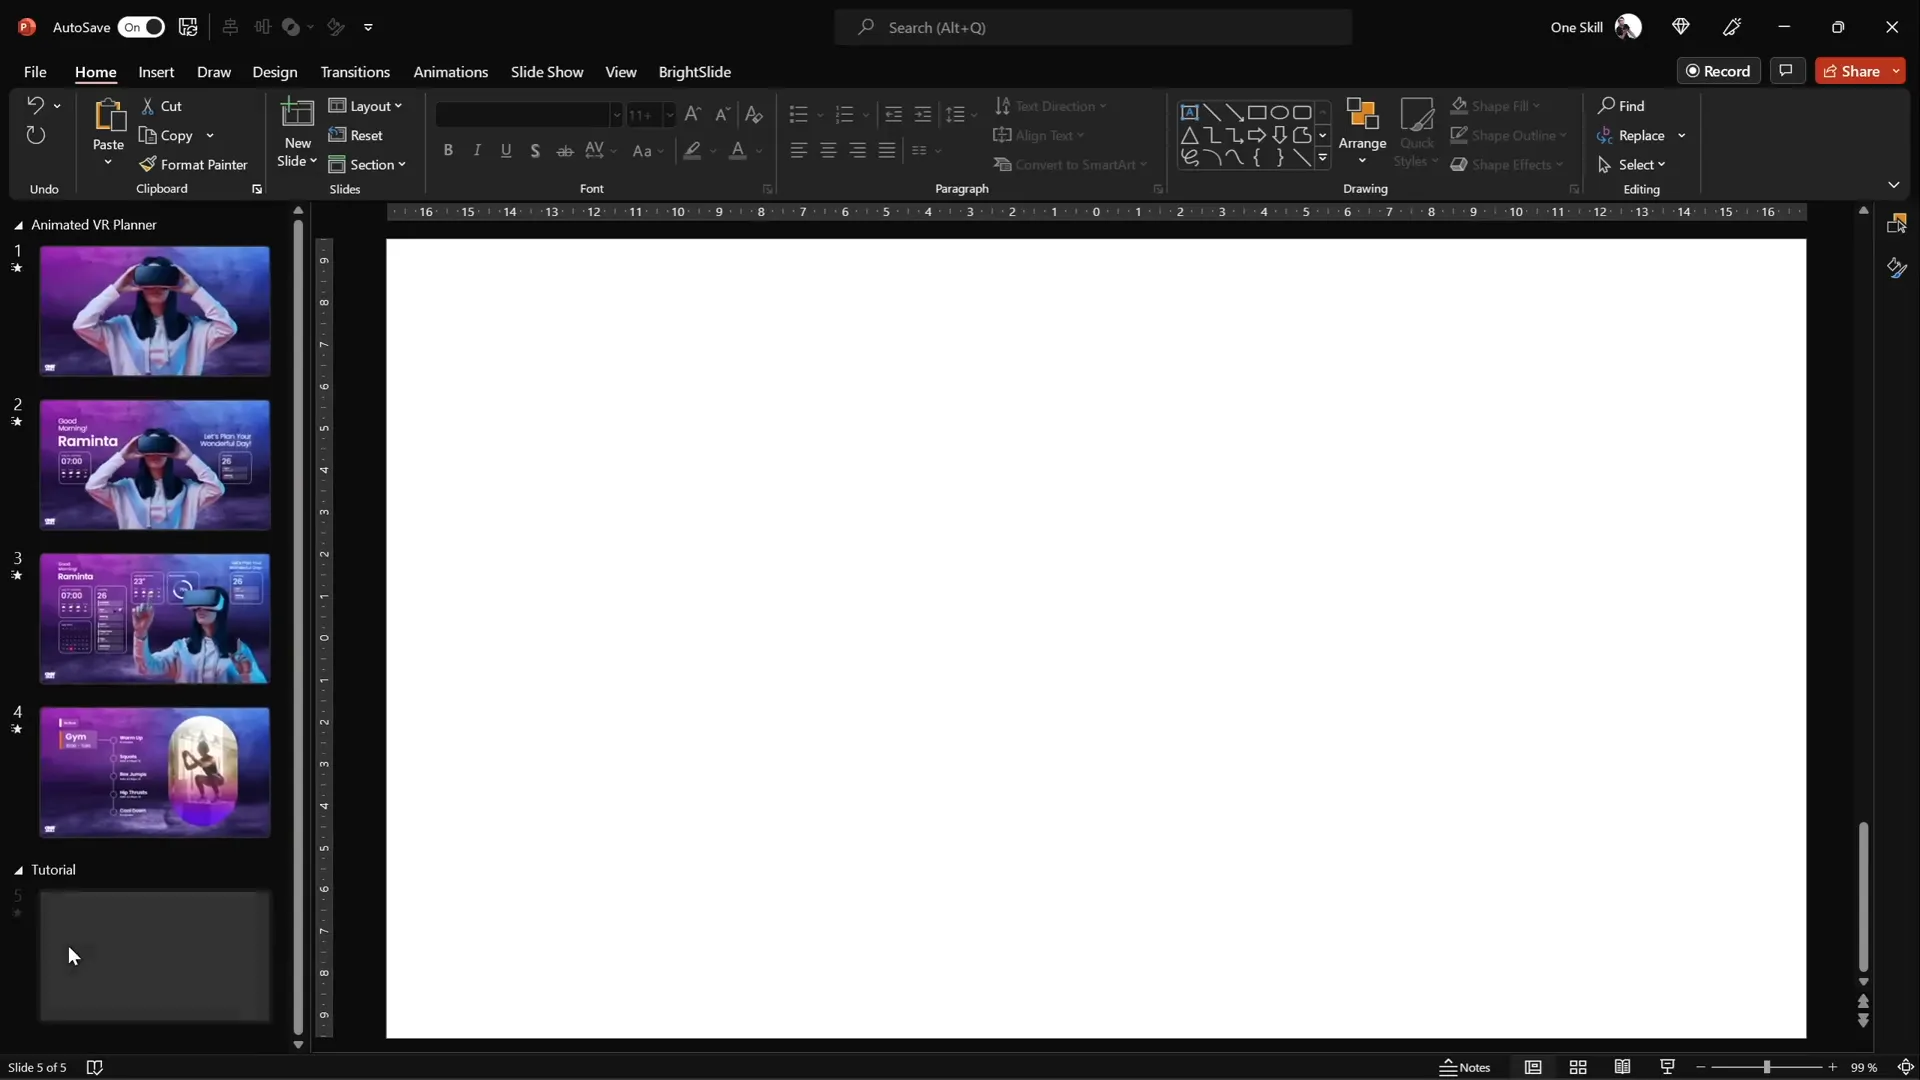
Getting Started: Setting Up Your PowerPoint Slides
Before diving into the design, it’s essential to understand the overall structure of your presentation. For this virtual planner UI, the project consists of four beautifully crafted slides that work together with transitions and animations to create an interactive feel.
Start by opening PowerPoint and inserting a blank new slide. This blank canvas will be the foundation on which you’ll build the background, photos, text boxes, and widgets.
Inserting and Adjusting Background Photos
The background sets the tone for your entire slide design. For this project, the background is a high-quality photo that adds depth and context without overwhelming the content.
One Skill PPT recommends using Depositphotos.com for sourcing stunning stock photos. Depositphotos offers a wide range of images, vectors, music, and videos, making it a versatile resource for creative projects. The video tutorial uses photos from Depositphotos, with a special thanks for sponsoring the project.
To insert a background photo:
- Download your preferred high-quality photo (the tutorial uses “excel” quality for crisp visuals).
- In PowerPoint, go to Insert > Pictures > This Device and select the downloaded background photo.
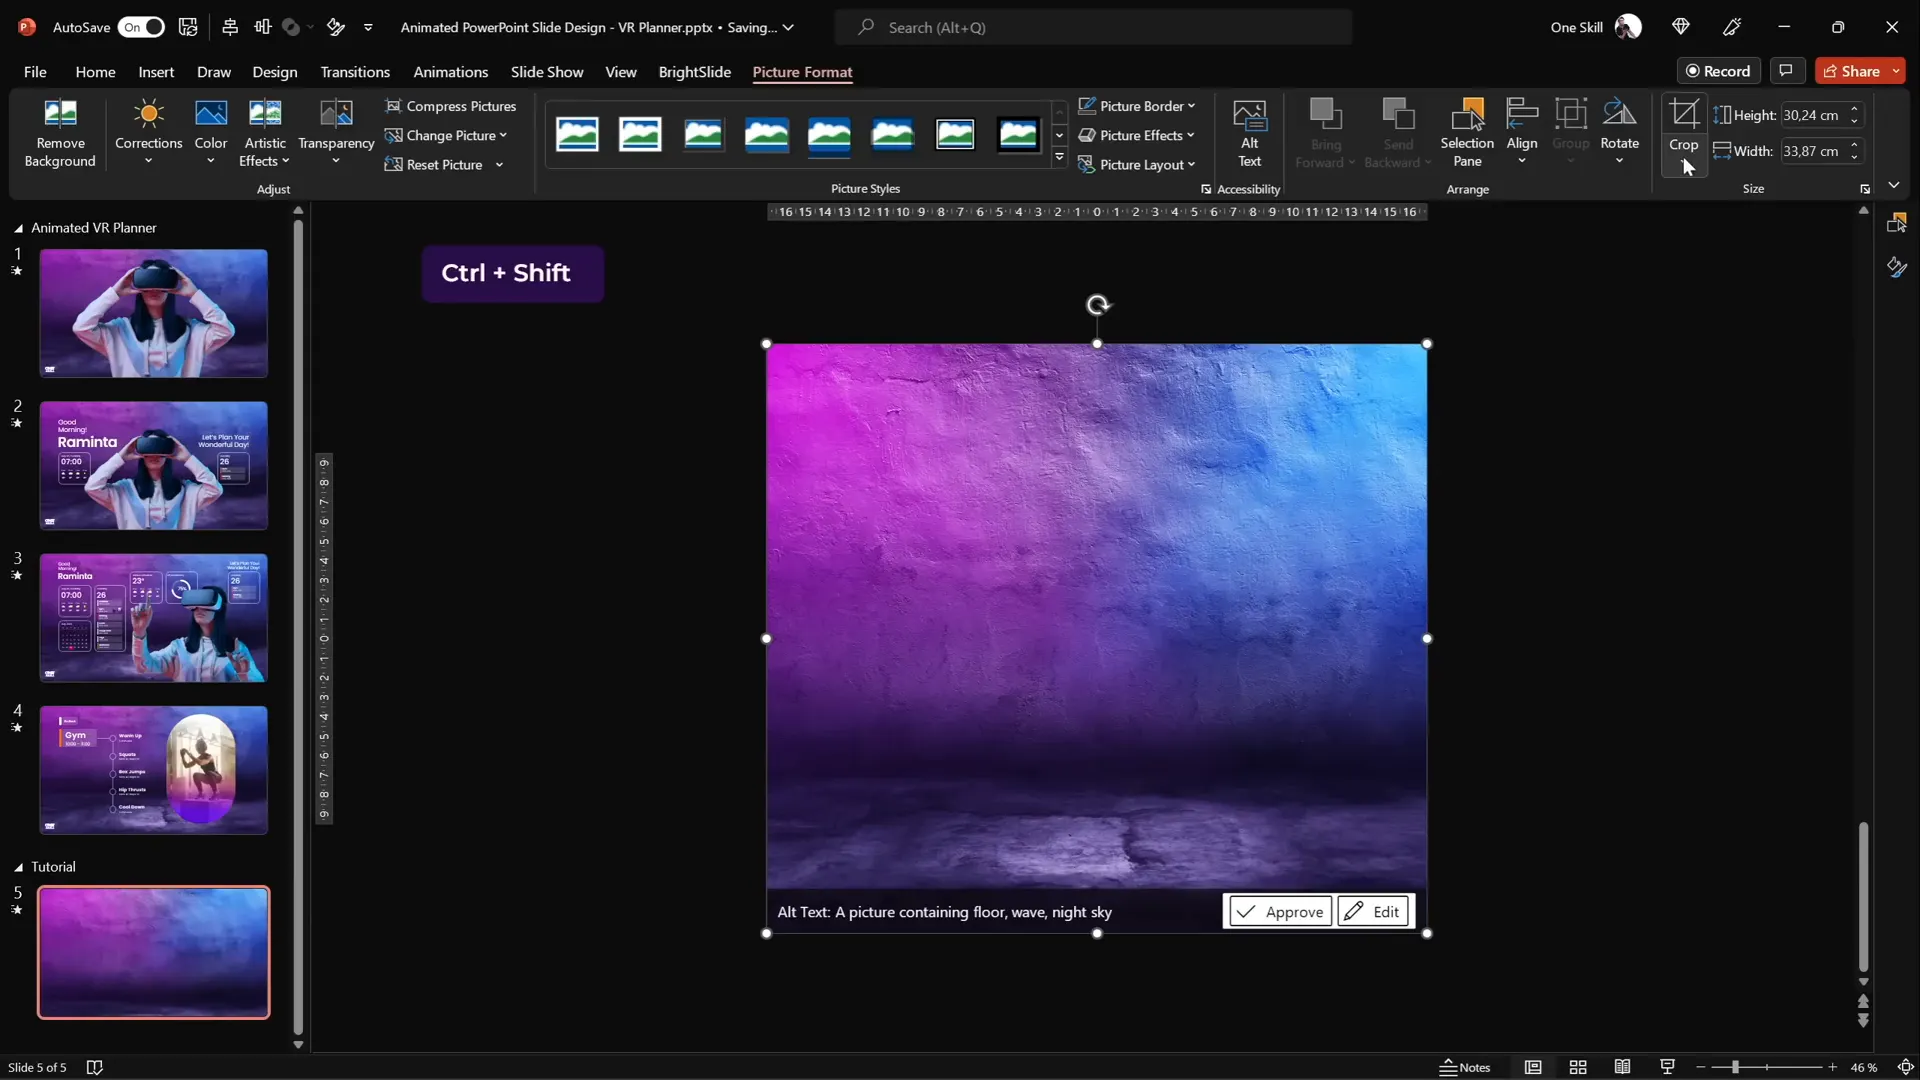
- Once inserted, the photo may not cover the entire slide. To fix this, select a corner of the photo, hold down Ctrl + Shift, and drag outward to expand it proportionally until it covers the slide fully.
- Use the Crop tool to adjust the photo’s framing to a 16:9 aspect ratio, then position the photo as desired, usually dragging it slightly upward for better composition.
- Click Crop again to finalize the changes.
This process ensures your background photo is perfectly sized and framed for the slide.
Removing Photo Backgrounds for a Clean Look
Next, you’ll add a photo of a model wearing virtual reality (VR) glasses to enhance the futuristic UI vibe. However, most stock photos come with backgrounds that may clash with your design. To integrate the model seamlessly, the background needs to be removed.
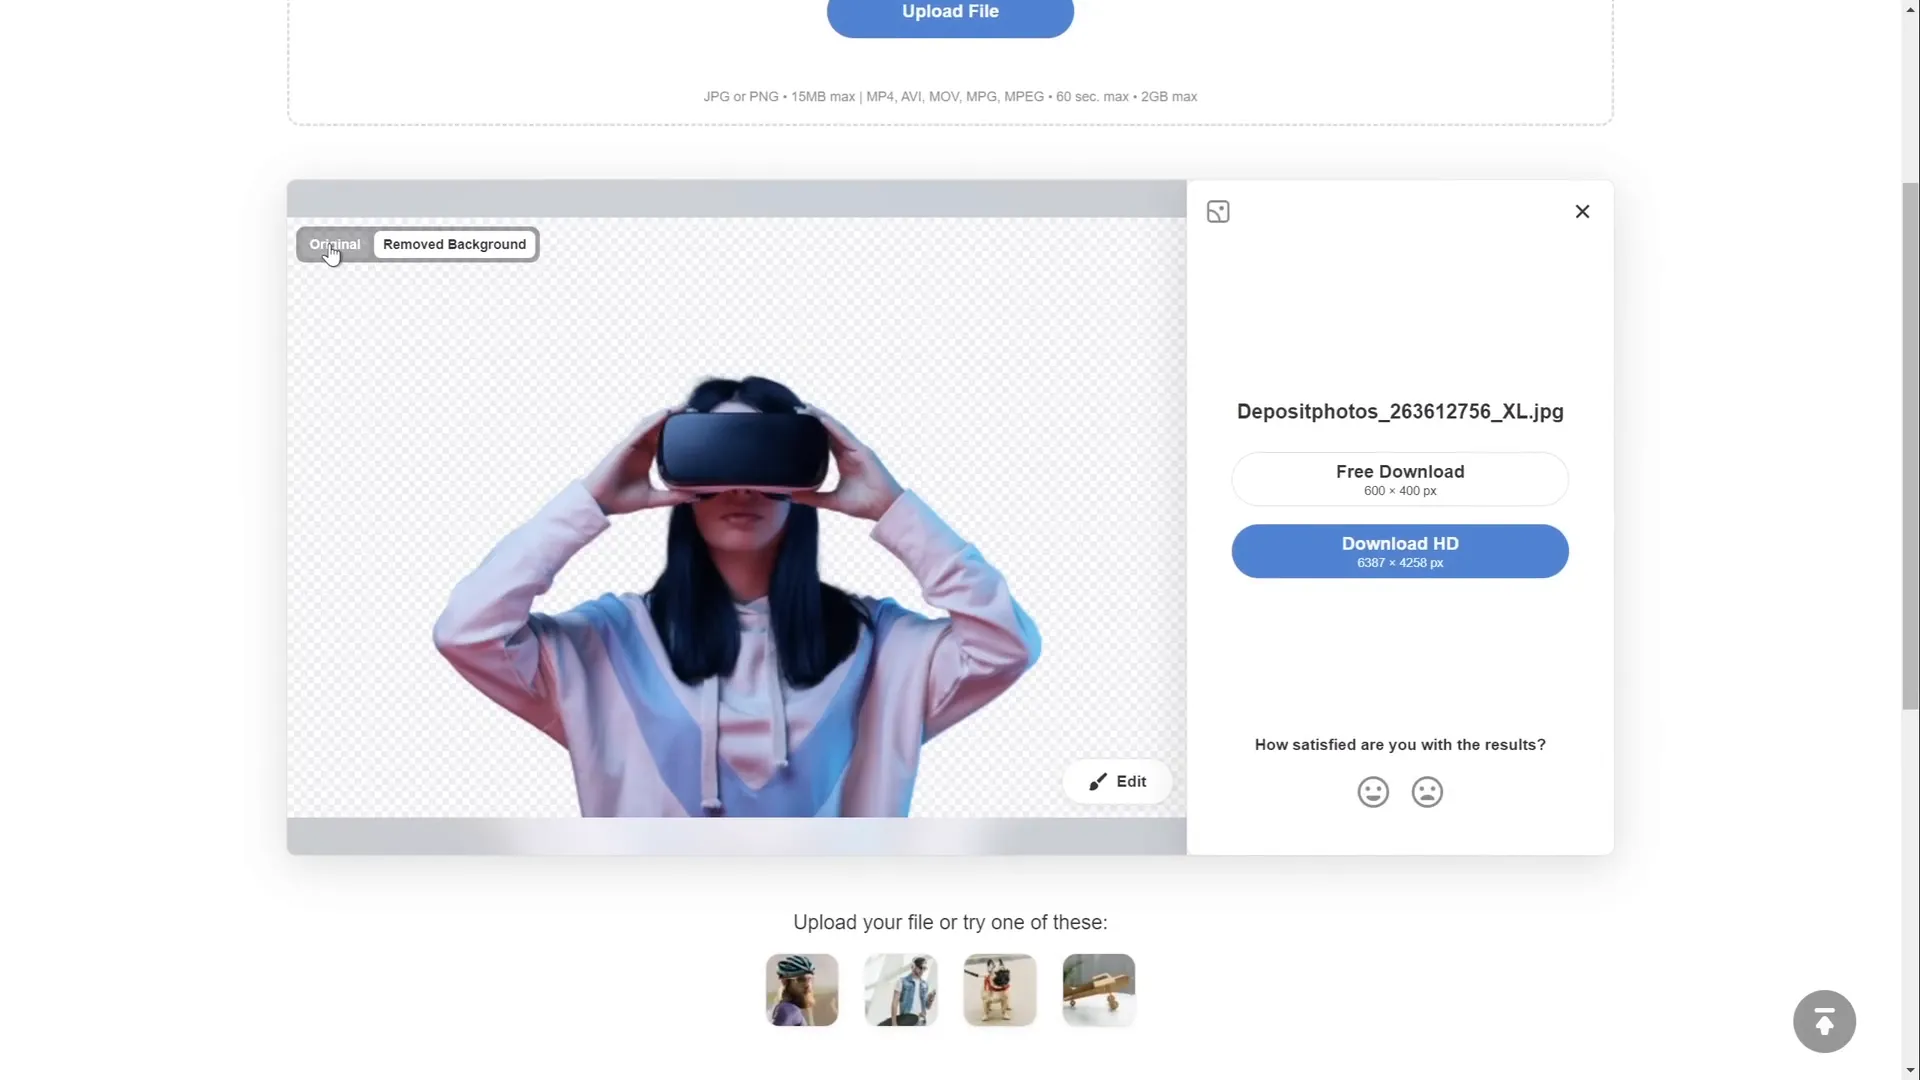
Depositphotos offers a Free Background Remover tool that works like magic — simply drag and drop your image, and it removes the background automatically.
Here’s how to use it:
- Upload your photo with the background.
- The tool processes and outputs a clean cutout of the subject without the background.
- Download the cutout image for free in standard resolution, or opt for an HD version with a subscription.
Using this tool saves hours of manual background removal and results in a crisp, professional cutout ready to be placed on your slide.
After downloading, insert the cutout photo into your slide, and position it appropriately. Zoom out if needed to see the full slide layout.
Creating Morph Animations for Smooth Transitions
The tutorial’s standout feature is the use of PowerPoint’s Morph Transition to create dynamic animations where objects smoothly transform between slides.
For example, the model photo shrinks in size while text boxes and widgets simultaneously fly in from the sides.
To achieve this effect:
- Insert all the elements (model photo, text boxes, widgets) on your first slide.
- Duplicate the slide by right-clicking it in the slide pane and selecting Duplicate Slide or pressing Ctrl + D.
- On the duplicate slide, resize the model photo smaller, ensuring it remains center-aligned.
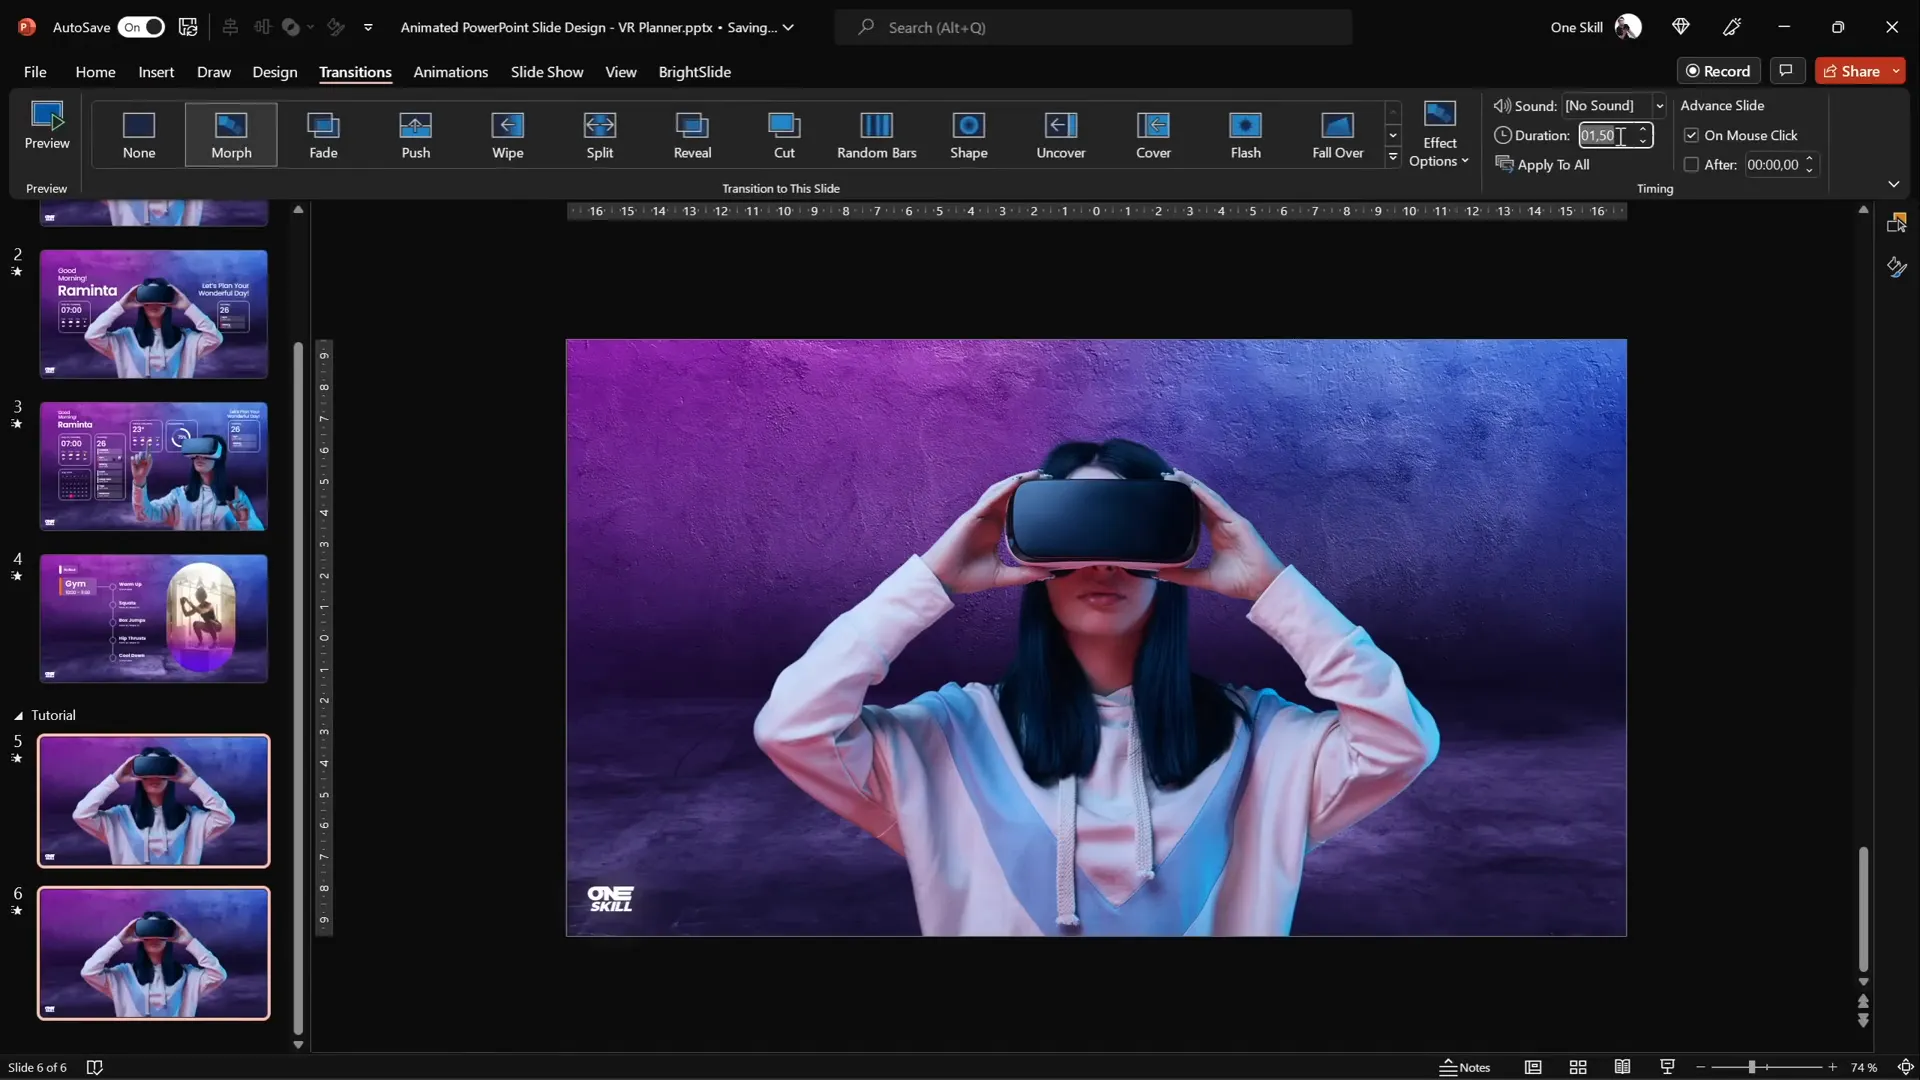
- Select both slides in the slide pane by holding Ctrl and clicking each.
- Go to the Transitions tab and select Morph.
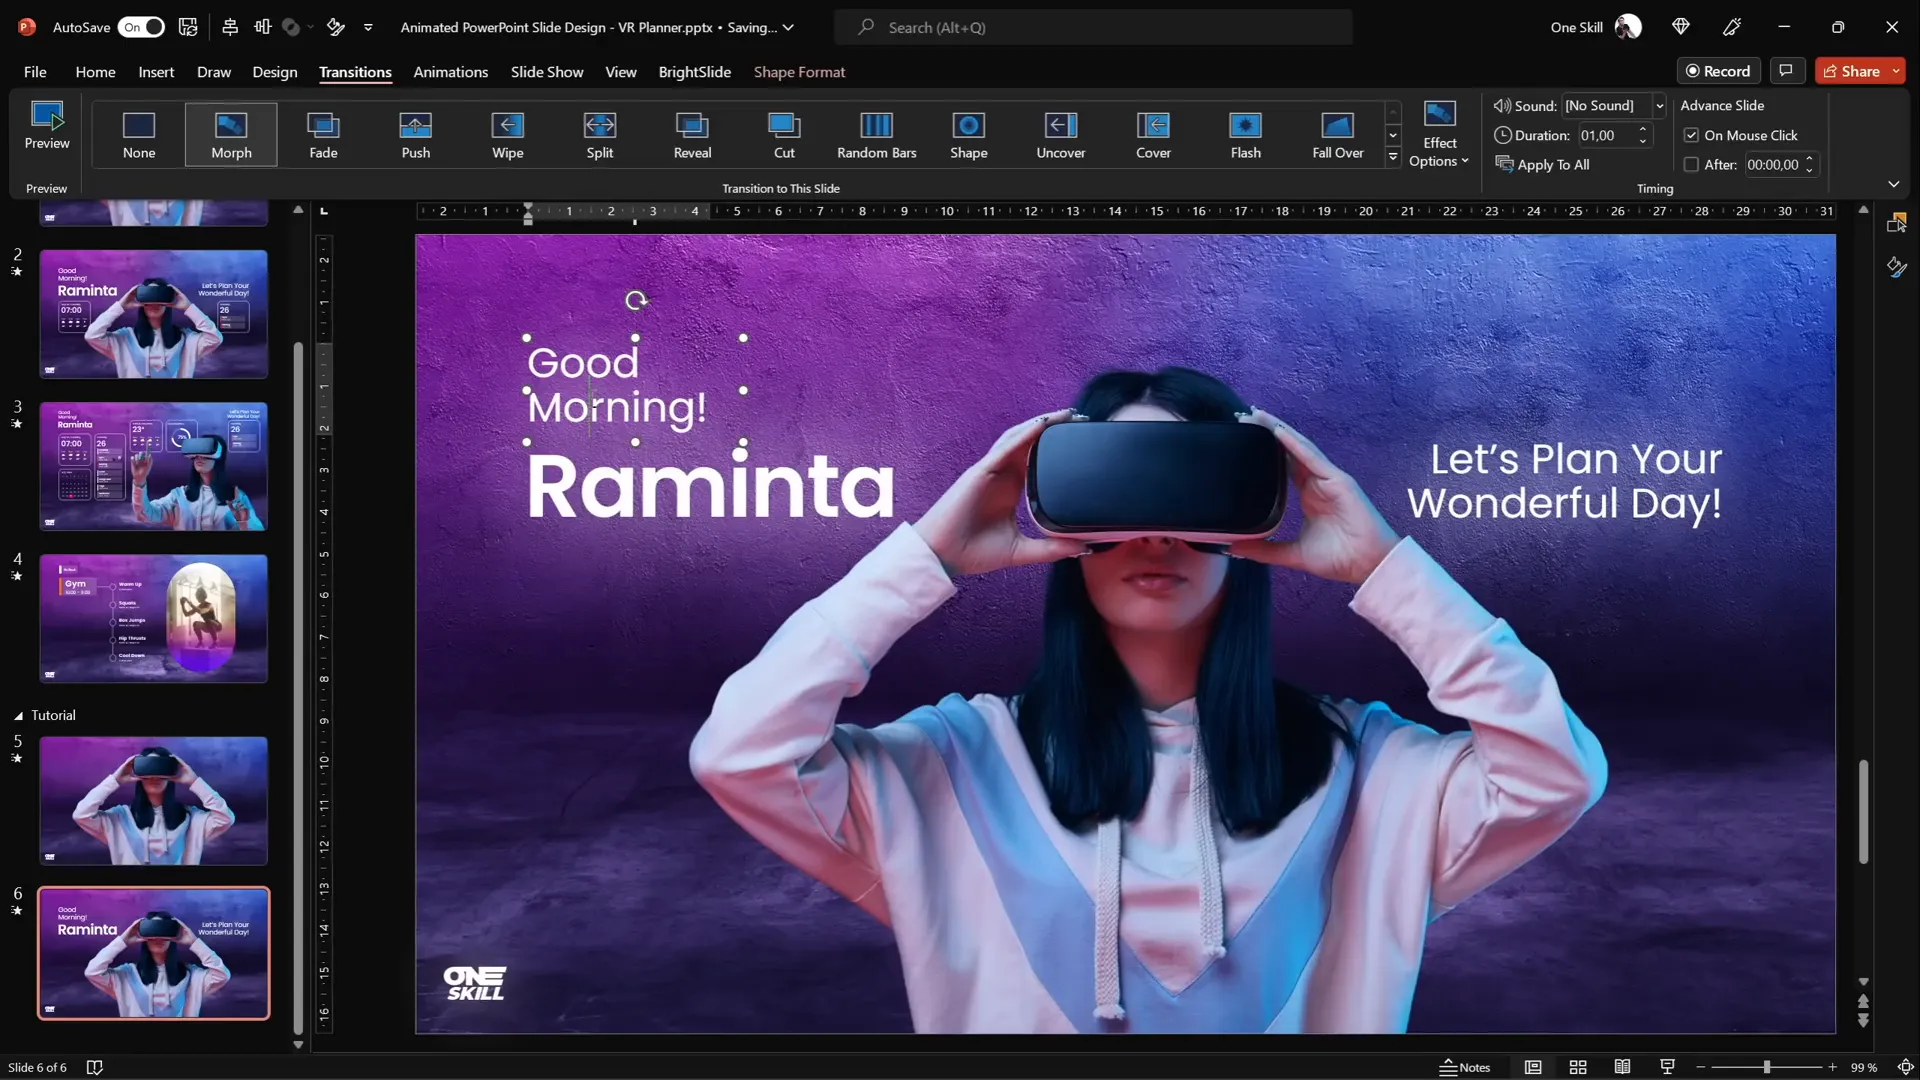
- Set the transition duration (the tutorial uses 1 second for a smooth effect).
When you run the slideshow, the model photo will smoothly shrink transitioning from the first to the duplicate slide. Navigating back will restore the original size.
Designing and Styling Text Boxes
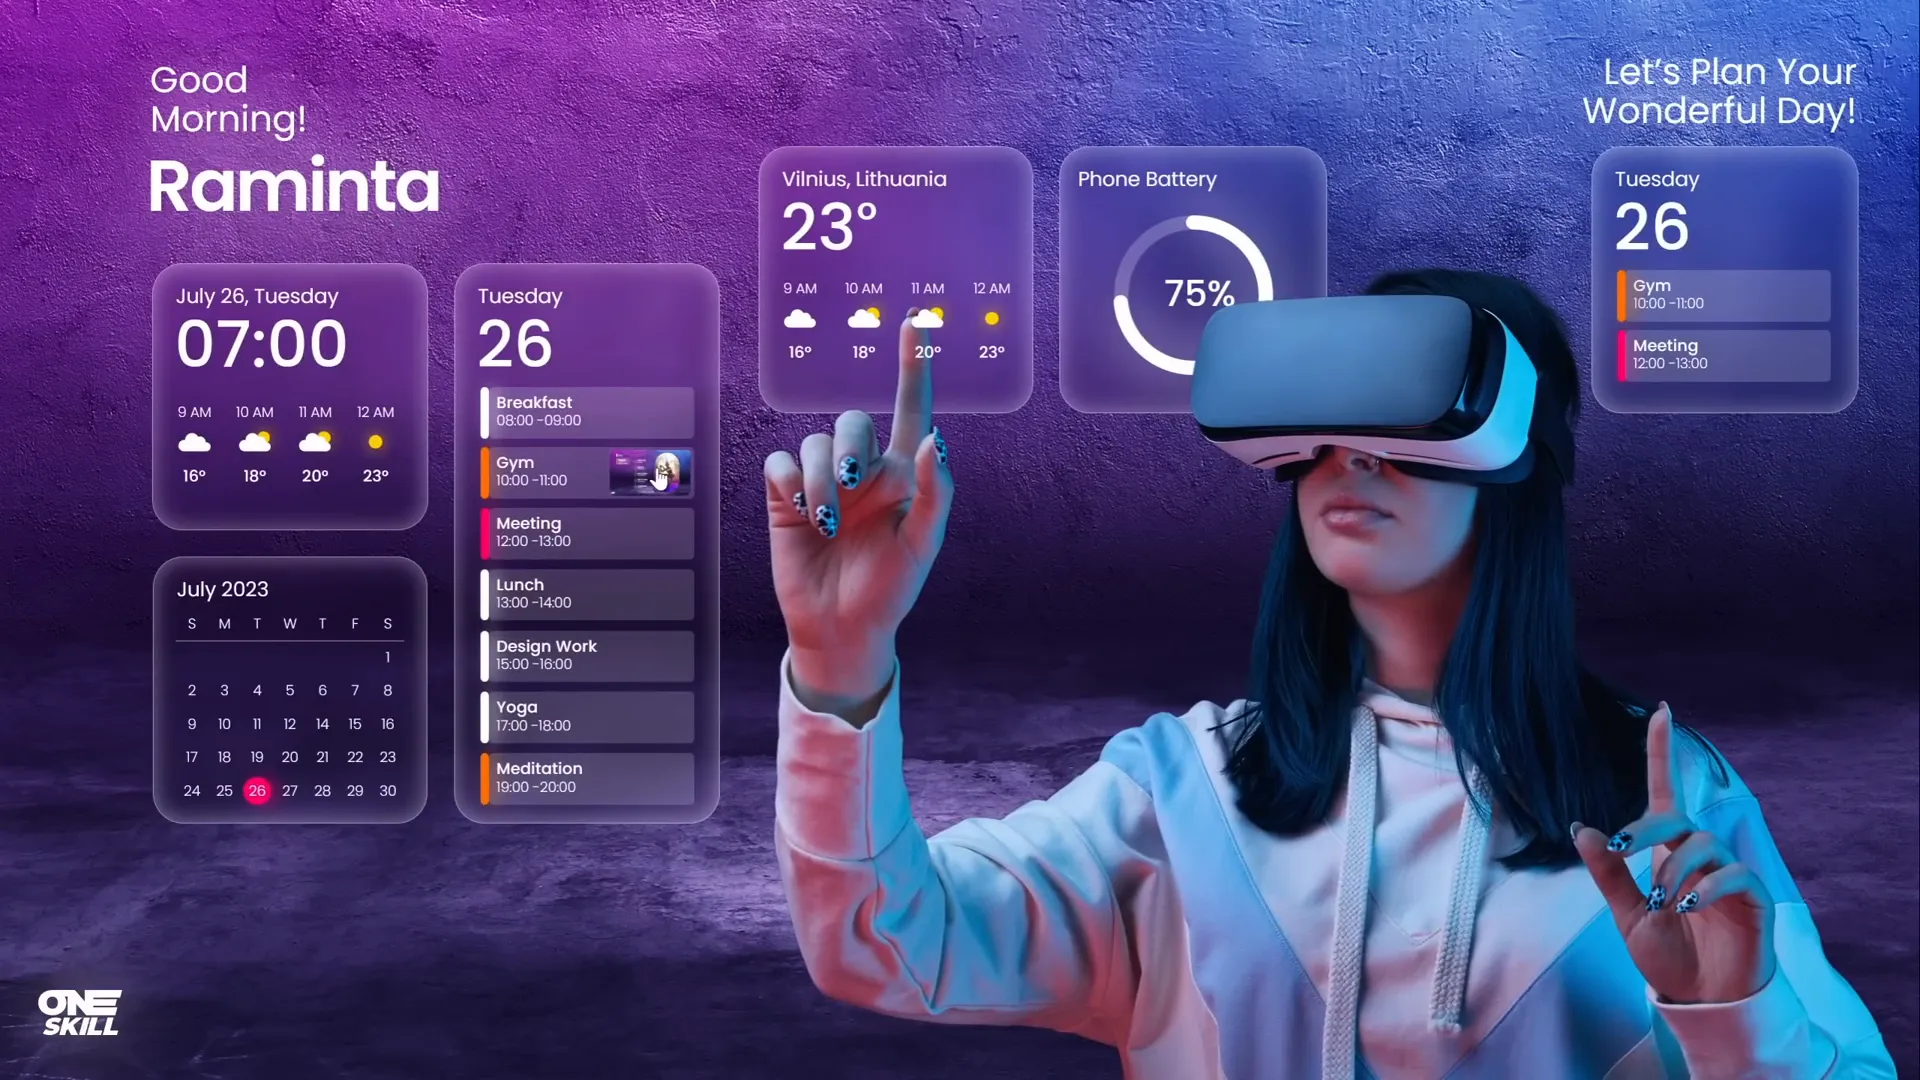
Text plays a crucial role in the virtual planner UI. The tutorial uses warm greetings and planning prompts, such as:
“Good morning, Raminta. Let’s plan your wonderful day.”
If you’re curious, “Raminta” is a popular Lithuanian woman’s name, adding a personal and authentic touch.
The text styling is elegant, using the Poppins font family from Google Fonts. Different font weights are applied — regular for some text and semi-bold for emphasis.
To create a glowing effect, each text box has a white shadow applied with these settings:
- Shadow color: White
- Blur: 100 points
- Size: 100%
This subtle glow enhances readability and complements the futuristic design.
Once styled, position the text boxes around the model photo, ensuring enough spacing for a breathable layout.
For the morph animation to work seamlessly, copy the text boxes onto the previous slide but place them outside the slide boundaries. This way, they fly in smoothly during the transition.
Building Modern UI Widgets with Blurred Backgrounds
One of the most eye-catching UI elements is the set of minimalistic widgets — one showing current time and weather, another displaying the daily schedule.
These widgets feature a stylish frosted glass effect, achieved by using a blurred version of the slide background as the fill for the widget shapes.
Step-by-step guide to creating a widget
- Insert a rounded rectangle shape for the widget outline.
- Set the outline color to white and the fill to no fill.
- Adjust the outline’s transparency to 50% and reduce the line width to 0.5 pt for a subtle effect.
- Copy the background photo and paste it elsewhere on the slide.
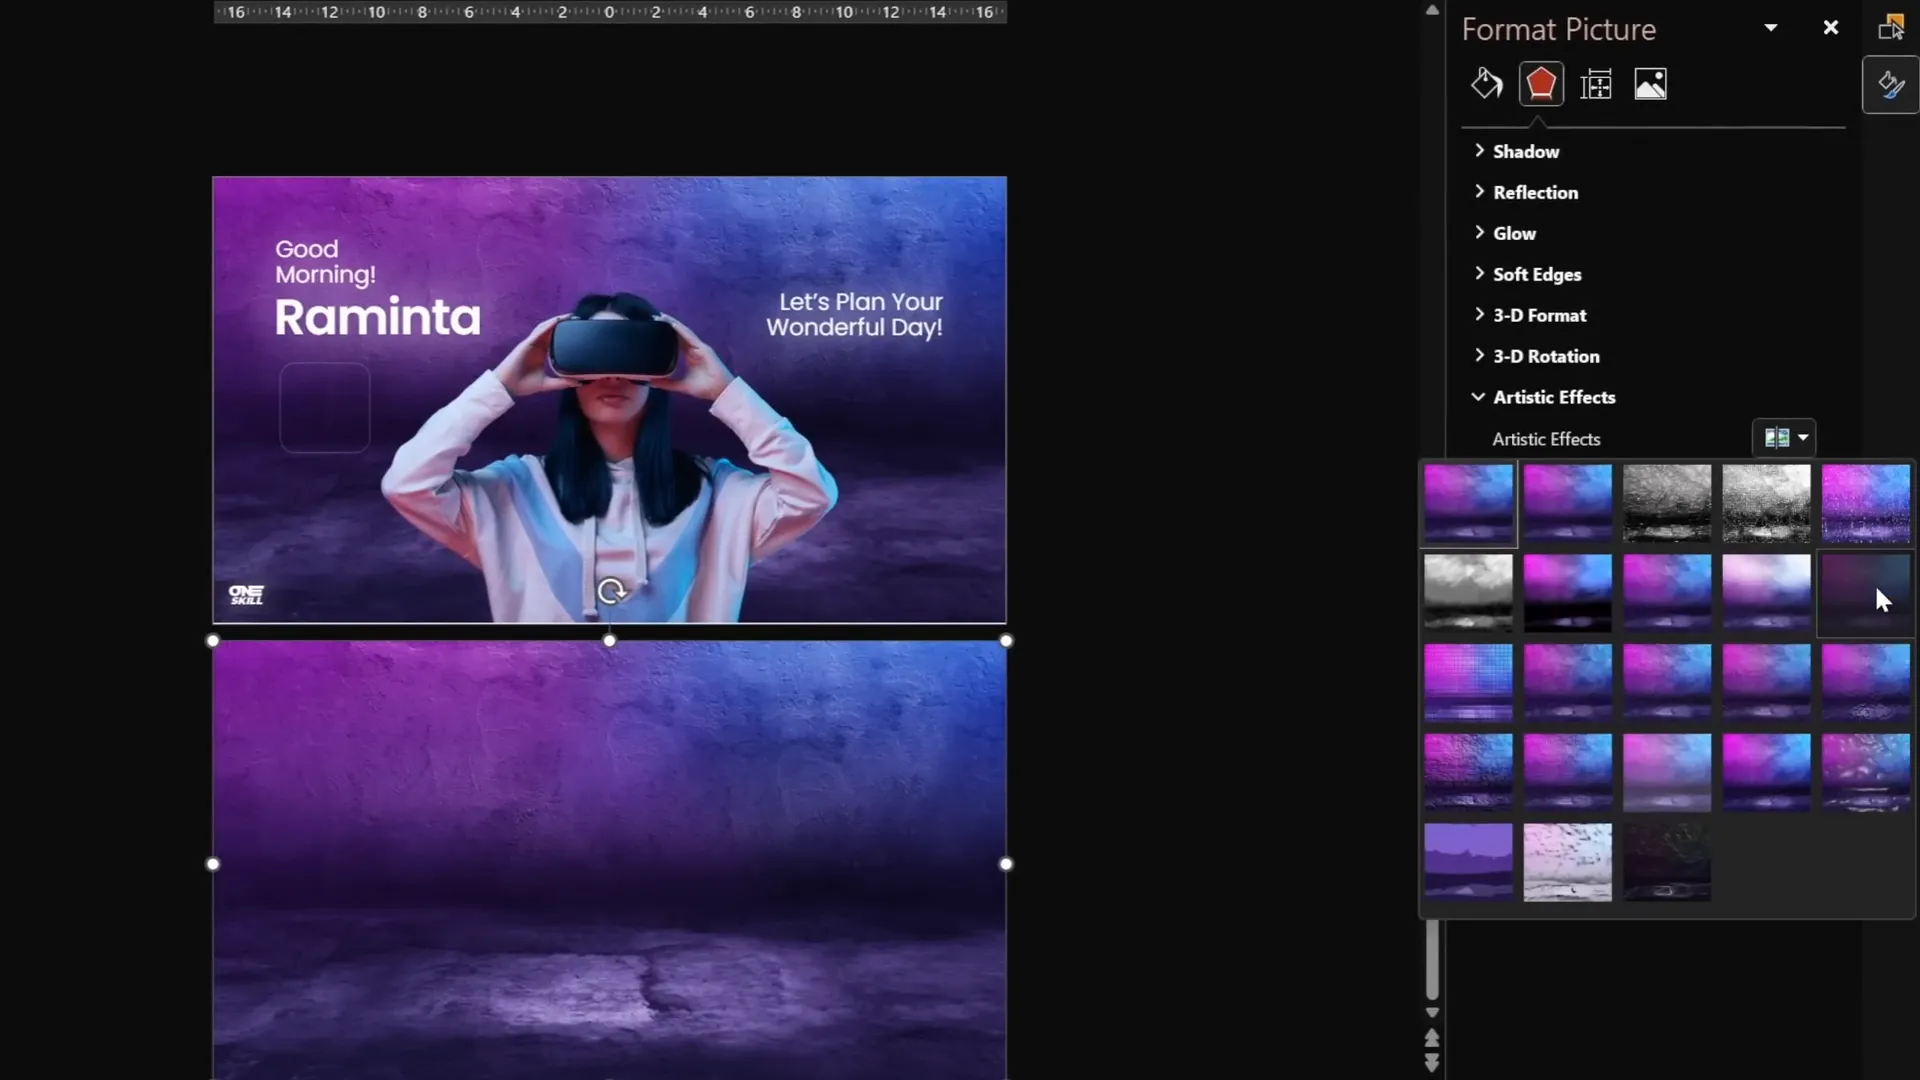
- Apply the Blur artistic effect to the copied background with a blur radius of 50% to create a frosted effect.
- Copy this blurred background image and then delete it from the slide.
- Go to Format Background, select Picture or texture fill, and choose Clipboard to paste the blurred image as the slide background.
- Select the rounded rectangle shape, go to Fill options, and choose Slide background fill. The shape will now display a blurred version of the background as its fill.
- Add an inside white shadow (50% transparency, 15 pt blur) to create a frosty edge around the widget.
- Insert text boxes for time, temperature, and weather conditions, aligning them neatly inside the widget.
- Create simple weather icons using PowerPoint’s Insert Icons feature (e.g., a white cloud and a glowing sun made from a circle with an orange shadow).
- Group all widget elements for easy management and positioning.
This technique allows the widget to adapt dynamically to the slide’s background, giving a modern, glass-like appearance.
Advanced Morph Animations and Slide Management
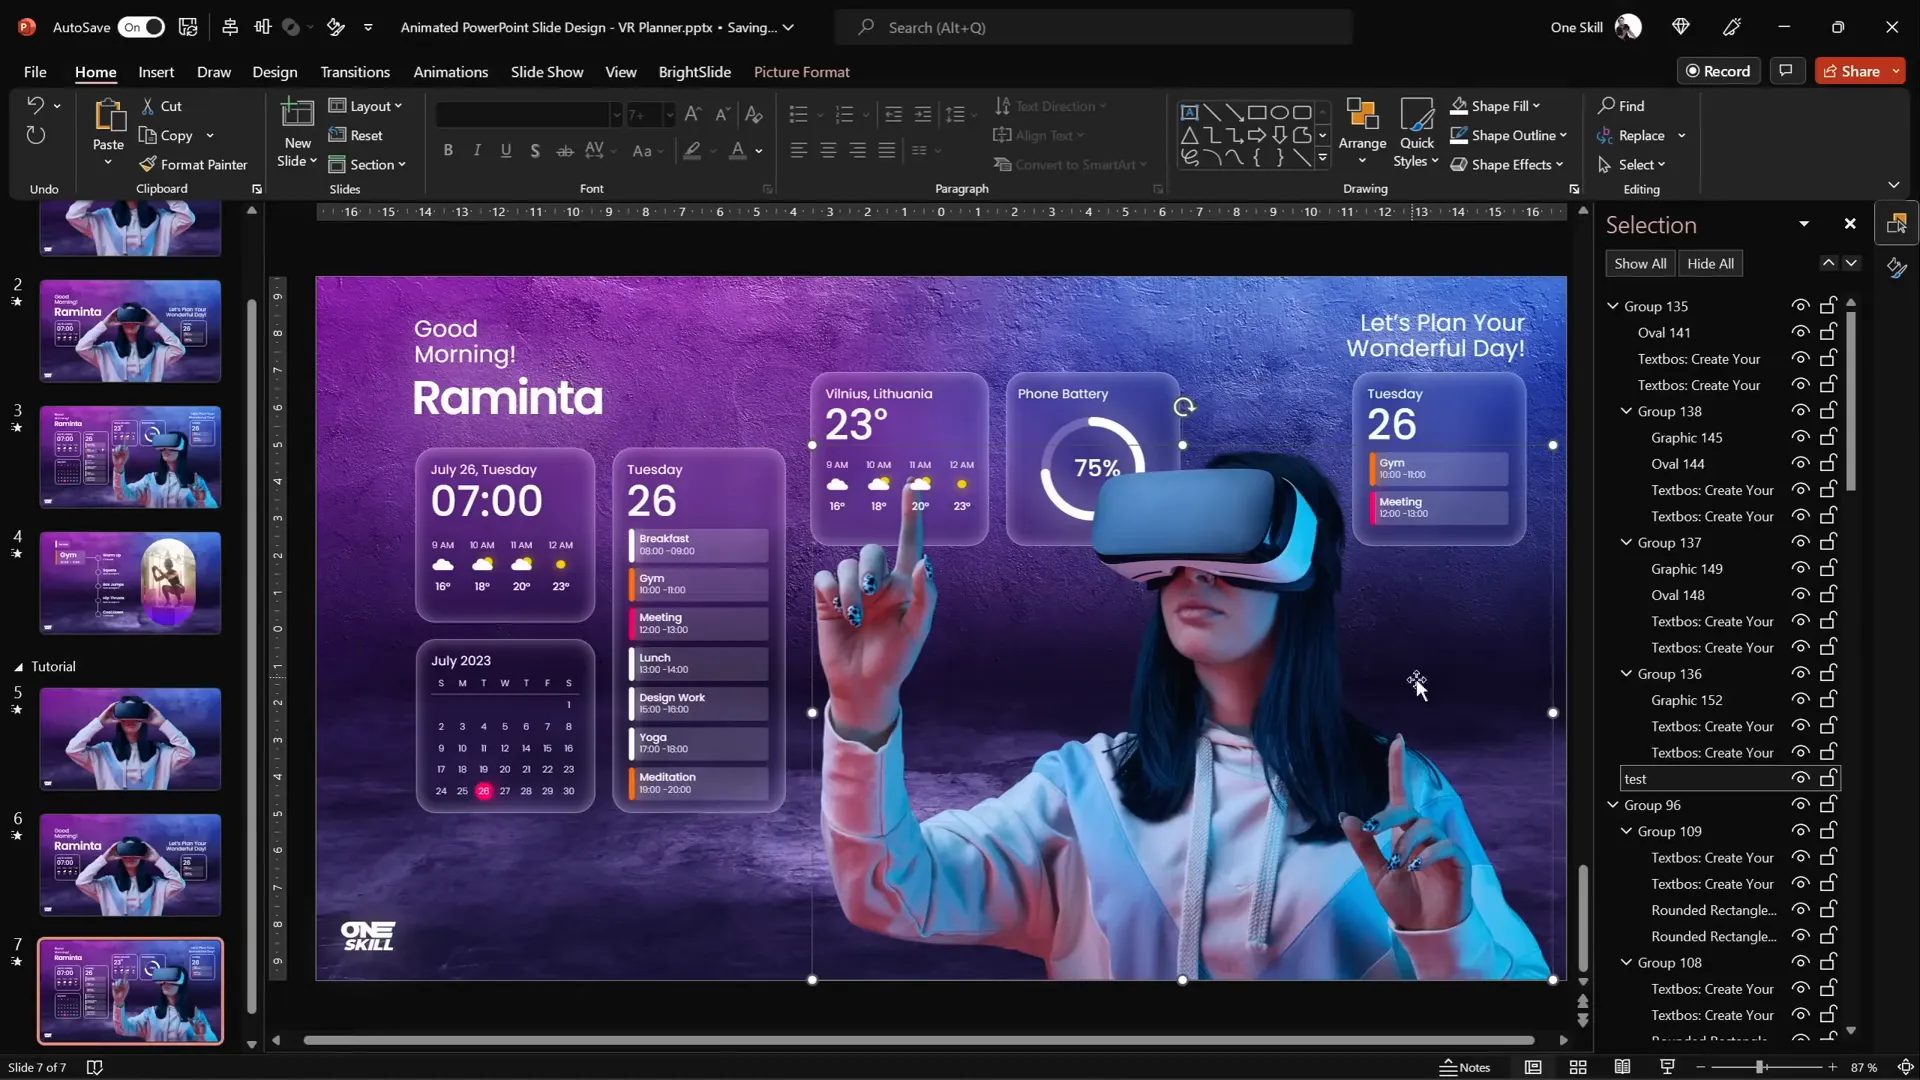
As the presentation progresses, additional morph transitions animate the appearance and positioning of new photos, widgets, and text boxes.
One important tip shared is about morphing different photos smoothly: to morph two different photos, rename them in the selection pane to have matching names prefixed with double exclamation marks (e.g., “!!Photo”). This naming trick ensures PowerPoint recognizes them as the same object and animates the morph accordingly.
To save time, duplicate slides and copy groups of elements between them, deleting or repositioning items as needed for each stage of the animation.
For widgets that appear only on one slide, position them outside the slide boundaries on the previous slide so they animate in properly during morph transitions.
The tutorial also advises managing the layering order carefully — for example, placing cloud icons in front of the model’s finger to create a more interesting visual effect.
Adding Interactive Slide Zooms
One of the most powerful features to enhance interactivity is the Slide Zoom. This feature allows you to create clickable thumbnails that zoom into other slides, mimicking a user interface’s tab or menu system.
Here’s how to add and customize slide zooms:
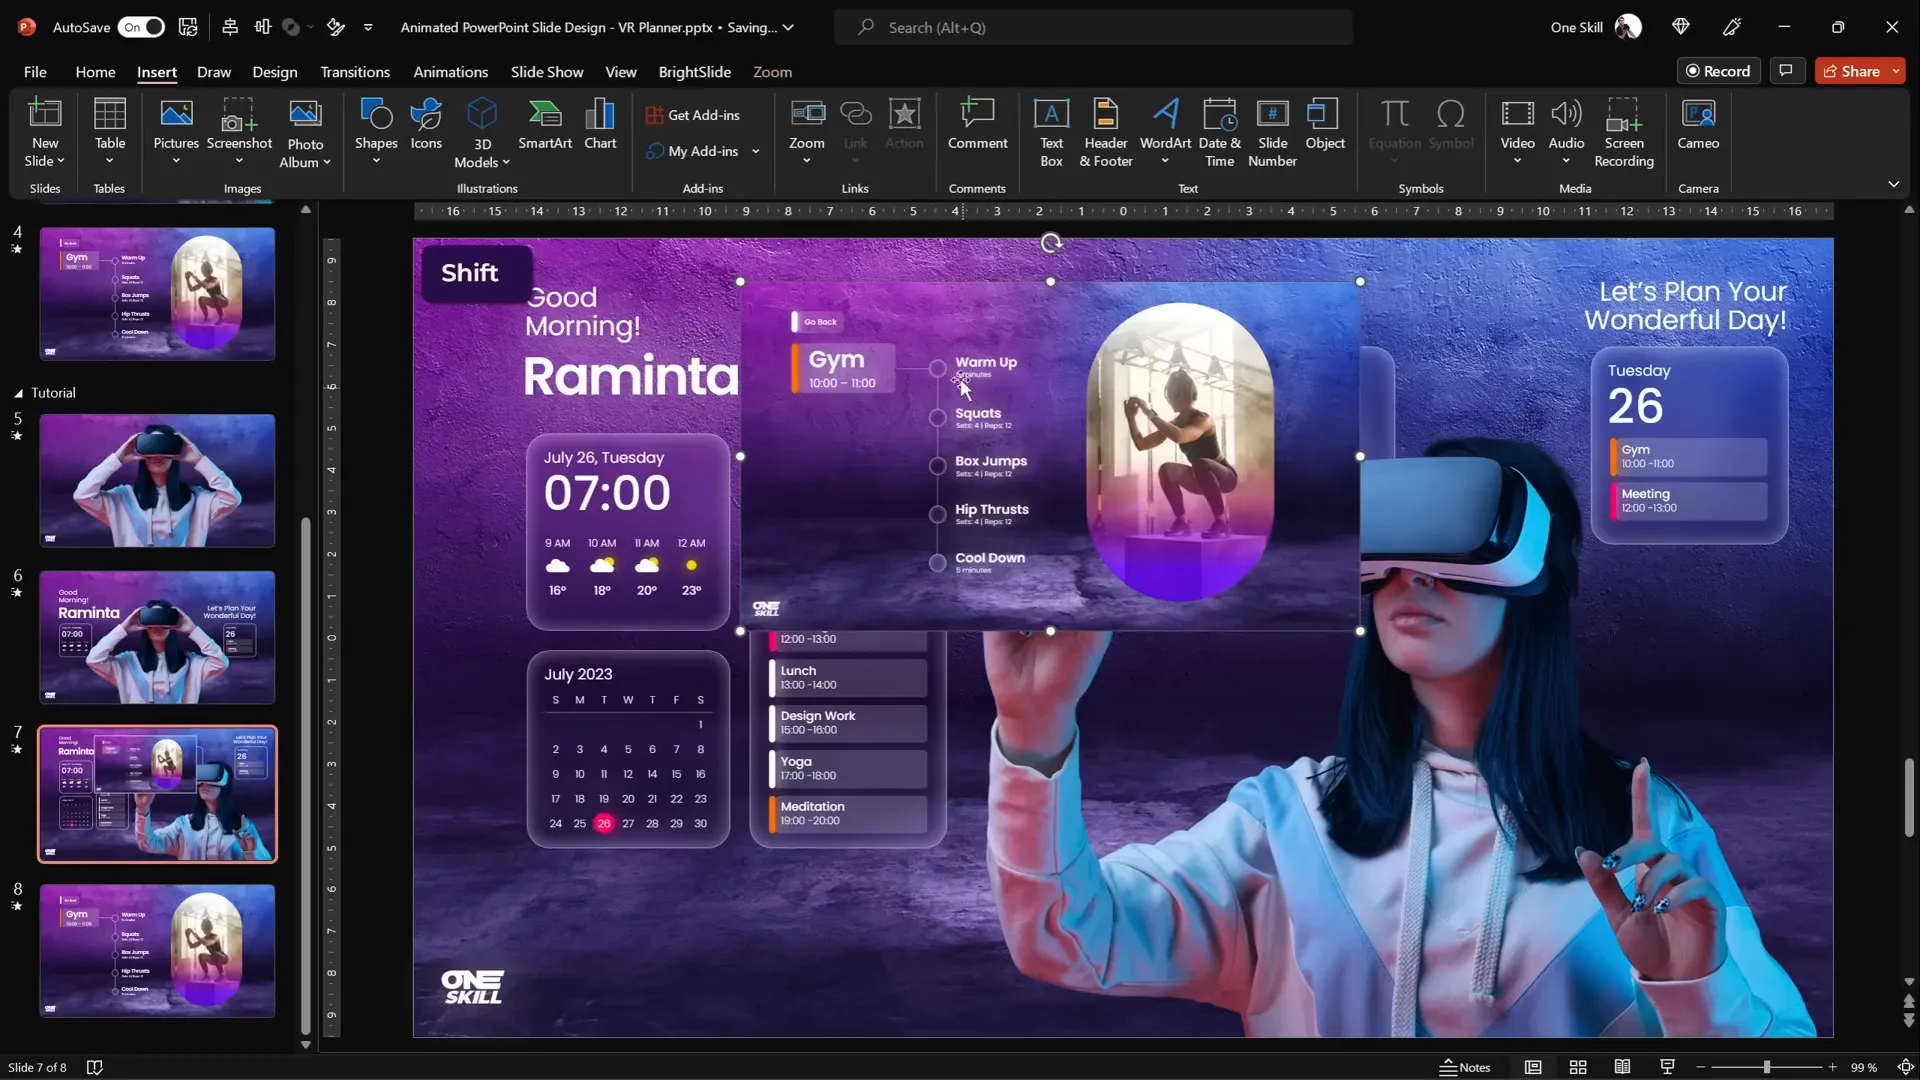
- Copy the slide you want to zoom into (e.g., a “gem” slide).
- Paste it at the bottom of your slide list to keep things organized.
- Ensure this slide has the blurred background applied (use the Format Painter tool to copy background formatting from other slides).
- Go to Insert > Zoom > Slide Zoom and select your target slide.
- Resize the slide zoom thumbnail to fit the desired tab or button area on your UI.
- Remove the zoom border for a cleaner look.
- Activate Return to Zoom so users can zoom back to the original slide.
- Set the zoom transition duration (the tutorial uses 0.5 seconds).
- Add rounded corners using the preset options.
- Disable any unwanted reflections by going to Format Shape > Reflection and selecting None.
Slide zooms can be added to as many tabs or buttons as desired, creating a highly interactive and user-friendly presentation.
Final Tips and Presentation Review
After building your slides, animations, and interactive elements, it’s essential to do a thorough review:
- Use the keyboard arrow keys to navigate through the slides and test morph transitions.
- Check that all elements animate in and out smoothly, and that widgets and text boxes are properly aligned and layered.
- Ensure slide zooms function correctly, zooming in and out as expected.
- Make sure to copy slide zooms and widgets onto previous slides where necessary to maintain consistent animation behavior.
With attention to detail and these best practices, your PowerPoint animated slide design will impress your audience with its polished, UI-style presentation.
Frequently Asked Questions
What is PowerPoint Morph Transition and how does it work?
The Morph transition is a special PowerPoint feature that animates smooth movement and transformation of objects between two slides. It detects objects with the same name and animates changes in size, position, and appearance, creating seamless transitions.
How can I remove photo backgrounds easily for PowerPoint?
Using tools like Depositphotos’ Free Background Remover, you can upload images and automatically remove backgrounds without manual editing. This results in clean cutouts that integrate well with your slide design.
What is the benefit of using blurred backgrounds in UI design?
Blurred backgrounds create a frosted glass effect that adds depth and sophistication. It helps UI elements stand out while maintaining harmony with the overall slide background.
How do I create interactive tabs in PowerPoint?
Use Slide Zooms to create clickable thumbnails that zoom into specific slides. This mimics tabbed navigation in user interfaces and enhances interactivity.
Can I use morph transitions with different photos?
Yes, but for morph to work between different photos, rename the photo objects with matching names that start with double exclamation marks (e.g., “!!Photo”). This signals PowerPoint to morph between them.
What font is recommended for UI-style PowerPoint slides?
Poppins, a clean and modern sans-serif font available on Google Fonts, is ideal for UI designs. Use different weights (regular, semi-bold) for hierarchy and clarity.
Where can I find high-quality photos for my PowerPoint designs?
Depositphotos.com is an excellent resource offering a wide variety of photos, vectors, videos, and music. They also provide tools like background removers to simplify your workflow.
How do I apply a frosty shadow effect to shapes?
Apply an inside shadow to your shape with white color, 50% transparency, and about 15 points of blur to create a subtle frosted edge around UI widgets.
What are the best practices for layering objects in PowerPoint?
Manage the order of objects carefully, placing important elements like models or icons in front or behind as needed to create depth and visual interest. Use the Selection Pane to rename and organize objects.
Can I reuse widget designs across multiple slides?
Absolutely. Group your widget elements and copy-paste them across slides. Adjust positioning and background fills to maintain consistency and save time.
Conclusion
Creating a PowerPoint animated slide design that mimics a virtual planner UI might sound complex, but with the right tools and techniques, it’s entirely achievable. By leveraging high-quality photos, clever use of morph transitions, blurred background fills, and interactive slide zooms, you can craft a polished, professional presentation that stands out.
Throughout this tutorial, you’ve learned how to:
- Source and insert beautiful background and model photos.
- Remove photo backgrounds effortlessly using online tools.
- Create smooth morph animations for shrinking photos and flying-in text and widgets.
- Design modern UI widgets with frosted glass effects using blurred backgrounds.
- Use slide zooms to add interactive navigation elements.
- Manage slide elements, layering, and transitions effectively.
These skills not only enhance your PowerPoint presentation design but also empower you to create engaging user-interface-inspired slides for a variety of projects.
For more creative PowerPoint tutorials and resources, be sure to subscribe to One Skill PPT on YouTube and explore their extensive content.
Now, open PowerPoint, gather your photos, and start designing your own stunning animated slide design today!


