
Creating eye-catching presentations has never been more important in today’s fast-paced digital world. An engaging title slide sets the tone for your entire presentation and captivates your audience right from the start. In this comprehensive guide, I’ll walk you through how to create a beautiful animated title slide in PowerPoint that combines smooth handwritten text, dynamic video backgrounds, and seamless animations — all without needing advanced software skills.
This tutorial is inspired by the expertise of One Skill PPT, a trusted creator known for empowering users to unlock PowerPoint’s full creative potential. Whether you’re a beginner or looking to refine your design skills, this article will provide detailed, easy-to-follow steps to master PowerPoint animated slide design and elevate your presentation game.
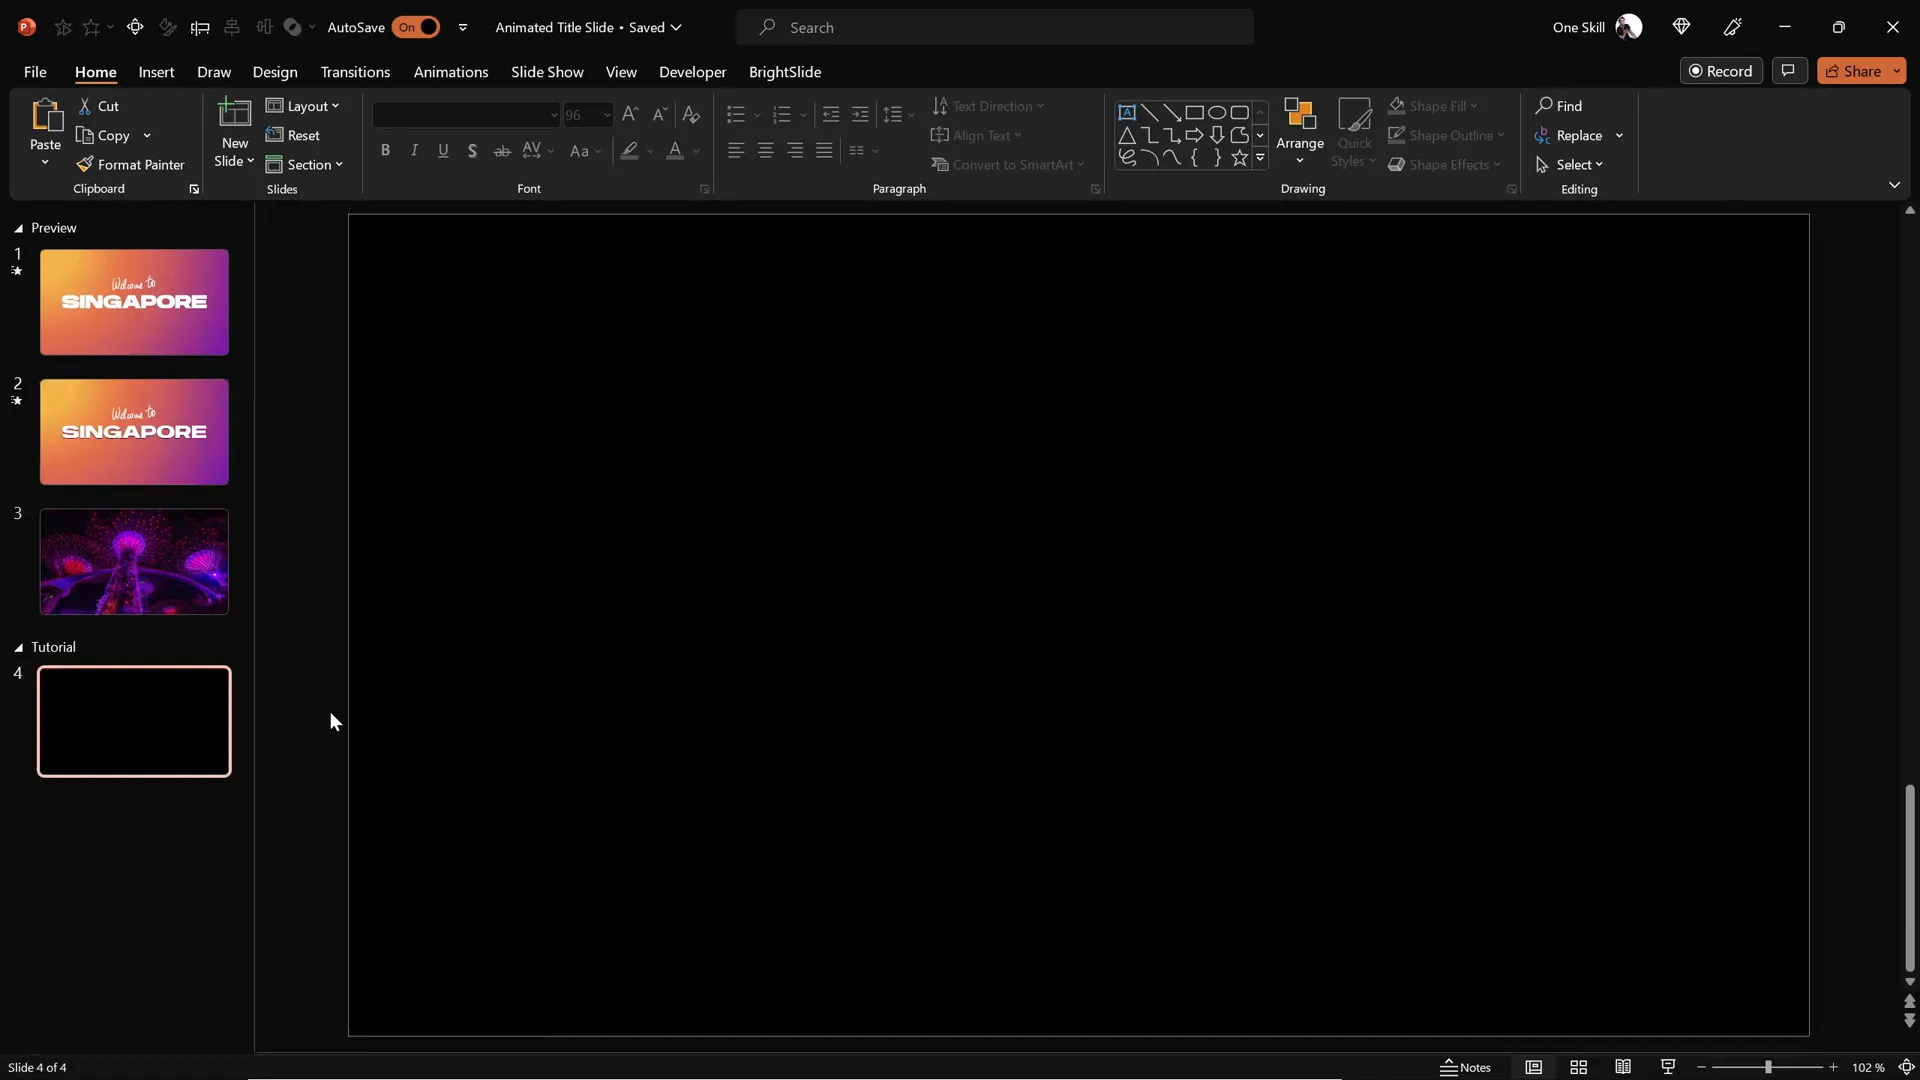
Table of Contents
- Getting Started: Preparing Your Slide Background
- Adding and Styling Your Slide Title
- Creating Handwritten Text with the Draw Tool
- Animating Your Text Elements
- Cutting Out Text to Reveal Video Backgrounds
- Inserting and Configuring Video Backgrounds
- Adding Exit Animations for a Polished Finish
- Final Touches and Tips for Seamless Slide Transitions
- Frequently Asked Questions
Getting Started: Preparing Your Slide Background
Begin by opening a fresh, empty black slide in PowerPoint. This clean canvas will make your design elements pop and provide a dramatic backdrop for your title slide.
Next, insert a full-screen rectangle that covers the entire slide. This shape will serve as the base for your gradient background. Here’s how you do it:
- Go to the Insert tab and select Shapes.
- Choose the rectangle shape and draw it to cover the entire slide.
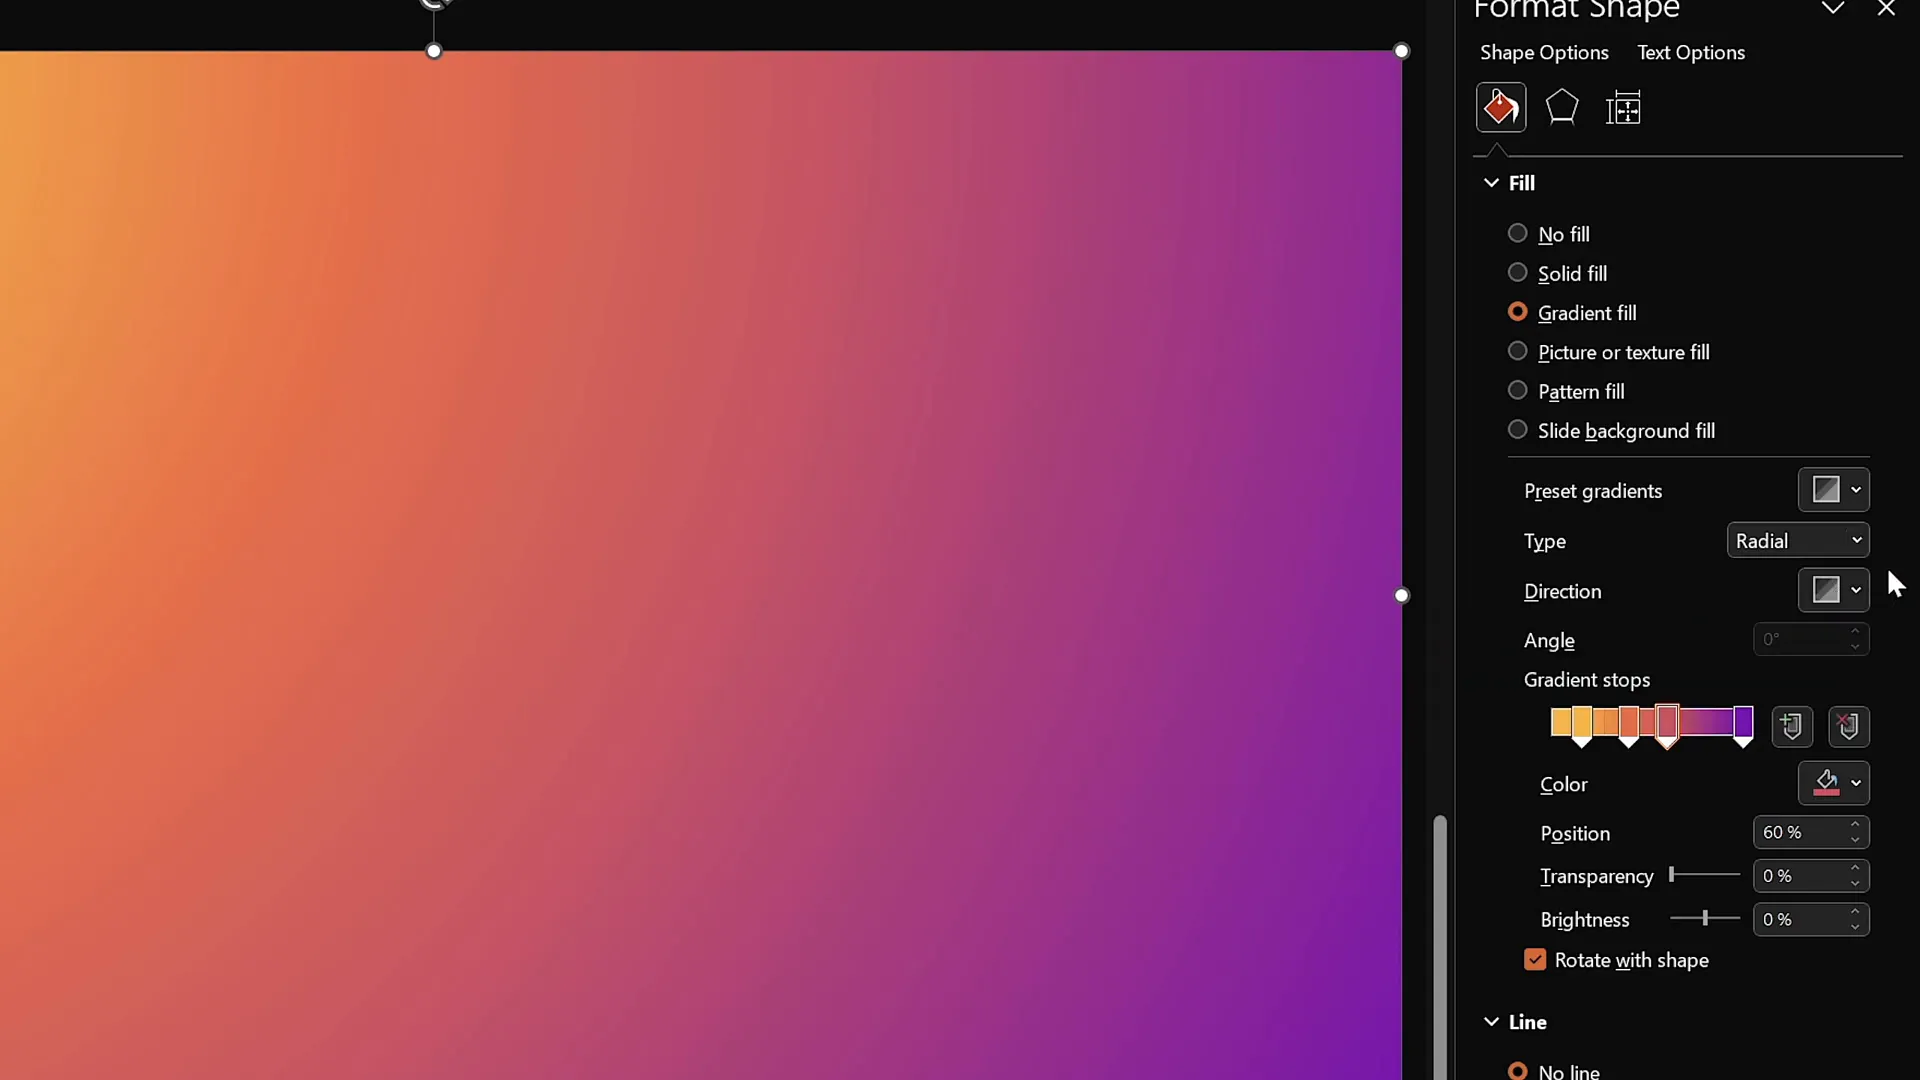
To add flair, apply a radial gradient fill to the rectangle. You can either create your own gradient or copy an appealing gradient fill from a previous slide using PowerPoint’s Format Painter tool:
- Select the rectangle.
- Go to the Home tab and click on Format Painter.
- Click on another shape with your desired gradient to copy the fill.
For a professional look, use a radial gradient that originates from the top-left corner with four subtle color stops. Below are the hex color codes I used for this design:
| Color Stop | Hex Code |
|---|---|
| 1 | #4A90E2 |
| 2 | #357ABD |
| 3 | #2A5D8E |
| 4 | #1D3C5A |
This gradient creates a smooth, calming blue background that sets the stage for your title slide.
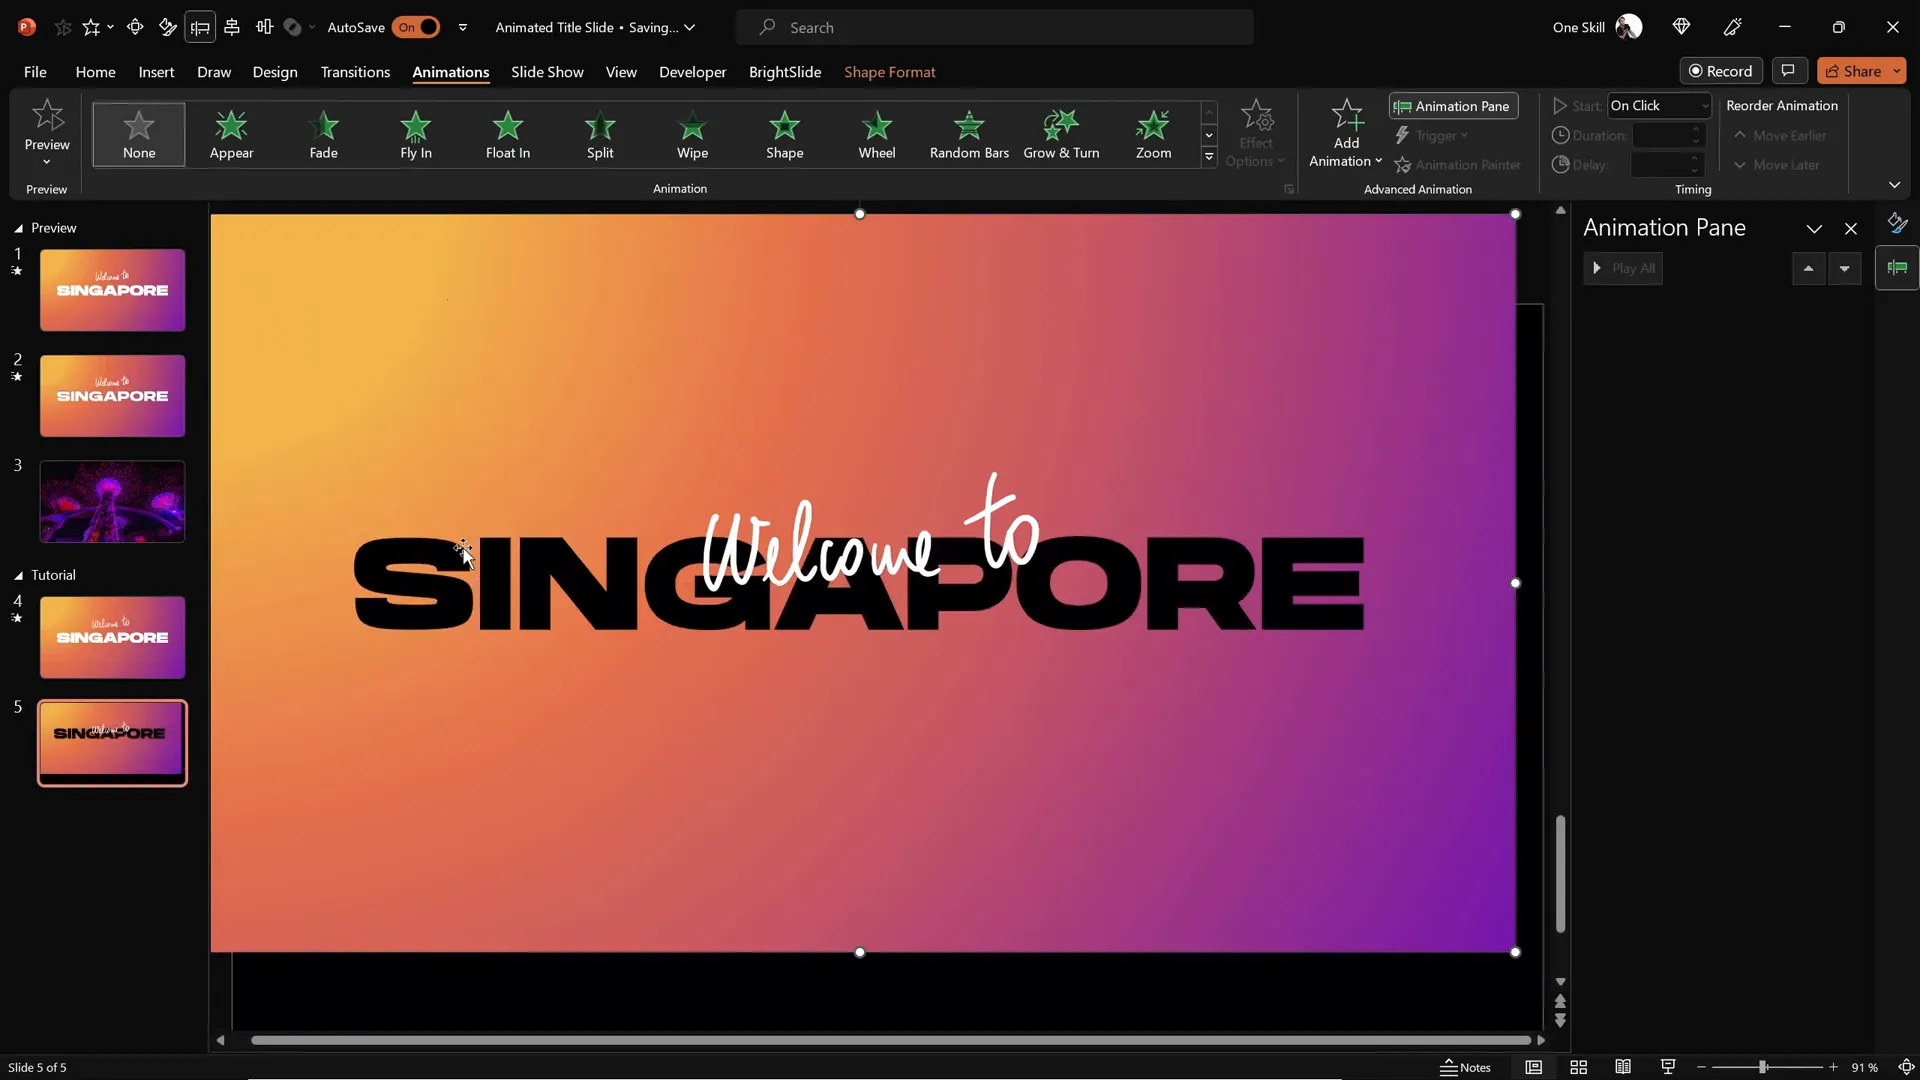
Adding and Styling Your Slide Title
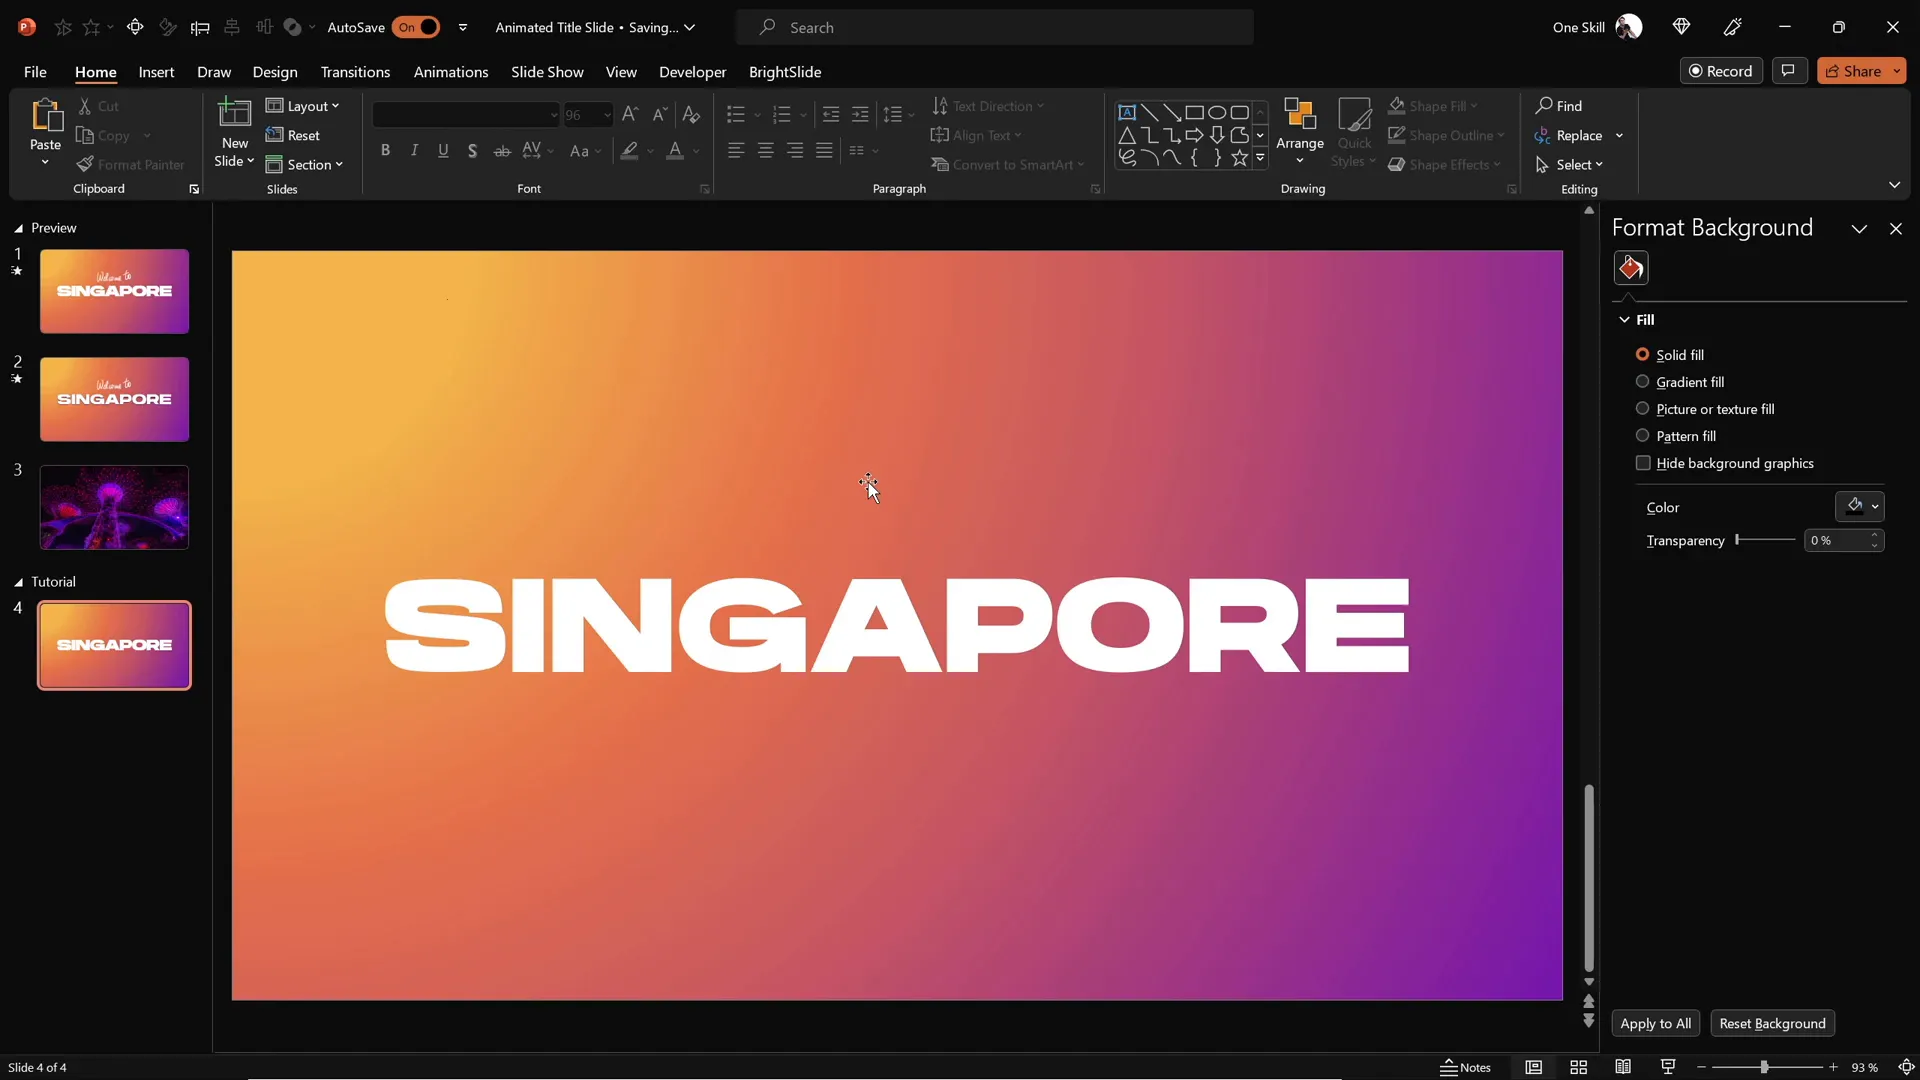
With your background ready, it’s time to add a bold, beautiful title that commands attention. Follow these steps:
- Navigate to the Insert tab and select Text Box.
- Draw a large text box across the slide and type your title text. For example, “Singapore.”
- Choose a striking font for your title. I recommend using Hanson for a modern, clean look.
- Set the font size to around 96 pt for maximum impact.
- Center align the text box horizontally on the slide for balanced composition.
Choosing the right font and size is crucial for readability and design harmony. Hanson’s bold style pairs well with animated effects and helps your title stand out.
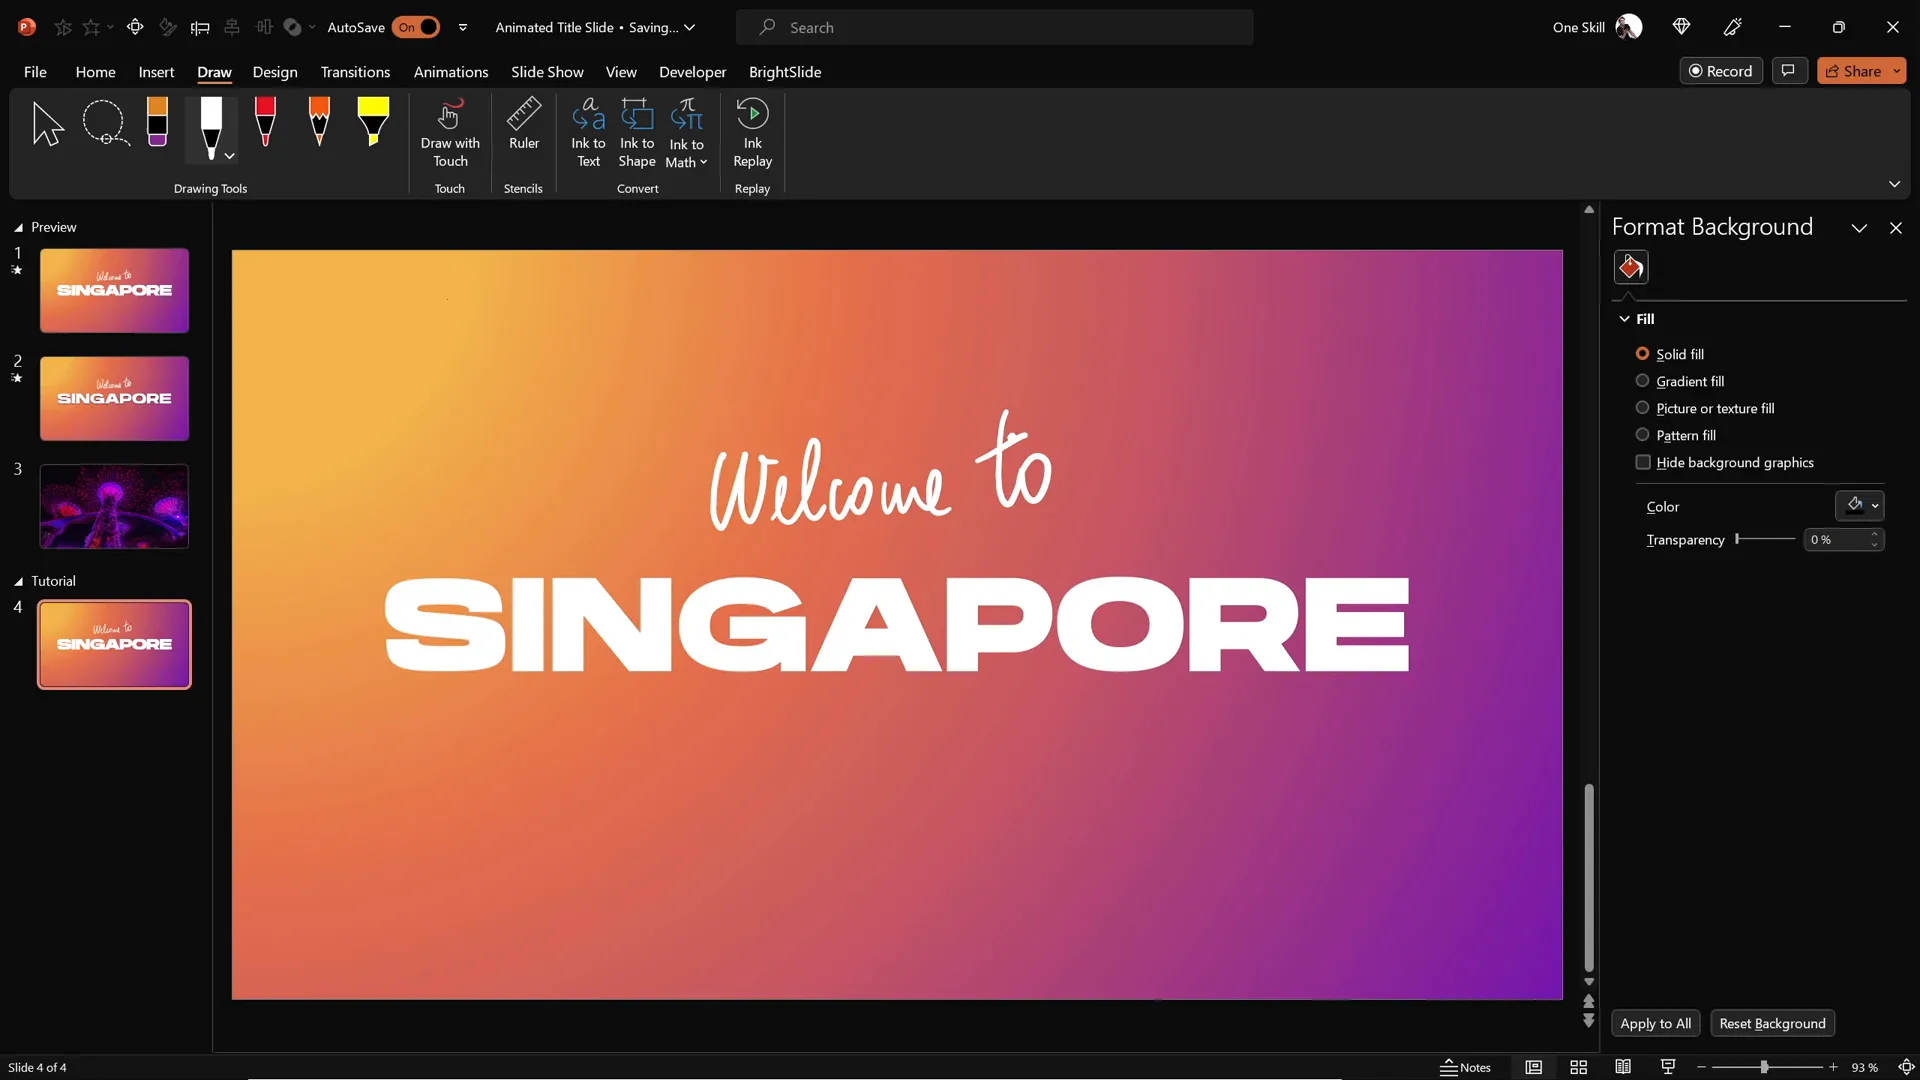
Creating Handwritten Text with the Draw Tool
To add a personal, artistic touch, overlay your title with handwritten text using PowerPoint’s Draw Tool. Here’s the process:
- Activate the Draw tab on the ribbon. If you don’t see it, enable it from PowerPoint options.
- Select a pen or pencil tool of your choice.
- Choose a color and pen thickness that complements your design.
- Draw your handwritten text on top of the title. For example, “Welcome to.”
Note that drawing smooth, natural-looking text with a mouse can be challenging. For best results, I recommend using a graphics tablet such as the Wacom Intuos. This device allows for fluid strokes and precise control, making your handwriting look professional.
If you’re interested, you can find the Wacom Intuos on Amazon or other retailers.
Once your handwritten text is complete, position it slightly closer to the main title to create a cohesive visual grouping.
Animating Your Text Elements
Now that your text elements are in place, let’s bring them to life with animations. Animations enhance engagement and guide your audience’s attention effectively.
Animating the Handwritten Text
Since the handwritten text was created with the Draw Tool, PowerPoint offers a special Replay Animation that simulates the drawing process:
- Select the handwritten text box.
- Go to the Animations tab and choose Replay animation.
- Open the Animation Pane to fine-tune the animation.
- Adjust the duration to around 1.3 seconds for a smooth but quick replay effect.
Animating the Main Title Text
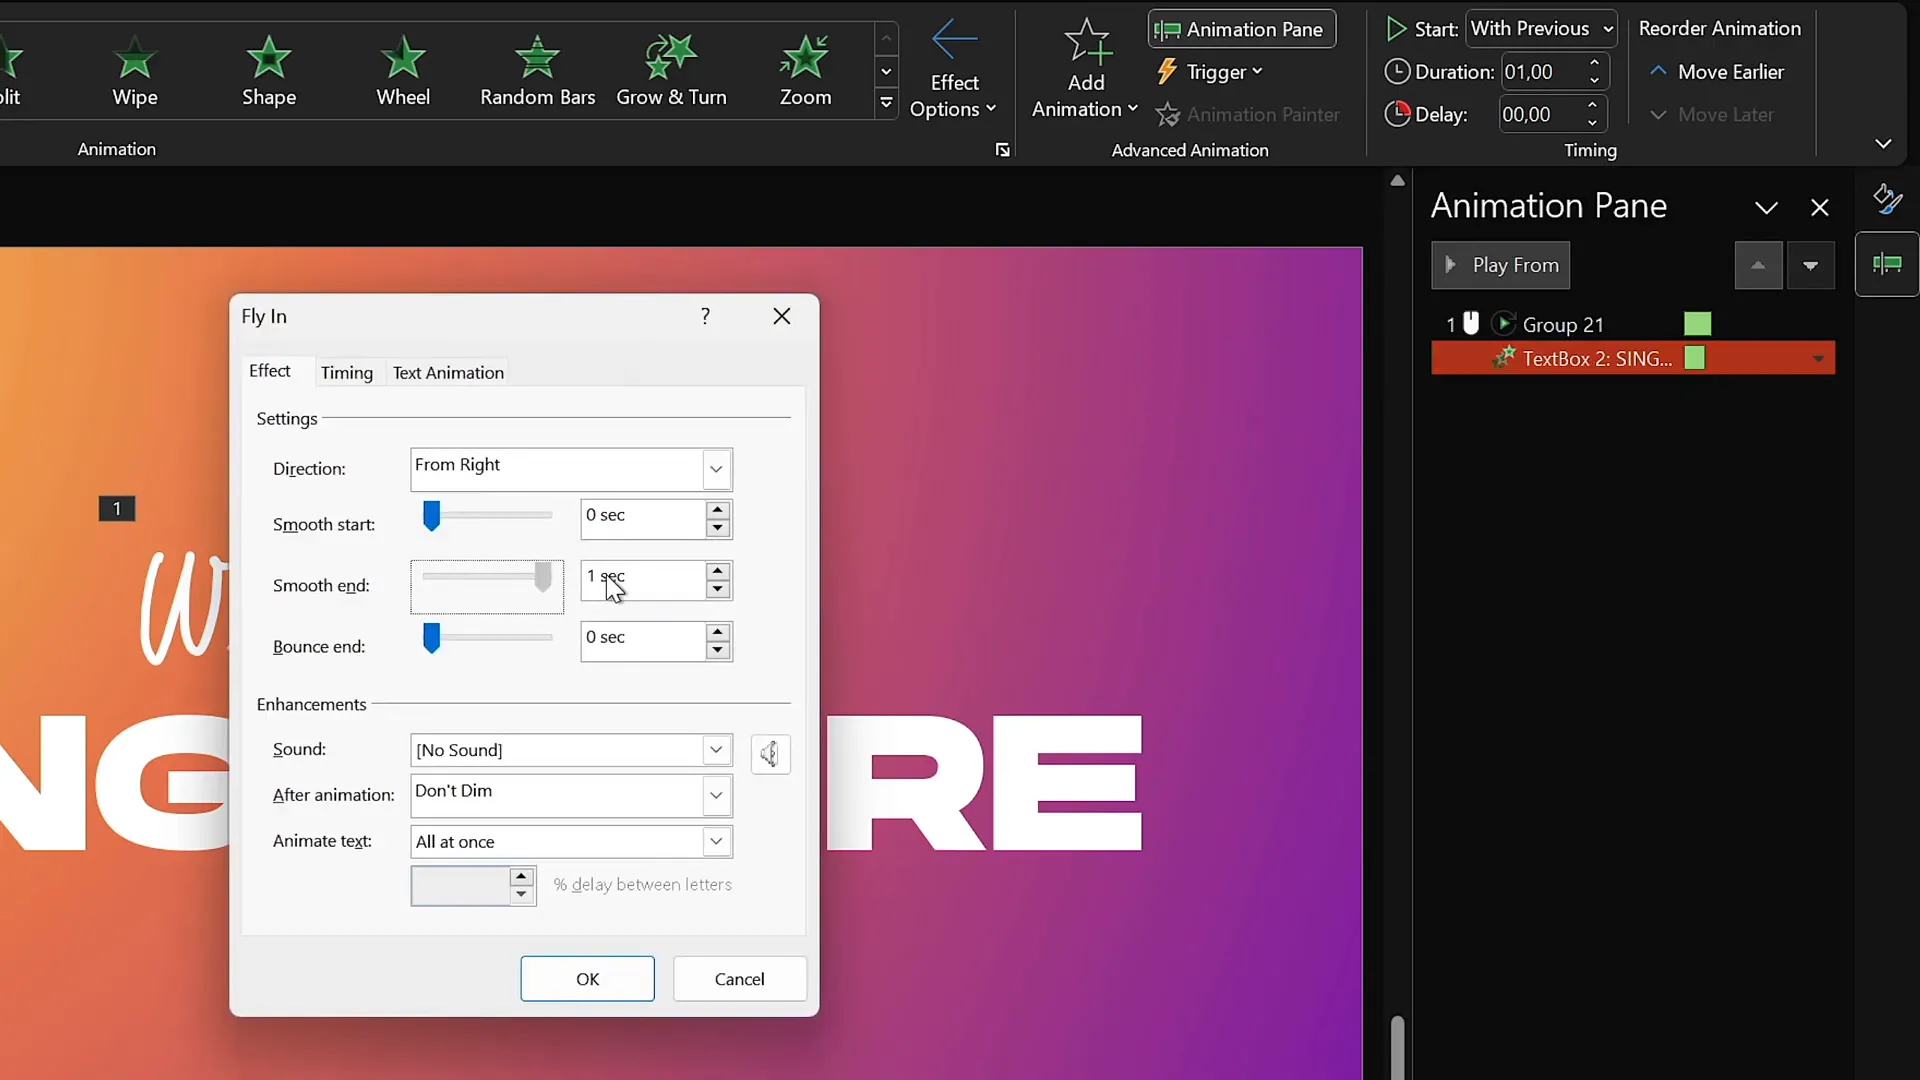
For the main title text, use a Fly In animation from the right. This creates a dynamic entrance:
- Select the title text box.
- Apply the Fly In animation with the direction set to From Right.
- Set the animation to start With Previous so it plays automatically.
- Set the duration to 1 second for a snappy effect.
- In the animation options, enable By Letter animation with a 10% delay between letters for a cascading effect.
- Increase the movement amount to maximum for a soft landing effect.
Watch the animation preview to ensure the text flies in smoothly with a letter-by-letter reveal. This technique adds polish and professionalism to your title slide.
Cutting Out Text to Reveal Video Backgrounds
Here’s where the design gets really interesting — creating a cutout effect where the title text punches a hole through the gradient background, allowing a video to shine through the letters.
Follow these steps:
- Duplicate your animated slide to create a second version.
- On the duplicate slide, delete all existing animations for a clean slate.
- Select the gradient rectangle background.
- Hold Shift and select the main title text box as well.
- Go to the Shape Format tab, click on Merge Shapes, and select Subtract.
This action punches a hole in the gradient rectangle in the shape of your title text, revealing whatever is behind it — which will be your video background.
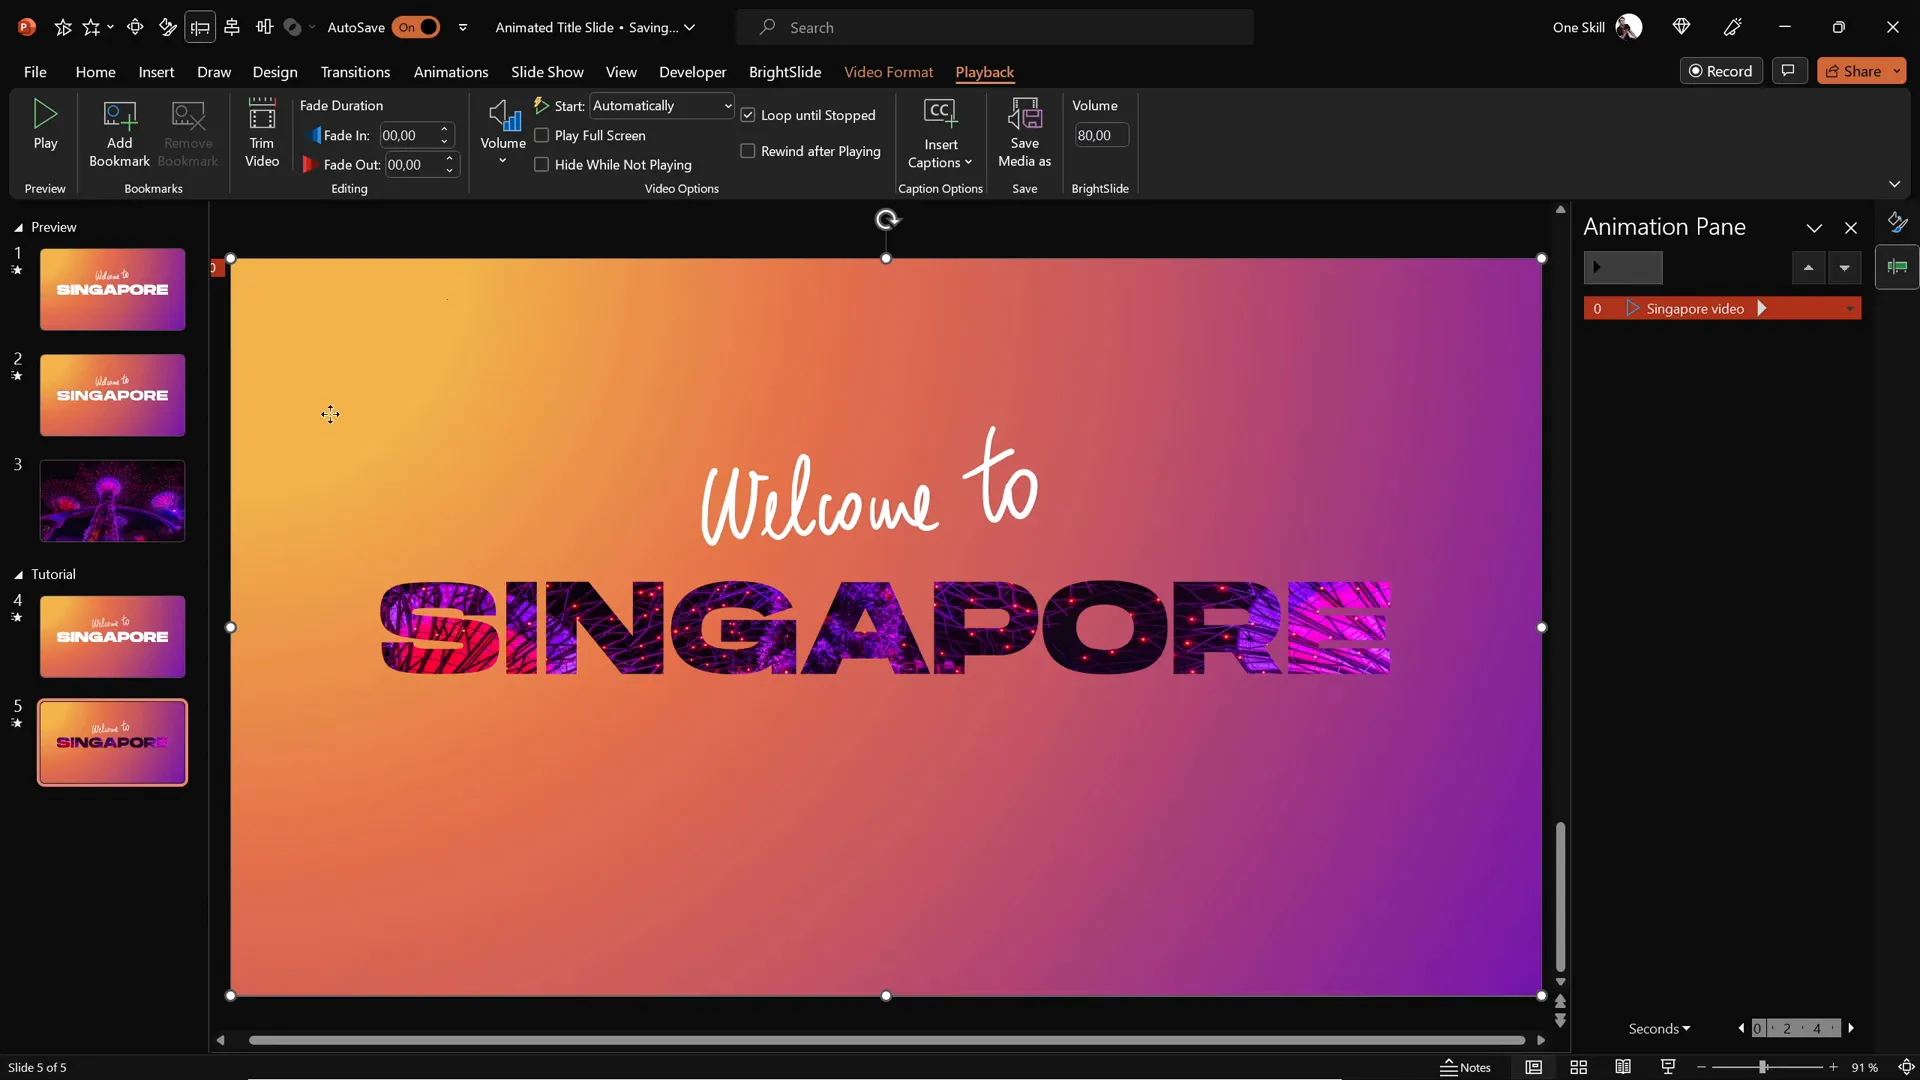
Inserting and Configuring Video Backgrounds
To add dynamic interest, insert a video behind the cutout text. This creates an animated background that plays through the letters, giving your slide a cinematic feel.
Here’s how:

- Find a suitable royalty-free video. I recommend DepositPhotos, which offers a wide array of stock videos, photos, and other creative assets.
- For this design, I used a video of Singapore’s iconic Supertrees lighting up at night, available on DepositPhotos.
- Download your chosen video and insert it into the duplicate slide with the cutout background.
- Center align the video on the slide so it perfectly fills the cutout letters.
- Add a Play animation to the video, setting it to start With Previous so it plays automatically when the slide loads.
- Enable Loop playback in the video options for continuous motion.
- Send the video Send to Back so it sits behind all other slide elements.
- Copy the main title text box from the first slide and paste it onto the video slide to fill the cutout letters visually.
- Remove any animations from this pasted text box to keep it static.
Finally, use the Selection Pane to rename your layers for easier management. For example:
- Welcome Text
- Singapore Text
- Gradient Rectangle Cutout
- Background Video
Organizing your layers helps keep your workflow smooth, especially when adding complex animations.
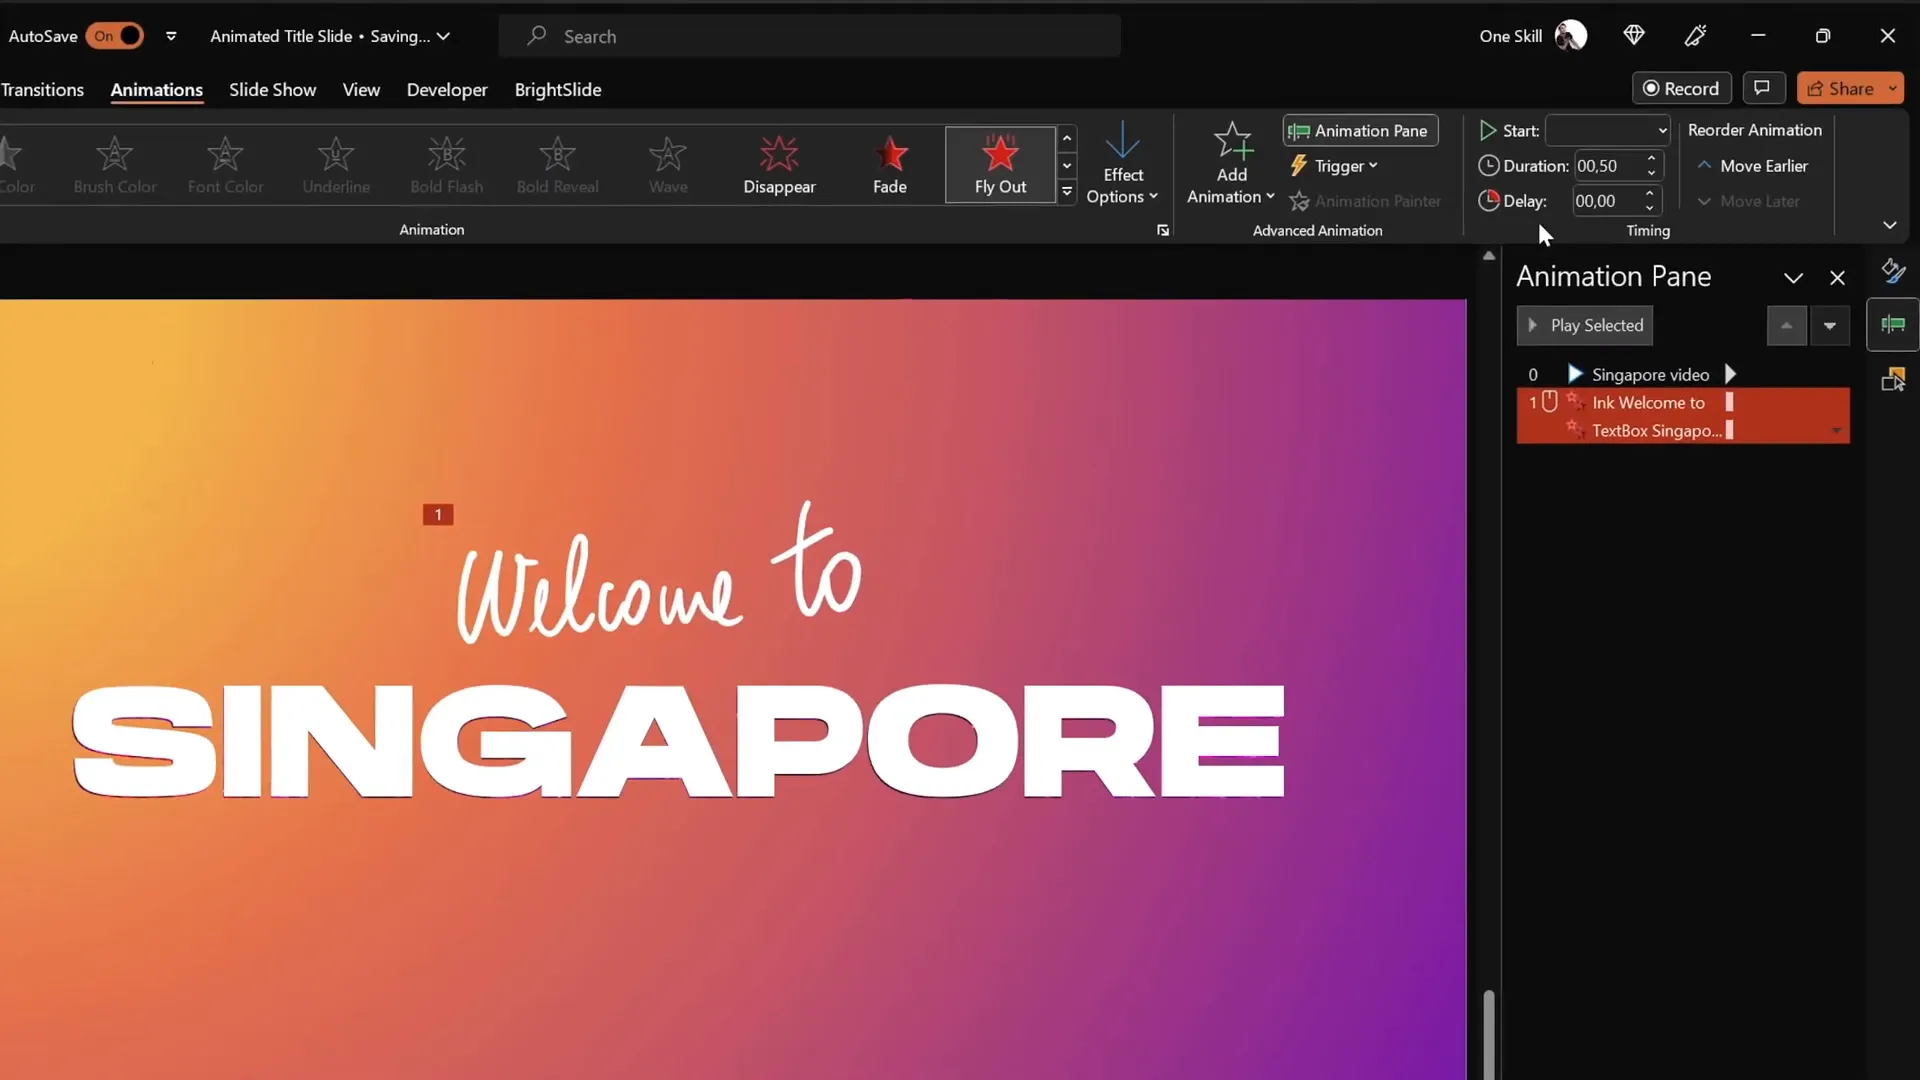
Adding Exit Animations for a Polished Finish
To complete the animated title slide, add exit animations that help transition away from the title elegantly.
Here’s the step-by-step:
- Select both the handwritten “Welcome to” text and the main title text boxes.
- Go to the Animations tab and choose Add Animation.
- Select an exit animation such as Cloud with the direction set to To Top.
- Set both animations to start With Previous for synchronized exit.
- Set duration to around 1 second for a smooth exit.
- In animation options, apply Maximum Smooth Start for a gentle effect.
- For the main title text, set the exit animation to animate By Letter with a slight delay for each letter flying out independently.
These exit animations create a dynamic fade-out that prepares your audience for the next slide or section.
Final Touches and Tips for Seamless Slide Transitions
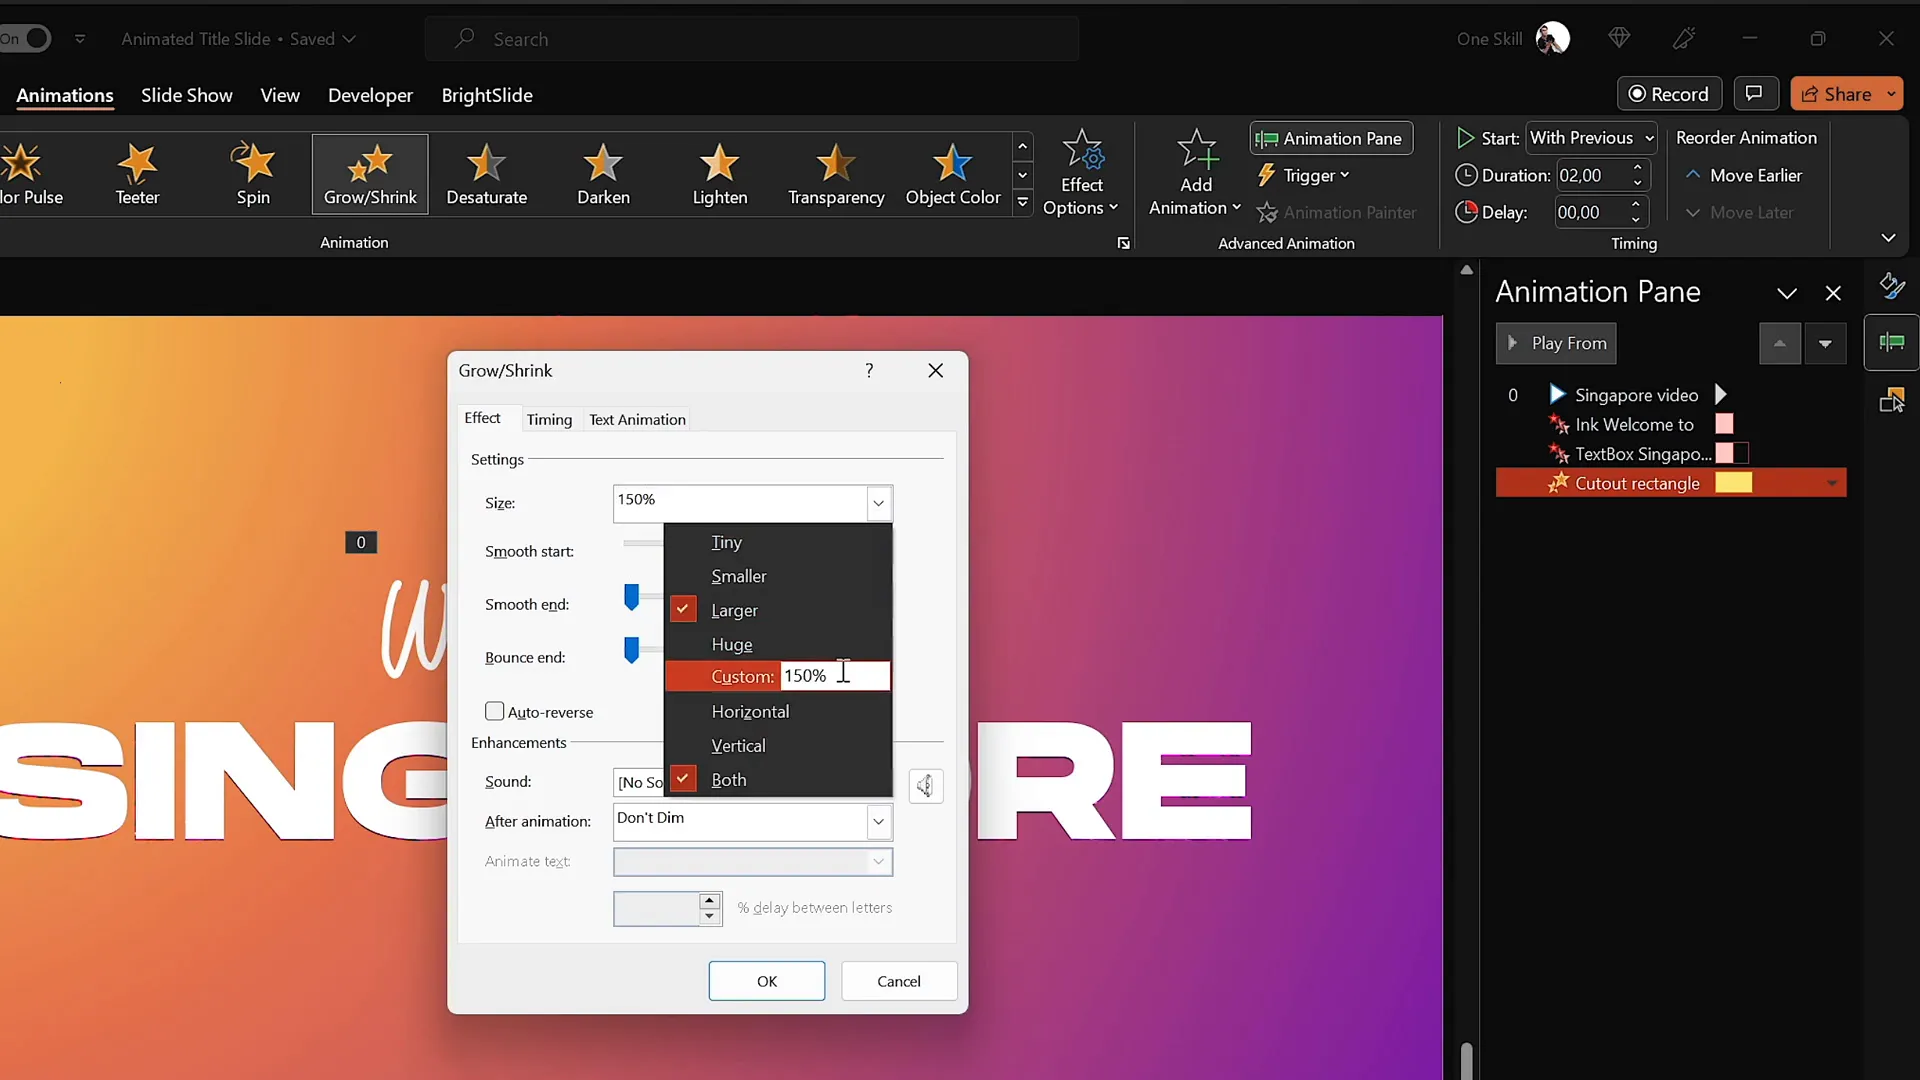
The last step is to animate the gradient rectangle cutout itself to add a final flourish:
- Select the gradient cutout rectangle.
- Add a Grow/Shrink animation.
- Set the animation to start With Previous alongside the text exit animations.
- Set duration to 2 seconds with maximum smooth start for a polished zoom effect.
- Set the growth size to an unusual value like 9000% to make the rectangle expand dramatically and reveal more of the video background.
This creates a zooming effect where the cutout rectangle grows and “flies away,” leaving the video visible.
Important tip: For the second slide, disable any slide transitions by setting them to None. This ensures an instant, seamless jump from the first animated slide to the video background slide without any distracting flickers.
With these final touches, your animated title slide is ready to impress!
Frequently Asked Questions
What version of PowerPoint do I need to create animated slides like this?
This tutorial uses PowerPoint Microsoft 365 on Windows, which includes the Draw Tool and advanced animation features. PowerPoint 2019 or later versions also support these features, but older versions may lack some tools.
Can I use my own videos for the background?
Absolutely! You can insert any video file supported by PowerPoint as a background. Just ensure it’s high quality and relevant to your presentation theme.
Do I need a graphics tablet to create handwritten text?
While a graphics tablet like the Wacom Intuos improves drawing smoothness, you can still use your mouse or a touchscreen device. The tablet just makes handwriting look more natural and professional.
How can I make sure animations run smoothly during a presentation?
Always preview your animations in the Animation Pane and test your slideshow before the actual presentation. Avoid overly long animations and keep effects subtle to maintain professionalism.
Is it possible to reuse this animated title slide for other presentations?
Yes! Save your animated slide as a template or duplicate it within your presentation to maintain consistency and save time.
Where can I find royalty-free videos for my presentations?
DepositPhotos is an excellent resource offering a wide range of royalty-free stock videos, photos, and music. They also provide creative tools like background removers and image upscalers to enhance your projects.
How do I avoid slide flickering when transitioning between animated slides?
Set slide transitions to None between slides with animations that should flow seamlessly. This prevents any visible flicker or delay during slide changes.
Summary
Mastering PowerPoint animated slide design is easier than you might think with the right steps and techniques. By combining gradient backgrounds, bold typography, handwritten text overlays, video backgrounds, and smooth animations, you can create a captivating title slide that grabs your audience’s attention instantly.
Remember to:
- Start with a full-screen gradient background
- Use strong, readable fonts for your title
- Enhance with handwritten text using the Draw Tool
- Animate text with replay and fly-in effects
- Cut out text shapes to reveal dynamic video backgrounds
- Add exit animations for smooth transitions
- Use grow/shrink effects for dramatic zooms
- Disable slide transitions for seamless switching
With practice, you’ll be creating professional, animated PowerPoint slides that elevate your presentations and impress any audience.
Happy designing!
Check out the full video: How to Create ANIMATED PowerPoint ✨TITLE SLIDE✨


