
If you’re looking to elevate your PowerPoint presentations with engaging, clickable, and scrollable animations, you’ve come to the right place. Creating a PowerPoint animated slide design that captivates your audience doesn’t have to be complicated or time-consuming. In this comprehensive guide, you will learn how to design an interactive slide featuring clickable elements that animate beautifully, all within Microsoft PowerPoint. This tutorial is inspired by expert techniques to help you master PowerPoint’s powerful features, including the Morph transition, precise image editing, and hyperlinking for dynamic navigation.
Whether you’re a beginner or someone looking to add more interactivity to your slides, this article will walk you through every step, from setting up a stunning background to cutting out photo elements and linking them to create smooth transitions. Let’s dive into the art of PowerPoint animated slide design and make your slides come alive!

Table of Contents
- Getting Started: Setting Up Your Slide
- Creating a Gradient Background
- Inserting and Cropping Photos
- Adding Text Boxes for Descriptions
- Cutting Out Objects from the Photo
- Matching Cutouts to the Original Photo
- Making Elements Clickable with Hyperlinks
- Applying the Morph Transition
- Designing Individual Slides for Animation
- Fixing Morph Transition Issues
- Final Tips and Conclusion
- Frequently Asked Questions
Getting Started: Setting Up Your Slide
First things first, open Microsoft PowerPoint 365 and start with a fresh, empty slide. This blank canvas provides the freedom to build your design from scratch. To get the most out of your workspace, you can hide the format pane temporarily, giving you more room to work comfortably.
Next, activate the slide guides. These help you identify the center and edges of your slide, which is essential for aligning objects perfectly. Precision at this stage will save you time later when positioning images and text.
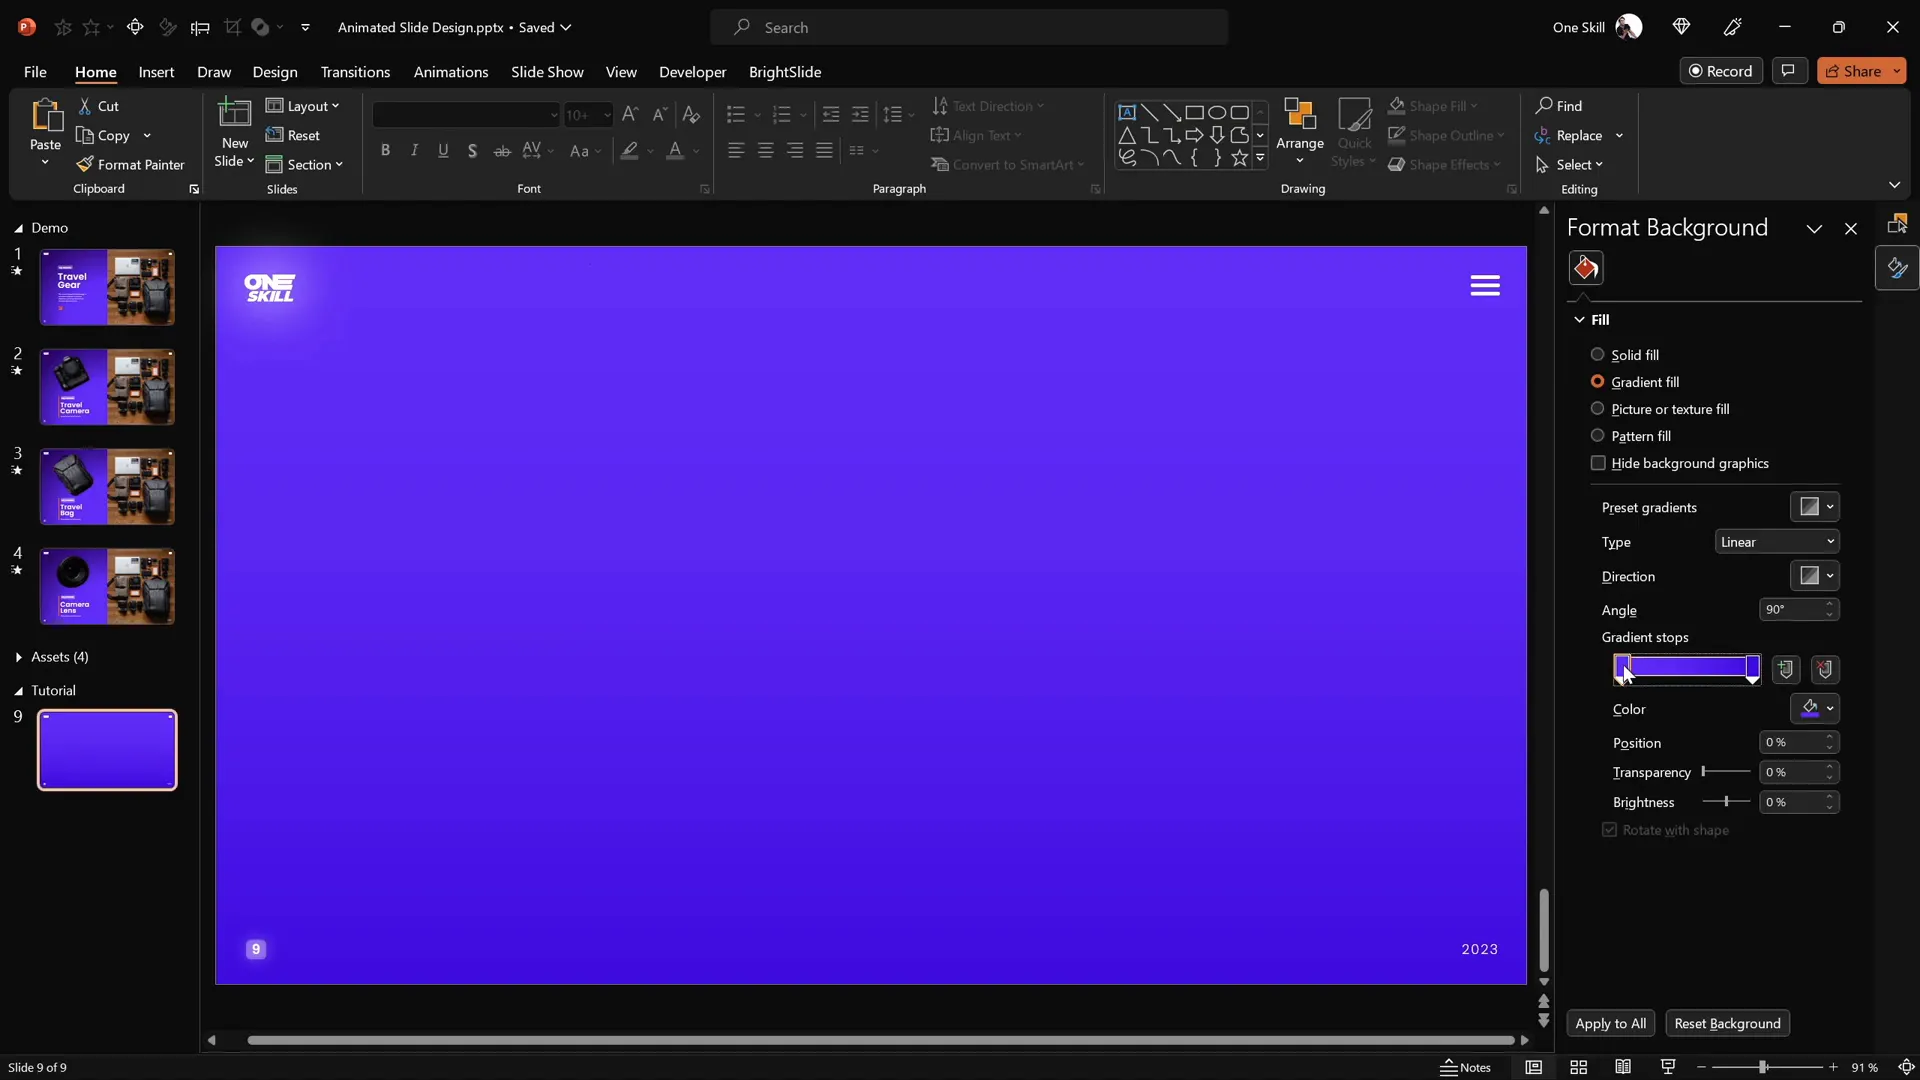
Creating a Gradient Background
A compelling background sets the tone for your slide. Instead of a flat color, apply a beautiful linear gradient fill to your slide background using two color stops. This adds depth and visual interest without distracting from the main content.
| Gradient Color Stops | Hex Code |
|---|---|
| First Color Stop | #3A5068 |
| Second Color Stop | #5BC0BE |
After applying the gradient, hide the format pane again to maximize your workspace. This subtle backdrop will enhance the foreground elements without overpowering them.
Inserting and Cropping Photos
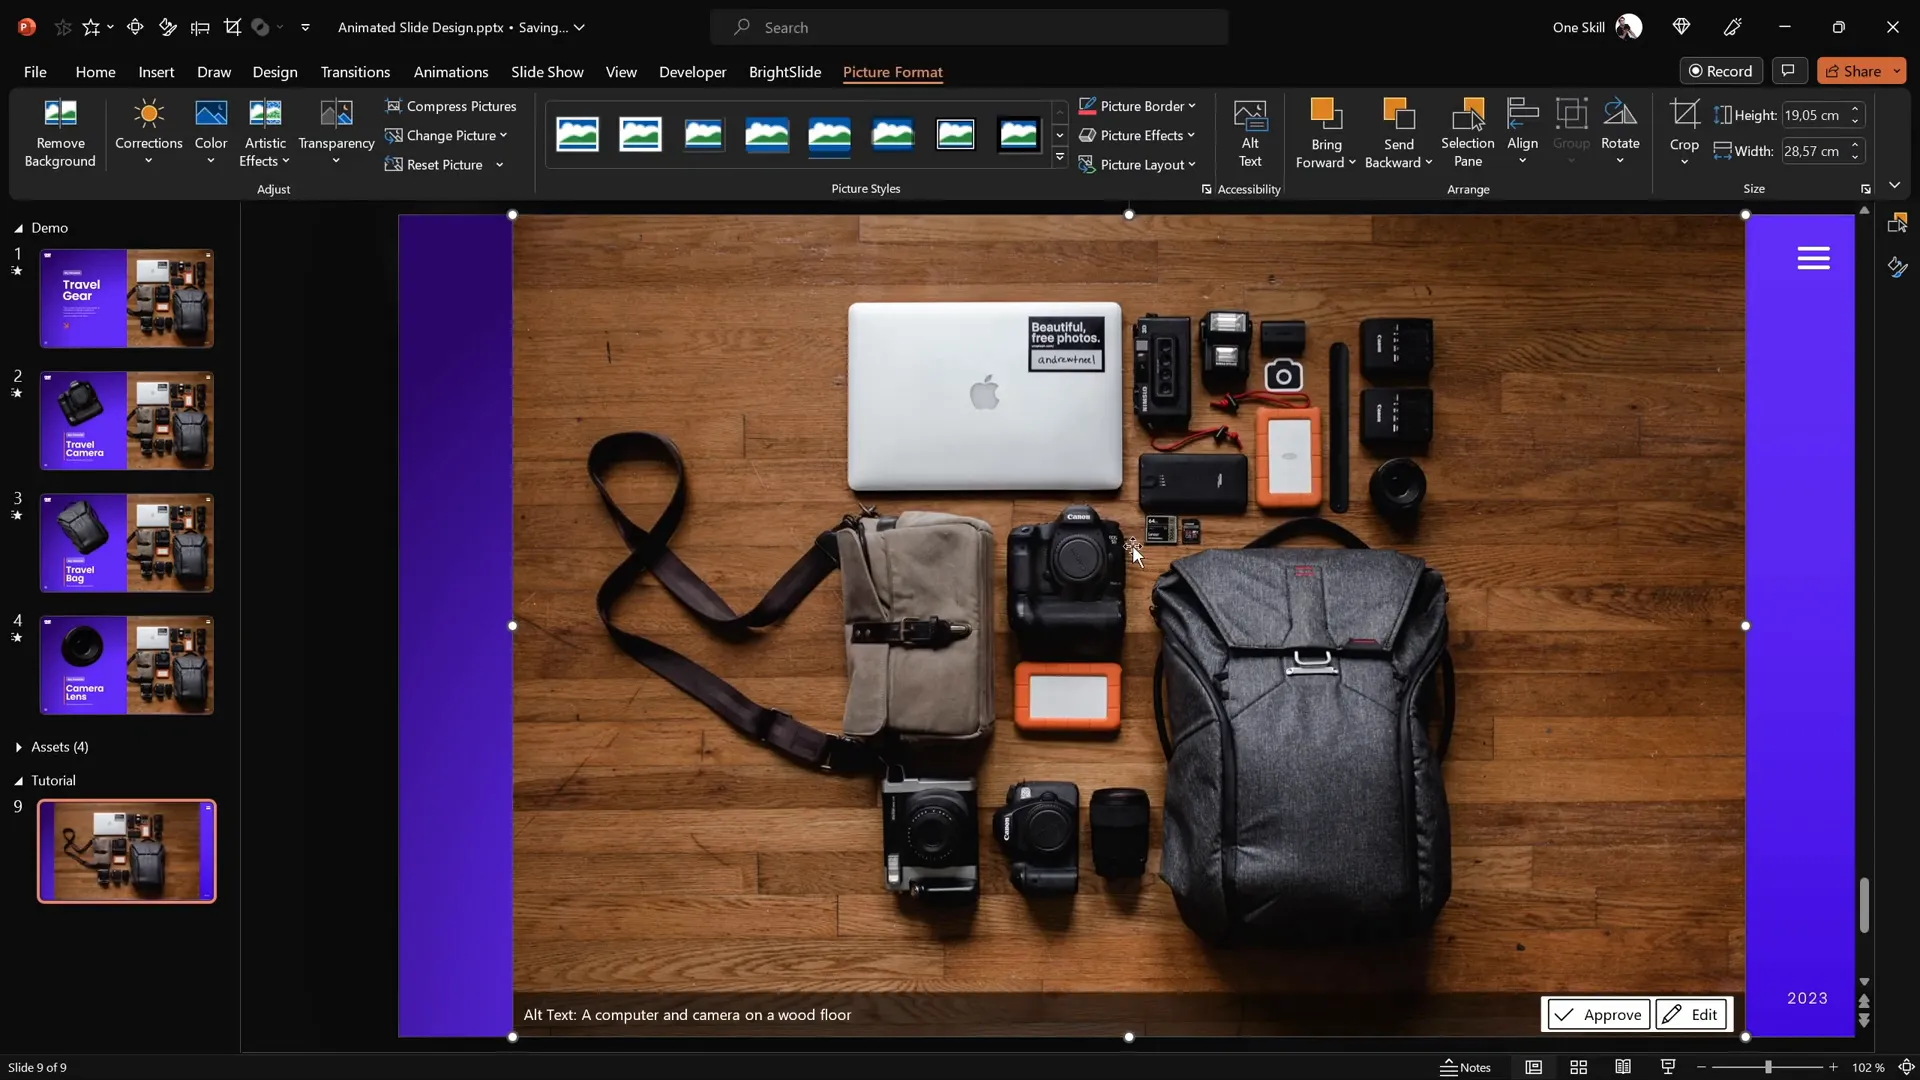
Now, it’s time to add a beautiful photo that will serve as the centerpiece of your slide. You can use any photo you prefer, but for this tutorial, we’ll use a stunning image sourced from Unsplash. Insert the picture through the Insert > Pictures menu.
Once inserted, position the photo on the right side of your slide. To ensure the photo fits perfectly within the slide boundaries, crop the right side carefully so it doesn’t overflow beyond the slide edge. Adjust the crop handles until the composition looks balanced and polished.
After positioning, send the photo to the back so that it sits behind other design elements, like shapes or text boxes.
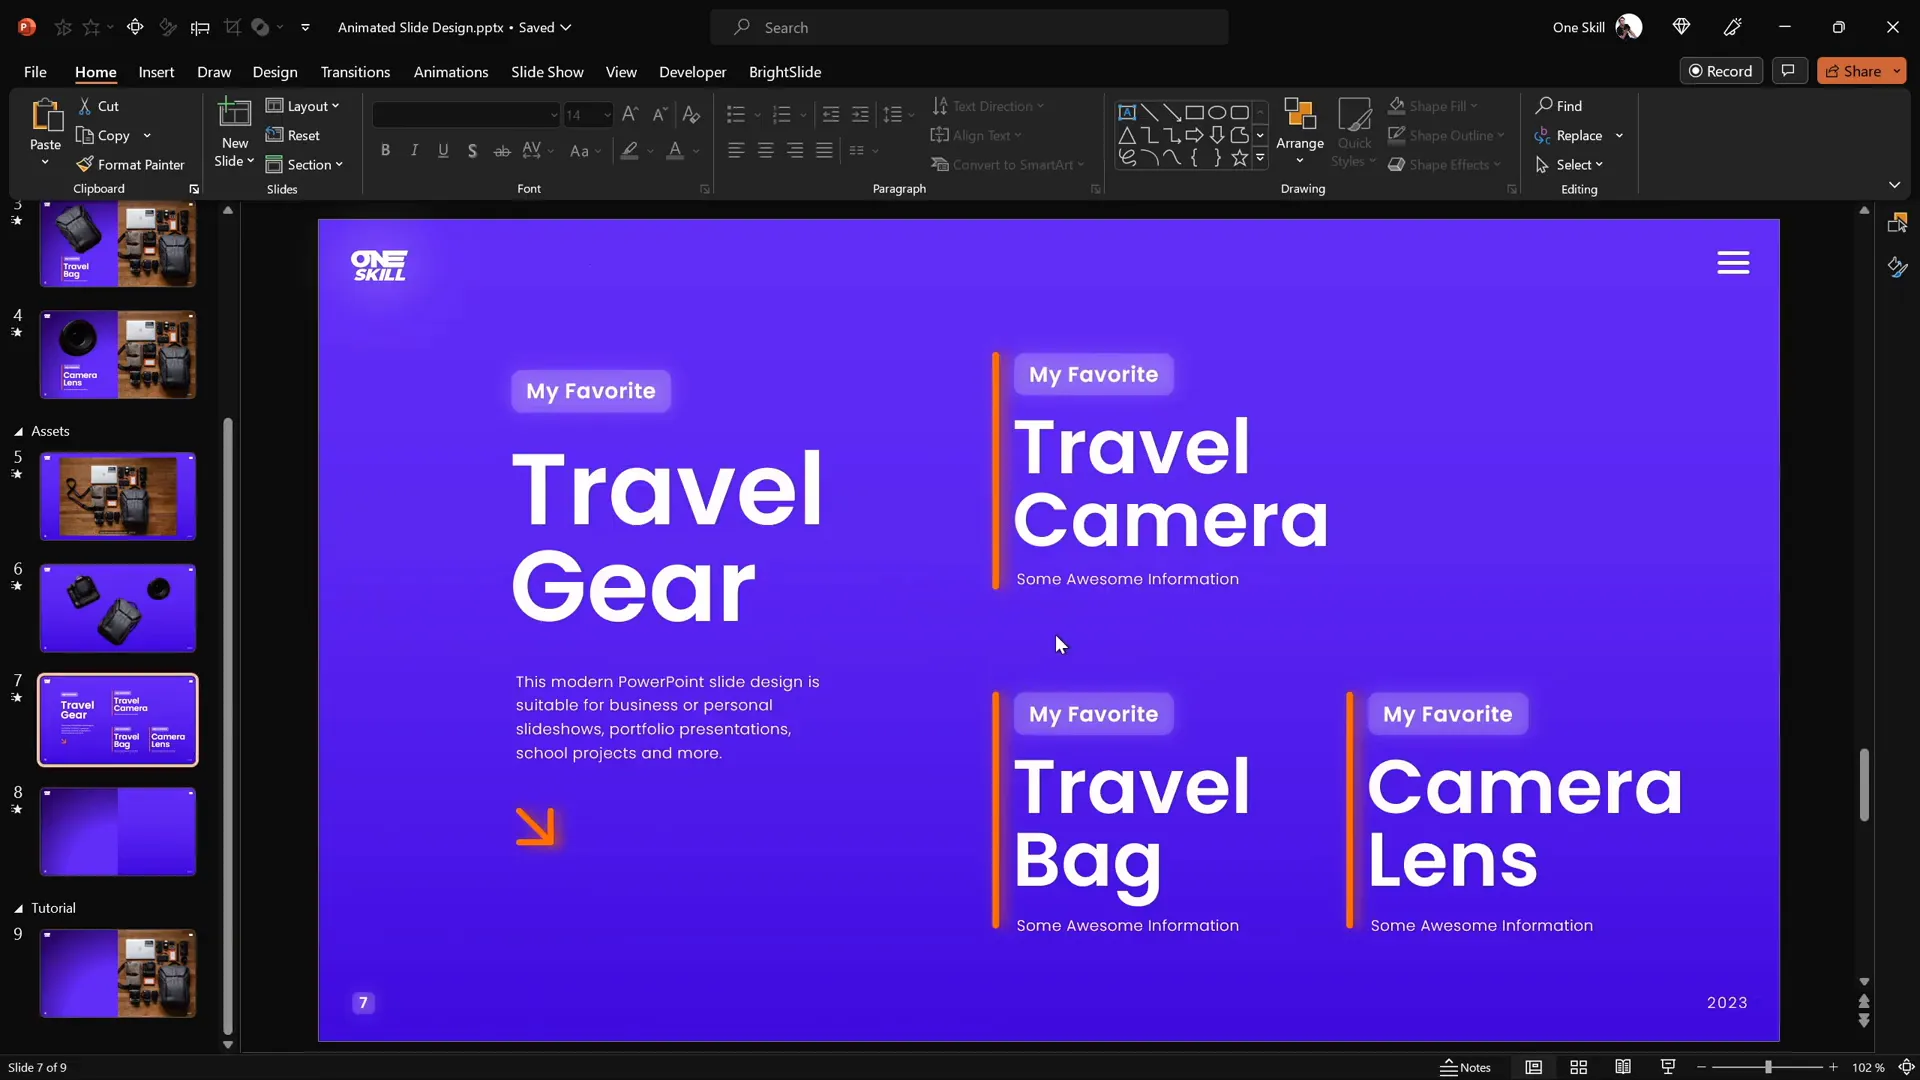
Adding Text Boxes for Descriptions
Text boxes are essential for providing context and descriptions for the clickable items on your photo. To maintain a consistent and modern look, use the Poppins Semi Bold font for headings and Poppins Light for body text. These fonts are clean and professional, enhancing readability.
Prepare multiple text box groups corresponding to each clickable item on your photo. For example, if your photo features a camera, travel bag, and camera lens, you will need three separate text groups.
Align your text boxes neatly within the left rectangle area of your slide. You can use the native PowerPoint alignment tools or productivity add-ins like BrightSlide for quicker alignment shortcuts.
Cutting Out Objects from the Photo
To create interactive clickable elements, you need to isolate specific objects from the photo so they can be animated separately. While PowerPoint offers basic cropping tools, for more precise cutouts, use a free online photo editor like Photopea. It functions similarly to Photoshop and allows you to create detailed paths around objects.
Here’s how to cut out an object like a camera:
- Zoom in on the object using Alt + mouse scroll for precision.
- Activate the Pen Tool and select Path Mode.
- Click points around the edges of the object, adjusting curves by pressing Spacebar and sharp corners by holding Alt.
- Complete the path near the starting point and click Create Selection.
- Apply a mask to hide the rest of the image, leaving only the object visible.
- Trim empty space via Image > Trim.
- Export the isolated object as a PNG file with transparency.
Repeat this process for each object you want to animate separately, such as a travel bag or camera lens.
Matching Cutouts to the Original Photo
After importing your cutout PNG files back into PowerPoint, the next step is to align them precisely over their original counterparts in the photo. To make this easier:
- Select all cutouts and temporarily recolor them to a bright color (e.g., red) using the Picture Color tool in PowerPoint. This helps you see if they perfectly cover the original photo parts.
- Adjust size, rotation, and position using arrow keys and rotation handles.
- Once aligned, reset the picture color to remove the recoloring effect.
This process ensures your clickable cutouts blend seamlessly with the background photo, maintaining a professional and polished look.
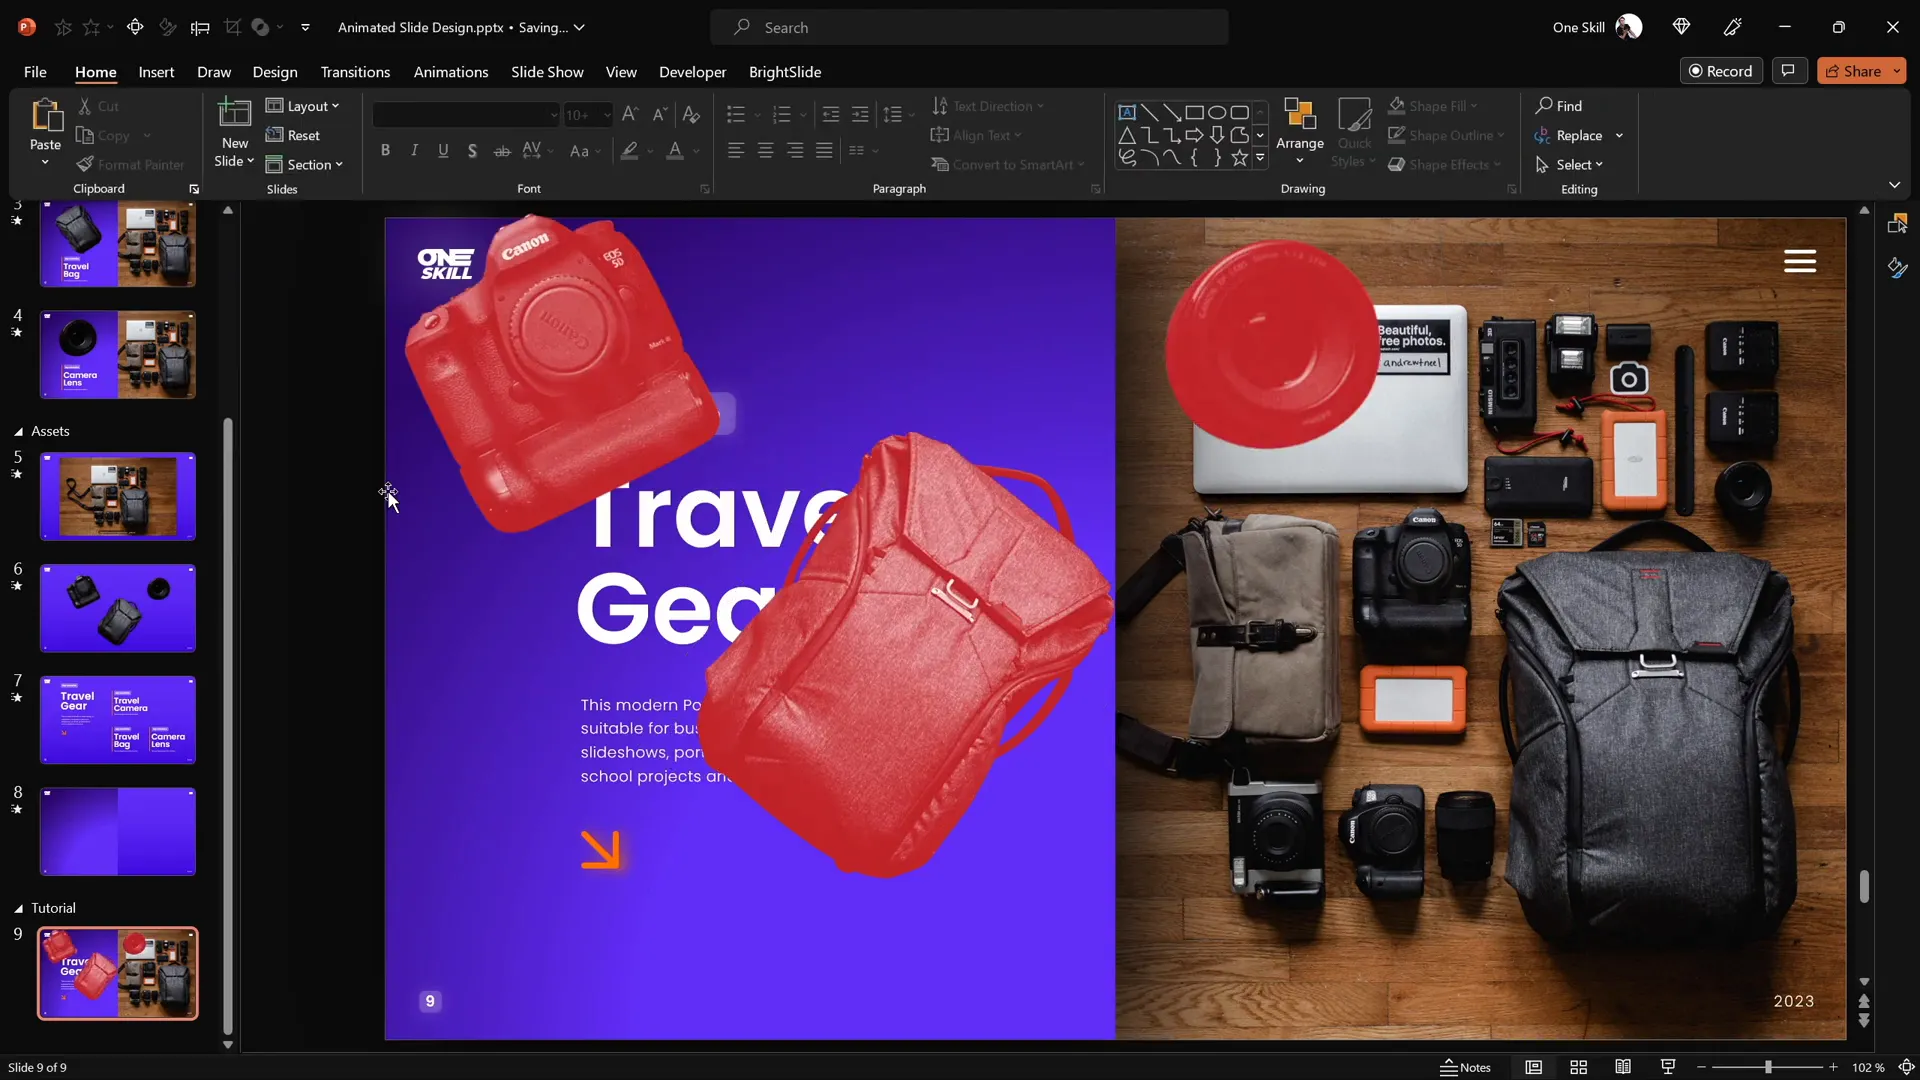
Making Elements Clickable with Hyperlinks
To create an interactive experience, the cutouts must be clickable, linking to dedicated slides that showcase each object with animation. Here’s how to set it up:
- Duplicate your main slide three times for each clickable item (e.g., camera, travel bag, camera lens), resulting in four slides total.
- On the first slide, select a cutout (e.g., the camera) and press Ctrl + K to insert a hyperlink.
- Link this cutout to the slide dedicated to that object (e.g., slide 10 for the camera slide).
- Repeat for the other cutouts, linking each to its corresponding slide.
- Copy the cutouts with hyperlinks and paste them onto the other slides, replacing the original cutouts.
This setup allows users to click on any object and jump to its detailed slide smoothly.

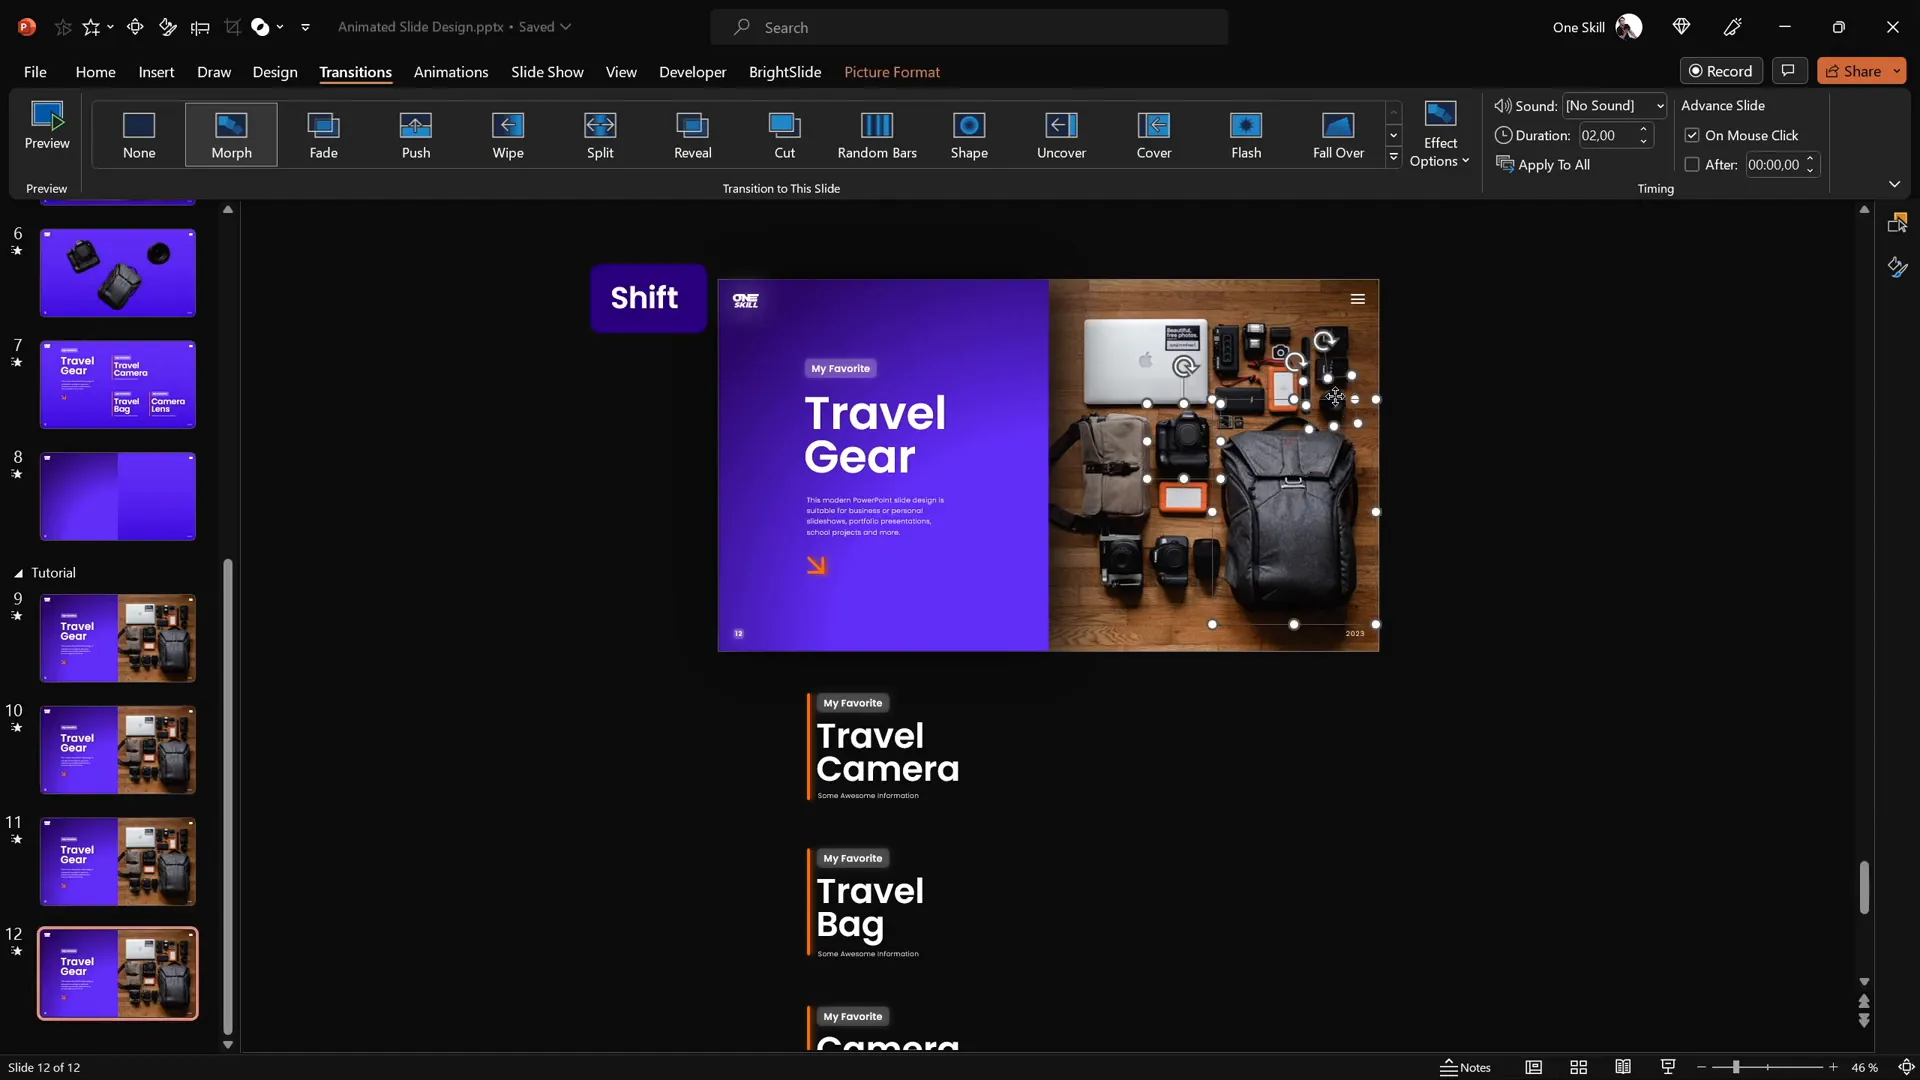
Applying the Morph Transition for Animation
The magic of animation comes alive with PowerPoint’s Morph transition. This feature automatically animates the movement, resizing, and rotation of objects between slides, giving the illusion of fluid motion.
To apply the Morph transition:
- Select all four slides.
- Go to the Transitions tab and choose Morph.
- Adjust the duration and effect options as desired for smooth animation.
Using Morph, when you click a cutout on the first slide, PowerPoint animates the object popping out and moving to its new position on the subsequent slide.

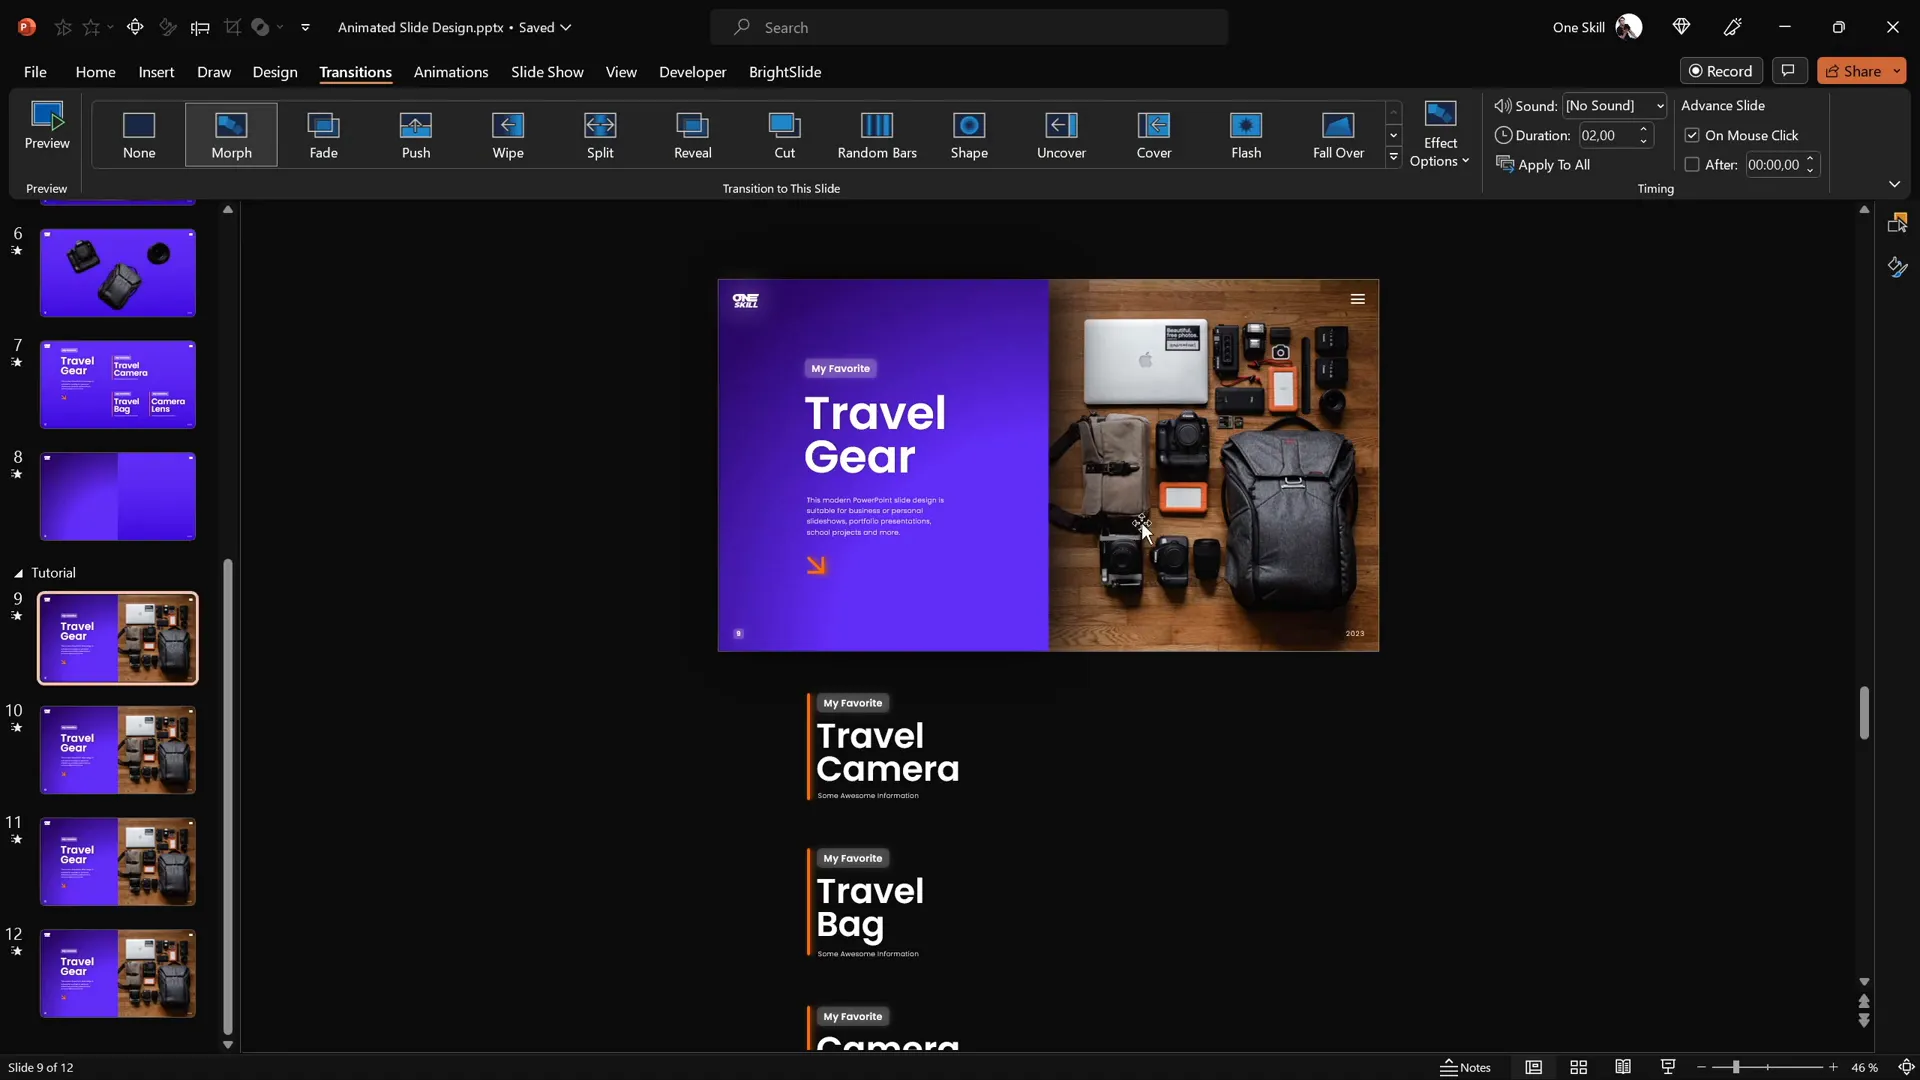
Designing Individual Slides for Animation
Each object’s slide should highlight the item and its description clearly. Here are design tips for each:
| Slide | Design Adjustments |
|---|---|
| Camera Slide | Move the “Travel Gear” text upwards, enlarge and rotate the camera cutout, and position it prominently. |
| Travel Bag Slide | Bring all text box groups closer, move everything up to hide other text groups, and resize/rotate the travel bag cutout. |
| Camera Lens Slide | Adjust text and cutout similarly to highlight the lens, ensuring clear focus and clean layout. |
These adjustments ensure that when transitioning between slides, the focus smoothly shifts to the selected item, reinforcing the interactive effect.
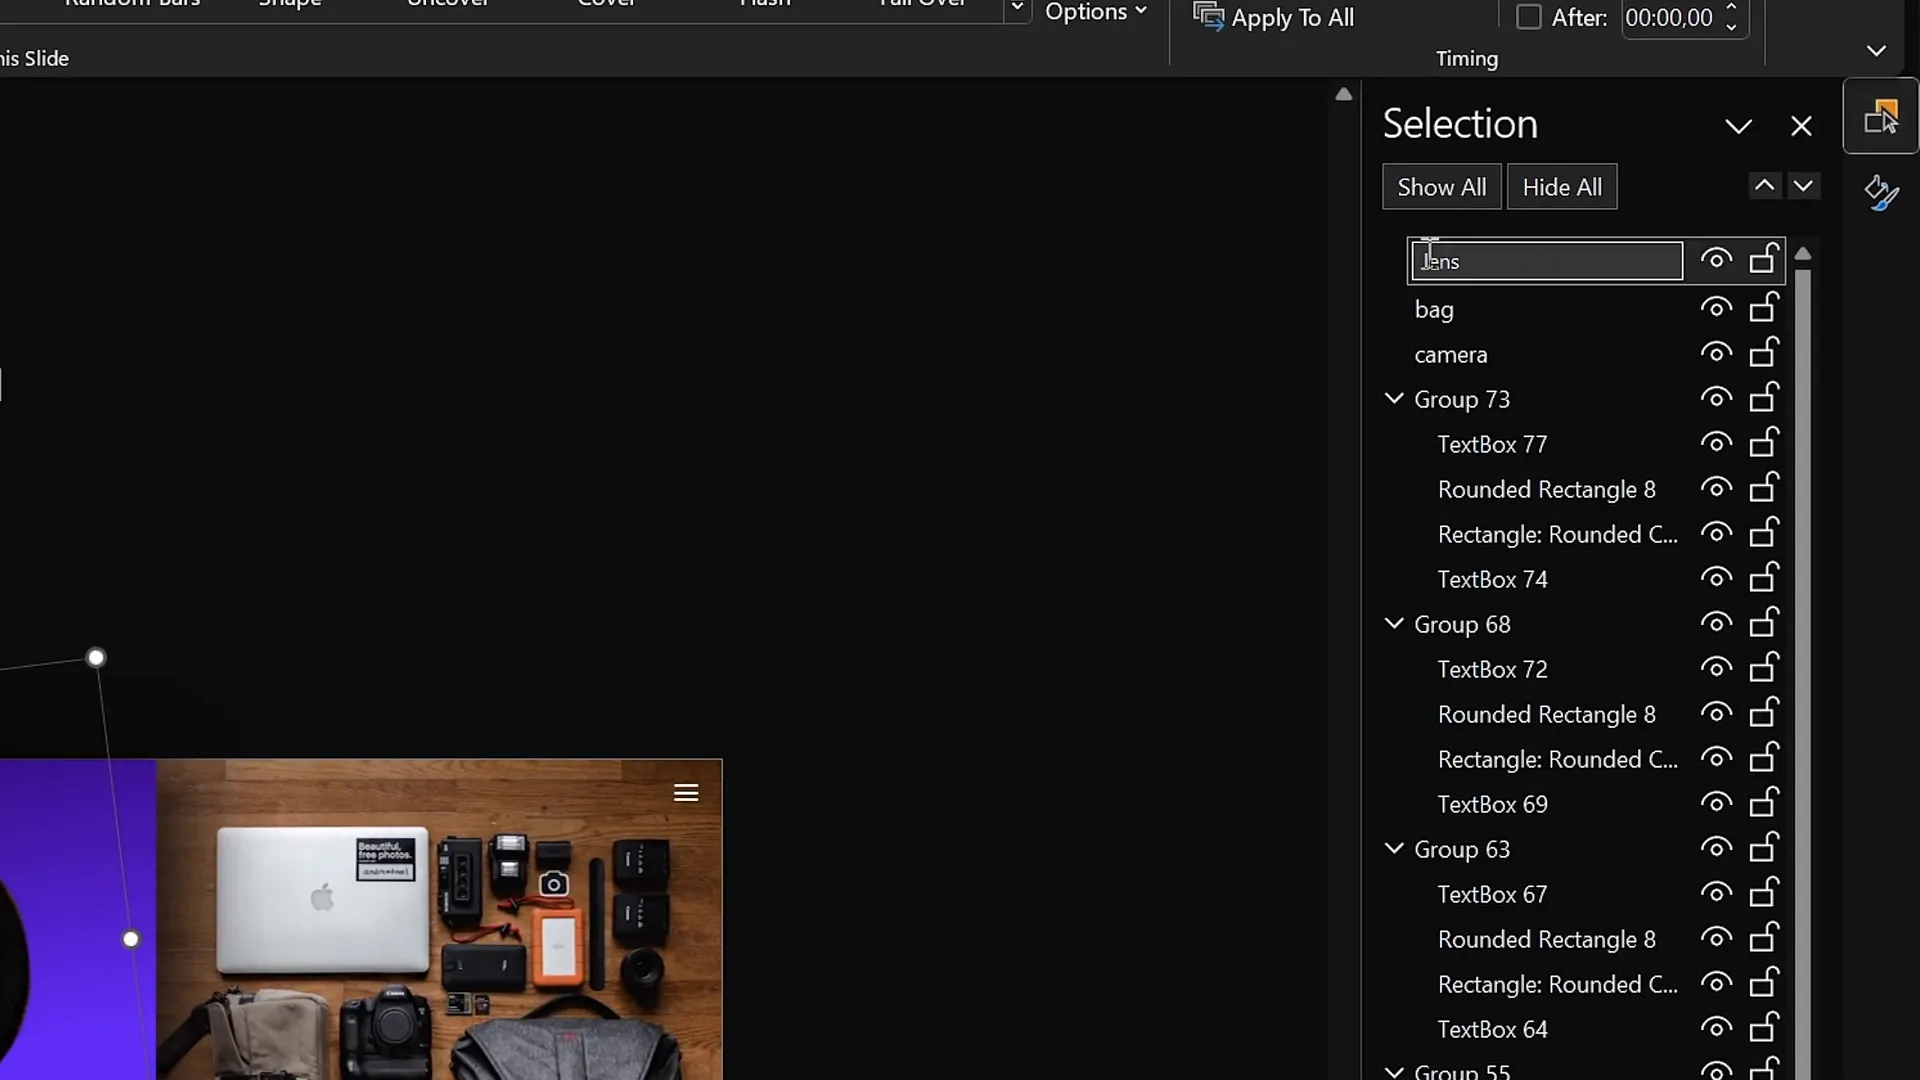
Fixing Morph Transition Issues
Sometimes, Morph can struggle to animate objects that look very similar across slides, causing glitches in the animation. For example, the camera lens might morph incorrectly from the camera image.
To fix this, rename the objects in the Selection Pane with unique identifiers, such as prefixing with double exclamation marks (e.g., “!!Lens”). Make sure you use the same names consistently across all slides.
This naming trick helps PowerPoint differentiate objects during the Morph transition, ensuring smooth and accurate animations.
Final Tips and Conclusion
Congratulations! You now know how to create a clickable and scrollable PowerPoint animated slide design that impresses and engages your audience. Here’s a quick recap of the key steps:
- Create a gradient background for visual depth.
- Insert and crop your main photo carefully.
- Add descriptive text boxes aligned neatly.
- Cut out photo objects precisely using Photopea or PowerPoint.
- Align cutouts perfectly over the original photo.
- Make cutouts clickable by linking them to dedicated slides.
- Apply the Morph transition to animate objects smoothly.
- Design individual slides to highlight each clickable object.
- Fix Morph glitches by renaming objects in the Selection Pane.
With these techniques, your presentations will become dynamic experiences that keep viewers engaged and make your message memorable. Experiment with different photos and objects to create custom interactive slides tailored to your content.
Remember, practice makes perfect. The more you explore PowerPoint’s capabilities, the more creative and effective your animated slide designs will become.
Stay creative and happy presenting!
Frequently Asked Questions (FAQ)
What is the Morph transition in PowerPoint?
The Morph transition is a powerful animation feature that smoothly animates movement, size, rotation, and color changes between slides. It creates the illusion of objects transforming seamlessly from one slide to the next.
Can I use any photo to create clickable animated slides?
Yes! You can use any photo, but high-resolution images with clear, distinct objects work best for cutting out and animating individual elements.
Do I need external software to cut out objects from photos?
While PowerPoint has basic cropping tools, using free online editors like Photopea gives you more precision and control for detailed cutouts.
How do I make objects clickable in PowerPoint?
Select the object, press Ctrl + K to insert a hyperlink, and link it to another slide within your presentation. This turns the object into an interactive button.
What can I do if Morph transitions don’t work smoothly?
Ensure objects have consistent and unique names across slides in the Selection Pane. This helps PowerPoint match objects correctly during animation.
Is the BrightSlide add-in necessary for this tutorial?
No, BrightSlide is optional but recommended. It offers productivity features like quick alignment shortcuts, which can speed up your workflow.
Where can I find free photos for my presentations?
Websites like Unsplash offer high-quality, royalty-free images suitable for presentations.
Can I use these techniques in older versions of PowerPoint?
The Morph transition is available in PowerPoint 2019 and Microsoft 365 versions. If you’re using an older version, some features may not be available.
How do I align objects perfectly in PowerPoint?
You can use the built-in alignment tools under Shape Format > Align, or use add-ins like BrightSlide for quicker shortcuts.
What fonts work best for professional presentations?
Clean, modern fonts like Poppins Semi Bold and Poppins Light are excellent choices for readability and style.
Check out the full video: ANIMATED PowerPoint Slide Design ✨FREE✨


