

Creating visually engaging and informative presentations is essential for capturing your audience’s attention and effectively communicating your message. One of the best ways to enhance your presentations is by using PowerPoint animated slides that combine clear structure, appealing design, and smooth animations. In this comprehensive tutorial, we will walk you through how to build a professional-looking, four-step infographic slide in PowerPoint with animated tabs. This slide design is versatile and can be customized to fit various presentation needs.
Whether you’re a business professional, educator, marketer, or student, mastering this technique will elevate your PowerPoint skills and help you create slides that stand out. Let’s dive into the process and explore how to create these animated infographic slides step-by-step.
Table of Contents
- Overview of the 4-Step Animated Tab Slide
- Preparation: Setting up Your PowerPoint Slide
- Creating the Rounded Rectangle Shapes
- Adding Color and Aligning Your Shapes
- Inserting Text and Icons
- Grouping Objects for Easier Management
- Applying Animations for Interactive Tabs
- Tips for Customizing Your Animated Slide
- Frequently Asked Questions (FAQs)
- Conclusion
Overview of the 4-Step Animated Tab Slide
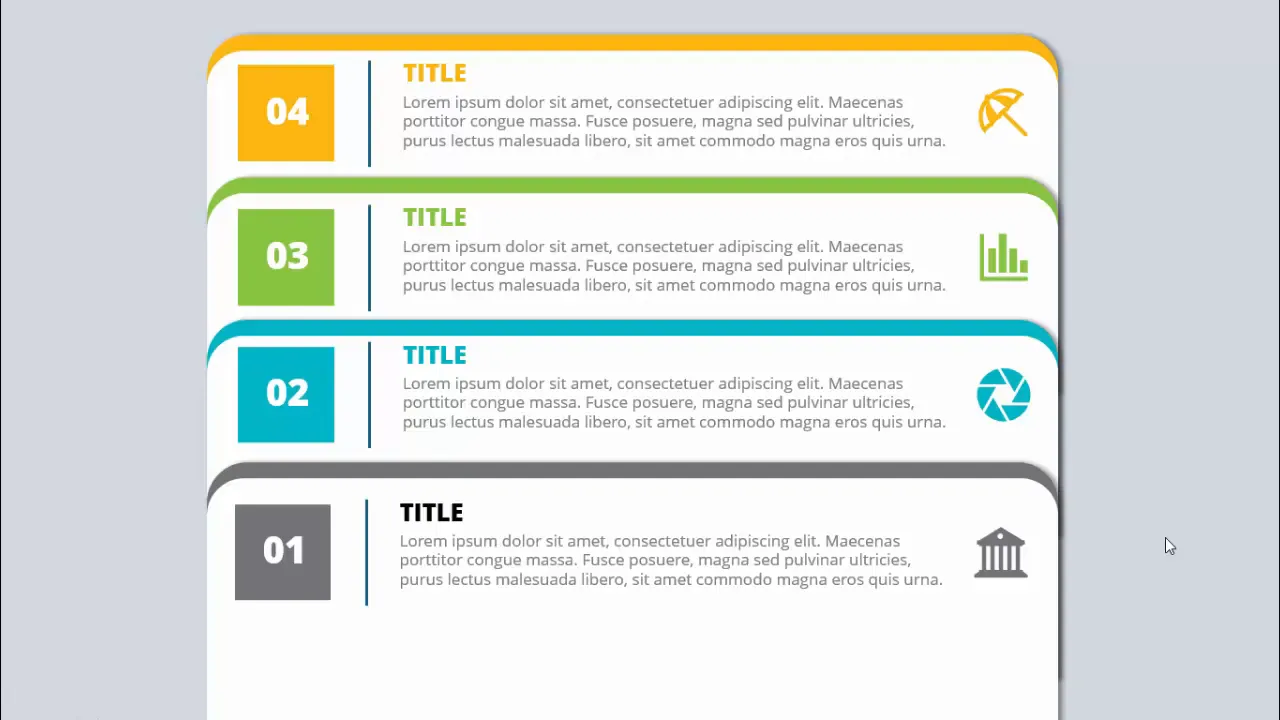
This PowerPoint slide design features four distinct steps or options that appear one at a time when clicked, each with a unique color scheme, title, detailed text, and an icon. The animation makes the slide interactive and visually appealing, ideal for presenting processes, workflows, or segmented information in a clean and professional format.
Here’s how the slide works:
- Clicking on the slide reveals the first option with its title, detailed description, and icon.
- Subsequent clicks display the second, third, and fourth options, each with different colors and icons.
- The slide can be customized to include more or fewer steps by duplicating or removing elements.
- The width of the slide elements can be adjusted based on your presentation’s needs.
This interactive design keeps your audience engaged, allowing you to focus on each point individually while maintaining a cohesive slide layout.
Preparation: Setting up Your PowerPoint Slide
Before creating the animated infographic, start by setting up a clean and suitable slide background. Here’s how to prepare your slide:
- Add a new slide: Insert a blank slide into your PowerPoint presentation.
- Set the background color: Choose a light color background that provides a good contrast with your shapes and text. A light gray or soft pastel works well to keep the slide bright and readable.
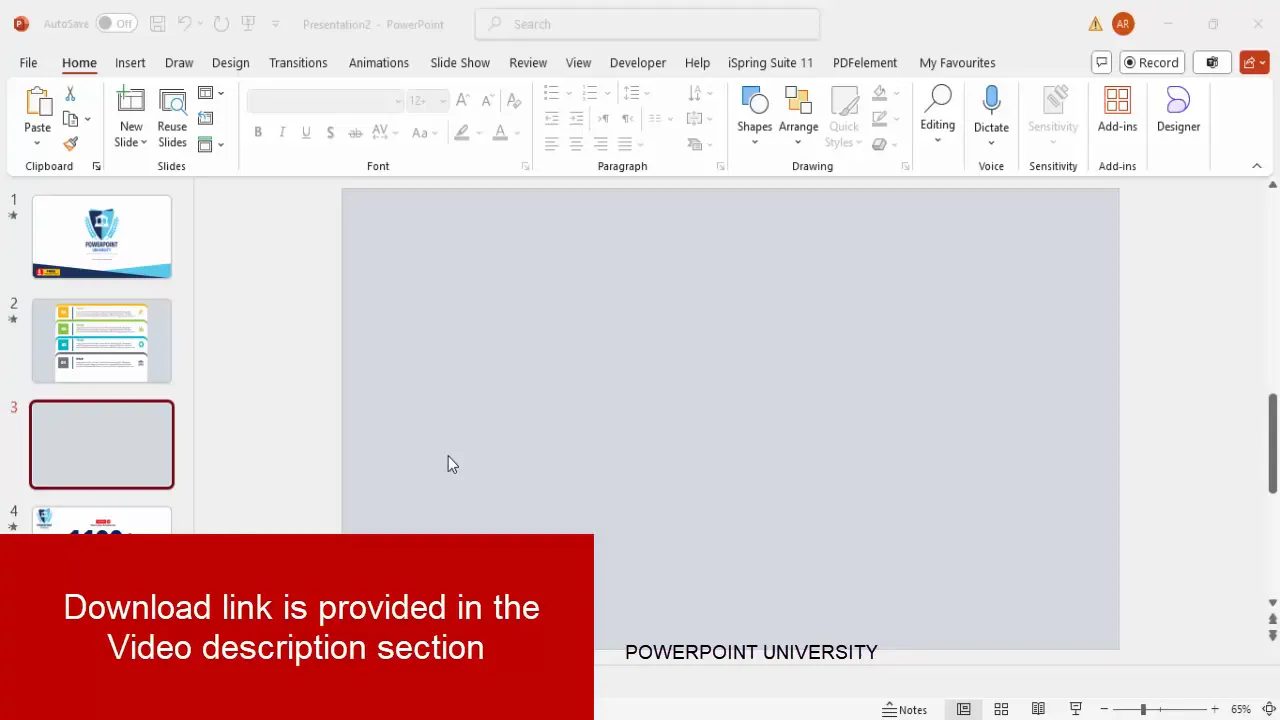
Using a light background ensures that your colored shapes and text will stand out, making the infographic visually clear.
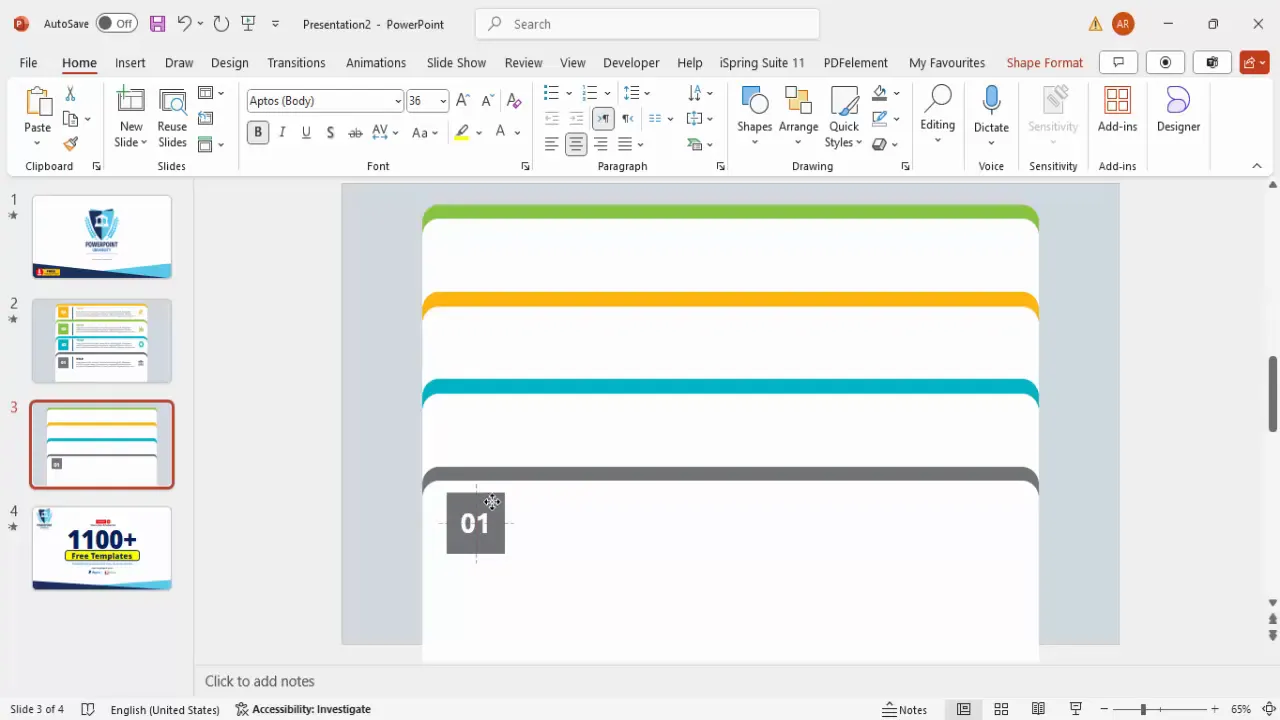
Creating the Rounded Rectangle Shapes
The foundation of this infographic slide is a set of rounded rectangle shapes that represent each step or tab. Follow these steps to create them:
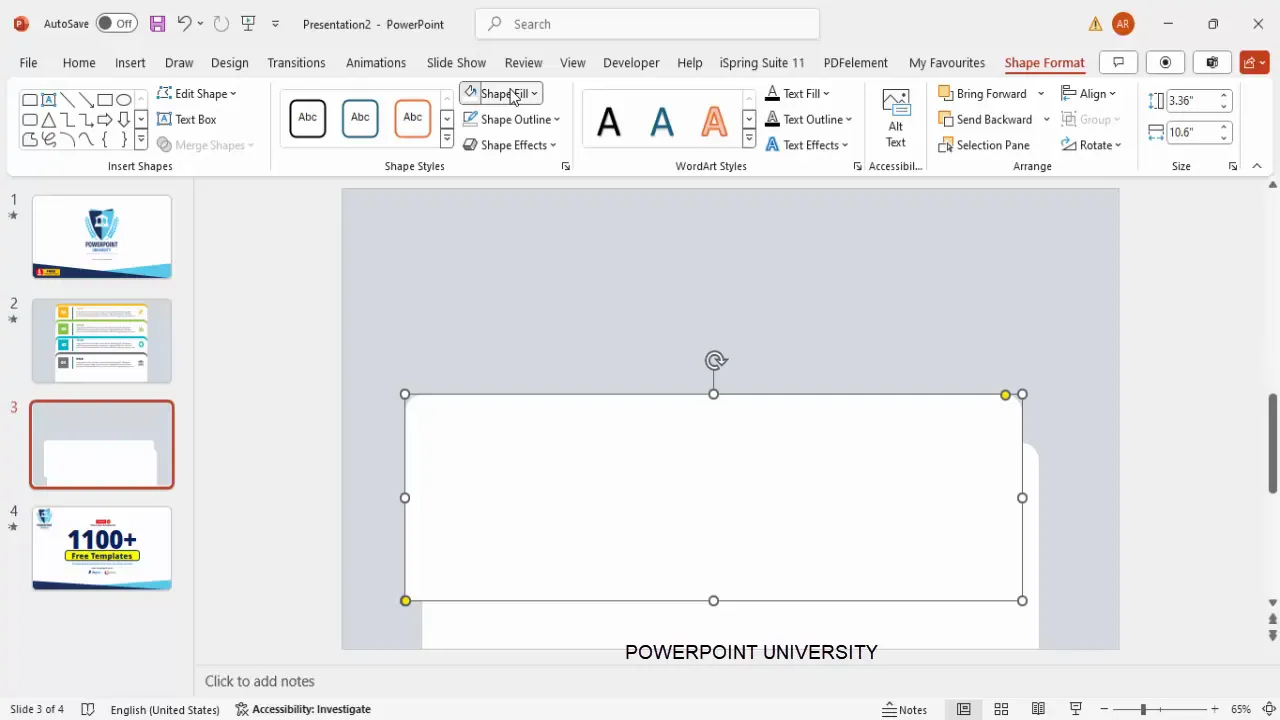
- Insert the first rounded rectangle: Go to Insert > Shapes, select the Rectangle: Rounded Corners shape.
- Draw the shape: Click and drag on the slide to create a rectangle with rounded corners.
- Adjust the size: Reduce the height of the rectangle to make it sleek, about the size you want for your tab.
- Remove the outline: Set the shape outline to No Outline for a cleaner look.
- Fill the shape: Fill the rectangle with white color.
- Modify corner roundness: Drag the small orange adjustment handle on the shape to make the corners less curved for a subtle rounded effect.
- Duplicate the shape: Press Ctrl + D to create a copy.
- Change the duplicated shape’s color: Fill the duplicate with a gray color to create a shadow or outline effect.
- Send the gray shape behind: Right-click the gray shape and select Send to Back. Then, nudge it downward slightly to create a subtle layered outline.
This dual-layer shape technique gives your tabs a subtle 3D effect, making them visually distinct and polished.
Adding Color and Aligning Your Shapes
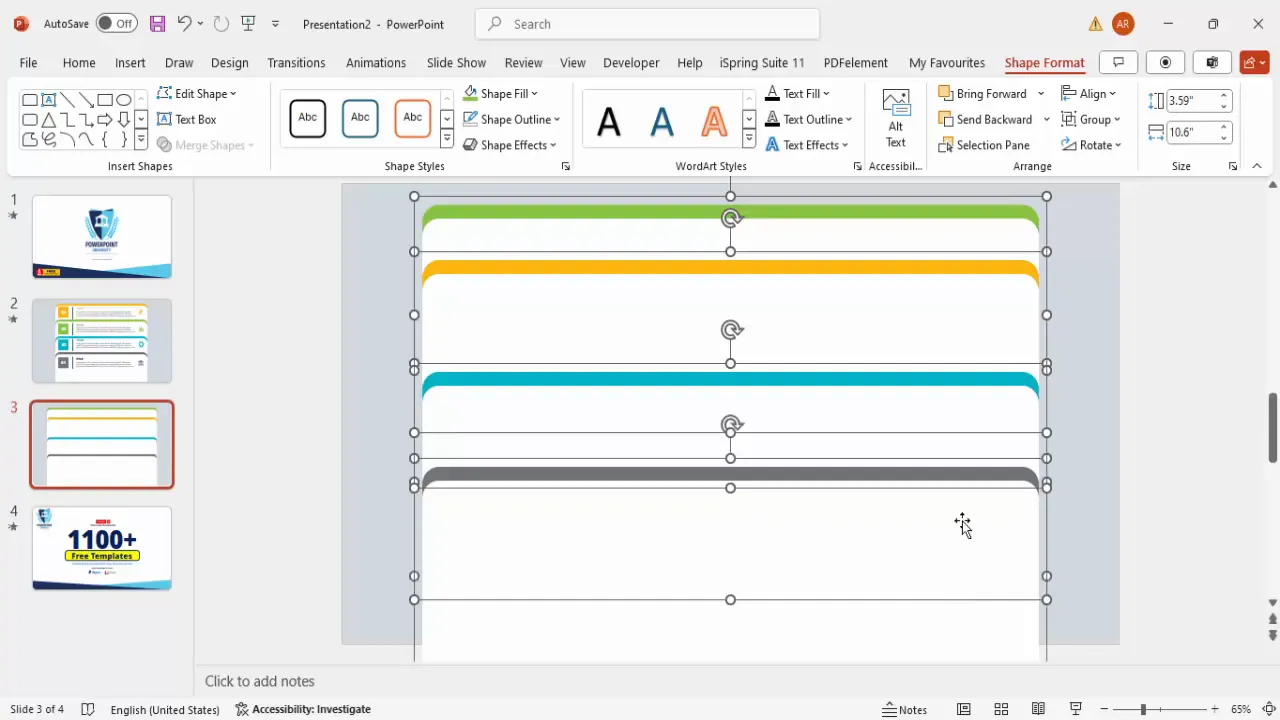
Once you have your first tab shape ready, you can create the remaining three tabs by duplicating and customizing their colors and positions:
- Group the two shapes: Select both the white and gray shapes and press Ctrl + G to group them.
- Duplicate the grouped shape: Press Ctrl + D to create copies for the remaining tabs.
- Change the shadow (gray) shape color: For each duplicated group, change the gray shadow shape to different colors such as blue, orange, and green to differentiate the tabs.
- Send colored shadow shapes to back: For each group, right-click and choose Send to Back so the colored shadow sits behind the white shape.
- Align the tabs vertically: Select all four grouped shapes, go to the Format tab, choose Align and then Distribute Vertically to space them evenly.
- Adjust size and position: If needed, resize or reposition the groups to fit your slide layout. It’s okay if parts extend beyond the slide edges.
Proper alignment and consistent spacing help create a balanced and professional look that’s easy for your audience to follow.
Inserting Text and Icons
With your tab shapes ready, it’s time to add the textual and visual content that explains each step. Here’s how to do it:
Step Numbers
- Insert a small rectangle shape on top of the colored shadow area for each tab to hold the step number.
- Fill this rectangle with the same color as the shadow shape for consistency.
- Remove the outline of the rectangle.
- Insert a text box inside this rectangle and type the step number (e.g., “01”, “02”, “03”, “04”).
- Set the font color to white, make the text bold, and increase the font size for visibility.
- Center-align the number inside the rectangle.
Divider Line
- Insert a straight horizontal line next to the step number rectangle to separate the number from the title.
- Hold the Shift key while drawing the line to keep it straight.
- Change the line color to gray and increase its thickness for emphasis.
Title and Description Text
- Insert a text box next to the divider line for the title of the step. Use bold font and the same color as the shadow shape for a cohesive look.
- Insert another text box below the title for the detailed description. Use a lighter gray color and smaller font size (14-16 pt) to maintain hierarchy and readability.
- Adjust the text boxes’ alignment and spacing to keep everything neat.
Adding Icons
- Go to Insert > Icons and choose relevant icons that represent each step’s theme or content.
- Insert the icon next to the description text.
- Resize the icon to about 0.7 inches (or suitable size) to keep it proportional.
- Change the icon color to match the tab’s shadow color for visual consistency.
- Position the icon in line with the text content.
Icons are powerful visual cues that help your audience quickly grasp the meaning of each step. Matching colors across text, shapes, and icons creates a unified and professional design.
Grouping Objects for Easier Management
After assembling each tab’s components—shapes, text, lines, and icons—it’s essential to group them. Grouping allows you to manage each tab as a single object, simplifying movement, duplication, and animation.
Here’s how to group the objects:
Create Slides in Seconds with ExpertSlides AI |
|
Generate AI Presentations today: |
| TRY NOW! |
- Select all objects that belong to one tab (step number box, line, title, description, icon, and shapes).
- Press Ctrl + G to group them.
- Repeat for the other three tabs.
- If needed, adjust the stacking order by sending grouped objects backward or forward to maintain the desired visual layering.

Grouping is especially helpful when applying animations, as it lets you animate the entire tab as one unit, ensuring smooth and synchronized effects.
Applying Animations for Interactive Tabs
Animating your slide’s tabs brings your presentation to life and allows you to control the flow of information effectively. Here’s a detailed guide on setting up the animations:
- Go to the Animations tab and open the Animation Pane for better control.
- Select all four grouped tab objects by holding the Shift key and clicking each one.
- Choose the Fly In animation effect from the entrance animations.
- Set each tab’s animation to start On Click so they appear one by one when you click during your presentation.
- Right-click on each animation in the Animation Pane, select Effect Options, and increase the Bounce effect for a lively entrance.
- Adjust the timing and order in the Animation Pane to ensure the tabs appear sequentially as you click.
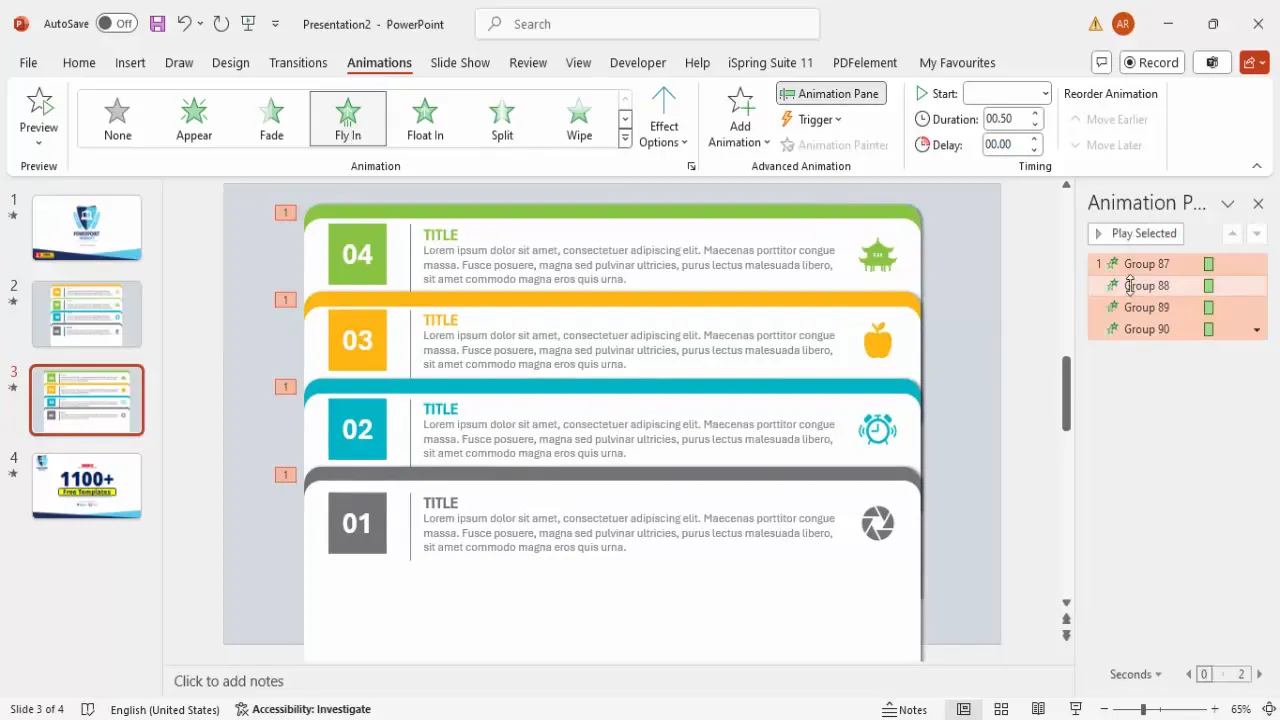
When presenting, clicking the slide will reveal each tab step-by-step, maintaining audience focus and making your presentation more dynamic and interactive.
Tips for Customizing Your Animated Slide
While the tutorial covers creating a four-step infographic slide, you can customize this design extensively to suit your needs:
1. Adjust Number of Steps
- Add more steps by duplicating grouped tabs and updating their colors, text, and icons.
- Remove steps if fewer are needed by deleting groups.
2. Modify Color Schemes
- Use your brand colors or presentation theme colors for the shadow shapes, text, and icons.
- Ensure good contrast between background and shapes for readability.
3. Change Slide Width and Layout
- Increase or decrease the width of the tab shapes as needed.
- Rearrange tabs horizontally or vertically based on your slide design preference.
4. Customize Icons
- Choose icons that best represent the content of each step.
- Resize and recolor icons for consistency with your design palette.
5. Refine Text Content
- Edit titles and detailed descriptions to be concise and clear.
- Use appropriate font sizes and weights to establish hierarchy.
6. Enhance Animations
- Experiment with different entrance effects like Fade, Zoom, or Wipe.
- Adjust animation speed and bounce intensity to match your presentation style.
7. Add Additional Effects
- Apply shadow effects to grouped objects to create depth.
- Use PowerPoint’s formatting tools to add glow, reflection, or 3D effects.
With these customization options, you can create a unique and professional animated infographic slide tailored perfectly for your presentation context.
Frequently Asked Questions (FAQs)
Q1: Can I create more than four steps in this animated tab slide?
Yes, you can add as many steps as you need by duplicating the grouped tab objects and updating their colors, text, and icons accordingly. Just remember to adjust the alignment and spacing to keep the slide balanced.
Q2: How do I change the colors of the tabs to match my brand?
Select the colored shadow shapes within each grouped tab and use the Shape Fill or Graphic Fill options to select your brand colors. Also, update the text and icon colors to maintain color harmony.
Q3: Can I use different animation effects instead of Fly In?
Absolutely! PowerPoint offers a variety of entrance effects such as Fade, Zoom, Wipe, and more. Choose the one that fits your presentation style best. Just ensure the animation is set to On Click for sequential display.
Q4: How do I add icons if I don’t see the Insert Icons option?
If your version of PowerPoint does not support inserting icons directly, you can download free icons from websites like The Noun Project or Flaticon and insert them as images.
Q5: Is it possible to use this slide design for presentations other than PowerPoint?
While the tutorial is specific to PowerPoint, you can replicate similar designs in other presentation software like Google Slides or Keynote by using their shape, text, and animation tools. However, some features might differ or require workarounds.
Conclusion
Mastering the creation of PowerPoint animated slides like this four-step infographic tab design can dramatically improve the professionalism and engagement level of your presentations. By combining clean, rounded rectangle shapes, vibrant color schemes, clear text hierarchy, meaningful icons, and smooth animations, you create slides that communicate your message effectively and keep your audience focused.
This step-by-step guide has demonstrated how to build each element from scratch, group objects for easy management, and apply animations for interactive delivery. Remember, customization is key — feel free to adapt colors, icons, number of steps, and animations to suit your unique presentation needs.
With practice, these skills will allow you to transform ordinary slides into compelling visual stories that resonate with your audience. So start designing your own animated infographic slides today and make every presentation count!
Check out the full video: 4 Animated tab design slide in PowerPoint


