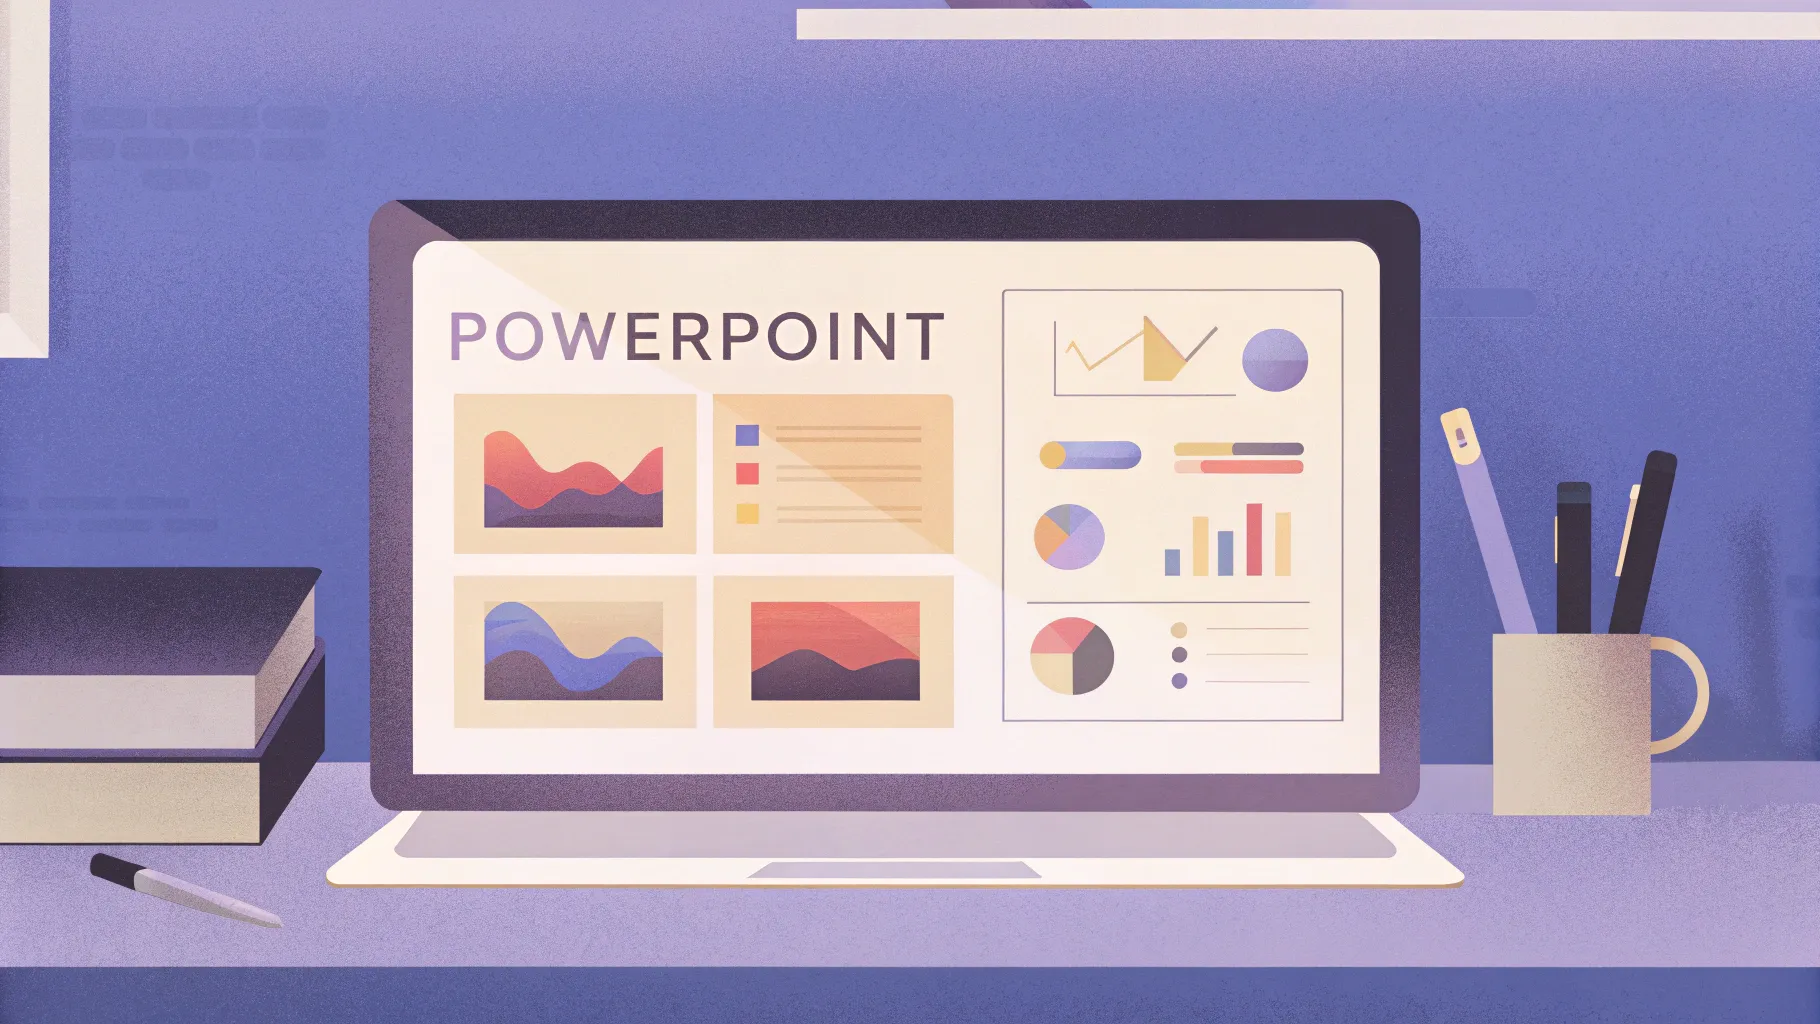
If you’ve ever wanted to create eye-catching PowerPoint animations that elevate your presentations, you’re in the right place. In this comprehensive guide, we’ll walk you through how to craft a stunning title slide animation and a smooth transition to the next slide using PowerPoint’s powerful animation features. These techniques not only enhance your presentation’s visual appeal but also engage your audience effectively.
Best of all, the tutorial covers a 100% free PowerPoint template that you can download and customize. Whether you’re a beginner or looking to refine your PowerPoint skills, this article will give you step-by-step instructions to master PowerPoint animation like a pro.
Table of Contents
- Getting Started with the PowerPoint Template
- Creating the Glassmorphic Effect
- Animating the Slide Title
- Setting Up the Slide Transition
- Designing and Animating Glassmorphic Circles
- Naming Shapes Properly for Morph Transition
- Animating the Circles with Zoom and Spin Effects
- Final Touches and Preview
- Frequently Asked Questions
- Conclusion
Getting Started with the PowerPoint Template
Before diving into the animation process, you’ll want to download the free PowerPoint template that’s used in this tutorial. This template includes the base slides and design elements needed to follow along easily.
To get the free template:
- Visit pptskill.com.
- Click on the Preview button, then sign up for a free account.
- Once logged in, navigate to Chapter 12 and select the Bonus Slides Pitch Zoom Template.
- Scroll down the lesson page to find the Download button and click it to save the template.
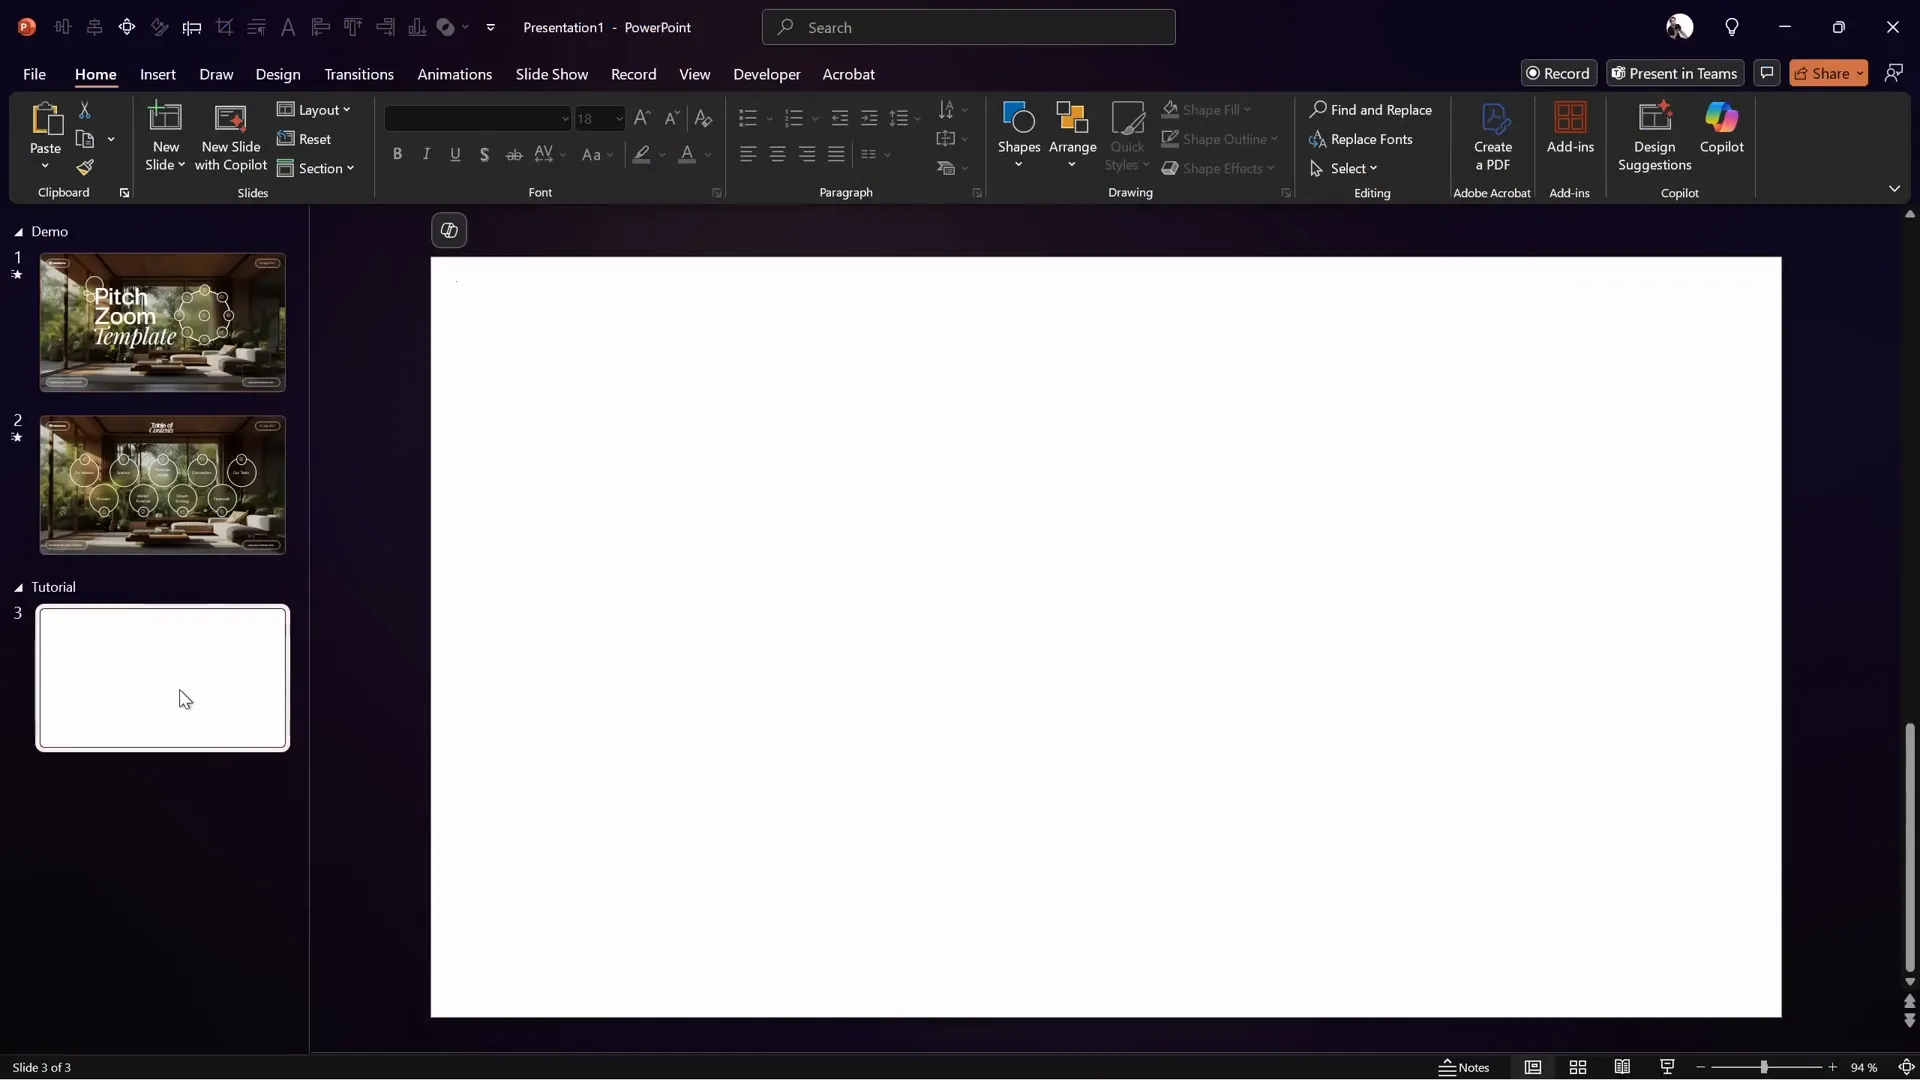
With the template downloaded, open a fresh blank slide where we’ll start creating the animations from scratch.
Creating the Glassmorphic Effect
One of the key visual styles used in this animation is the trendy glassmorphic effect. This effect gives a sleek translucent look that mimics frosted glass, adding depth and elegance to your slides.
Here’s how to create it step-by-step:
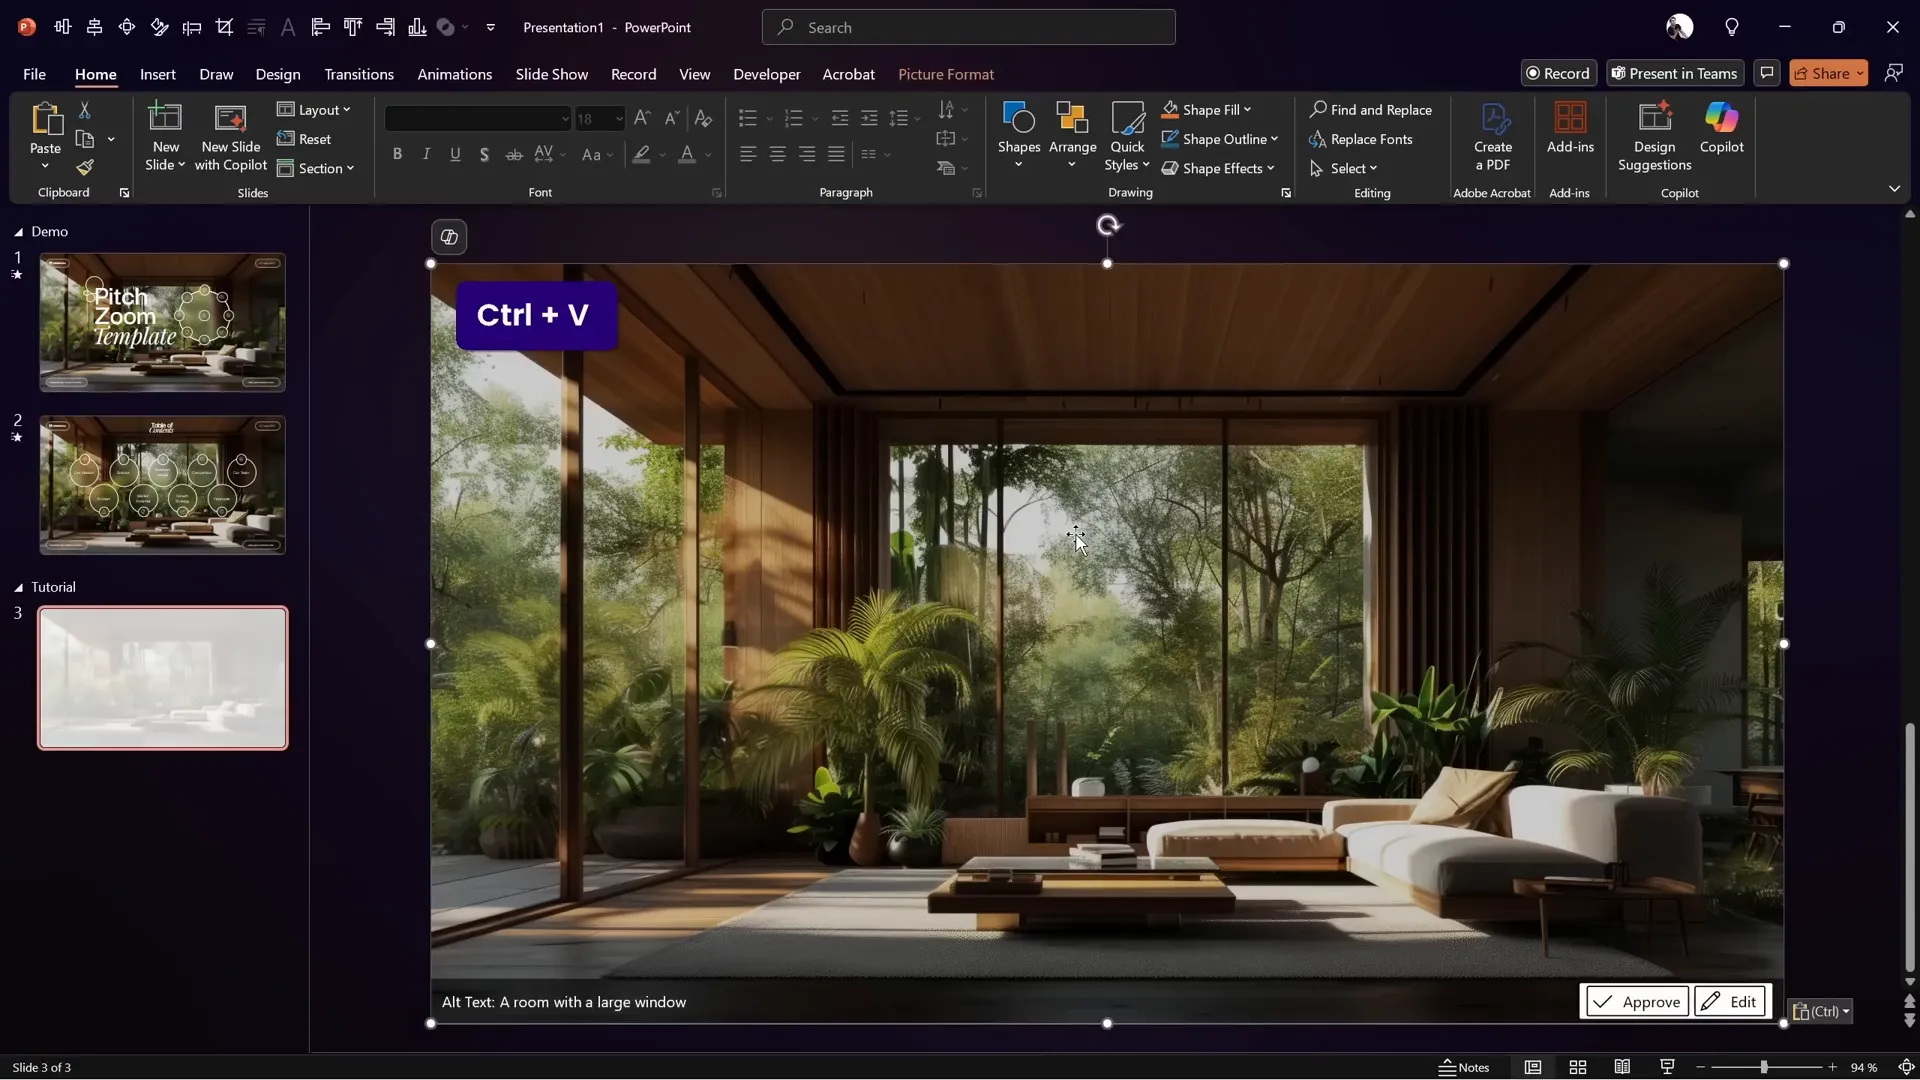
Step 1: Insert a Beautiful Background Picture
Start by inserting a high-quality background image. The example uses an image sourced from Freepik. You can use any image relevant to your presentation.
- Copy the image from your source slide or file.
- Paste it into your blank slide.
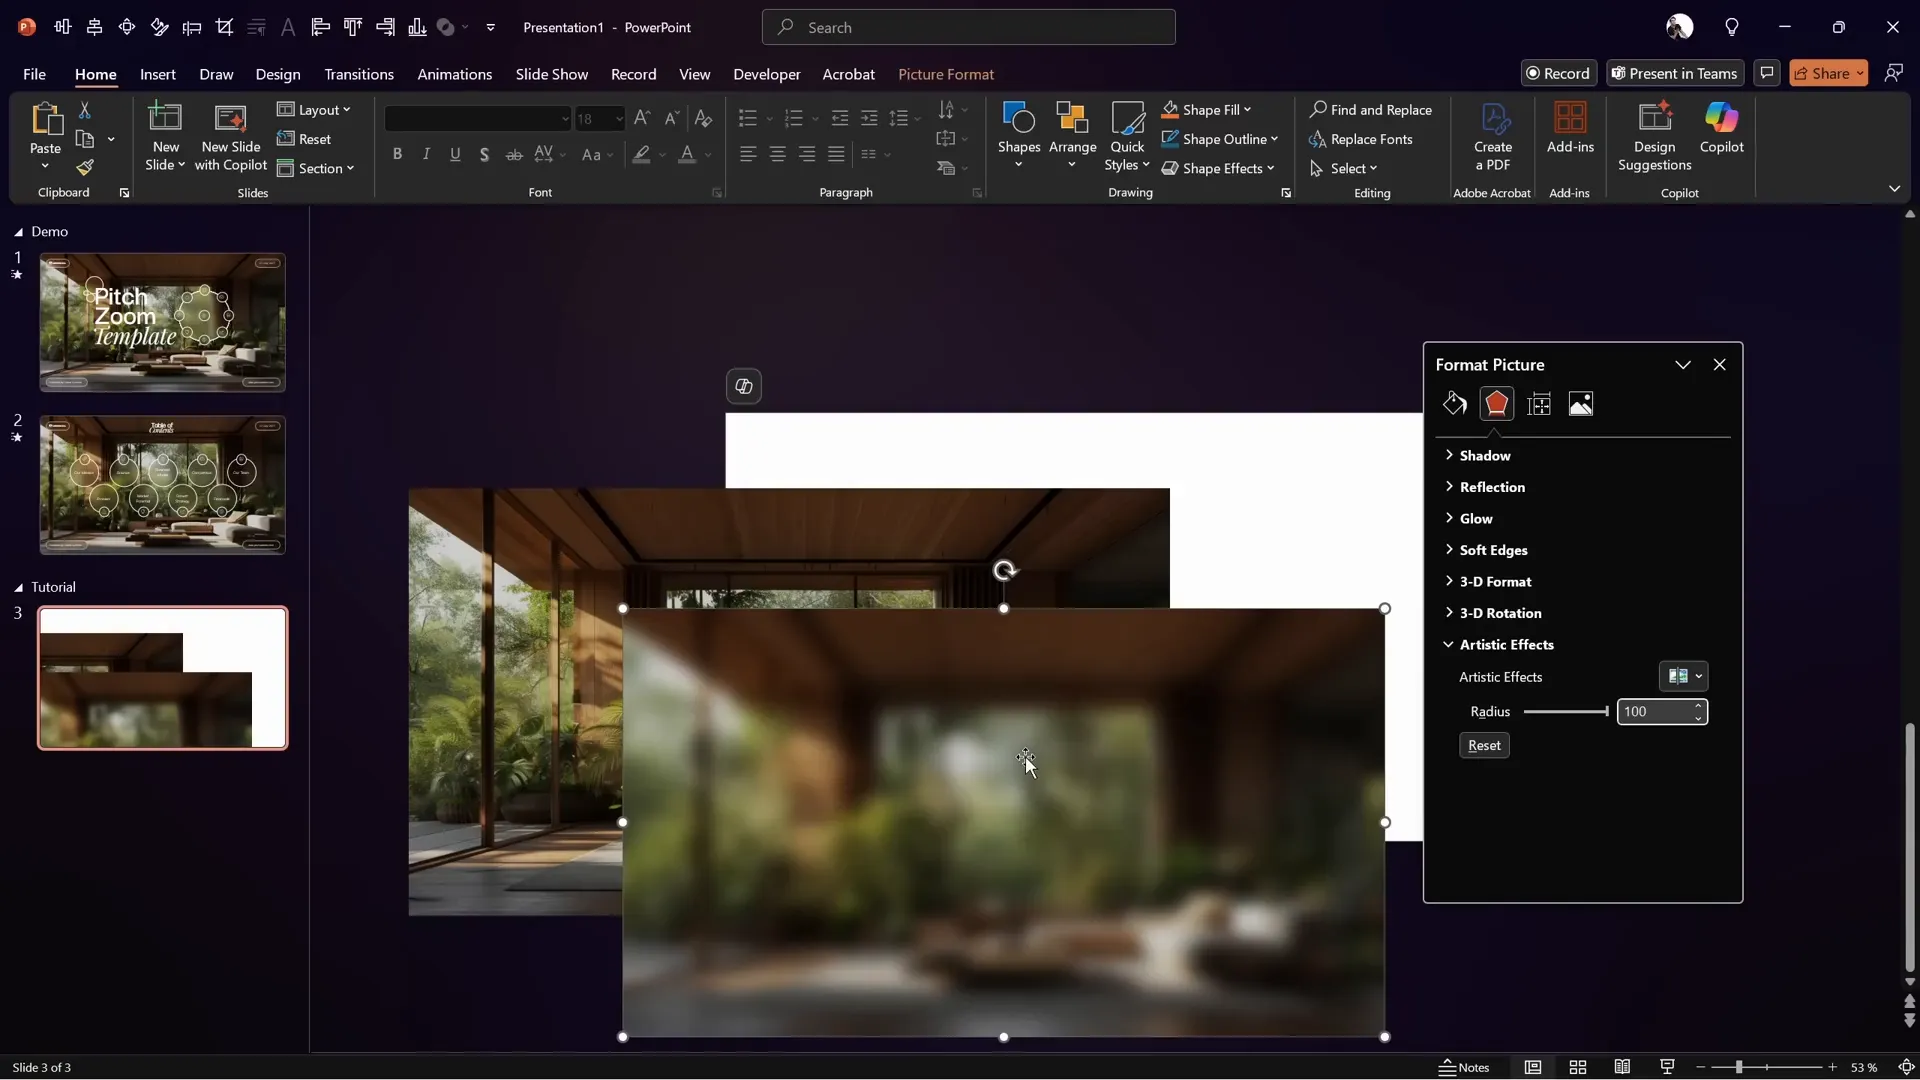
Step 2: Create a Blurred Version of the Background
The glassmorphic effect relies on layering a blurred background behind sharp content. To do this:
- Duplicate the background image.
- Right-click the duplicate and select Picture Format.
- Go to Artistic Effects and choose the Blur effect.
- Adjust the blur level to maximum for a fully blurred image.
Step 3: Set the Blur as the Slide Background
Once blurred, copy the blurred image, then delete it from the slide. Next:
- Click on the slide background.
- In the Format Background pane, select Picture or texture fill.
- Choose Clipboard as the source to paste the blurred image as the background.
This sets a blurred version of your background as the slide fill, creating the foundation for the glassmorphic effect.
Step 4: Add a Shape with Slide Background Fill
To create the glass-like translucent shape:
- Insert a shape such as a circle or rectangle.
- Right-click the shape and select Format Shape.
- Under Fill, select Slide background fill.
The shape will now show the blurred background through it, producing the glassmorphic effect.

Step 5: Enhance the Effect
For a more realistic glass look, you can:
- Add a thin white outline around the shape.
- Apply a white inside shadow with slight blur.
These details add subtle highlights and depth to the shape, making it pop.
Pro Tip: You can move the shape anywhere on the slide, and it will always adapt dynamically to the blurred background behind it.
Animating the Slide Title
Now that the background and glassmorphic effect are set, it’s time to animate your slide title to make it visually engaging. The animation technique combines motion paths and wipe effects for a smooth, polished entrance.
Step 1: Prepare Your Slide Title Text
Copy the text boxes containing your slide title words. For example, if your title is “Pitch Zoom Template,” copy each word’s text box separately.
- Paste the text boxes onto your working slide.
- Also copy and paste the rounded rectangles or other decorative shapes you want to animate alongside the text.

Step 2: Clear Existing Animations
Open the Animation Pane and delete any existing animations to start fresh.
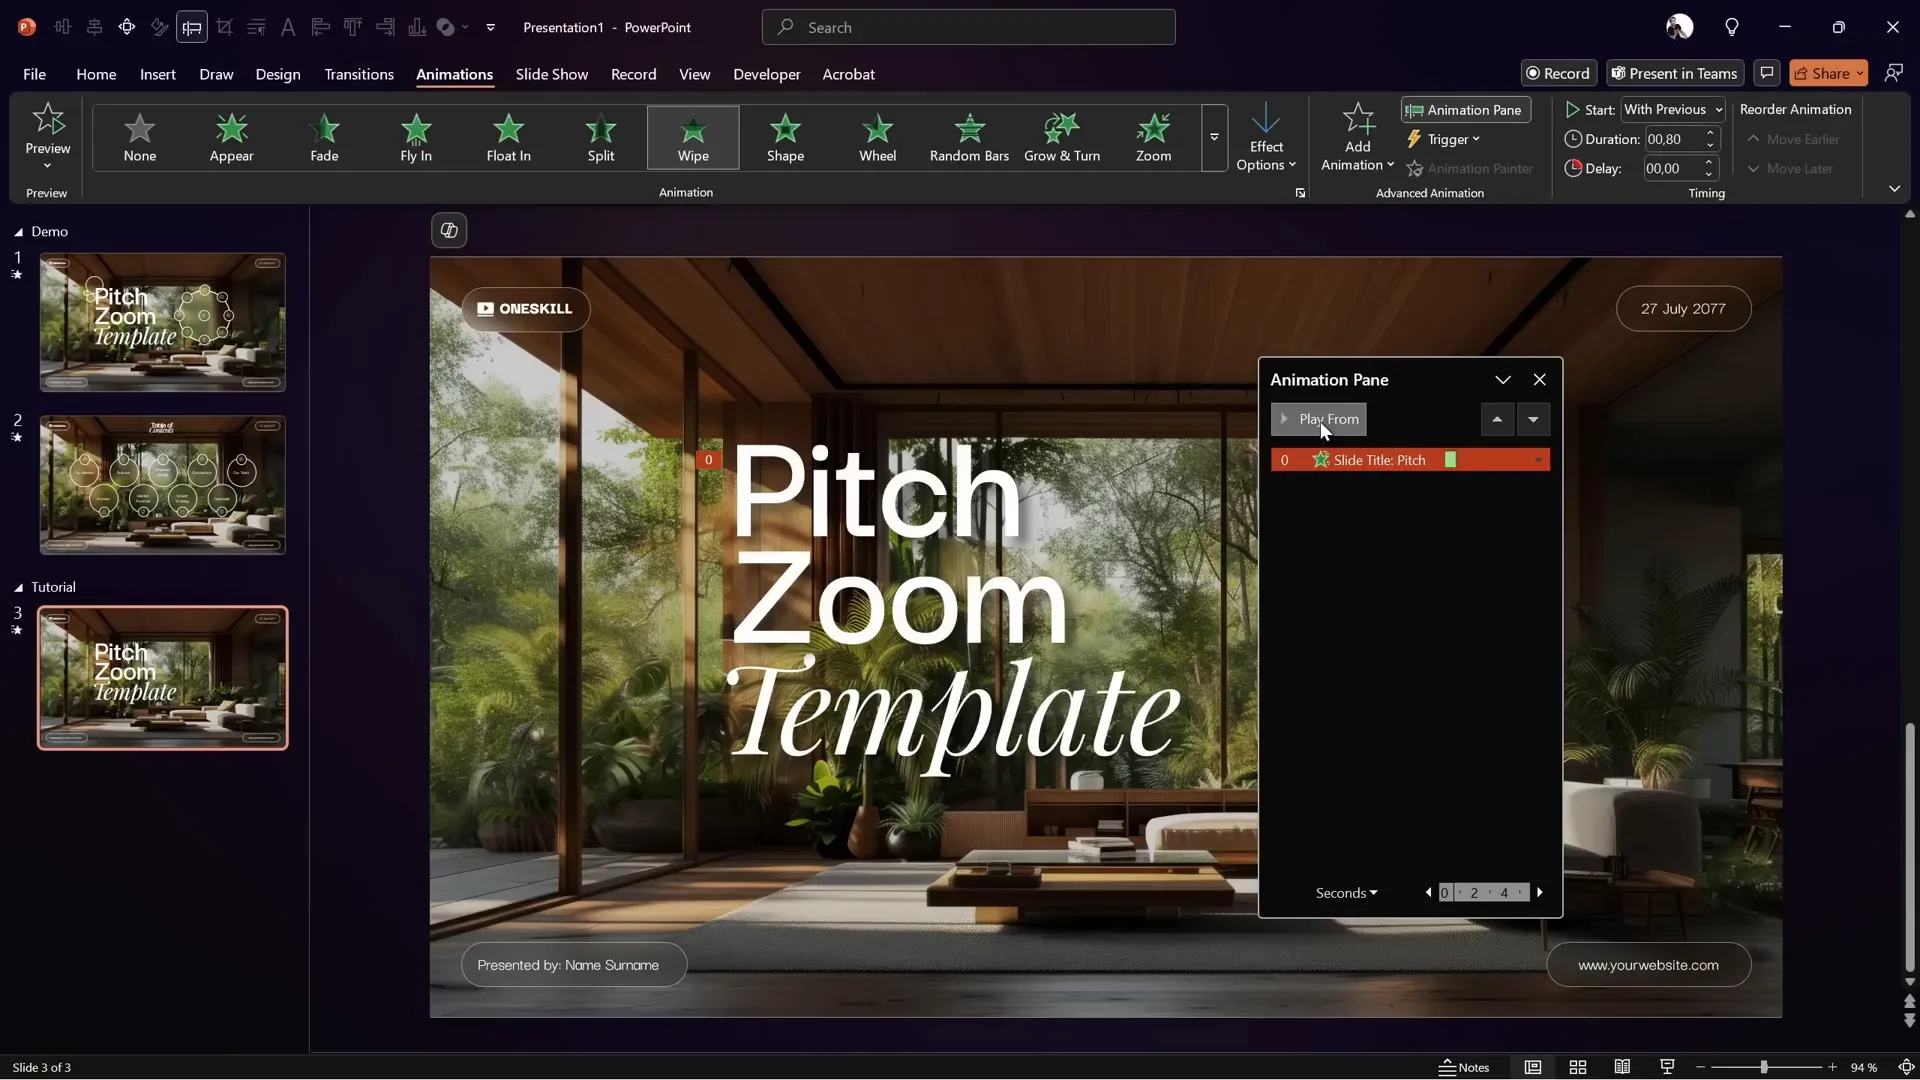
Step 3: Animate the First Text Box
For the first word (e.g., “Pitch”):
- Select the text box.
- Add a Wipe animation with direction set to From Top.
- Set the animation to Start With Previous, with a duration of 0.8 seconds.
- Preview the wipe animation.
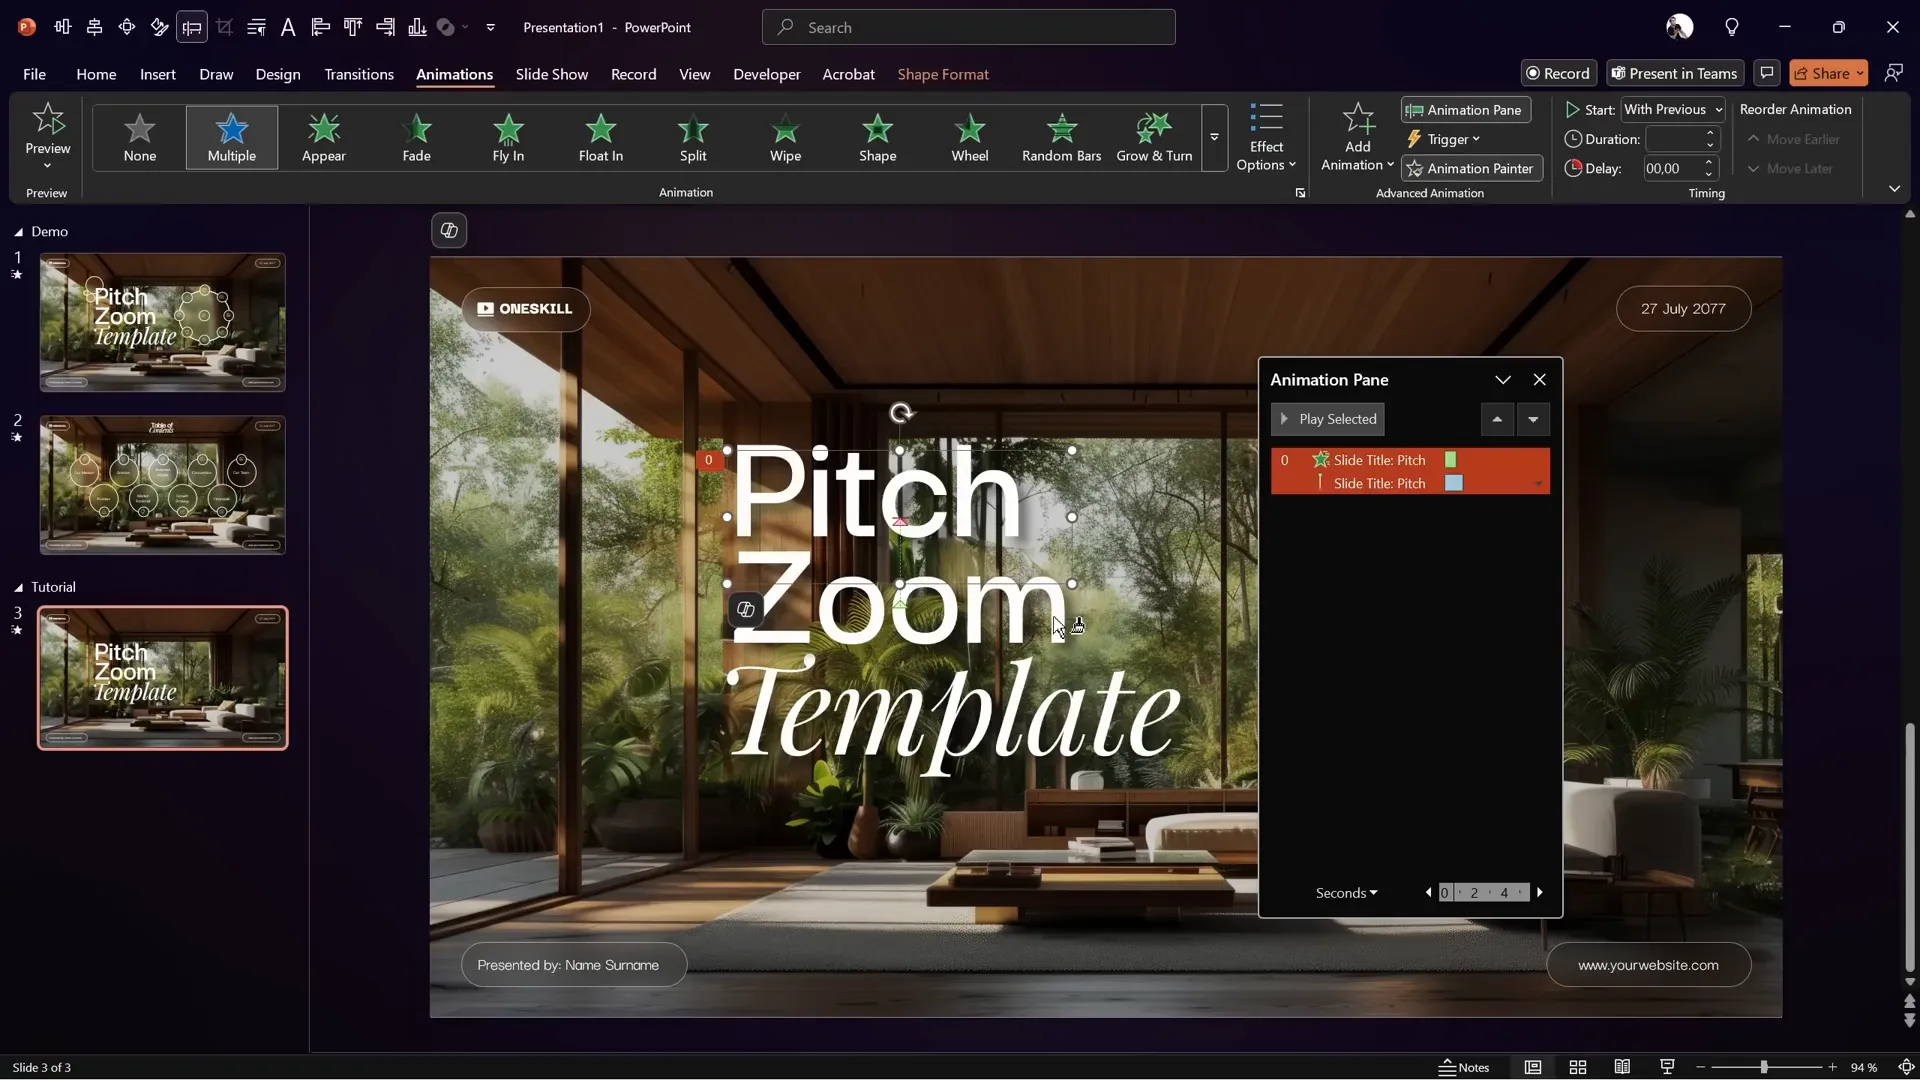
Step 4: Add Motion Path Animation
To complement the wipe effect with upward motion:
- Add a Motion Path Line animation to the same text box.
- Drag the red endpoint slightly upward to shorten the travel distance.
- Set it to Start With Previous, duration 1.25 seconds.
- In Effect Options, enable Smooth Start/End with maximum smoothing.
- Reverse the path direction so the text moves upward instead of downward.
- Preview the combined wipe and motion path animations.
Step 5: Apply the Animations to Other Text Boxes
To save time:
- Select the first text box with the two animations.
- Double-click the Animation Painter tool.
- Click on the other title text boxes to apply the same animations.
- Deactivate the Animation Painter once done.
Step 6: Add Delays for a Staggered Effect
Make the title animation more dynamic by adding delays:
- Select the middle two text boxes’ animations and add a delay of 0.25 seconds.
- For the last text box animations, add a delay of 0.5 seconds.
This creates a smooth staggered entrance for the title words.
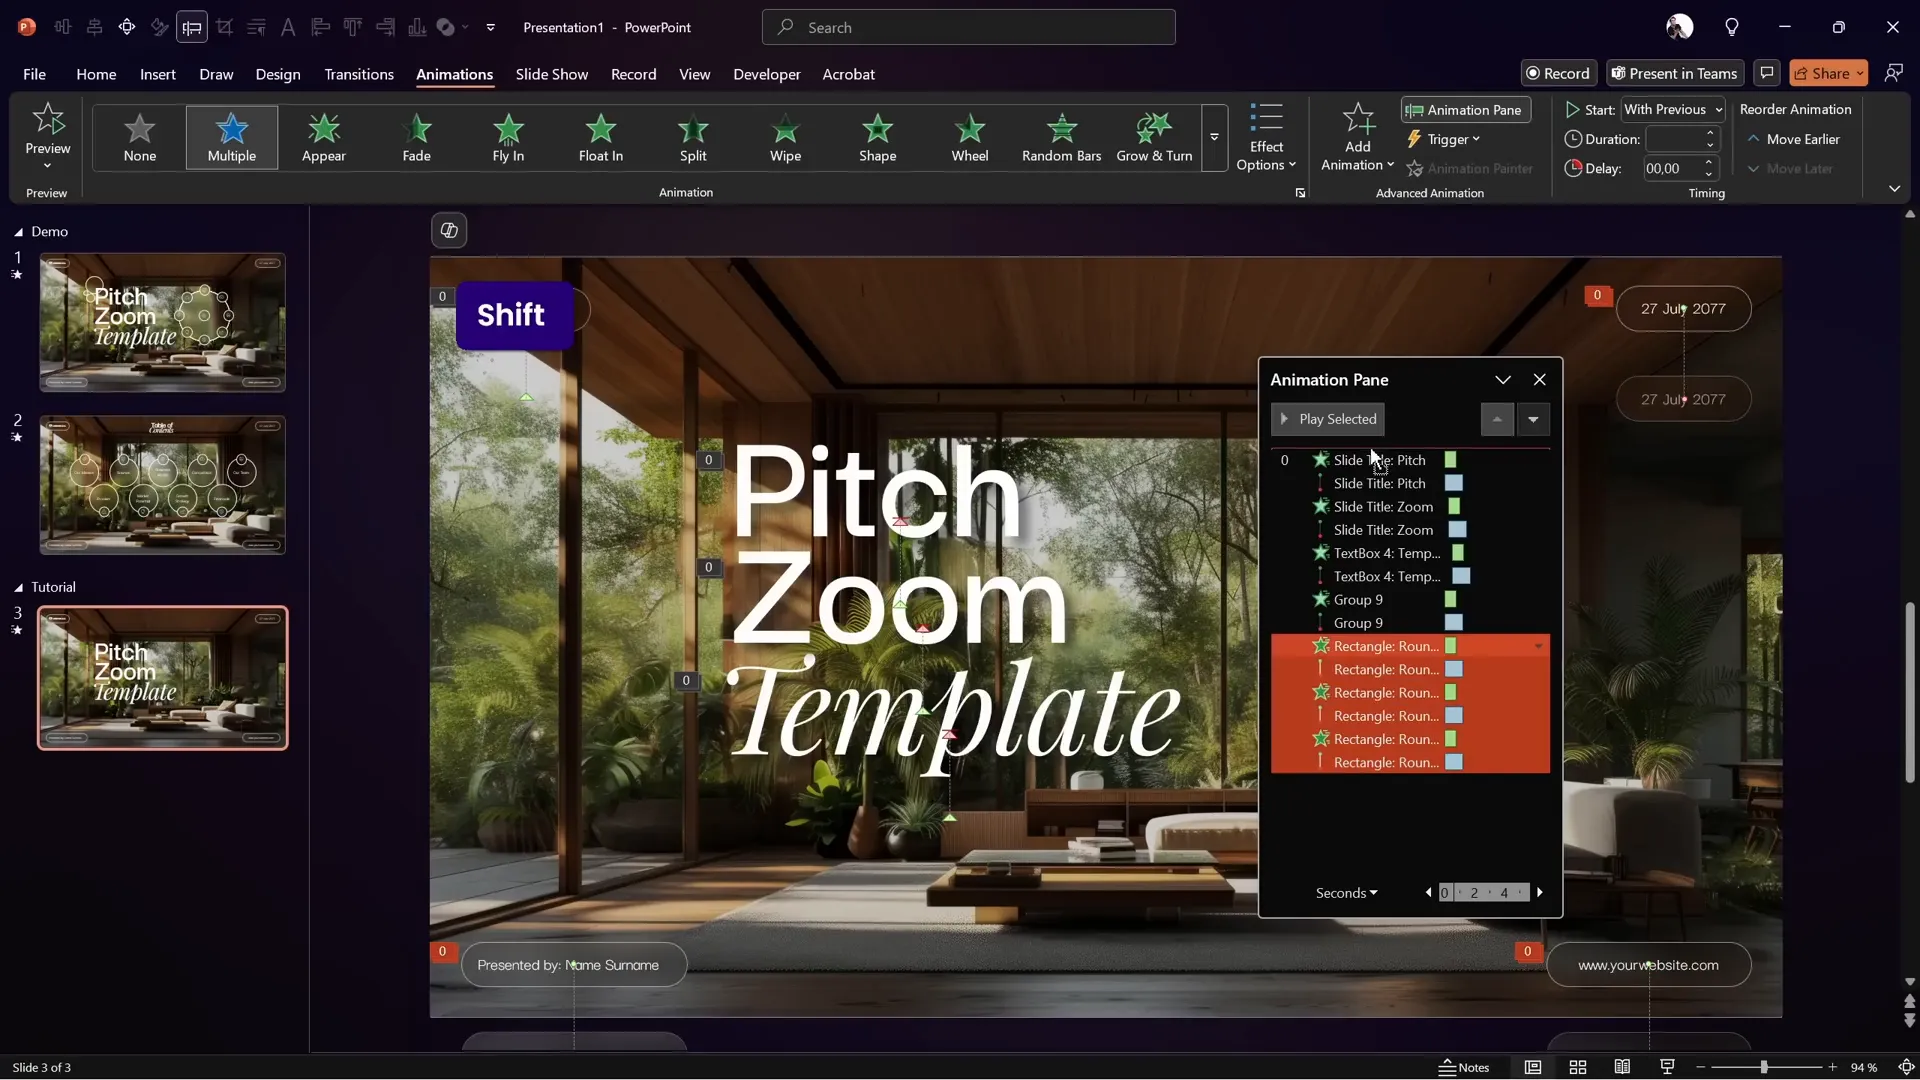
Step 7: Animate Rounded Rectangles
Paste the rounded rectangles onto the slide and apply the same wipe and motion path animations using the Animation Painter.
Organize these animations by moving them to the top of the Animation Pane for clarity.
Setting Up the Slide Transition
To create a seamless transition between the title slide and the next slide, use PowerPoint’s Morph transition combined with a subtle fade effect.
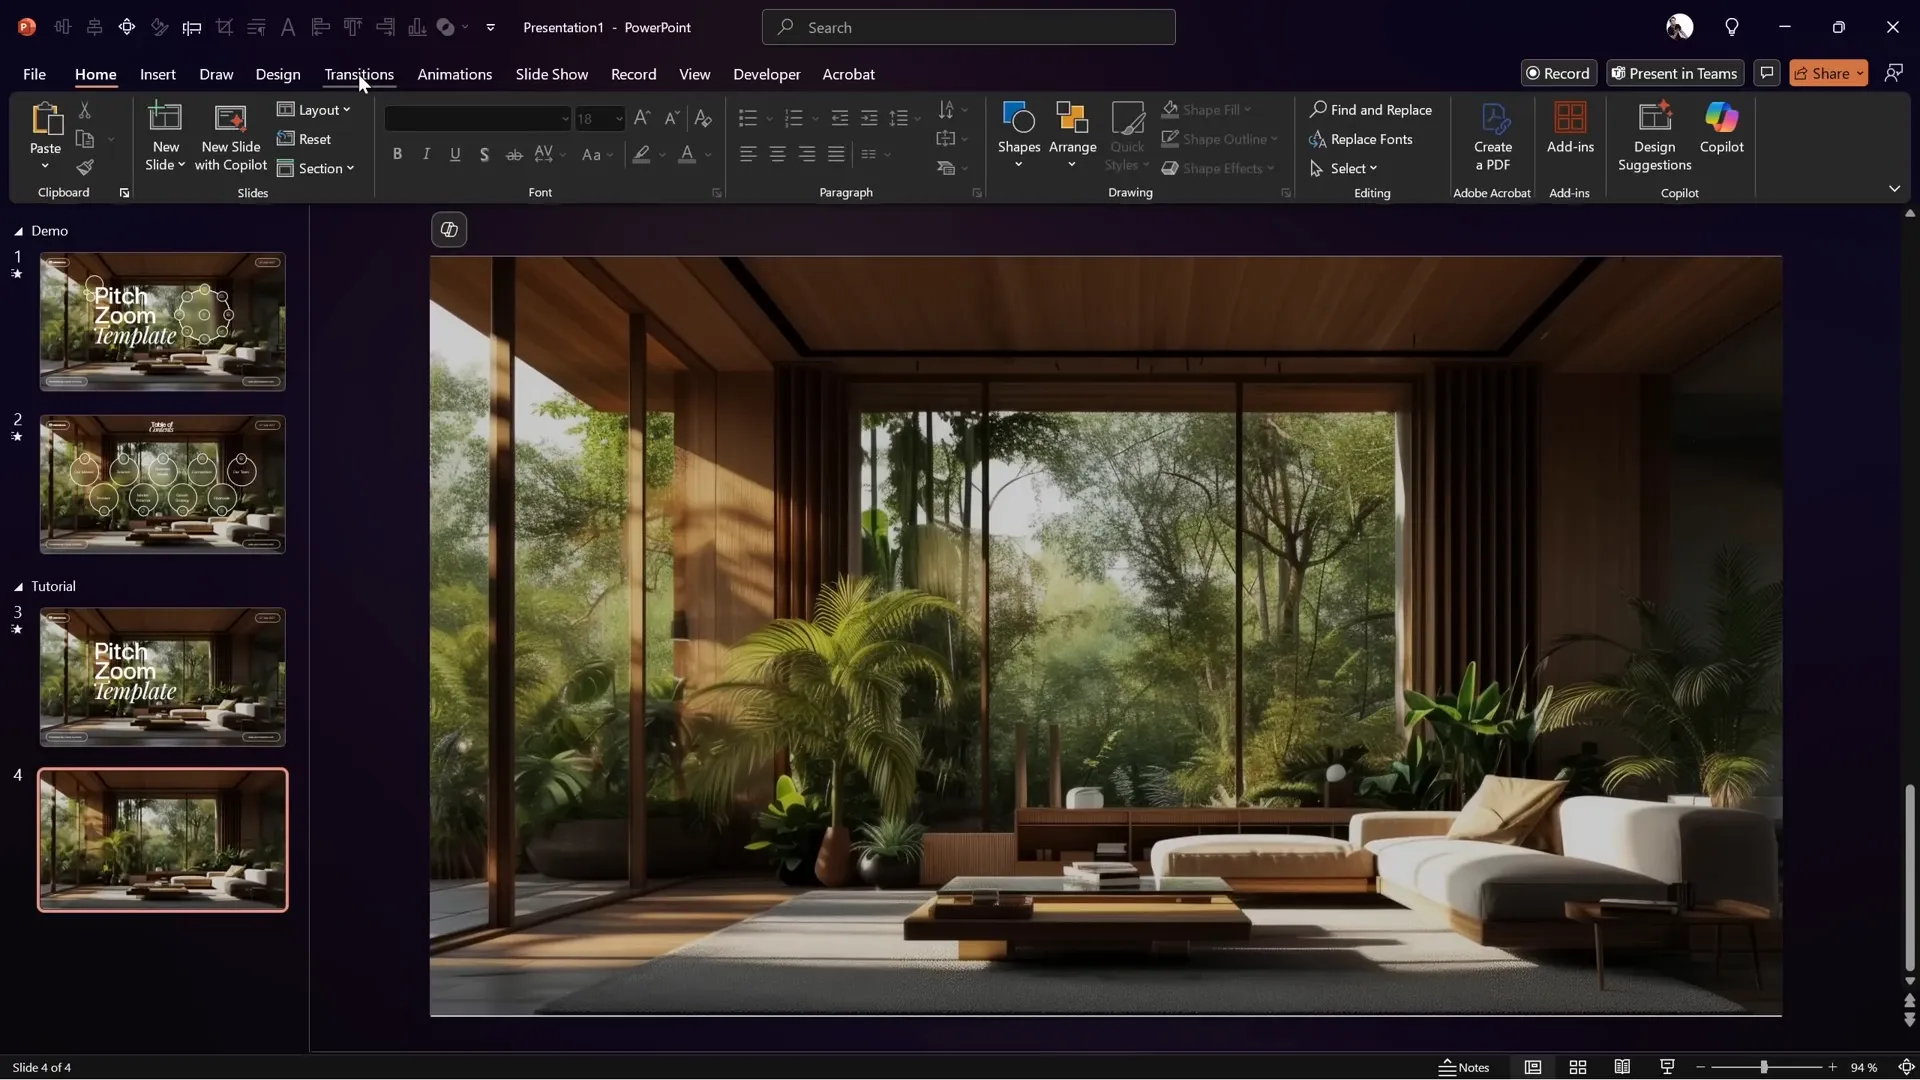
Step 1: Add a Second Blank Slide
Insert a new blank slide where the next set of animations and glassmorphic circles will appear.
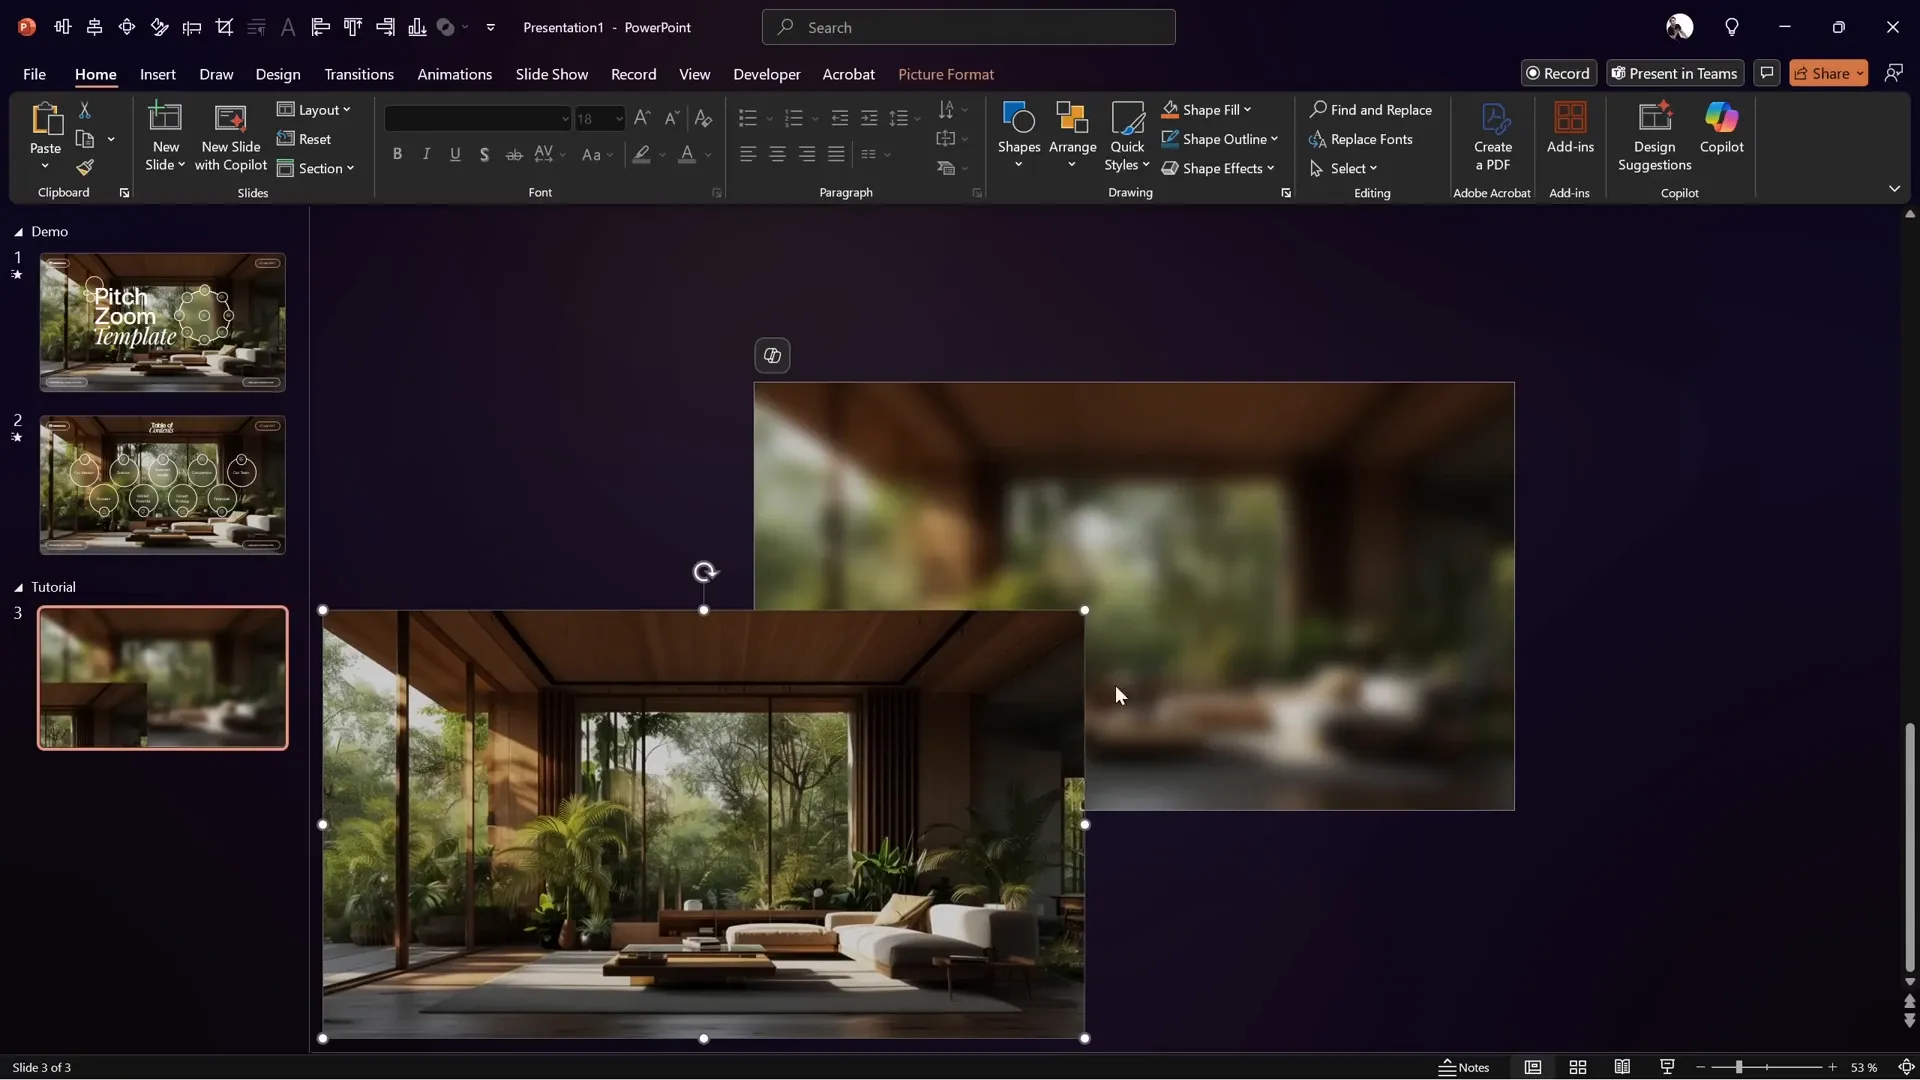
Step 2: Use the Same Background Image with Zoom
Copy the background image from the first slide and paste it on the second slide.
- Use the Crop tool to zoom in slightly on the image, creating a visual depth effect.
Step 3: Apply Morph Transition
- Set the slide transition to Morph with a duration of 2 seconds.
- Preview the transition to see the smooth zoom effect.
Step 4: Add Blurred Background on Second Slide
Repeat the process of setting a blurred version of the background as the slide background on the second slide.
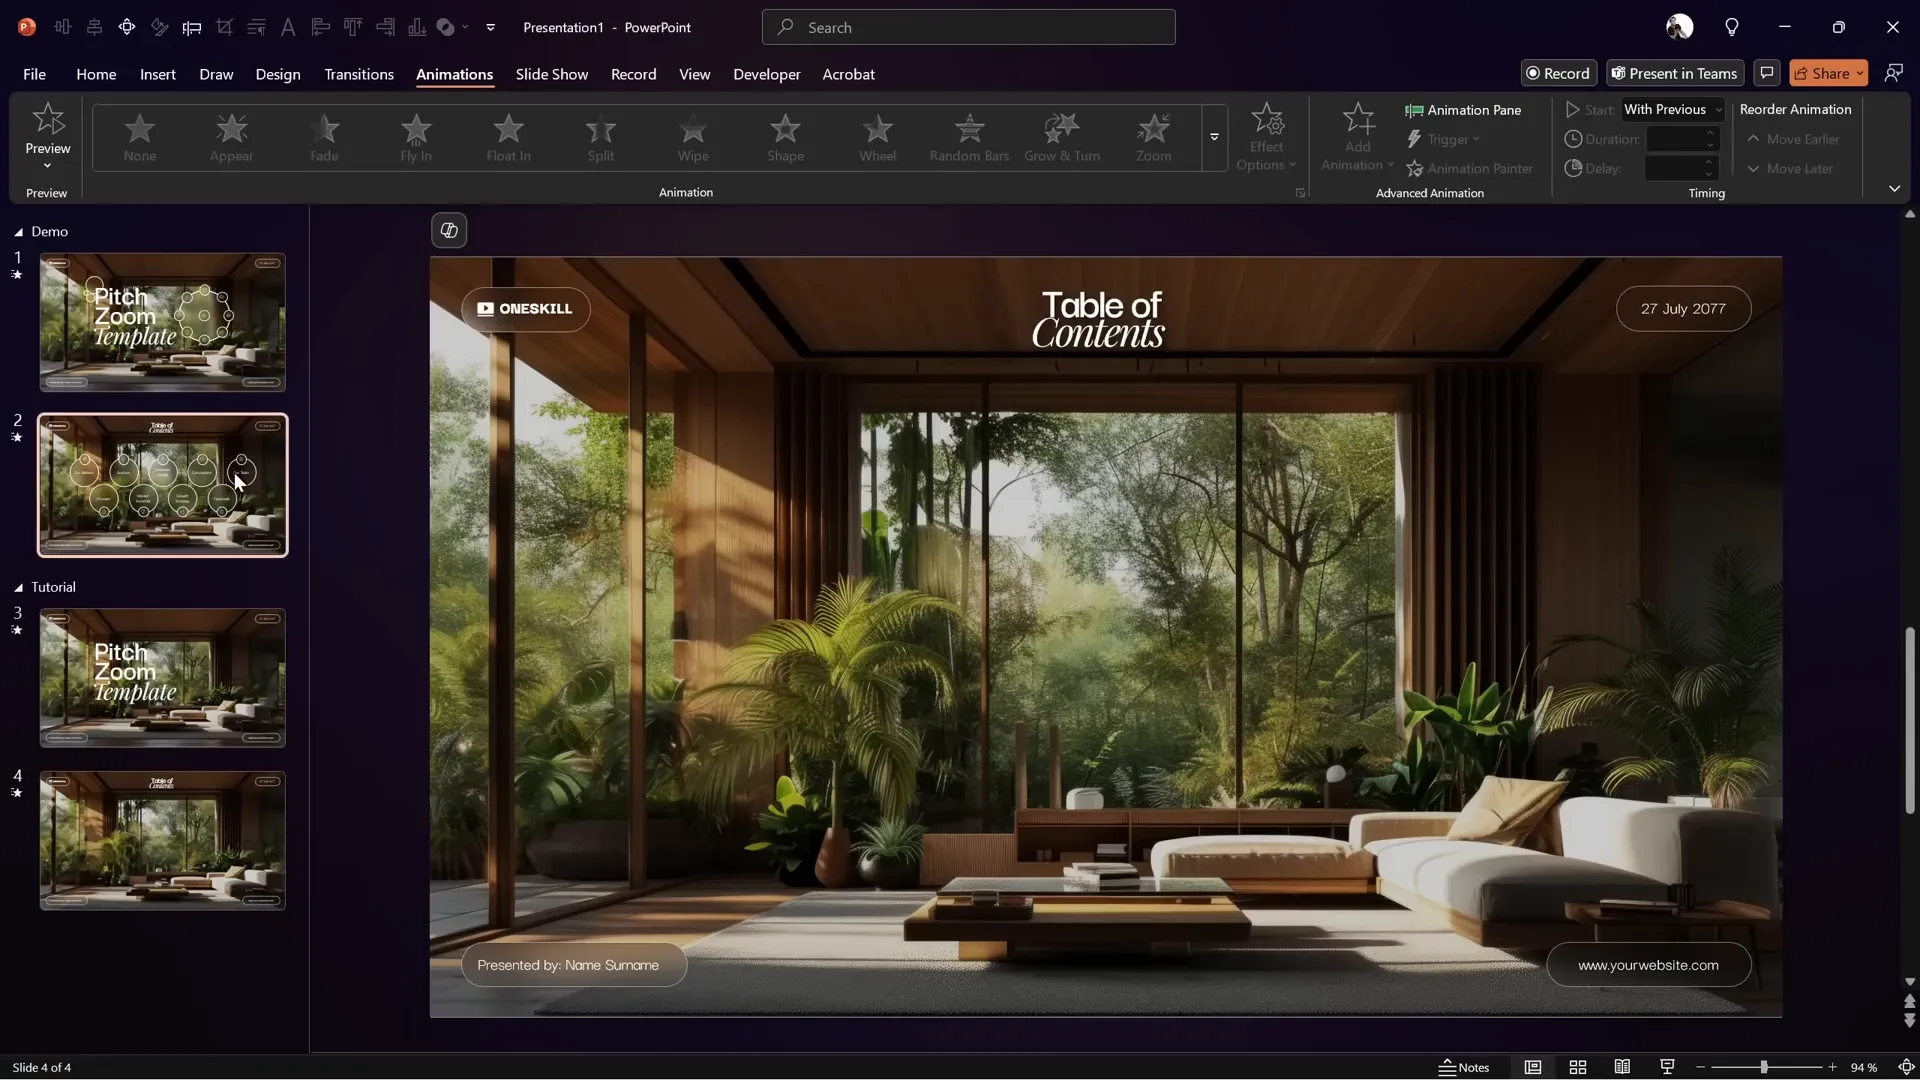
Step 5: Add Table of Contents Text Box
- Copy the table of contents text box from your template or previous slide.
- Paste it on both the first and second slides.
- On the first slide, position it above and outside the visible slide area to allow it to animate in on the next slide via morph.
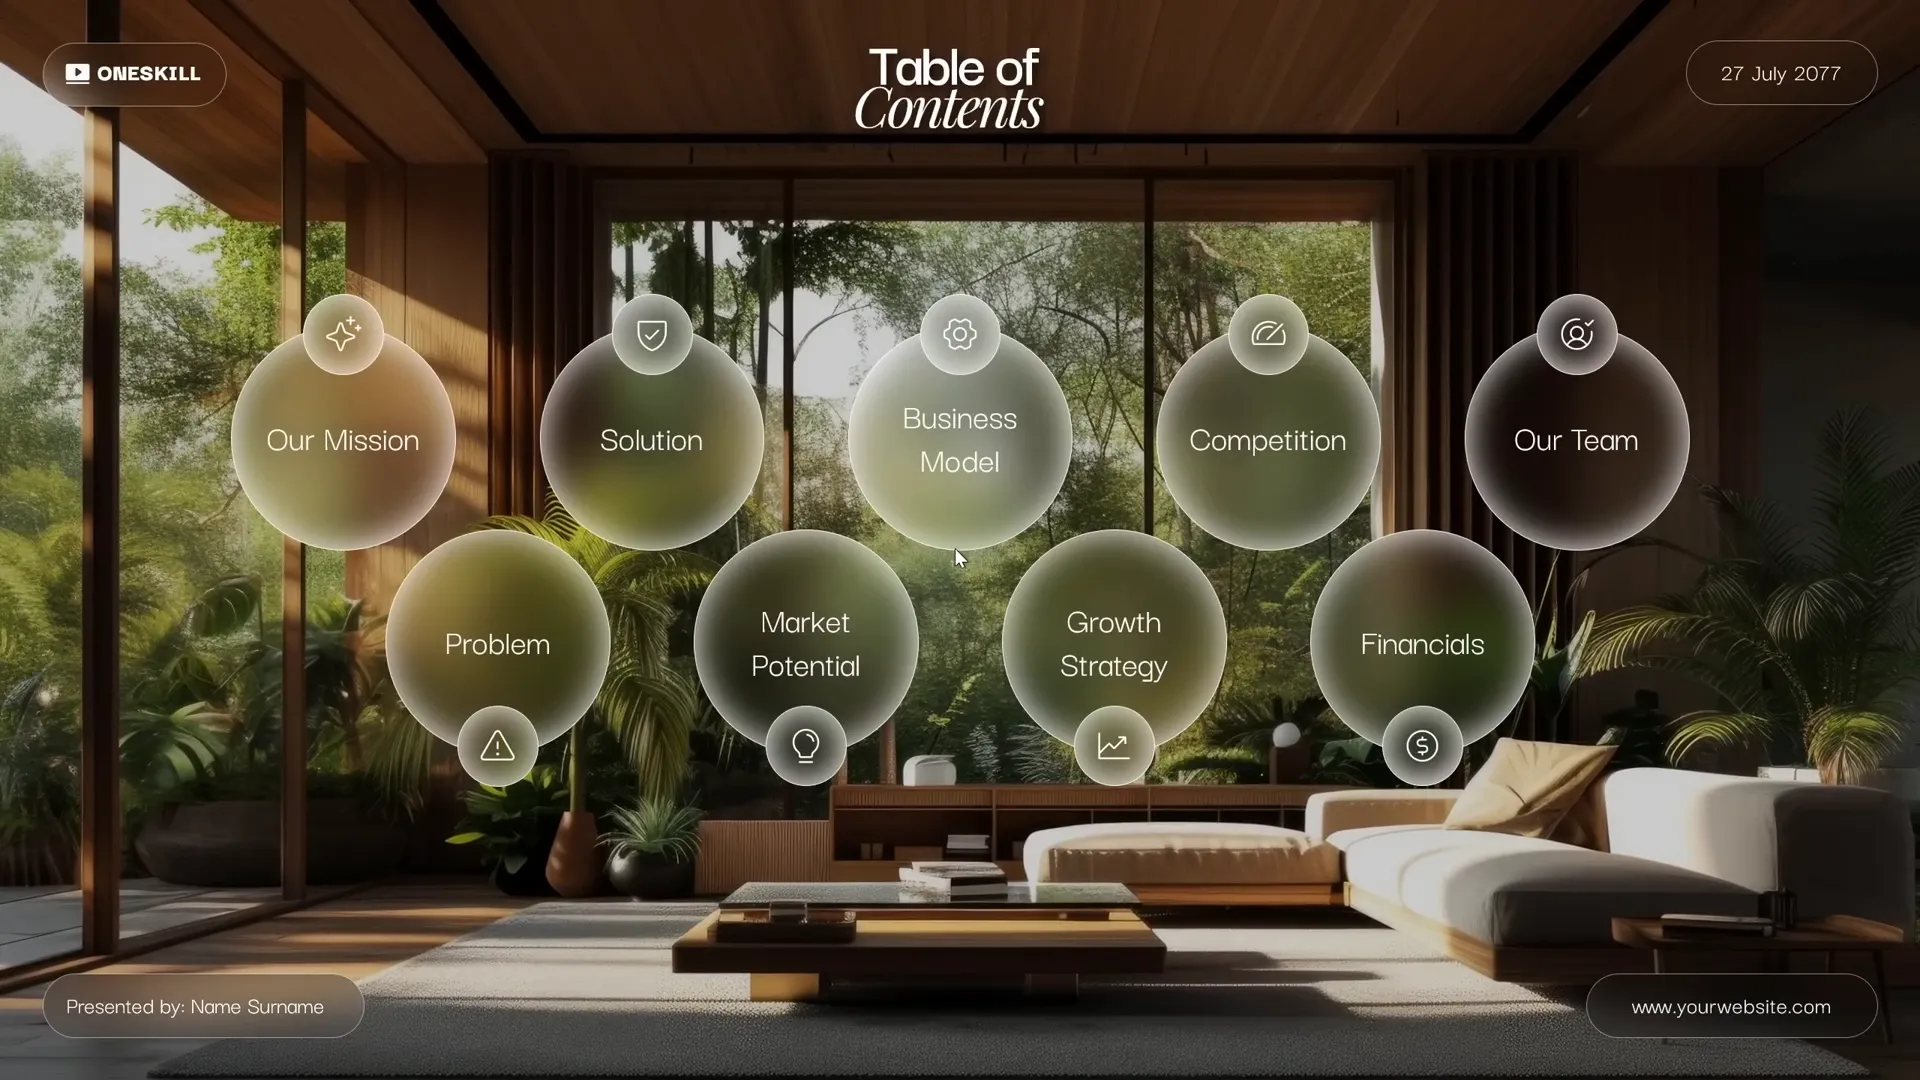
Designing and Animating Glassmorphic Circles
The next slide features multiple glassmorphic circles, which serve as interactive elements or content placeholders. Here’s how to design and animate them:
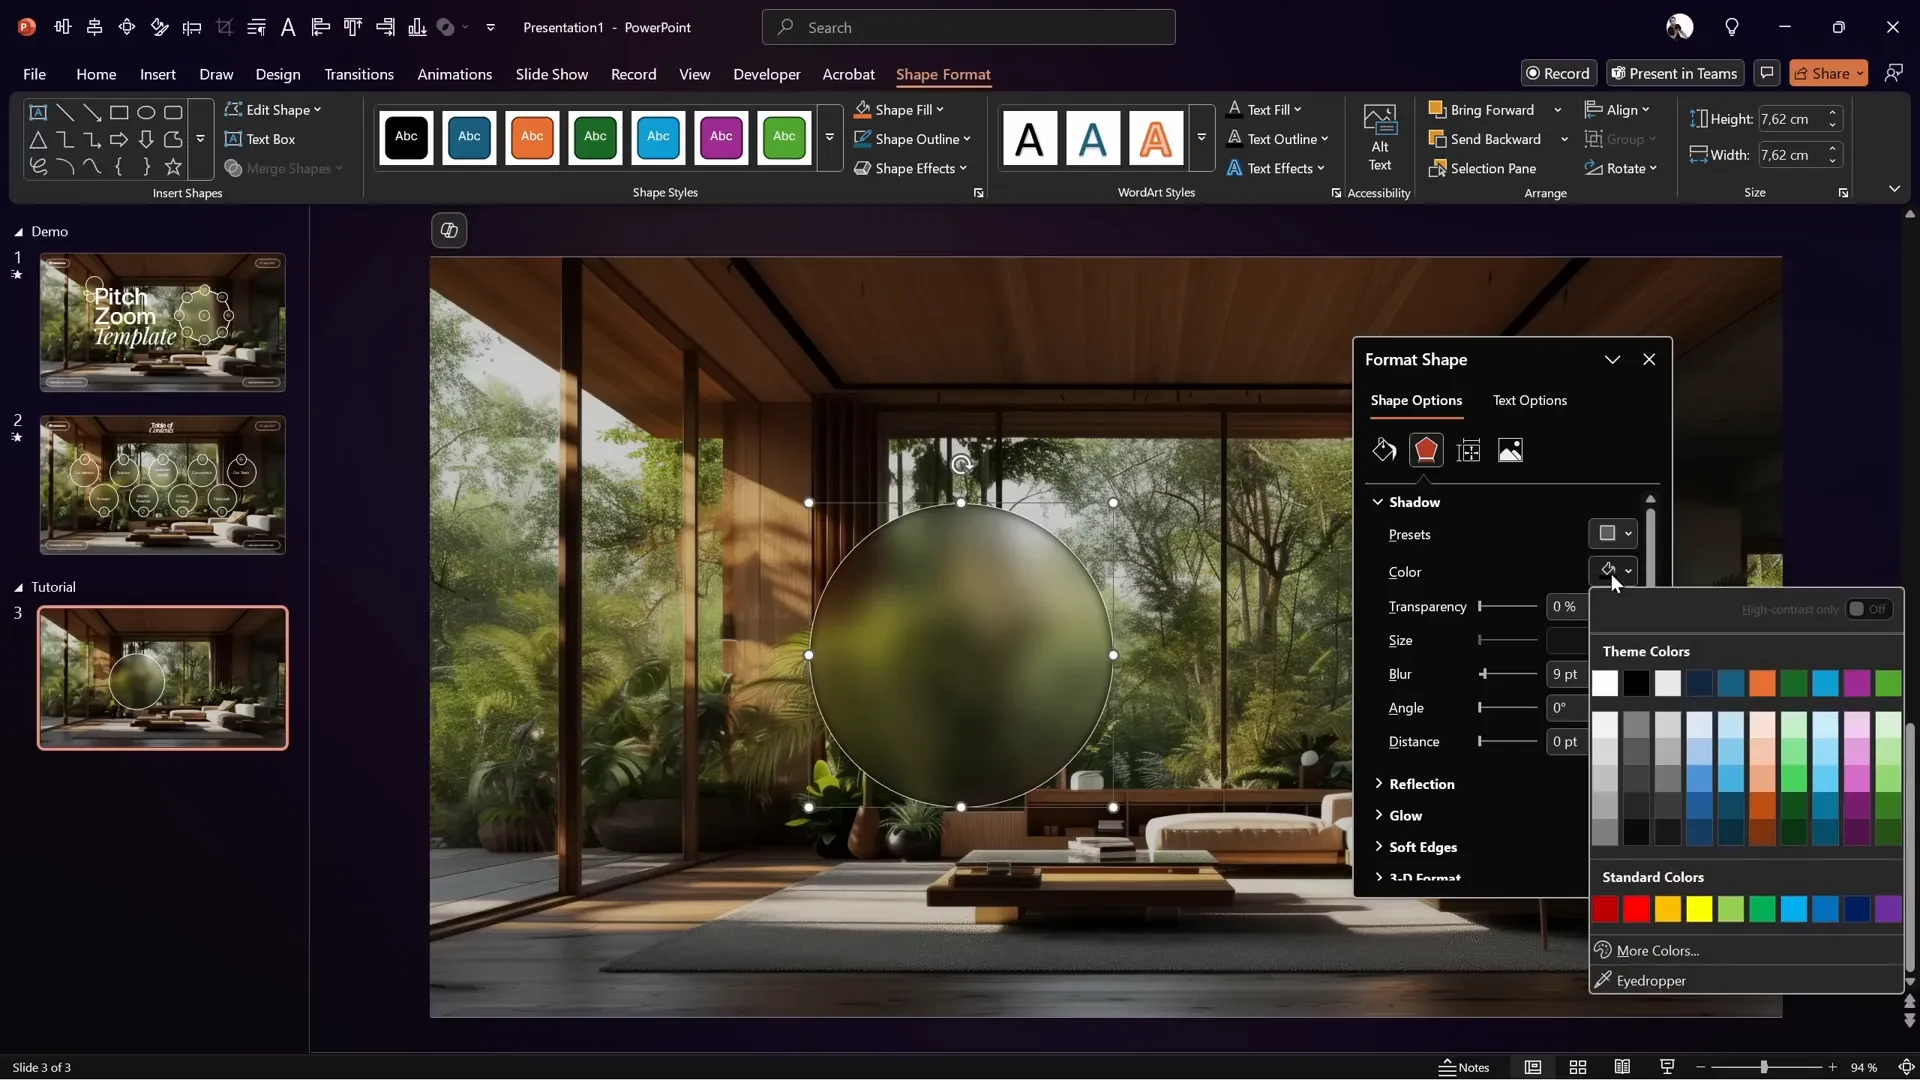
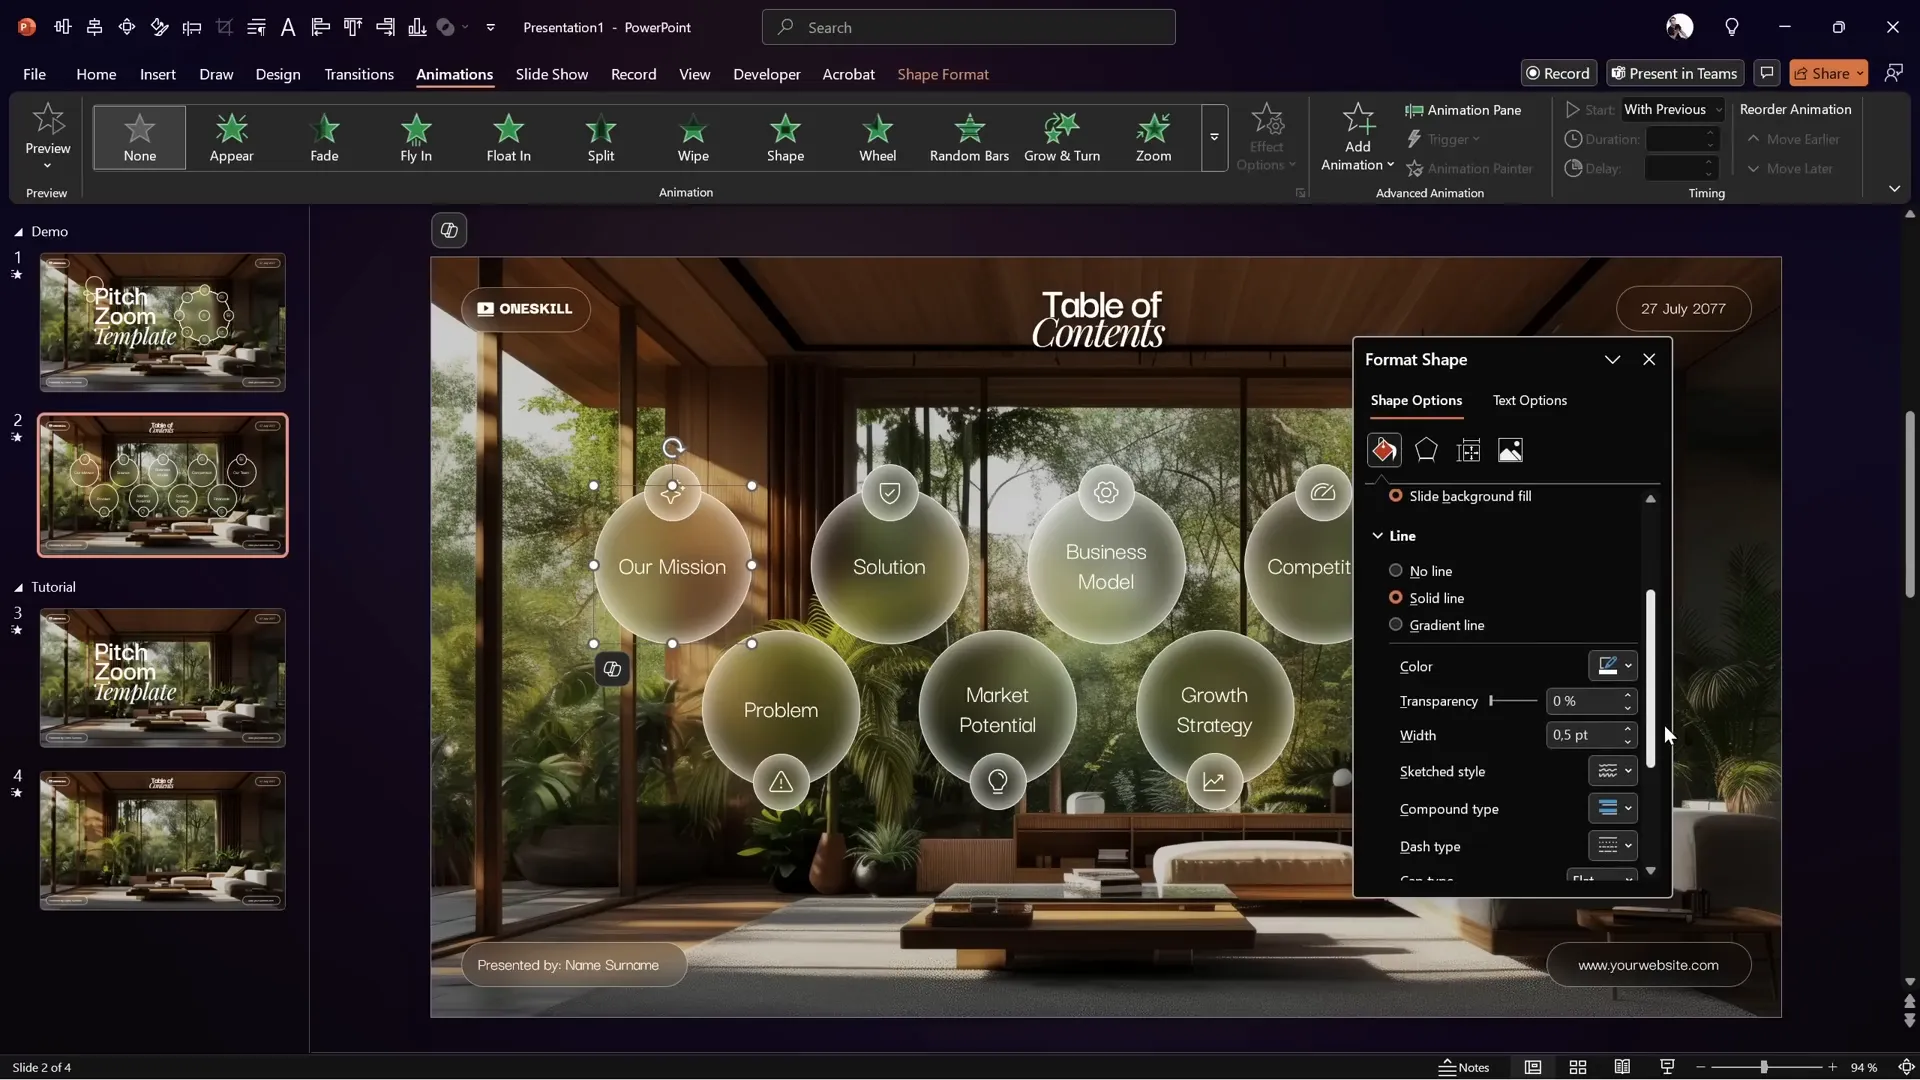
Step 1: Create Circles with Glassmorphic Fill
- Insert circles and set their fill to Slide Background Fill to inherit the blurred background effect.
- Add a thin white border and apply a blurred white inside shadow for realism.
- Optionally, add text inside the circles or group smaller circles with icons.
Step 2: Copy Circles to Second Slide
Copy all circles (big and small) onto the second slide, ensuring they are unanimated initially.
Step 3: Remove Animations from Rounded Rectangles
Remove animations from any decorative shapes copied from the previous slide to keep the animation clean.
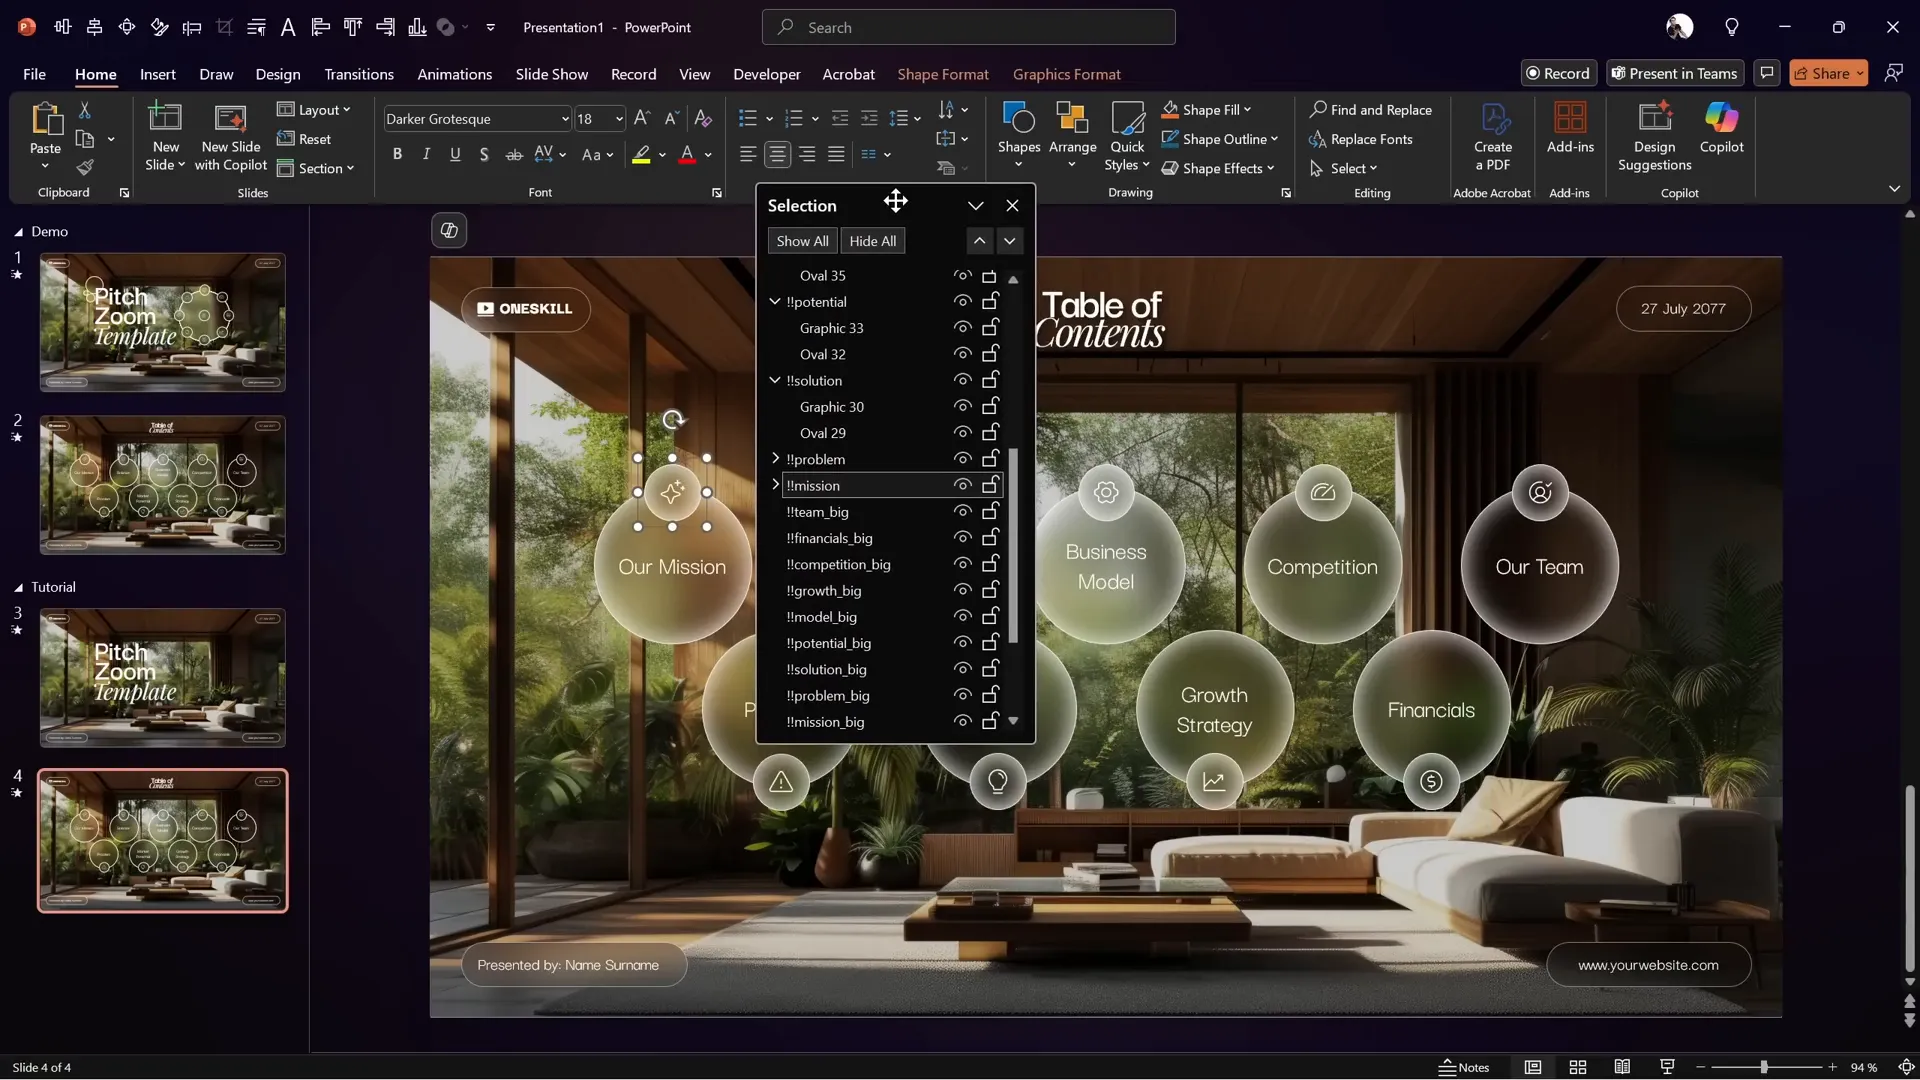
Naming Shapes Properly for Morph Transition
PowerPoint’s Morph transition matches shapes between slides based on their names. To avoid animation glitches and ensure smooth morphing, follow these naming conventions:
- Open the Selection Pane (Home > Select > Selection Pane).
- Name shapes starting with double exclamation marks
!!, e.g.,!!missionfor smaller circles and!!mission bigfor bigger circles. - Use consistent names for corresponding shapes on both slides.
Tip: Copy circles from slide two to slide one to maintain naming consistency.
Animating the Circles with Zoom and Spin Effects
Once the circles are properly named and positioned, it’s time to animate them to create dynamic movements.
Step 1: Animate the Central Small Circle
- Select the small circle in the center.
- Add a Zoom animation set to Start With Previous, duration 0.75 seconds, and delay 0.75 seconds.
- Add a Spin animation to the same circle, also Start With Previous, duration 1.5 seconds, delay 0.75 seconds, with maximum smooth end.
- Preview to see the circle zoom in and spin simultaneously.

Step 2: Copy Animations to Other Circles
Use the Animation Painter to apply the zoom and spin animations to all other smaller circles and big circles.
Step 3: Manage Text Visibility
To prevent text inside circles from appearing prematurely:
- Open the Selection Pane.
- Select all big circles except the first one.
- Add an Appear animation to these circles with Start With Previous and a delay of 2.25 seconds.
This ensures that text like “Financials” or other labels appear only after the initial animations.
Final Touches and Preview
With all animations and transitions set, perform a full-screen preview to check the flow:
- The title slide animates with the text sliding up and appearing with staggered timing.
- The slide transitions smoothly with a subtle background zoom thanks to the Morph transition.
- Glassmorphic circles animate with zoom and spin effects, distributing elegantly on the next slide.
- Text inside circles appears at the right timing to avoid clutter.
Congratulations! You’ve now created a stunning PowerPoint animation sequence that looks professional and engaging.
Frequently Asked Questions
What is the glassmorphic effect in PowerPoint?
The glassmorphic effect is a design style that simulates translucent, frosted glass by layering blurred backgrounds with transparent shapes. In PowerPoint, this is achieved by setting shapes’ fill to the slide background fill combined with a blurred background image.
How do I apply multiple animations to the same object?
Select the object, then add the first animation. To add another, use the Add Animation button instead of replacing the first. You can then customize timing and effect options for each animation separately.
What is the Morph transition and why is naming shapes important?
The Morph transition smoothly animates the movement, resizing, and transformation of shapes between slides. It matches objects by their names, so consistent naming across slides ensures the transition animates correctly without glitches.
Can I add interactive elements to the glassmorphic circles?
Yes! You can insert clickable slide zooms or hyperlinks into the circles to create interactive navigation. For detailed instructions, check out tutorials on PowerPoint’s Slide Zoom feature.
Is the Pitch Zoom template free to use?
Absolutely. The Pitch Zoom template used in this tutorial is available for free download at pptskill.com after signing up.
Conclusion
PowerPoint animation is a powerful tool to elevate your presentations from ordinary to extraordinary. By mastering techniques like the glassmorphic effect, combining motion paths with wipe animations, and leveraging the Morph transition, you can create engaging and professional slides that captivate your audience.
In this tutorial, we covered everything from setting up a beautiful blurred background to animating your slide title and designing dynamic glassmorphic circles. The detailed steps and tips ensure you can replicate these effects with ease.
Remember, great PowerPoint animations enhance your message without overwhelming it. Use these techniques thoughtfully to support your storytelling and keep your audience focused.
If you want to go even further, consider adding interactive slide zooms within the glassmorphic circles to make your presentations truly interactive and user-friendly. Check out related tutorials to dive deeper into those features.
Now it’s your turn to create stunning PowerPoint animations that wow your audience! Download the free Pitch Zoom template, follow these steps, and watch your presentations come alive.
Happy presenting!


