

If you’ve ever wanted to add a touch of interactivity and cool animation to your PowerPoint presentations, you’re in for a treat. In this comprehensive tutorial, we’ll walk you through creating a stunning PowerPoint animation where a 3D Mandalorian helmet follows your mouse cursor as you move it across the slide. This clever effect leverages PowerPoint’s 3D models, slide transitions, and action triggers to create an engaging user experience that will impress your audience and elevate your presentation skills.
This article covers everything from setting up your slide background to inserting a 3D model, applying morph transitions, and configuring invisible mouseover areas that make the helmet appear to track your cursor. Whether you’re a Star Wars fan or just want to learn a slick PowerPoint animation technique, this step-by-step guide will show you how to bring your slides to life.
Table of Contents
- Getting Started: Setting Up Your PowerPoint Slide
- Inserting and Configuring the Mandalorian 3D Helmet Model
- Duplicating and Adjusting Slides for Animation
- Applying the Morph Transition for Smooth Movement
- Creating Interactive Mouse-Following Animation
- Final Tips and Downloadable Resources
- Frequently Asked Questions
Getting Started: Setting Up Your PowerPoint Slide
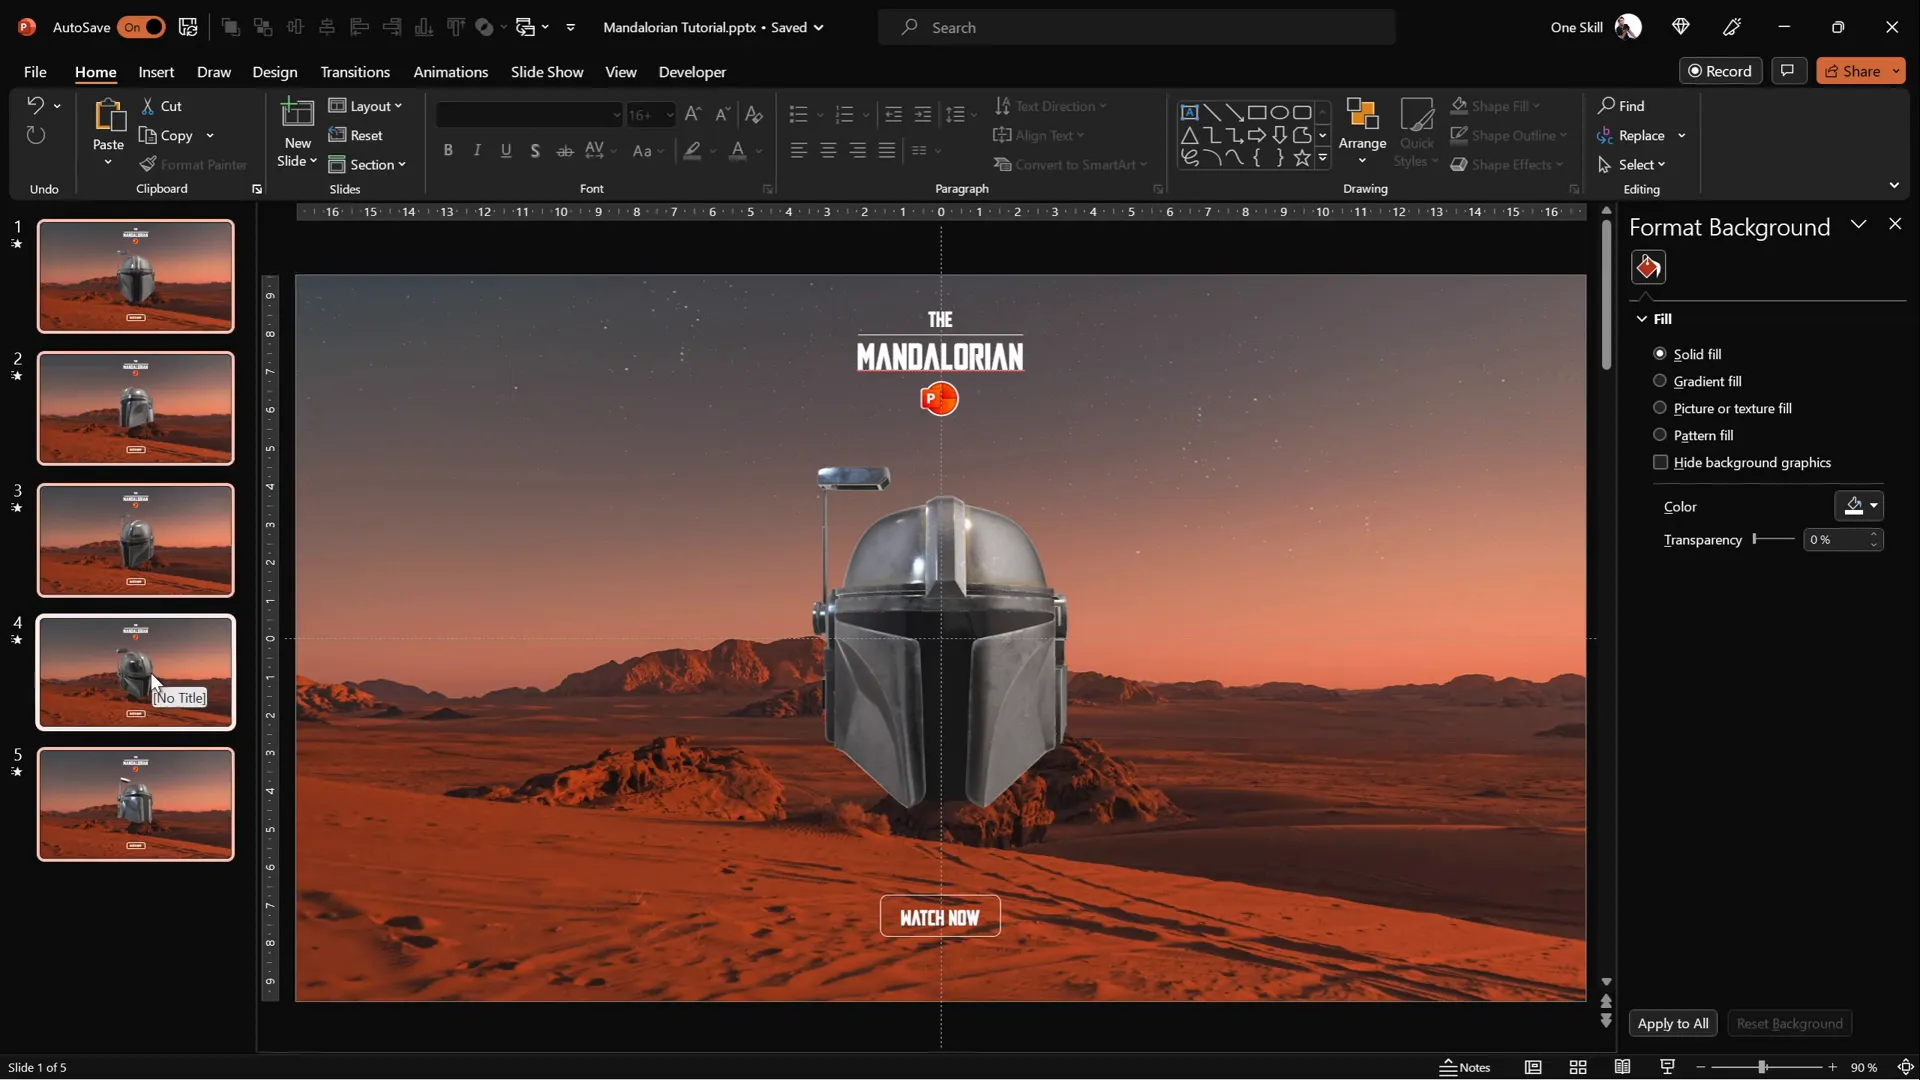
The first step in creating this amazing PowerPoint animation is to set up a visually appealing slide where your 3D Mandalorian helmet will move around. Here’s how to get started:
1. Open a New Blank Presentation and Choose a Blank Slide Layout
Launch PowerPoint and create a new presentation. To keep your workspace clean and free of distractions, select a blank slide layout. This gives you a clean canvas to work from without any preset placeholders or text boxes.
2. Select a Beautiful Background Image
A great background enhances the overall look and feel of your animation. In this tutorial, a stunning photo was chosen to complement the Mandalorian theme. You can find the same image here.
Insert the image onto your slide and make sure it covers the entire slide perfectly:
- Click on one corner of the image, hold down Ctrl + Shift keys, and drag to resize proportionally.
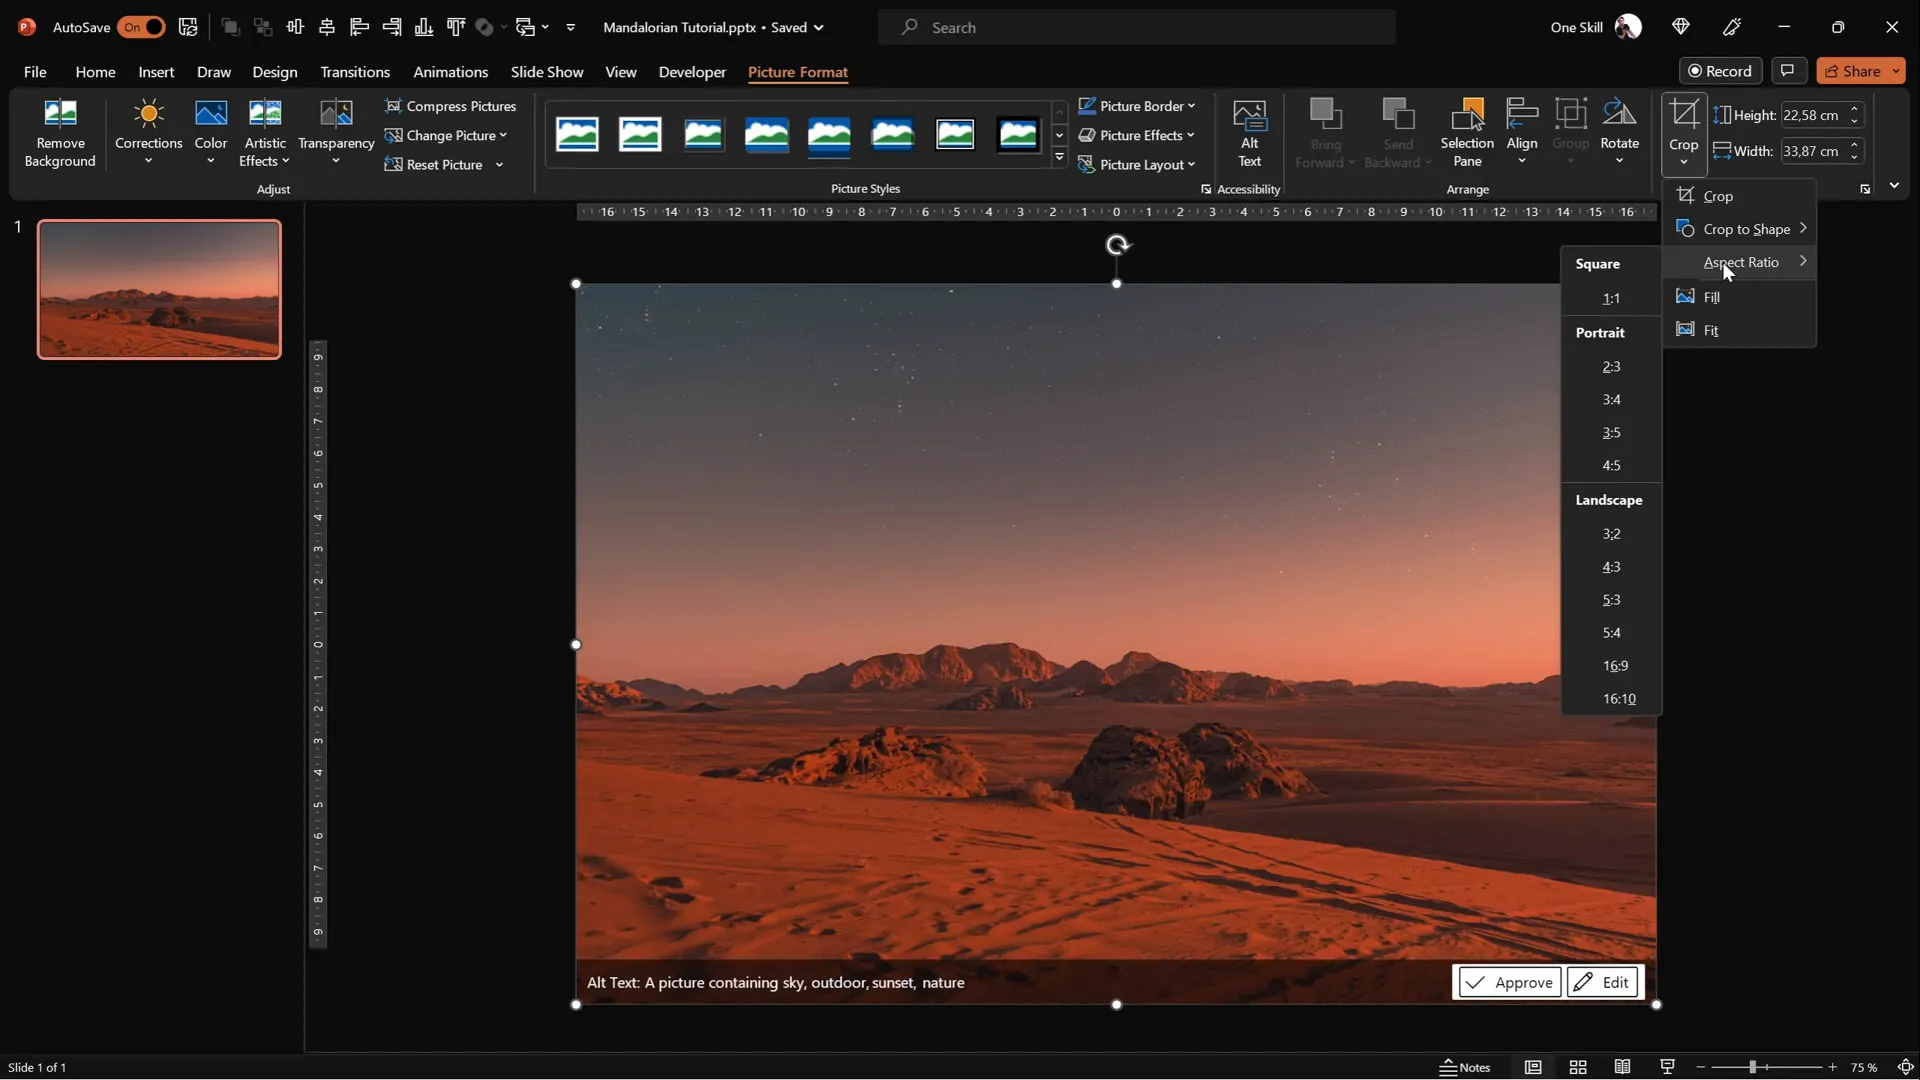
- Use the Crop tool to crop the image with a 16:9 aspect ratio (which matches the slide size), ensuring the background fits perfectly.
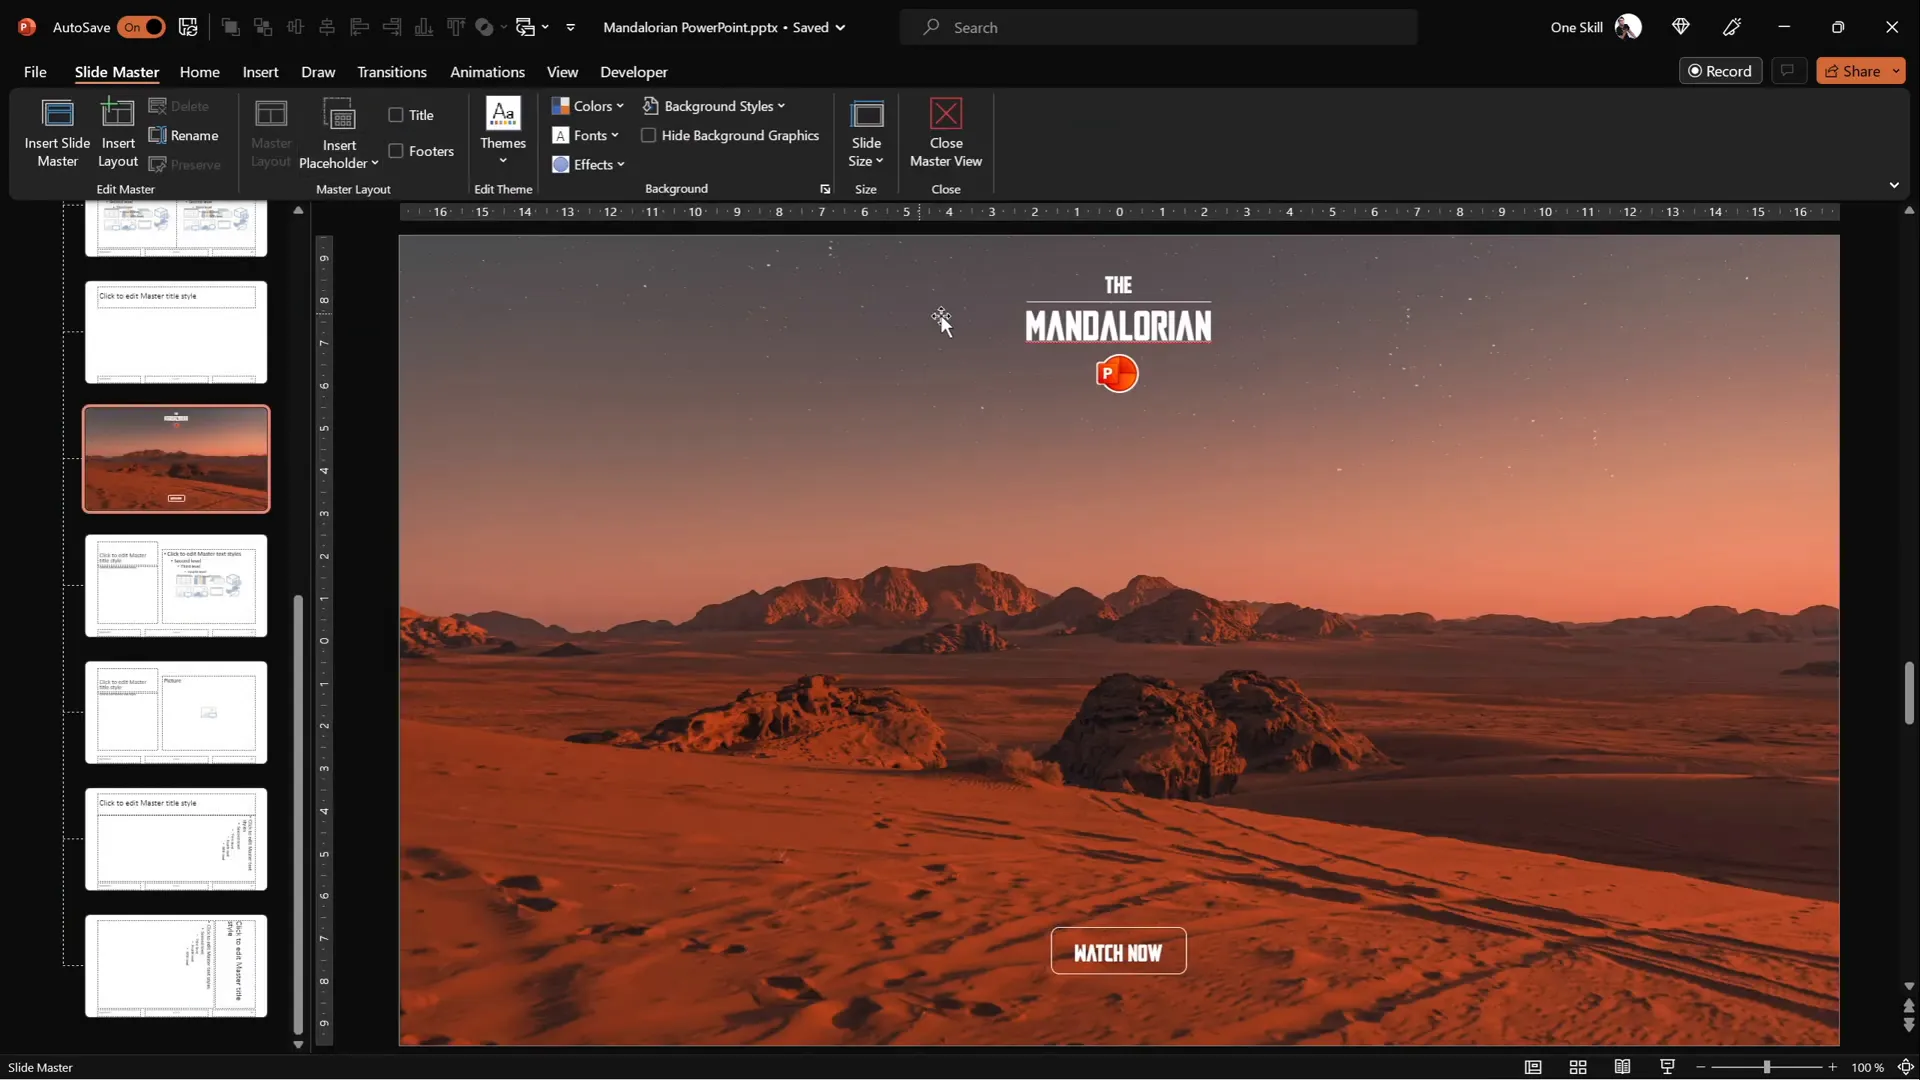
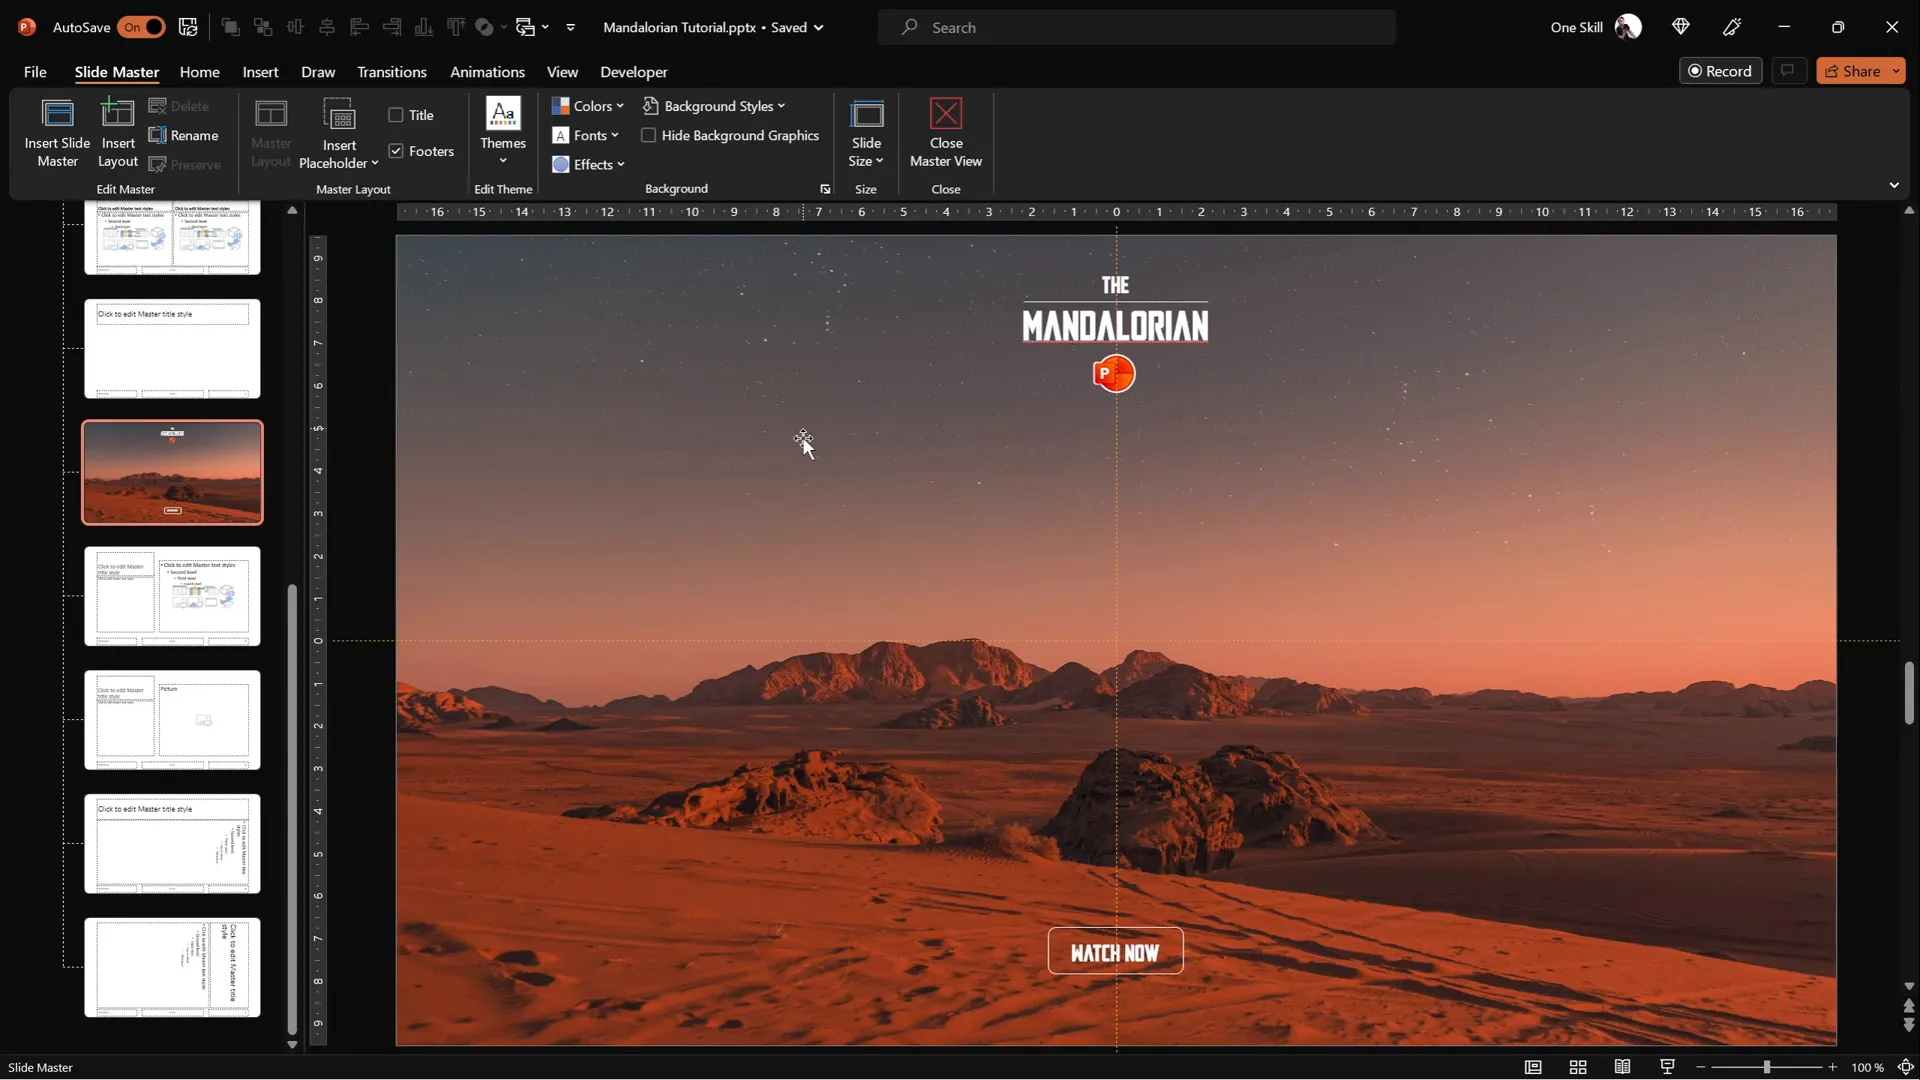
3. Add Text Boxes and Branding Elements via Slide Master
Instead of manually adding text boxes and logos on each slide, use PowerPoint’s Slide Master to add these elements once, and they will appear on all slides that use that layout.
This method keeps your slides consistent and prevents accidental edits to these recurring elements. For this animation, the tutorial creator used text boxes with a custom font called Mandalore for a thematic touch.
Inserting and Configuring the Mandalorian 3D Helmet Model
With your slide background and text elements ready, it’s time to bring in the star of the show—the 3D Mandalorian helmet.
1. Insert the 3D Model into Your Slide
PowerPoint supports 3D models directly. For this tutorial, the Mandalorian helmet model was sourced from Sketchfab and can be downloaded here.
To insert it:
- Go to the Insert tab.
- Click on 3D Models, then choose This Device and select the downloaded Mandalorian helmet file.

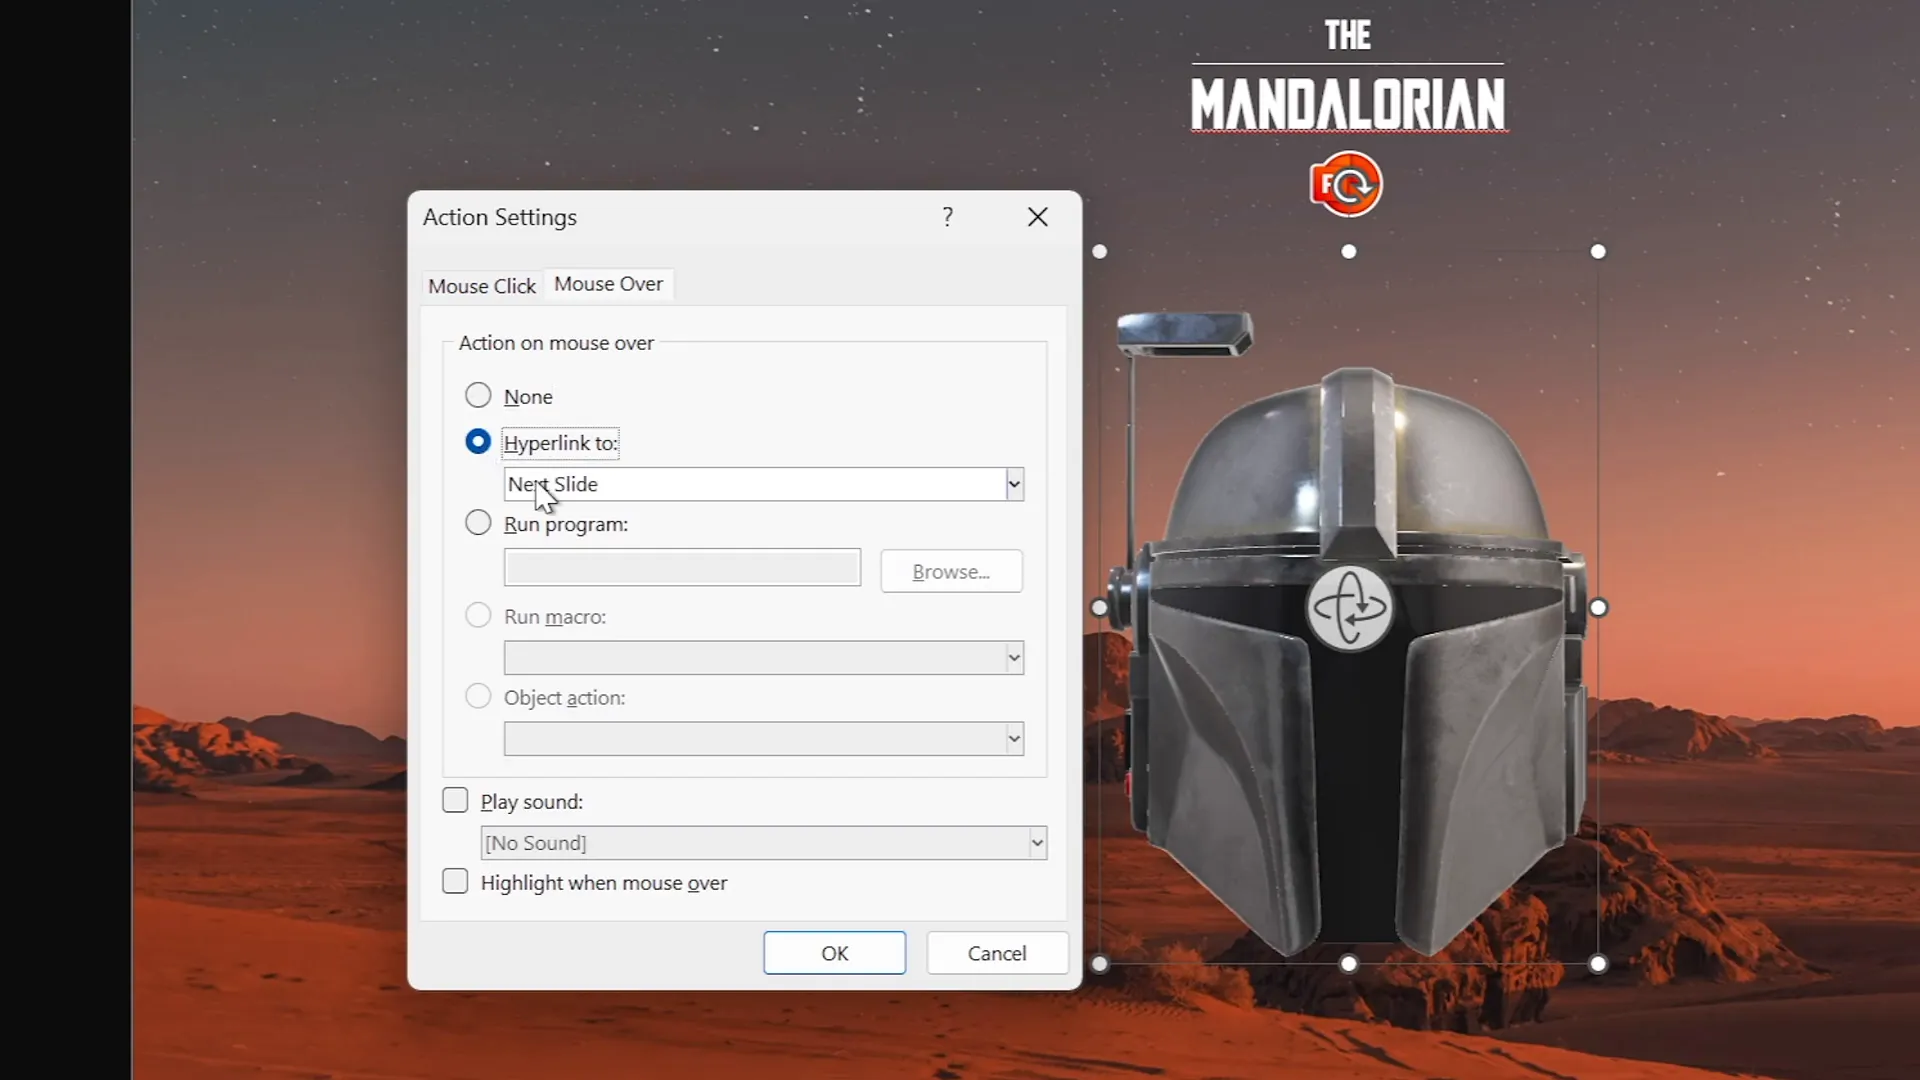
2. Add a Mouse-Over Action to the Helmet
To make the helmet interactive, assign a mouse-over action:
- Select the 3D model.
- Go to Insert > Action.
- Navigate to the Mouse Over tab.
- Choose Hyperlink to > First Slide.
This action ensures that when your mouse hovers over the helmet, the presentation jumps back to the first slide, which is essential for the animation effect we’ll build.
Duplicating and Adjusting Slides for Animation
Now that the first slide is set up with the background, text, and 3D helmet, the next step is to create multiple slides with the helmet facing different directions. This will form the basis of the animation sequence.
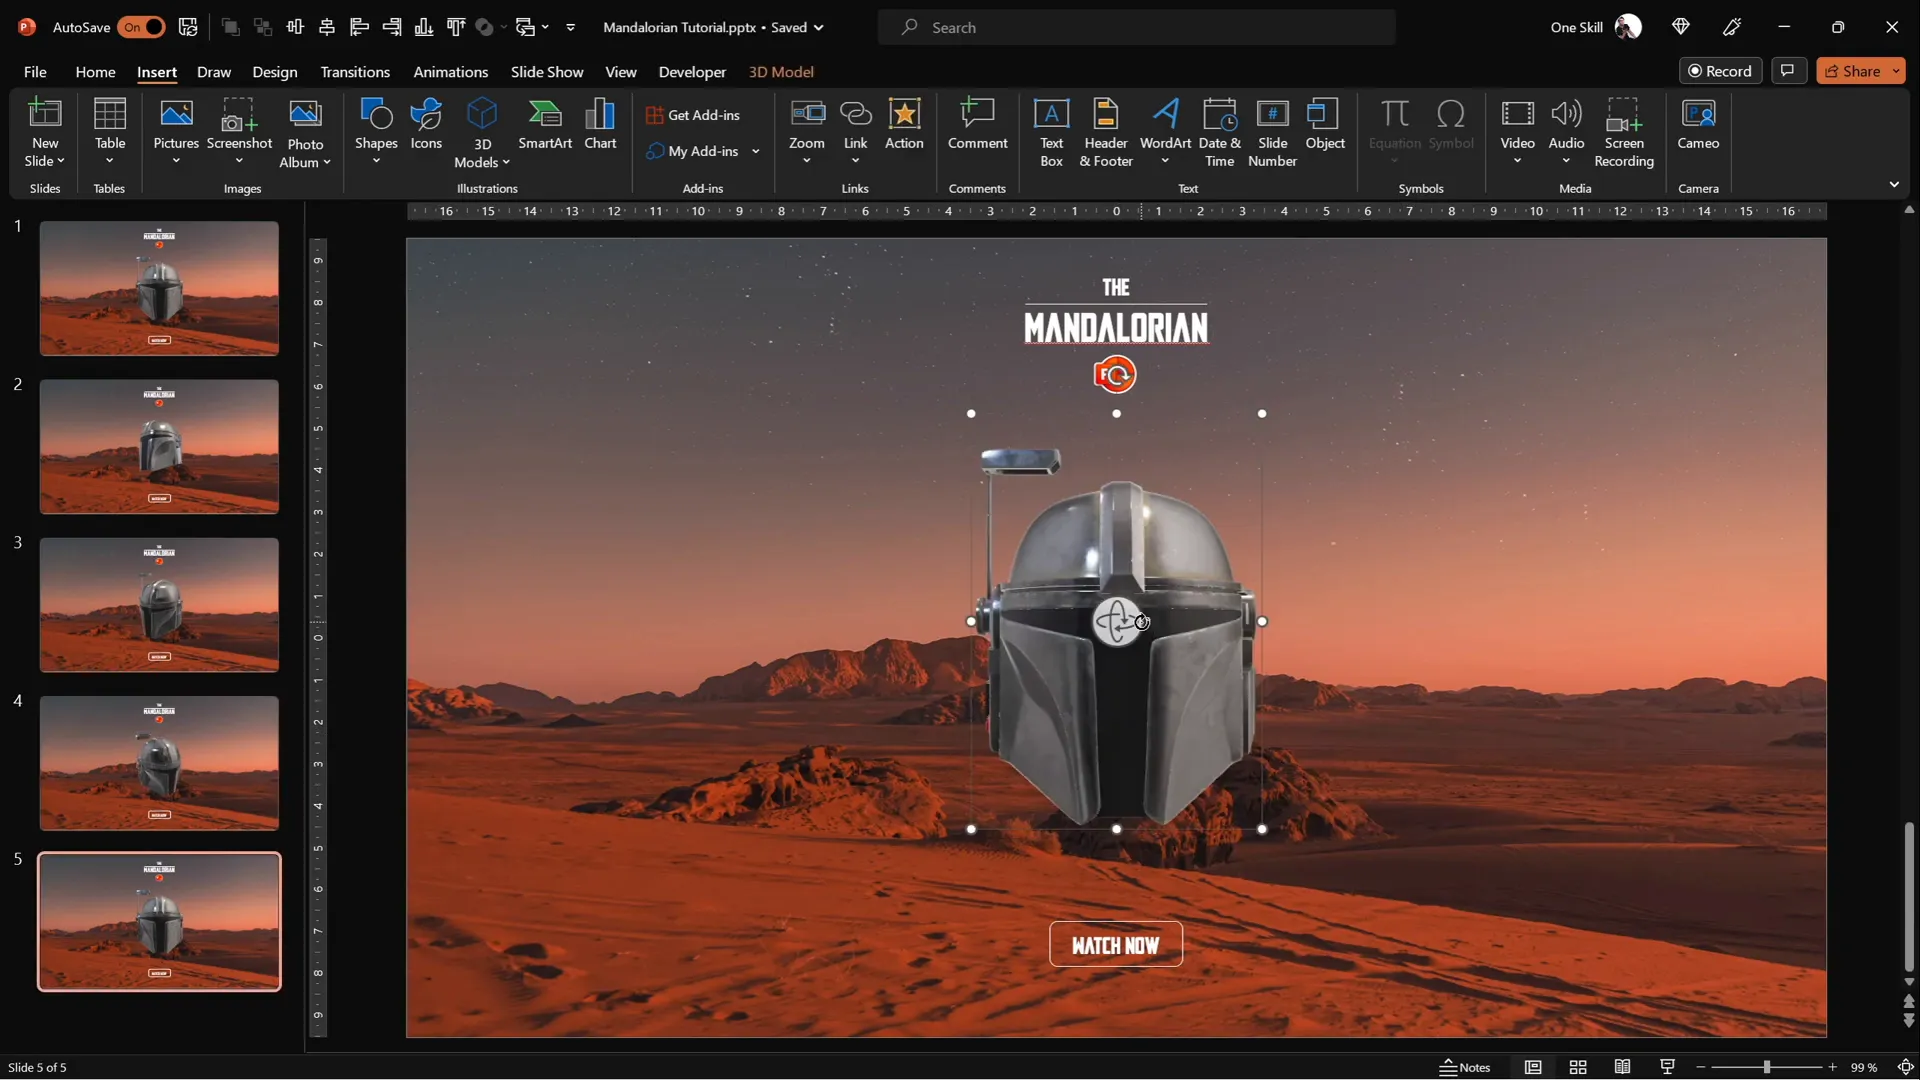
1. Duplicate the First Slide
Duplicate the slide four times so you have five identical slides in total:
- In the slide thumbnail pane on the left, right-click the first slide.
- Select Duplicate Slide four times.

2. Adjust the Orientation of the 3D Helmet on Each Slide
For each duplicated slide (slides 2 to 5), rotate the Mandalorian helmet to face different directions to create the illusion of movement:
| Slide Number | Helmet Orientation |
|---|---|
| Slide 1 | Default position (facing forward) |
| Slide 2 | Facing top-left corner |
| Slide 3 | Facing bottom-left corner |
| Slide 4 | Facing bottom-right corner |
| Slide 5 | Facing top-right corner |
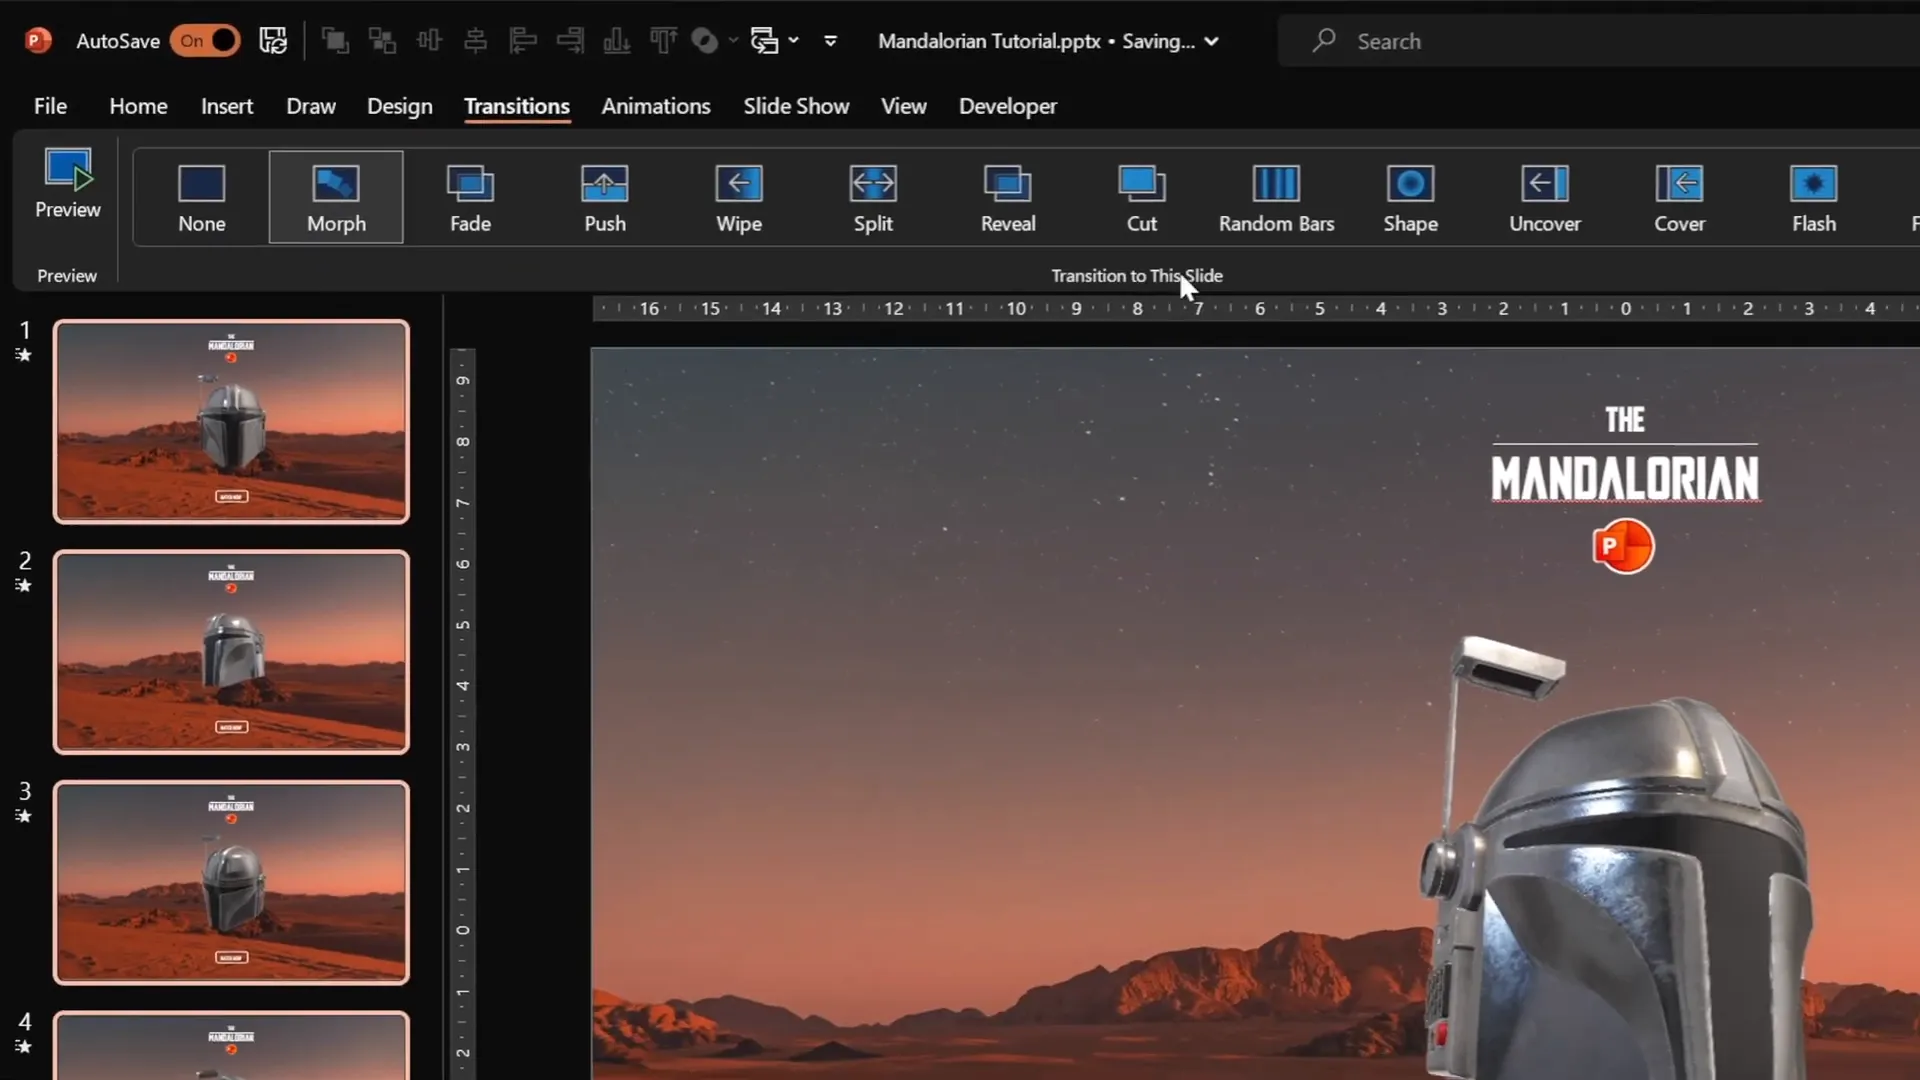
Applying the Morph Transition for Smooth Movement
With your slides ready, the next step is to apply the Morph transition to create smooth animations between the helmet’s different positions.
1. Select All Slides
Click on the first slide thumbnail, then hold Shift and click on the last slide to select all five slides.
2. Apply the Morph Transition
- Go to the Transitions tab.
- Select Morph from the transition gallery.
- Set the transition duration to 0.3 seconds for a quick, responsive effect.
3. Preview the Animation
Using the arrow keys, navigate through the slides to see the helmet smoothly rotate and move between the different orientations. This creates the illusion of the helmet moving across the slide.

Creating Interactive Mouse-Following Animation
The final and most impressive part of this tutorial is making the Mandalorian helmet follow your mouse cursor. This is done by creating invisible interactive zones on the slide that change the slide based on mouse position.
1. Enable Slide Guides
Go to the View tab and check the Guides option. This will display vertical and horizontal center guides that divide the slide into four equal quadrants.
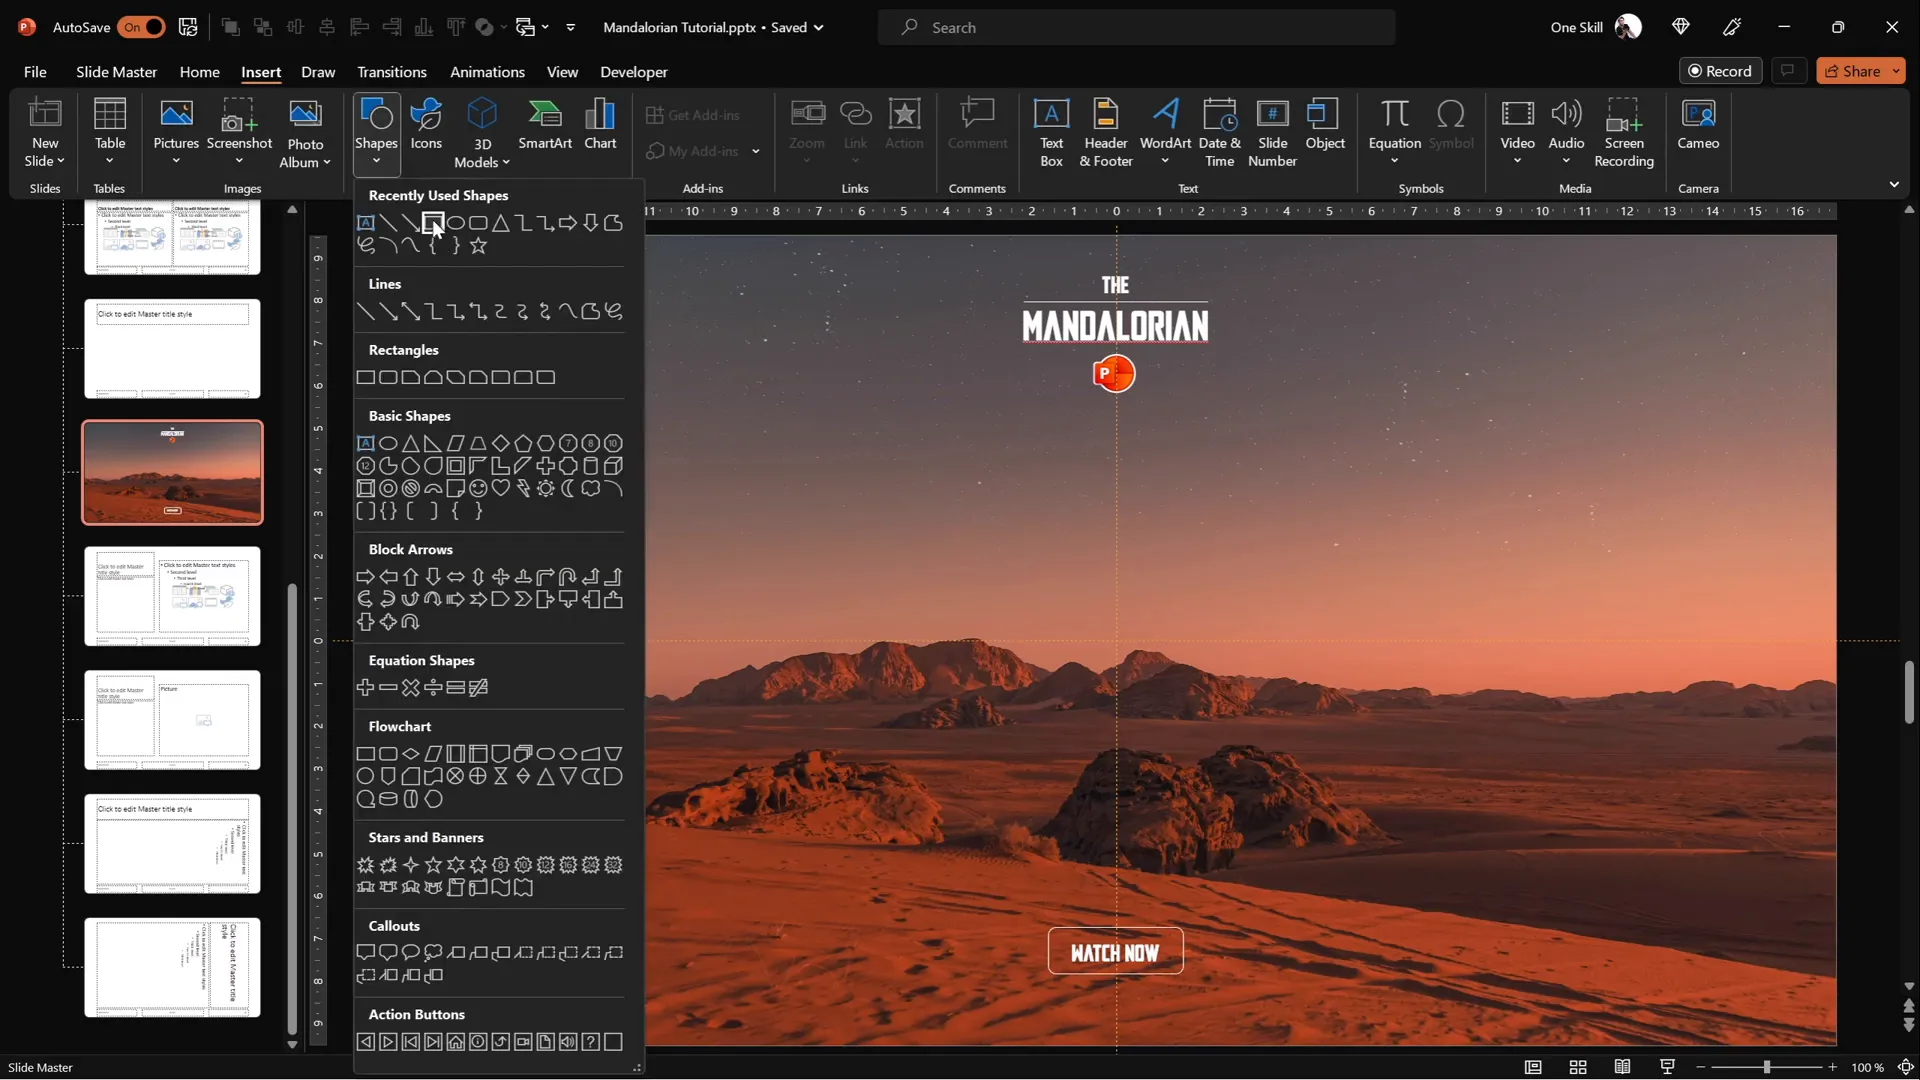
2. Insert Four Transparent Rectangles in Slide Master
Switch to Slide Master view to add four invisible rectangles that cover each quadrant of the slide layout:
- Go to Insert > Shapes and select the rectangle tool.
- Draw a rectangle covering the top-left quadrant.
- Duplicate the rectangle and position copies over the other three quadrants (top-right, bottom-left, bottom-right).
- Optionally, make the rectangles semi-transparent while working so you can see the slide background and guides.
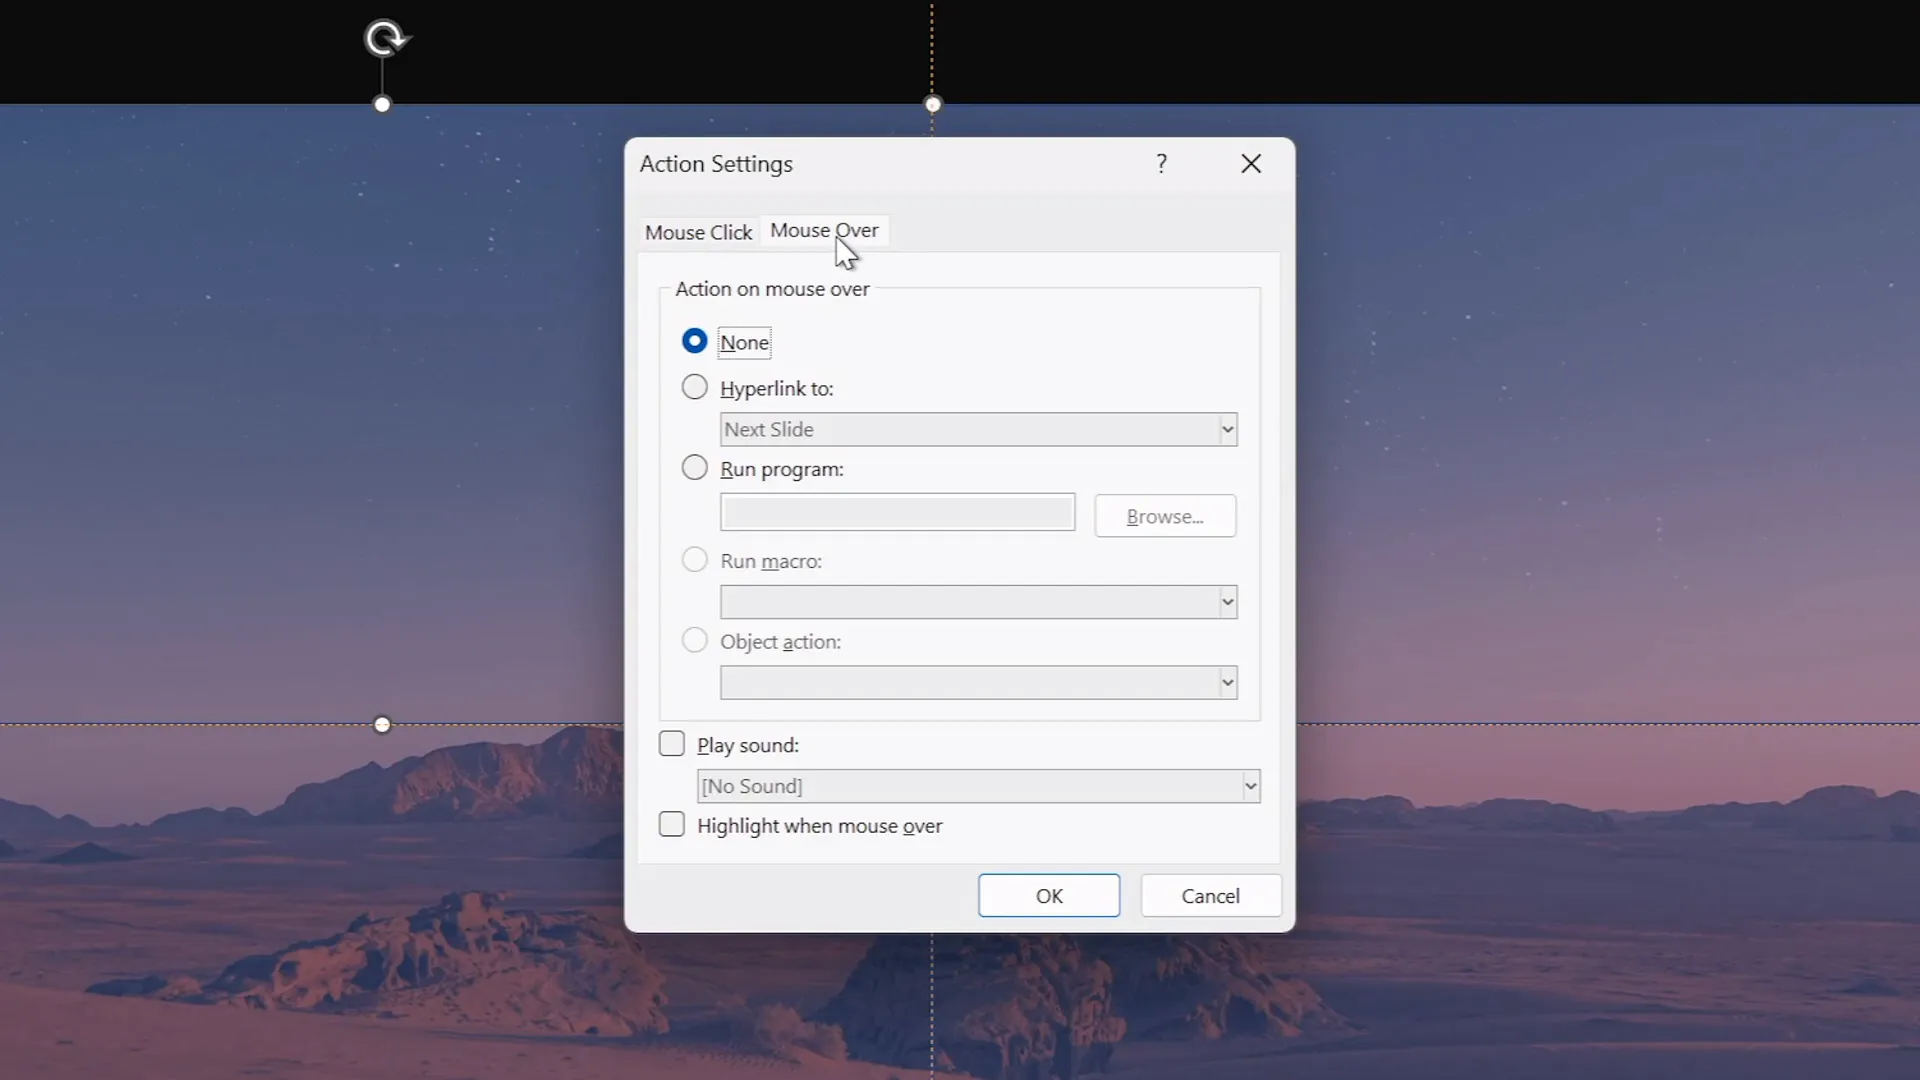
3. Assign Mouse-Over Actions to Rectangles
Each rectangle is assigned a mouse-over hyperlink to a specific slide, making the helmet appear to look in the direction of the mouse cursor:
| Rectangle Quadrant | Hyperlink Slide | Helmet Orientation on Linked Slide |
|---|---|---|
| Top-left | Slide 2 | Helmet looks top-left |
| Bottom-left | Slide 3 | Helmet looks bottom-left |
| Bottom-right | Slide 4 | Helmet looks bottom-right |
| Top-right | Slide 5 | Helmet looks top-right |
For each rectangle:
- Select the rectangle.
- Go to Insert > Action.
- Under the Mouse Over tab, select Hyperlink to and choose the appropriate slide.
- Click OK.
4. Make Rectangles Invisible but Interactive
To keep the interactive zones hidden:
- Select all four rectangles.
- Set No Fill and No Outline from the Shape Format options.
Now, these invisible rectangles will still respond to mouse movements, triggering slide changes without cluttering your slide design.
5. Exit Slide Master and Test Your Interactive Animation
Return to the normal slide view. Since all slides use the same slide layout with invisible interactive rectangles, moving your mouse across the slide quadrants will cause the presentation to jump between slides, making the helmet appear to track your cursor.

Final Tips and Downloadable Resources
This PowerPoint animation technique is a fantastic way to add interactivity and visual interest to your slides. Here are some final pointers and resources to help you make the most of this tutorial:
- Use Your Own 3D Models: While this tutorial uses a Mandalorian helmet, you can use any 3D model supported by PowerPoint to create similar effects.
- Customize Backgrounds and Fonts: Personalize your slides with backgrounds and fonts that suit your theme. The Mandalore font used here is available here.
- Leverage Slide Master: Using Slide Master to insert recurring elements and interactive zones saves time and keeps your presentation organized.
- Download Tutorial Slides: For convenience, you can download the ready-made tutorial slides from the creator’s Patreon page.
With practice, you can adapt this technique for other creative animations that respond to user interaction, making your presentations more dynamic and memorable.
Frequently Asked Questions
How does the Mandalorian helmet follow the mouse cursor in PowerPoint?
The effect is created by dividing the slide into four invisible interactive zones using rectangles with mouse-over actions. Each zone hyperlinks to a slide where the helmet faces a different direction. When you move your mouse over a zone, PowerPoint jumps to the corresponding slide, creating the illusion that the helmet is following the cursor.
Do I need a special version of PowerPoint to create this animation?
Yes, this tutorial requires a version of PowerPoint that supports 3D models and the Morph transition. PowerPoint 2019, PowerPoint for Microsoft 365, and later versions generally include these features.
Can I use any 3D model for this animation?
Absolutely! You can use any 3D model supported by PowerPoint. The Mandalorian helmet was chosen here for thematic reasons, but feel free to experiment with other models to suit your presentation’s theme.
Is it possible to make the animation smoother or more detailed?
Yes. You can add more slides with the helmet facing intermediate directions and adjust the Morph transition duration for a smoother effect. However, keep in mind that too many slides or too long transitions might affect responsiveness.
Where can I find the resources used in this tutorial?
Here are the key resources:
- 3D Model: Mandalorian helmet from Sketchfab
- Background Photo: From Unsplash
- Font: Mandalore font from DaFont
- Tutorial Slides: Downloadable on Patreon
Can I use this technique for other interactive animations?
Definitely! This technique of using invisible interactive zones with mouse-over actions and Morph transitions can be adapted to create many types of interactive animations in PowerPoint. It’s a versatile method to add engaging effects without complex programming.
Conclusion
Creating a PowerPoint animation where a 3D Mandalorian helmet follows your mouse cursor is a fun and impressive way to showcase your PowerPoint skills. By combining 3D models, slide duplication, Morph transitions, and invisible interactive zones, you can produce a smooth, interactive animation that responds to user input.
Not only does this tutorial teach you a cool trick, but it also highlights the power of thoughtful slide design, the Slide Master feature, and the creative use of PowerPoint’s animation tools. Whether you’re presenting in a business setting, education, or just want to wow your friends, mastering these techniques will take your presentations to the next level.
Try it out for yourself, customize it with your own models and backgrounds, and watch your audience’s reactions when your slides come alive with interactivity. As the Mandalorian would say, “This is the way.”


