Looping animations are a powerful feature in PowerPoint that can transform your presentations from static and dull to dynamic and engaging. Whether you want to bring your illustrations to life, highlight key elements, or create captivating animated backgrounds, mastering looping animations is a game-changer.
In this comprehensive guide, inspired by the expert insights from One Skill PPT, you’ll learn the five best ways to create looping animations in PowerPoint. This step-by-step tutorial will cover everything from simple repeats to advanced sequence loops and even exporting your animations as GIFs.
Ready to elevate your PowerPoint skills? Let’s dive in!
Table of Contents
- Simple Looping Animations
- Auto-Reverse Looping Animations
- Seamless Loop Animations
- Pause Loop Animations
- Sequence Loop Animations
- Bonus: Exporting Animations as GIFs
- Frequently Asked Questions (FAQ)
- Conclusion
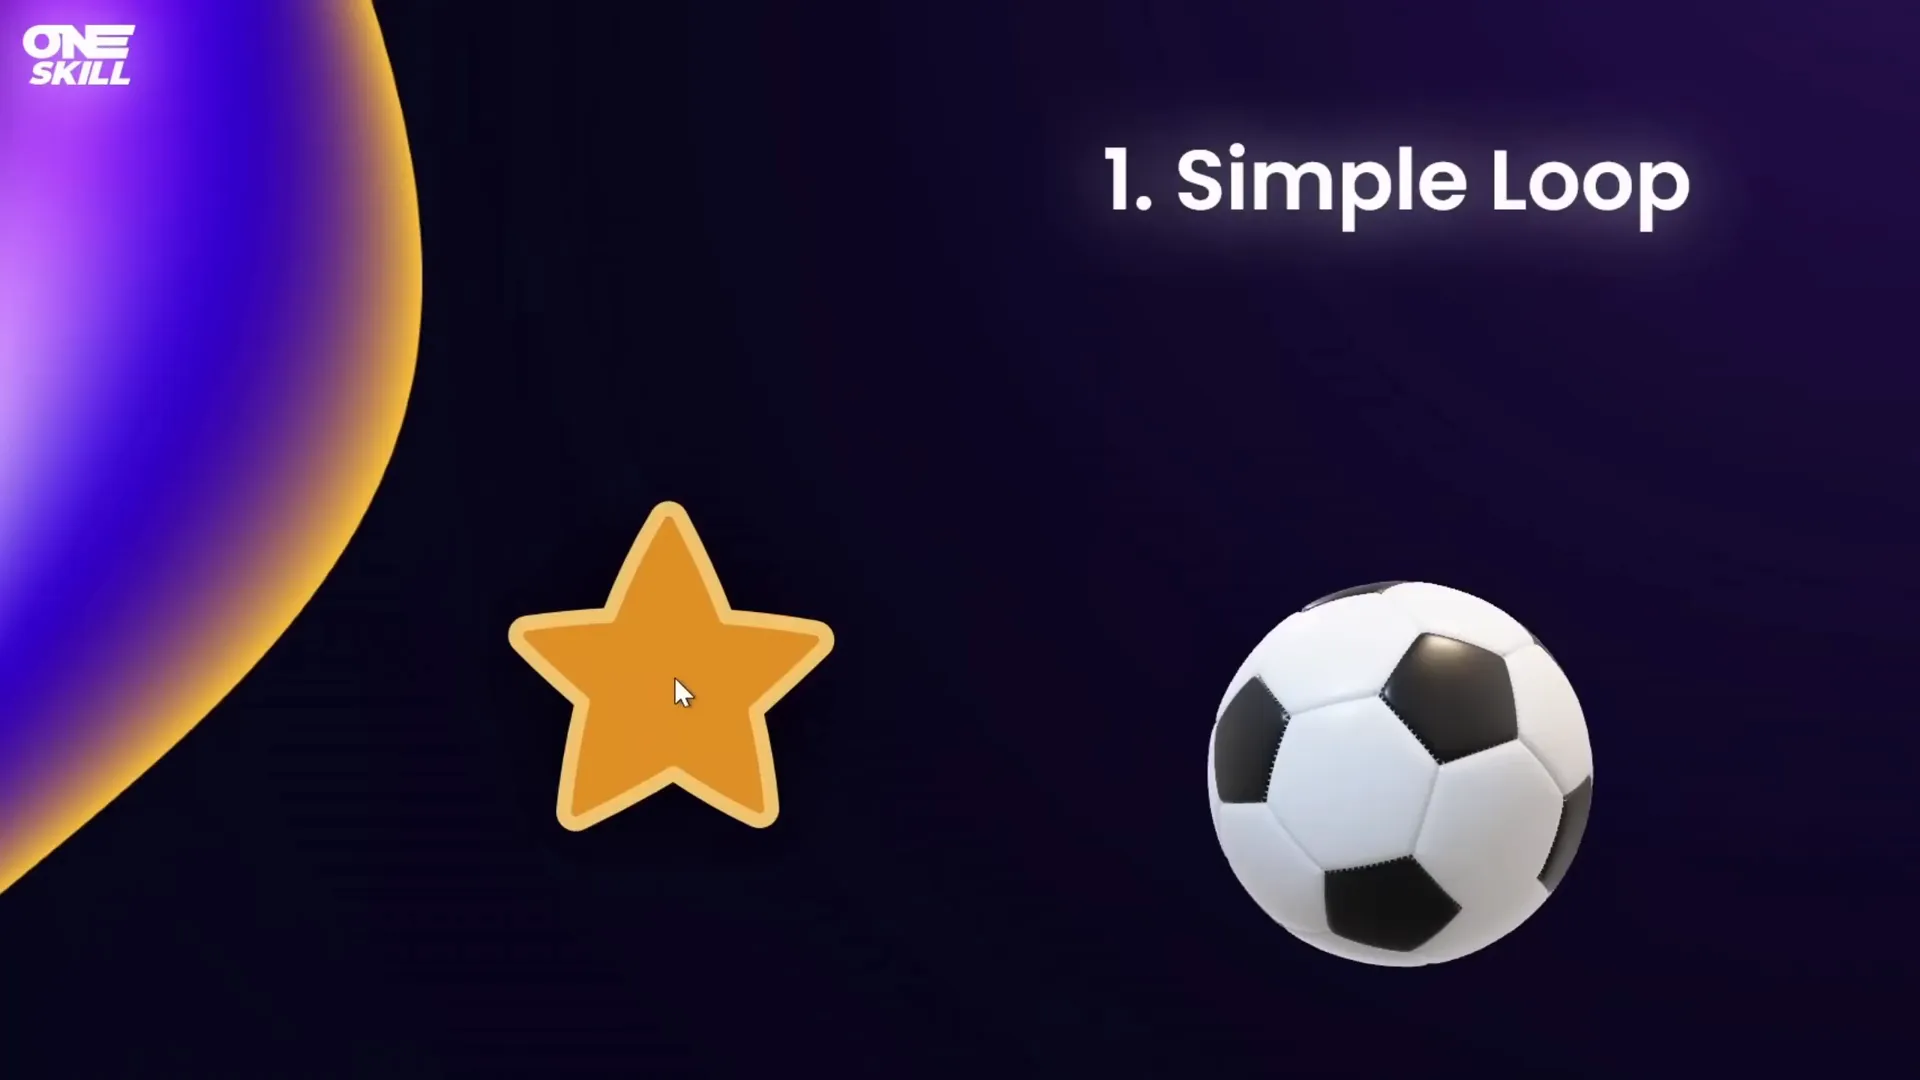
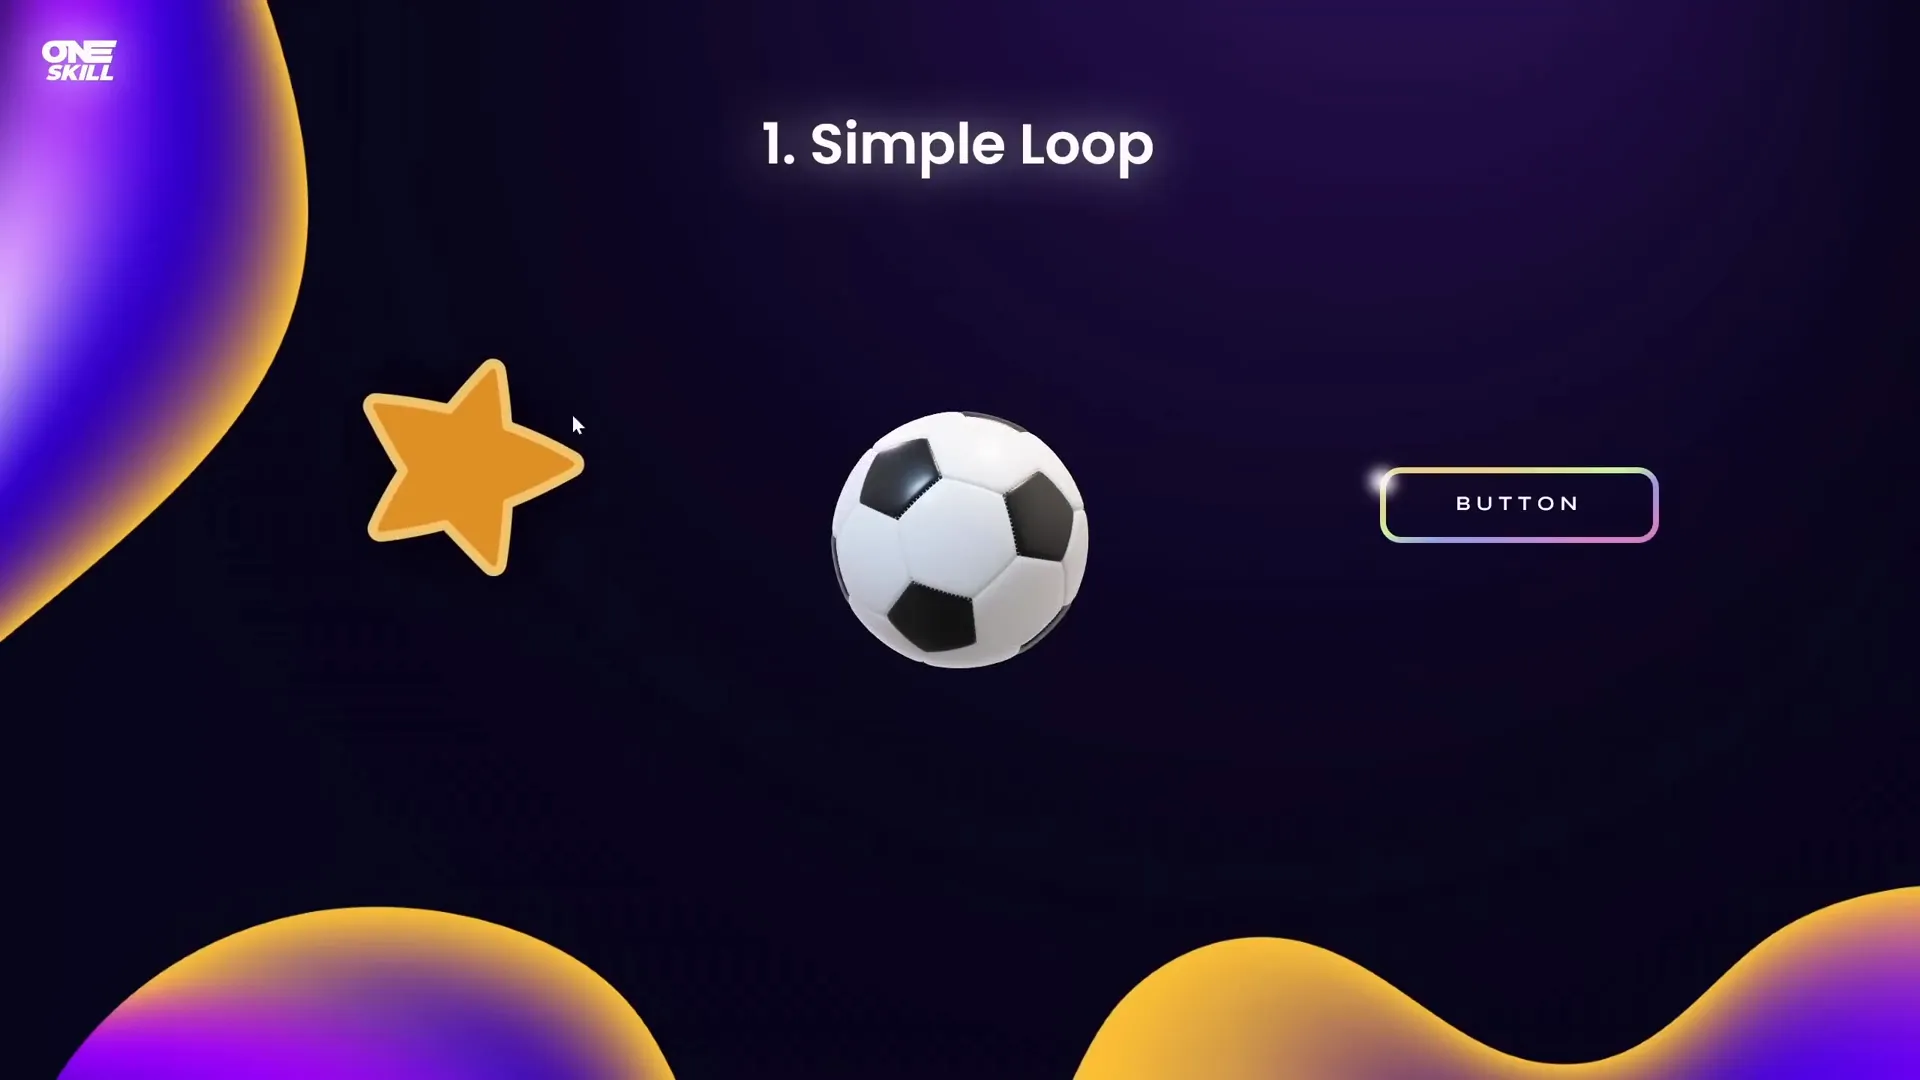
1. Simple Looping Animations
Simple looping animations are the foundation of PowerPoint animations that repeat continuously, adding life and energy to your slides. Examples include spinning icons, moving highlights, or rotating 3D models.
Examples of Simple Loop Animations
- A star spinning continuously.
- A 3D soccer ball rotating endlessly.
- A highlight moving around the edges of a rounded rectangle.
- A ship moving across the slide using a motion path.
- Text with a wave animation repeating indefinitely.
How to Create a Simple Loop Animation
- Duplicate your slide to keep the original intact before starting fresh.
- Go to the Animations tab and open the Animation Pane.
- Select the object you want to animate (e.g., the star).
- Click Add Animation and choose an animation such as Spin.
- Adjust the animation settings:
- Start: On Click (or as needed)
- Duration: e.g., 3 seconds
- Effect Options: Direction (clockwise or counterclockwise), Amount of spin
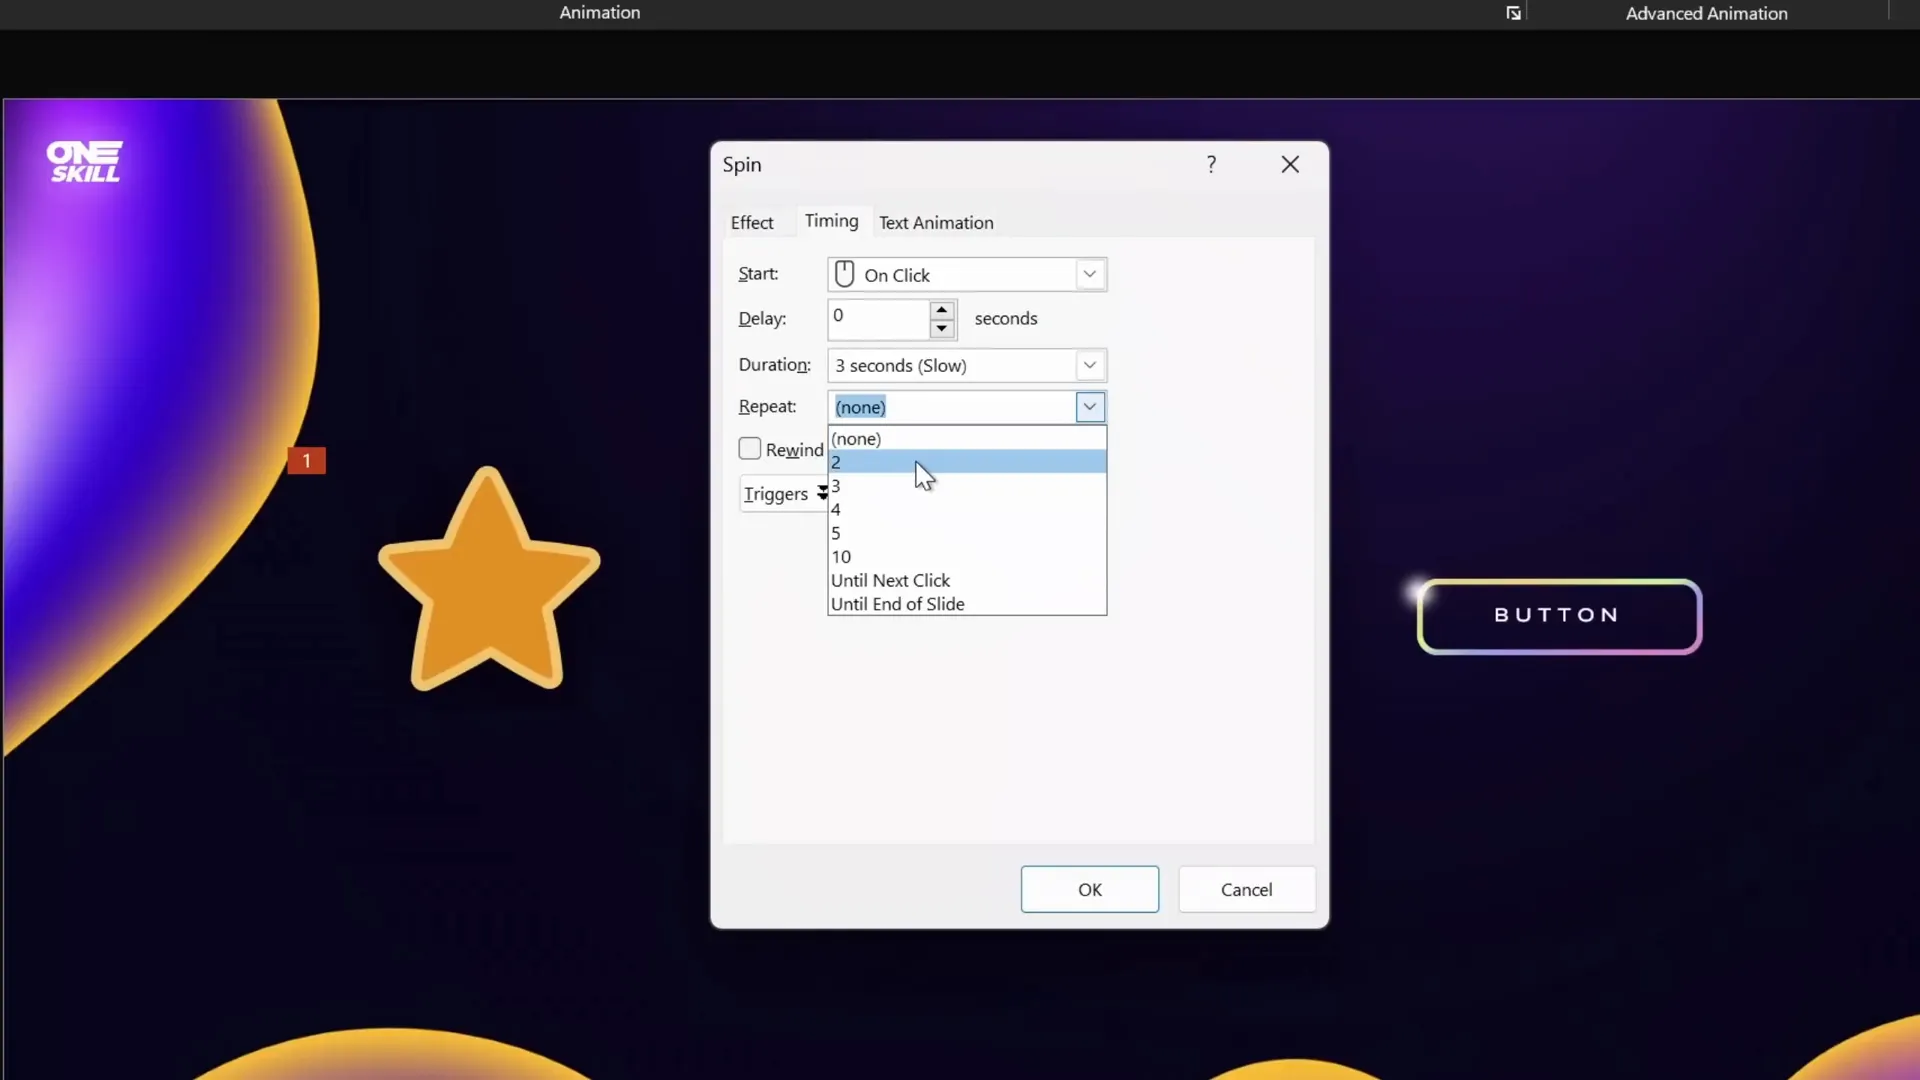
- Double-click the animation in the animation pane to open options.
- Go to the Timing tab and set Repeat to:
- A specific number of times, or
- Until End of Slide (recommended for continuous looping)
- Click OK and test the animation in Slide Show mode.
When you choose “Repeat Until End of Slide,” the animation bar in the Animation Pane extends infinitely, indicating continuous looping.
Animating 3D Models with Continuous Loop
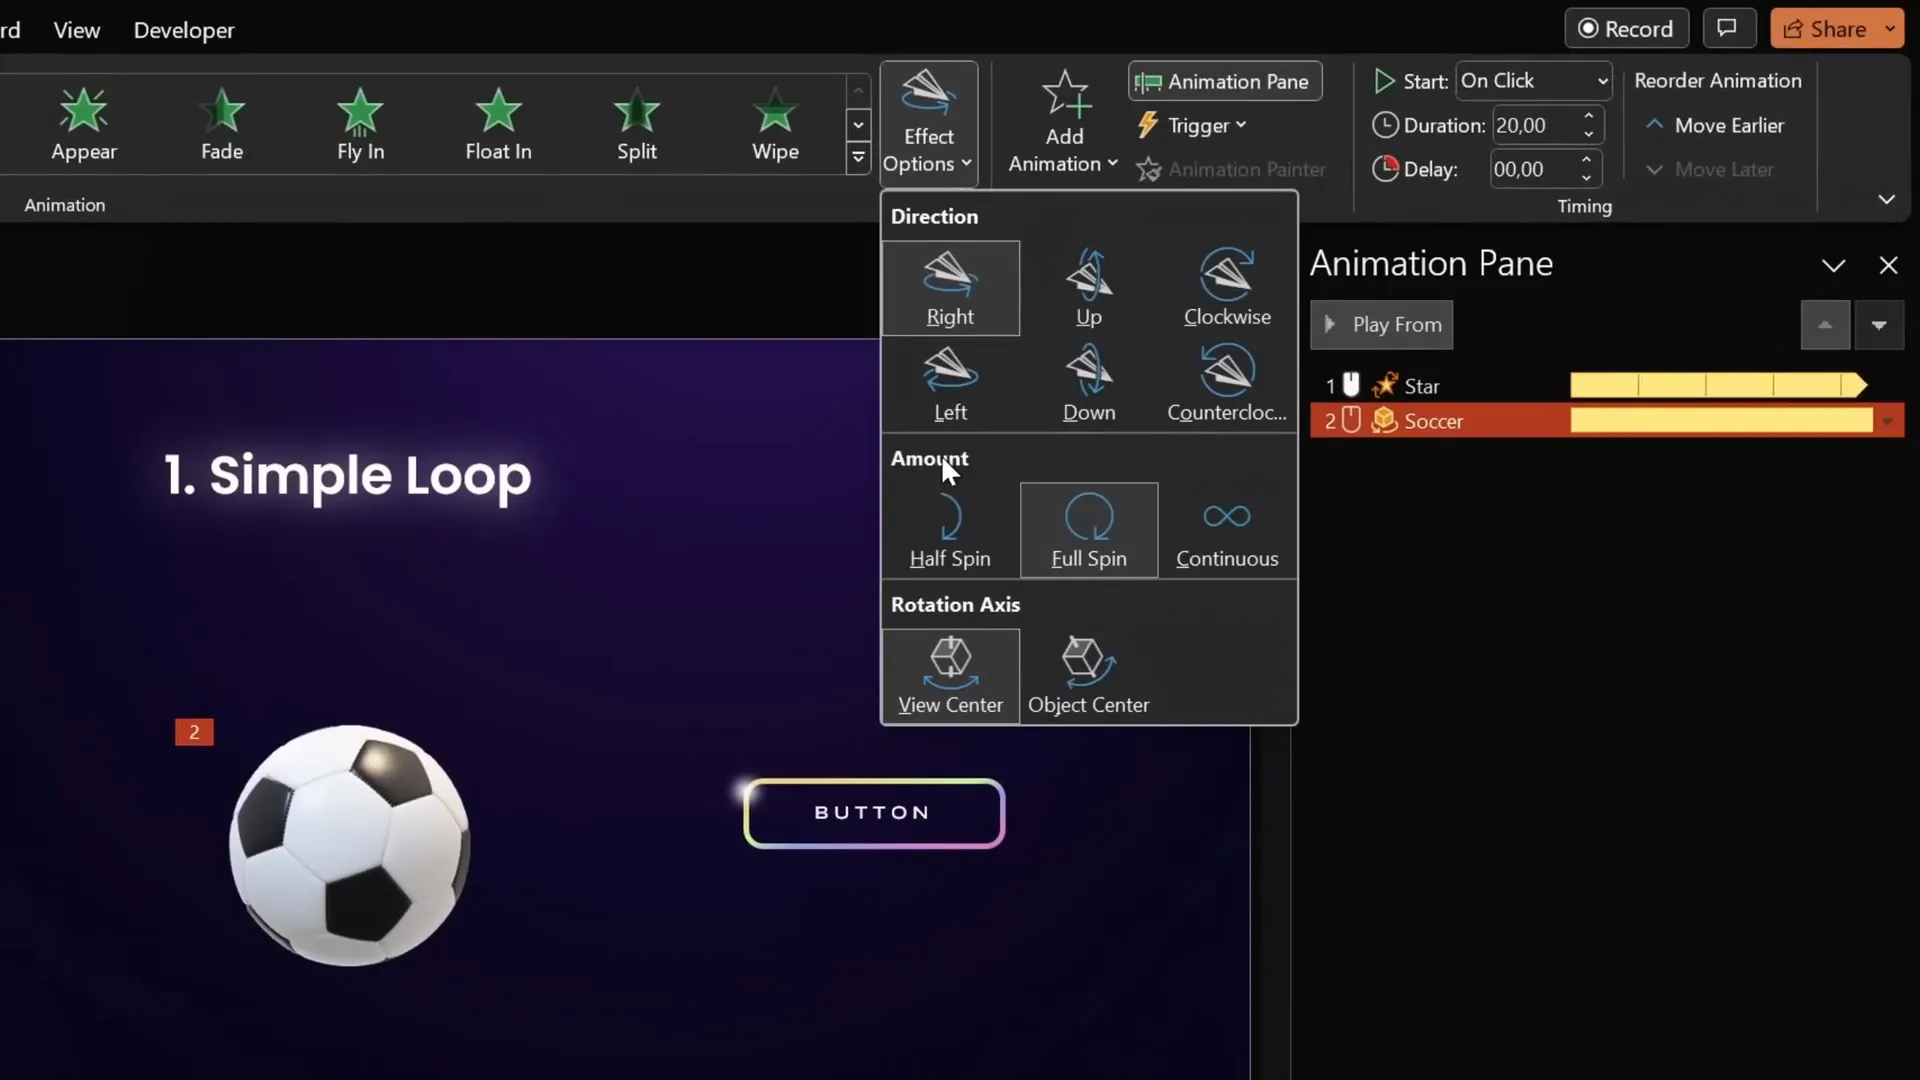
For 3D models like the soccer ball:
- Select the 3D model.
- Go to Add Animation and scroll to the 3D Animations section.
- Choose the Turntable animation.
- In Effect Options, set the amount to Continuous for endless rotation.
- Adjust duration (e.g., 5 seconds for faster rotation).
- Verify in the Animation Pane that repetition is set to Until End of Slide.
- Test in Slide Show mode.
Using Repeat Until Next Click
You can also set looping animations to repeat only until the next click. This is useful when you want to start one animation and then stop it when another begins, such as spinning a wheel that stops on command.
For example, setting the star to spin until the next click will stop it as soon as you trigger the next animation, like the soccer ball spinning.
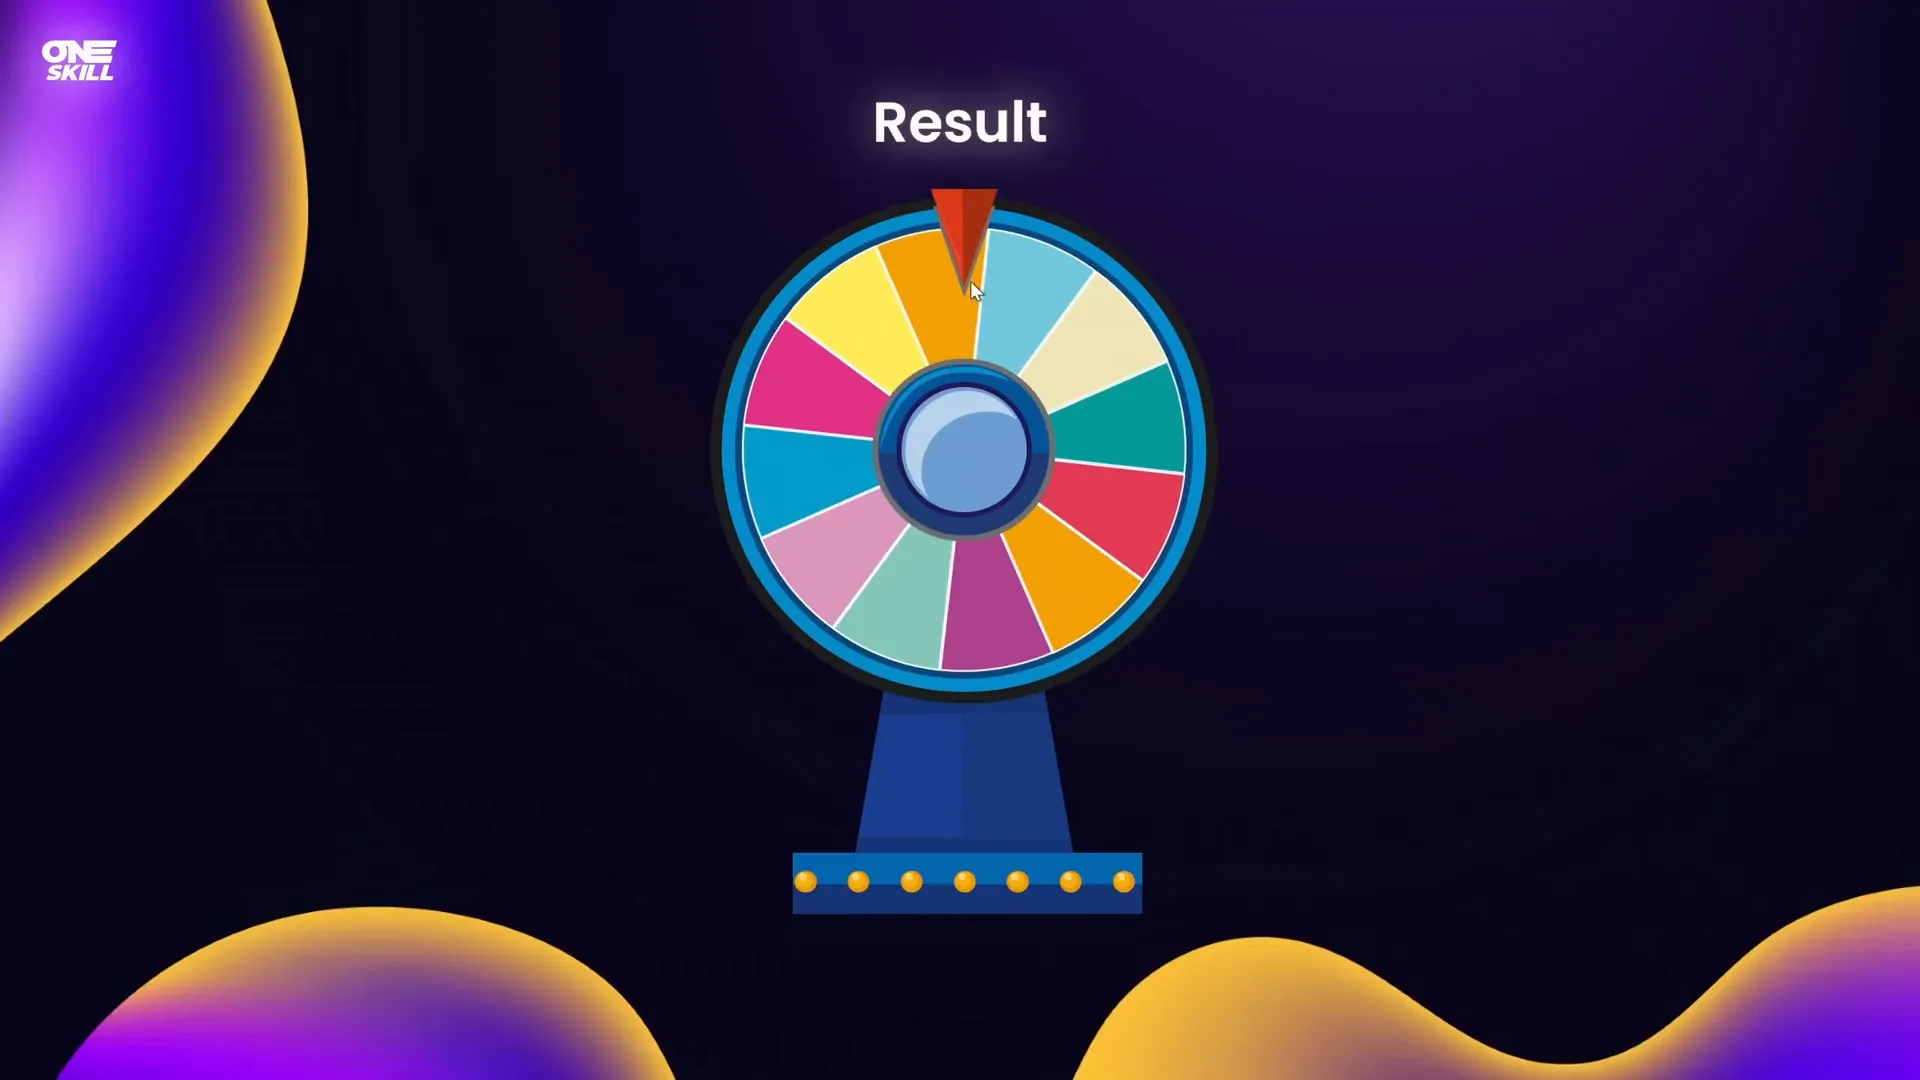
Creating a Wheel of Fortune Spin Animation
This technique is perfect for creating interactive elements like a spinning wheel:
- Select the wheel graphic (e.g., a colorful segmented circle).
- Add a Spin animation starting on click, duration 1 second.
- Set repetition to Until Next Click.
- Select the result text box (e.g., “Result”) and apply a Fade animation starting on click.
- Click once to spin the wheel, click again to stop and reveal the result.
- Use left arrow keys to rewind and spin again.
Note: The wheel graphic used in the example is from free resources like Freepik (link in video description).
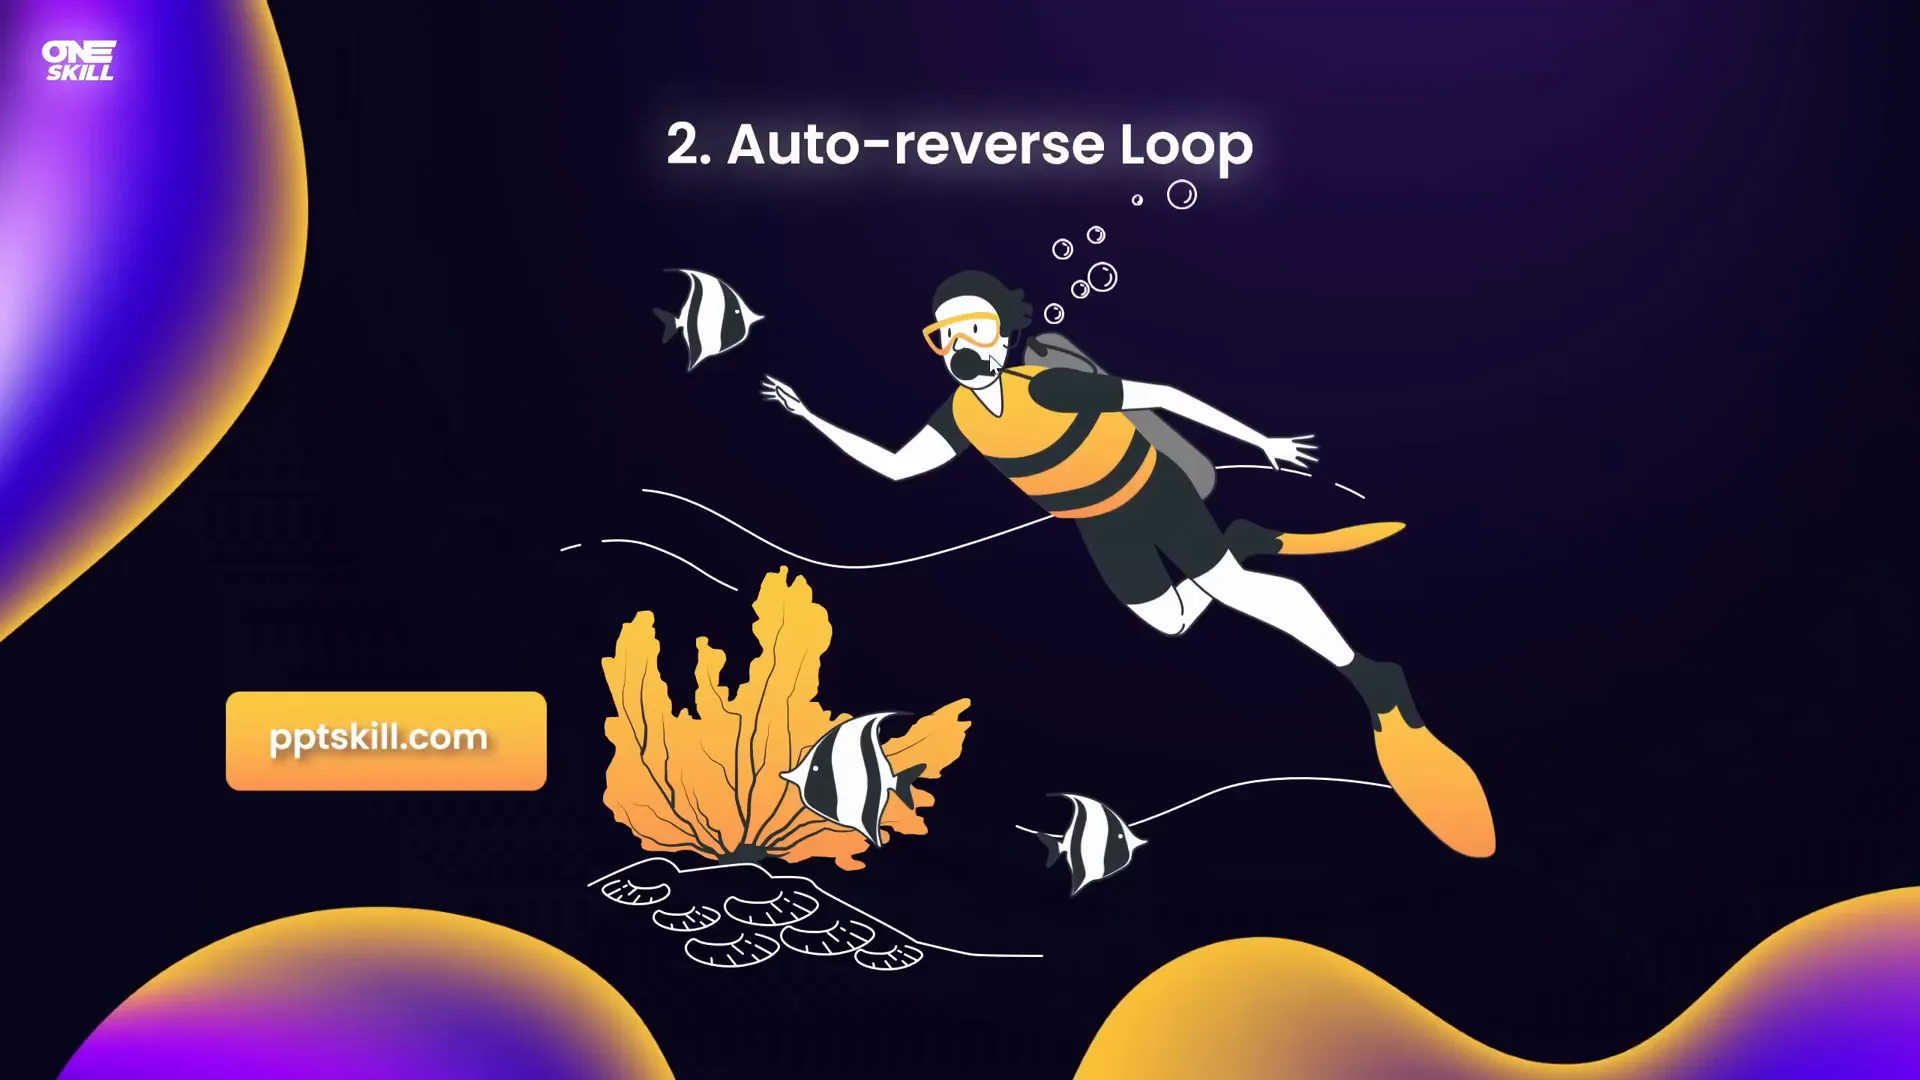
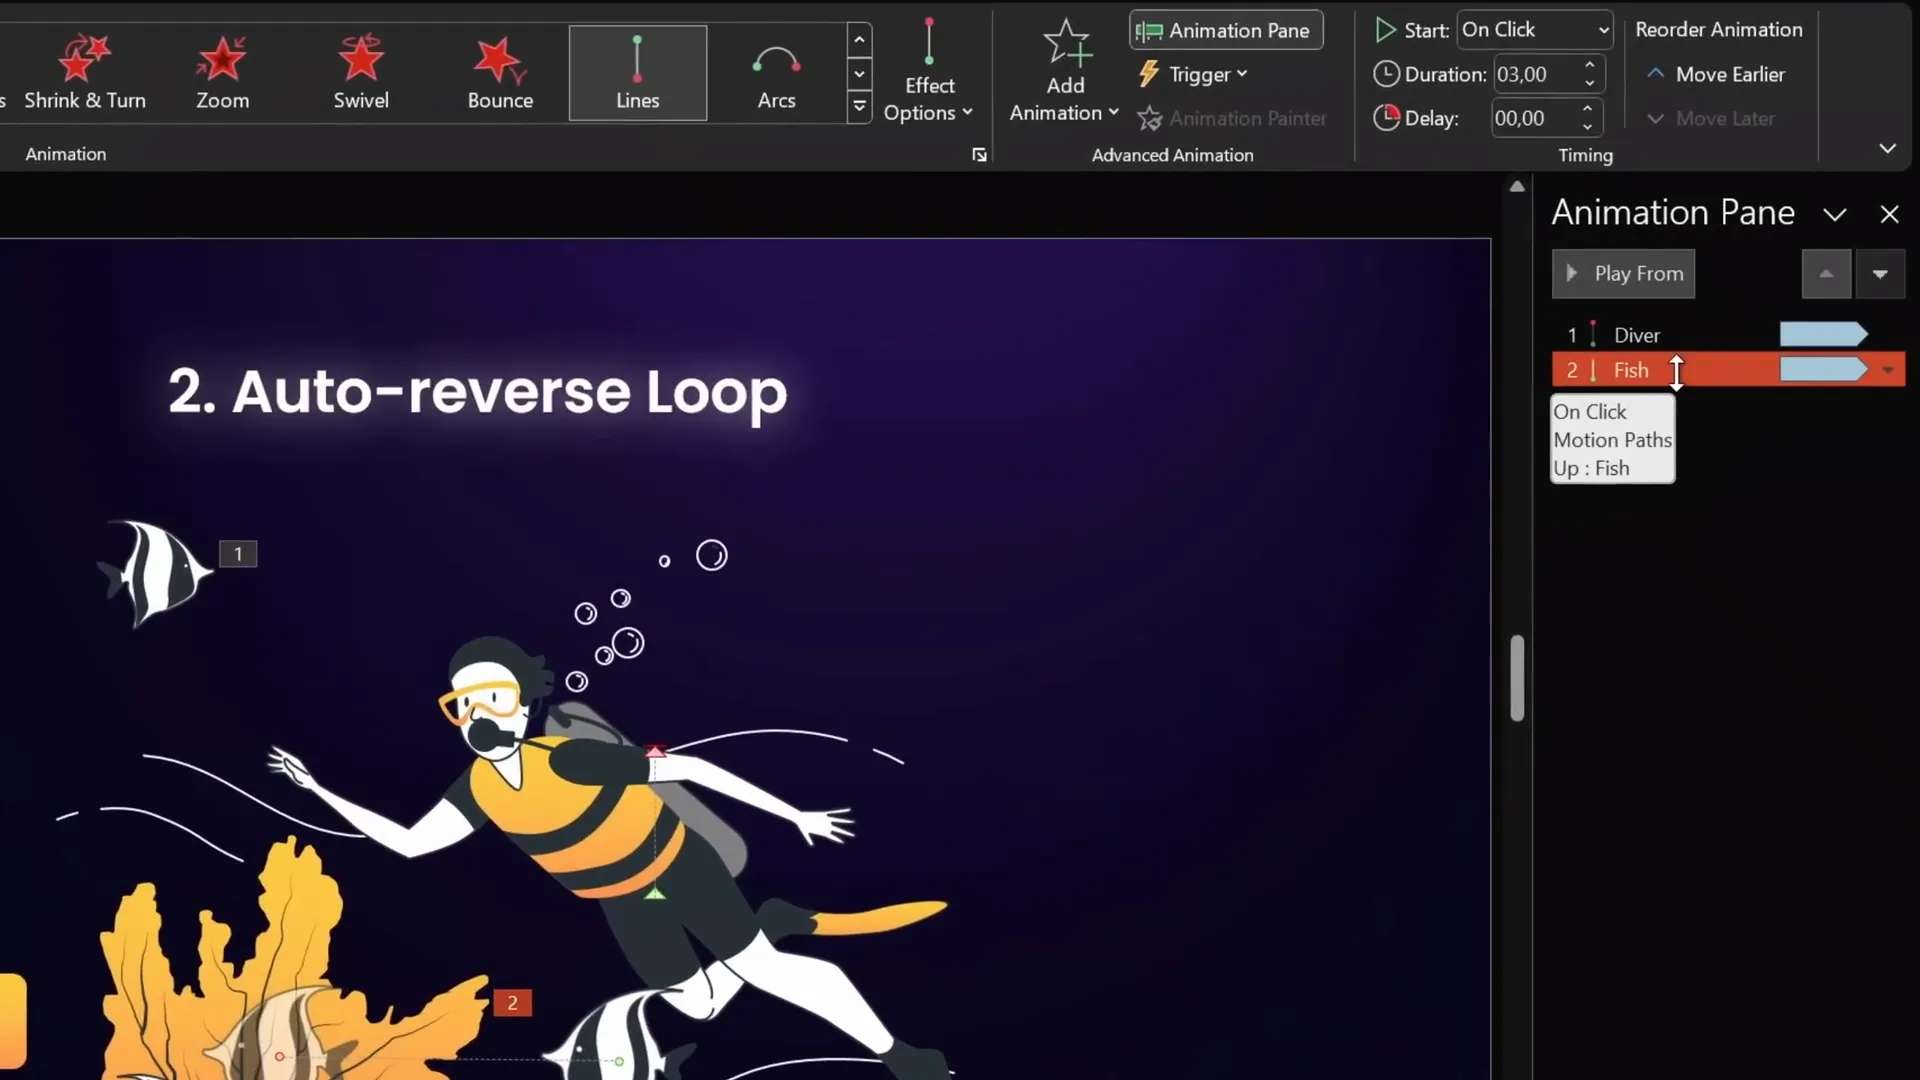
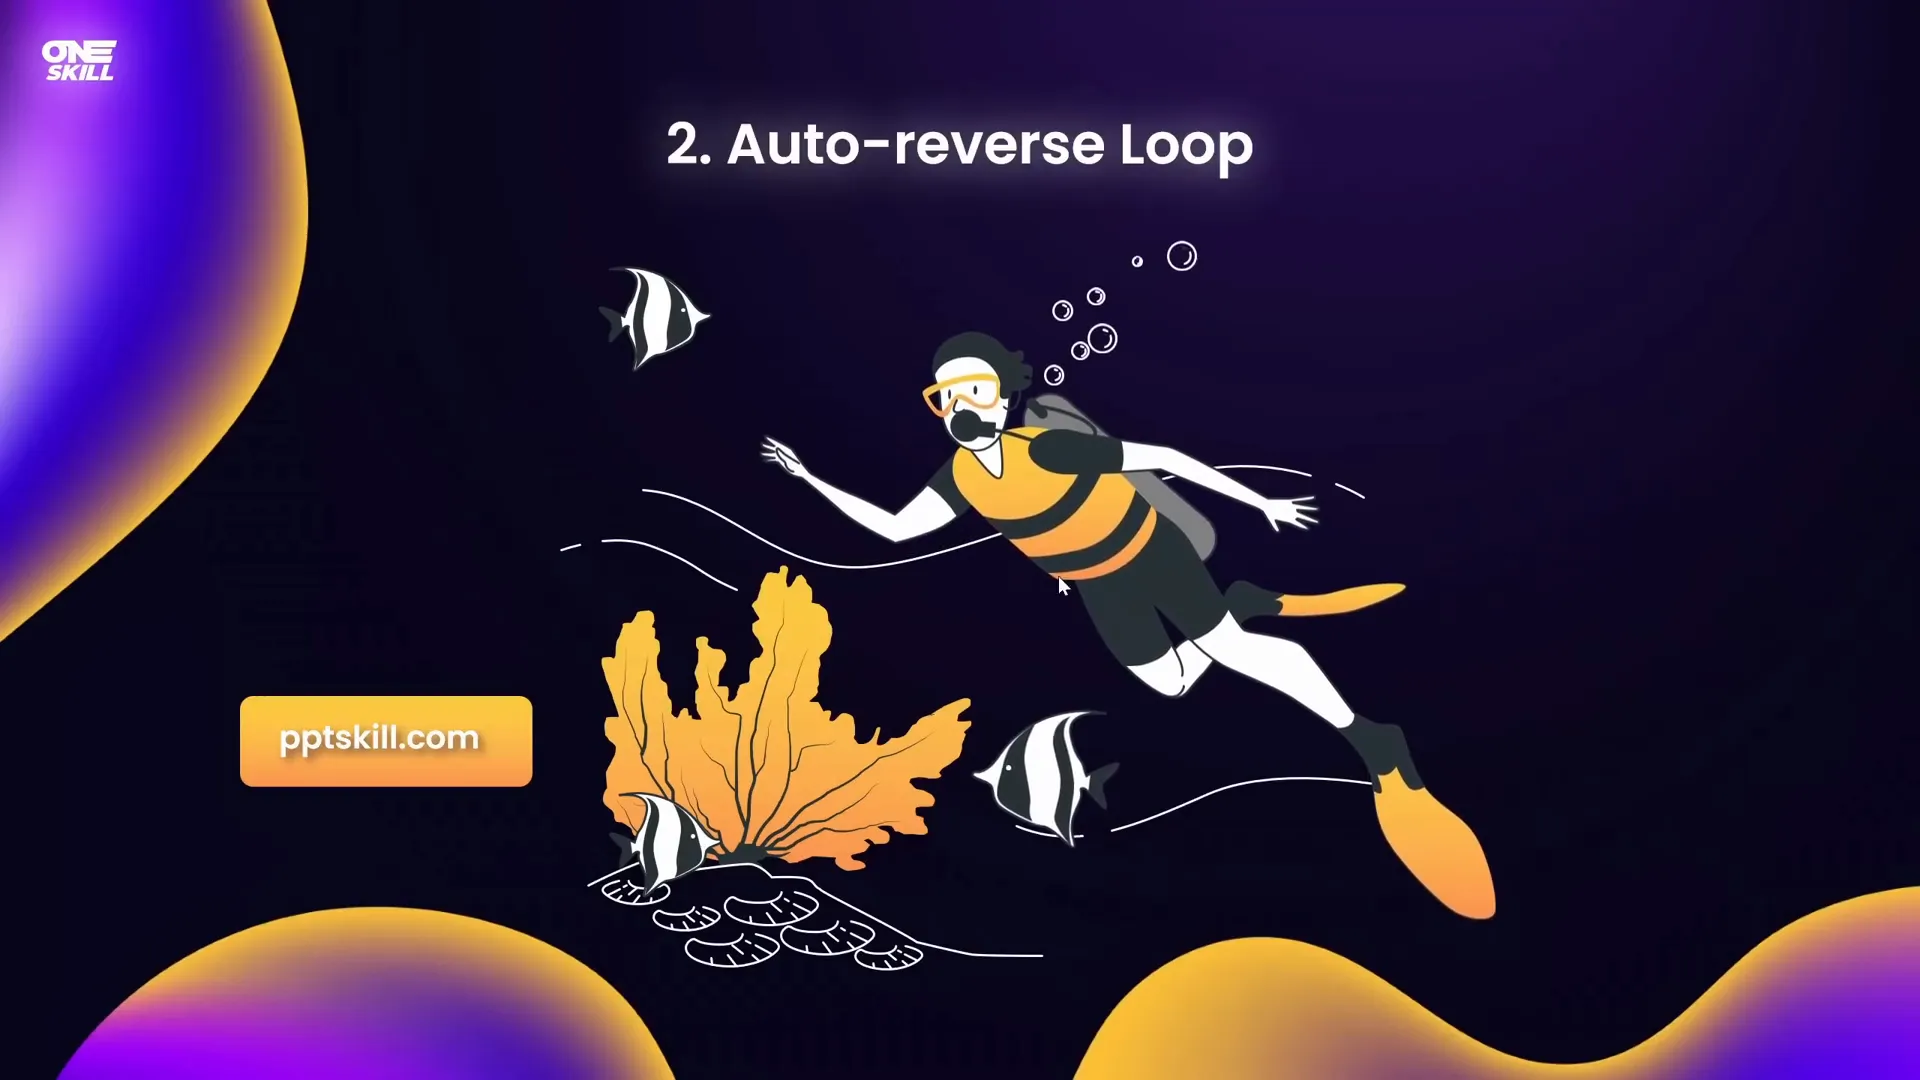
2. Auto-Reverse Looping Animations
Auto-reverse animations loop back and forth, creating smooth back-and-forth movements. This is perfect for simulating natural motions like a diver swimming up and down or objects gently pulsing.
Examples of Auto-Reverse Animations
- Diver moving up and down smoothly.
- Fish moving horizontally back and forth.
- A pulsing button growing and shrinking repeatedly.
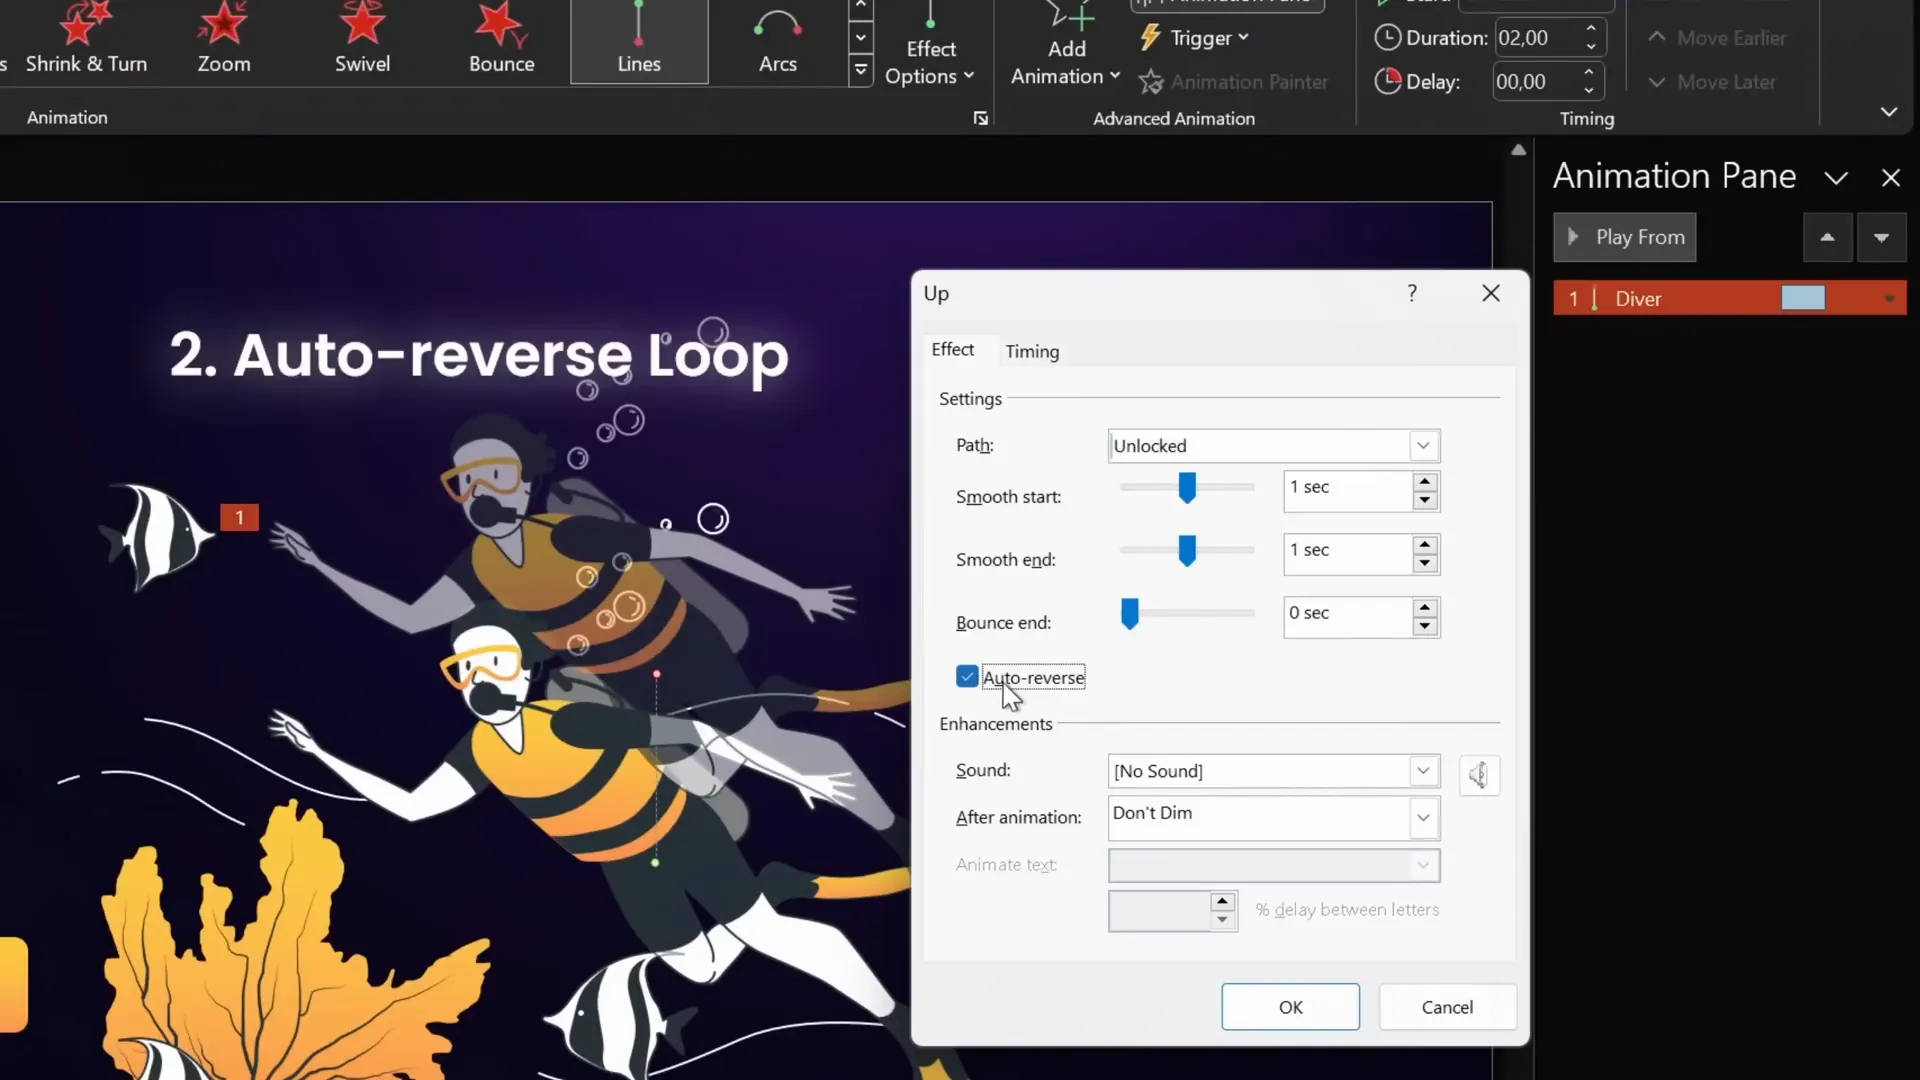
Creating Auto-Reverse Looping Animations Step-by-Step
- Duplicate your slide to maintain original content.
- Open the Animation Pane and remove existing animations.
- Select the object to animate (e.g., diver).
- Add a Motion Path Line animation and set direction (e.g., Up).
- Adjust the red endpoint bubble to set travel distance.
- Set duration (e.g., 2 seconds).
- In animation options, enable Auto Reverse.
- In the Timing tab, set repetition to Until End of Slide.
- Test the animation; the object moves up and then smoothly reverses down repeatedly.
Using Animation Painter to Copy Animations
To quickly apply the same animation to multiple objects:
- Select the object with the animation (diver).
- Click the Animation Painter tool.
- Click the target object (fish) to copy the animation.
- Adjust motion path endpoint and duration for variation.
- Set start timing to With Previous to sync animations.
Animating a Pulsing Button
- Select the button.
- Add a Grow/Shrink emphasis animation.
- Set start to On Click and duration to 0.5 seconds.
- In effect options, set growth to 110%, enable Auto Reverse.
- Set repetition to Until End of Slide.
- Adjust duration to speed up or slow down pulse effect.
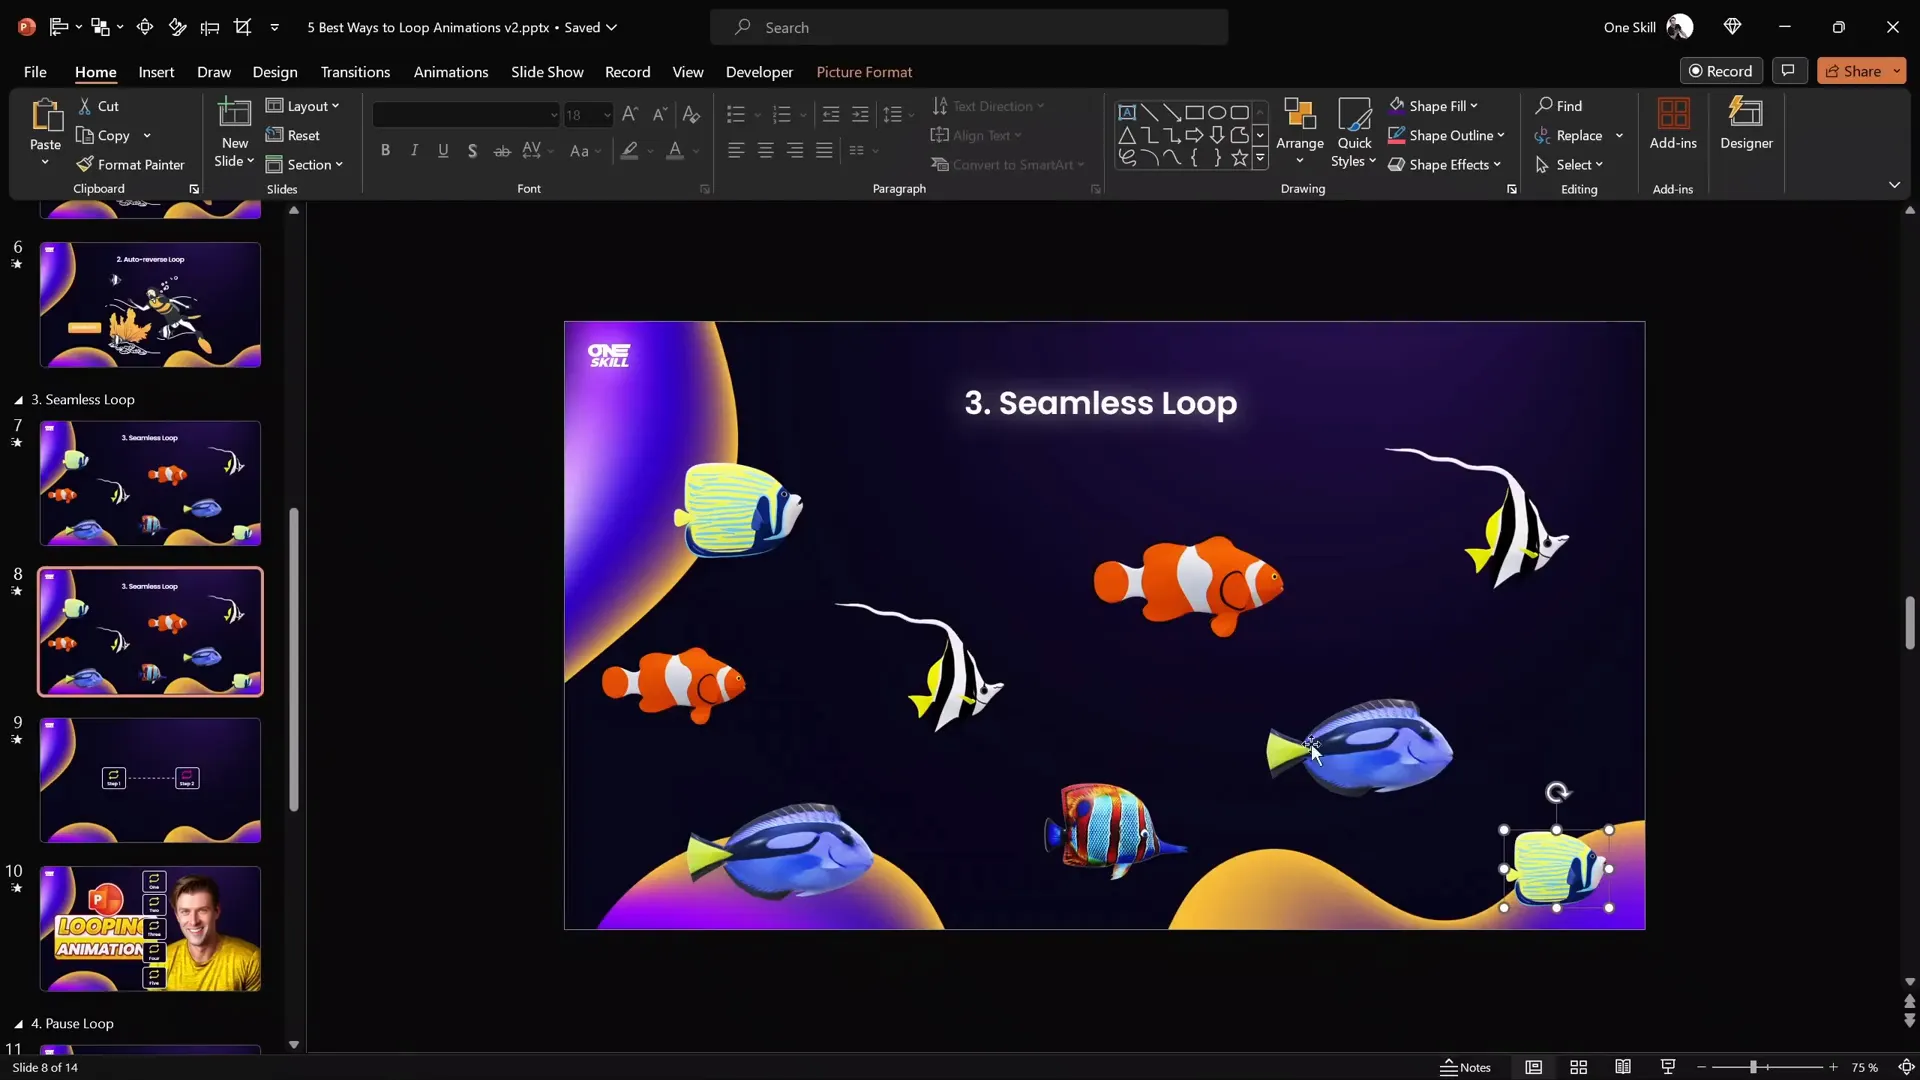
3. Seamless Loop Animations
Seamless loop animations create the illusion of continuous movement without noticeable jumps or breaks. This technique is great for animated backgrounds, moving clouds, or scrolling lines.
Creating a Seamless Loop with Moving Objects
Example: Colorful fishes swimming continuously across the slide.
- Insert a full-slide rectangle behind your objects to serve as a background mask.
- Select the rectangle and all objects (e.g., fishes) and group them.
- Duplicate the group and move the copy to the left, aligning edges precisely.
- Change the duplicate’s rectangle fill color temporarily for differentiation.
- Group both groups together to create one large group.
- Add a Motion Path Line animation to the large group, moving right.
- Adjust the animation endpoint so the duplicate group overlaps the original exactly.
- Set animation duration (e.g., 10 seconds), remove smooth start/end, set repetition to Until End of Slide.
- Make the rectangles invisible by setting fill to No Fill.
- Test the animation; fishes seem to swim endlessly without visible jumps.
Seamless Loop for Scrolling Lines
This method also works well for making dotted lines or patterns scroll infinitely.
- Draw a dotted line connecting two boxes or elements.
- Duplicate the dotted line and offset it to the left.
- Use a vertical guide to precisely align the two lines end to end.
- Group both lines.
- Add a Motion Path Line animation moving right.
- Set the endpoint so the duplicate overlaps perfectly with the original.
- Create two rectangles on the left and right sides to mask the ends, fill them with Slide Background Fill to blend seamlessly.
- Set animation to repeat Until End of Slide with no smoothing or auto reverse.
- Test the animation for smooth continuous scrolling.
Seamless Loop Background Animation with Dots
Another example is a background of small dots moving upward continuously:
- Fill the slide with small dots grouped together.
- Duplicate the group and place the copy just below the slide.
- Group all dots and apply a Motion Path Line animation moving upwards.
- Set duration (e.g., 17 seconds), no smooth start/end, repeat Until End of Slide.
- Test the animation for a smooth, endlessly moving dotted background.

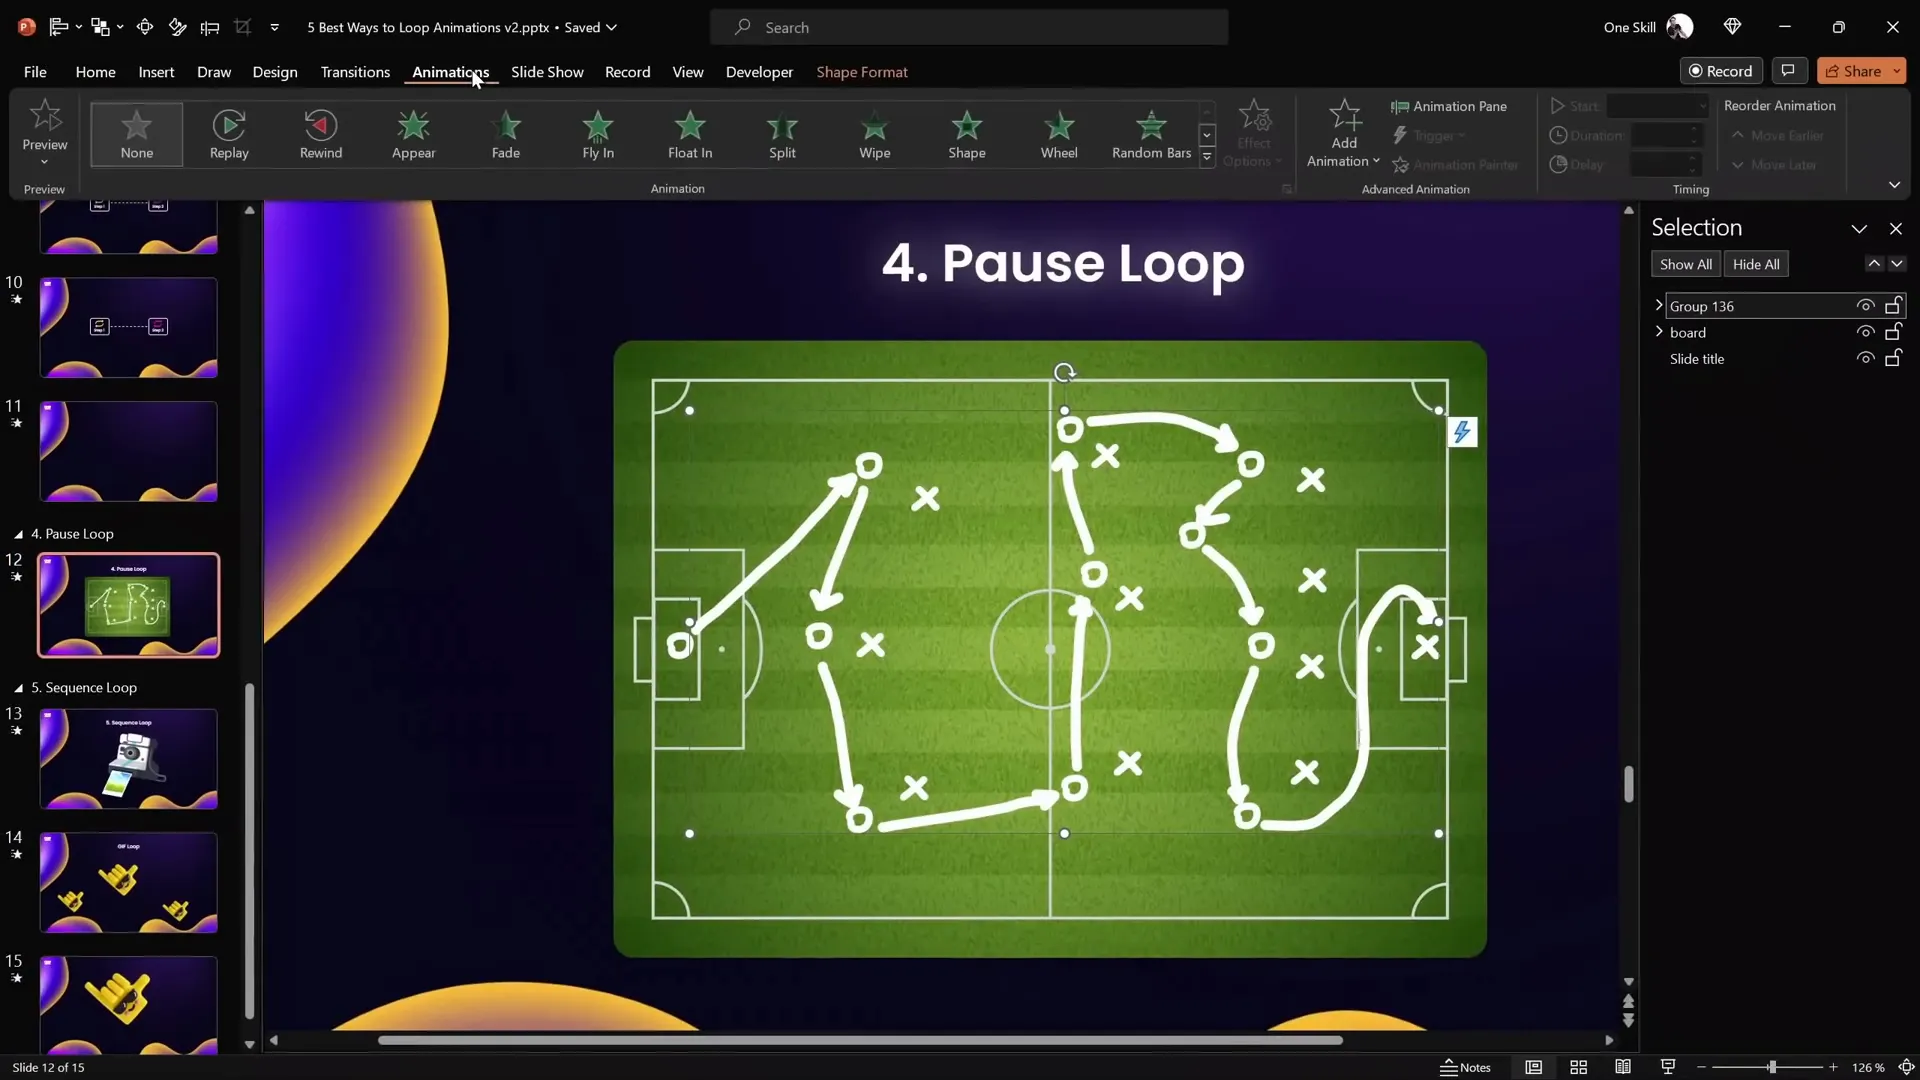
4. Pause Loop Animations
Pause loops allow you to replay an animation repeatedly with a pause or hold at the end before restarting. This is perfect when you want to redraw lines or replay complex animations with a visible pause.
Example: Drawing Passing Lines on a Football Field
- Use the Draw tab to draw lines representing ball passes.
- PowerPoint automatically groups all ink lines.
- Apply the Replay animation from the Ink category to redraw all lines.
- Set duration to control speed (e.g., 5 seconds).
- Set repetition to Until End of Slide to loop the drawing.
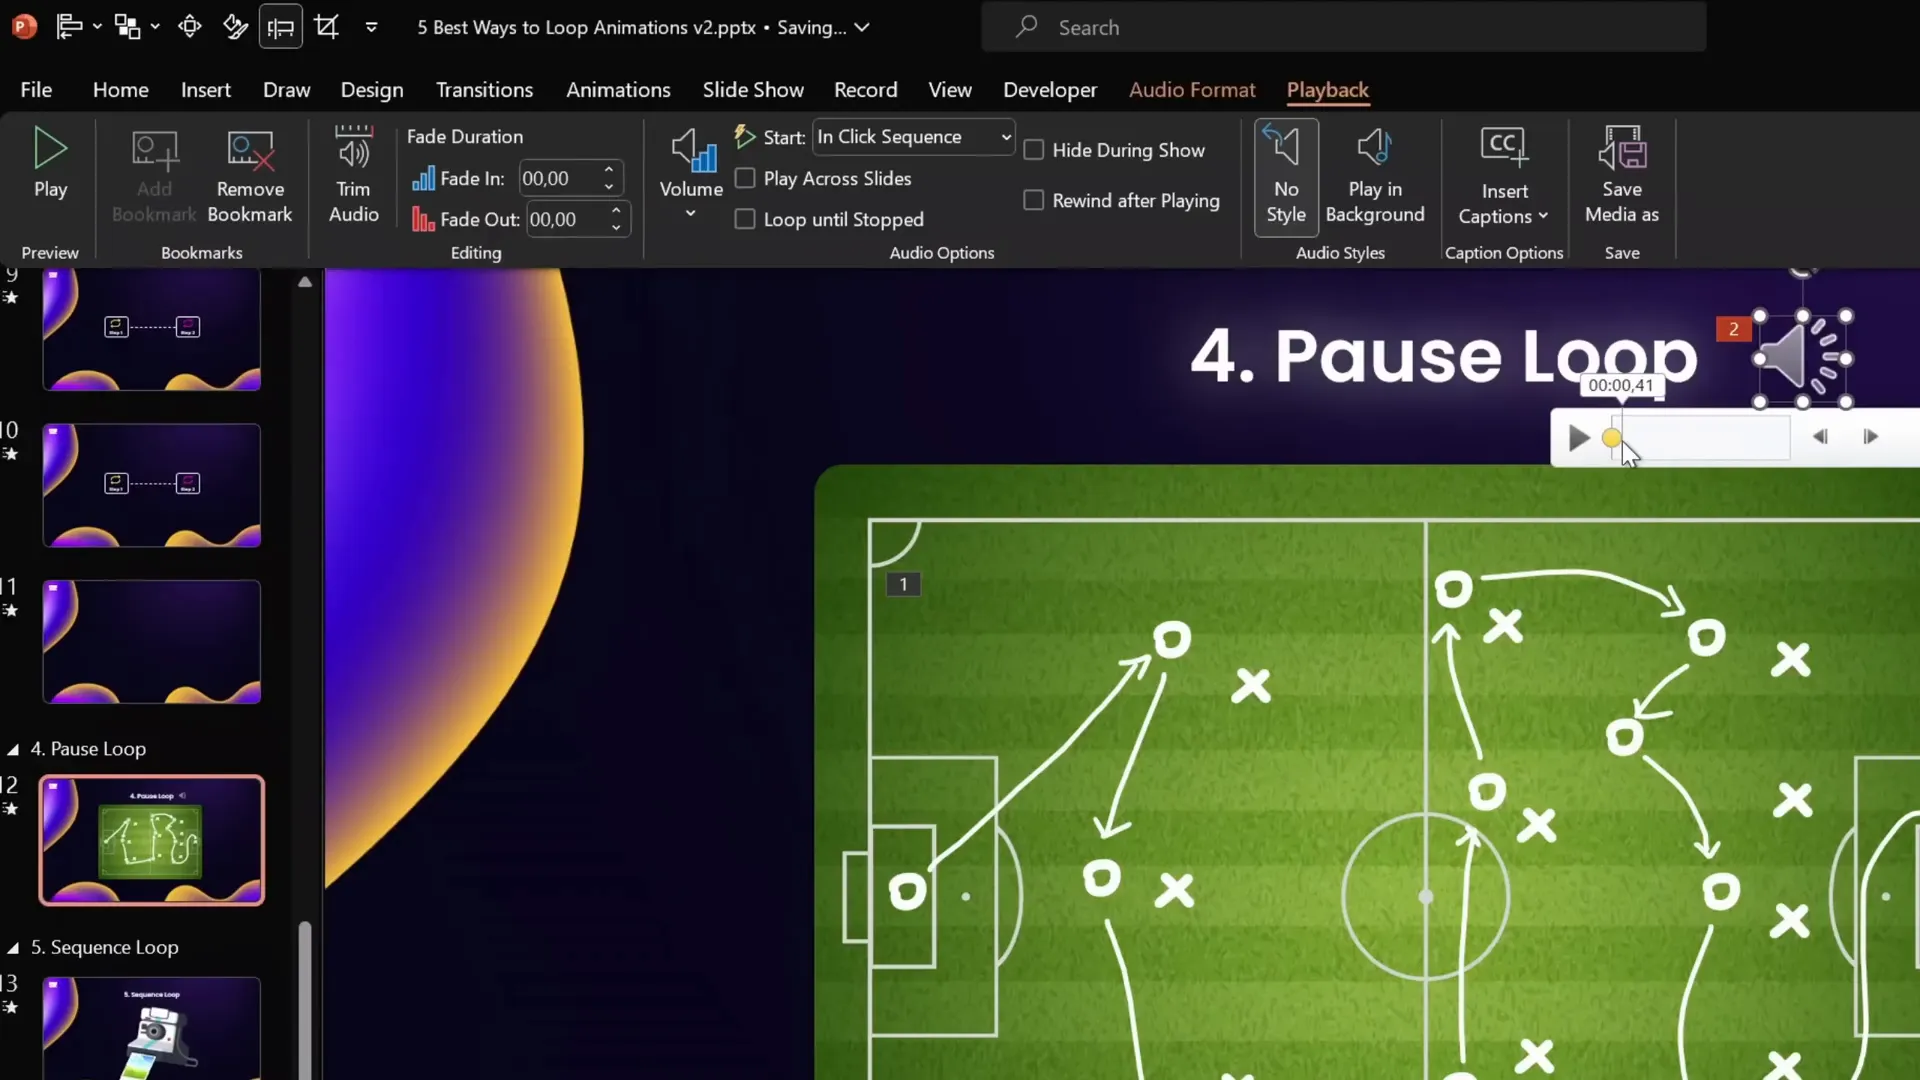
Adding a Pause Using an Audio Bookmark Trigger
To create a pause at the end of the animation loop, use this clever workaround:
- Remove repetition from the replay animation (set to none).
- Find the animation duration (e.g., 5 seconds).
- Insert an empty audio clip slightly longer than the animation (e.g., 7 seconds) by recording silence.
- Add a bookmark at the start of the audio clip.
- Set the audio to loop until stopped.
- Trigger the replay animation by the audio bookmark.
- Hide the audio icon during the slideshow by moving it off-slide or enabling “Hide During Show”.
- Run the slideshow. The animation will replay with a pause equal to the extra audio length.
This technique creates a smooth pause or hold after the animation finishes before restarting.
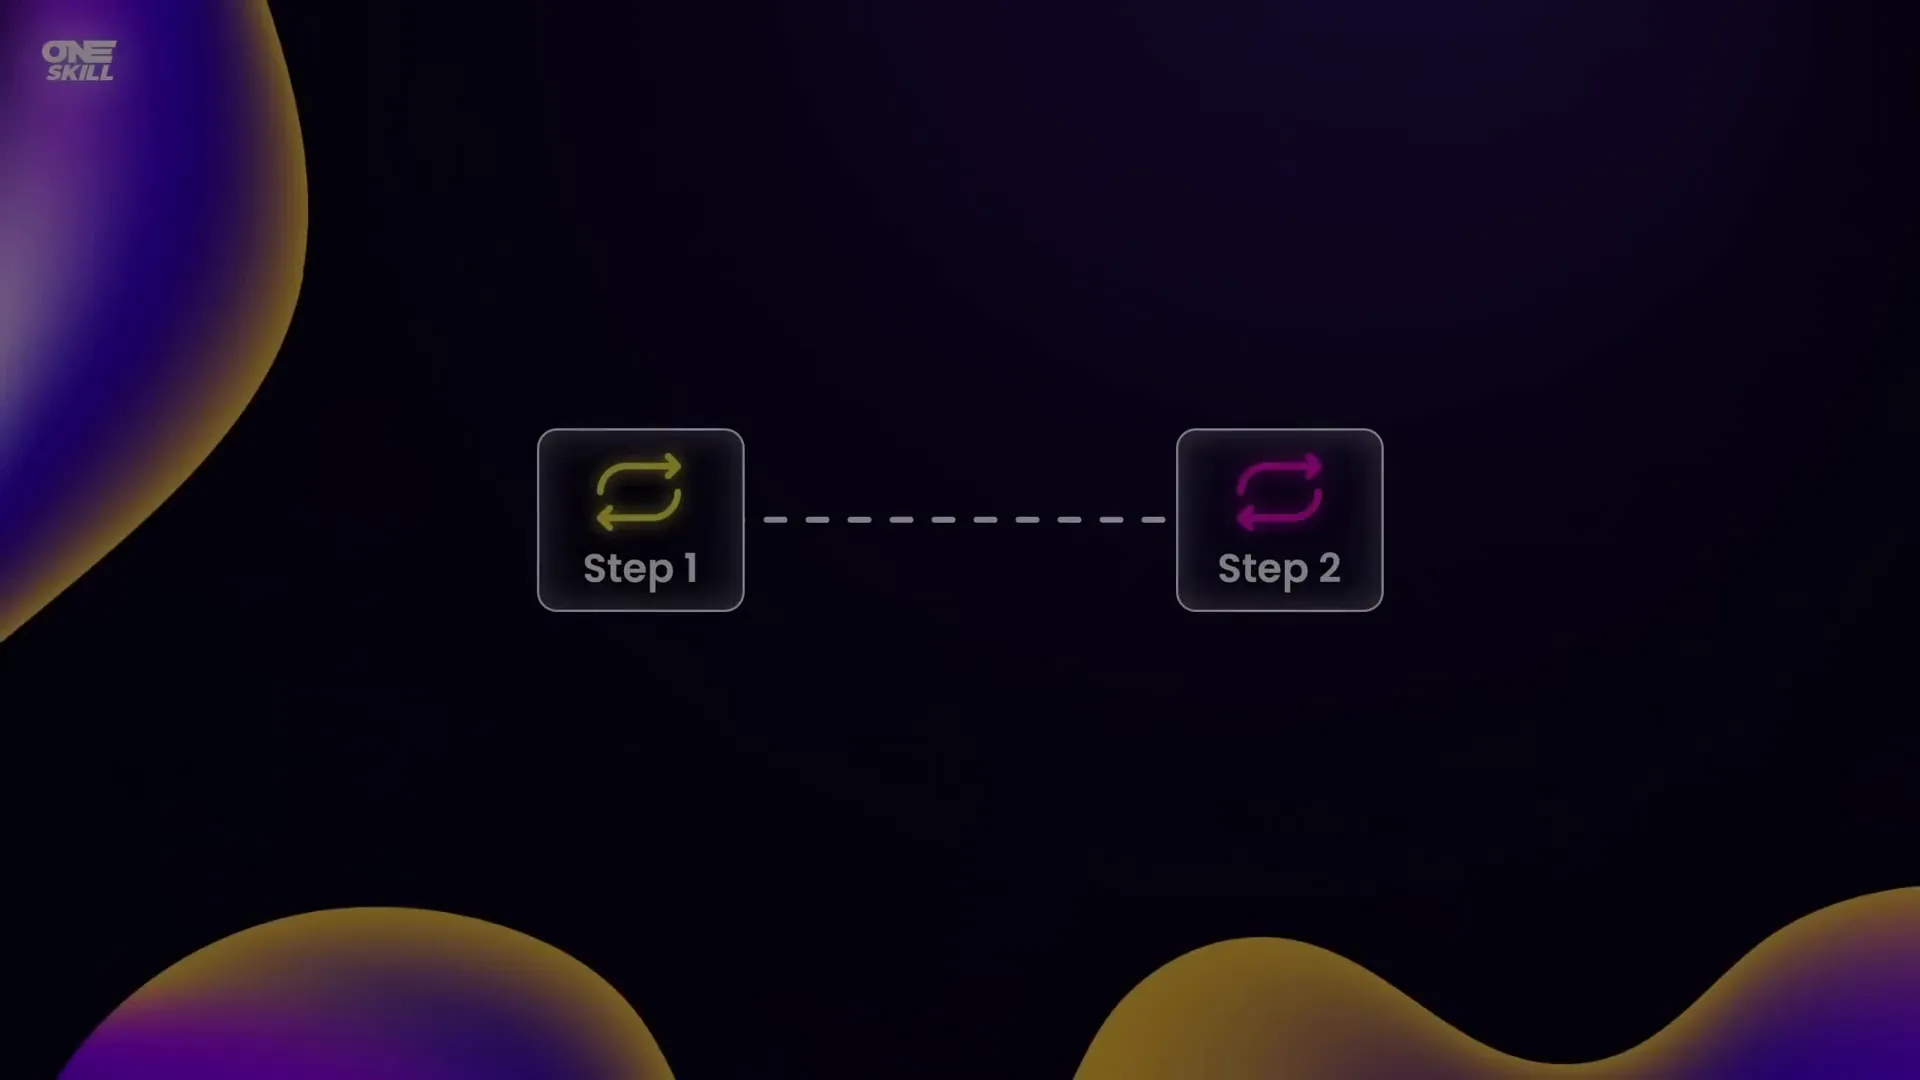
5. Sequence Loop Animations
Sequence loops are perfect for looping a series of animations in order, such as a camera flash followed by a photo popping out. Simply looping each animation individually often results in glitches or overlapping animations.
Example: Polaroid Camera Flashing and Photo Flying Out
Components:
- Rounded rectangle for camera flash.
- Camera image split into top and bottom parts.
- Photo image with animations to fly out.
Common Problem:
Setting repetition on all animations to Until End of Slide causes the sequence to overlap and look messy.
Solution: Using Audio Bookmark Trigger
- Undo all repetition settings for the animations.
- Check when the last animation ends (e.g., 2 seconds).
- Record a silent audio clip slightly longer than the animation sequence (e.g., 3 seconds).
- Trim audio to desired length.
- Set audio to loop until stopped and add a bookmark at the start.
- Hide the audio icon during slideshow.
- Select all animations and set their trigger to the audio bookmark.
- Run the slideshow to see a smooth, looping sequence with a subtle pause.
Bonus: Exporting Looping Animations as GIFs
Turning your PowerPoint animations into GIFs is a neat way to reuse your work for social media, websites, or other presentations.
Step-by-Step Guide to Create Looping GIFs from PowerPoint Animations
- Insert your animated object (e.g., a sticker from Microsoft 365’s handy sticker collection).
- Adjust the rotation center by grouping the object with an invisible circle aligned to where you want the pivot point.
- Add your desired animation (e.g., spin with auto reverse, 45 degrees, short duration).
- Ensure there are no slide transitions on the slide with the animation.
- Go to File > Export > Create an Animated GIF.
- Choose quality (Extra Large recommended) and enable transparent background.
- Select the slide range containing your animation.
- Export and save the GIF.
- Insert the GIF back into any PowerPoint slide to use it as a looping animation.
Frequently Asked Questions (FAQ)
Q1: What is the easiest way to make an animation loop continuously in PowerPoint?
A: Use the animation pane’s timing options to set the animation to repeat Until End of Slide. This makes the animation loop seamlessly until you move to the next slide.
Q2: Can I make animations auto-reverse in PowerPoint?
A: Yes! When setting up motion path or emphasis animations, enable the Auto Reverse checkbox in the animation effect options. This makes the animation play forwards then backwards repeatedly.
Q3: How can I create a seamless scrolling background animation?
A: Group your objects and duplicate the group, offsetting the duplicate so it aligns perfectly with the original. Then animate the group with a motion path so that the duplicate overlaps seamlessly when the animation loops.
Q4: How do I add a pause between animation loops?
A: Use an empty looping audio clip with a bookmark trigger to control animation replay timing. Make the audio clip longer than the animation to create a pause before the animation restarts.
Q5: Can I export PowerPoint animations as GIFs?
A: Yes! PowerPoint allows you to export slides as animated GIFs. Make sure your animations are on a single slide without transitions, then use File > Export > Create an Animated GIF.
Conclusion
Mastering PowerPoint Animation Effects opens up a world of creative possibilities for your presentations. From simple spinning icons to complex sequence loops and seamless animated backgrounds, the techniques covered in this guide will help you create professional, eye-catching slides that engage your audience.
Remember these key takeaways:
- Use the Repeat option in animation timing for simple loops.
- Enable Auto Reverse for smooth back-and-forth animations.
- Group and duplicate objects carefully for seamless looping effects.
- Use audio bookmarks to trigger and pause complex animation loops.
- Export your animations as GIFs for versatile use beyond PowerPoint.
With practice, you can combine these techniques to create dynamic, professional presentations that stand out. If you want to explore more PowerPoint animation mastery, check out the tutorial slides linked in the video description and consider joining the PowerPoint Animation Mastery course for full access to all lessons.
Happy animating, and congratulations on becoming a true looping PowerPoint animation expert!


