PowerPoint presentations can be transformed from static slideshows into vibrant, dynamic experiences with the magic of Powerpoint Animation effects. Looping animations, in particular, offer a fantastic way to keep your audience engaged by continuously bringing life to your slides. Whether you want to highlight key elements, create animated backgrounds, or add playful motion to your illustrations, mastering looping animations in PowerPoint is a game-changer.
In this comprehensive guide, we’ll explore the five best ways to create looping animations in PowerPoint, inspired by expert techniques from One Skill PPT. This step-by-step tutorial will empower you to create captivating, seamless animations that loop indefinitely or in clever sequences, making your presentations unforgettable.
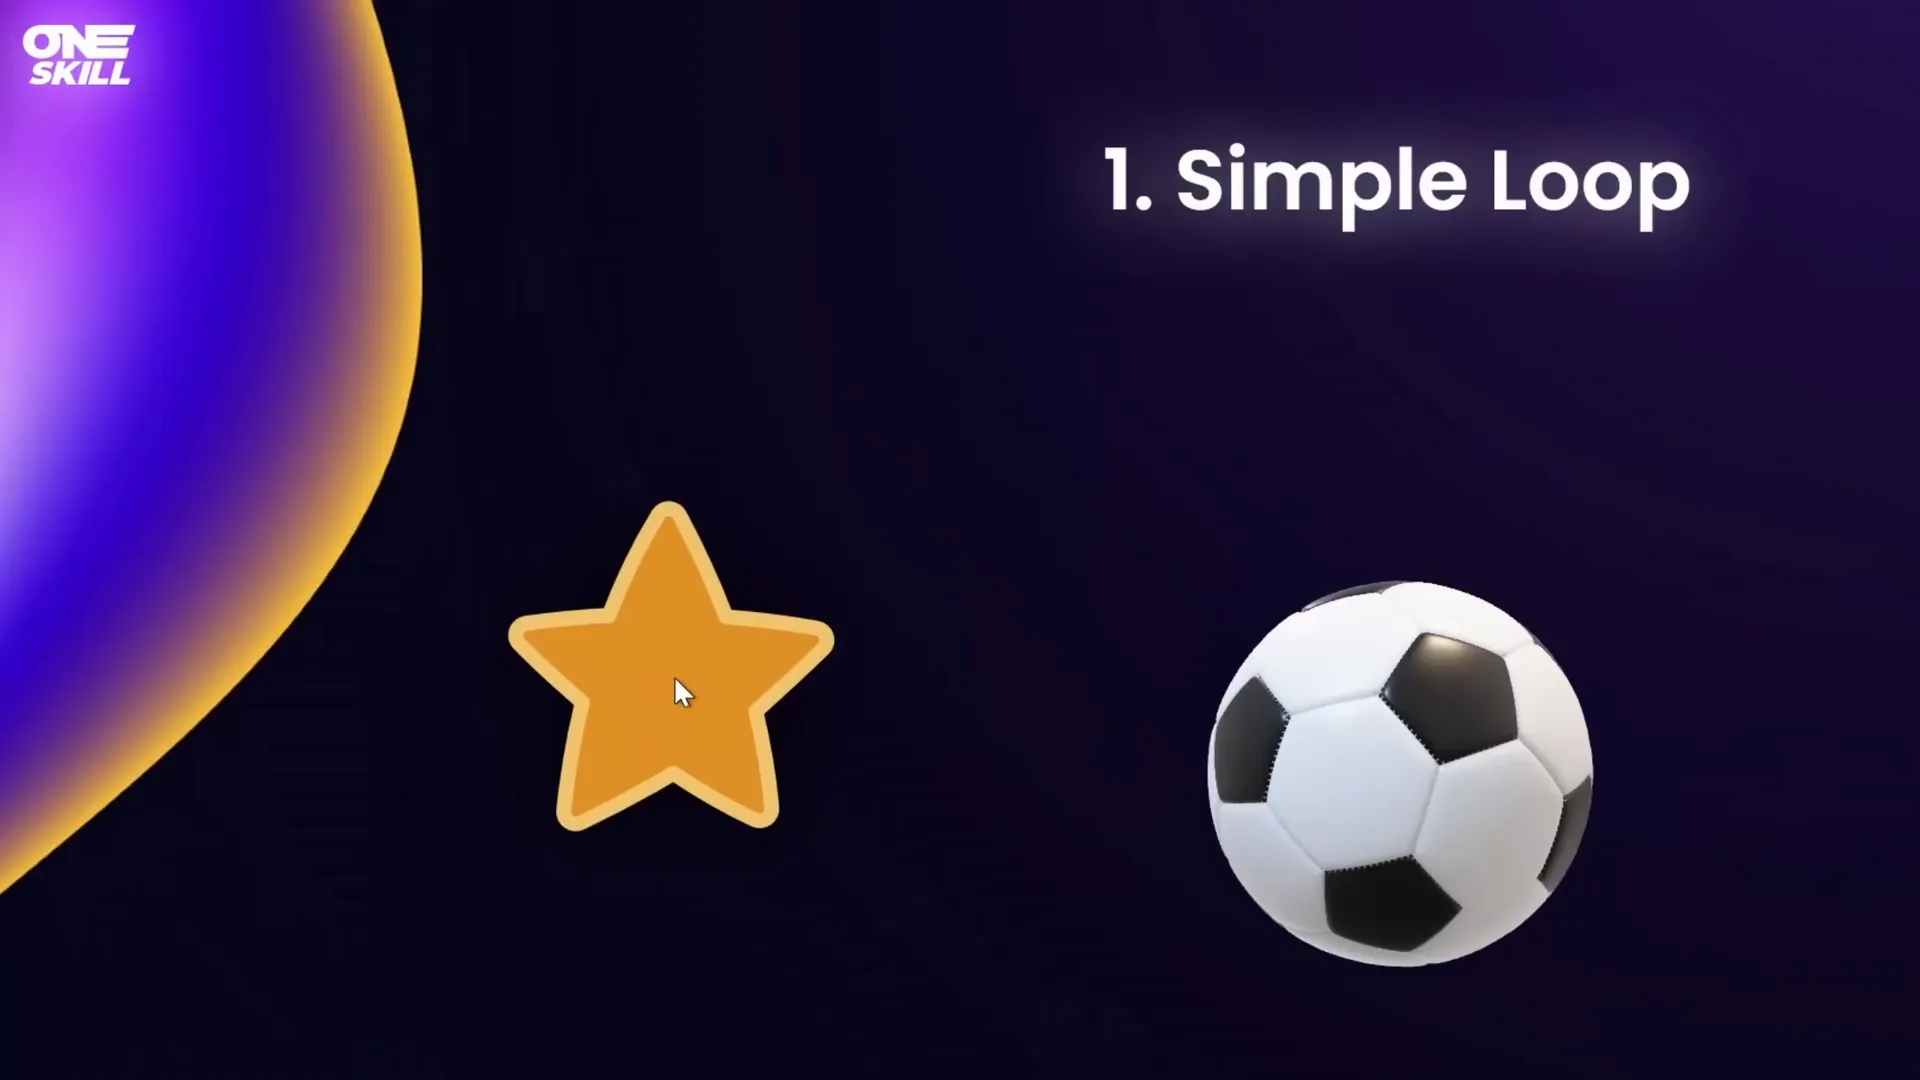
Table of Contents
- Simple Looping Animations
- Auto-Reverse Looping Animations
- Seamless Looping Animations
- Pause Looping Animations Using Audio Triggers
- Sequence Looping Animations
- Bonus: Creating Looping GIFs from PowerPoint Animations
- Frequently Asked Questions
- Conclusion
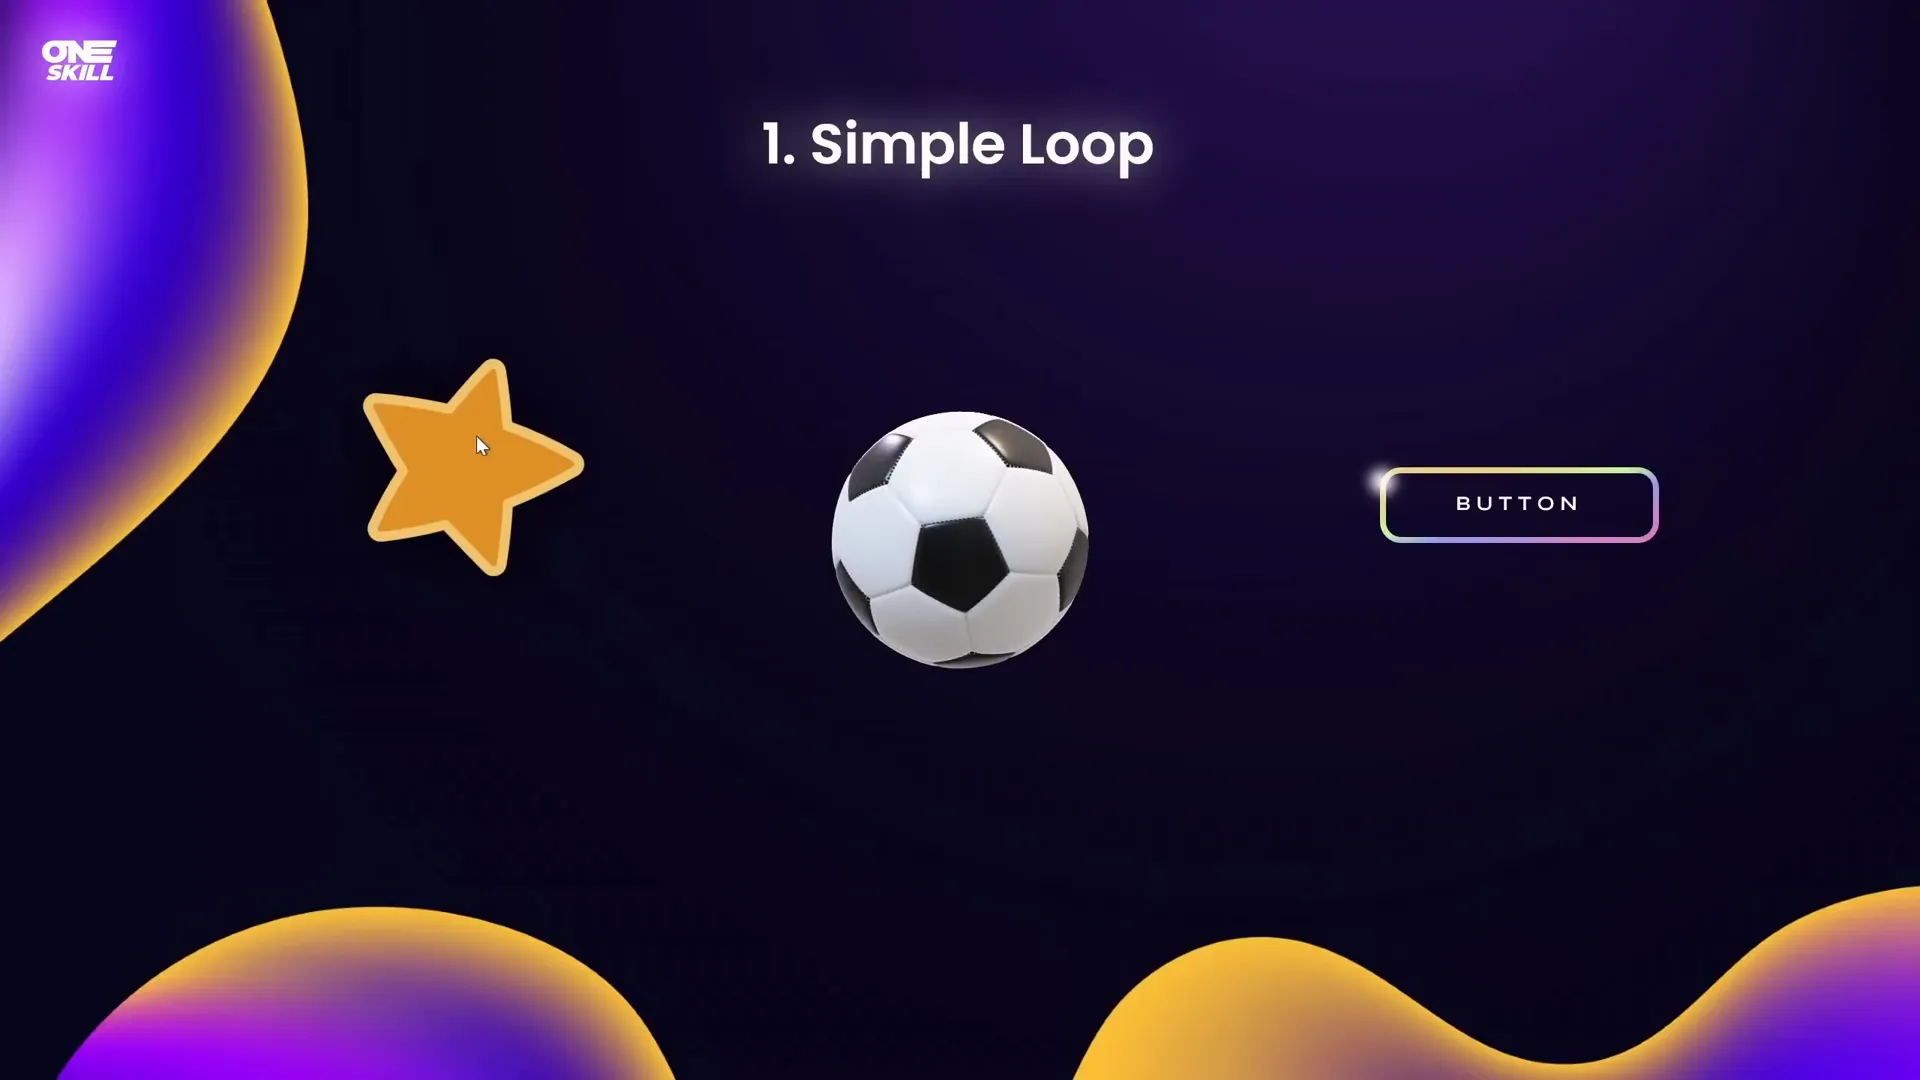
1. Simple Looping Animations
Simple looping animations are the foundation of looping effects in PowerPoint. These allow an animation to repeat indefinitely or until a specified event like the next click or end of the slide.
Examples of Simple Looping Animations
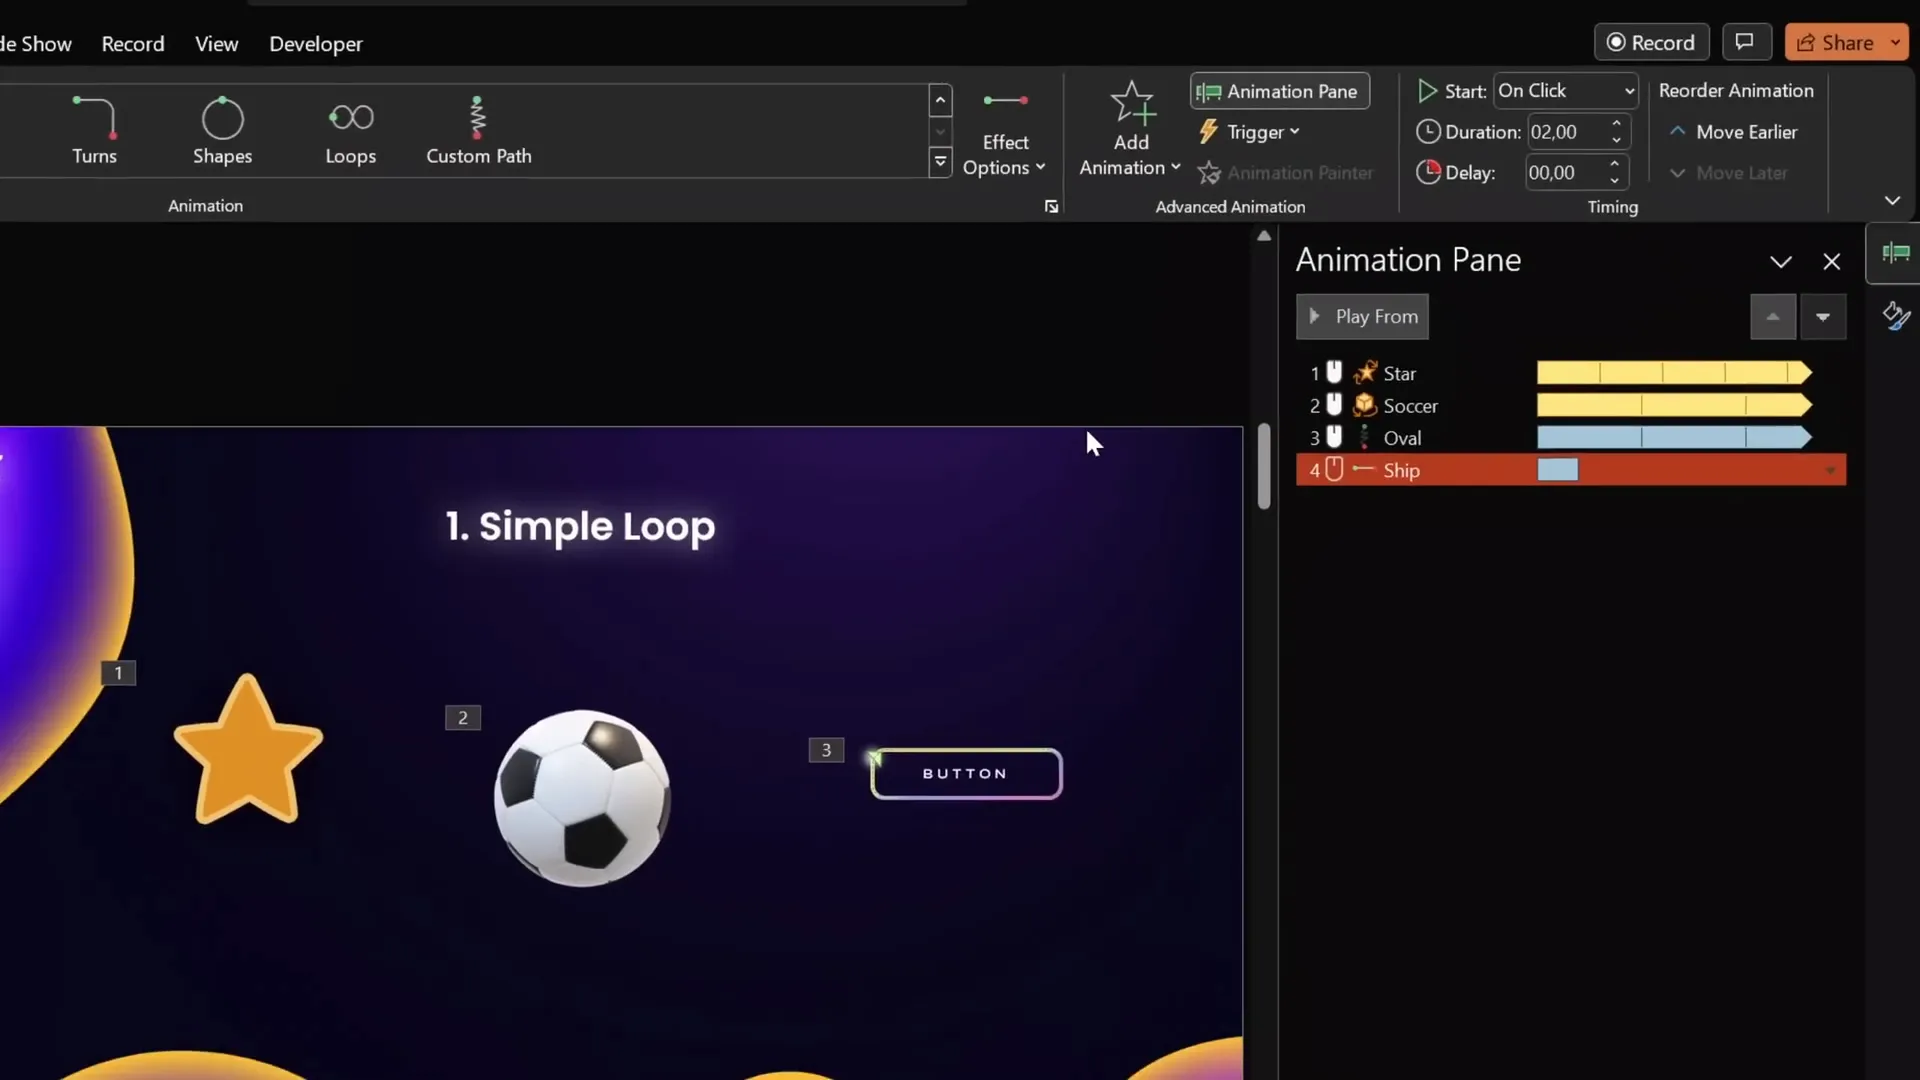
- A star spinning continuously.
- A 3D soccer ball rotating endlessly.
- A highlight effect moving around the edges of a rounded rectangle.
- A 3D ship moving from left to right repeatedly using a motion path.
- A slide title with a continuous text wave effect.
These animations add dynamic motion that captures attention without overwhelming the slide content.
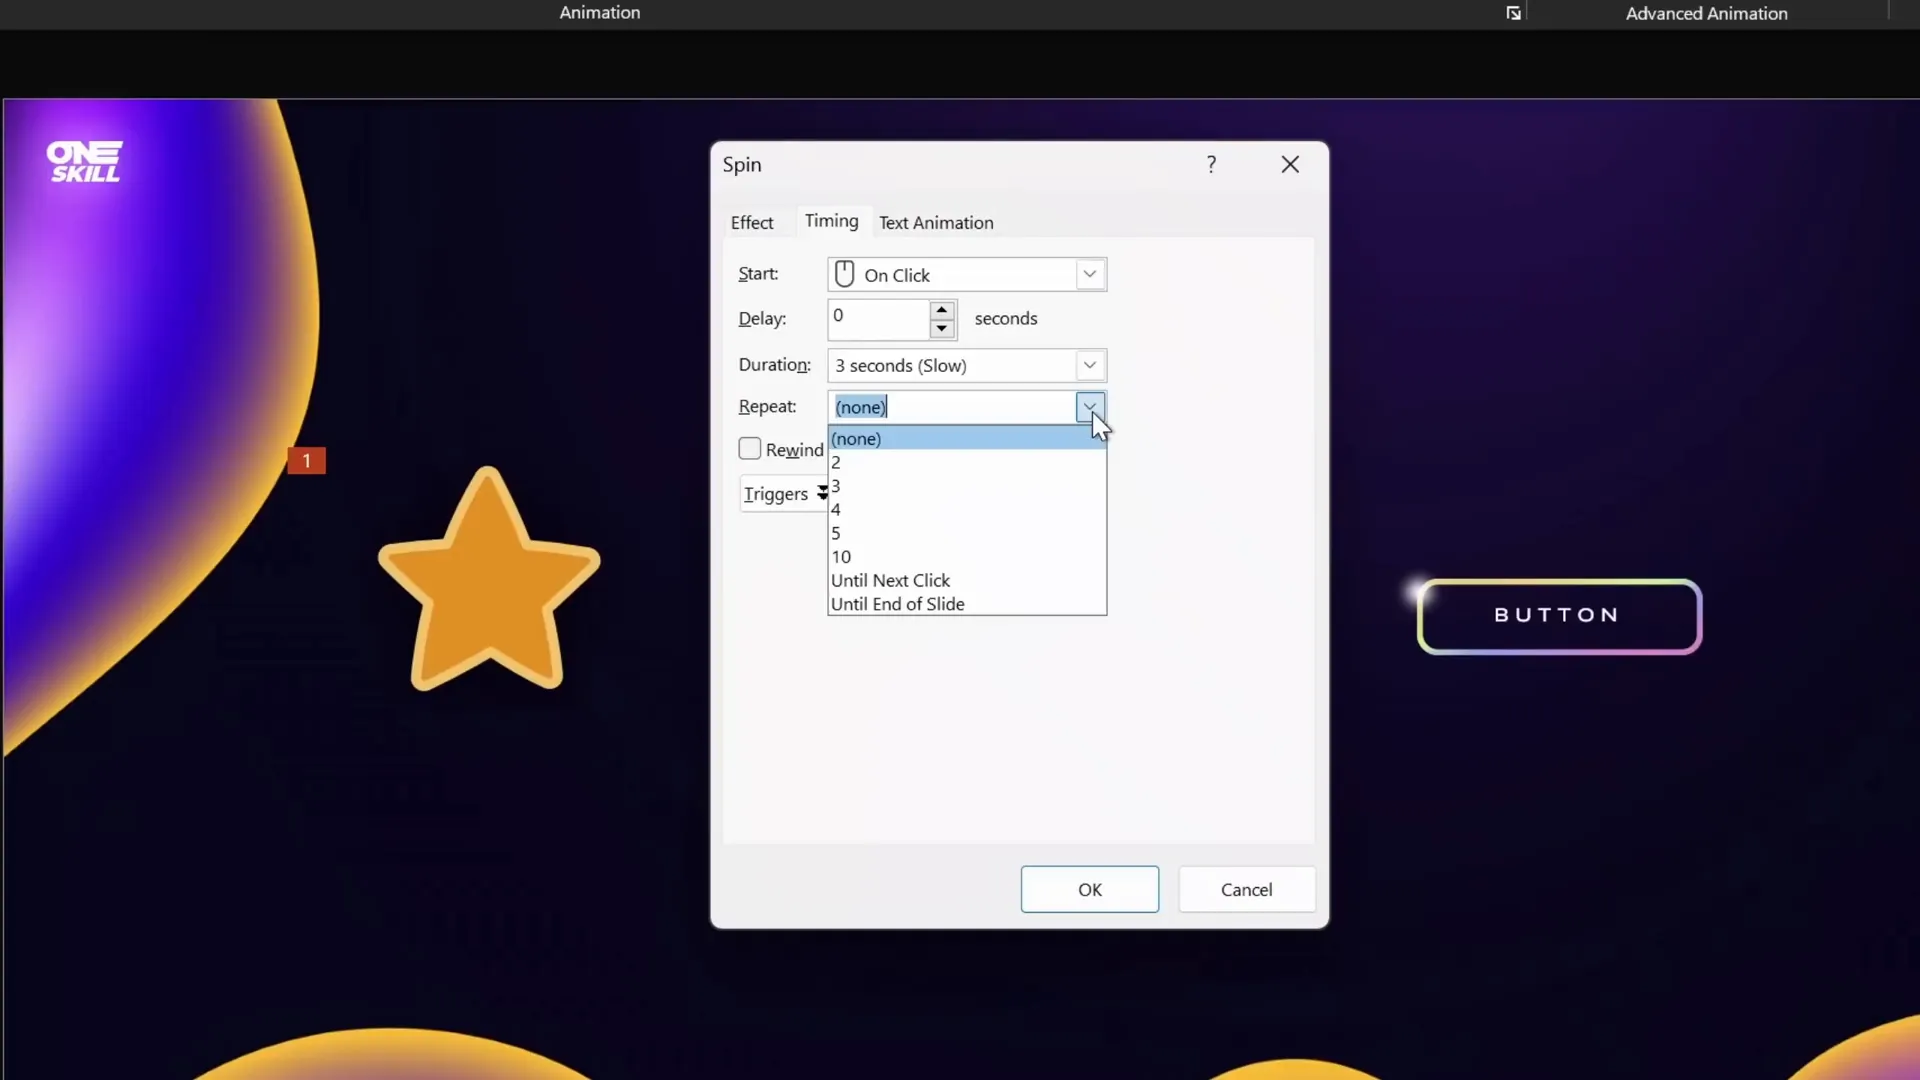
How to Create a Simple Loop Animation
- Select the object you want to animate (e.g., a star or shape).
- Go to the Animations tab and click Add Animation.
- Choose an animation type, such as Spin or Motion Path.
- Adjust the animation Start option to On Click or your preference.
- Set the Duration (e.g., 3 seconds for a smooth spin).
- Open the animation Effect Options to customize direction, amount, or path.
- Double-click the animation in the Animation Pane to open detailed properties.
- Under the Timing tab, find the Repeat dropdown and select Until End of Slide or specify number of repeats.
- Click OK and preview your looping animation in Slide Show mode.
Looping Until Next Click vs Until End of Slide
You can choose whether an animation repeats until the next click or until the slide ends. For example, setting spinning to repeat until the next click enables you to stop one animation and start another seamlessly, perfect for interactive slides like a wheel of fortune.
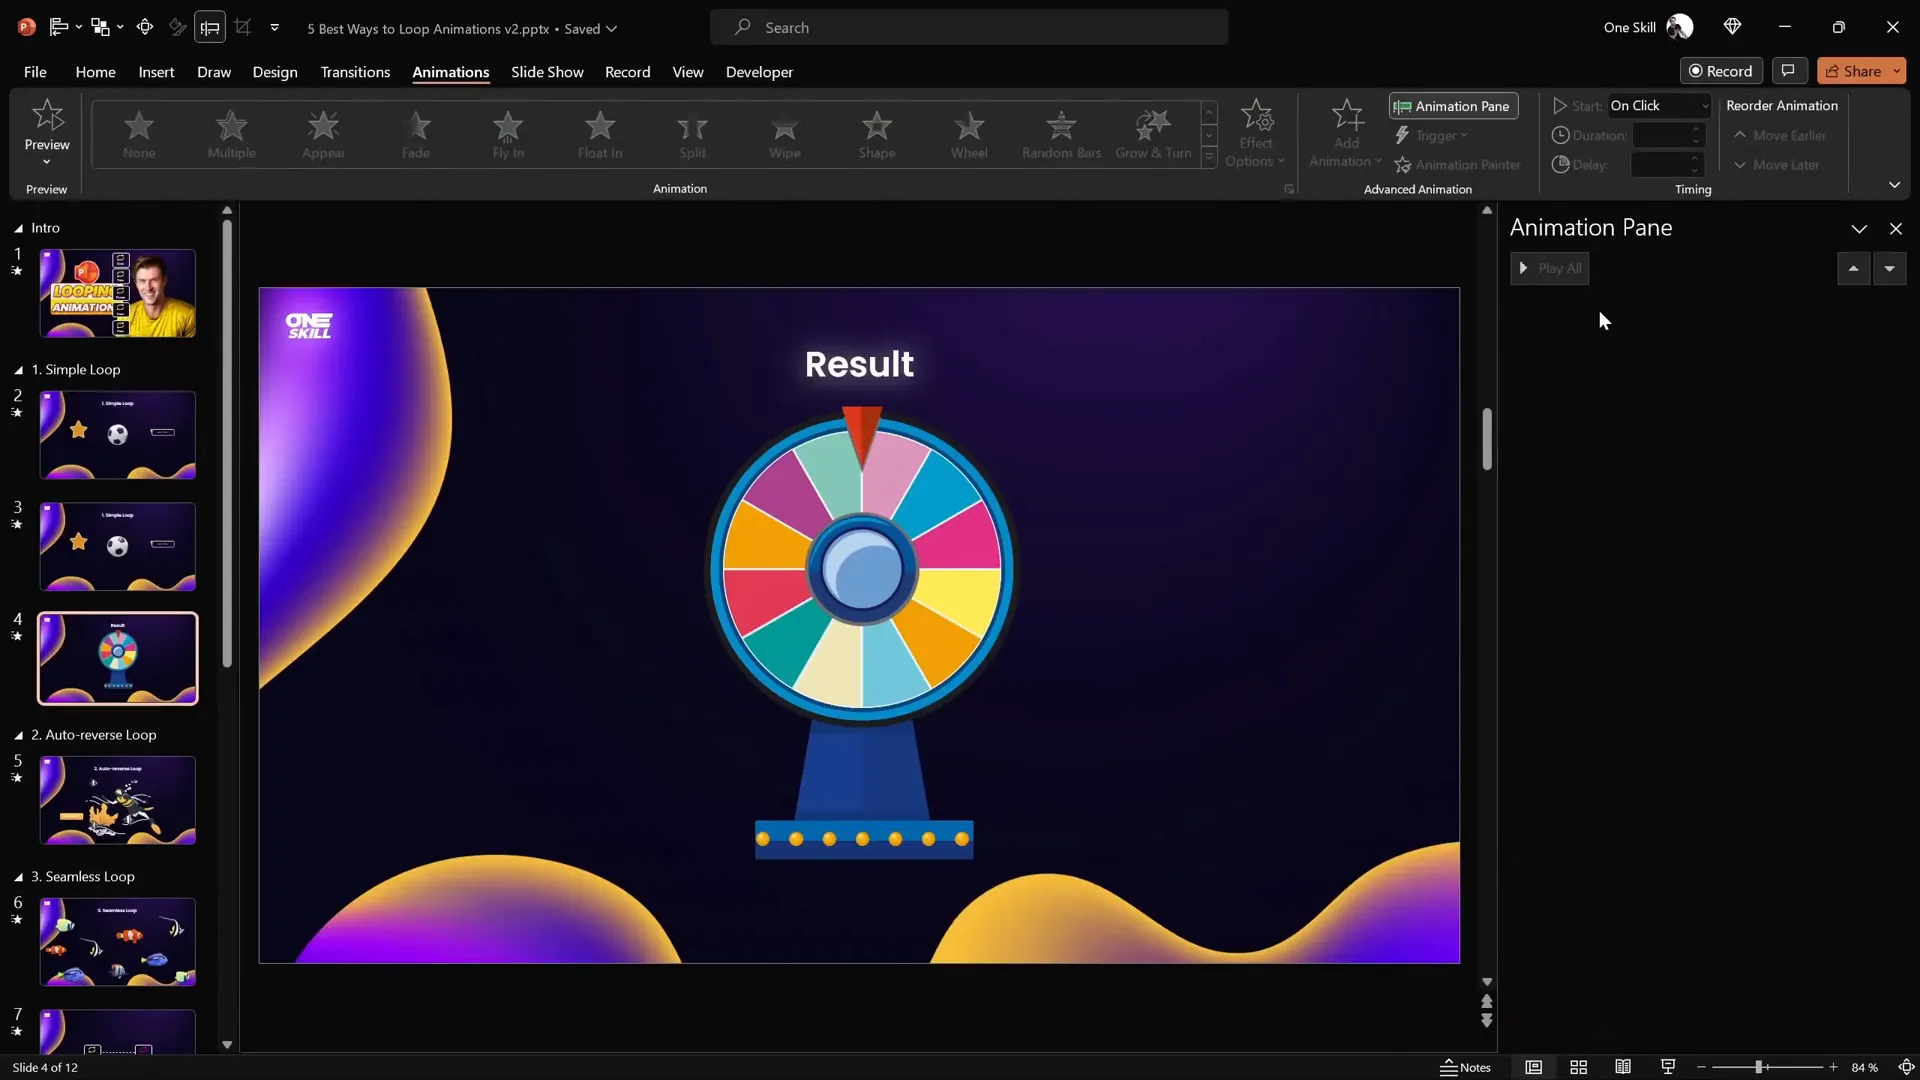
Creating a Wheel of Fortune Spin Animation
Here’s how to build a simple wheel of fortune animation:
- Insert a colorful wheel graphic (e.g., from freepik.com illustrations).
- Add a Spin animation to the wheel, set to start On Click and duration about 1 second.
- Set the spin animation to repeat Until Next Click.
- Add a Fade animation to a text box (e.g., “Result”) that appears after the wheel stops.
- Start the fade animation On Click, following the spin.
- Test by clicking once to spin, and again to stop and reveal the result.
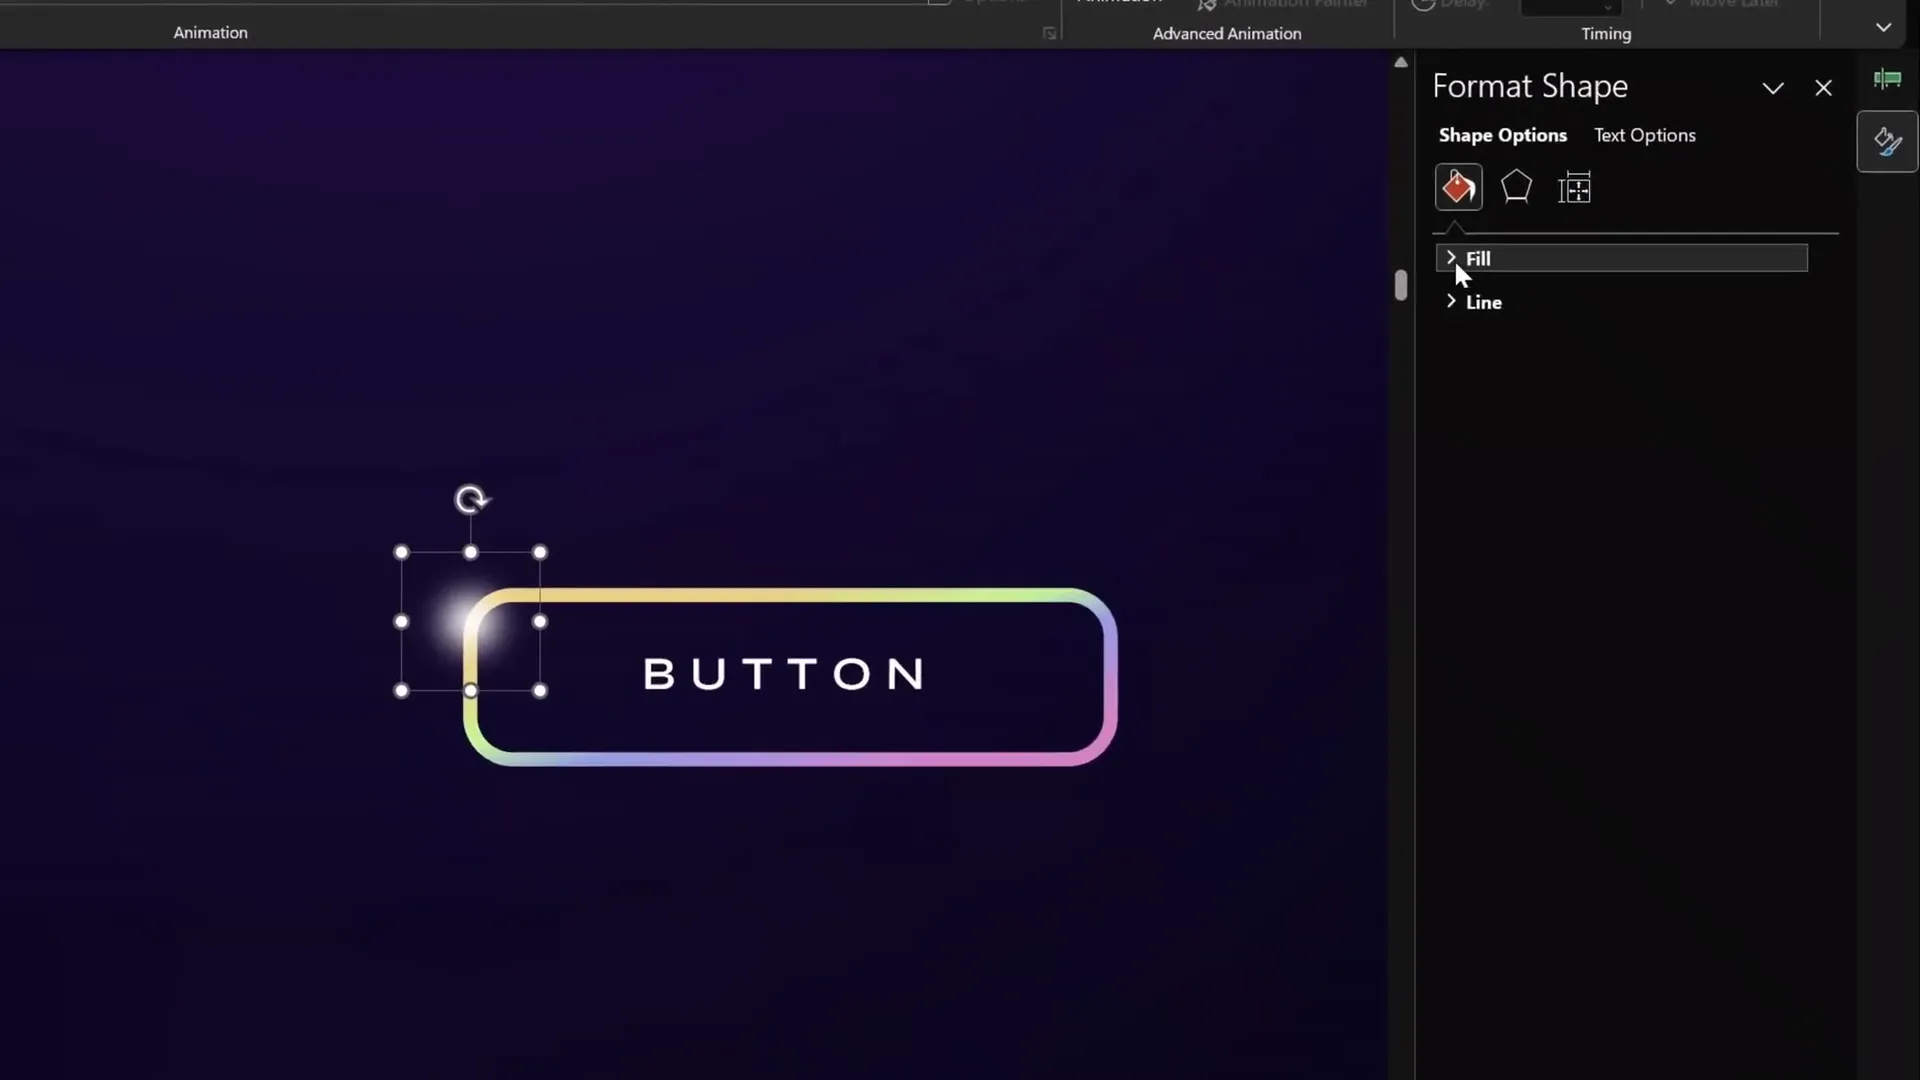
Custom Motion Path Looping
For effects like a highlight moving along a shape’s edges, use a custom motion path:
- Create a highlight shape (e.g., a soft-edged circle with radial gradient fill).
- Select it and add a Custom Motion Path animation.
- Click around the shape’s corners to create the path, closing the loop by connecting the end point to the start.
- Remove smooth start and end for sharp movement.
- Set timing to repeat Until End of Slide and set duration (e.g., 5 seconds).
Looping 3D Model Motion Paths
You can loop 3D models using motion path animations. For example, a 3D ship moving from left to right:
- Insert the 3D model and position it off-slide on the left.
- Add a motion path line animation with direction set to right.
- Extend the endpoint off-slide on the right.
- Remove smooth start/end and set repeat to Until End of Slide.
- Adjust duration for desired speed (e.g., 5-10 seconds).
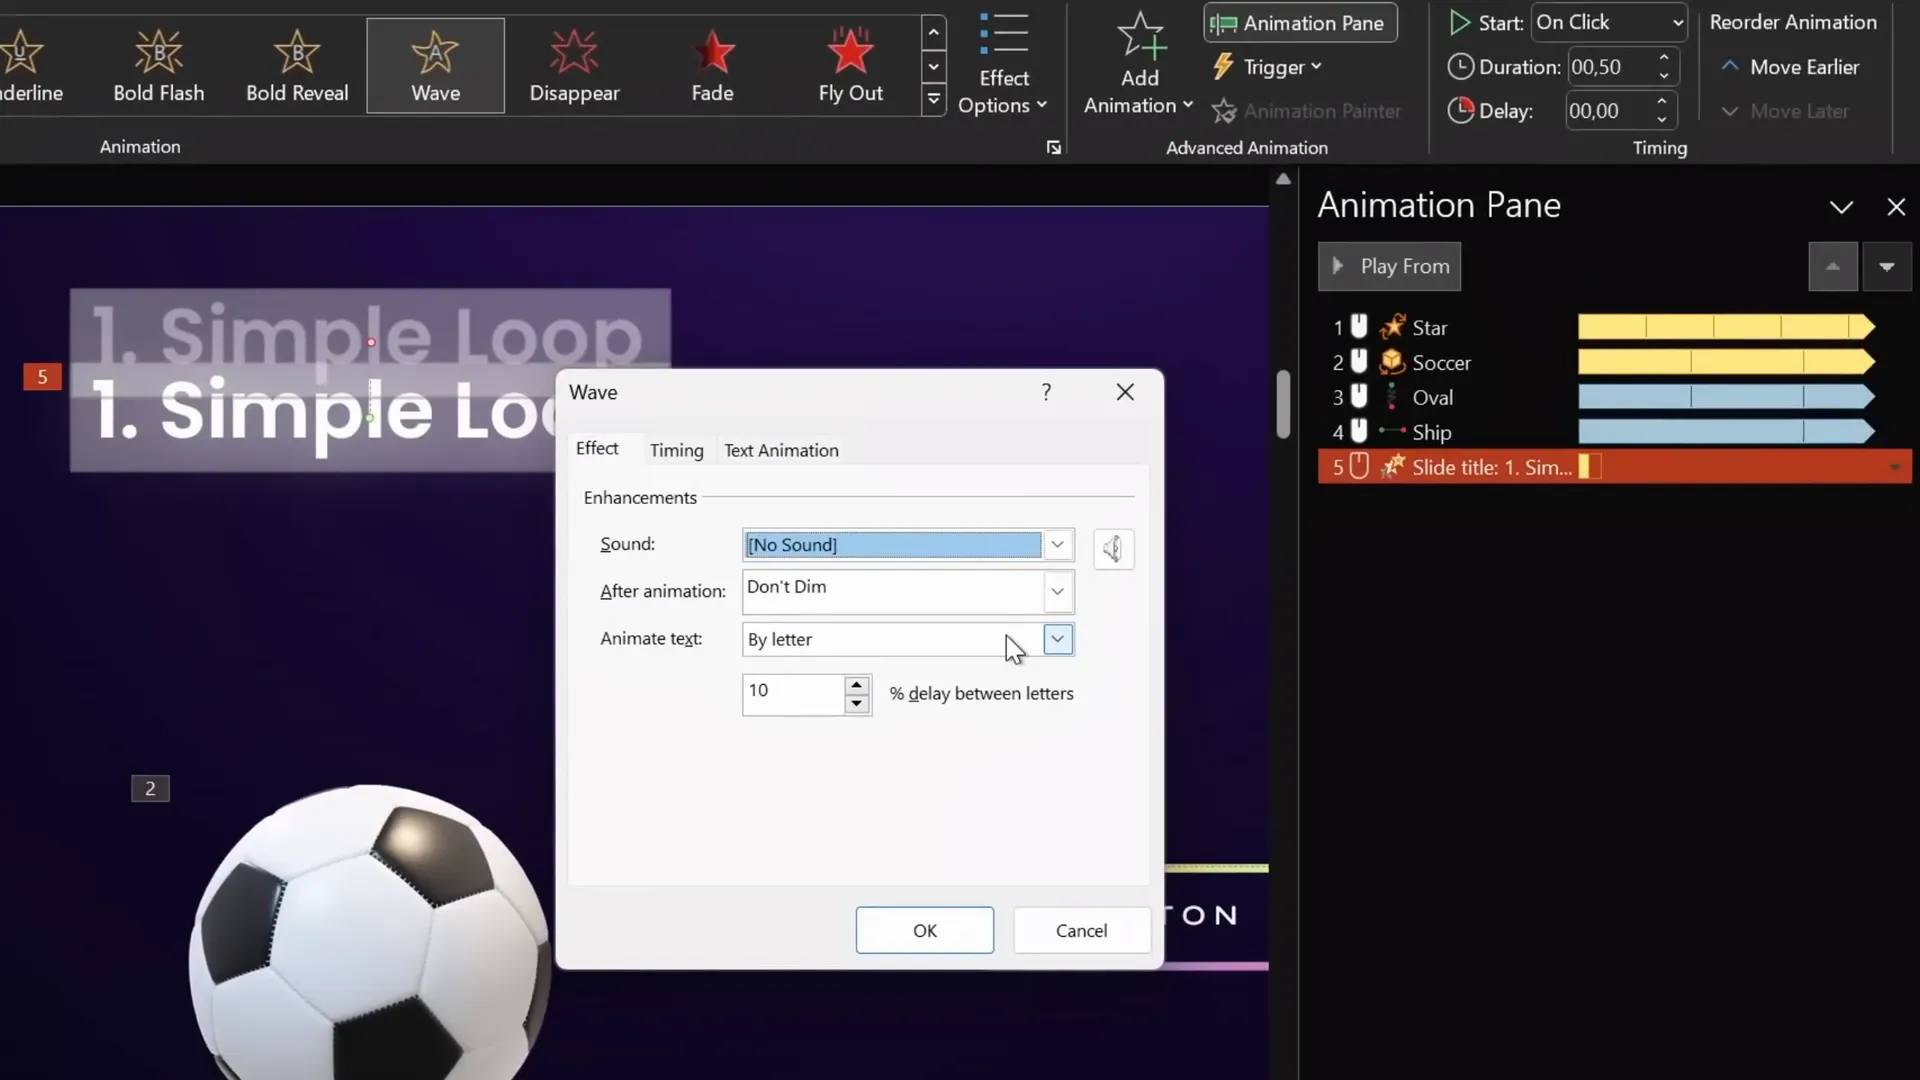
Looping Text Wave Animation
Apply a wave animation to text for a continuous wavy effect:
- Select the text box.
- Choose the Wave animation under Emphasis effects.
- Adjust the red endpoint bubble to control wave height.
- Set text animation to animate by letter with 10% delay.
- Set repeat to Until End of Slide.
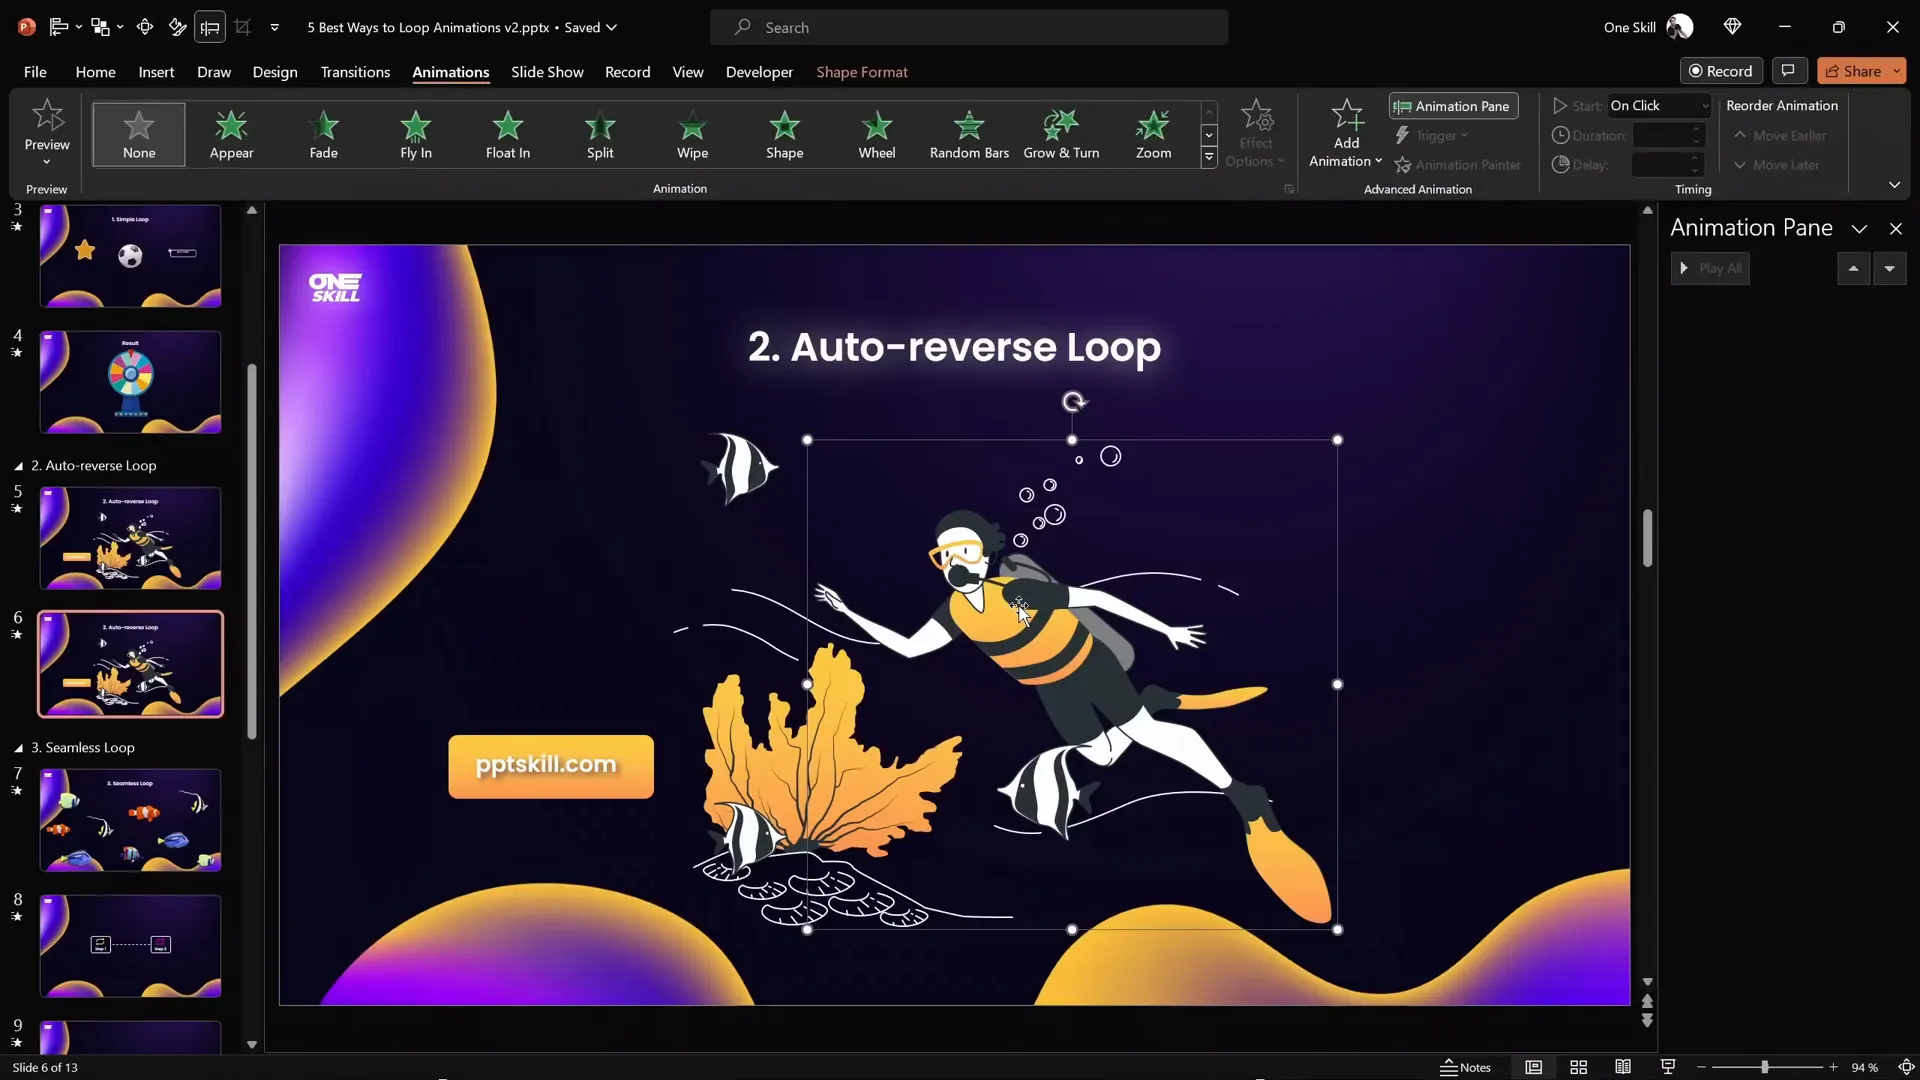
2. Auto-Reverse Looping Animations
Auto-reverse animations automatically play forward and then reverse, creating a smooth back-and-forth motion. This is ideal for simulating natural movements like a diver swimming up and down or fishes moving side to side.
Step-by-Step: Creating Auto-Reverse Animation
- Select the object (e.g., diver or fish).
- Add a motion path line animation (e.g., Up or Left).
- Adjust the endpoint bubble to set travel distance.
- Enable the Auto Reverse checkbox in animation options.
- Set repeat to Until End of Slide.
- Adjust duration to control speed.
Using Animation Painter for Efficiency
To save time, use the Animation Painter to copy animation settings from one object to another and then adjust motion paths individually.
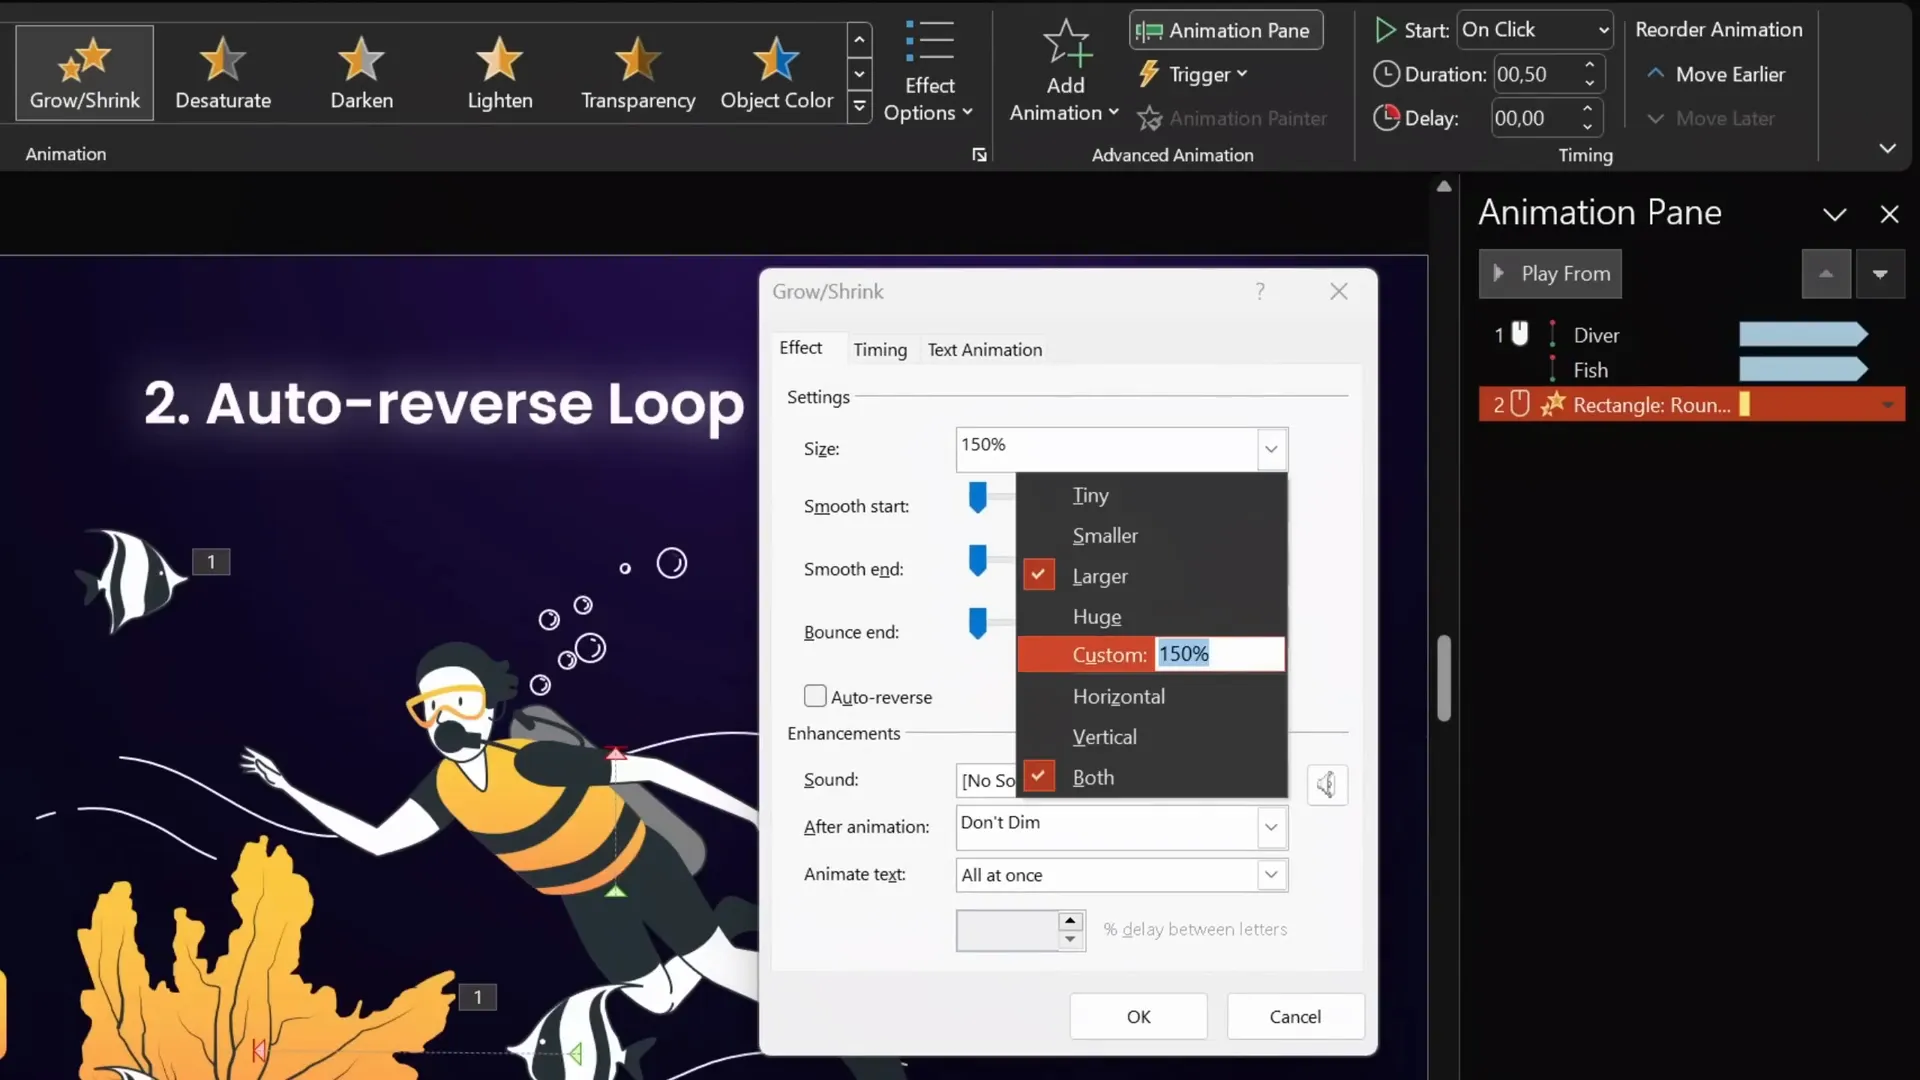
Creating a Pulsing Button Animation
To create a pulsing effect:
- Select the button.
- Add a Grow/Shrink animation.
- Set duration short (e.g., 0.5 seconds).
- Set growth percentage to a subtle value (e.g., 110%).
- Enable Auto Reverse and repeat Until End of Slide.
- Adjust duration to speed up or slow down pulsing.
3. Seamless Looping Animations
Seamless looping animations create the illusion of continuous movement, perfect for backgrounds or moving elements like swimming fishes or scrolling lines.
Creating a Seamless Loop with Grouped Objects
- Group all objects to be animated (e.g., fishes with background rectangles).
- Duplicate the group and place the copy adjacent to the original (e.g., left side).
- Change the duplicated group’s background color temporarily for differentiation.
- Group both groups into a larger group.
- Add a motion path line animation moving the entire group to the right.
- Adjust the endpoint so the duplicated group overlaps perfectly with the original.
- Set duration long enough for smooth movement (e.g., 10 seconds).
- Remove smooth start/end and set repeat Until End of Slide.
- Make the background rectangles invisible by setting fill to No Fill.

Seamless Looping for Moving Lines
You can apply the seamless loop technique to dotted lines or similar elements between sections:
- Create a dotted line between two boxes.
- Duplicate the line and offset it to the left.
- Align duplicated lines precisely using a vertical guide trick.
- Group both lines.
- Add a motion path line animation moving right.
- Set the endpoint to align with the second box’s center.
- Mask the ends with rectangles filled with slide background fill to hide overflow.
- Set repeat Until End of Slide and adjust duration for speed.

Seamless Looping Background Animation
Fill the slide with small dots or elements, group and duplicate them below the slide, then animate the group moving upward continuously to create an endlessly moving background effect.

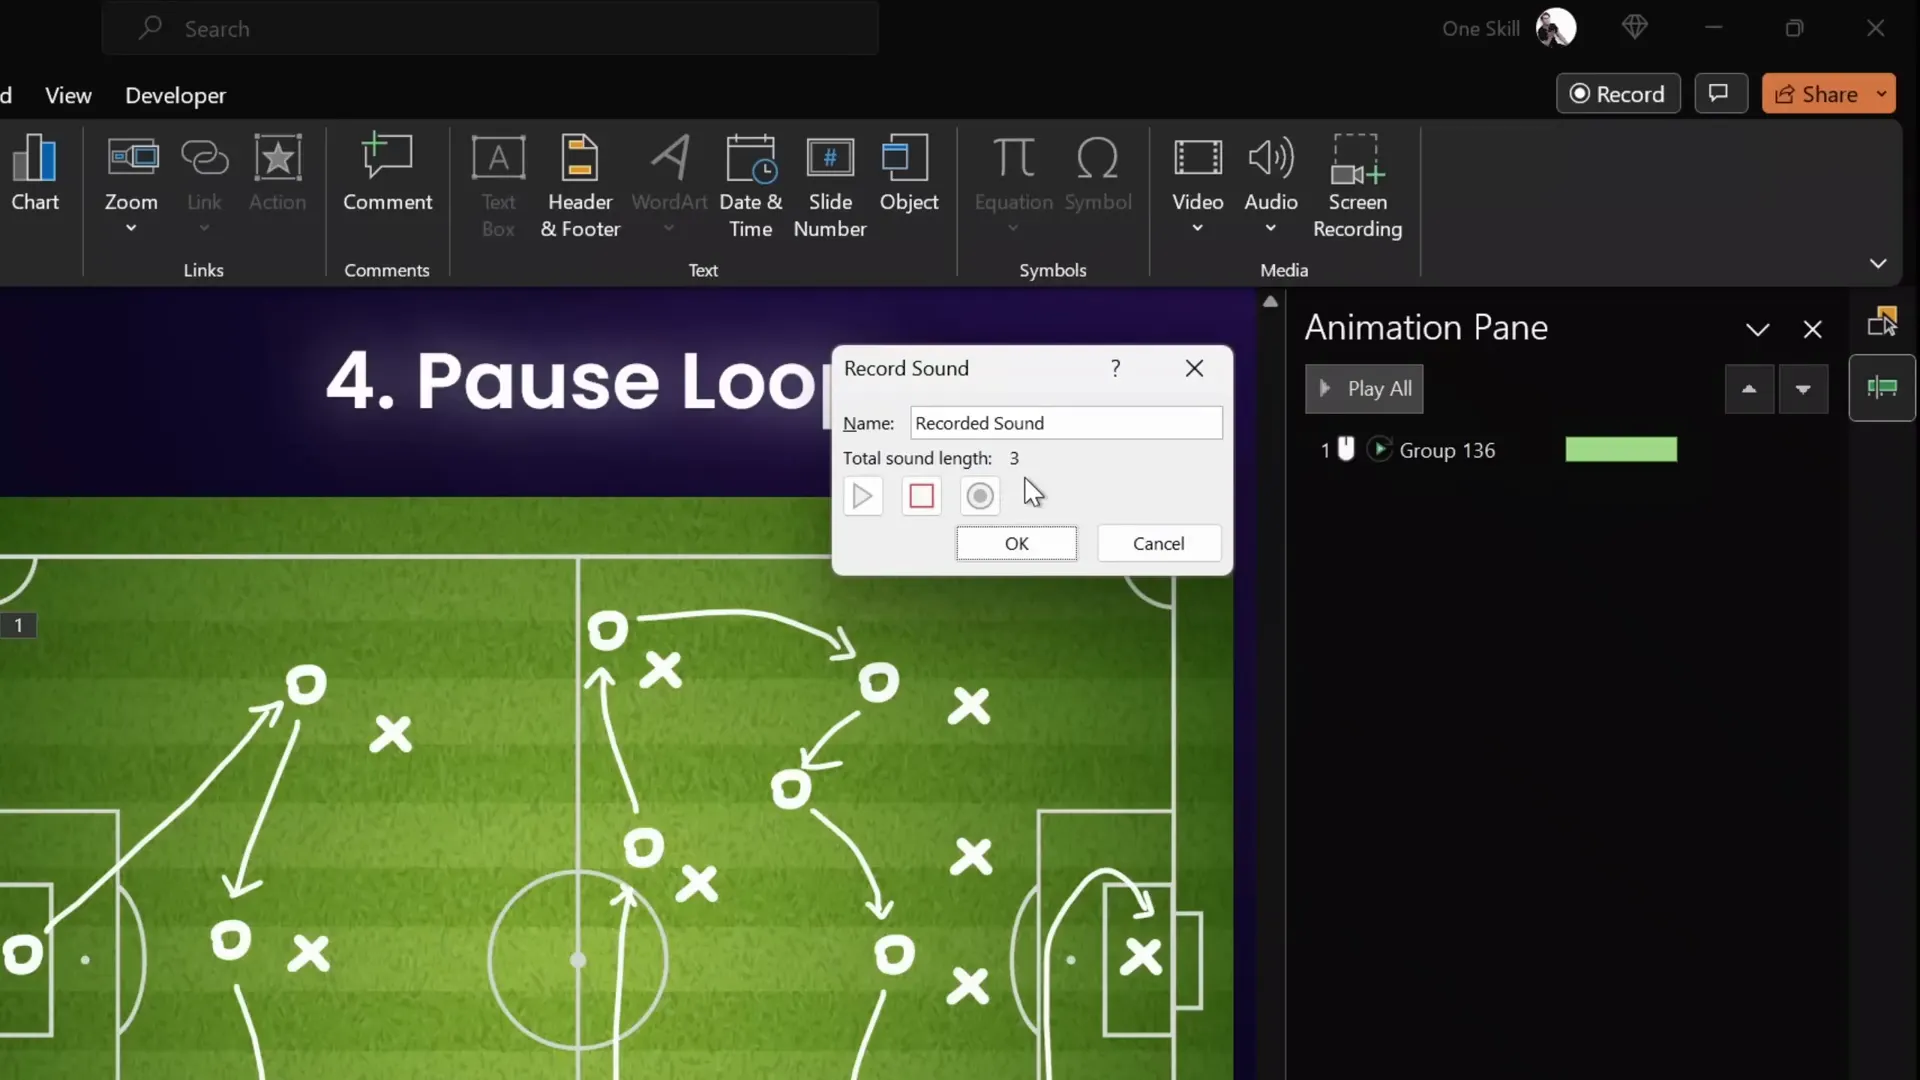
4. Pause Looping Animations Using Audio Triggers
Sometimes you want an animation to loop with a pause or hold at the end before restarting. PowerPoint doesn’t have a direct setting for this, but you can use an ingenious workaround with audio bookmarks and triggers.
How to Create a Pause Loop
- Apply your animation (e.g., replay animation of ink lines) and set duration.
- Remove any animation repetition.
- Record a silent audio clip slightly longer than your animation (e.g., 7 seconds for a 5-second animation).
- Add a bookmark at the start of the audio clip.
- Set audio to loop until stopped and hide the audio icon during the slideshow.
- Set your animation to trigger on the audio bookmark.
- When playing, the animation will loop each time the bookmark repeats, creating a pause between loops.
5. Sequence Looping Animations
Sequence looping involves looping a series of animations as a group, such as a camera flash with a photo flying out. Directly looping each animation causes timing issues, but using audio bookmarks and triggers solves this.
How to Create a Sequence Loop
- Set up your animation sequence (e.g., camera flash, photo appearance, photo flying out).
- Remove any existing repetition settings on individual animations.
- Record a silent audio clip slightly longer than the full animation sequence.
- Add a bookmark at the start of the audio clip and set it to loop until stopped.
- Trigger all animations to start on the audio bookmark.
- Adjust audio clip length to control pause between loops (trim as needed).
- Play slideshow and enjoy smooth, repeated animation sequences.

Bonus: Creating Looping GIFs from PowerPoint Animations
Did you know you can export your PowerPoint animations as looping GIFs? This is perfect for embedding animated elements in other documents or websites.
How to Create a Looping GIF from PowerPoint
- Insert your animated object, such as a sticker or icon (e.g., from Microsoft 365 stickers).
- Adjust the rotation center if needed by grouping with an invisible shape.
- Add your desired animation (e.g., spin with auto reverse).
- Ensure slide has No Transition for smooth GIF export.
- Go to File > Export > Create an Animated GIF.
- Select quality (Extra Large recommended) and transparent background if needed.
- Specify slide range and click Create GIF.
- Insert the resulting GIF back into PowerPoint or use externally.
Frequently Asked Questions about Powerpoint Animation Effects
Q1: How do I make an animation loop continuously in PowerPoint?
A: Select the animation in the Animation Pane, open its Effect Options, go to the Timing tab, and set the Repeat option to Until End of Slide or specify a number of repeats.
Q2: Can I make an animation loop but pause before restarting?
A: Yes! Use a silent audio clip with a bookmark and trigger your animation on that bookmark. The audio clip length controls the pause duration.
Q3: How do I create smooth back-and-forth motion?
A: Use a motion path animation with the Auto Reverse option enabled and set it to repeat for continuous auto-reversing motion.
Q4: Can I export PowerPoint animations as GIFs?
A: Yes, PowerPoint allows you to export slides as animated GIFs. Make sure to remove slide transitions for smooth GIFs.
Q5: How can I create a seamless looping background animation?
A: Group your elements, duplicate and position the copy adjacent to the original, then animate the group moving across the slide with precise alignment and no smooth start/end, repeating indefinitely.
Conclusion
Mastering Powerpoint Animation effects is an essential skill for creating engaging, professional presentations. Looping animations bring slides to life, hold your audience’s attention, and allow you to communicate ideas with creative flair.
From simple spins and waves to complex seamless loops and sequence loops triggered by audio, these techniques unlock endless possibilities. Whether you want a star spinning indefinitely, a ship sailing across your slide, or a pulsing button drawing attention, the power is in your hands.
Don’t hesitate to experiment with different animation types, durations, and triggers to find what best suits your presentation’s story and style. And remember, exporting animations as GIFs extends your creative reach beyond PowerPoint itself.
With these five best ways to create looping animations, you’re now equipped to become a true looping PowerPoint animation legend. Happy animating!
Check out the full video: BEST Ways to Create Looping Animations in PowerPoint! ✨ Step-by-Step


