
If you’ve ever wanted to create stunning PowerPoint Animation effects that truly captivate your audience, you’re in the right place. Today, I’m going to walk you through how to craft a breathtaking parallax animation right inside PowerPoint. This effect adds depth and movement to your slides by animating multiple layers of an image, giving your presentation a professional and dynamic feel.
Inspired by the incredible work of Dennis Snellenberg, this tutorial will guide you step-by-step on how to separate a photo into layers and animate them using PowerPoint’s morph transition. Whether you’re a beginner or an experienced PowerPoint user, this technique is accessible and will elevate your slide design to a whole new level.
Let’s dive into the world of Powerpoint Animation effects and unlock the secrets to creating parallax animations that wow every time!
Table of Contents
- What Is Parallax Animation and Why Use It?
- Choosing the Right Image for Your Parallax Animation
- How to Separate Your Photo into Layers
- Setting Up Your PowerPoint Slides
- Animating the Layers Using Morph Transition
- Hiding Layer Edges for a Seamless Look
- Blending Layers for Smooth Transitions
- Adding Text and Additional Details
- Creating a Zoom Effect for Extra Depth
- Final Checks and Pro Tips
- Frequently Asked Questions (FAQ)
What Is Parallax Animation and Why Use It?
Parallax animation is a visual effect where background and foreground images move at different speeds to create an illusion of depth and dimension. This technique is widely used in web design, gaming, and multimedia presentations to add a dynamic and immersive experience.
In PowerPoint, parallax animation effects can make your slides more engaging by simulating 3D motion without needing complex software. Instead of a flat, static image, you create multiple layers that shift subtly relative to each other, giving the viewer a sense of movement through the scene.
Benefits of Using Parallax Animation in PowerPoint:
- Increased Engagement: Adds visual interest that keeps your audience focused.
- Professional Appeal: Elevates the quality of your presentation, making it look polished and creative.
- Storytelling Enhancement: Emphasizes key elements by creating a sense of space and hierarchy.
- Versatility: Works well for landscapes, product showcases, infographics, and more.
Choosing the Right Image for Your Parallax Animation
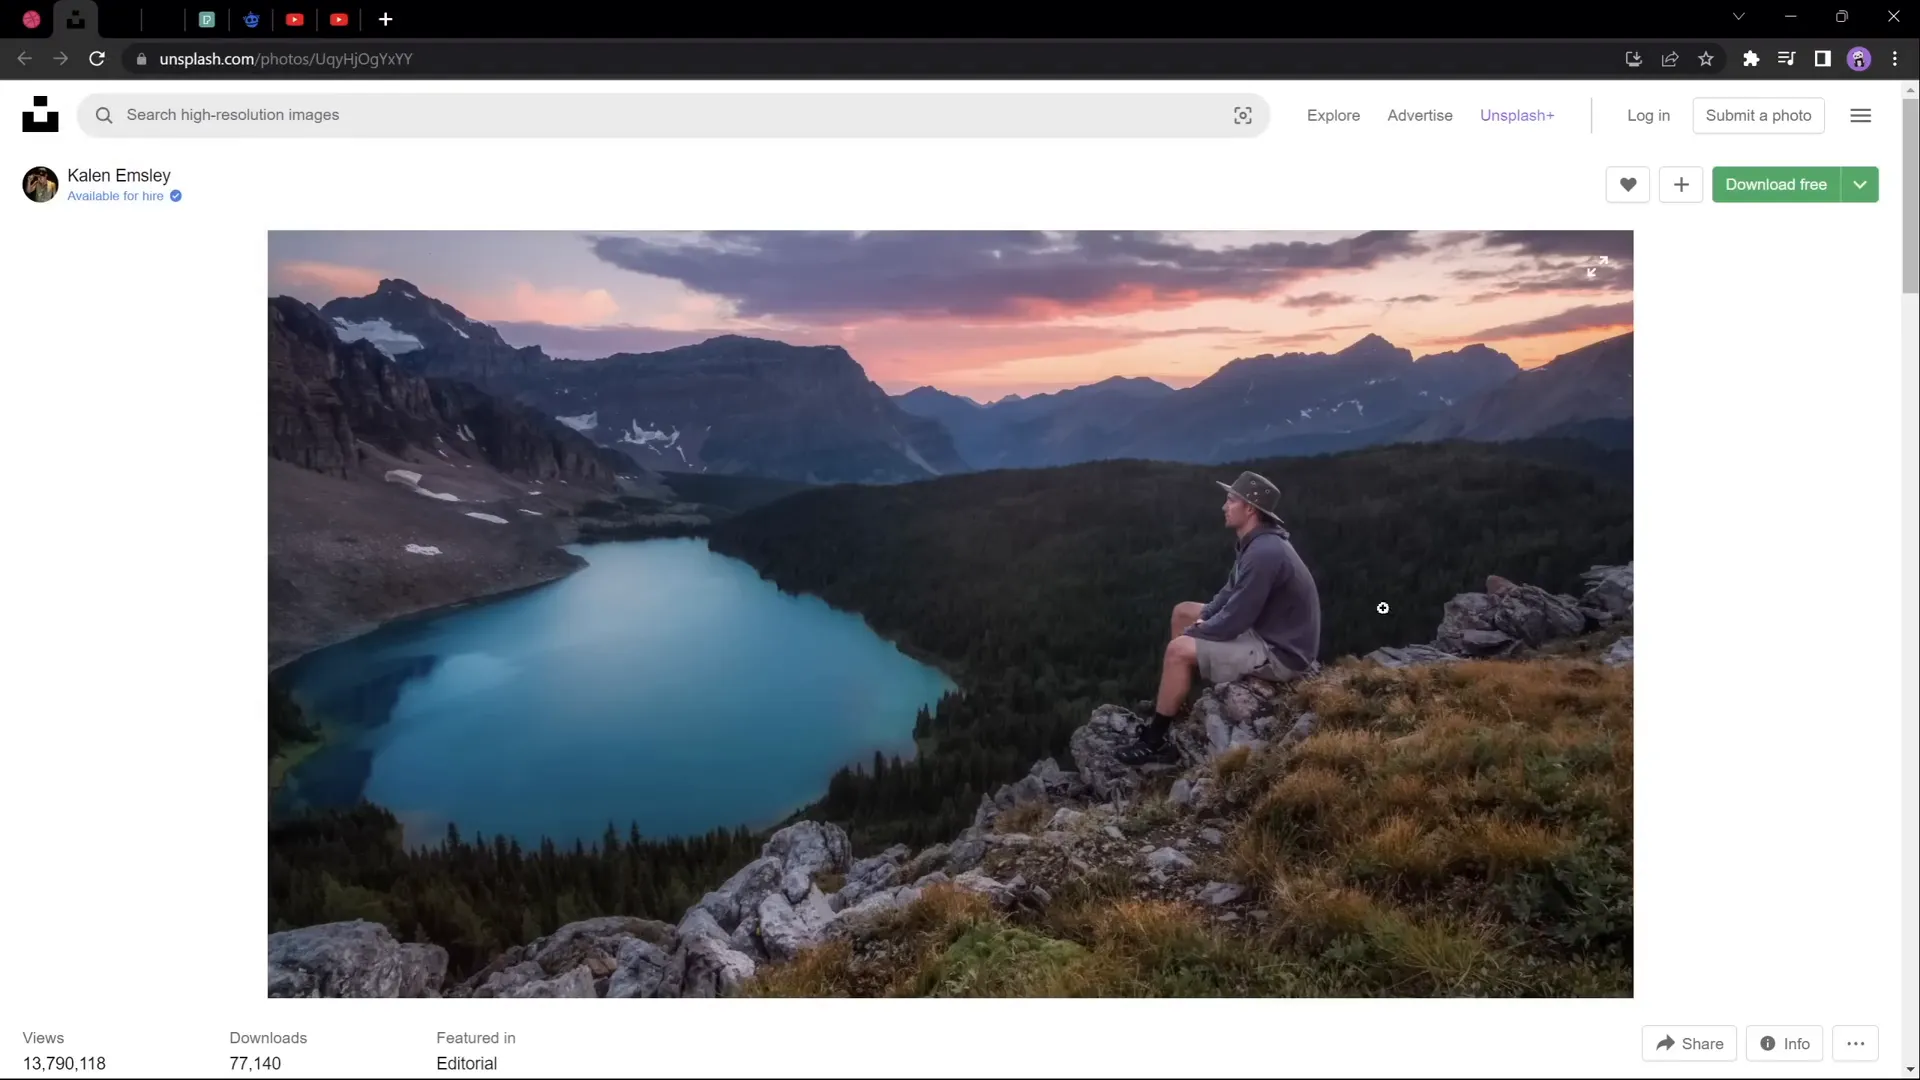
The foundation of a stunning parallax animation lies in selecting the perfect image. Not all photos are suitable for this effect, so it’s important to choose one that can be easily divided into multiple distinct layers.
What to Look For in an Image:
- Distinct Layers: Foreground, middle ground (such as mountains or trees), and background (like sky or distant hills).
- Clear Separation: Elements that can be isolated without complicated masking.
- High Resolution: Ensures your animation looks crisp and professional.
- Balanced Composition: A good spread of elements across the image to animate.
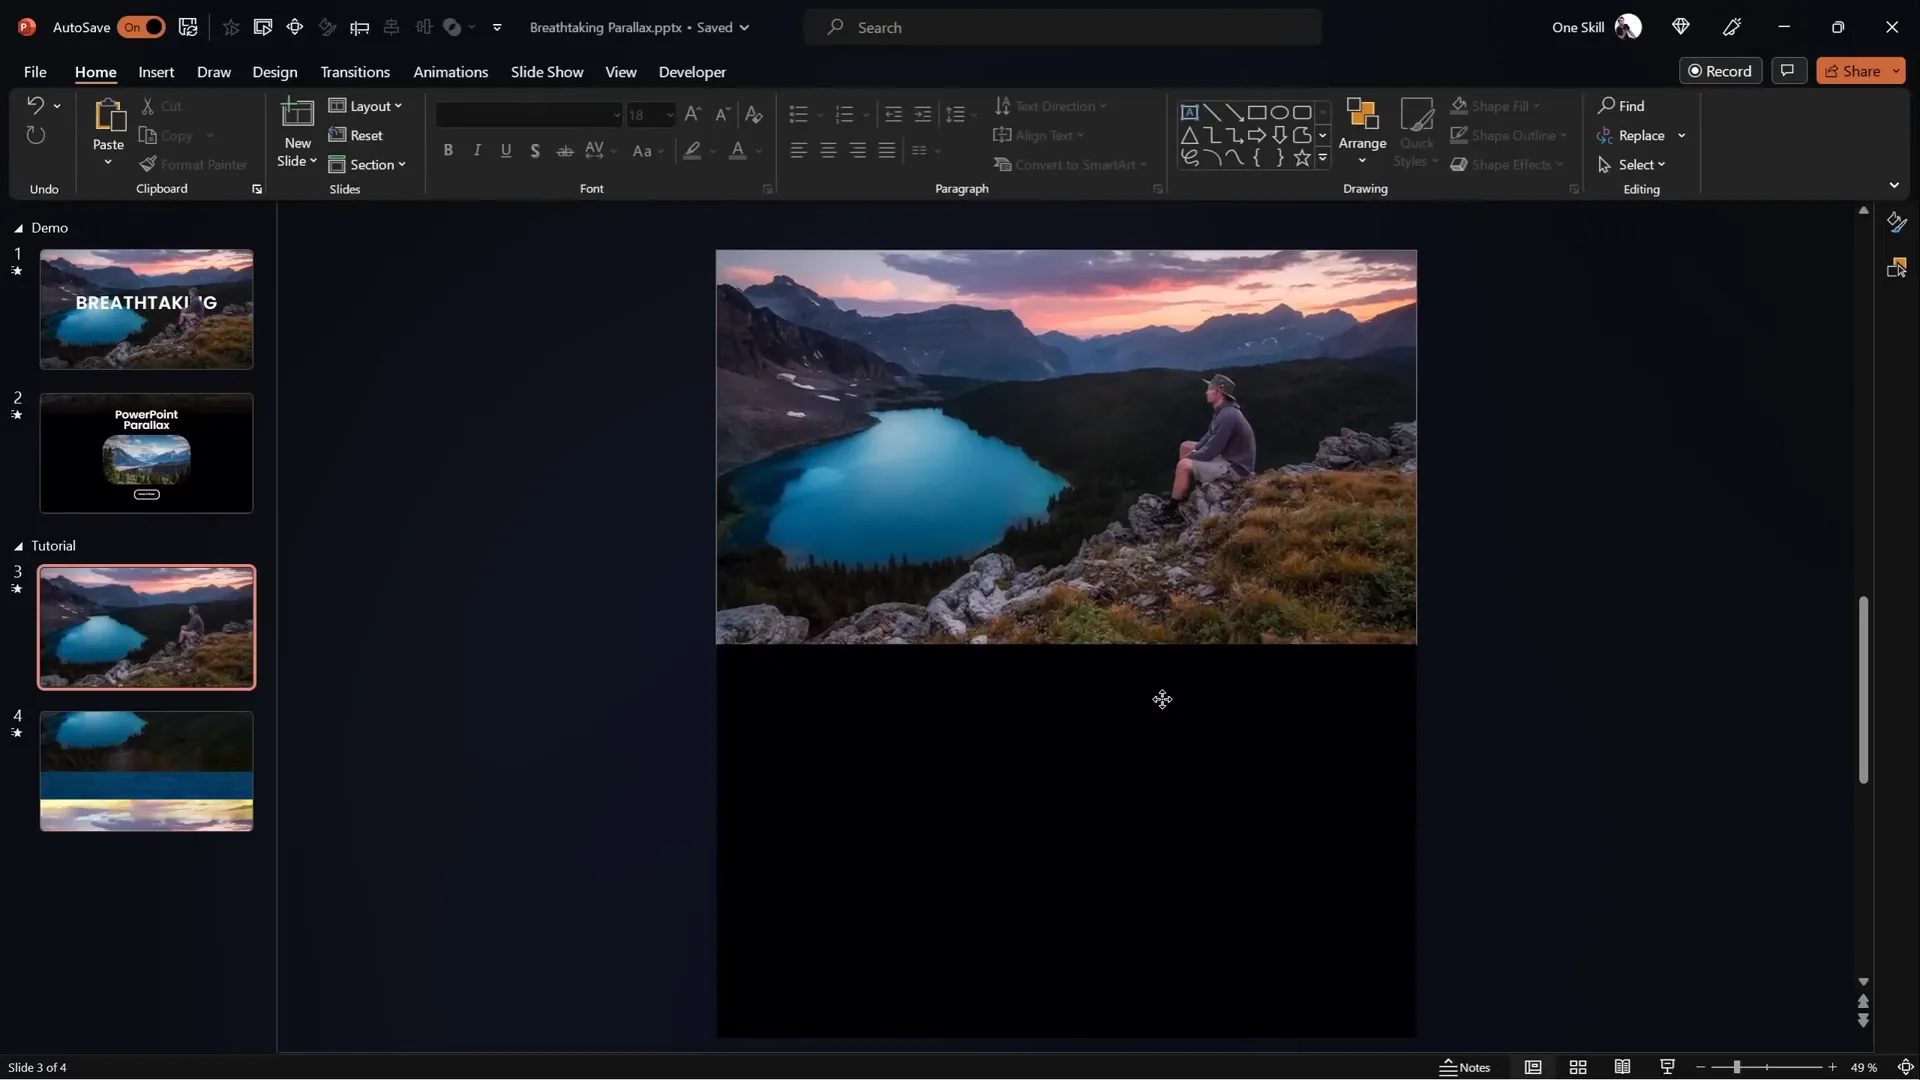
For this tutorial, I chose a beautiful photo featuring a hiker in the foreground, a forest and lake in the middle ground, a line of mountains behind, and a sky background. This layering naturally lends itself to the parallax effect.
Where to Find Suitable Images:
How to Separate Your Photo into Layers
Once you’ve selected your image, the next step is to separate it into multiple layers that can be animated independently. This process involves cutting out or masking different parts of the photo, such as the foreground, midground, and background.
Tools You Can Use:
- Photoshop: Industry standard for photo editing with powerful layer and masking tools.
- Affinity Photo: A cost-effective alternative to Photoshop with similar capabilities.
- Photopea: A free, online photo editor that works right in your browser.
If you’re new to separating photos into layers, I recommend starting with Photopea. It’s free and user-friendly, plus there are many tutorials available online to help you master the basics.
Step-by-Step Overview for Layer Separation:
- Open your image in the photo editor.
- Use selection tools (Lasso, Pen, or Magic Wand) to isolate the foreground element (e.g., the hiker).
- Copy and paste this selection into a new layer.
- Repeat the process for the midground elements such as trees or mountains.
- Leave the sky or background as the bottom layer.
- Ensure each layer has a transparent background so it can be moved independently later.
- Export each layer as a separate PNG file with transparency preserved.
Setting Up Your PowerPoint Slides
With your layers ready, it’s time to bring them into PowerPoint and arrange them for animation. Here’s how to set up your slides effectively:
1. Import Layers Into PowerPoint
Insert each PNG layer onto a single slide. You should have separate images for the foreground, midground, and background layers.
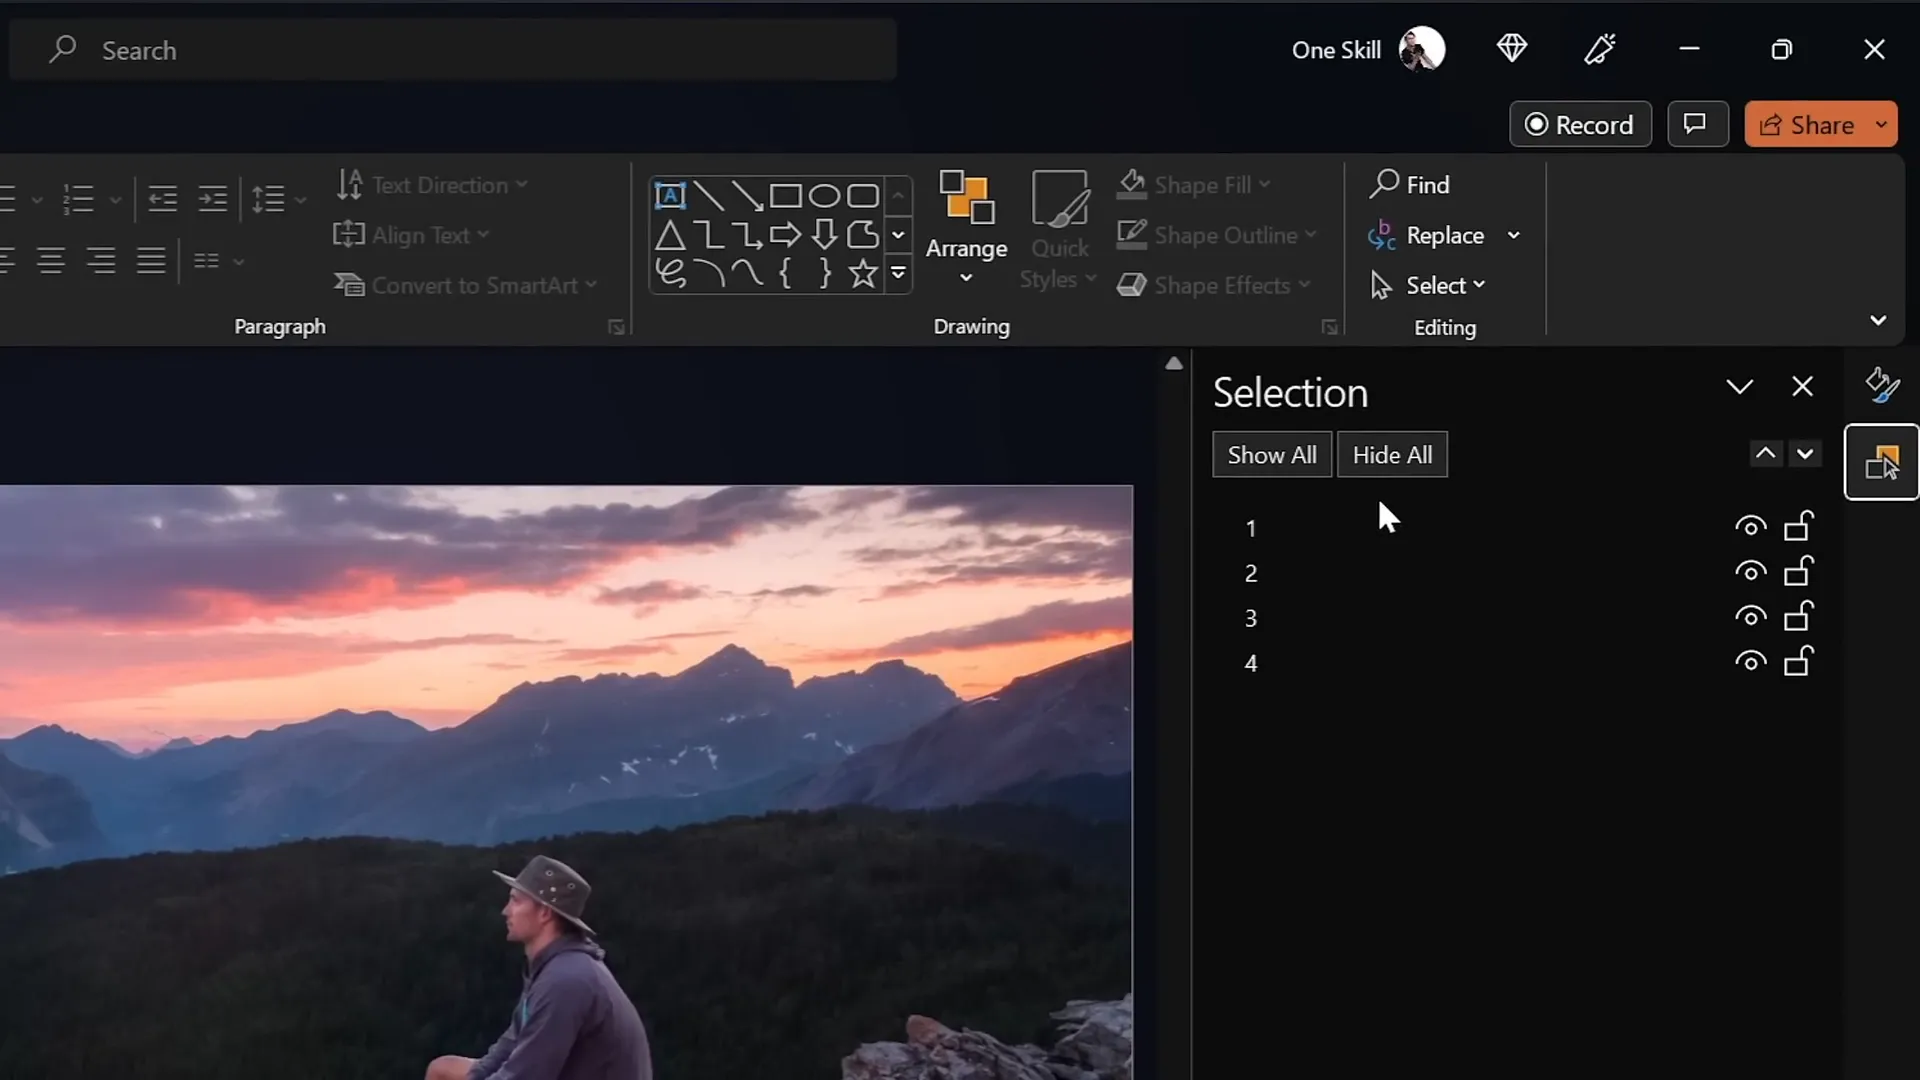
2. Organize Layers in the Selection Pane
Open the Selection Pane (Home > Arrange > Selection Pane) to view and name your layers clearly. This helps keep your workspace organized.
For example, you can name them as follows:
| Layer Name | Description |
|---|---|
| Layer 1: Foreground (Hiker) | The closest element to the viewer that will move the most. |
| Layer 2: Forest and Lake | Midground element. |
| Layer 3: Mountains | Distant background element. |
| Layer 4: Sky | Farthest background. |
3. Duplicate the Slide
Duplicate the slide so you have two copies. The first slide will be your starting point, and the second slide will be your ending point for the animation.
Animating the Layers Using Morph Transition
PowerPoint’s morph transition is a powerful tool that smoothly animates objects between two slides by detecting their position, size, and rotation changes. It’s perfect for creating parallax effects.
Step-by-Step Morph Animation Setup:
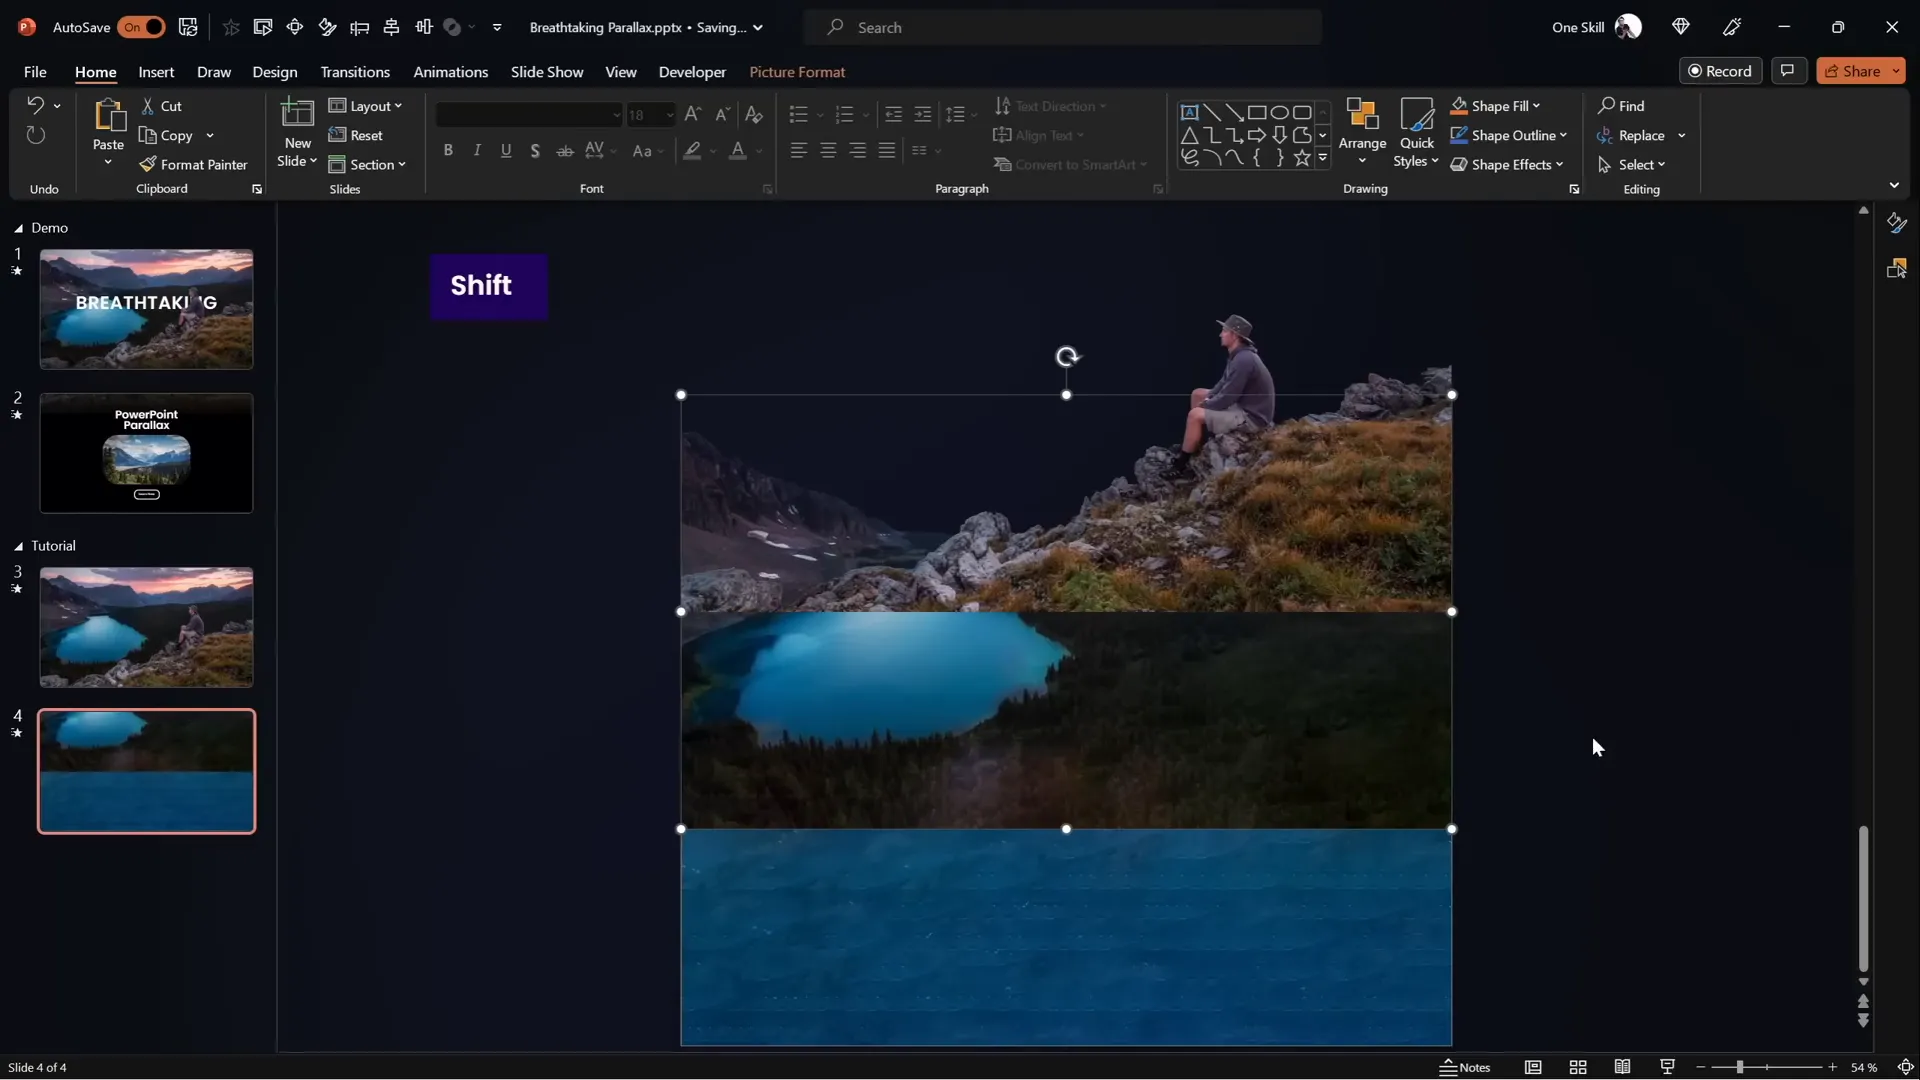
- On the Second Slide: Move each layer upward by different amounts to simulate depth. The foreground should move the most, the midground less, and the background the least.
- For example:
- Layer 1 (Foreground): Move all the way up so the bottom touches the top of the slide.
- Layer 2 (Midground): Move halfway up.
- Layer 3 (Mountains): Move up about 25% of the slide height.
- Layer 4 (Sky): Keep mostly static or move slightly.
- Apply Morph Transition: Select the second slide, go to Transitions tab, and choose Morph.
- Set the duration to 3 seconds for a smooth effect.
- Test the Animation: Start the slideshow and watch the layers move at different speeds, creating the parallax effect.
If your version of PowerPoint does not support the morph transition, you can achieve similar effects using motion path animations. There are plenty of tutorials available that demonstrate how to animate layers with motion paths.
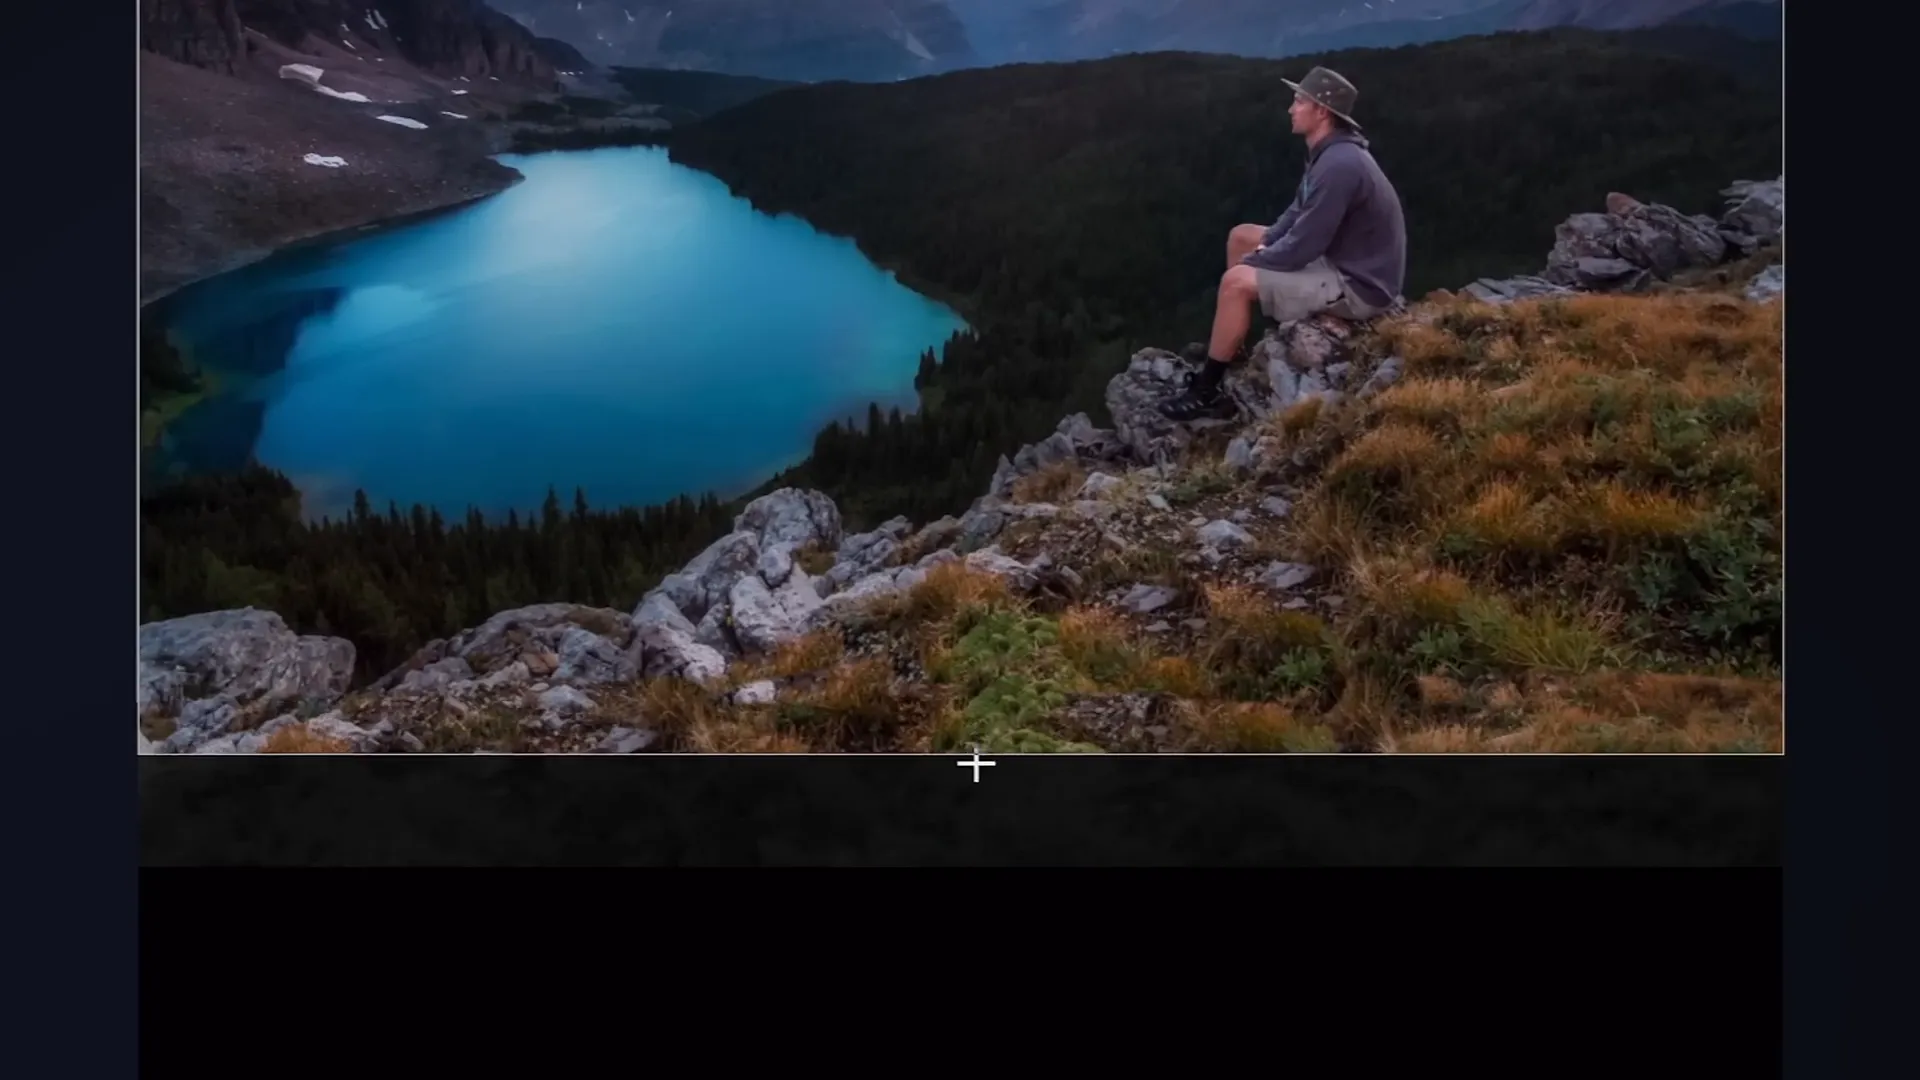
Hiding Layer Edges for a Seamless Look
When you animate layers upward, the edges of the images may become visible, ruining the illusion. To fix this, you can use a full-screen rectangle to mask those edges and create a clean, professional finish.
How to Add the Mask:
- On the first slide, insert a rectangle that covers the entire slide.
- Set the fill color to solid black and remove any outline.
- Position the rectangle so its top aligns with the bottom of the slide window (off-screen), hiding the bottom edges of the layers.
- Copy the rectangle and paste it onto the second slide.
- On the second slide, position the rectangle so it covers the entire slide, masking all layer edges.
Testing the animation again will show a much cleaner parallax effect with no visible edges.

Blending Layers for Smooth Transitions
To improve the transition between the foreground layer and the black rectangle mask, you can blend the bottom of the foreground layer with a gradient on the rectangle. This makes the transition less abrupt and more natural.
Steps to Blend the Foreground Layer:
- Select the foreground layer on the first slide.
- Go to Picture Format > Crop, and extend the crop area slightly downward to reveal some transparent background.
- Select the black rectangle and apply a gradient fill with two color stops:
- Both stops are black, but one stop is fully transparent (100% transparency).
- Position the black stop at about 30% to create a smooth fade from black to transparent.
- Adjust the rectangle’s height to improve the gradient blend.
- Select both the foreground layer and the gradient rectangle, then group them together.
- Replace the old foreground layer and rectangle with this new group on the second slide.
This technique creates a seamless blend from the foreground into the black background, enhancing the overall visual flow of the animation.
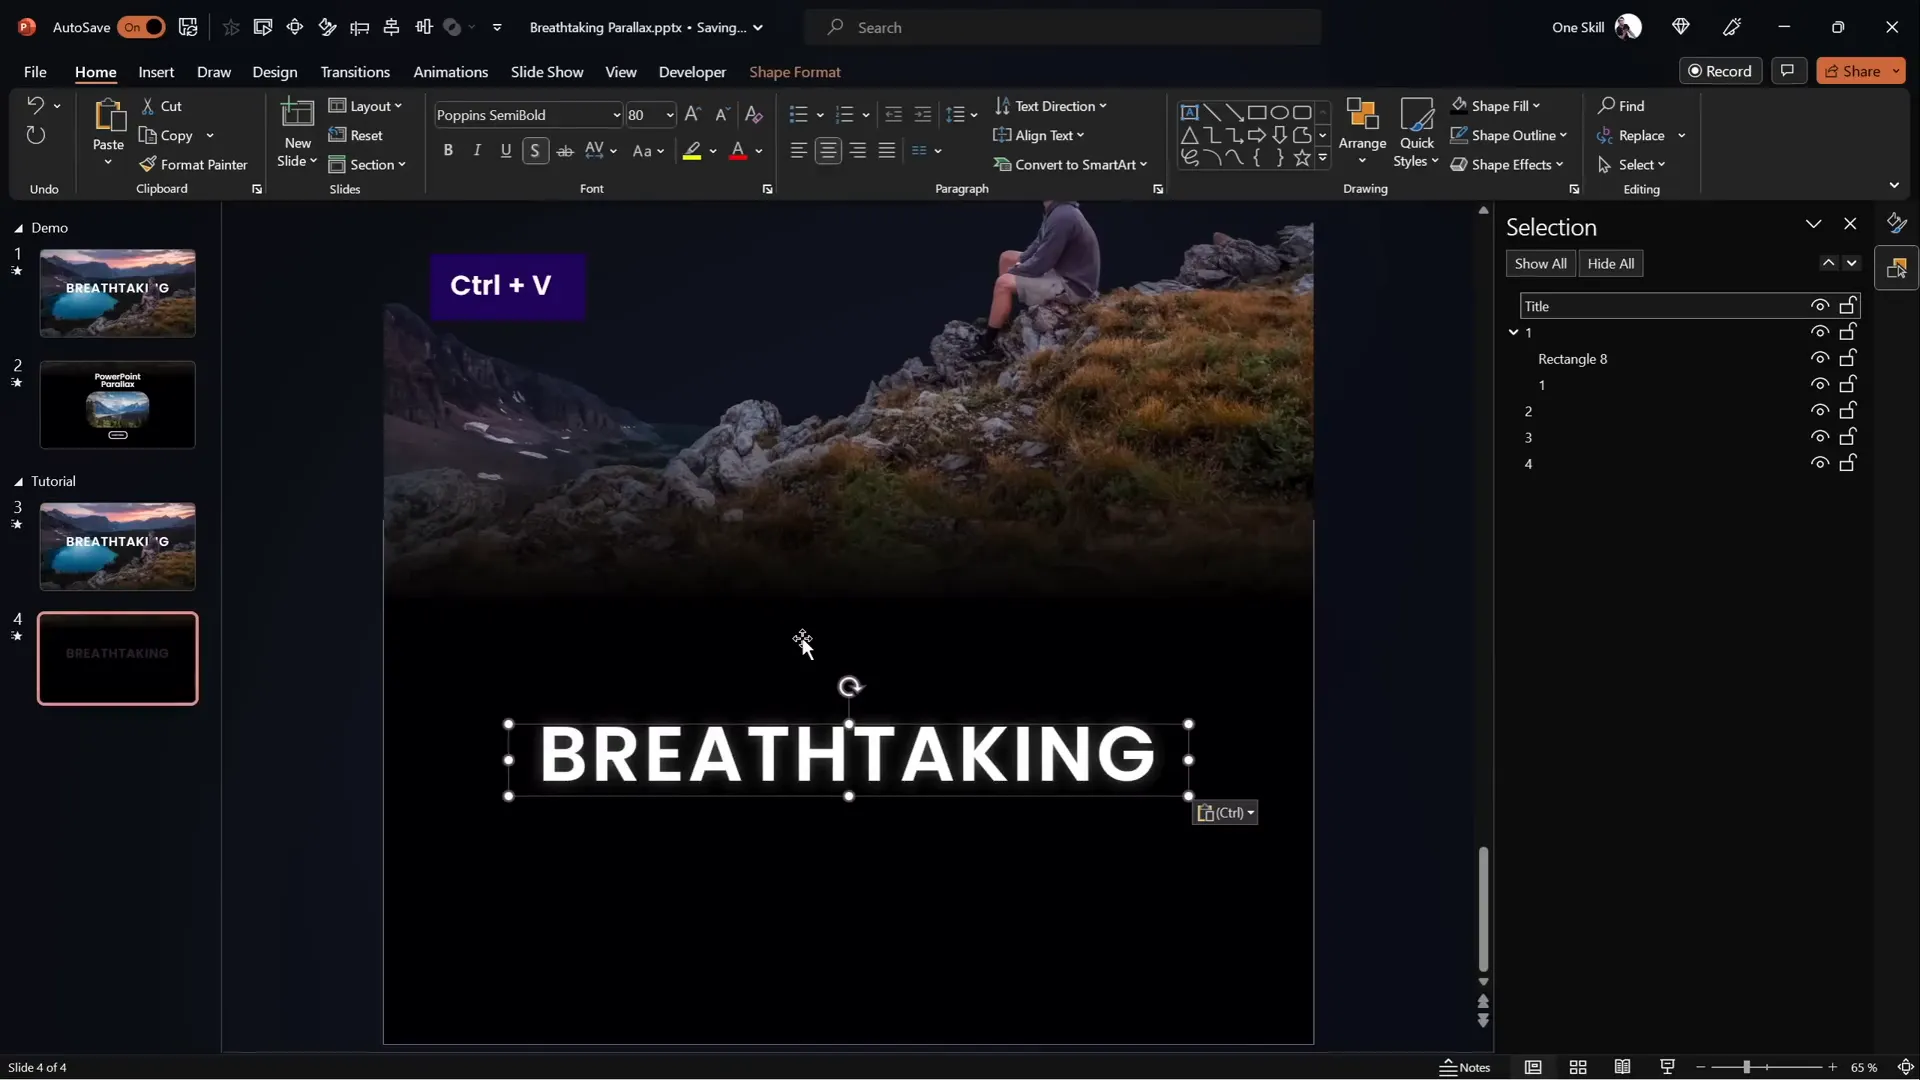
Adding Text and Additional Details
To add context or branding to your parallax animation, you can include a slide title and additional informational text. Here’s how to add text without interfering with the animation:
Adding and Positioning Text:
- Insert your slide title and position it behind the foreground layer so it doesn’t obscure important elements like a person or object.
- Copy the title to the second slide and animate it by moving it off-screen to the left and slightly upward to create movement.
- Place additional text boxes or images on the second slide where you want them to appear, such as centered on the screen.
- Use the morph transition to smoothly bring these text elements into view.
This approach ensures your text complements the animation without distracting from the beautiful parallax effect.
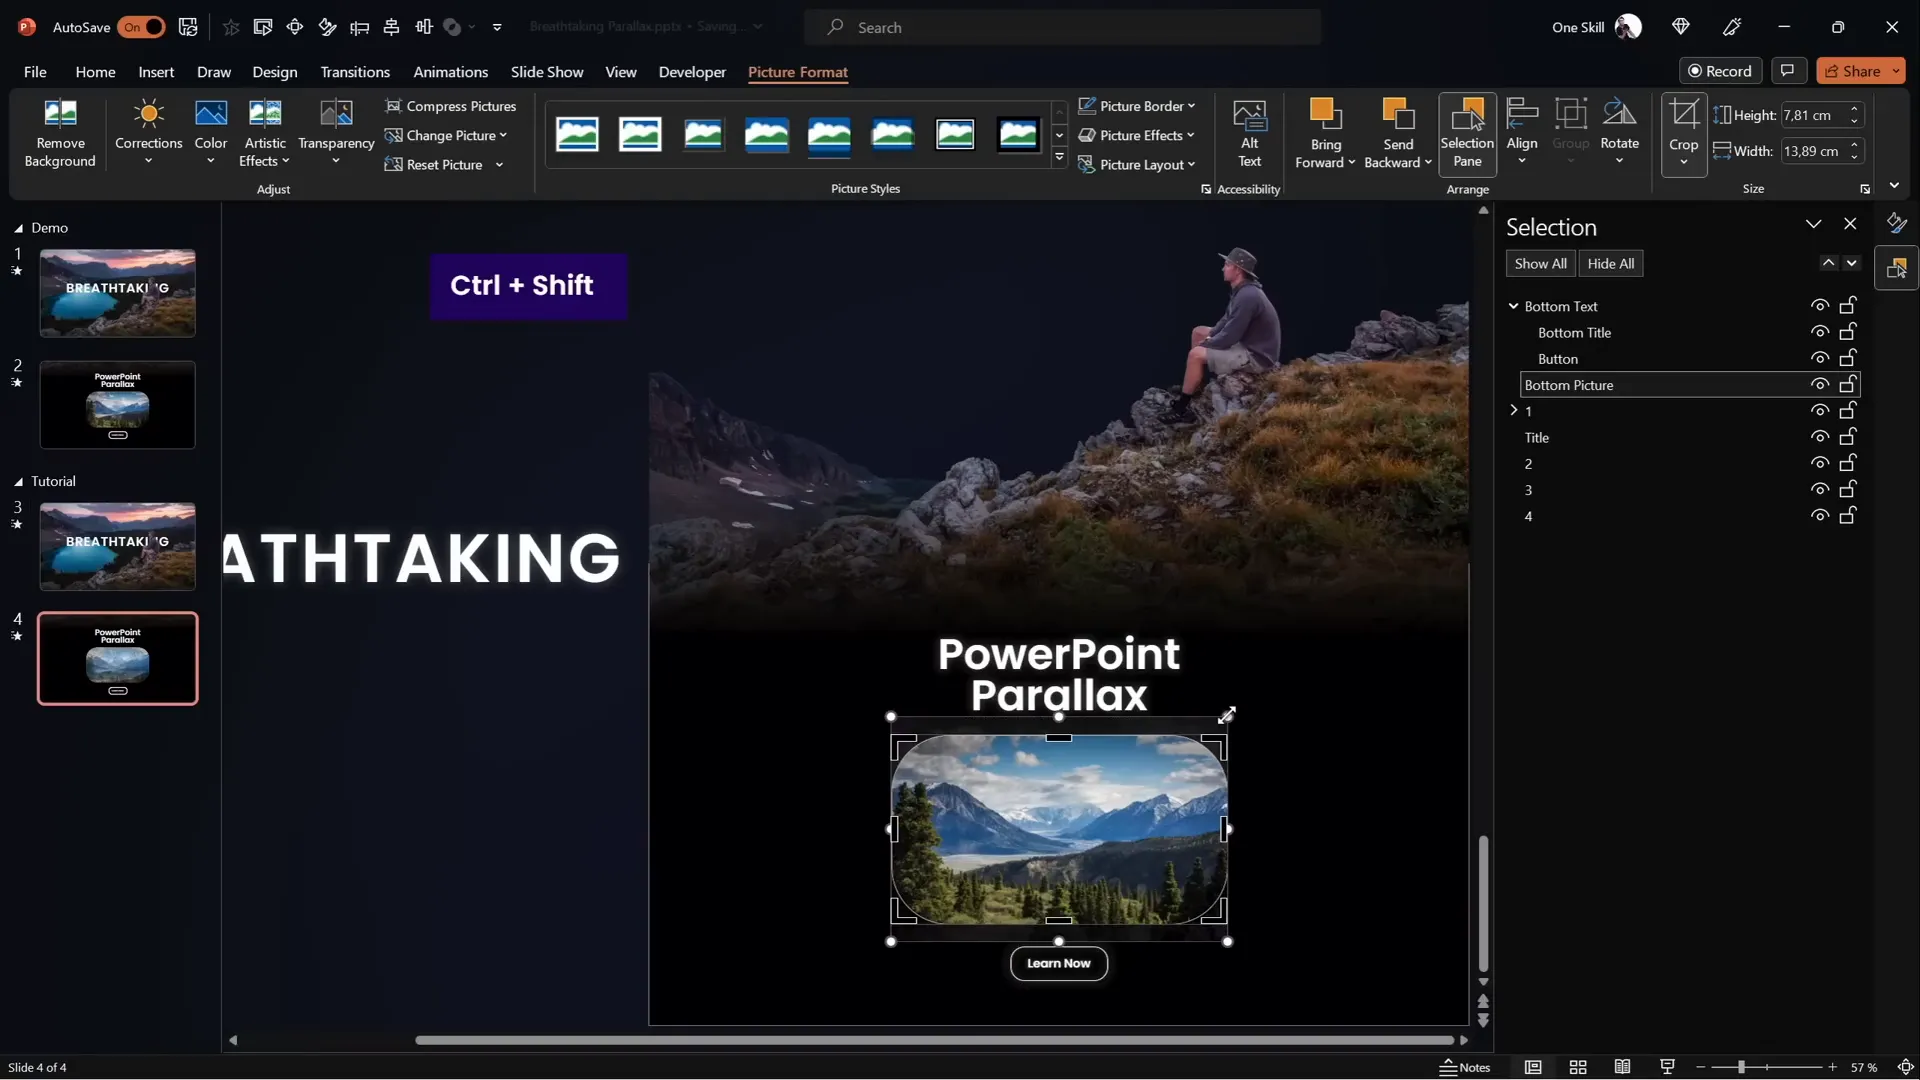
Creating a Zoom Effect for Extra Depth
To add another layer of visual interest, you can create a subtle zoom effect on an image or element within your slide. Here’s how to do it:
Steps for Zooming an Image:
- On the first slide, keep the image zoomed in at its original size.
- On the second slide, select the image and go to Picture Format > Crop.
- Zoom out slightly by resizing the crop area while holding Ctrl + Shift to maintain center alignment.
- Click Crop to finalize the change.
- The morph transition will animate the image from zoomed-in to zoomed-out, adding a subtle dynamic zoom effect.
This small touch adds depth and enhances the overall parallax animation, making your presentation more engaging.
Final Checks and Pro Tips
Before finalizing your parallax animation, here are some tips to ensure it looks smooth and professional:
- Test the animation: Play your slideshow multiple times to check for any jitter or unwanted layer visibility.
- Keep layers consistent: Make sure the layers align properly between the two slides to avoid jumpy movements.
- Duration tuning: Adjust the morph transition duration to control the speed of the animation. A 3-second duration works well for smoothness.
- Use high-quality images: Blurry or pixelated images can ruin the effect.
- Group related elements: Grouping layers and masks simplifies slide management and reduces errors.
- Consider your audience: Use parallax effects tastefully to enhance storytelling without overwhelming viewers.
With these in mind, your Powerpoint Animation effects will be polished and impressive, ready to captivate your audience!
Frequently Asked Questions (FAQ)
What is the Morph Transition in PowerPoint?
The Morph transition is a feature in PowerPoint that enables smooth animation of objects between slides by automatically animating changes in position, size, rotation, and formatting. It’s perfect for creating parallax and other advanced animation effects.
Can I create parallax animations without the Morph transition?
Yes! If your version of PowerPoint doesn’t support Morph, you can use motion path animations to move layers independently. This requires more manual setup but achieves a similar effect.
Which photo editors are best for separating image layers?
Photoshop and Affinity Photo are excellent professional tools. For free options, Photopea is a great online editor that offers many of the same features needed to isolate image layers.
How do I choose images suitable for parallax animation?
Look for photos with clear foreground, middle ground, and background elements that can be separated easily. Landscapes with mountains, trees, and sky often work well.
Can I add other animation effects to my parallax slides?
Absolutely! You can add fade-ins, zooms, or text animations to complement the parallax effect and make your presentation even more dynamic.
Where can I find resources and templates for PowerPoint animations?
There are many online resources such as tutorial slides, free templates on sites like Envato and Freepik, and communities like YouTube channels dedicated to PowerPoint magic.
How long should my parallax animation last?
Typically, a duration of 3 seconds for the morph transition works well, balancing smoothness with viewer attention span. You can adjust this based on your content and pacing.
Is parallax animation suitable for all presentation types?
Parallax animations are best used when you want to emphasize visuals and create immersive experiences. They’re ideal for creative pitches, storytelling, product showcases, and educational content but should be used sparingly in very formal or data-heavy presentations.
Conclusion
Creating breathtaking Powerpoint Animation effects like parallax animation is easier than you might think. By carefully selecting images, separating them into layers, and animating with PowerPoint’s morph transition, you can add depth and professionalism to your presentations.
Remember, the key to a successful parallax effect is subtlety and smoothness. Use masking and blending techniques to hide layer edges and create seamless transitions. Add text and zoom effects thoughtfully to enhance the story your slides tell.
This technique not only impresses your audience but also showcases your creativity and command of PowerPoint’s powerful animation tools. Now it’s your turn to experiment, create, and wow with your own stunning Powerpoint Animation effects!
Stay creative, keep practicing, and watch your presentations come to life like never before.
Check out the full video: BREATHTAKING PowerPoint ✨PARALLAX✨ Animation Tutorial


