If you’re looking to elevate your PowerPoint presentations with engaging, dynamic visuals, mastering Powerpoint Animation effects is a must. One of the most captivating techniques you can add to your skillset is the parallax animation effect. This effect creates an immersive depth illusion by animating multiple layers of an image at different speeds, giving your slides a modern, professional look.
In this comprehensive tutorial, you will learn how to create a breathtaking power plant parallax animation using PowerPoint. Inspired by the creative genius Dennis Snellenberg, this step-by-step guide will walk you through the process of breaking down an image into layers, animating those layers with PowerPoint’s morph transition, and adding finishing touches to make your animation seamless and visually stunning.
By the end of this article, you’ll be equipped with the techniques to produce your own parallax animations using PowerPoint Animation effects, enhancing your presentations and captivating your audience like never before.
Table of Contents
- Choosing the Right Image for Parallax Animation
- Preparing the Image Layers: Tools and Techniques
- Setting Up PowerPoint Slides for Parallax Animation
- Animating Layers with Morph Transition
- Hiding Layer Edges with a Full Screen Rectangle
- Blending Layers for a Smooth Transition
- Adding Slide Titles and Informative Text
- Adding a Zoom Effect to Enhance Depth
- Final Check and Tips for Your Parallax Animation
- Frequently Asked Questions (FAQ)
Choosing the Right Image for Parallax Animation
The first and arguably most critical step in creating a stunning parallax animation is selecting the perfect image. Not every photo will work well for this effect. You want an image that naturally separates into distinct layers, which can be animated independently to create the illusion of depth.
Look for images with the following characteristics:
- Multiple Layers: The photo should have a clear foreground, middle ground, and background. For example, mountains layered behind a forest, or a person in front of a lake with a sky backdrop.
- Distinct Elements: Objects or areas that can be easily isolated, such as a hiker, a tree line, or mountain ridges.
- Good Contrast: Differentiation in color and brightness between layers helps in separating them cleanly.
- High Resolution: To avoid pixelation when cropping and animating parts of the image.
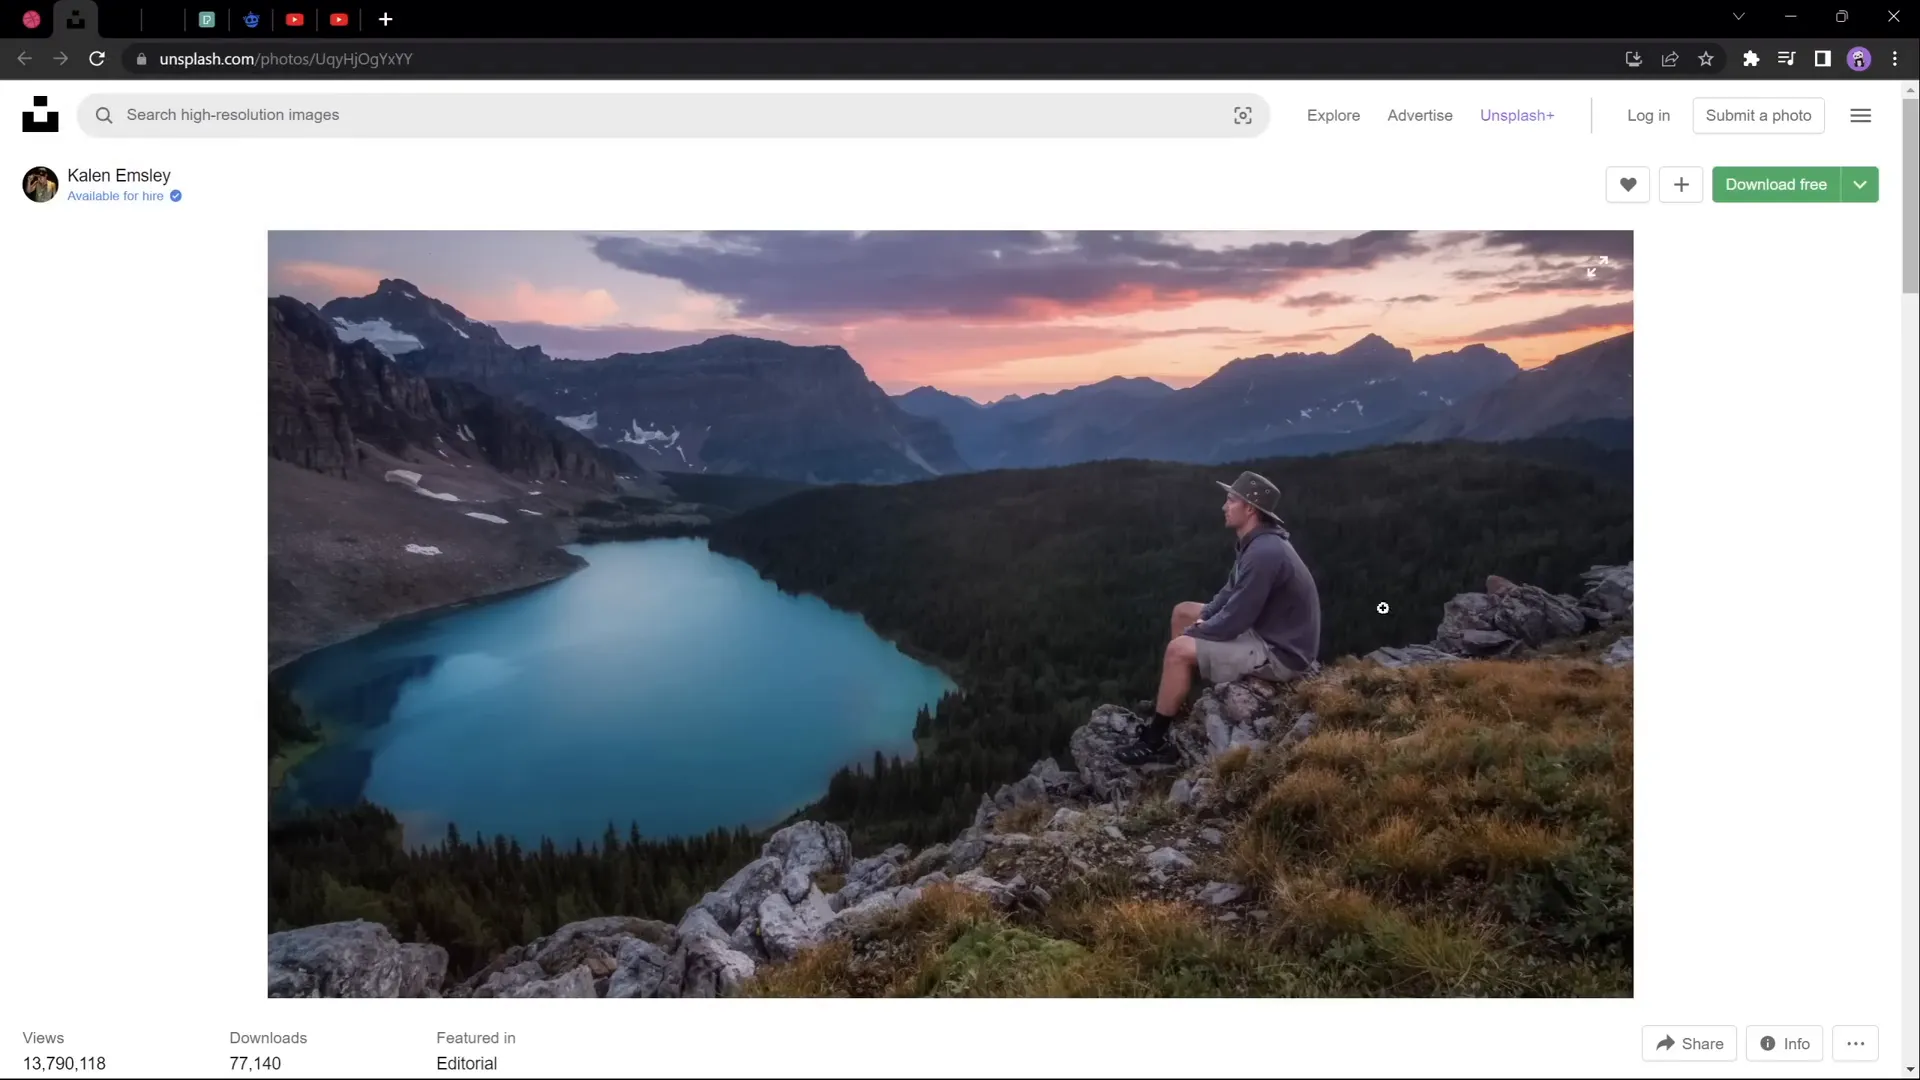
For this tutorial, a breathtaking photo featuring a hiker sitting on a rock with layered mountains and a beautiful sky was chosen. This image provides four distinct layers perfect for the parallax effect:
- Hiker in the foreground
- Forest with a lake
- Second line of mountains
- Sky background
When searching for your own images, consider using sites like Unsplash, Pexels, or Freepik for high-quality photos. Below are some example links to photos that work well for this technique:
Preparing the Image Layers: Tools and Techniques
Once you have your photo, the next step is to separate it into different layers. This is essential because the parallax animation relies on moving each layer independently to create depth.
There are several tools you can use for this:
| Tool | Type | Cost | Notes |
|---|---|---|---|
| Adobe Photoshop | Professional desktop app | Paid (Subscription) | Industry standard with powerful selection and masking tools |
| Affinity Photo | Professional desktop app | One-time purchase | Excellent alternative to Photoshop with robust layer management |
| Photopea | Free online editor | Free | Web-based, similar interface to Photoshop, great for beginners |
If you want to learn how to separate photos into layers using the free online editor Photopea, you can find detailed tutorials online that walk you through the process. The key steps generally involve:
- Using selection tools (lasso, pen, or magic wand) to isolate parts of the image.
- Copying the selected area to a new layer.
- Cleaning up edges with masks or erasers.
- Exporting each layer as a separate image file (PNG recommended for transparency).
For this tutorial, the photo by Calen Emsley was pre-separated into four layers to save time and focus on the animation process.
Setting Up PowerPoint Slides for Parallax Animation
With your layers ready, it’s time to jump into PowerPoint (Office 365 recommended for best features) and set up your slides.
Follow these steps:
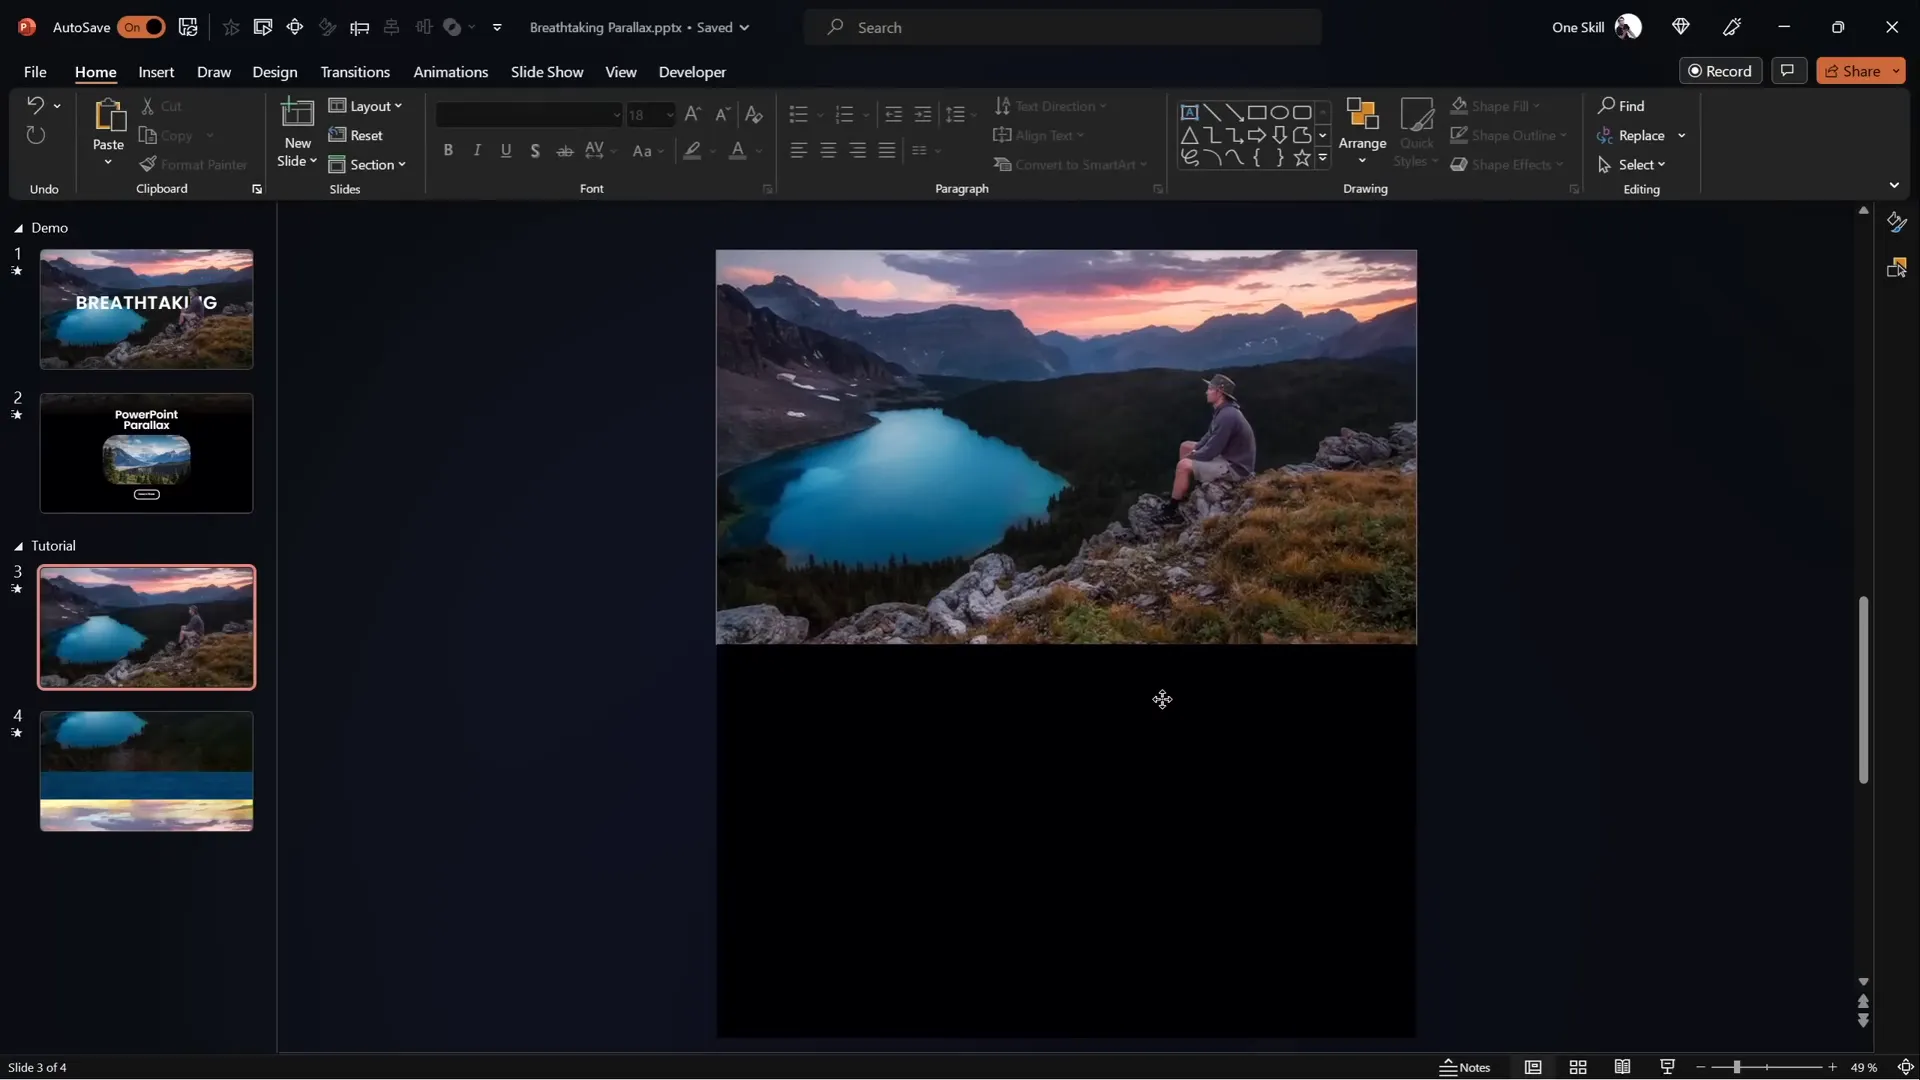
- Insert the layers: Add each layer as a separate image on a single slide.
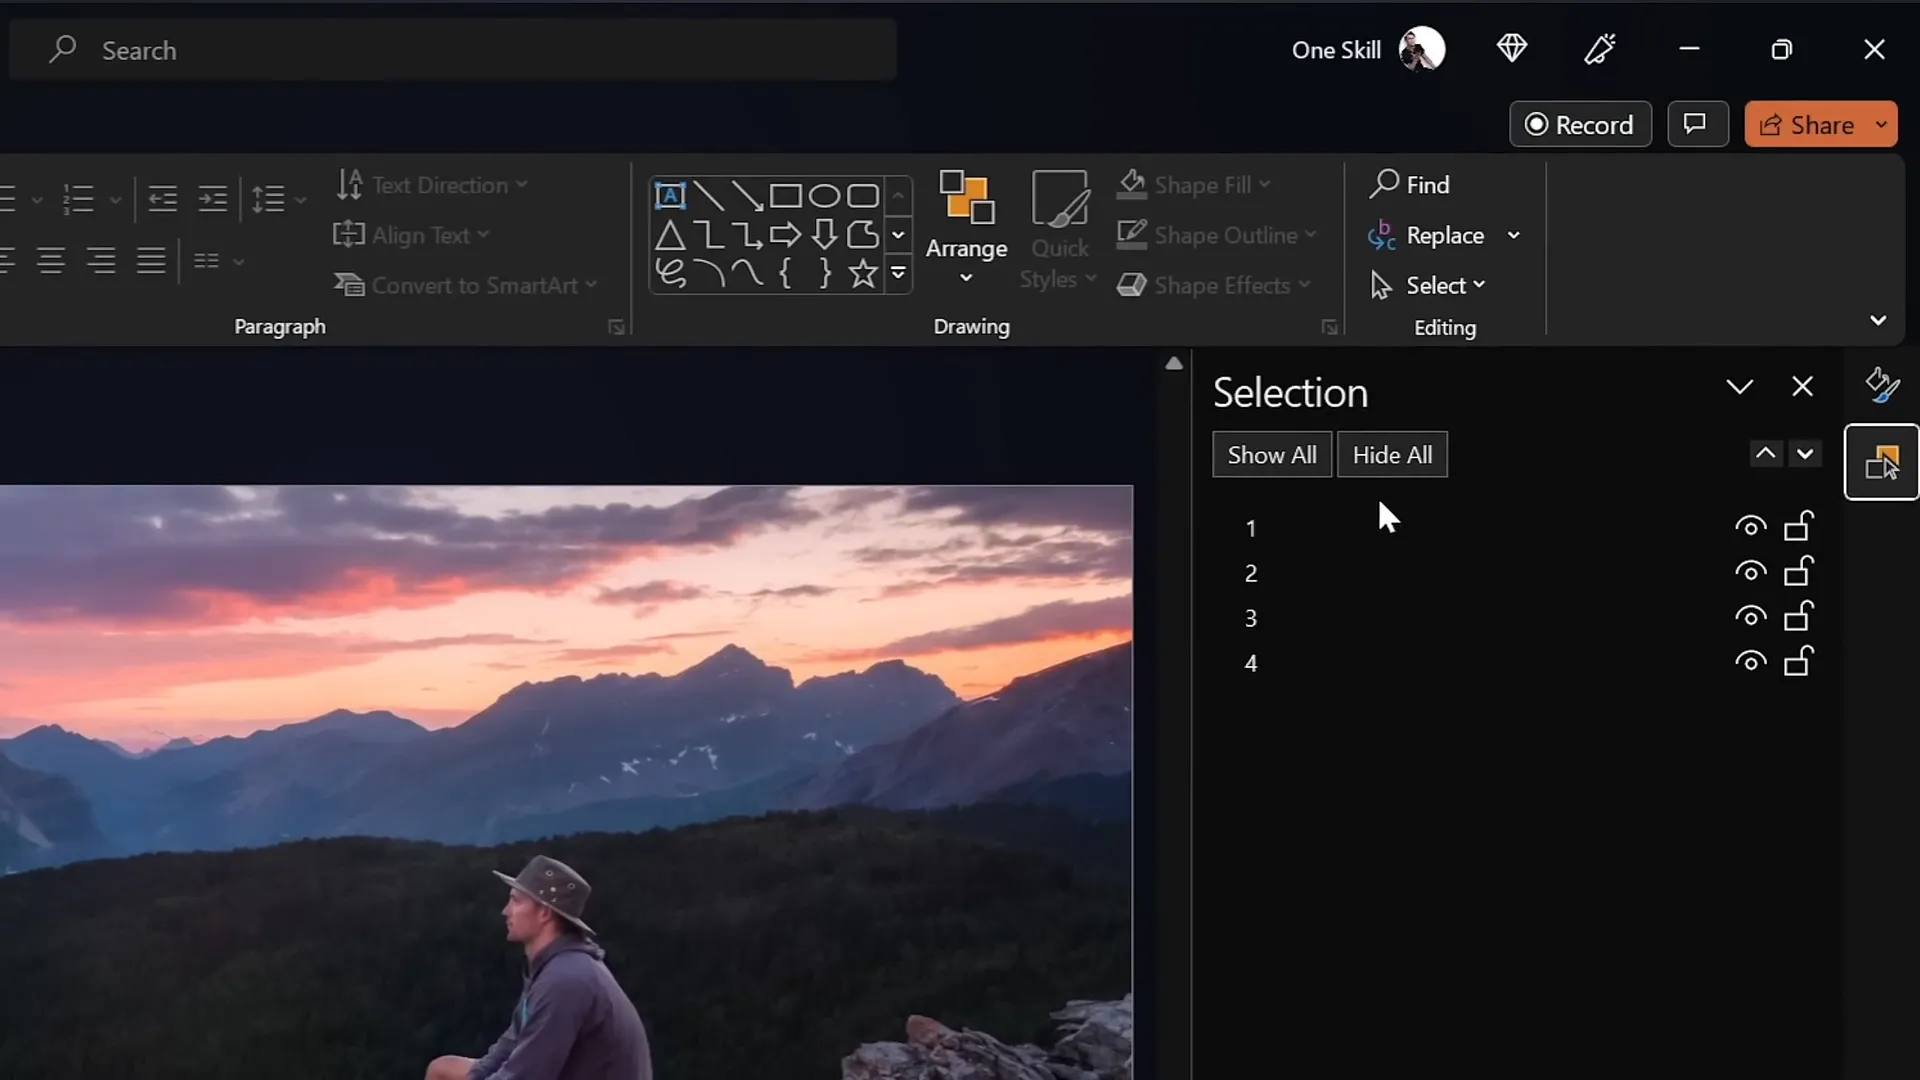
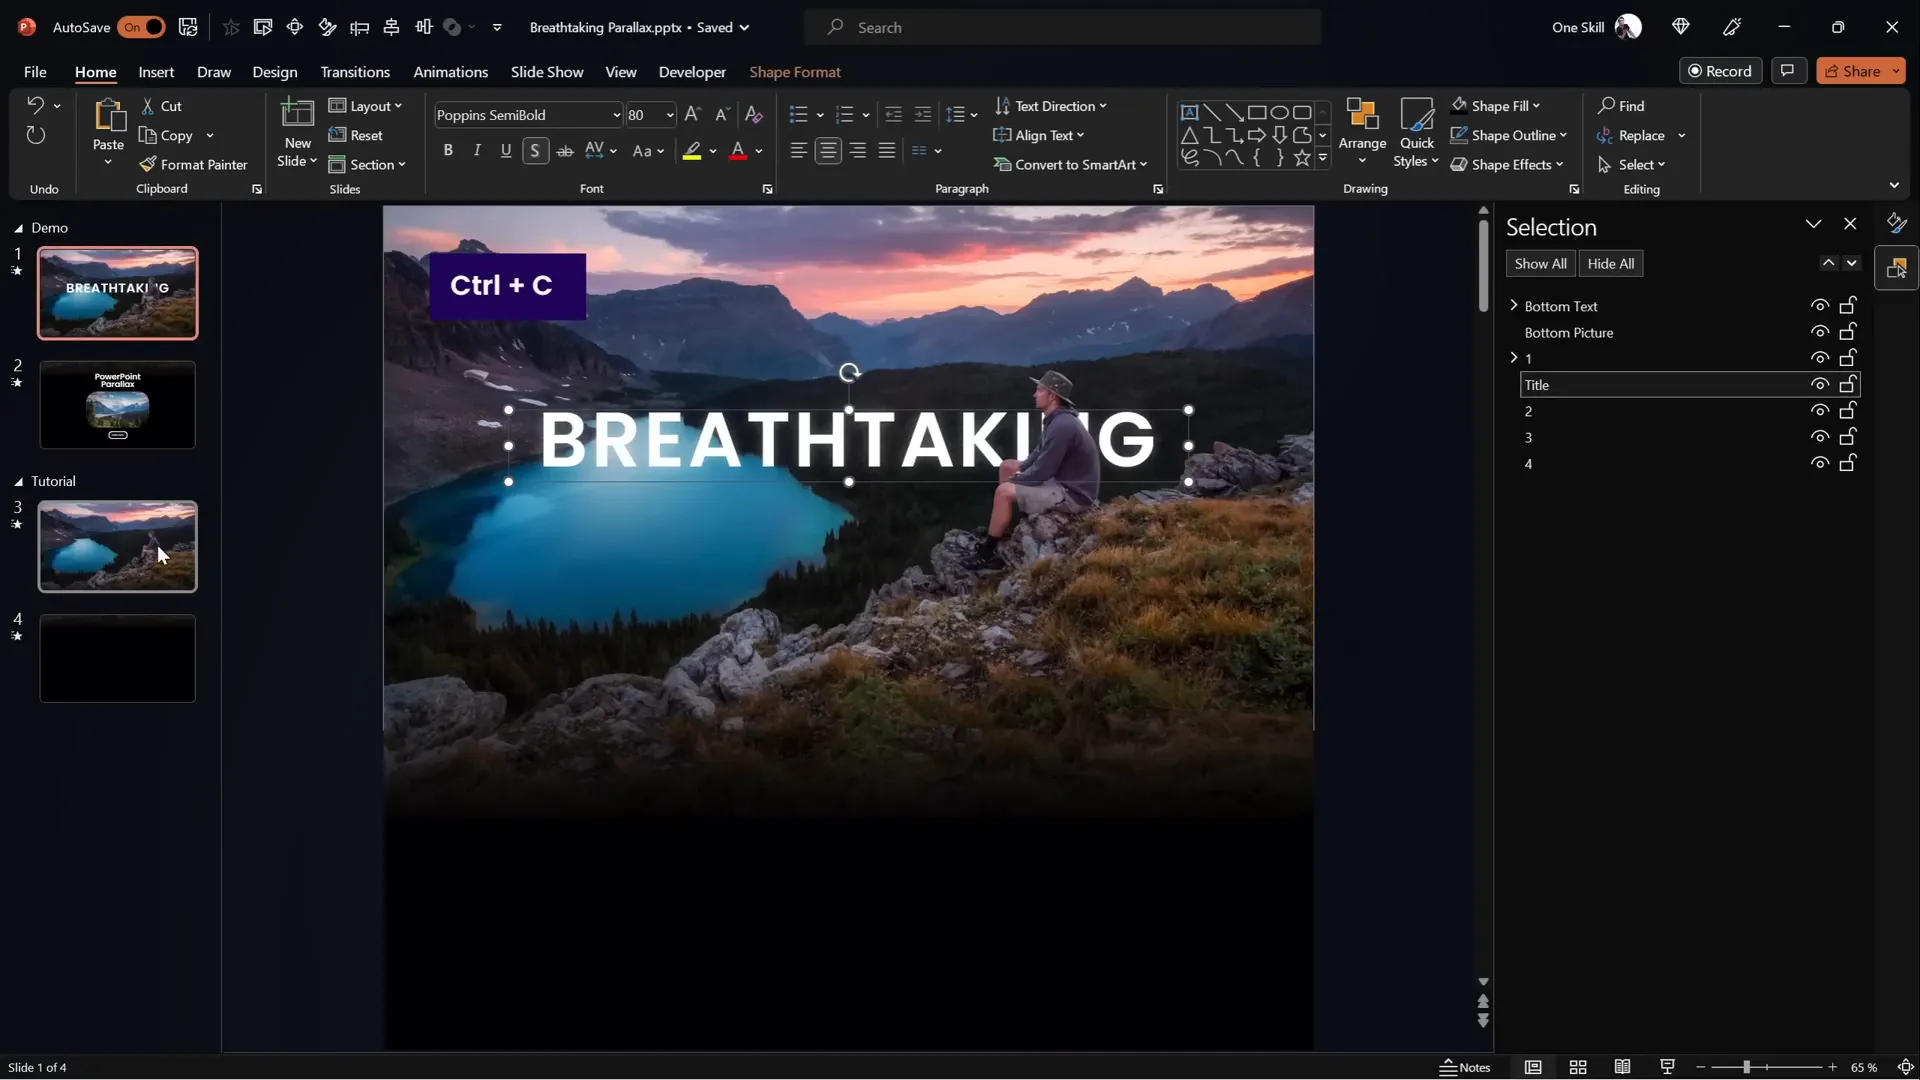
- Organize layers: Use the Selection Pane (found under Home > Select > Selection Pane) to rename and manage layers. For example:
- Layer 1: Hiker (foreground)
- Layer 2: Forest with lake
- Layer 3: Second line of mountains
- Layer 4: Sky
- Hide and reveal layers: Toggle visibility to check each layer’s position and ensure they stack correctly.
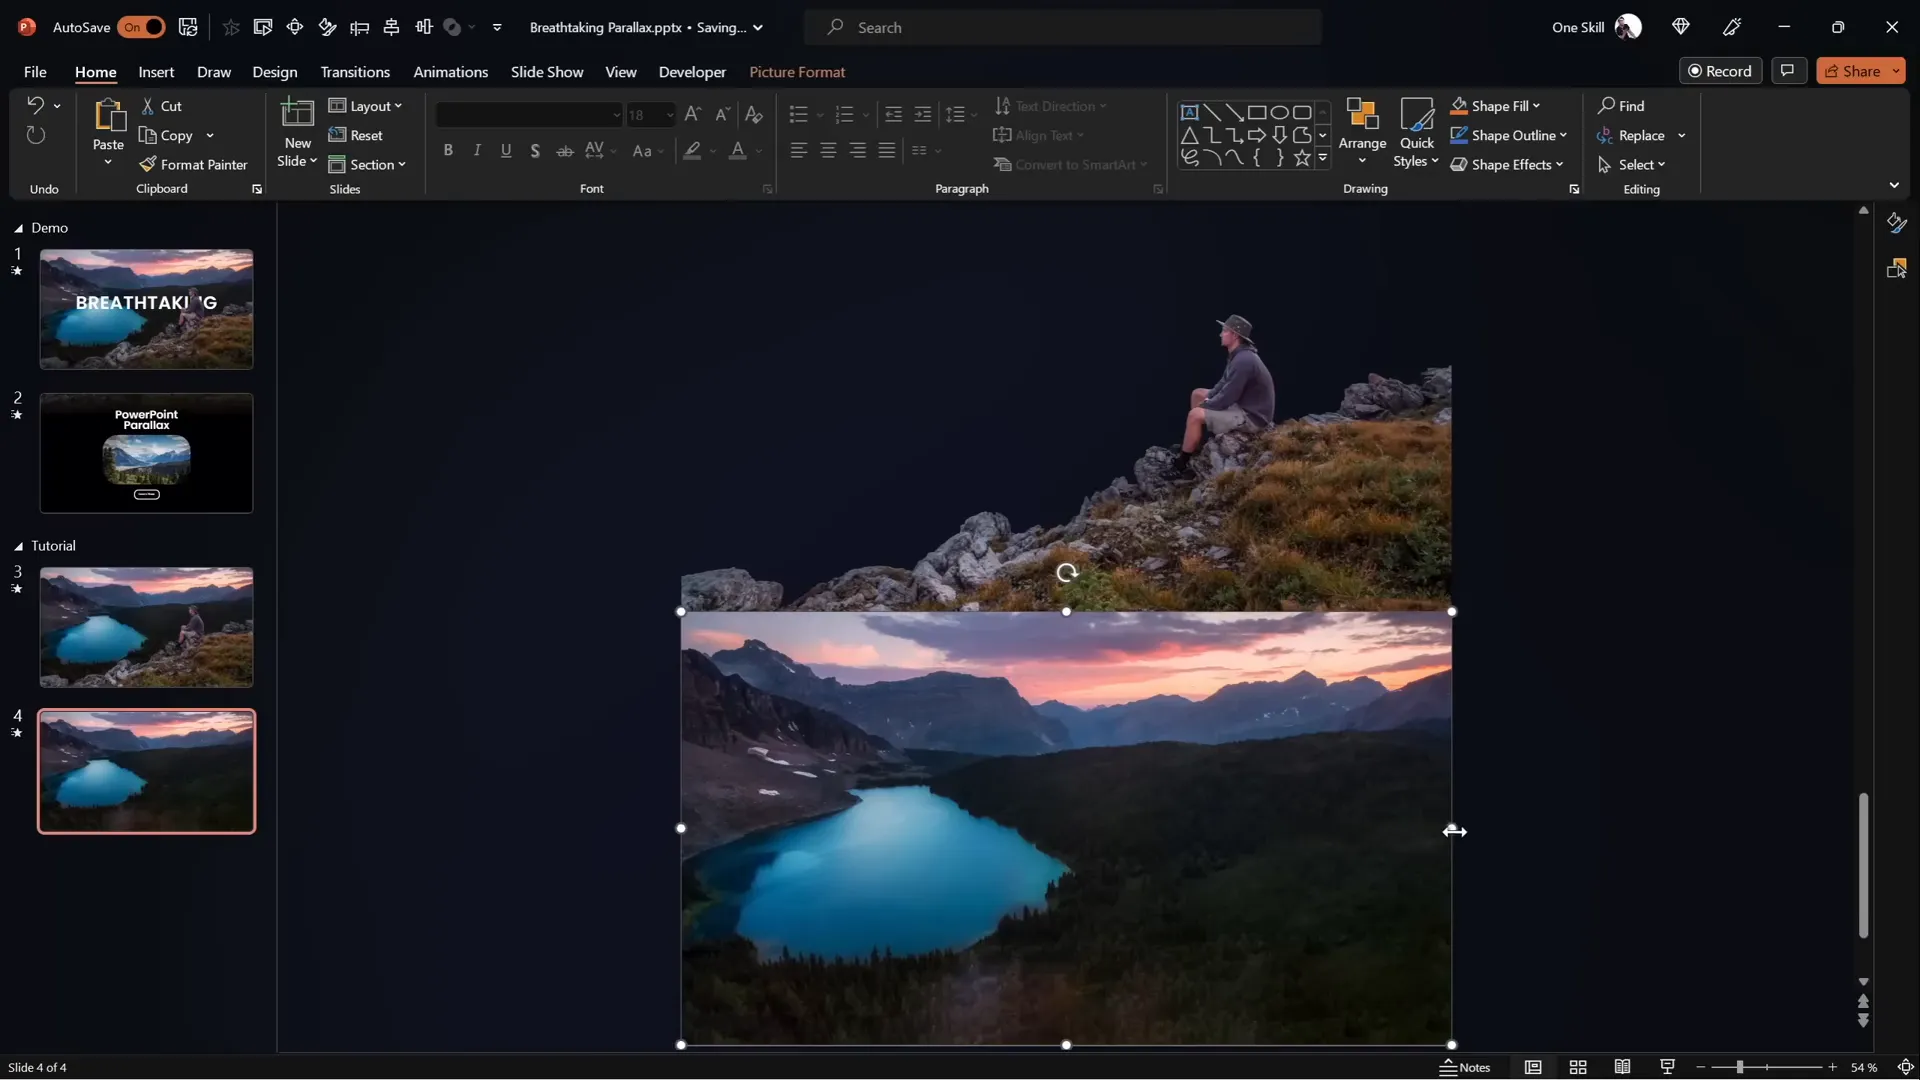
- Duplicate the slide: Create a second identical slide that will serve as the endpoint for the animation.
Next, adjust the position of each layer on the second slide to create the parallax movement:
- Move the foreground layer (Layer 1) upwards completely so the bottom touches the top of the slide window.
- Move the second layer halfway up.
- Move the third layer about 25% upward.
- The background (sky) generally stays in place or moves very slightly.
This staggered movement creates the illusion that layers closer to the viewer move faster than distant ones, a hallmark of parallax effects.
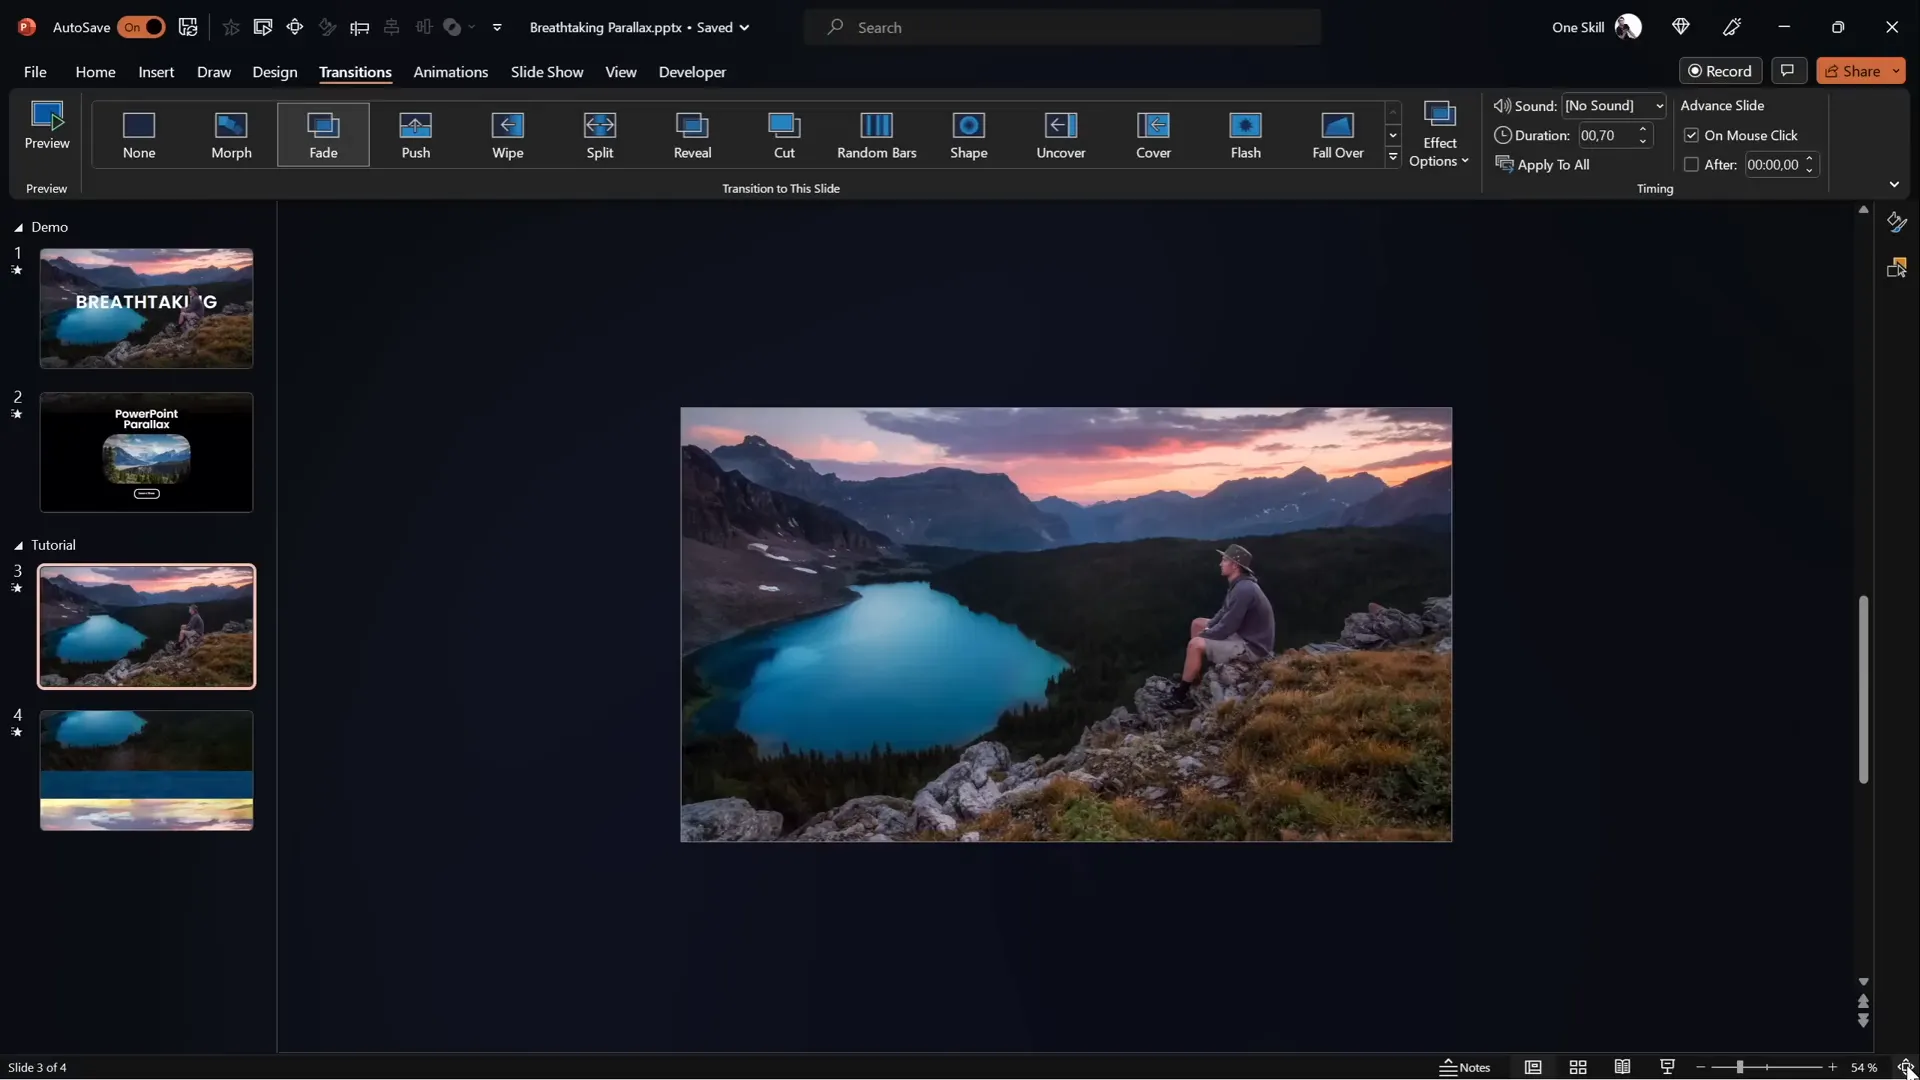
Animating Layers with Morph Transition
PowerPoint’s Morph transition is the secret weapon for smooth parallax animations. It automatically animates objects from their position on one slide to their new position on the next slide.
To apply the morph transition:
- Select the second slide.
- Go to the Transitions tab and choose Morph.
- Set the duration to around 3 seconds for a smooth effect.
If you don’t have access to the Morph transition (available in Office 365 and later versions), you can replicate the effect using motion path animations, although it will require more manual setup.
Try playing the slideshow from the first slide to see the parallax animation in action. You should observe the layers smoothly moving at different speeds, creating a captivating depth effect.
Hiding Layer Edges with a Full Screen Rectangle
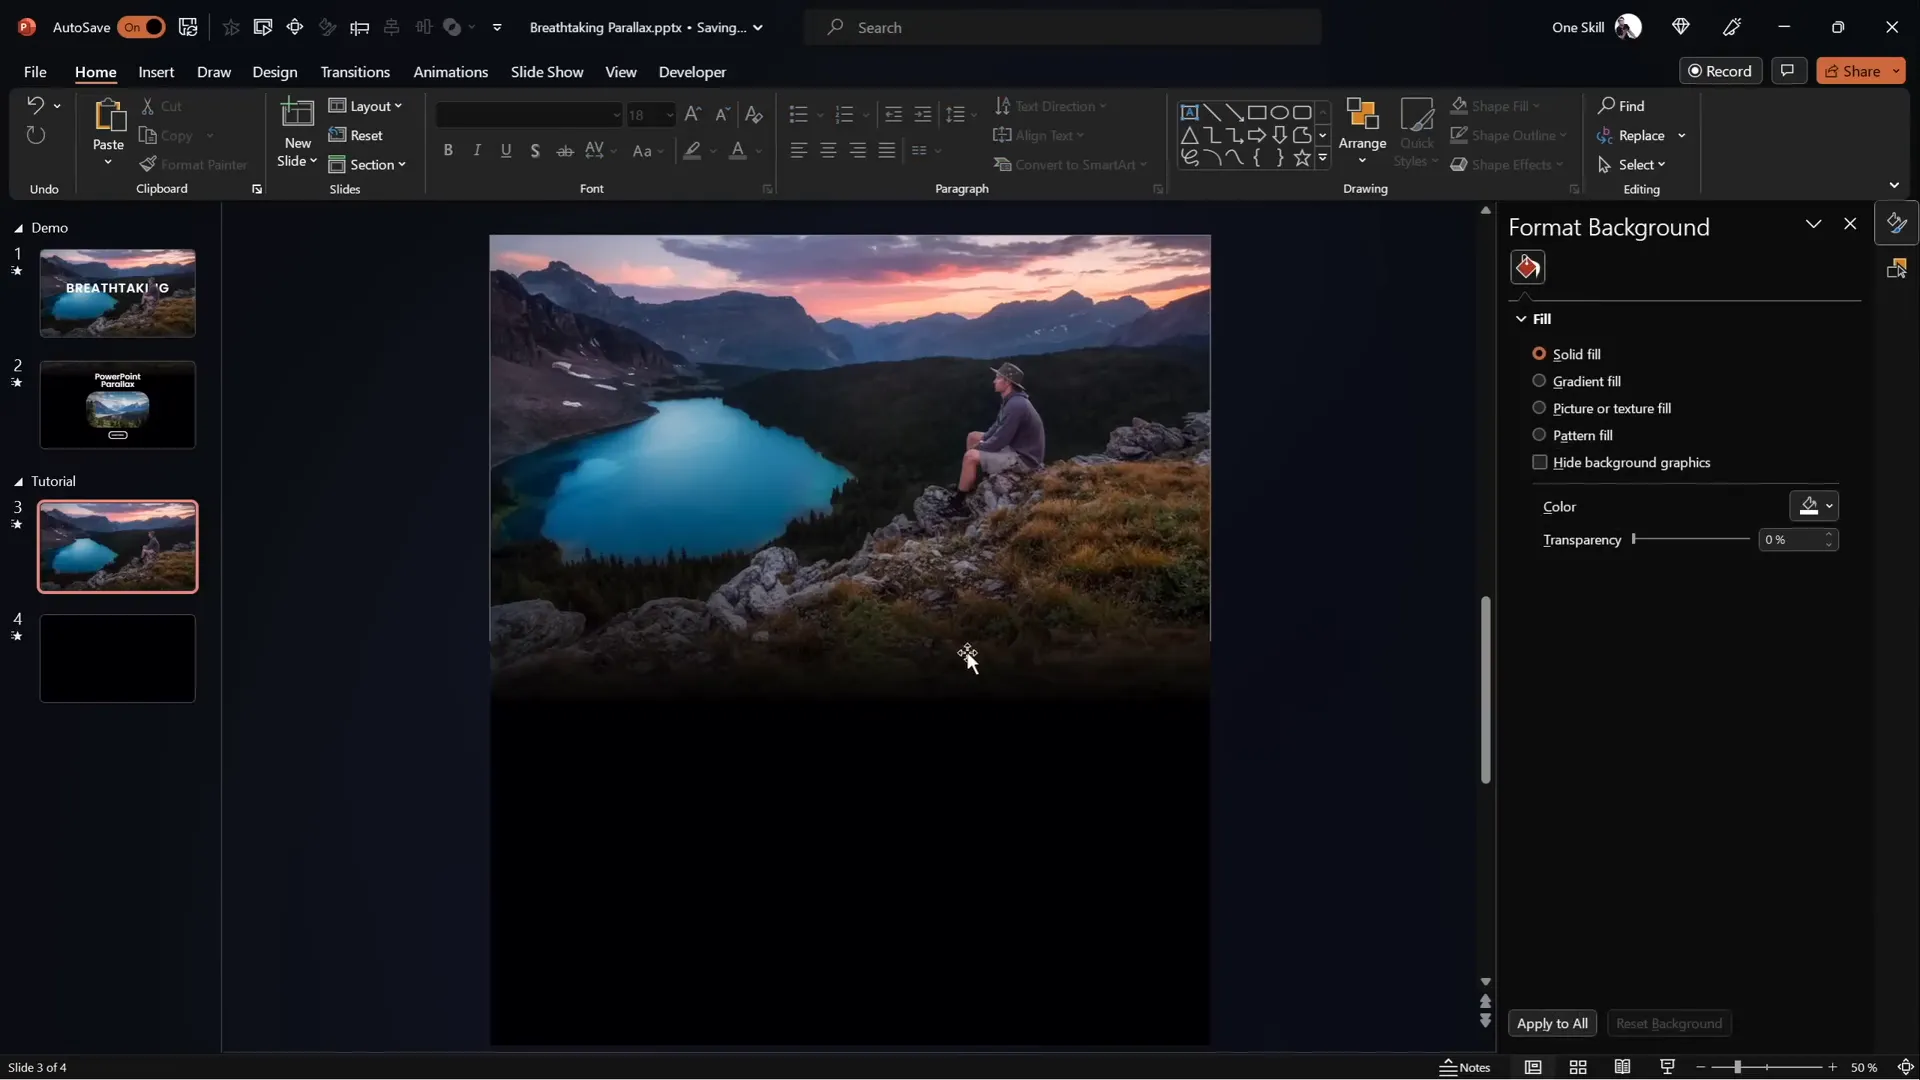
One common issue with parallax animations is that when layers move, the edges of the images can become visible, breaking the illusion. To fix this, use a simple but effective trick:
- Insert a full-screen rectangle shape on both slides.
- Set its fill color to solid black (or any background color matching your slide).
- Remove any outline from the rectangle.
- On the first slide, position the rectangle so its top edge touches the bottom of the slide window (partially off-screen).
- On the second slide, move the rectangle to fully cover the slide.
This rectangle acts as a mask, hiding the edges of the layers as they move during the animation.
Blending Layers for a Smooth Transition
To make the transition between the foreground layer and the black rectangle even smoother, you can blend the two elements.
Here’s how:
- Select the foreground layer (Layer 1) on the first slide.
- Go to Picture Format and choose Crop.
- Extend the crop area slightly downward to reveal some extra photo information.
- Click Crop again to apply.
- Select the black rectangle and apply a gradient fill with two color stops:
- Both stops are black.
- One stop has 100% transparency (fully transparent).
- Adjust the gradient so the transparency transitions smoothly over about 30% of the rectangle.
- Adjust the height of the rectangle to improve the blending effect.
- Select both the cropped foreground layer and the gradient rectangle, then group them into one object named “Layer 1” for consistency.
- Replace the old Layer 1 and rectangle on the second slide with this new group, positioning it to cover the slide.
This technique creates a seamless fade from the foreground image into the background, enhancing the overall visual appeal.

Adding Slide Titles and Informative Text
To make your animation more informative and polished, add slide titles and text elements that complement the visual effect.
Follow these tips:
- Insert a slide title below the foreground layer so it appears behind key visual elements like a person or object.
- Duplicate the title on the second slide, but move it slightly off-screen or reposition it to create subtle movement with the Morph transition.
- Add additional information text boxes or images that appear on the second slide, animated into view using the Morph transition.
This layering of text and images adds context to your animation, making it suitable for presentations, storytelling, or marketing content.
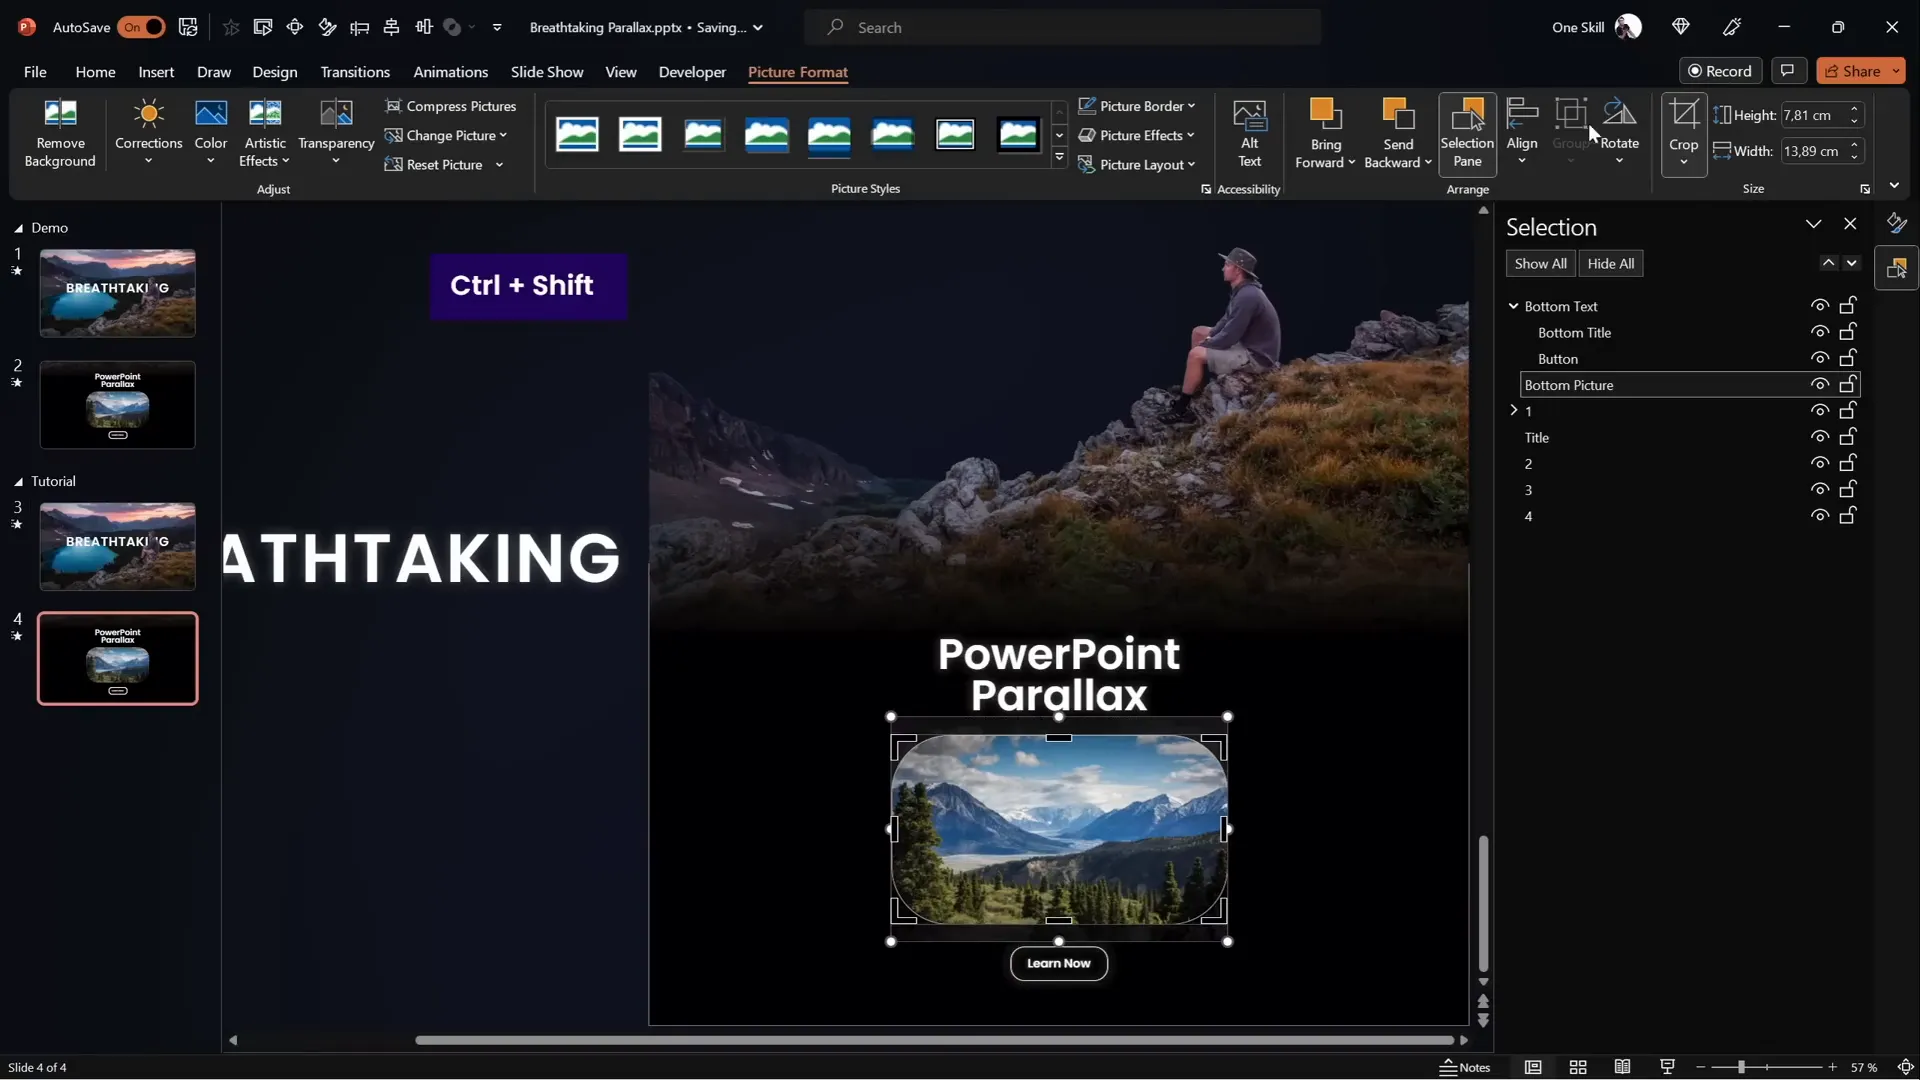
Adding a Zoom Effect to Enhance Depth
A final touch that adds extra flair to your parallax animation is a gentle zoom effect on smaller images or elements within your slide.
Here’s how to add a zoom effect:
- Select the photo or image you want to animate.
- On the first slide, keep the image zoomed in.
- On the second slide, go to Picture Format > Crop, then resize the image by holding down Ctrl + Shift to zoom out from the center, revealing the entire image.
- Apply the Morph transition on the second slide to animate the zoom out smoothly.
This subtle zoom complements the parallax effect by adding more dynamic movement and depth, making your slide more engaging.
Final Check and Tips for Your Parallax Animation
Before wrapping up, here are some essential tips to ensure your Powerpoint Animation effects shine:
- Preview your animation: Always run your slideshow from the first slide to check the smoothness and timing of the morph transitions.
- Use consistent naming: Rename your layers and groups clearly in the Selection Pane to stay organized.
- Keep layers aligned: Make sure layers align properly on both slides to avoid jittery animations.
- Adjust duration: Experiment with the Morph transition duration (2-4 seconds) to find the right pacing.
- Use high-quality images: Avoid pixelation by using high-resolution photos.
- Consider color themes: Match your rectangle and background colors to your image and slide theme for better blending.
Congratulations! You have now mastered the creation of a breathtaking parallax animation using Powerpoint Animation effects. This technique adds a professional and modern touch to your presentations, making them memorable and engaging.
Frequently Asked Questions (FAQ)
What is parallax animation in PowerPoint?
Parallax animation is a visual effect where different layers of an image move at varying speeds to create an illusion of depth and perspective in a 2D environment like PowerPoint.
Do I need Photoshop to create parallax animations?
No, while Photoshop or similar photo editors are helpful for separating image layers, free tools like Photopea can also be used effectively. The key is to have the image separated into layers.
Can I create parallax animations without the Morph transition?
Yes! If your version of PowerPoint doesn’t support Morph, you can use motion path animations to manually animate each layer’s movement. It requires more setup but achieves similar results.
What types of images work best for parallax animation?
Images with clear foreground, midground, and background elements work best. Landscapes, cityscapes, or photos with distinct layers and good contrast are ideal.
How do I hide the edges of moving layers in parallax animation?
Use a full-screen rectangle shape with a solid or gradient fill to mask the edges that become visible when layers move during the animation. This keeps the effect clean and professional.
Can I add text to parallax animations?
Absolutely! Adding titles and text elements behind or between layers enhances storytelling and provides context. Use the Morph transition to animate text along with image layers.
Where can I find tutorial slides or templates?
Tutorial slides and assets are available on platforms like Patreon or the creator’s official channels. Many creators also share free templates and examples to help you get started.
What is the best duration for Morph transition?
A duration of around 3 seconds usually works well for smooth parallax animations, but feel free to experiment between 2 to 4 seconds depending on your presentation style.
How can I make the transition between layers and background smoother?
Apply gradient fills with transparency on masking shapes and adjust cropping on images to blend layers seamlessly into the background.
Is this technique suitable for all types of presentations?
Parallax animations are especially effective for storytelling, marketing, portfolios, and creative presentations. Use them sparingly in professional or data-heavy slides to avoid distraction.
Conclusion
Powerpoint Animation effects like the parallax animation can transform your slides from static images into dynamic and immersive storytelling tools. By carefully selecting your images, separating them into layers, and leveraging the powerful Morph transition, you can create stunning visuals that captivate your audience.
Remember, the key to success lies in planning your layers, smoothing transitions with gradient blending, and adding complementary text and zoom effects to enhance depth. With practice, you’ll be able to incorporate these effects seamlessly into your presentations, impressing clients, colleagues, or any audience.
Keep exploring, stay creative, and enjoy the process of bringing your slides to life with Powerpoint Animation effects!
Check out the full video: BREATHTAKING PowerPoint ✨PARALLAX✨ Animation Tutorial


